Tiki-Taka 424 (Attacking) Tactic
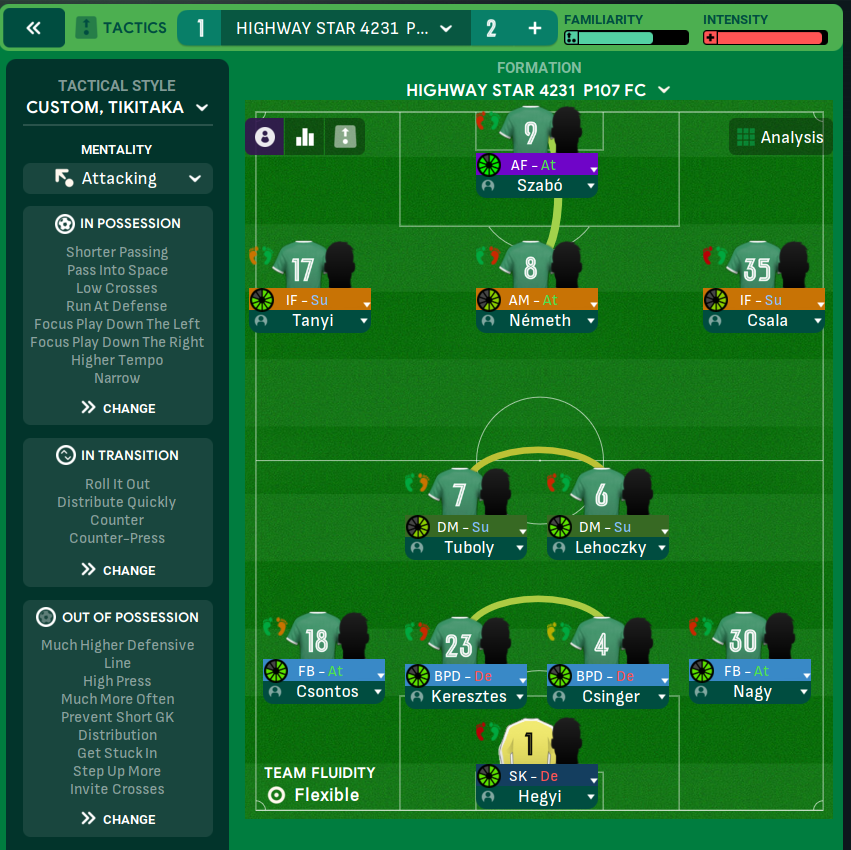
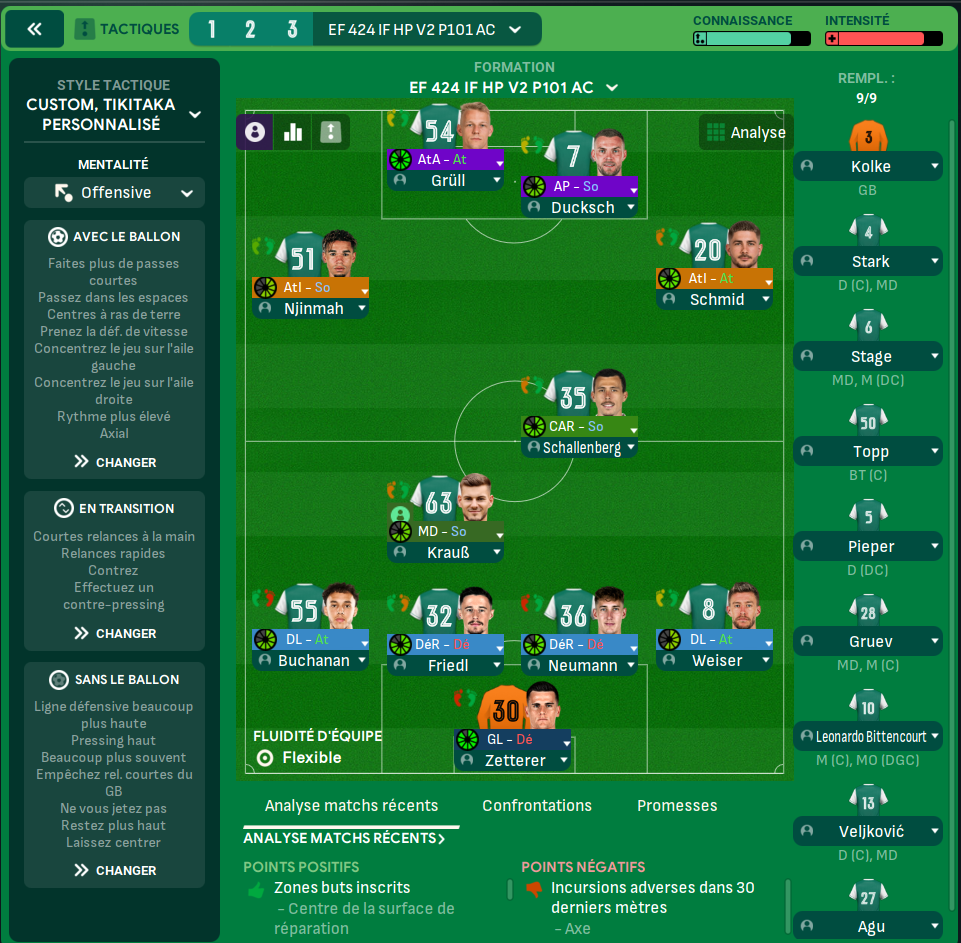
424
Becomes narrower in attack while seeking to exploit spaces in the opposition's defense. The use of inside forwards and advanced forward offers a…
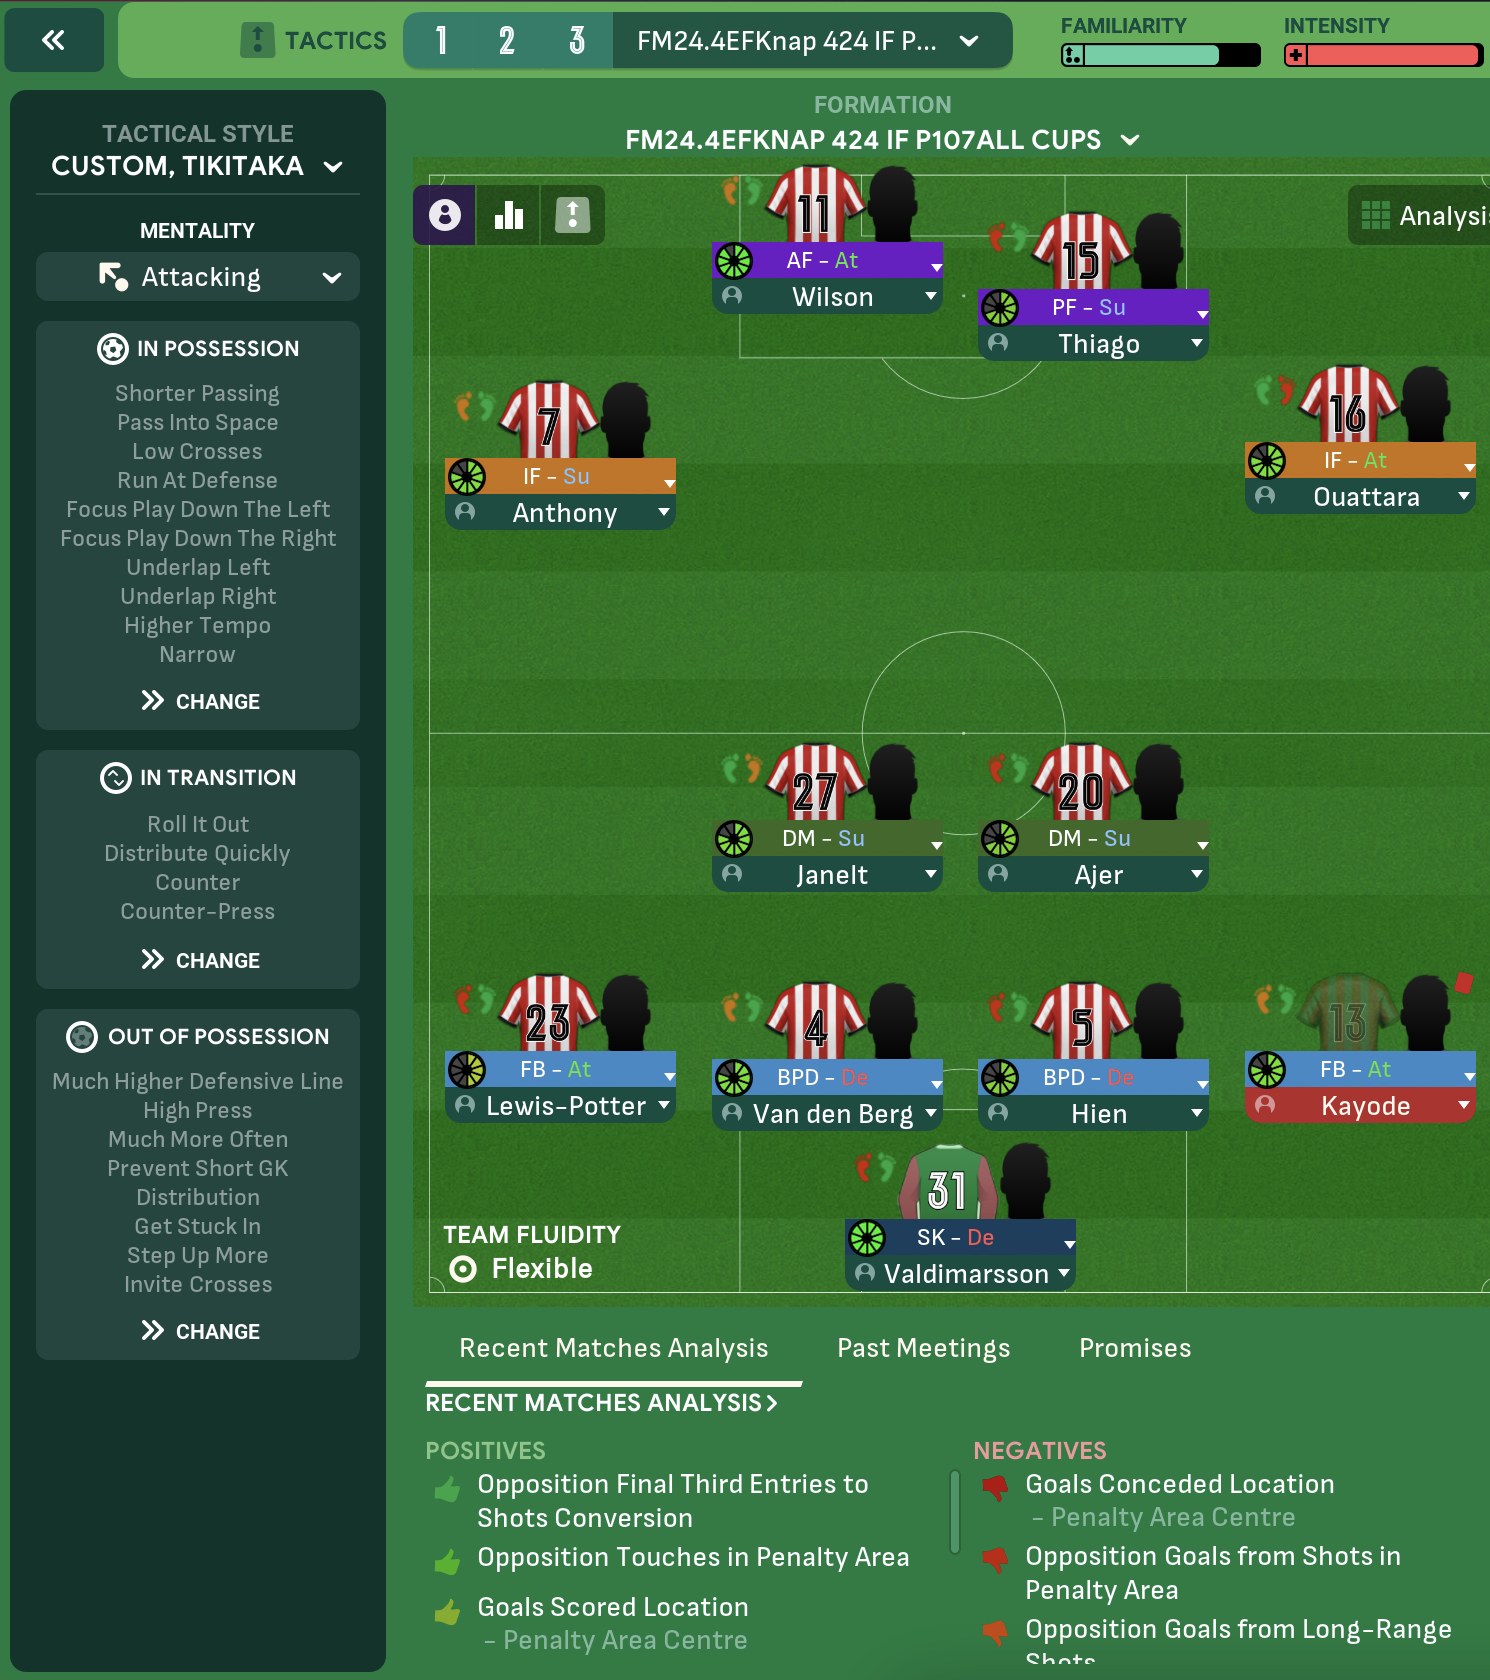
Loading tactical analysis...
Formation and style
Custom, Tiki-Taka
Attacking
424
Flexible
In possession
Shorter Passing
Pass into Space
Low Crosses
Run At Defence
Focus Play Down The Left
Focus Play Down The Right
Underlap Left
Underlap Right
Higher Tempo
Narrow
In transition
Roll It Out
Distribute Quickly
Counter
Counter-Press
Out of possession
Much Higher Defensive Line
High Press
Prevent Short GK Distribution
Get Stuck In
Step Up More
Invite Crosses
Player roles
GK
Sweeper Keeper
Defend
DC
Ball-Playing Defender
Defend
DC
Ball-Playing Defender
Defend
FB
Full-Back
Attack
FB
Full-Back
Attack
DM
Deep-Lying Playmaker
Support
DM
Deep-Lying Playmaker
Support
AM
Inside Forward
Attack
AM
Inside Forward
Support
ST
Advanced Forward
Attack
ST
Pressing Forward
Support
Phase description
Utilizes quick passing and movement to penetrate defenses with emphasis on overlapping full-backs and inside forwards.
Focuses on a counter-press to regain possession quickly after losing the ball.
Becomes narrower in attack while seeking to exploit spaces in the opposition's defense.
Team shape defence
3-2-4-1
Utilizes a compact shape defensively, primarily focusing on denying central access while pressing high.
Much Higher Defensive Line with 'High Press' and 'Get Stuck In' instructions.
Team shape attack
4-2-4
Broad shape with high attacking intent, allowing for creativity through inside forwards and full-backs.
Focus on 'Narrow' attacking play with 'Underlap' instructions for dynamic movement.
Key strengths
Dynamic Attacking Play
The use of inside forwards and advanced forward offers a multi-faceted attacking threat capable of exploiting defensive weaknesses.
IF-A at [5,2], AF-A at [6,3], and multiple 'Run At Defence' instructions.
Possession Retention
Shorter passing and a focus on build-up play helps in maintaining possession and controlling the game.
DLP-S at [3,3] with 'Shorter Passing' and 'Pass Into Space' instructions.
Conflicting tactics
Vulnerabilities to Counters
High line and pressing may leave gaps for opponents to exploit during transitions.
High Press with Much Higher Defensive Line increases exposure to counter-attacks.
Risk of Getting Overrun in Midfield
With only two deep-lying playmakers, there may be instances where the midfield can be outnumbered.
DM-S at [3,3] and [3,4] roles may lack sufficient cover against a packed midfield.
Risk exposures
Risk Exposures
Items
Counter-Attacks
High pressing can create spaces behind the defence that opponents can exploit.
Much Higher Defensive Line combined with 'High Press'.
Defensive Transition
Quick transitions from offense can lead to defensive lapses if possession is lost cheaply.
Counter-Pressing strategy needs solid organizational skills.
Role synergies
Role Synergies
Items
DLP-S and AF-A
DLPs facilitate the build-up that can help from deeper areas, creating space for an AF to exploit.
DLP-S at [3,4] linking up with AF-A at [6,3] enhancing attacking options.
FB-A and IF-A
Full-backs push forward providing width that complements inside forwards' cutting in.
FB-A at [2,1] with IF-A at [5,2] can stretch defences and create gaps.
Suggested questions
How can we enhance our defensive robustness against counter-attacks?
What adjustments should we make if facing a team with a strong midfield presence?
Should we reconsider our full-back roles to better balance attack and defense?
Related Tactics
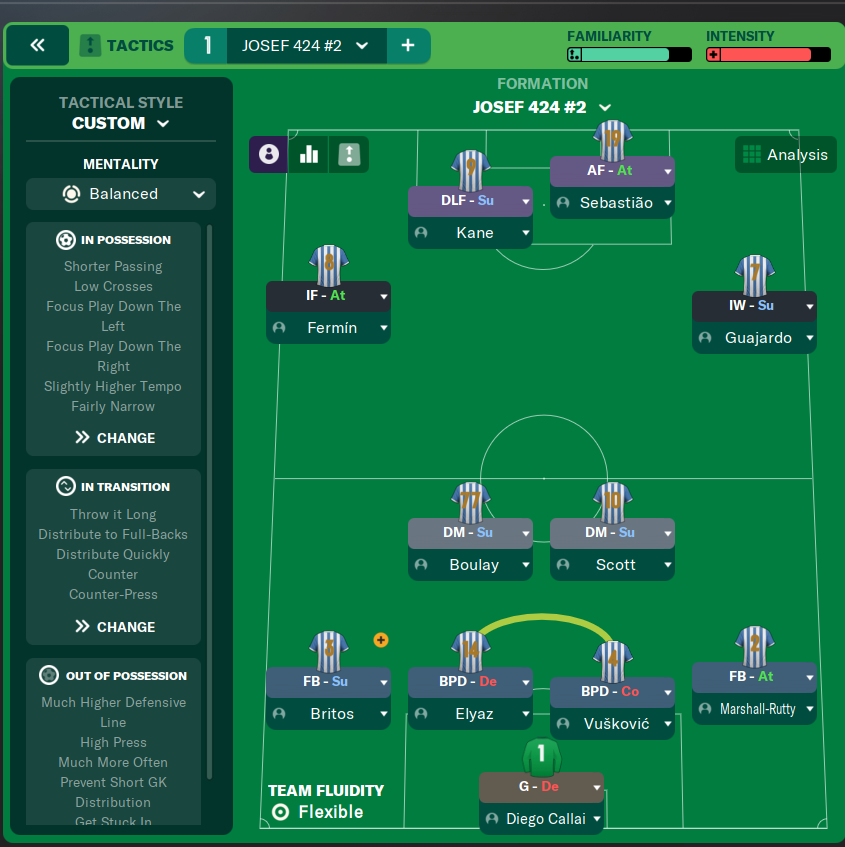
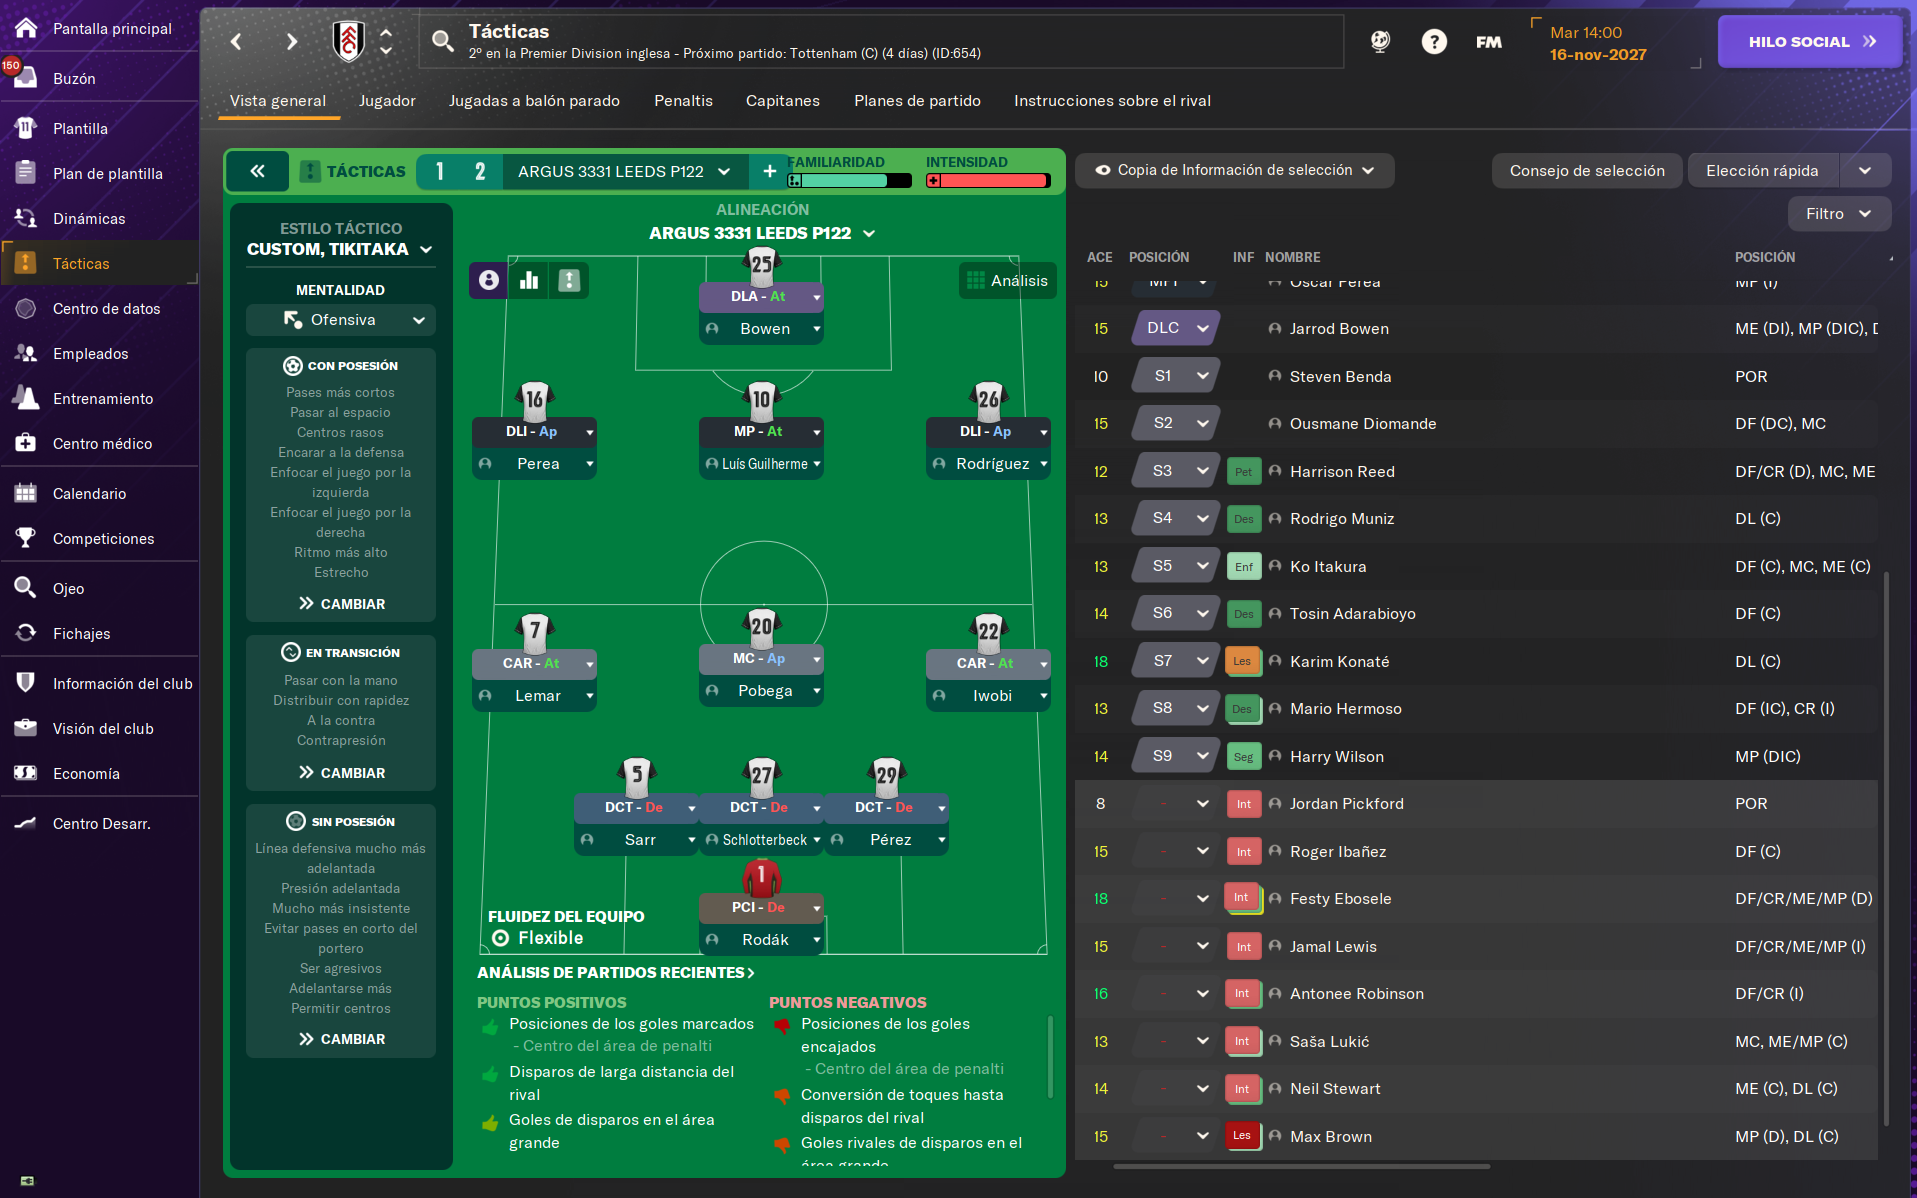
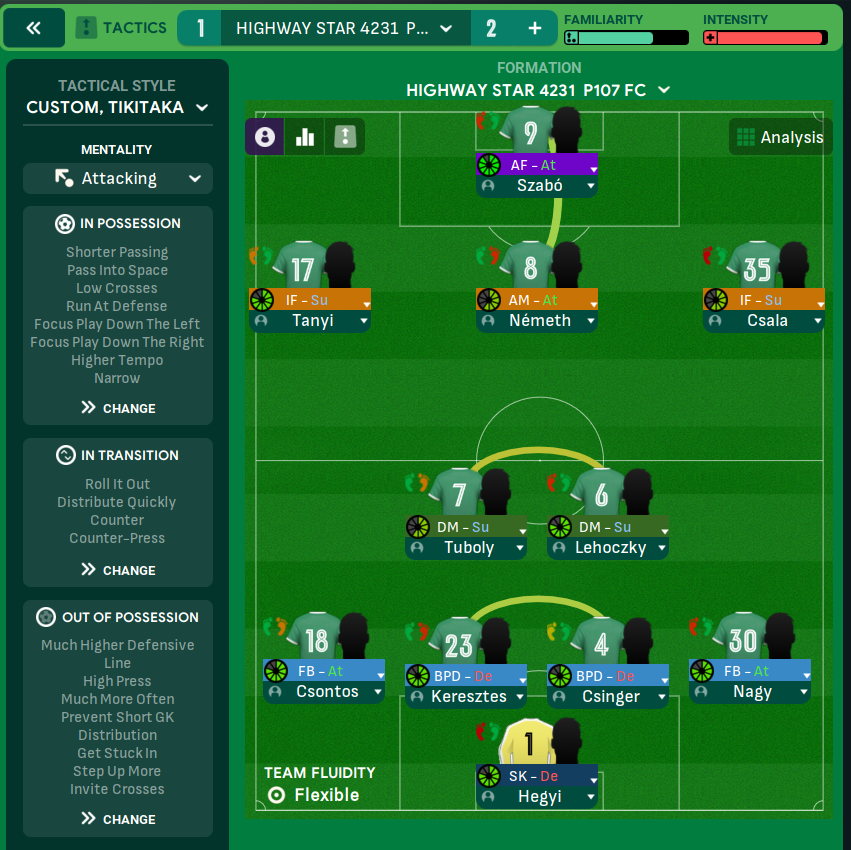
More Custom, Tiki-Taka tactics
Guides for this tactic
The tactical theory behind the 424: roles, instructions, and the trade-offs that decide whether the system holds up.
Foundations
Defensive Line and Line of Engagement
The pairing rule for Defensive Line and Line of Engagement, all 9 combinations, and the gap that costs goals.
Read guide
Foundations
Width, Compactness, and Tempo
What Higher Tempo, Wider, and Narrower actually do in FM, plus the dial contradictions and antipatterns players run into most often.
Read guide
Foundations
Wing Play vs Central Play
Build through the wide areas or through the middle? A working framework for picking the right one for your squad.
Read guide