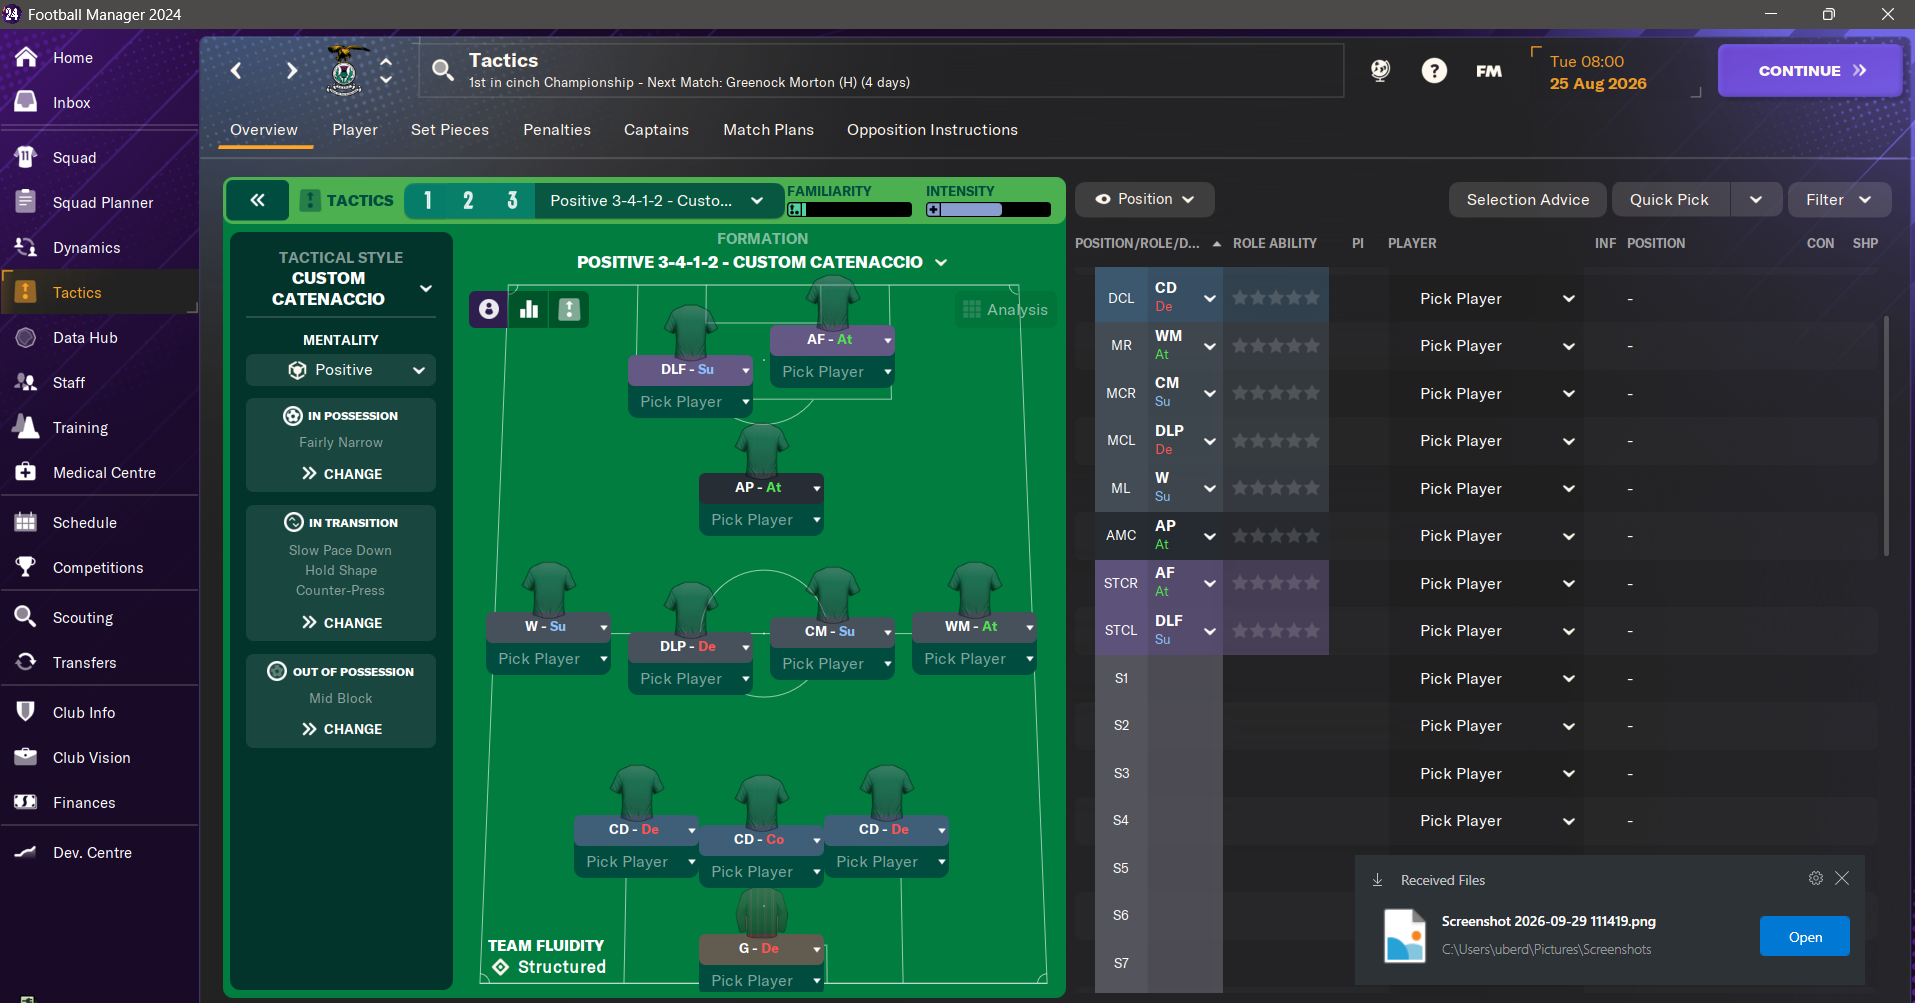
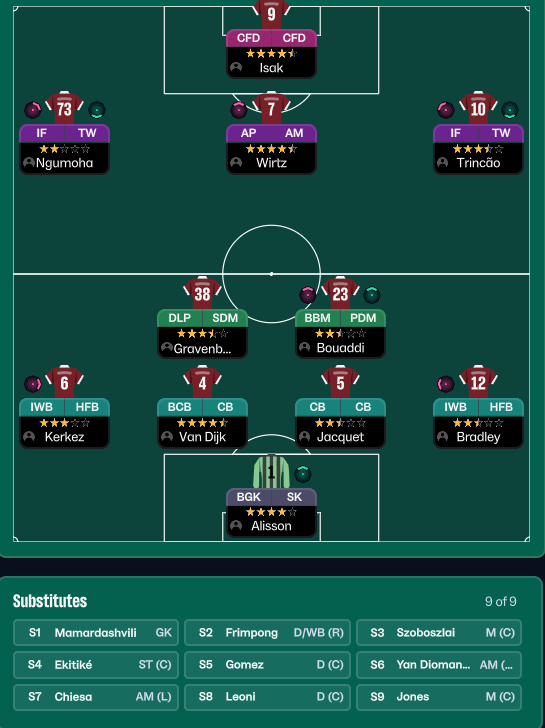
3-4-1-2 (Positive) Tactic
3-4-1-2
Creating goal-scoring opportunities through structured build-up play. Three central defenders provide solid cover against opposition attacks.
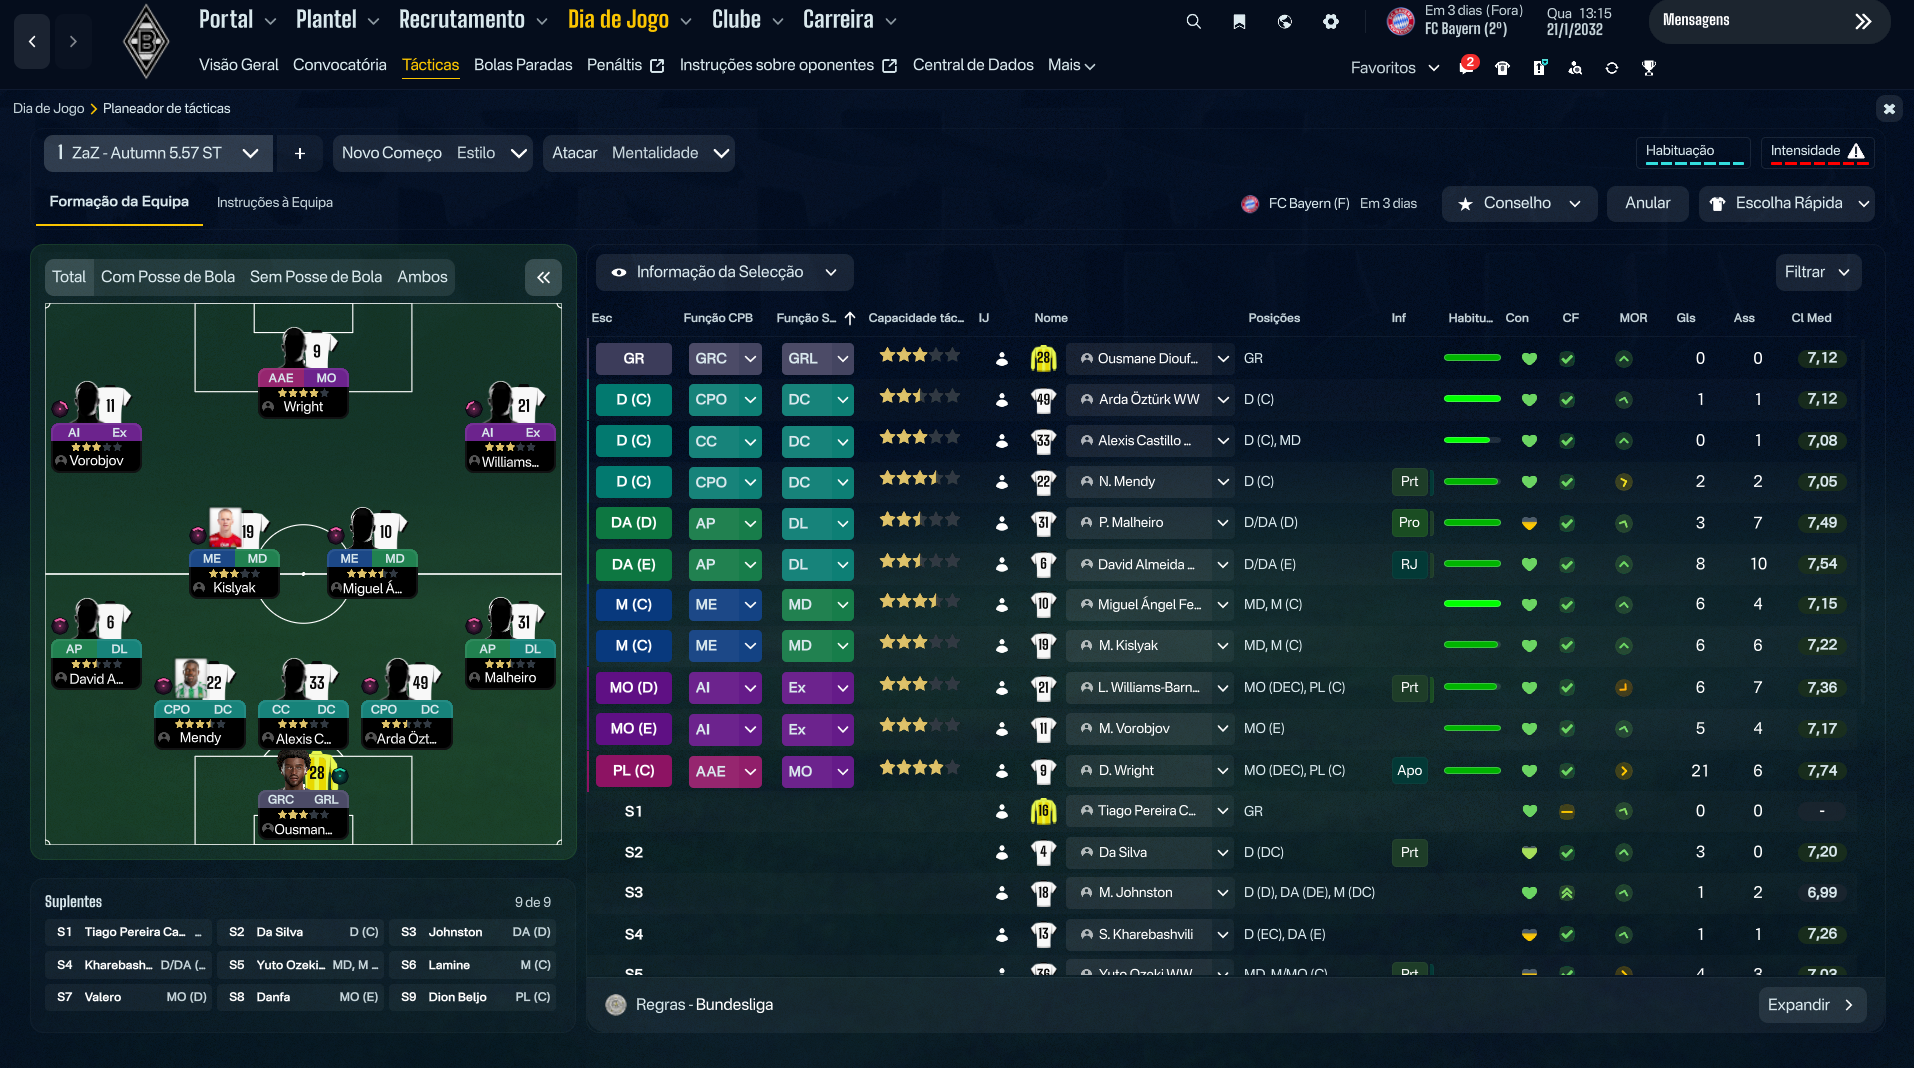
Loading tactical analysis...
Formation and style
Controlled Possession
Positive
3-4-1-2
Fluid
In possession
Play Out of Defence
Work Ball into Box
Attack the Flanks
In transition
Counter-Press
Counter
Out of possession
Higher Defensive Line
Much Higher Line of Engagement
Press More Often
Player roles
GK
Goalkeeper
Defend
CB
Ball-Playing Defender
Defend
CB
No-Nonsense Centre-Back
Defend
CB
Ball-Playing Defender
Defend
RWB
Wing-Back
Attack
LWB
Wing-Back
Attack
CM
Box-to-Box Midfielder
Support
CM
Deep-Lying Playmaker
Support
AM
Advanced Playmaker
Support
ST
Pressing Forward
Attack
ST
Advanced Forward
Attack
Phase description
Utilizes width from wing-backs and a dynamic transfer of the ball from defence to attack through midfield.
Focus on regaining possession quickly through counter-pressing.
Creating goal-scoring opportunities through structured build-up play.
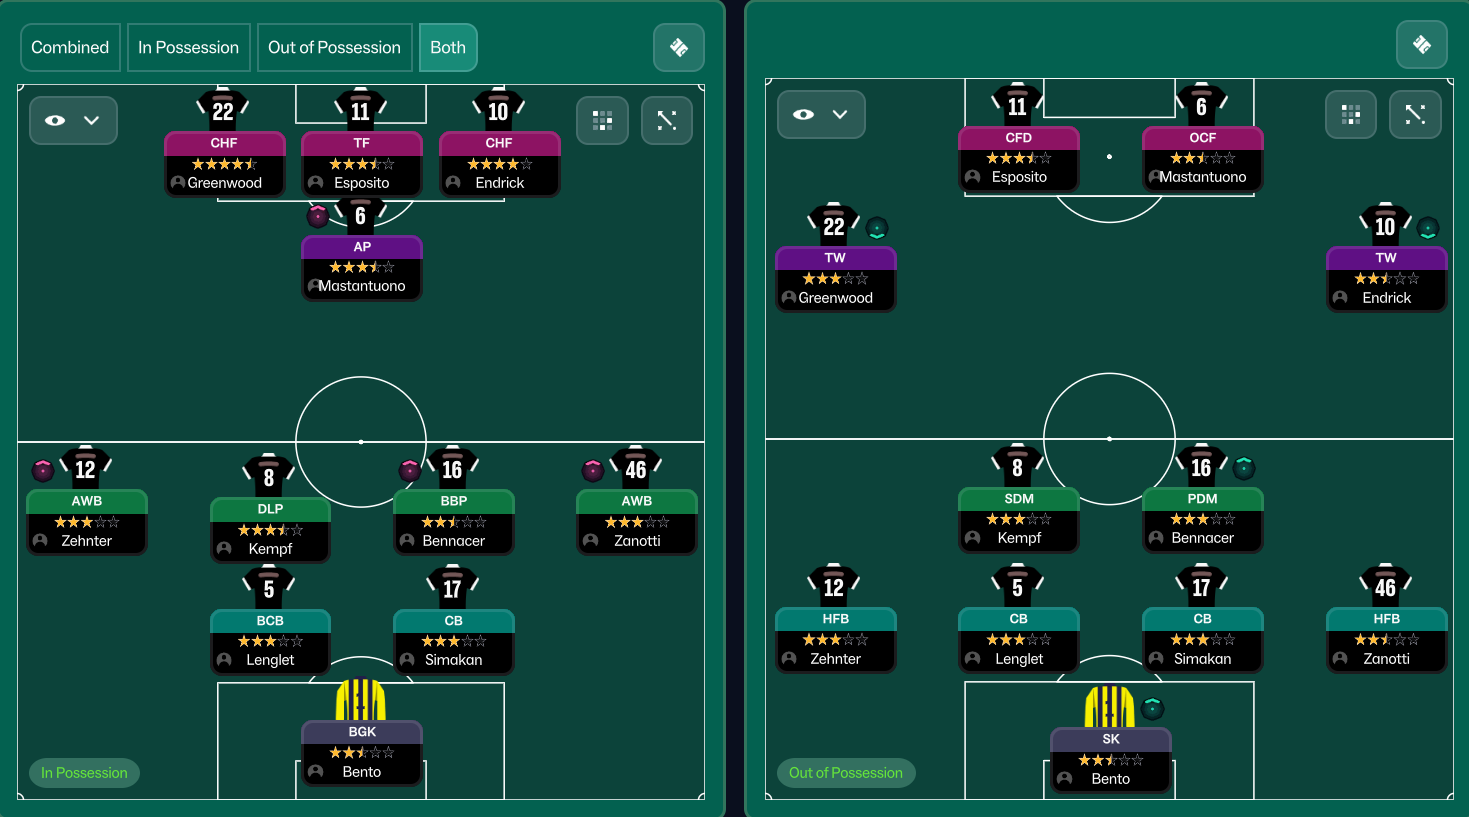
Team shape defence
3-4-1-2
Compact three-man defence supported by four midfielders, creating a strong midfield presence.
CBs at [2,1], [2,3], [2,5] with support from RWB and LWB at [2,2] and [2,4].
Team shape attack
3-4-1-2
Utilizing wing-backs for width while central players create overloads.
Wing-Backs at [2,2] and [2,4] pushing forward combined with Advanced Playmaker at [5,3].
Key strengths
Strong Defensive Setup
Three central defenders provide solid cover against opposition attacks.
CB-NCB-BPD at [2,1], [2,3], [2,5] with roles suited for various defensive scenarios.
Dynamic Midfield
The midfield combination enables both defensive cover and attacking support.
BWM at [3,3] and DLP at [3,4] support transitions effectively.
Conflicting tactics
Over-commitment of Wing-backs
If wing-backs are too aggressive, the team may be vulnerable to counter-attacks.
WBs at [2,2] and [2,4] can leave gaps if not supported.
Midfield Overload
Too many attacking movements could stretch the midfield too thin.
AP in [5,3] and CM roles risk leaving gaps in defensive support.
Risk exposures
Risk Exposures
Items
Counter-attacks
Vulnerability to quick transitions if wing-backs are too high.
Wing-Backs at [2,2] and [2,4] not supported by immediate defensive backup.
Midfield Gaps
Potential space between defence and midfield if pressed.
Two CM roles might create gaps if opposition applies pressure.
Role synergies
Role Synergies
Items
Ball-Playing Defender with Deep-Lying Playmaker
Creates a strong link between defence and midfield for progressive play.
BPD at [2,3] facilitates ball movement to DLP at [3,4].
Wing-Backs and Attacking Midfielder
Wing-backs provide width, allowing the Advanced Playmaker to exploit gaps.
WBs at [2,2] and [2,4] support AM at [5,3] effectively.
Suggested questions
How can I balance my attack and defense more effectively?
Should I consider changing roles for my wing-backs?
What are the key areas to focus on during training?
Related Tactics
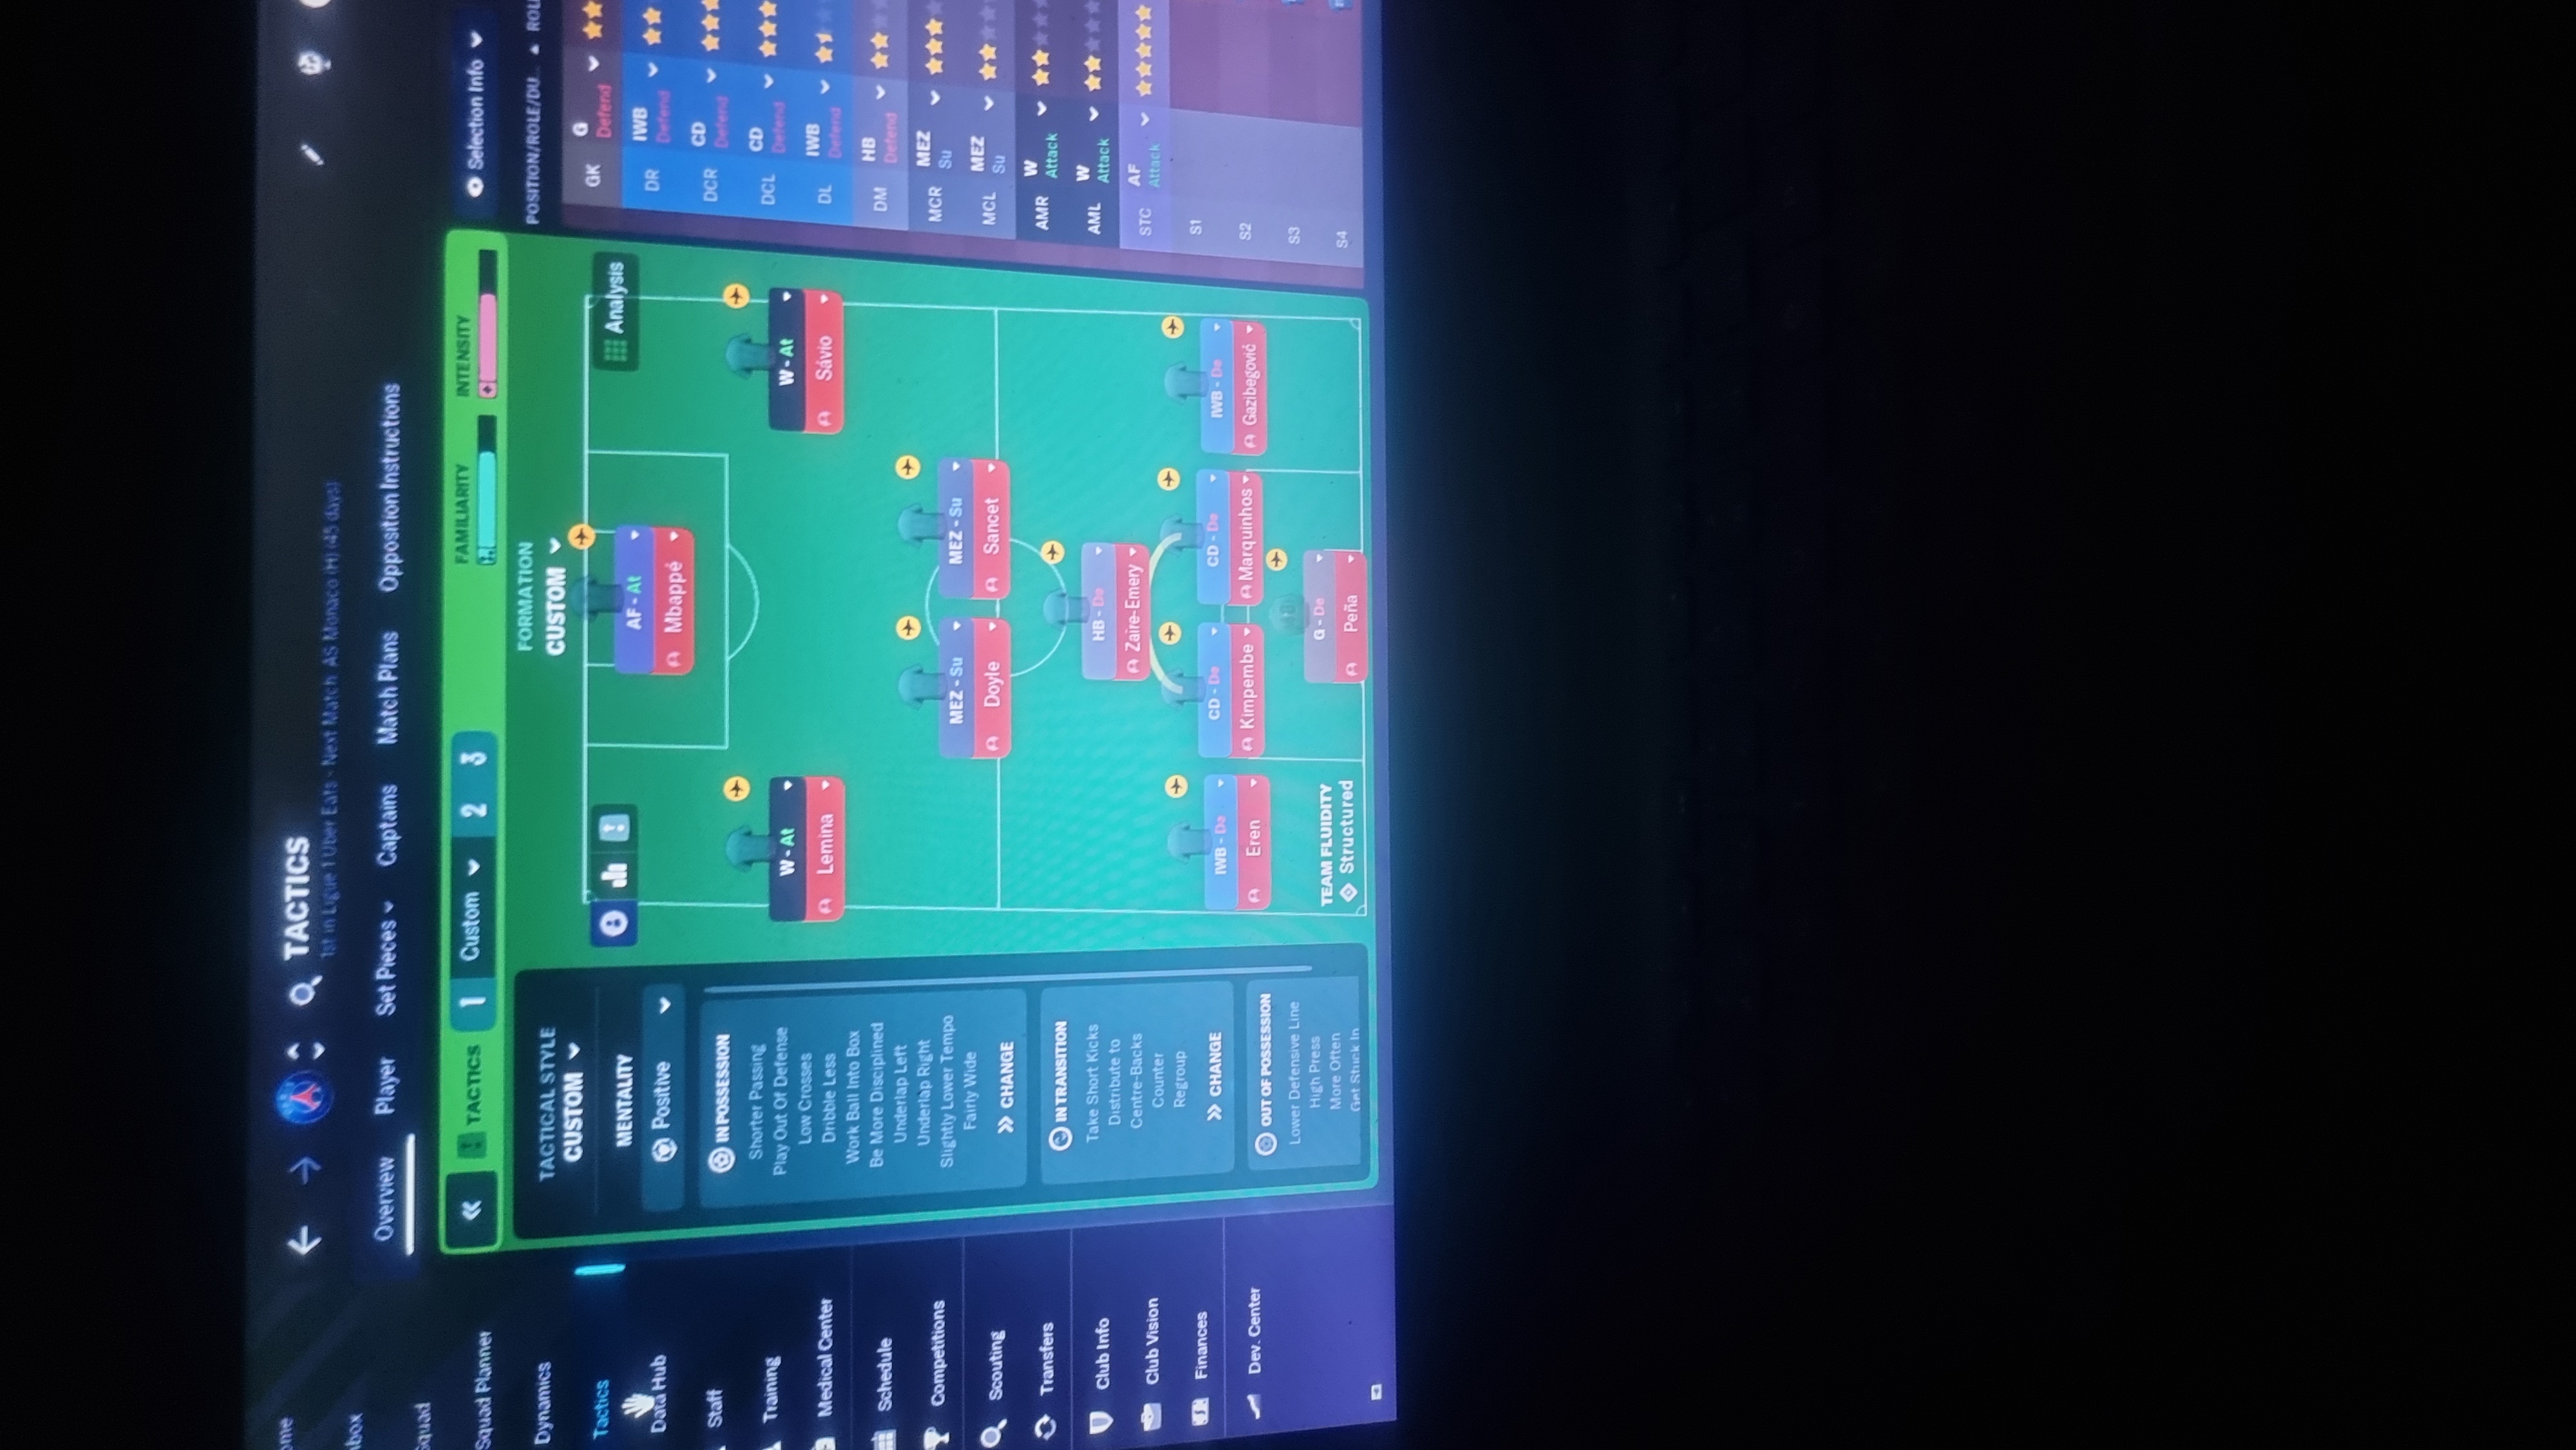
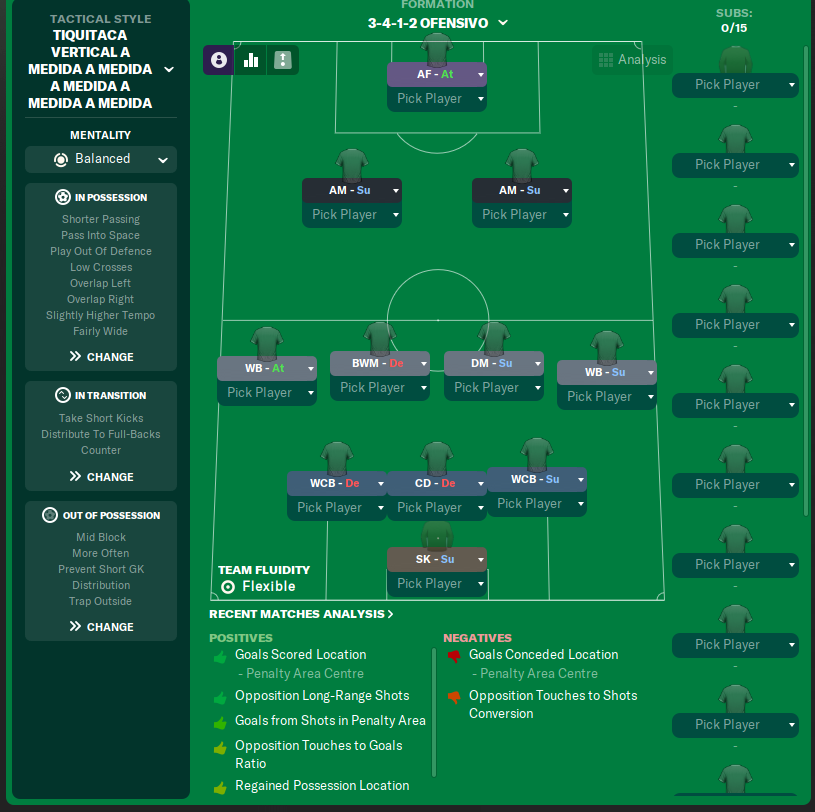
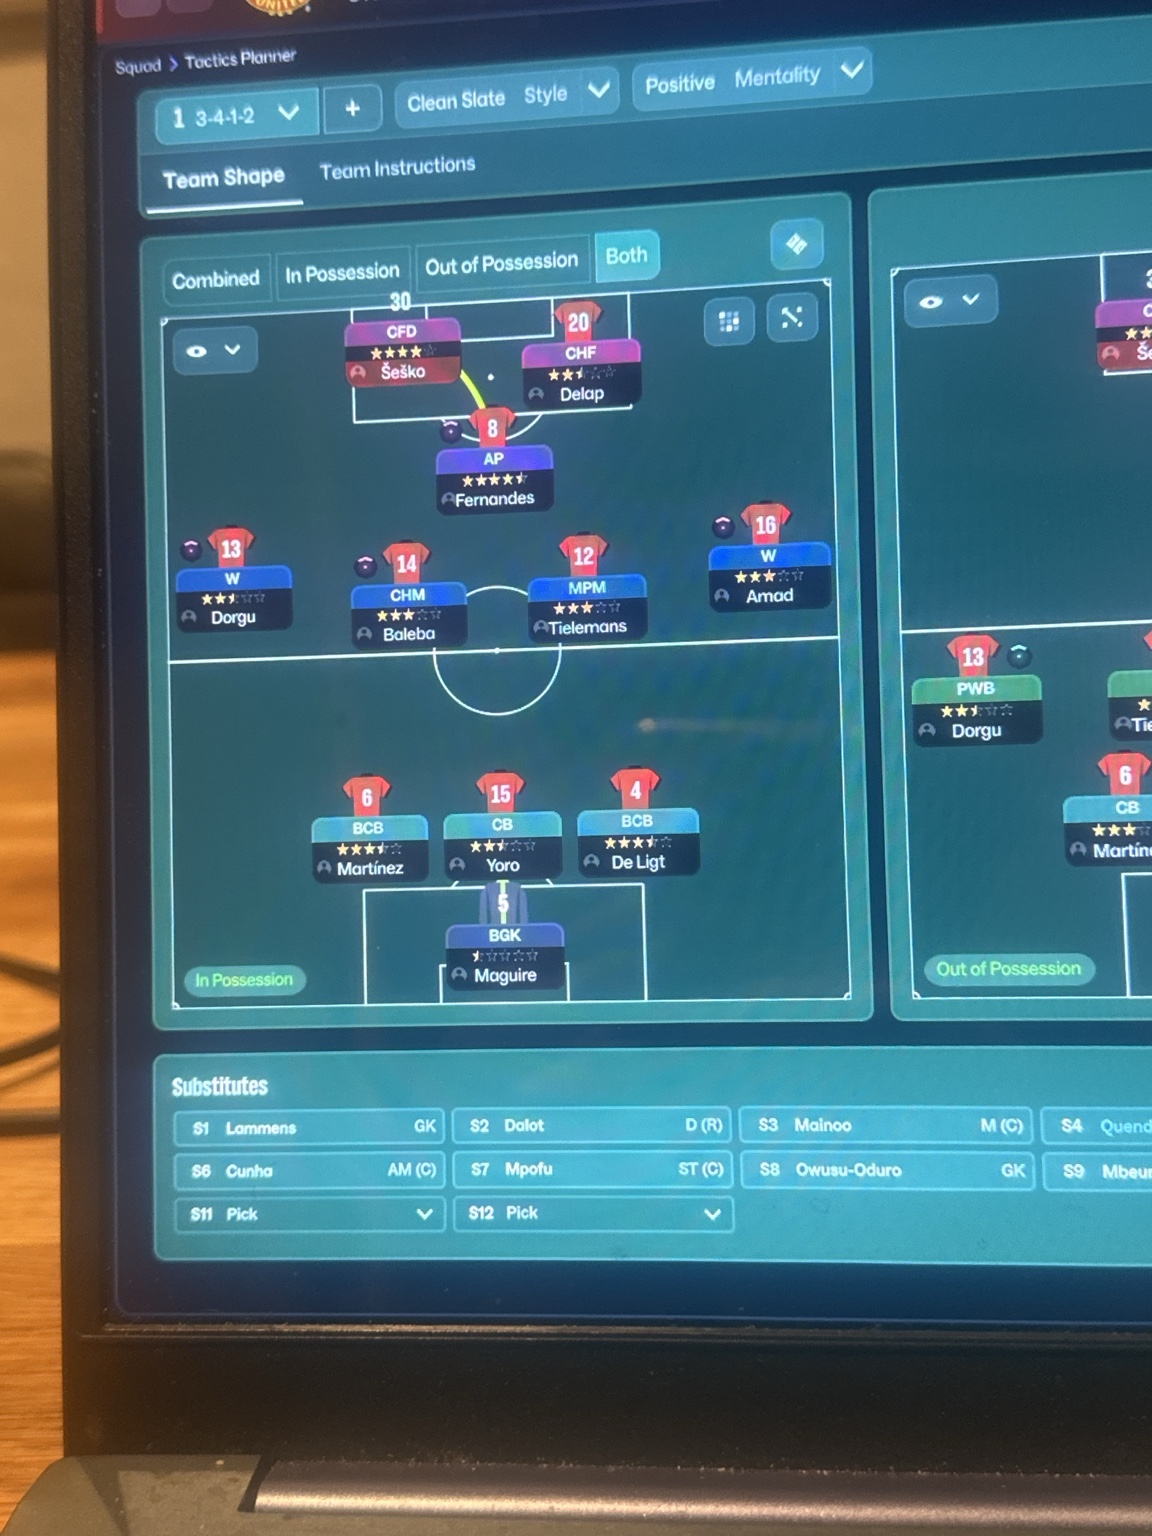
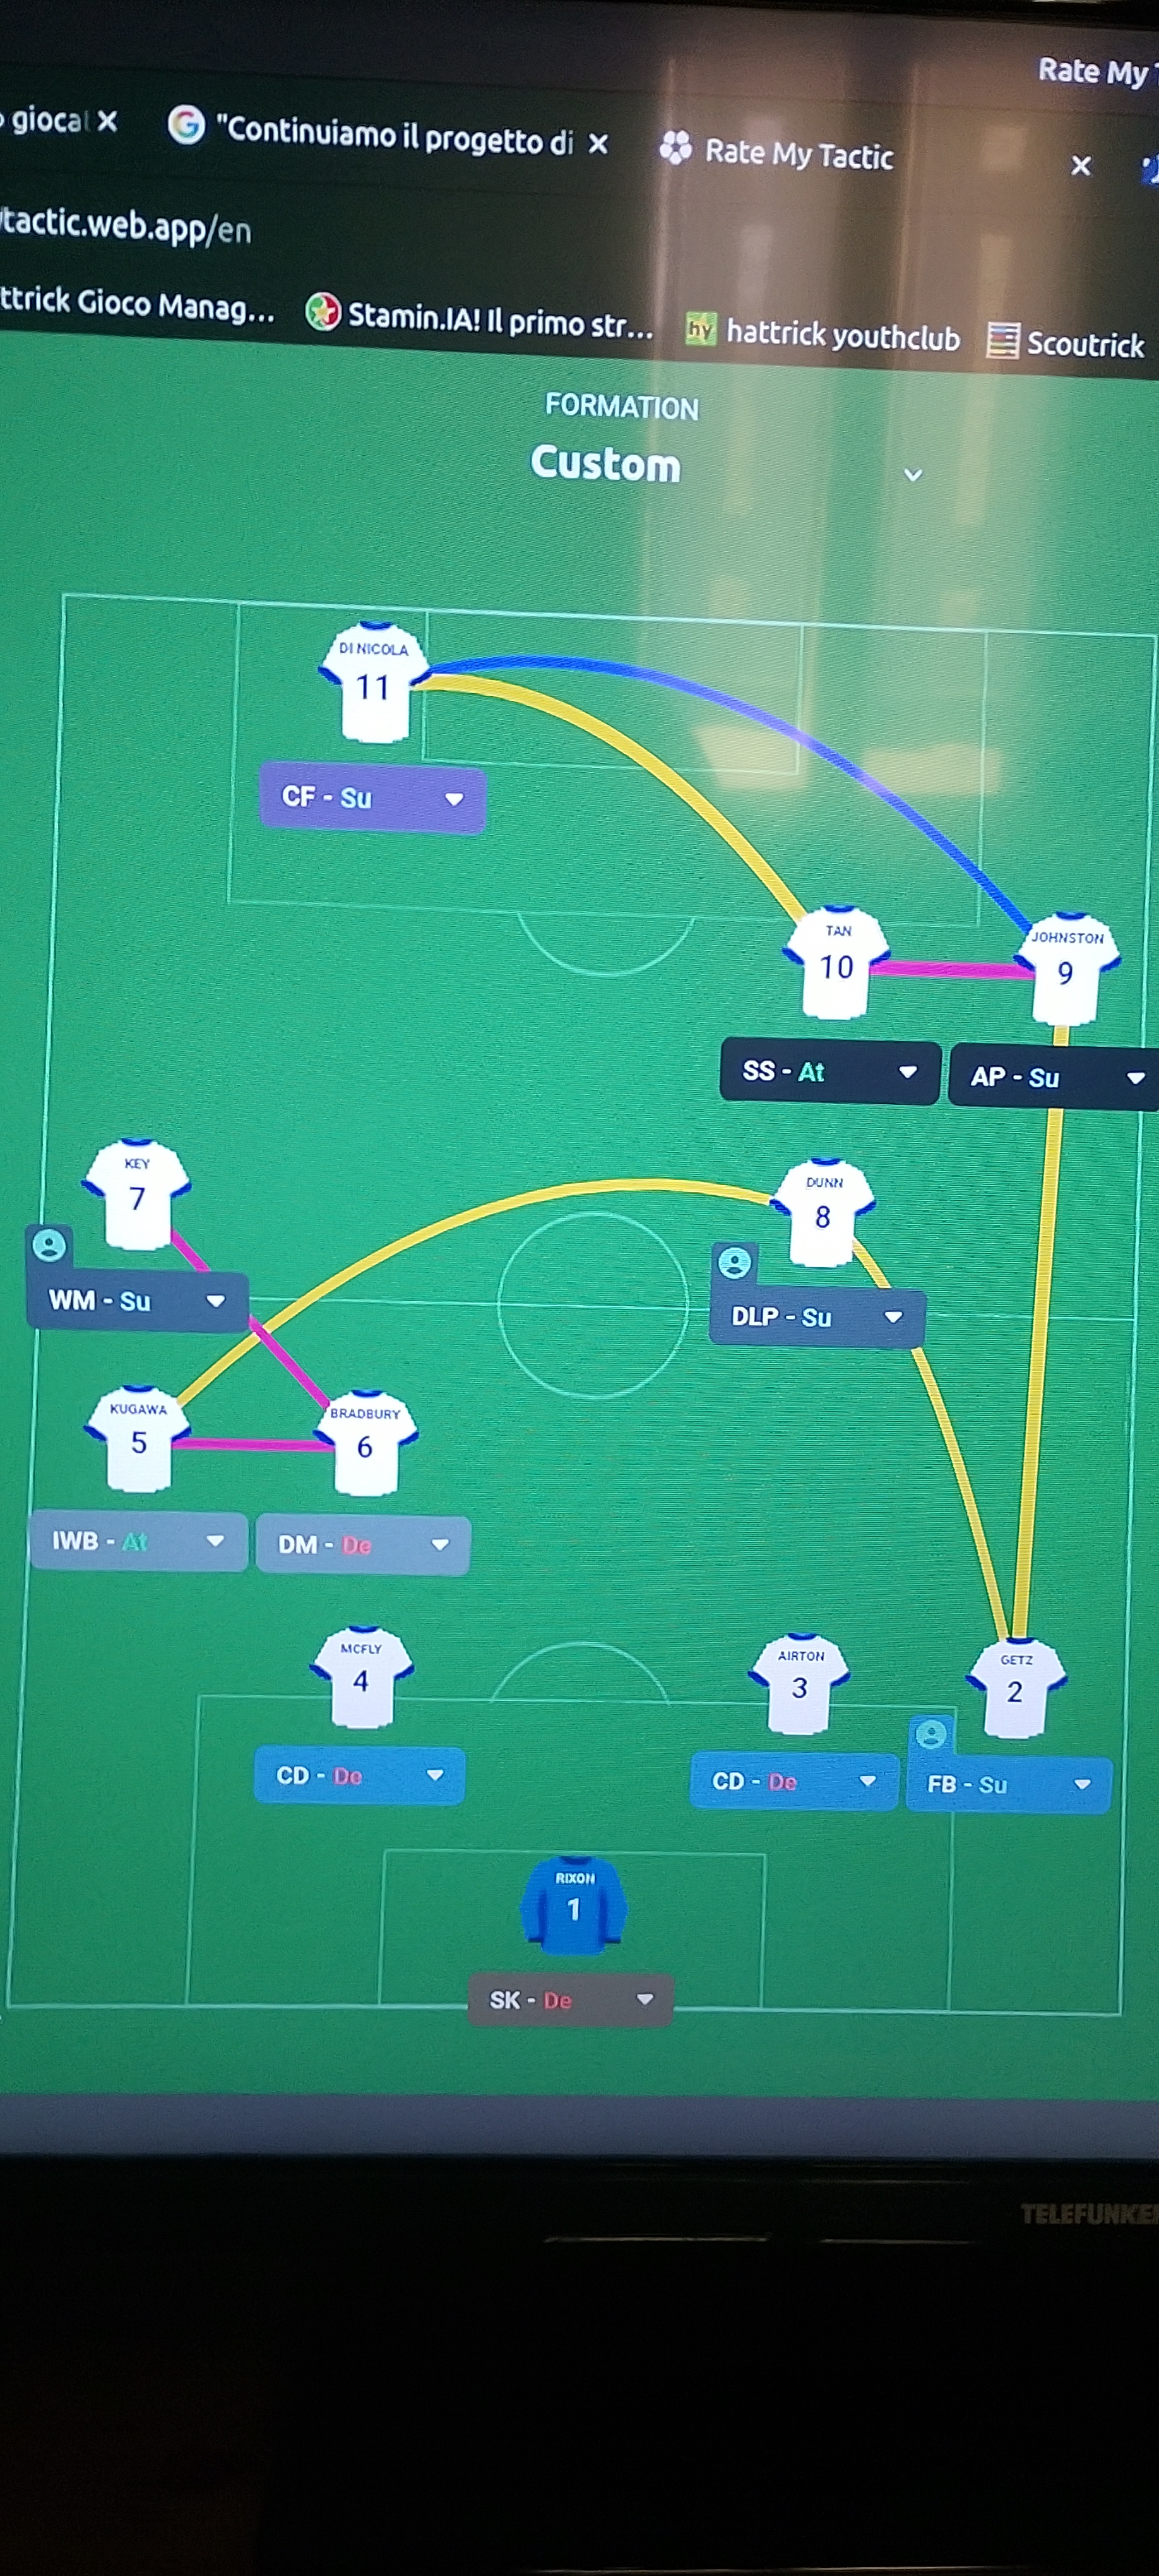


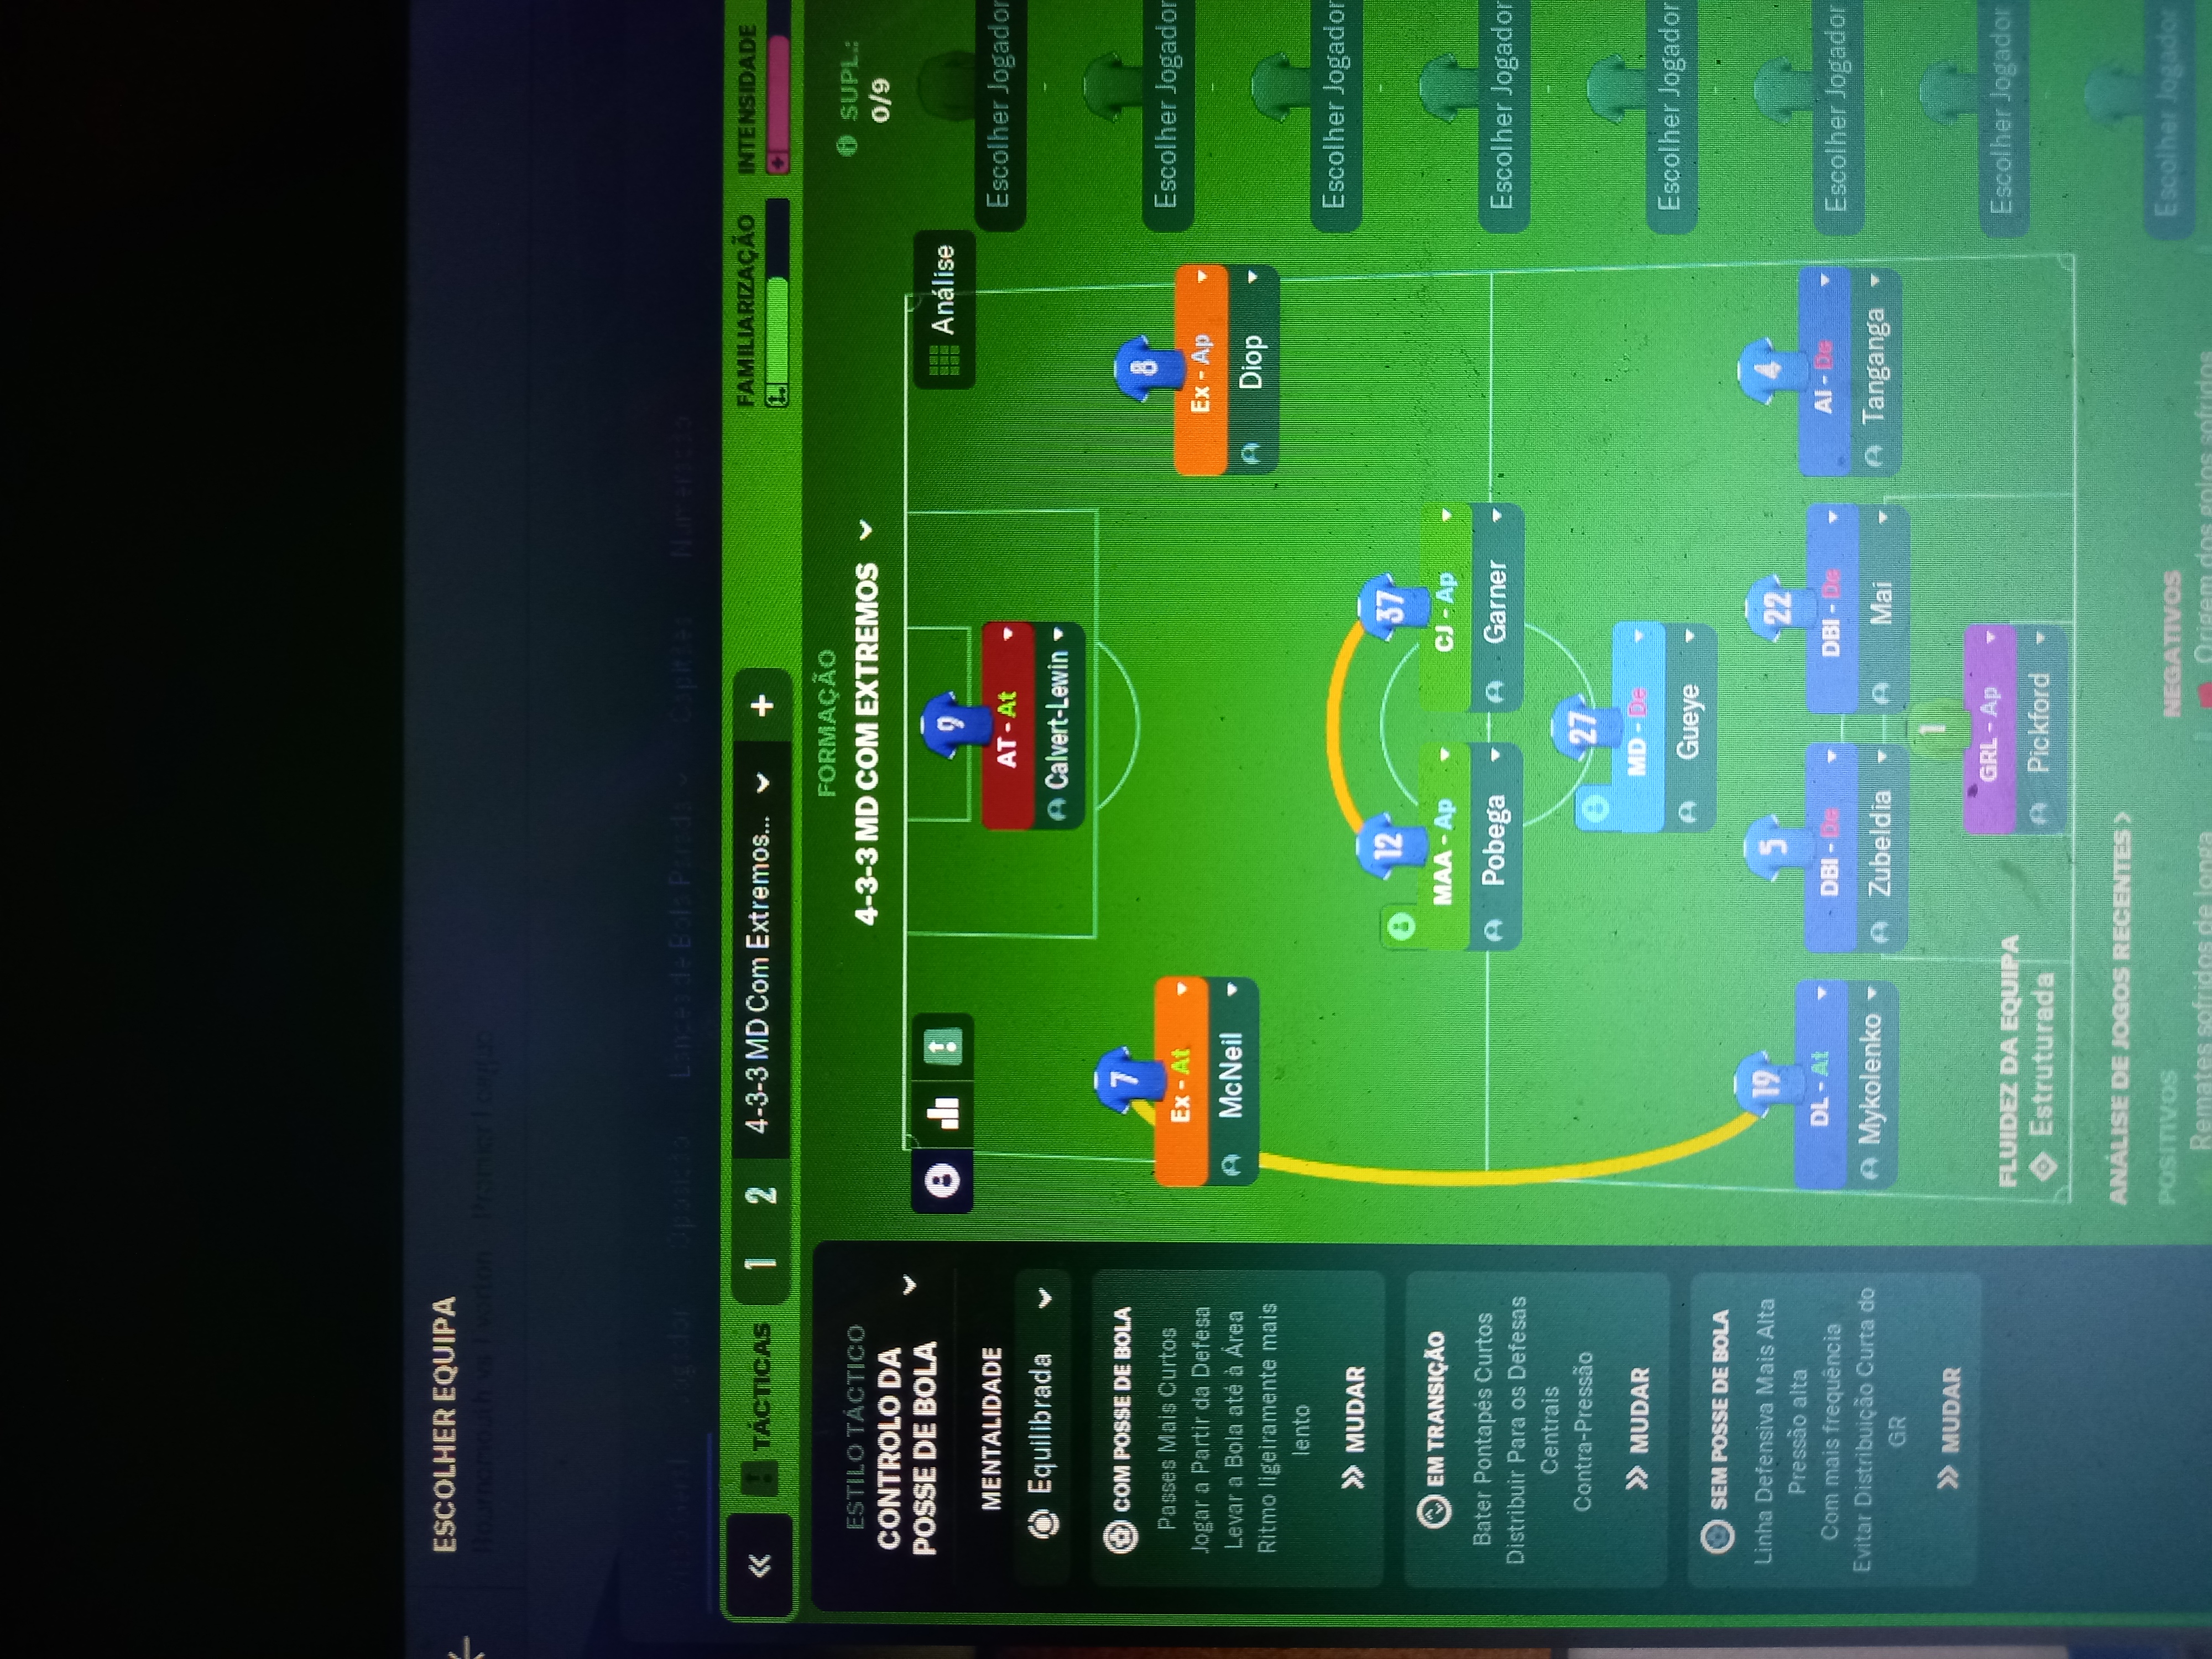
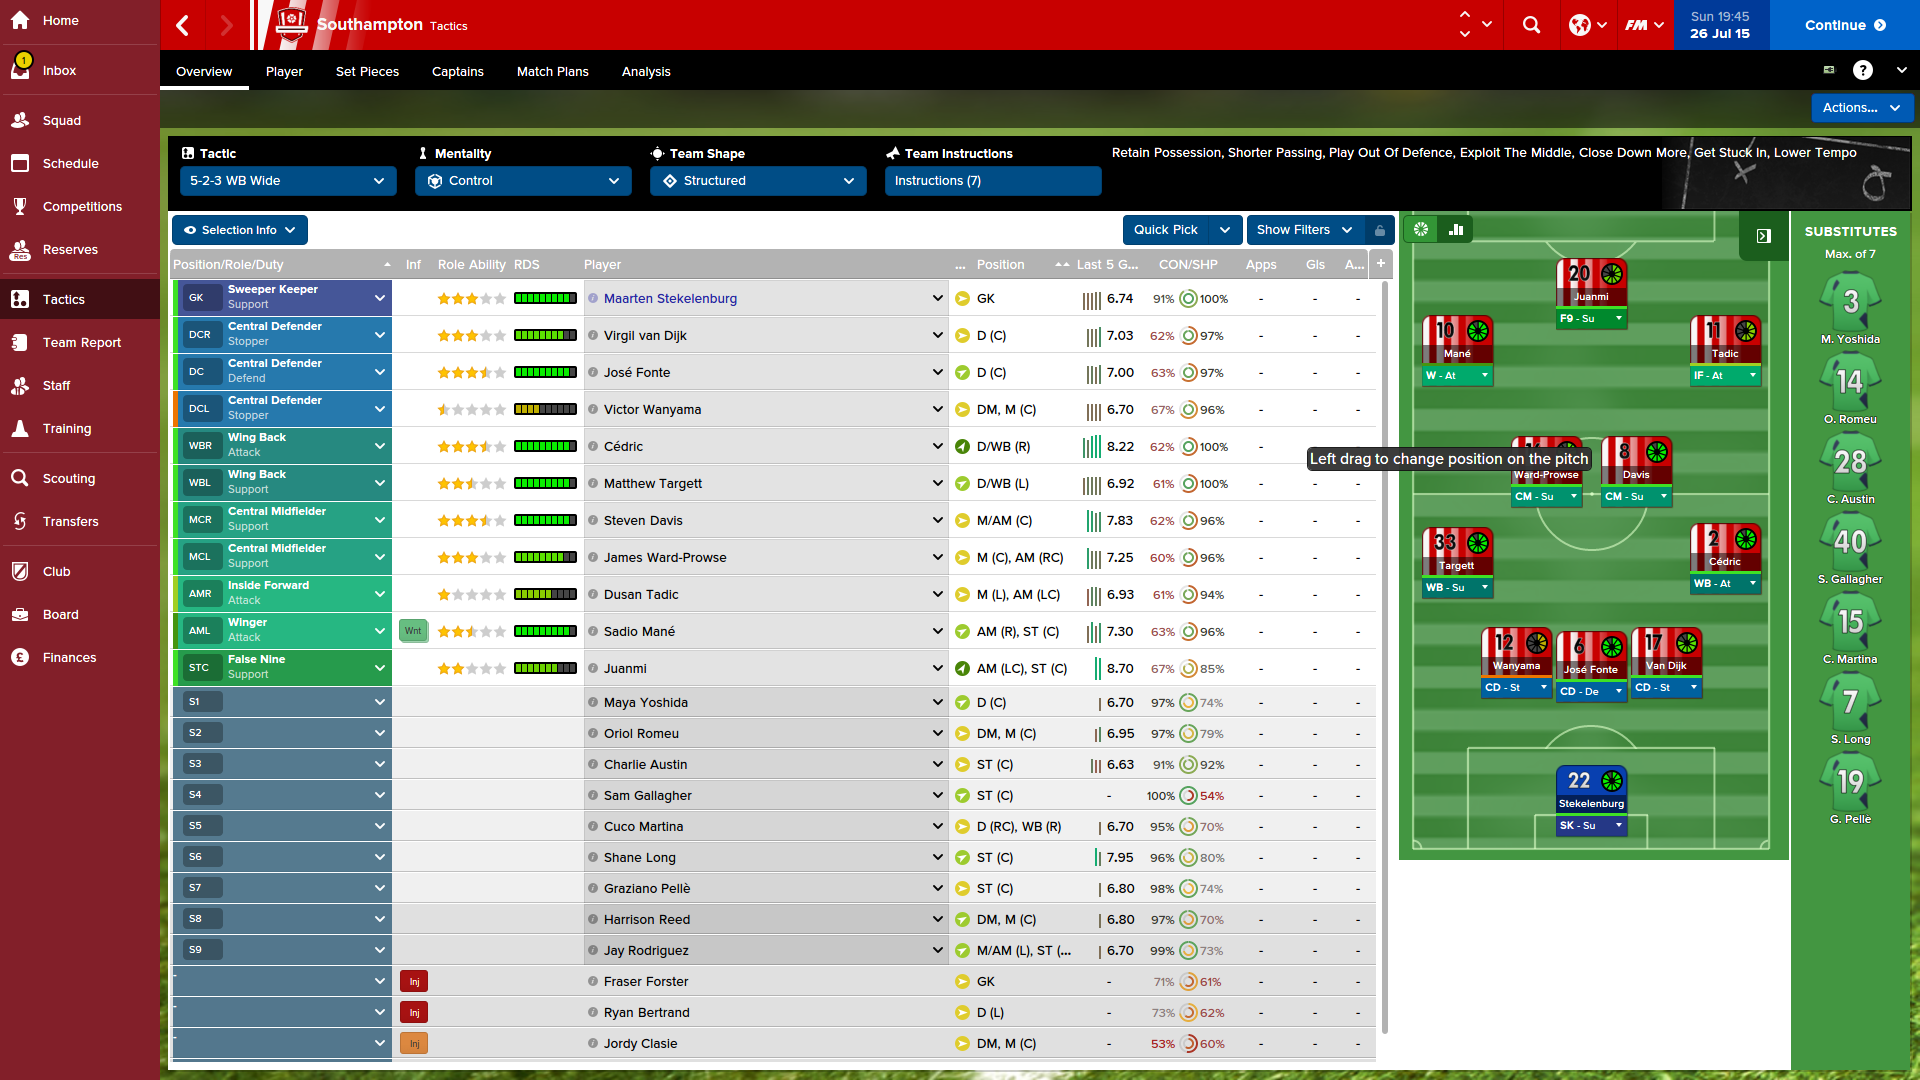
More Controlled Possession tactics
Guides for this tactic
The tactical theory behind the 3-4-1-2: roles, instructions, and the trade-offs that decide whether the system holds up.
Match preparation
Reading the Match Tablet
Pass map, average position, xG, possession by zone: what each tablet panel tells you in FM and the tactical change it should trigger.
Read guide
Foundations
FM27 Tactics: What Changed from FM26
FM27 keeps FM26's tactic system. Here is what stays the same, the small changes that can catch you out, and what the new Tactical Effectiveness system asks of you.
Read guide
Foundations
Mentality, Duty & Roles
How Mentality, Duty, and Role interact in FM, why duty trumps mentality every time, and the role-on-top-of-duty composition rules.
Read guide