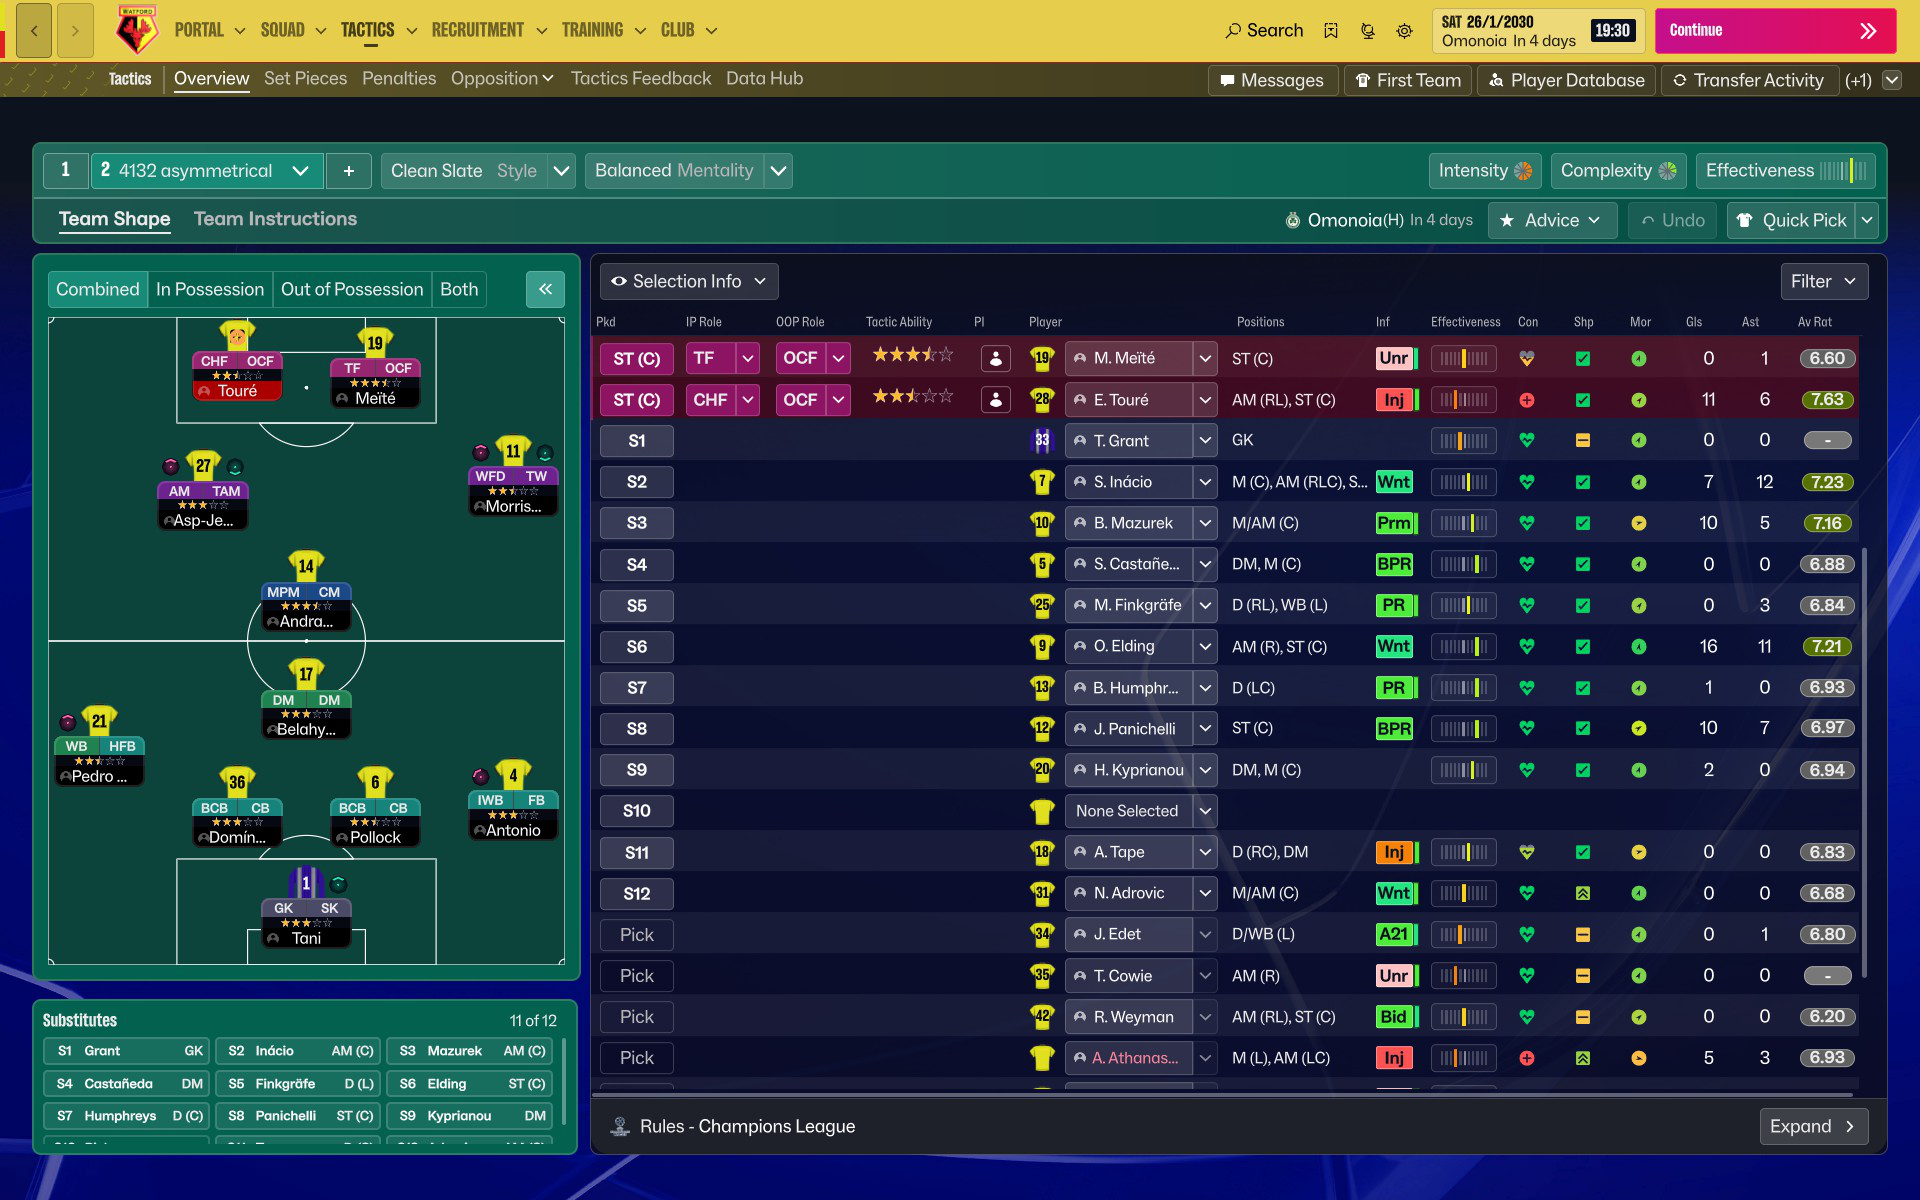
4-1-3-2 (Balanced) Tactic
4-1-3-2
To maintain control in midfield while creating chances through the flanks. With a Mezzala and a Deep-Lying Playmaker, the midfield can support both attack…
Loading tactical analysis...
Formation and style
Asymmetrical
Balanced
4-1-3-2
In possession
Play Out of Defence
Shorter Passing
Work Ball Into Box
In transition
Counter
Counter-Press
Out of possession
Higher Defensive Line
Much Higher Line of Engagement
Prevent Short GK Distribution
Trigger Press More Often
Player roles
GK
Sweeper Keeper
Support
DL
Wing-Back
Attack
DC
Ball-Playing Defender
Defend
DC
Ball-Playing Defender
Defend
DR
Inverted Wing-Back
Support
DM
Deep-Lying Playmaker
Support
CM
Mezzala
Attack
AM
Attacking Midfielder
Support
ST
Target Forward
Attack
ST
Complete Forward
Support
Phase description
Utilizes width through the wingers and wing-backs to create space for midfield runs.
Quickly transitions to a more compact shape to regain possession.
To maintain control in midfield while creating chances through the flanks.
Team shape defence
4-1-4-1
Four defenders with a DM providing additional cover, compact in shape.
DM-BWP at [3,3] supporting the defensive line.
Team shape attack
4-2-3-1
Flexible with width provided by wing-backs, creating space for central attacks.
Mezzala at [4,2] allows overlapping runs, while AM-A at [5,3] supports forwards.
Key strengths
Dynamic midfield play
With a Mezzala and a Deep-Lying Playmaker, the midfield can support both attack and defense.
MPM at [4,3] with 'Support' and DLP at [3,3] provide balance.
Effective wing play
Using wing-backs and wingers to stretch defenses, creating openings for central players.
WB-A at [2,1] and IW-B at [2,5] provide width.
Conflicting tactics
Pressing intensity
High pressing can expose the backline if attackers are unable to recover quickly.
Trigger Press More Often may leave gaps if the team is not compact.
Defensive width
Increased pressure on flanks may leave the central area exposed.
Higher Defensive Line may create gaps against fast counter-attacks.
Risk exposures
Risk Exposures
Items
Central defense
Midfielders pushing forward can leave the defense exposed to counters.
CM at [4,3] pushing forward while the DM holds exposes the backline.
Wide areas
Overcommitting wing-backs can create 2v1 situations for opponents on the flanks.
WB-A at [2,1] may pull defenders away from central duties.
Role synergies
Role Synergies
Items
Mezzala and Attacking Midfielder
Complement each other's movements, creating space and overloads in attacking phases.
MPM at [4,2] and AM at [5,3] effectively support each other.
Wing-Backs and Wingers
They can create overloads on the flanks and switch positions for unpredictability.
WB-A at [2,1] and W at [5,5] could initiate attacks from wide.
Suggested questions
How effective is the pressing against different opponent styles?
Is the midfield adequately supported against stronger teams?
What adjustments can be made to maximize the effectiveness of the width?
Related Tactics
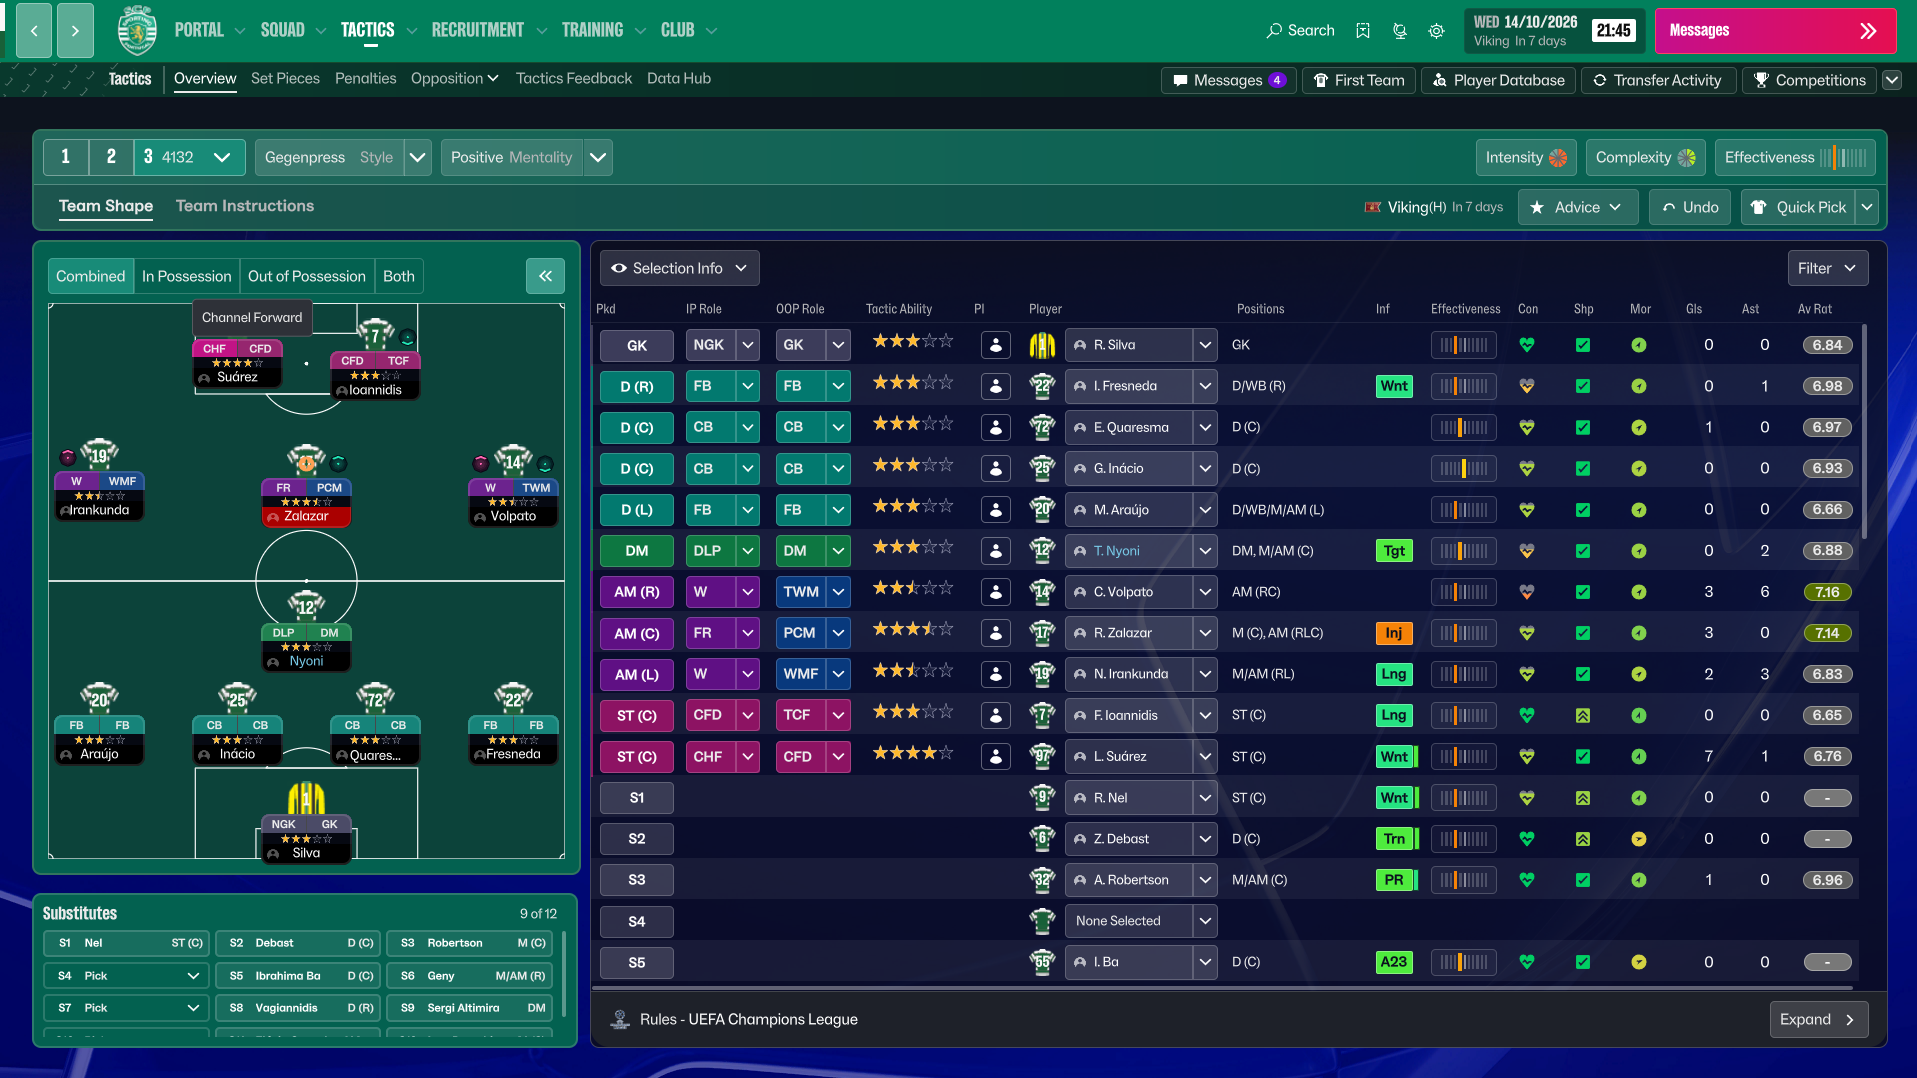
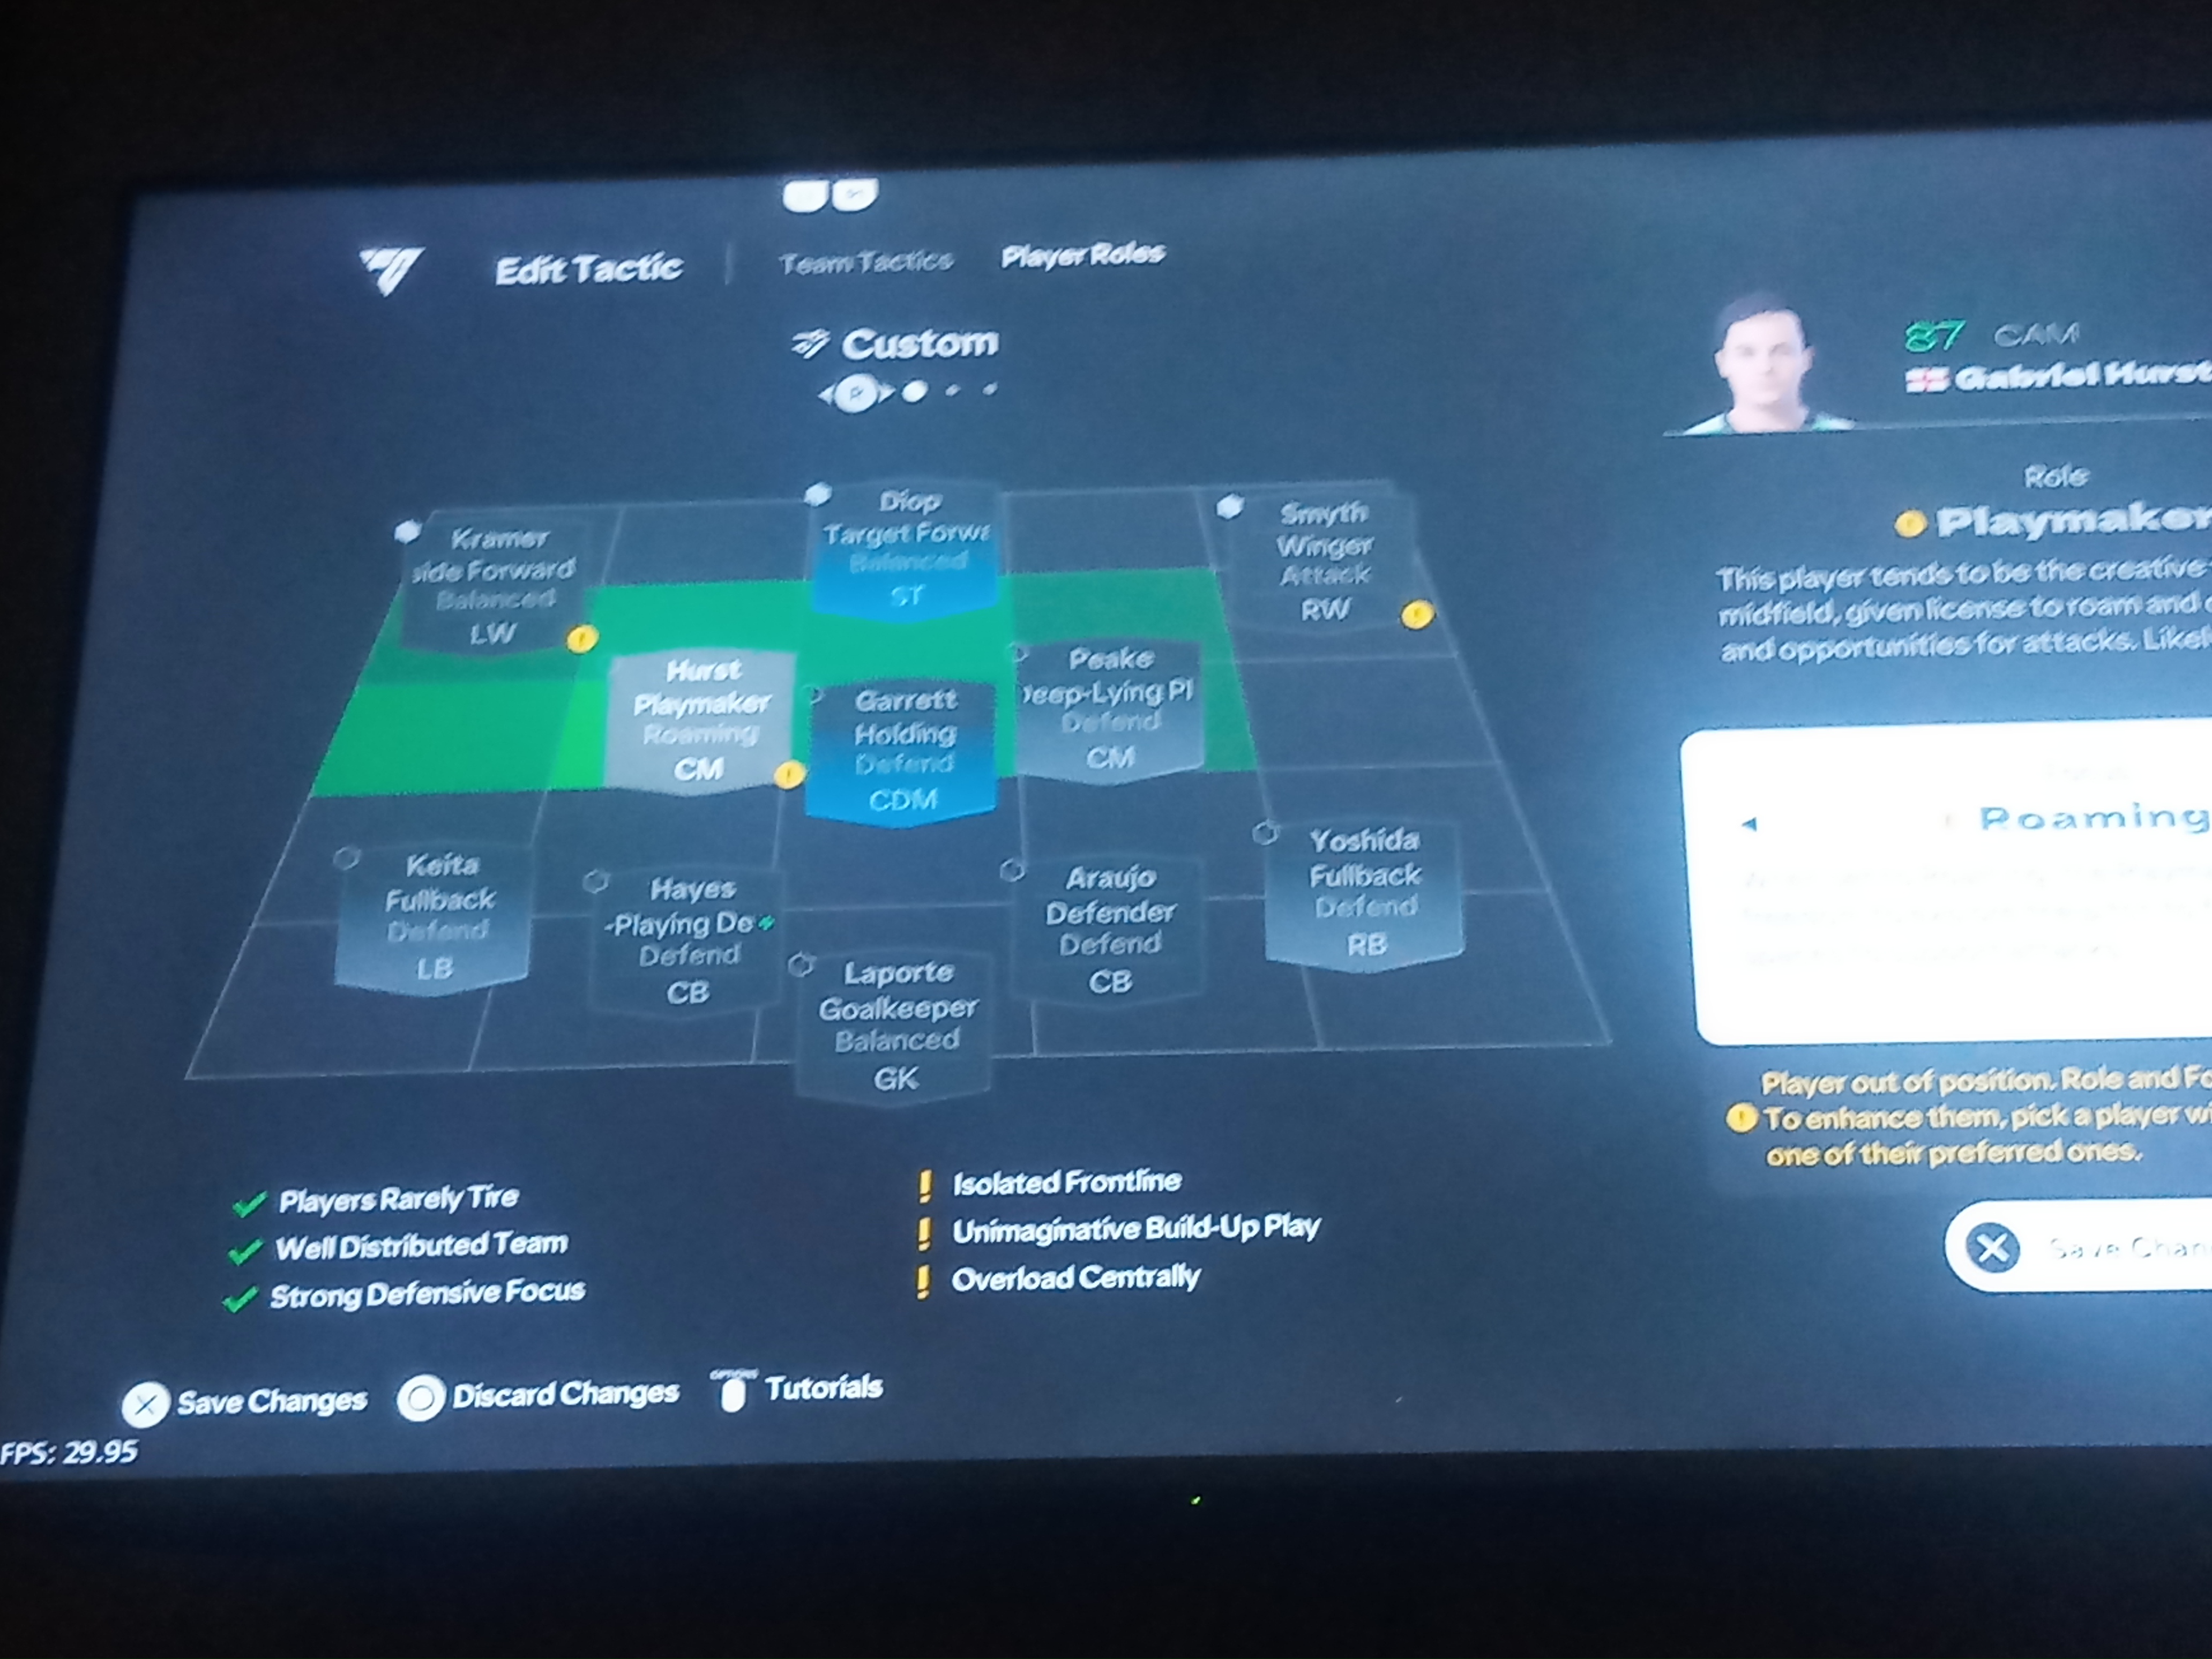
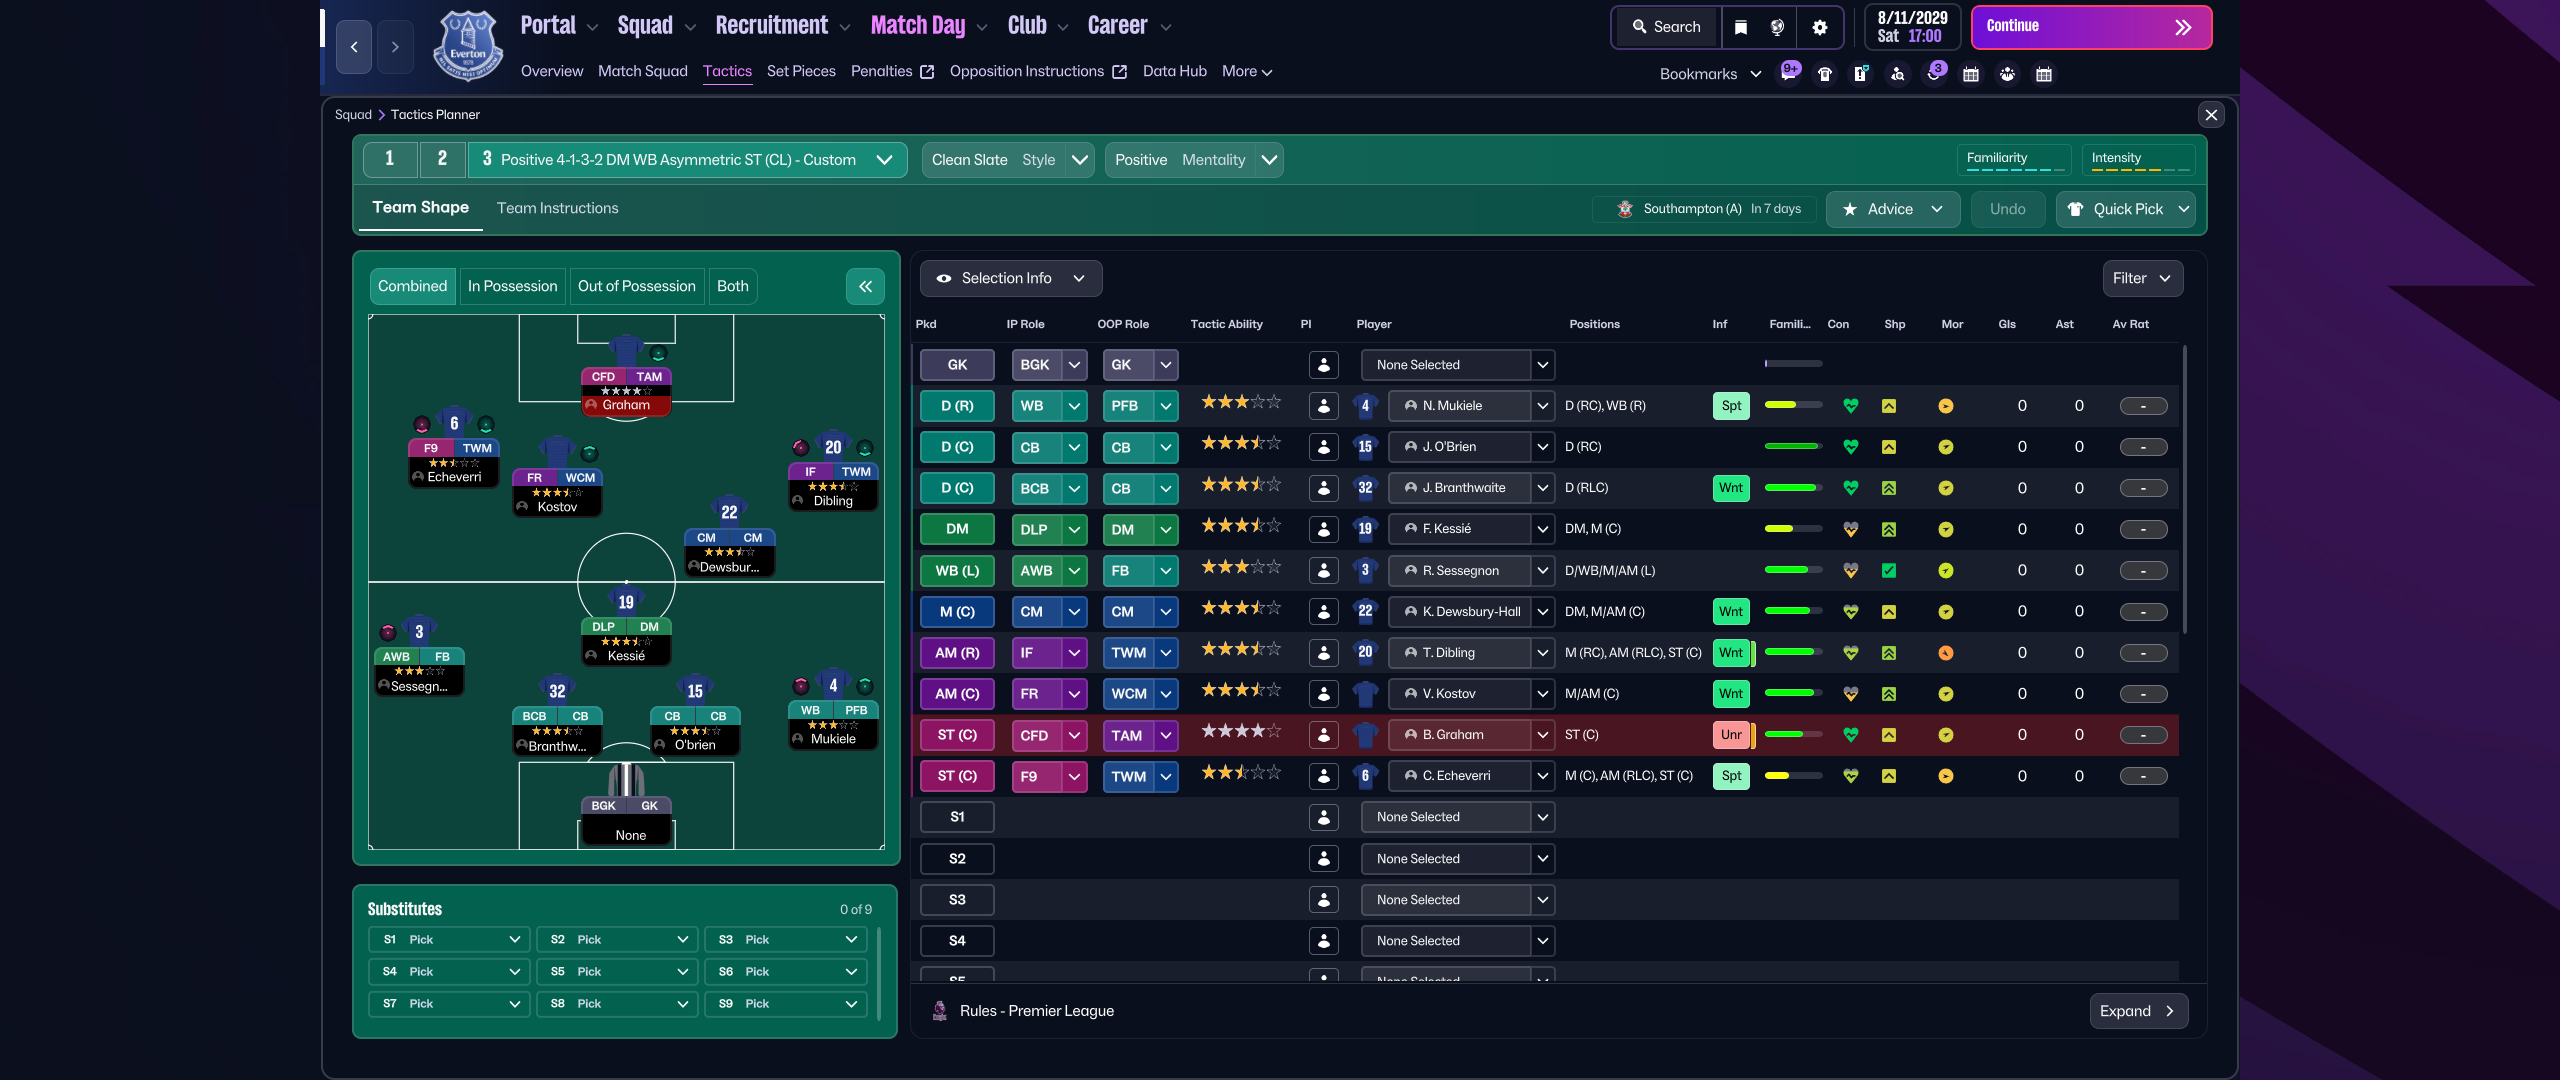
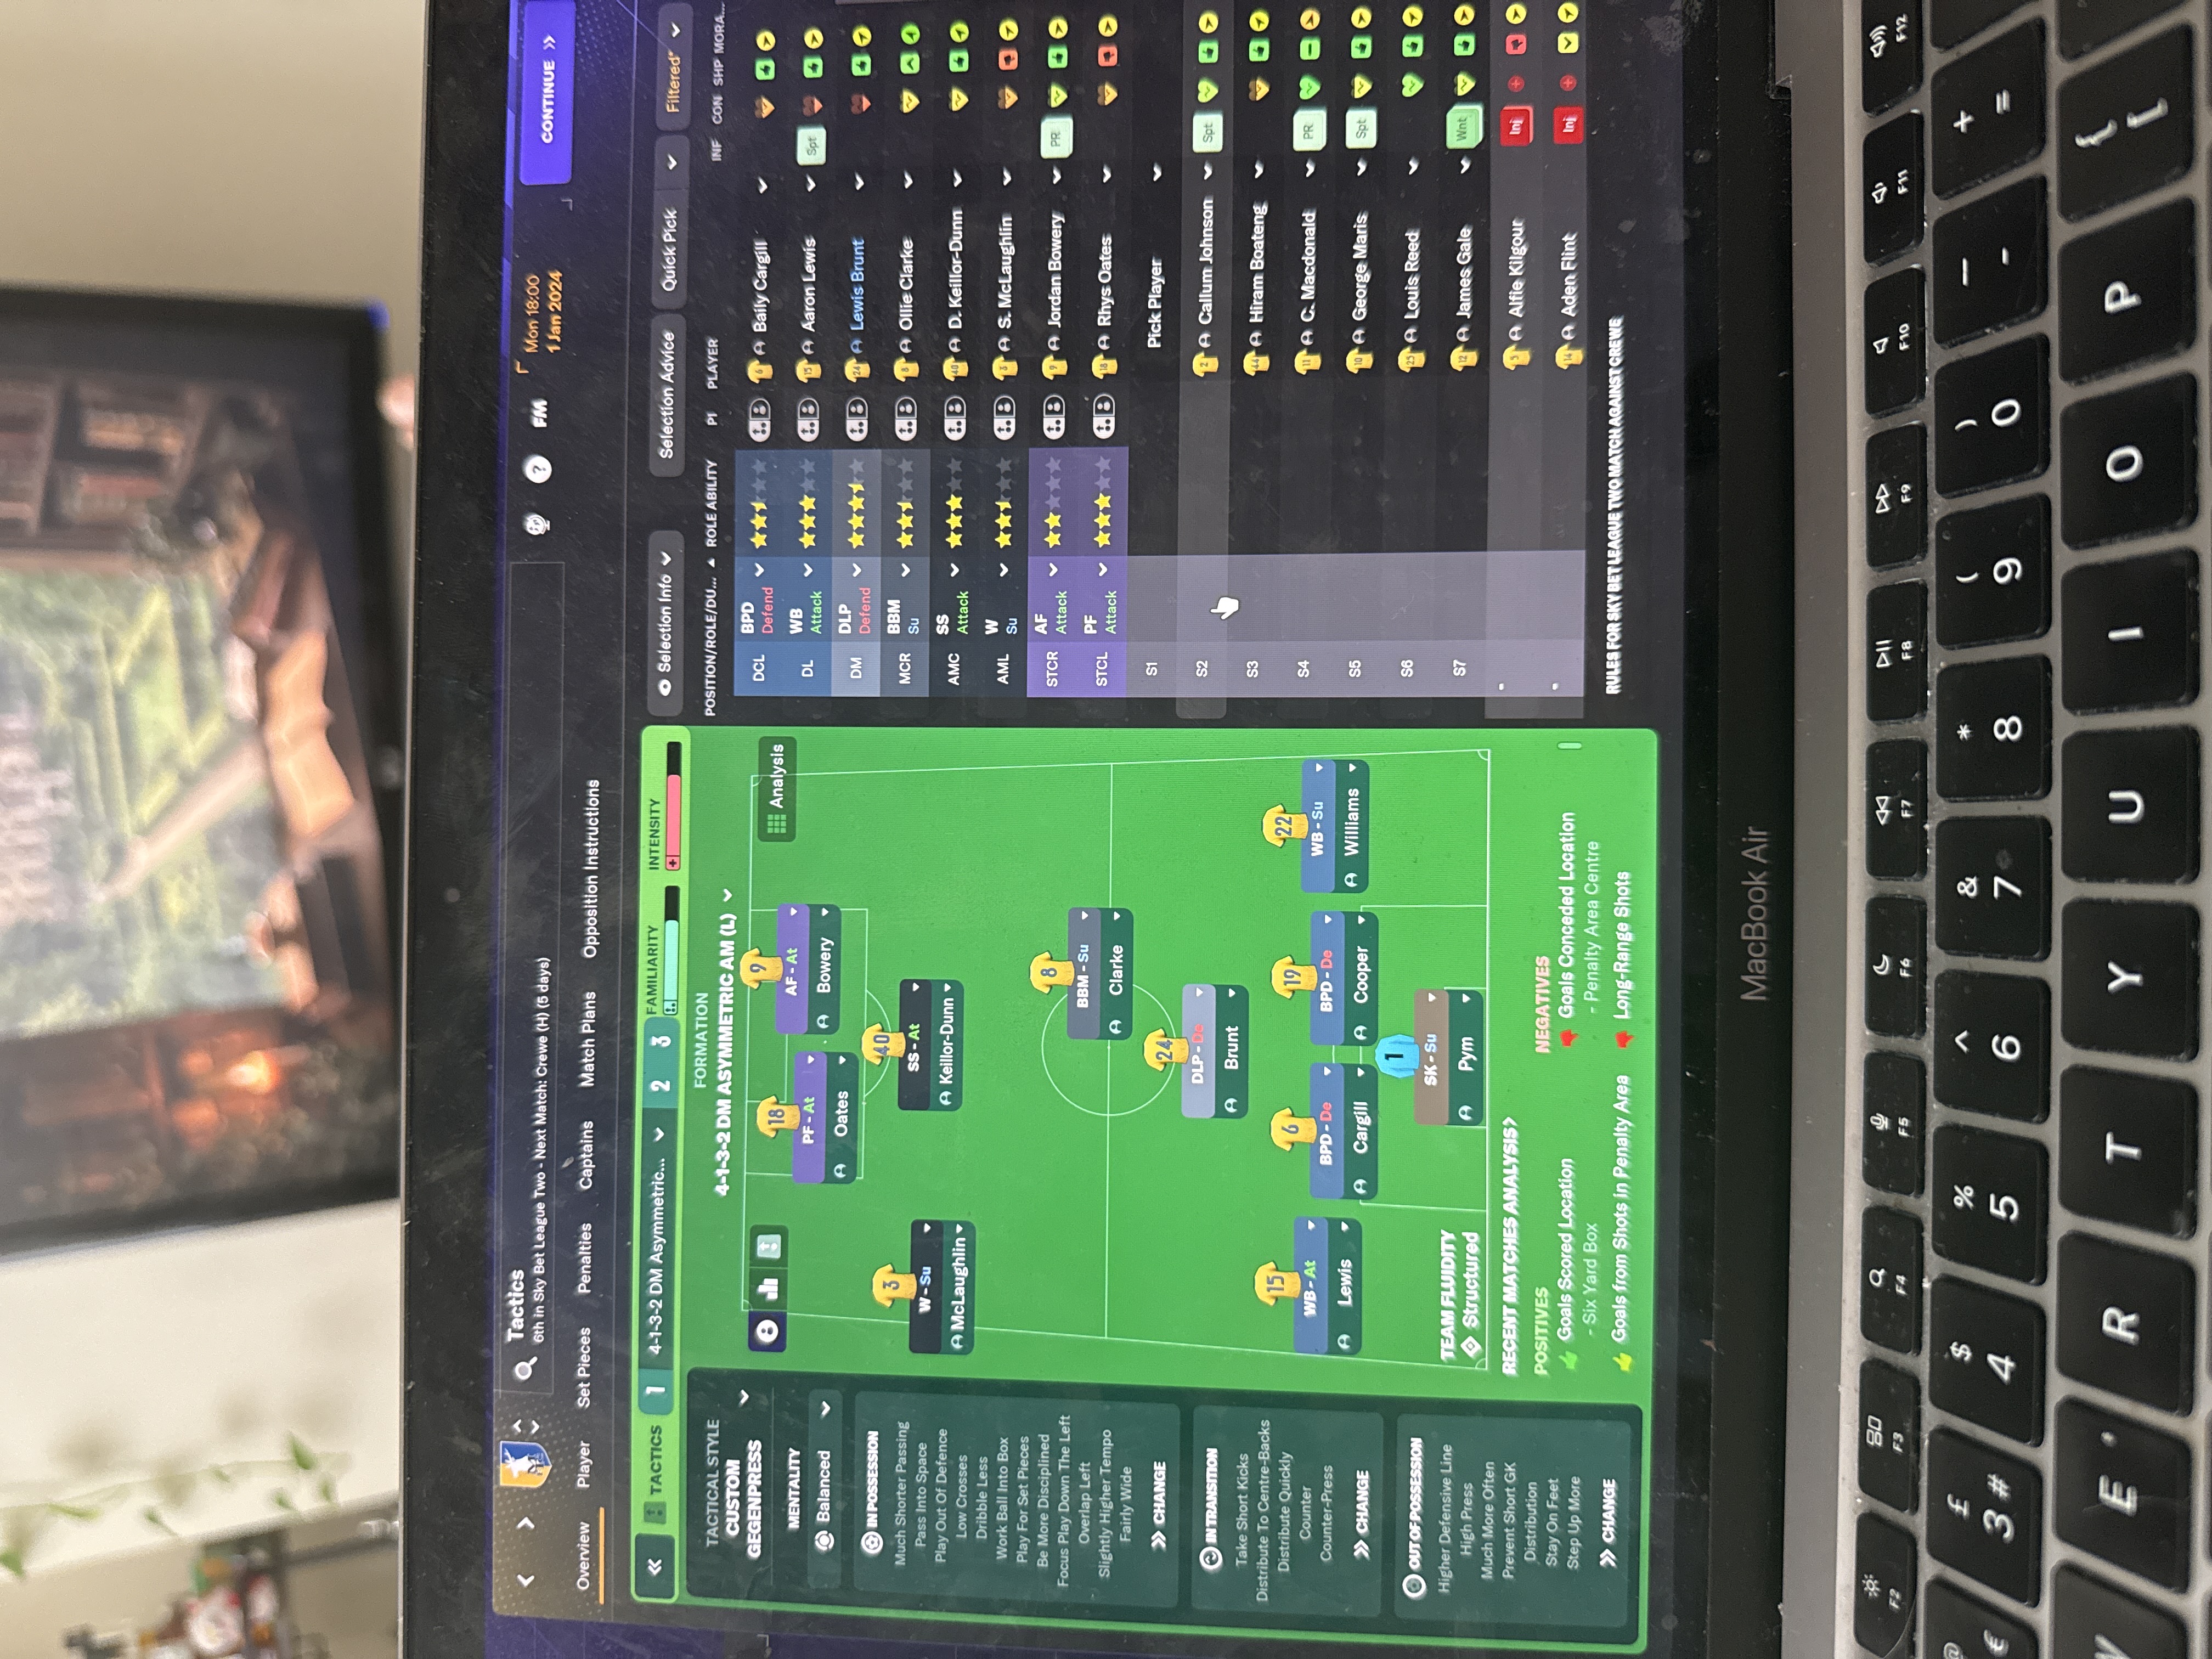

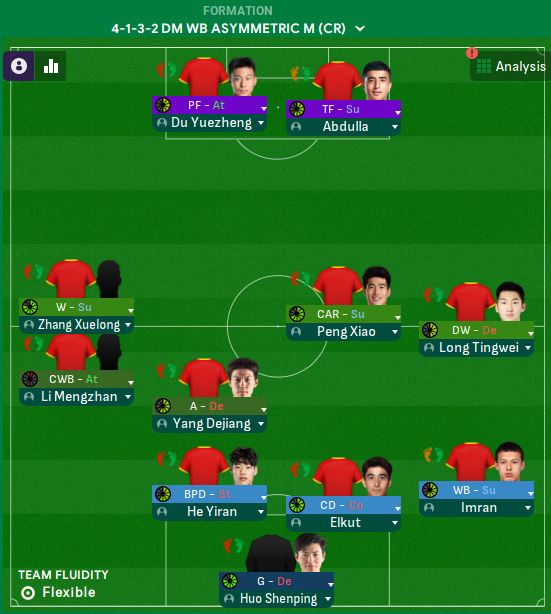


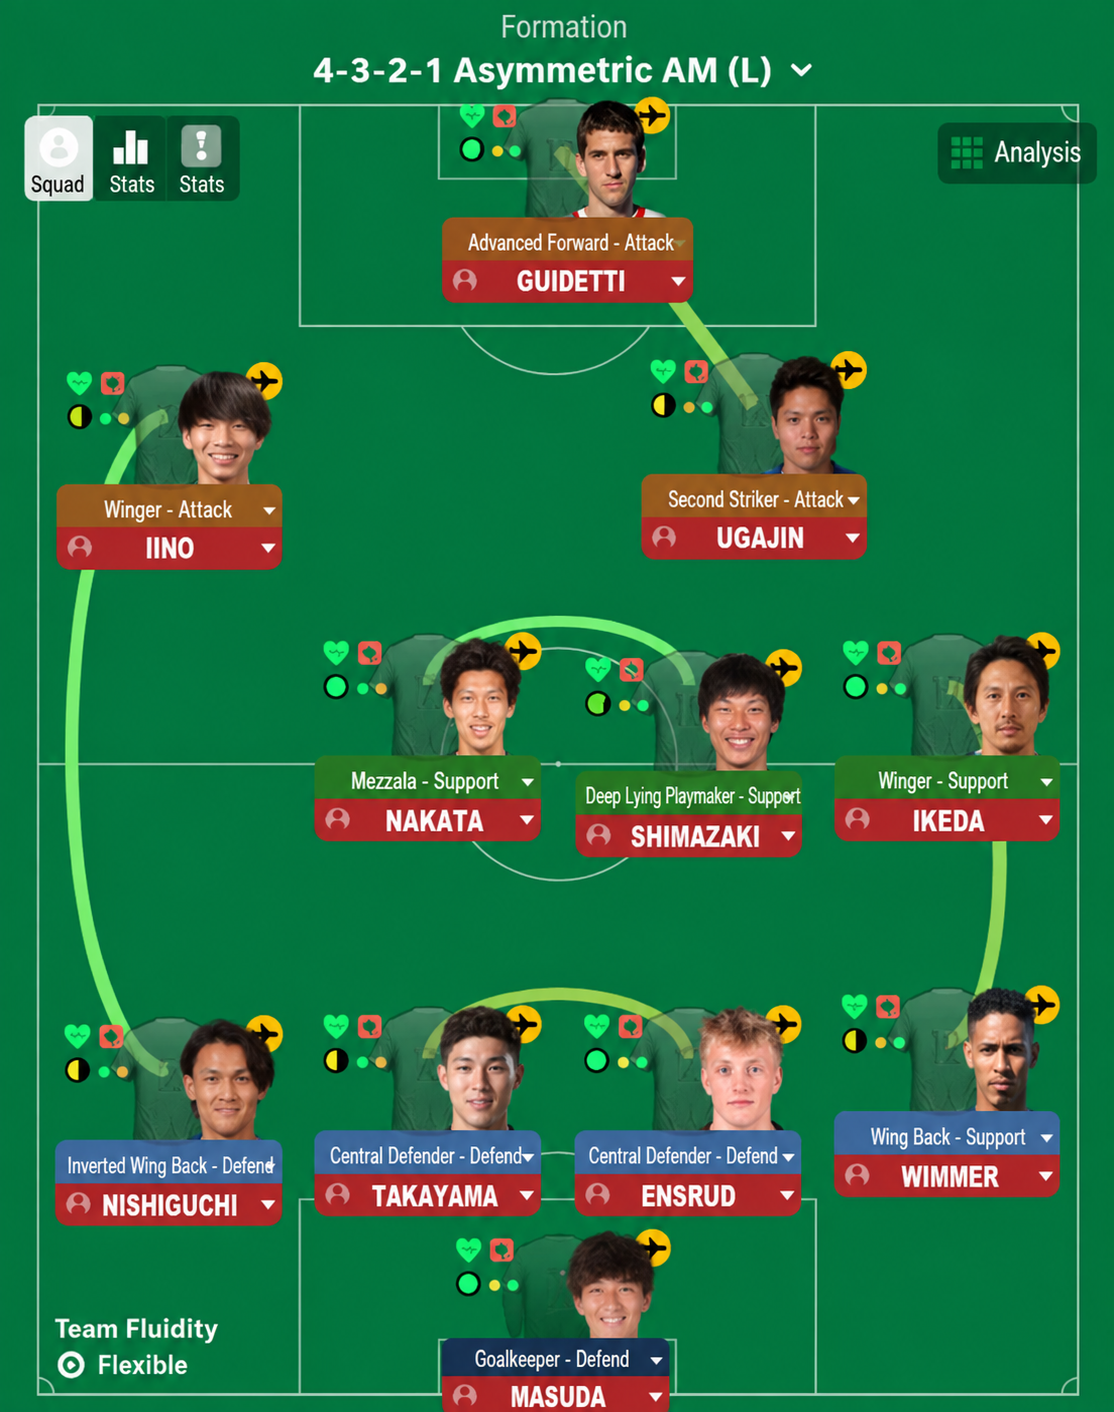
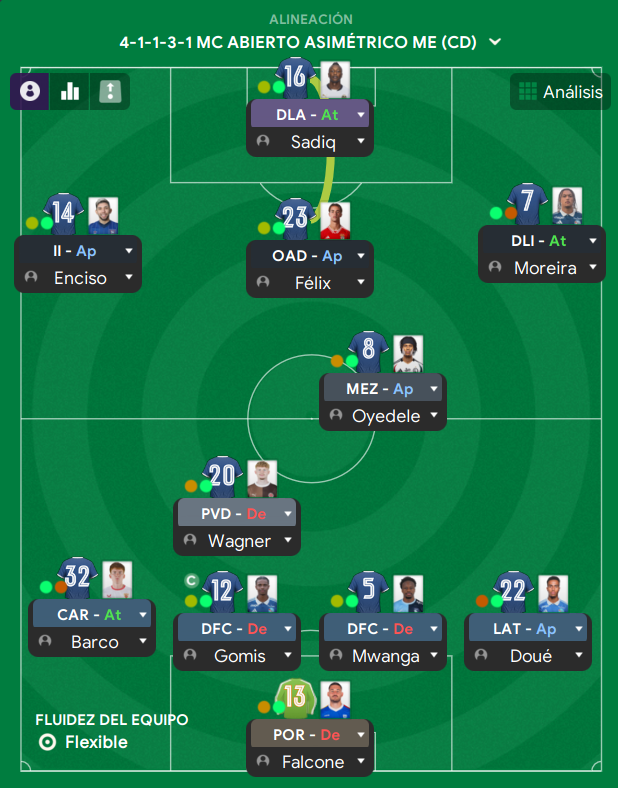
More Asymmetrical tactics
Guides for this tactic
The tactical theory behind the 4-1-3-2: roles, instructions, and the trade-offs that decide whether the system holds up.
Foundations
Width, Compactness, and Tempo
What Higher Tempo, Wider, and Narrower actually do in FM, plus the dial contradictions and antipatterns players run into most often.
Read guide
Foundations
Wing Play vs Central Play
Build through the wide areas or through the middle? A working framework for picking the right one for your squad.
Read guide
Foundations
Defensive Transitions
The five seconds after losing the ball decide most matches. Counter-press, drop-and-recover, and how to know which one you should be doing.
Read guide