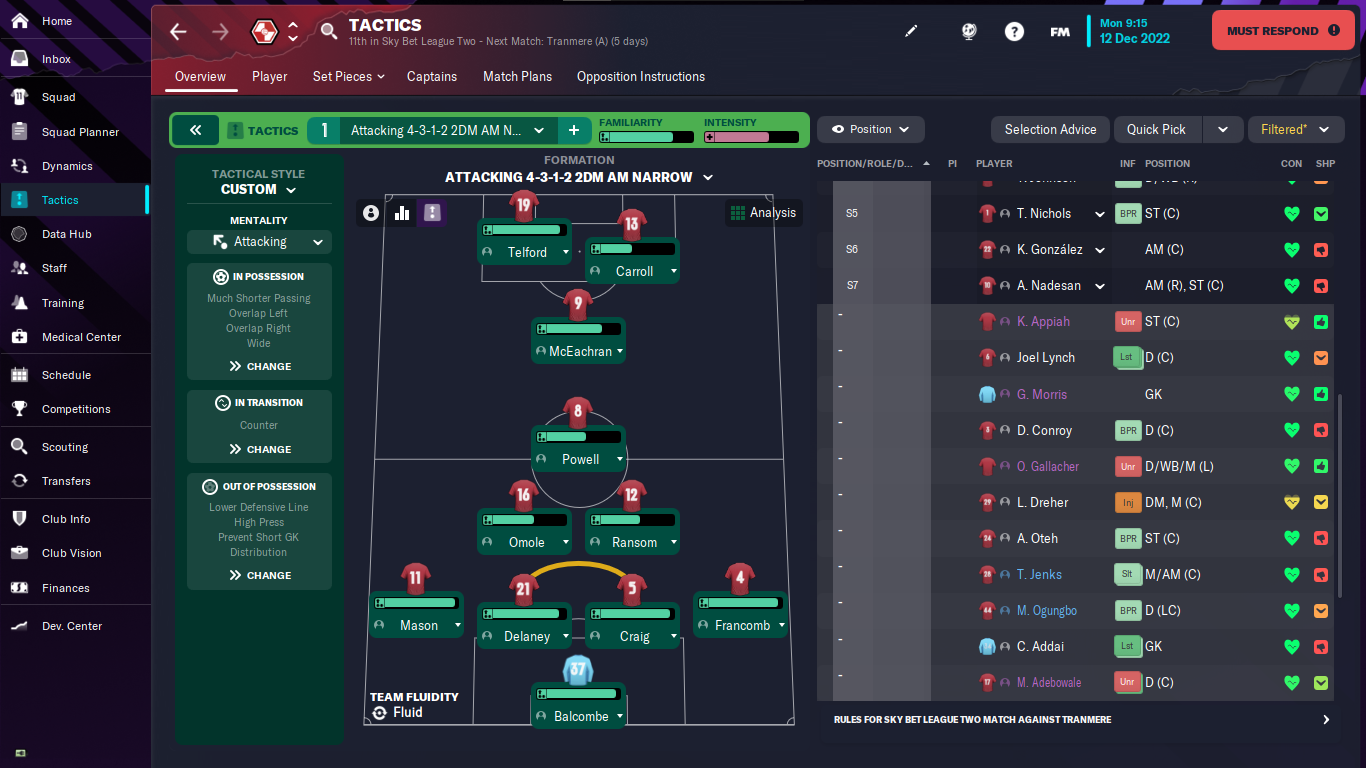
4-3-1-2 DM Narrow Tactical Dashboard
Uploaded Tactic
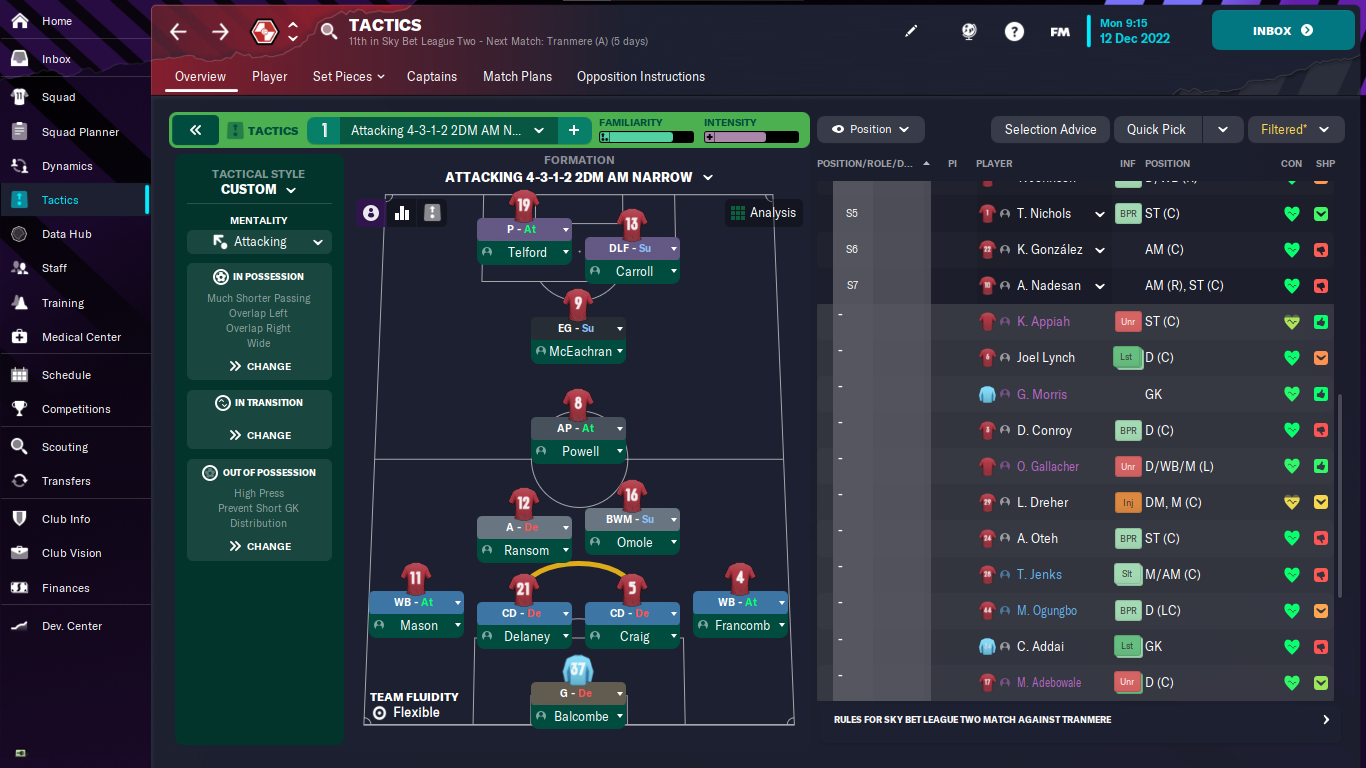
Formation & Style
In Possession
In Transition
Out of Possession
Team Shape Without Ball
No team shape without ball data available
Team Shape With Ball
No team shape with ball data available
Key Strengths
Offensive Versatility
The formation encourages multiple attacking avenues with two strikers and an attacking midfielder, increasing options in the final third.
High Press
The high press can disrupt opponent's play, creating chances by forcing errors in their defensive third.
Width in Attack
Using both overlapping full-backs and wingers provides width, stretching the defensive shape of the opponent.
Flexible Team Fluidity
The flexible fluidity allows players to adapt their positioning dynamically, supporting both attacking and defensive transitions.
Conflicting Directions
Attacking Midfielder Role
The attacking midfielder's role may conflict with the forward runs of the advanced forward, leading to congestion in the final third.
High Press vs. Short Passing
If high pressing is ineffective, players relying on short passing may struggle to maintain possession under pressure.
Overlapping Instructions
The overlapping left and right may confuse players, leading to imbalanced attacks if not executed correctly.
Defensive Responsibility of Wing Backs
With attacking wing-backs, maintaining defensive structure can be challenging, especially against counter-attacks.
Tactical Suggestions
Adjust AM Role
Consider changing the attacking midfielder to a support role to facilitate better link-up with the strikers and maintain team's shape.
Transition Strategy
Introduce clear instructions for transitioning from possession to pressing, ensuring players know when to press after losing the ball.
Defensive Midfielder Role
Consider using a more defensively-oriented midfielder than the BWM to help strengthen central protection.
Balance Overlaps
Balance the overlapping instructions to avoid over-committing one side, providing a more consistent attacking threat.