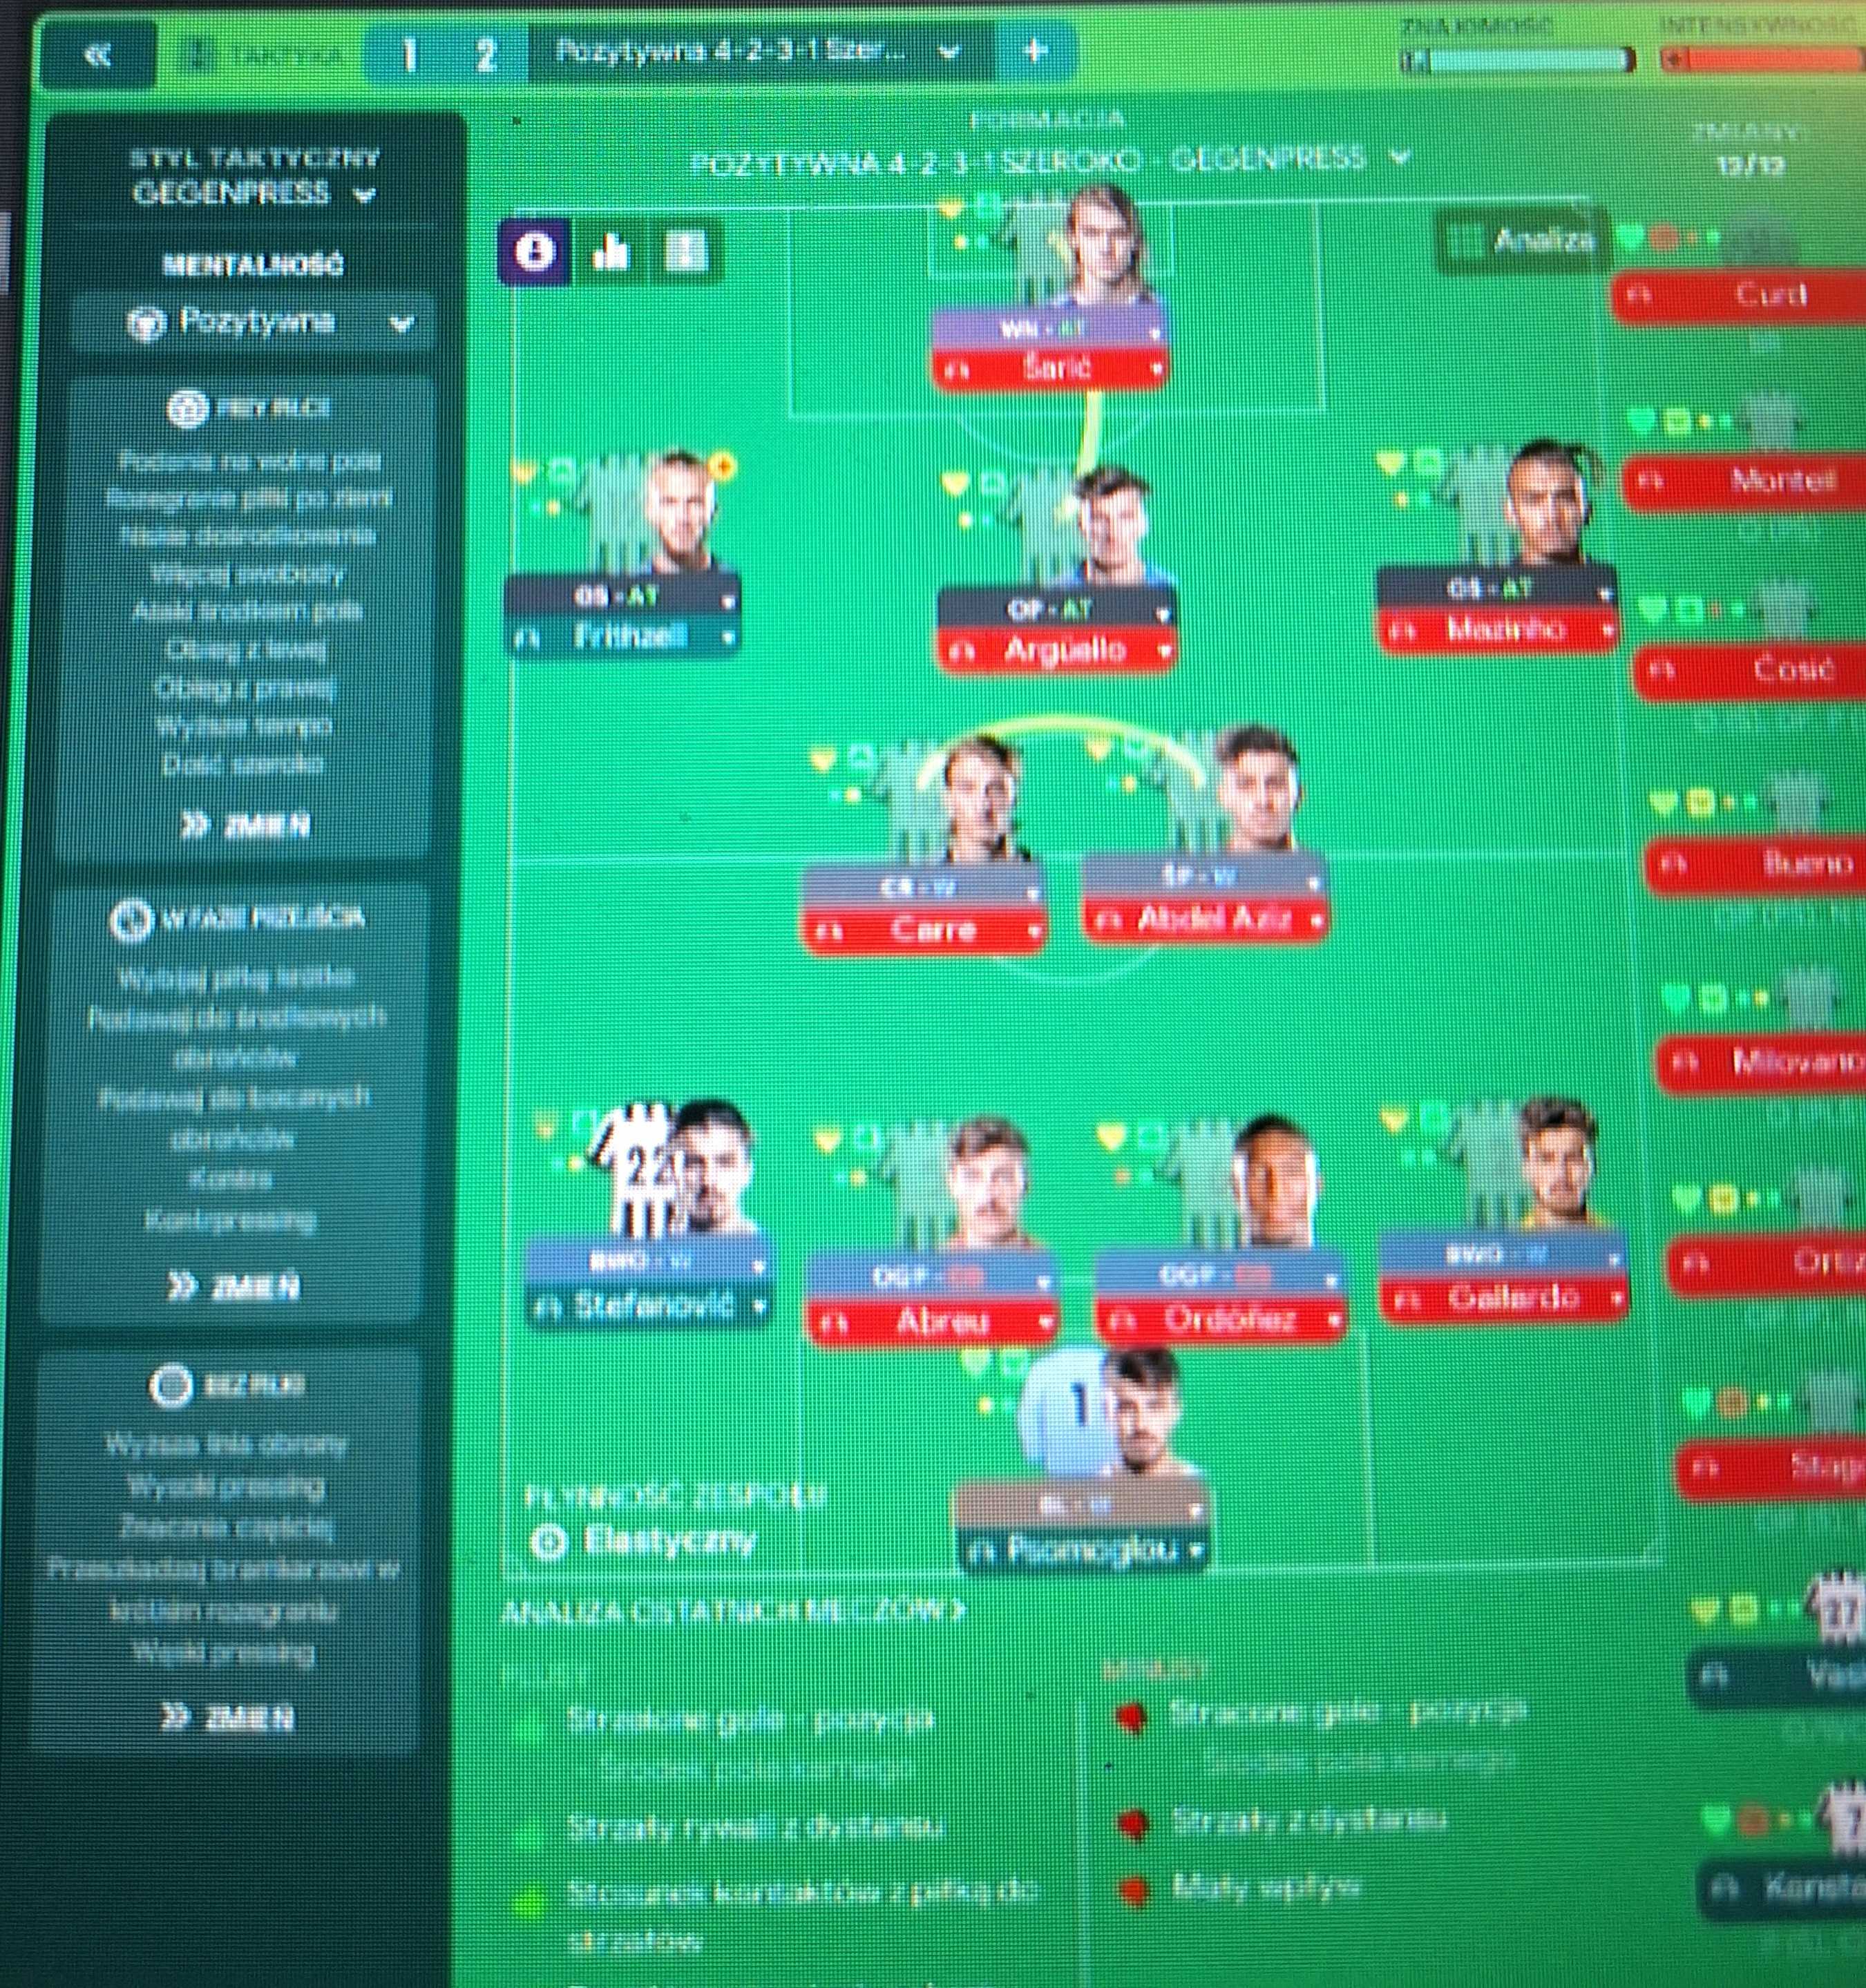
Gegenpress 4-1-1-3 (Positive) Tactic
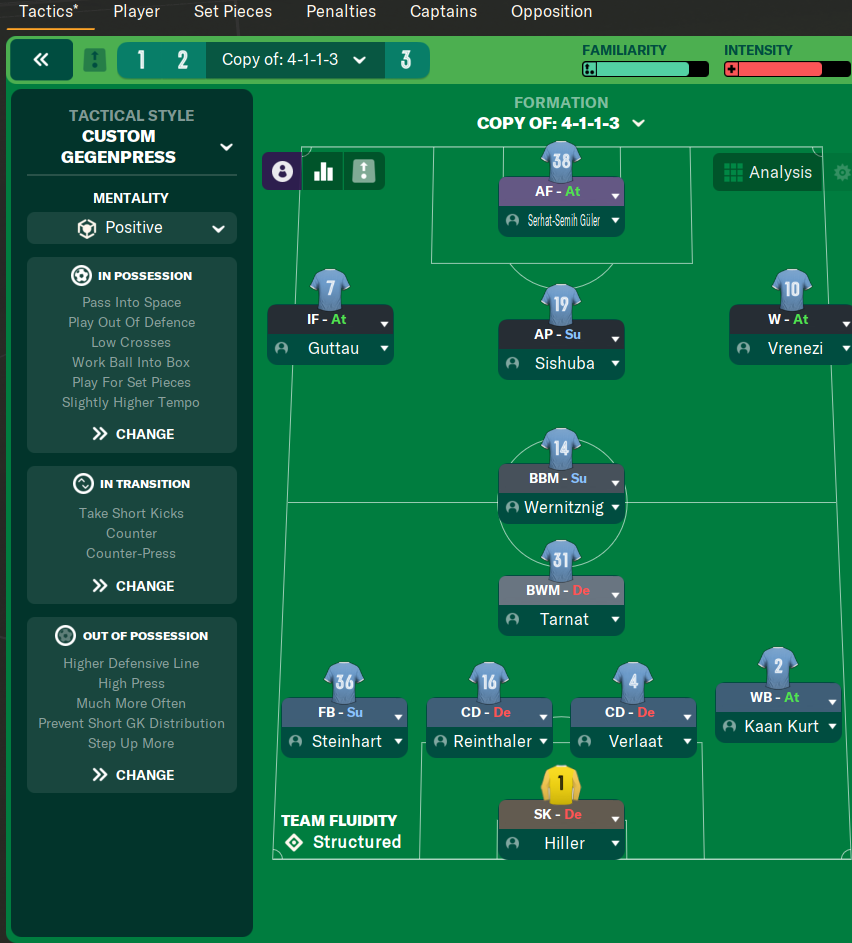
4-1-1-3
Creating quick scoring opportunities through aggressive pressing and utilizing width. Effective recovery of the ball due to the high defensive line and…
Loading tactical analysis...
Formation and style
Gegenpress
Positive
4-1-1-3
Structured
In possession
Pass Into Space
Play Out of Defence
Low Crosses
Work Ball Into Box
Slightly Higher Tempo
In transition
Take Short Kicks
Counter
Counter-Press
Out of possession
Higher Defensive Line
High Press
Much More Often
Prevent Short GK Distribution
Step Up Distribution
Player roles
GK
Sweeper Keeper
Defend
CB
No-Nonsense Centre-Back
Defend
CB
No-Nonsense Centre-Back
Defend
FB
Full-Back
Support
WB
Wing-Back
Attack
BWM
Ball-Winning Midfielder
Defend
BBM
Box-to-Box Midfielder
Support
AP
Advanced Playmaker
Support
IF
Inside Forward
Attack
AF
Advanced Forward
Attack
Phase description
Utilizes quick passing and positional rotations to exploit spaces, aiming for low crosses and goal-scoring opportunities.
Engages high pressing to recover possession quickly, supported by a counter-press strategy.
Creating quick scoring opportunities through aggressive pressing and utilizing width.
Team shape defence
4-1-4-1
Compact shape allowing quick recovery from overall pressing.
Higher Defensive Line combined with No-Nonsense Centre-Backs ensures solid defensive structure.
Team shape attack
4-1-3-2
Looks to stretch opponents using width from the Winger and FB while maintaining central threat from AF.
The attacking structure supported by an Advanced Playmaker aiming for through balls.
Key strengths
High Pressing
Effective recovery of the ball due to the high defensive line and counter-pressing.
Utilizing 'High Press' and 'Counter-Press' to regain possession swiftly.
Fluid Attack
Adaptable frontline with dimensions across multiple lanes of attack.
Combination of IF and AF positions creates opportunities from wide and central areas.
Conflicting tactics
Counter-Press vs. Deep Defending
Requires immediate ball recovery, conflicting with a deeper defensive adaptation.
Implementation of 'Counter-Press' within the tactical setup.
High Defensive Line vs. Pacey Counter-attacks
Higher defensive positioning increases vulnerability to fast counter-attacks.
Configured as 'Higher Defensive Line' yet may expose back line against pace.
Risk exposures
Risk Exposures
Items
Counter-attacks
Vulnerable to fast break situations due to higher line.
Higher Defensive Line executed with 'Counter' can create space for swift opposition play.
Midfield Gaps
Potential gaps between BWM and BBM could be exploited if outnumbered.
Single BWM role may leave vulnerabilities when facing multiple opposition midfielders.
Role synergies
Role Synergies
Items
BBM and BWM
Complementary roles providing both attack support and defensive cover.
BBM-S at [4,3] and BWM-D at [4,2] create a balanced midfield presence.
FB and WB
FB supports WB offensively which opens channels for Inside Forward.
FB-S at [2,1] enables dynamic flank play with overlapping runs.
Suggested questions
How can we improve our transition from defense to attack?
What adjustments can be made to accommodate faster opposition?
Which roles can be swapped to increase tactical diversity?
Related Tactics
More Gegenpress tactics
Guides for this tactic
The tactical theory behind the 4-1-1-3: roles, instructions, and the trade-offs that decide whether the system holds up.
Foundations
FM27 Tactics: What Changed from FM26
FM27 keeps FM26's tactic system. Here is what stays the same, the small changes that can catch you out, and what the new Tactical Effectiveness system asks of you.
Read guide
Foundations
Mentality, Duty & Roles
How Mentality, Duty, and Role interact in FM, why duty trumps mentality every time, and the role-on-top-of-duty composition rules.
Read guide
Foundations
Pressing Triggers and Intensity
Counter-Press, Regroup, Stand Off, Trigger Press: what each pressing instruction does in FM and how to pair them without contradicting.
Read guide