Short Passing 4-1-3-1 (Positive) Tactic
4-1-3-1
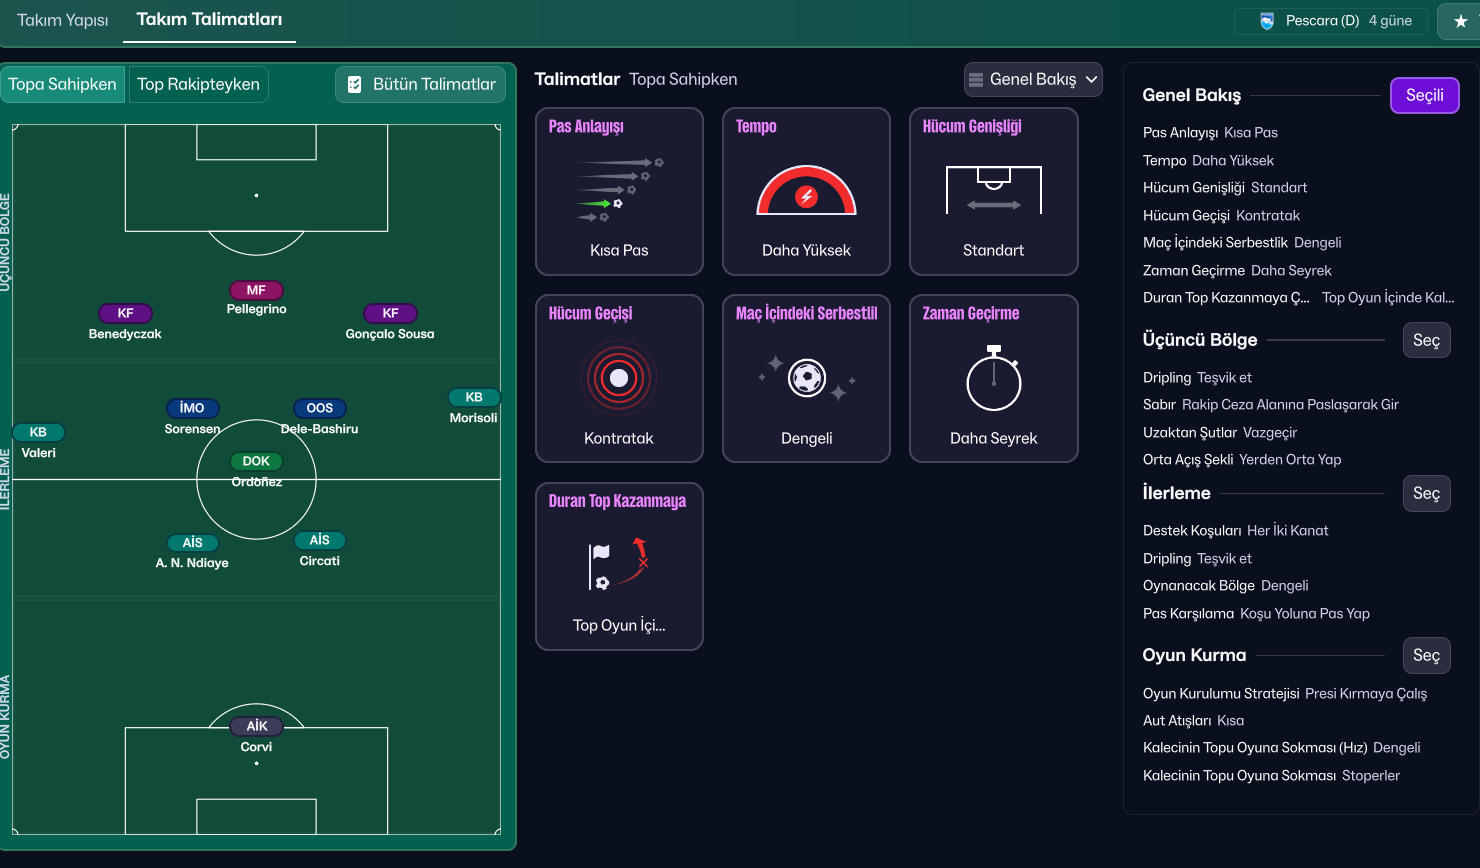
Utilizing central and flanking areas to create goal-scoring opportunities. Full-backs support wider players and create overlaps, stretching opposition.
Loading tactical analysis...
Formation and style
Short Passing
Positive
4-1-3-1
Flexible
In possession
Focus Play Down the Flanks
Play Out of Defence
Use Tighter Marking
Be More Expressive
In transition
Counter-Press
Counter
Out of possession
Higher Defensive Line
Higher Line of Engagement
Prevent Short GK Distribution
Player roles
GK
Goalkeeper
Defend
RB
Full-Back
Support
CB
Ball-Playing Defender
Defend
CB
Ball-Playing Defender
Defend
LB
Inverted Wing-Back
Support
DM
Defensive Midfielder
Defend
CM
Box-to-Box Midfielder
Support
CM
Advanced Playmaker
Attack
AM
Trequartista
Attack
ST
Pressing Forward
Attack
Phase description
Focus on quick transitions and exploiting width through overlapping full-backs.
Immediate pressing to regain possession, with higher engagement to disrupt opponent's build-up.
Utilizing central and flanking areas to create goal-scoring opportunities.
Team shape defence
Compact 4-1-4-1
Defensively structured to provide support across the midfield and defence lines with an emphasis on width.
DM 'Defend' at [3,3] provides a shield in front of the defence.
Team shape attack
Fluid 4-1-3-1
A fluid setup allowing for dynamic movement and quick passing across the pitch.
DP at AM with attacking roles promotes creativity and goal threat.
Key strengths
Wide Play
Full-backs support wider players and create overlaps, stretching opposition.
FB-S at [2,2] and [2,4] combined with focus play down the flanks.
Defensive Solidity
The presence of two BPDs allows for effective ball distribution from defence.
BPDs at [2,2] and [2,4] facilitate build-up play.
Conflicting tactics
Ineffective High Press
Requires high stamina and positioning discipline; may leave gaps if not executed properly.
Counter-Press instruction requires quick recovery from counter-attacks.
Vulnerability on Wings
With emphasis on width, might leave pockets of space centrally.
Full-Backs may stretch too far, creating central gaps.
Risk expositions
Risk Exposures
Items
Defensive Vulnerability
Counter-attacks could exploit high defensive line.
Higher Defensive Line instruction with a pressing game.
Inconsistent Midfield Coverage
If DM gets drawn forward, it can create gaps.
DM 'Defend' at [3,3] necessitates strict positioning.
Reliance on Key Players
Over-dependence on attacking talents may backfire if marked well.
TREQ's role may be targeted by opposition tactics.
Role synergies
Role Synergies
Items
BPD + DM
BPDs can transition play effectively while DM shields defence.
BPD at [2,2] and [2,3] enables distribution to DM at [3,3].
FB + IW
Full-Backs can support IWs creating overloads on wings.
FB-S at [2,2] pairs with attacking intent from IW roles.
Suggested questions
How to effectively manage squad depth during busy fixtures?
What adjustments can be made against stronger opponents?
How to exploit opponents' weaknesses based on their formation?

More Short Passing tactics
Guides for this tactic
The tactical theory behind the 4-1-3-1: roles, instructions, and the trade-offs that decide whether the system holds up.
Foundations
Wing Play vs Central Play
Build through the wide areas or through the middle? A working framework for picking the right one for your squad.
Read guide
Foundations
Defensive Transitions
The five seconds after losing the ball decide most matches. Counter-press, drop-and-recover, and how to know which one you should be doing.
Read guide
Match preparation
Set Piece Mastery
Routines, takers, and target picks. How to turn corners and free-kicks into a reliable third of your goal output.
Read guide