Centre-Back Pairings
Stopper-Cover, BPD-CD, two BPDs. How centre-back duties shape your defensive shape.
The Two-Centre-Back Problem
Every centre-back pair has the same structural tension: when one CB engages the striker, who covers? When the line steps up, which one drops back to deal with the ball over the top? FM gives you two levers for that: duty asymmetry (Stopper, Cover, Defend) and role differentiation between Central Defender (CD), Ball-Playing Defender (BPD), No-Nonsense Centre-Back (NCB), and the more situational Libero. Roles describe what kind of player each CB is on the ball; duties describe what each does off it.
The job each pair has to solve is division of labour: one CB is the aggressor (the one who steps), the other is the anchor (the one who holds the line). Get this wrong and you end up either too passive (both holding, neither contesting first touches, opposition forwards turning in space) or too exposed (both stepping, nobody behind, ball over the top into the area you just vacated). The wrong pair turns a clean-sheet defence into a colander.
The Asymmetry Rule
A working CB pair has asymmetry baked in: usually duty (one steps, one covers), occasionally role (BPD + CD on the same Defend duty, with the BPD allowed to take the line-breaking pass). Either way, the asymmetry is the foundation of the pair, not a tweak you add later. If both CBs do the same job, you don't have a pair, you have two players in the same channel.
- • Stopper: steps up to engage strikers on first touch, contests aerials, fronts the No. 9
- • Cover: drops behind the line, sweeps balls in behind, mops up second balls and rebounds
- • Defend (both): flat pair, conservative, no aggressor; used sparingly and only with a defined holder behind
This guide describes FM24's duty model. FM26 removed duties in favour of dual In-Possession / Out-of-Possession formations, so the Stopper / Cover / Defend asymmetry below should be read as an FM24 concept; the underlying principle (one CB steps, one covers) still applies in FM26 through role pairing, but the in-game lever is no longer a duty dropdown.
The Three Working Pairings
Three pairings cover virtually every modern setup. Pick by what your back four is asked to do (build the ball or just survive), what your opposition striker is trying to do (run in behind, hold up, peel into channels), and the physical and technical balance of the two CBs you actually have available.
Pairing 1: Stopper + Cover
The classic asymmetric pair. The Stopper plays slightly ahead of the line and engages forwards as soon as they receive the ball: pressing upward, contesting aerials, getting in front of strikers to deny the first touch. The Cover drops slightly deeper, sweeps balls in behind, and stays central as the recovery layer. They line up flat at kickoff, but their default actions diverge from the very first phase. On the Tactics screen the height looks identical; in practice the pair In transition the Stopper sits a few yards ahead of the Cover; at kickoff they look flat.
This works because the pair has a clean role differentiation. The Stopper takes risks; the Cover insures against them. If the Stopper steps and misses, the Cover is already deeper and can recover. If the striker peels into a half-space, the Stopper follows him; the Cover holds central position and trusts the full-back to track the wide threat.
When it works: against most striker profiles, in any formation with a back four. This is the default pair for any save where you don't have a specific reason to do otherwise. When it breaks: when your Stopper lacks the recovery pace to chase what he misses, or your Cover sits so deep that the entire half of the pitch in front of him becomes a free zone for the opposition midfield to work in.
Pairing 2: BPD + CD
For sides that build from the back, the standard pair is one Ball-Playing Defender plus one Central Defender. The BPD takes most of the build-up touches: he steps into midfield with the ball, splits full-backs with diagonals, and hits the line-breaking pass through the opposition's first pressing line. The CD next to him is the disciplined half: he stays in his line, plays the simple pass to the BPD or the full-back, and doesn't take the kind of risk that creates a turnover thirty yards from his own goal.
Asymmetry here is in role rather than duty. Both can be on the same Defend duty; the differentiation is which CB is allowed to take the risky line-breaking pass. Asking two BPDs to share that responsibility multiplies the turnover risk: the fancy-pass interception that costs a goal happens twice as often, and every transition starts from a position where one of your CBs has stepped out of shape.
When it works: sides that play out from the back but don't have two technically gifted CBs. Most teams. When it breaks: when the BPD takes risks the rest of the team isn't ready for: late midfield runners haven't arrived yet, full-backs haven't pushed, and the line-breaking pass goes to a receiver who is already covered.
Pairing 3: Two BPDs
Two Ball-Playing Defenders only works under four conditions: (a) both CBs are technically gifted, (b) you have a true holder in midfield (Anchor or DM-Defend) screening behind them, (c) your full-backs are inverted or otherwise providing central numbers, and (d) the opposition isn't pressing aggressively. Drop any of those four and the pair becomes a structural liability rather than a feature.
When it works: with the surrounding structure that City has under Pep: Rodri behind, inverted full-backs alongside, against teams that sit. Even there, the closest real-world referent is rarely a true pair of two stationary BPDs: Dias has rotated through Aké, Akanji, and a Stones who often inverts into midfield rather than holding next to him. The effective shape in possession is closer to one BPD plus a second build-up partner stepping into the pivot. When it breaks: against a high press. Two BPDs both stepping into midfield in possession means there's no anchor when the press wins; you concede the box because both CBs are thirty metres up the pitch and the keeper is one-on-one with whoever picked the ball off.
The Striker Matchup Table
Different striker profiles demand different CB responses. The pairing is a function of the threat: tall hold-up players want a Stopper to front them and contest the aerial; quick poachers want a Cover deep enough to handle through balls and recovery races; False 9s want a Cover with the discipline NOT to follow into midfield. Chase the False 9 into the middle third and you've vacated the space he was trying to create.
| Striker type | Primary threat | Recommended CB pairing |
|---|---|---|
| Target Forward | Aerial hold-up, knock-downs to runners | Stopper (tall, aggressive) + Cover - fight the aerial, sweep flick-ons |
| Poacher | Run in behind, finish the chance, no link play | Stopper + Cover (quick) - line discipline, recovery pace behind |
| Complete Forward | Mixed: drop, run, hold, all of it | Stopper + Cover - duty match-up wins out, balanced pair |
| False 9 | Drops into midfield to drag the CB out of position | BPD + CD on Defend, Tighter Marking off - DO NOT follow into midfield |
| Pressing Forward | High press, aggressive on first touch | BPD + CD - composure under pressure, clean exit pass |
| Inside Forward (no central CF) | Cuts in from wide channels, no central reference | Both on Defend, narrow up - no central #9 means no target for a Stopper to step onto; hold central shape and track the late run |
The table is a starting point, not a script. Read the actual game: if the Target Forward is winning every aerial, the Stopper is too small or his duty needs to drop to Defend so the line drops with him. If the Poacher is getting in behind every cross, the line is too high regardless of the duty pair. And note the False 9 row carefully: duty alone won't keep a CB at home if Tighter Marking is on, you've issued a man-marking instruction to that CB, or your mentality is high enough to override the Defend duty's natural hold.
The Two Antipatterns
Most broken CB pairs match one of these two failure modes. Both are fixable in a single duty change.
Antipattern 1: Two Stoppers
Both CBs step up. No one covers. The first long ball over the top is in the back of your net, and the second one too. The shape sheet shows two CBs at the same high position every replay, the analyser shows the line getting bypassed repeatedly, and the conceded goals file is full of strikers running onto through balls into open space.
Failure mode: no anchor. Aggression without a safety net. Fix: drop one duty to Cover (or Defend if the striker isn't a runner). Done. The pair works again. The whole problem was the duplicated job.
Antipattern 2: Flat Pair (Two Defends) without a screening DM
Both CBs hold position and there's no screening holder behind them. No one engages. The opposition striker has a free first touch every time, your line slowly retreats toward your own box because nobody owns the front of it, and the opposition 10 finds endless time on the ball just outside the area. Technically safe in the sense that no one over-commits, but it concedes territory in waves and feeds the opposition into a position where they can pick the lock. Note the qualifier: a flat Defend-Defend pair behind a true holder (Anchor or DM-Defend) can work as a niche shell; it's the naked version, with no screen, that breaks down here.
Failure mode: no aggressor. Passivity by default. Fix: promote one CB to Stopper (or to a stepping role like Libero on Defend if you have the right holder behind). The line starts contesting first touches again and the territory comes back.
Height vs Pace
The other axis of CB pairing is physical: tall versus fast. Most working pairs have one of each: a 6'4" aerial dominator (often the Cover, deep) paired with a 6'1" recovery sprinter who can match strikers in a thirty-metre race (often the Stopper, ahead). Cannavaro (5'9", small and quick) alongside Nesta (6'2", the tall reader) defined the international template for Italy; they never shared a club, but the partnership profile is the canonical Height + Pace pair. Mertesacker plus Koscielny at Arsenal are the clearest modern club example. The hybrid is the safe physical default at every level the modern game has produced.
Both tall and slow → exposed to pace, conceded chasing the run. Both small and quick → aerial liability, conceded heading set pieces and long crosses. The hybrid pair covers both threats simultaneously; the matched pair leaks one of them every match. If you only have two of one physical type, the duty pair has to compensate: a slow pair needs a deeper line, and a small pair needs aggressive pressing on the wide players to stop crosses being attempted in the first place, regardless of line height.
Real-World Examples
Four pairs at the top of the modern game. All four obey the asymmetry rule; they differ in which axis (duty, role, or physical) carries the differentiation.
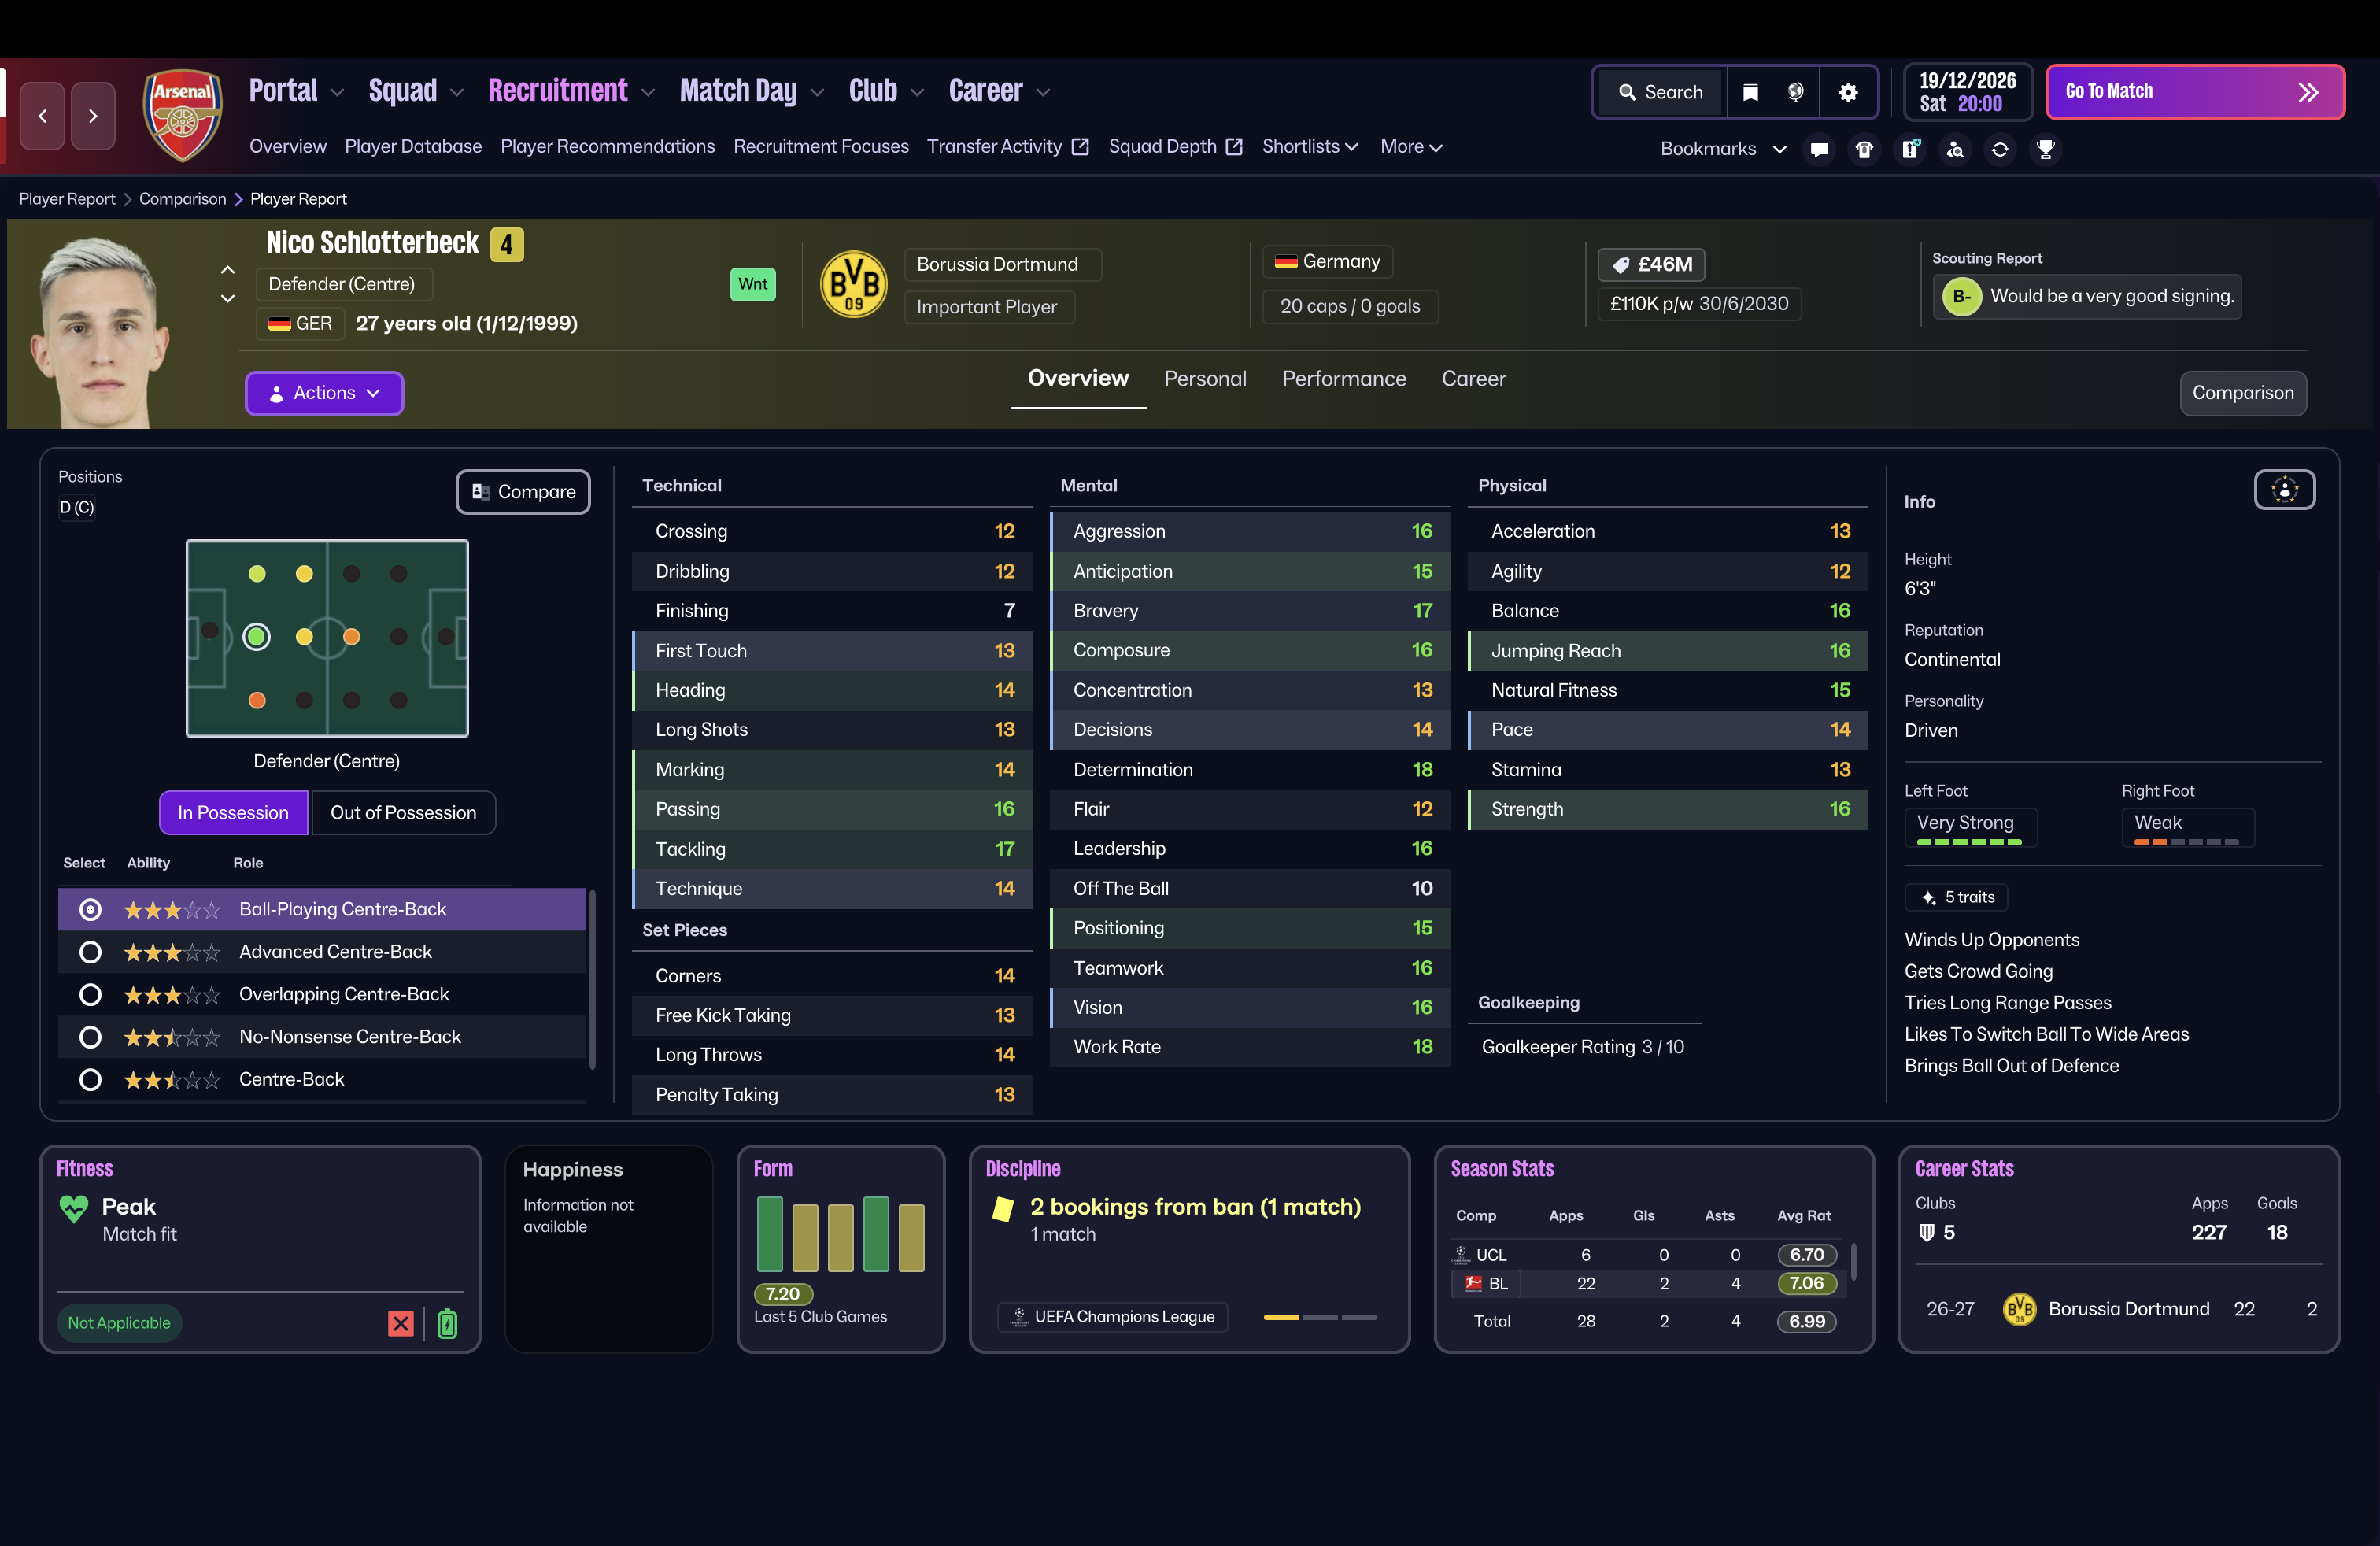
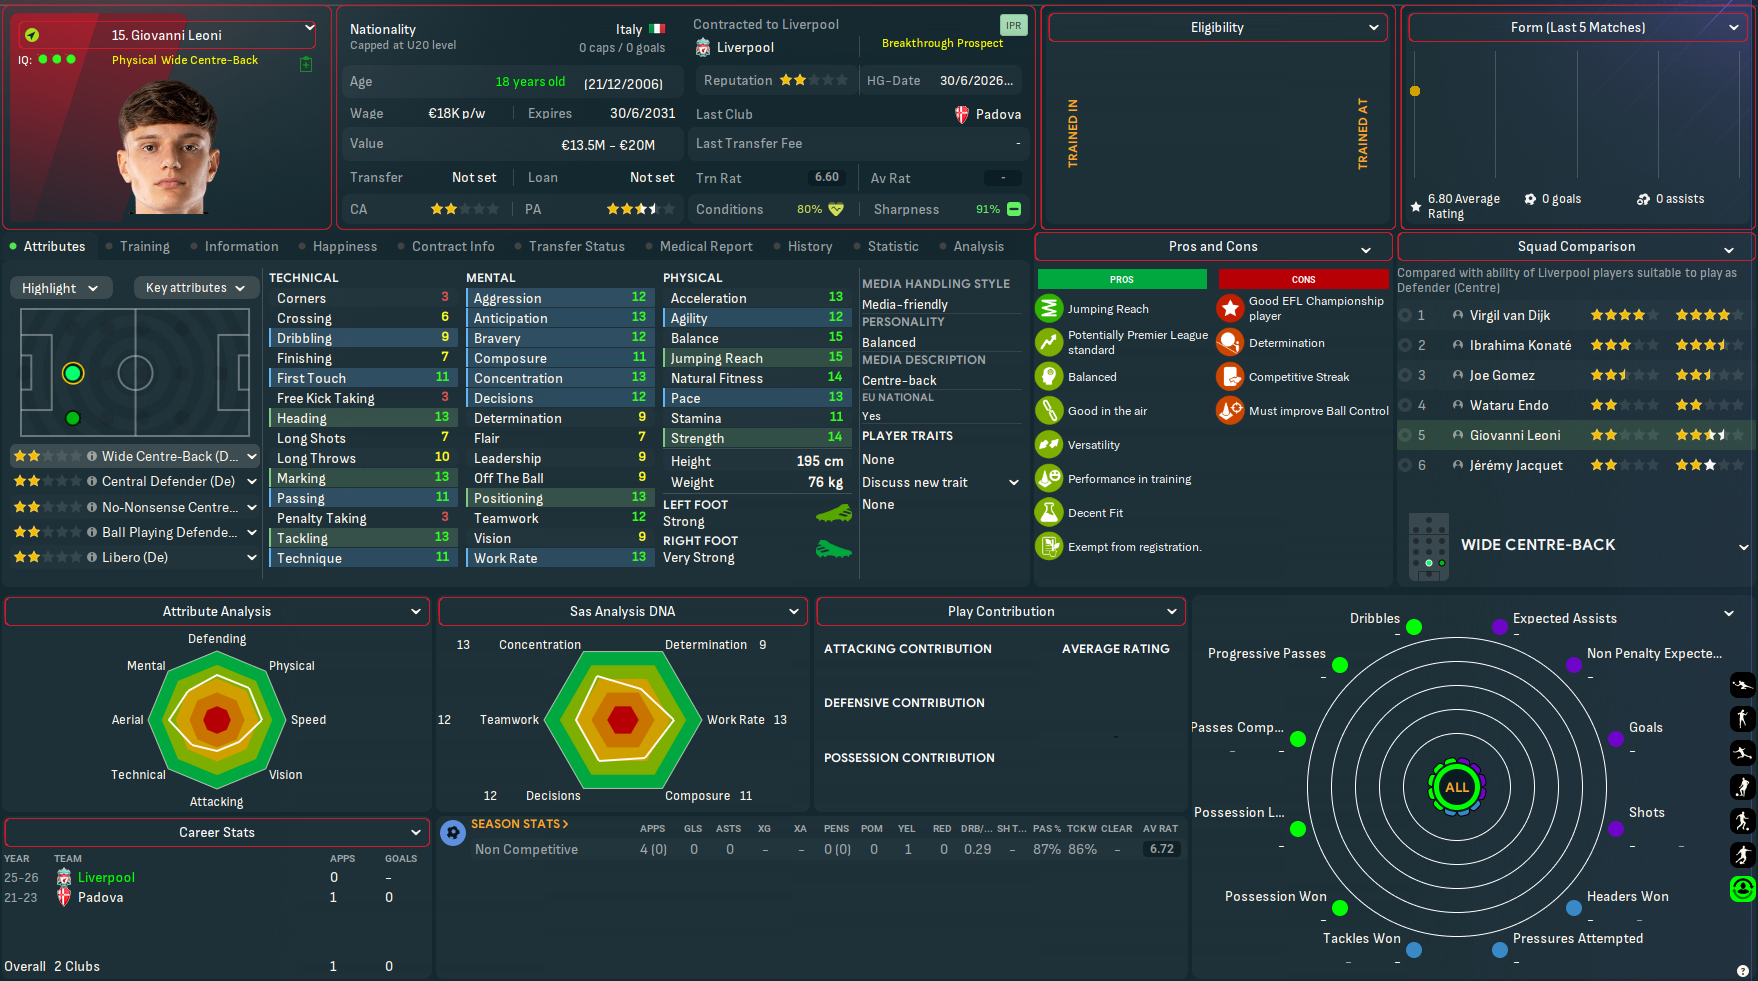
Van Dijk + Konaté (Liverpool, 2022-). Van Dijk on Cover/Defend as the deep-lying anchor: reading, sweeping, organising the line, playing the calm pass when the press comes. Konaté as the Stopper: physical, aggressive, the one who steps onto the No. 9 and contests every aerial in the box. Aerial dominance from both, recovery pace from Konaté, calm distribution from Van Dijk. The asymmetry survived Klopp's exit and continued under Slot, with a Premier League title in 2024-25 attesting to the formula. The lesson here is duty asymmetry doing the differentiation work even though both players have similar physical profiles.
Vidic + Ferdinand (Manchester United, 2006–2014). The Premier League's archetypal duty-asymmetry pair before Van Dijk and Konaté made the mould obvious. Vidic and Ferdinand both around 6'2" (broadly similar heights, though Ferdinand was the more mobile of the two and quicker over the first ten yards), but the duty work split cleanly: Vidic the aggressor, throwing his face into crosses and stepping onto strikers as a Stopper would; Ferdinand the reader, intercepting, sweeping, and playing out under pressure with the calm of a deep-lying anchor. Five Premier League titles and a Champions League at the back of teams built around that asymmetry. The lesson: similar heights, different jobs, and the pair works because the jobs are clearly different, with the pace differential between them making the Stopper/Cover split natural rather than forced.
Saliba + Gabriel (Arsenal, 2022-). A near-perfect Stopper-Cover under Arteta. Saliba on Cover/Defend duty as the reader: pace plus elite anticipation lets him step to intercept and recover the ball over the top in the same action, and he's the calm head when Arsenal's high line is tested. Gabriel is the aggressor: left-footed, physical, the one who wins the aerial duel and contests every cross. Both step; the asymmetry is in the type of action (read vs duel), not the starting height. The complementary footedness (right-footed Saliba next to left-footed Gabriel) opens better build-up angles for both, and Arsenal's defensive form has tracked the availability of this pair closely: strong when both are fit, noticeably weaker when one is out. The lesson: footedness and a clear division of responsibility layered on top of duty asymmetry compounds the effect.
Dias + Aké (Manchester City, 2023–24). The closest modern thing to a Two-BPDs pair, and only because Pep has the surrounding structure to make it work. Both CBs technically gifted, both step into the build-up, both can play killer balls. It works because Rodri sits ahead as the holder, full-backs (or Stones inverting from CB) provide central numbers, and the team rarely faces a true high press. Even within Pep's squad the pairing isn't fixed: 2022–23 used Dias + Akanji more than Dias + Aké, and Stones often spends his possession minutes alongside Rodri rather than holding next to Dias. Drop any of the structural conditions and the shape becomes vulnerable: two BPDs without a Rodri-equivalent against a press-ready opponent concedes goals. The lesson: structural pairings only work when the surrounding structure exists, and even then the pair is rarely as fixed as it looks on a team-sheet.
Frequently Asked Questions
Can I run two CDs (both on Defend) and call it a day?
You can, but it's a flat pair with no aggressor. You'll concede space on the edge of the box, your striker gets a free first touch every time, and your shape stays static. It's "safe" in the sense that no one over-commits, but it's also passive: opposition wingers and 10s feast on the void in front of the line. Make at least one CB a Stopper so the pair has a rotating front line, even if the duty feels too aggressive on paper.
When should I use Libero or No-Nonsense Centre-Back?
Libero on Defend is only really viable in a back three or true sweeper formation, so it's not a tool for the standard 4-x-x flat line. It's a specialty role that turns a CB into a true sweeper, and it needs the rest of the shape to do the covering work. No-Nonsense Centre-Back is for relegation-battle saves where you literally don't want your CB attempting to play out. Just clear it, head it, run. Both are situational; neither belongs in a typical Premier League or top-flight pair without the surrounding structure to support them.
My Stopper keeps getting beaten over the top. What do I change?
Match the duty to the line. Stopper plus a High Defensive Line plus a slow Cover behind equals repeated through-balls into the space your Stopper just vacated. Either drop the Stopper to Defend, drop the Defensive Line one notch, or get pace next to him. Most often the fix is in the line height rather than the duty: a Stopper is fine if the Cover behind has pace and the line isn't pushed too high relative to the keeper.
Should both CBs be the same footedness?
Different is better. A right-footed CB on the right and a left-footed CB on the left opens the diagonal pass into midfield from each foot, and the build-up triangle with the full-back is more natural: the CB shapes his body inward instead of away from the press. Two same-footed CBs is workable but you'll see one of them always shaping the wrong way to play out, and the press exploits that angle.
How do I decide which of my two CBs is the Stopper?
Pick the one with better Aggression, Anticipation, and Bravery: those are the three attributes that drive the step-up and make a Stopper effective rather than reckless. The Cover wants Positioning, Composure, and Pace. Don't put your aggressive ball-winner on Defend duty next to a small technical CB; you're wasting the ceiling of the aggressive player and leaving the technical one exposed in the aerial duels he can't win.
Putting It Together
The two-centre-back problem doesn't have many real solutions: Stopper + Cover (default), BPD + CD (build-from-back), two BPDs (rare, structural). Pick the asymmetry that fits the threat, match the physical pair to the striker profile, and remember that flat pairs concede territory while reckless pairs concede goals. The CB pair is the load-bearing wall of your defensive shape; spend the duty and role budget on getting it right before you tinker with full-backs, midfield instructions, or pressing intensity.
If you remember nothing else: one CB steps, one CB covers. The asymmetry is the point, and the pair that ignores it is the one that conceded the goal you can't quite explain when you sit down to watch the highlights.
Related guides
Keep exploring the tactical library. These go well with the topic above.
Understanding the 4-3-3 Formation
Master the classic 4-3-3: player roles, tactical variations, and the trade-offs that decide whether it sings or stalls.
Possession-Based Tactics in Football Manager
Build the patient, control-the-tempo style without watching your opponents counter through the gaps you leave behind.
Counter-Attacking Excellence
Sit deep, win the ball, and break in three passes. The roles, instructions, and squad profile that make it work.