Full-Back and Winger Pairings
Overlap, underlap, IF + attacking WB. The same-channel rule and when it doesn't apply.
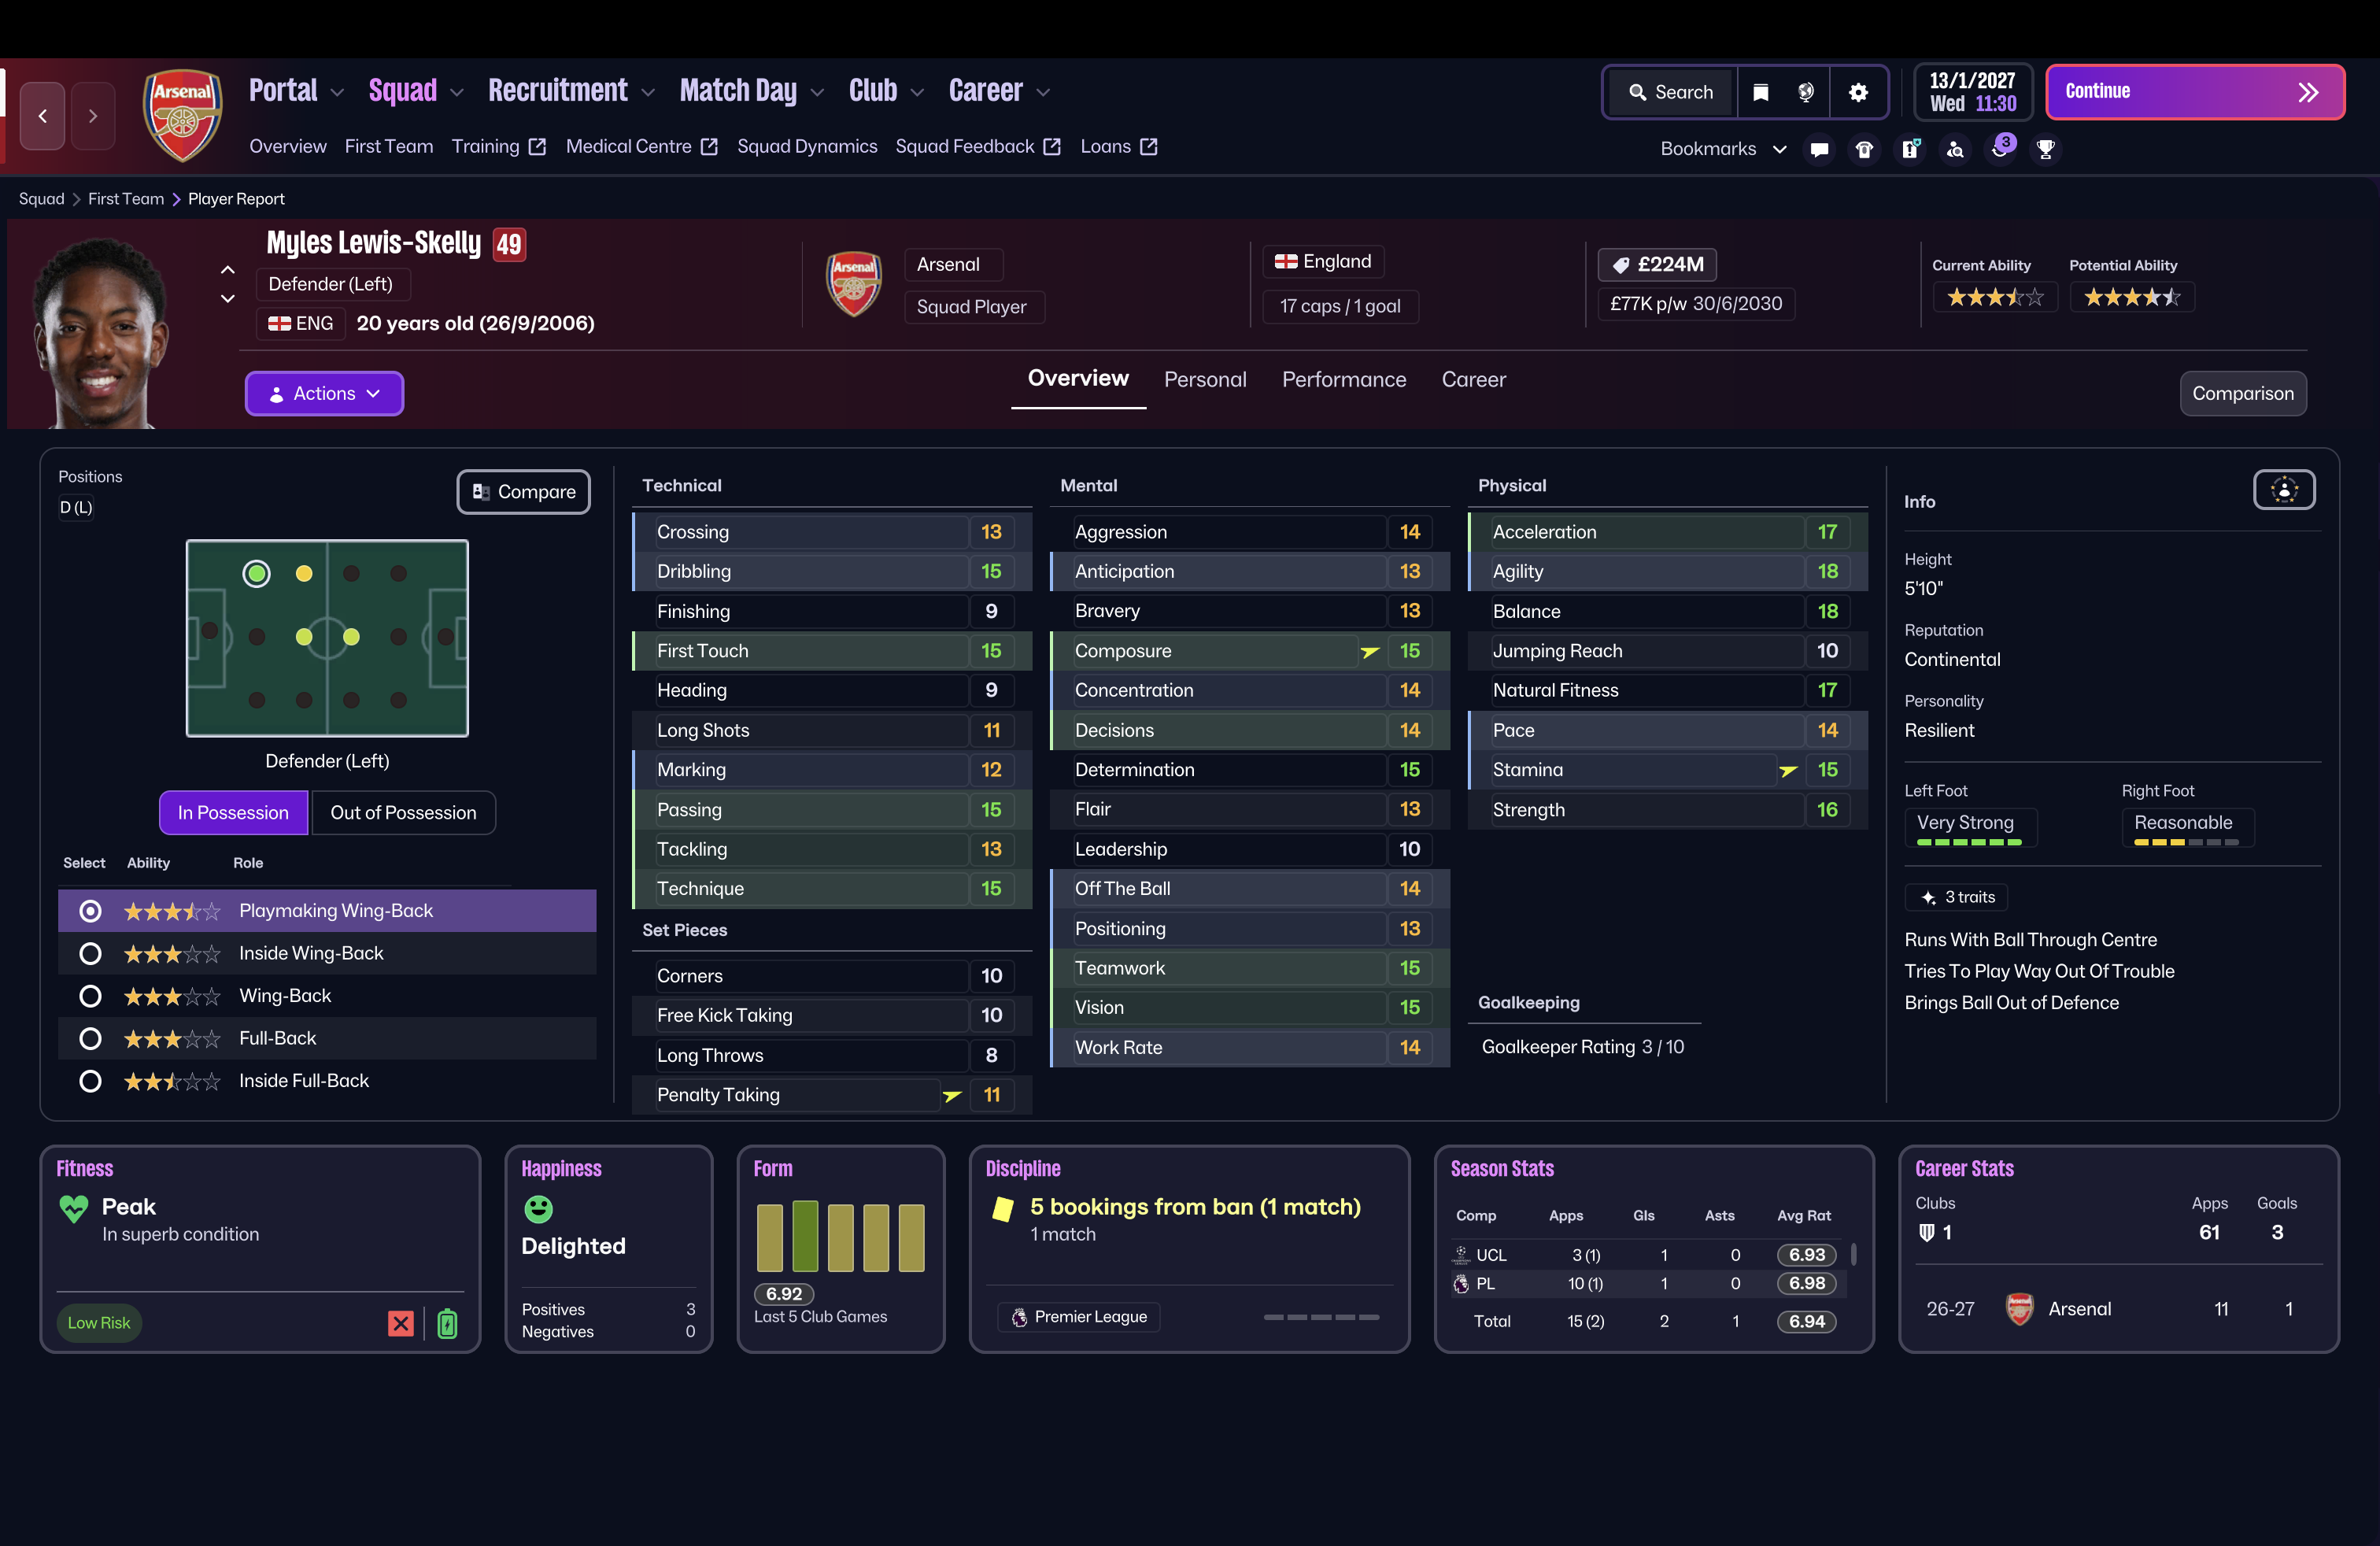
Note on FM versions: the role-and-duty notation in this guide (WB(A), FB(S), IWB(S)) follows FM24. FM26 removed Defend / Support / Attack duties and replaced them with In-Possession / Out-of-Possession role variants; the same geometric pairings still apply, but you'll pick them via the new role set instead of duty labels.
Two Players, One Channel
The full-back and the winger share a touchline. Both want the ball wide, both want to attack, and if you don't tell them how to share the space they'll either trip over each other or leave one of them isolated. This guide walks the four canonical pairings, calibrates the “same-channel” rule, and shows how an asymmetric attack gets the best of both worlds.
Most guides oversimplify the question. “Always pair an Inverted Winger with an Attacking Wing-Back” is the version you'll see most often. The real answer is more nuanced. Full-Back and Wing-Back both legally take Defend, Support, or Attack, but in a winger-pairing context only the two attack-minded duties matter; a pure Defend full-back is a defensive choice, not a pairing partner. So the four combinations to think about are (Inside Forward / Inverted Winger) × (Attack / Support full-back), and the same-channel warning is real but consistently overstated. Once you understand what each player wants from the channel and the half-space, picking the right pairing becomes much clearer.
The Four Pairings
The wide forward chooses between staying wide (Inverted Winger, Winger) and drifting inside (Inside Forward). The full-back chooses between bombing forward (Wing-Back Attack, Full-Back Attack with Overlap), supporting from a slightly more advanced position (Wing-Back Support, which still pushes high with cover behind), and genuinely holding (Full-Back Defend). Cross those choices and you get four pairings, each with a distinct geometry.
1. Inside Forward + Attacking Full-Back/Wing-Back (the overlap)
The most common pairing in modern football. The IF drifts into the half-space (the channel between the centre-back and the full-back) and the FB overlaps outside him to provide width. Liverpool's Mané/Robertson left side from 2018-20 is the canonical example. Goals come from cut-backs, second balls, and IF-to-FB combinations on the corner of the box.
The catch: the pairing only works if the IF actually drifts inside. If the IF stays wide (usually because the player is right-footed on the left and reluctant to come centrally), the FB and IF end up in the same channel and the pairing collapses. Check the average position map: if the IF and FB are stacked on top of each other, the IF is the wrong player or the wrong duty for the role. See the Same-Channel Rule section below for the full calibration.
2. Inside Forward + Supporting Full-Back (the half-space attacker)
The IF takes the wide channel for himself: attacks the touchline early, then cuts back inside to shoot. The FB on Support stays back to cover, occasionally pushing forward in possession but rarely overlapping. Use it when your IF is fast and direct (Salah at his most explosive, Mané in his Southampton days) and your full-back is older or defensively focused. Goals come from one-on-one runs at the centre-back's outside foot.
The trade-off:reduced overlapping width. The FB on Support rarely gets to the byline, so cut-backs are rarer. You're trading attacking output for defensive solidity. Against teams that counter through your full-back's channel, this is a sensible asymmetric choice on at least one side.
3. Inverted Winger + Attacking Full-Back/Wing-Back (the channel-and-cut)
The IW starts wide and stays wide for longer than an Inside Forward, cutting inside late and on the ball rather than drifting in early. The role uses PIs like Cut Inside With Ball and Move Into Channels to reinforce that behaviour: he holds the touchline until the moment of attack, then tucks into the half-space between centre-back and full-back to shoot. Because the IW vacates the touchline late, the FB on Attack overlaps from outside to provide the width. Think of it as a role swap in motion: the IW becomes a narrow threat and the FB becomes the wide threat. The geometry is most common in tactics that want a half-space shooter on the ball side and an overlapping full-back providing the crossing option in behind.
Why it's reliable:the geometry is honest. The IW occupies the half-space late, the FB occupies the channel early. There is no ambiguity about who's where. The downside:predictability. Opposition full-backs know what's coming, and against a well-organised low block the crosses from the byline are easily defended.
4. Inverted Winger + Supporting Full-Back (the disciplined option)
The IW does most of the wide work alone: stays high and wide, occasionally cuts inside, rarely with overlap support. The FB on Support hangs back to give defensive cover. The right pairing for a counter-attacking team or a side that wants its wide forward to be the focal point of attacks rather than one option among many. Common in setups where the manager wants a conservative full-back to anchor the side and the IW to be the singular wide threat: touch count concentrated in the forward's feet, defensive cover behind.
When to use it: when your IW is your best player and you want the touch count concentrated in his feet, and when defensive solidity on that side is non-negotiable. When not to: when you need overlapping support to break down a deep block; this pairing has none of that on this side.
The Same-Channel Rule (Calibrated)
You'll see this rule stated forcefully in a lot of guides: “Never pair an Inside Forward with an Attacking Wing-Back; they'll both end up in the same channel.” That overstates it. The accurate version is: pairing an Inside Forward with an Attacking Wing-Back can work, but only if the IF actually drifts centrally. Check the average position map after a few matches, and if both players are stacked in the same vertical channel, change one of them.
The fix is a single role swap. Either drop the WB to Support (option 2 above), or change the IF to an Inverted Winger (option 3). Both work; pick whichever change preserves the rest of your tactic.
The reason this antipattern is so common in FM is that the IF role's drift-inside behaviour is reliable but its productivity isn't. It depends on the player's foot and traits. A right-footed IF on the left drifts inside and finishes with his strong foot; a left-footed one drifts but tends to settle in the half-space rather than commit to the central run, unless he has the Cuts Inside From Both Wingstrait. Always check the actual game; don't assume the role label tells the truth.
Asymmetric Setups
Quick definitions so the rest of this section reads cleanly. An overlap is when the full-back runs outside the winger into the wide channel; the FB ends up wider and higher than the wide forward. An underlapis the opposite: the full-back runs inside the winger into the half-space (the channel between the opposition centre-back and full-back), arriving on the wide forward's inside shoulder rather than outside it. Overlaps stretch the defence wide; underlaps attack the seam between the centre-back and full-back.
The strongest modern wide attacks are asymmetric: each side does something different so the opposition can't drill one defensive movement to handle both. Arsenal under Arteta from 2022 onwards is the textbook example. Both sides produce a central overload, but through different mechanisms: on the left, the wide forward (Trossard / Martinelli) holds reasonable width while Zinchenko inverts from full-back to add a central body; the overload is created by the inverted FB. On the right, Saka cuts inside and Ben White underlaps into the half-space rather than overlapping outside; the overload is created by the wide forward drifting in plus the FB taking the seam. Two flavours of the same idea; neither side is a true overlap.
The mechanism is simple. Defending an asymmetric attack is harder because the opposition full-backs and wingers have to defend different shapes on each side. They can't drill the same defensive movement from training; they have to read each side separately, and the cost is decision speed.
In FM, the recipe is: pick one side as your width-and-cross channel (IF + WB(A) where the IF drifts inside reliably, OR IW + FB(A) for a true overlap), and the other side as your half-space attack (IF + FB(S) for an underlap, OR IF + IWB(S) for the central-overload shape Arsenal use on the left, where the wide forward drifts inside and the full-back inverts into midfield so width comes from rotation rather than a wide-staying winger). Most 4-3-3s, 4-2-3-1s, and 3-4-3s slot in cleanly. Don't try to be symmetric and dominant on both sides at once; you'll spread the squad too thin.
Real-World Examples
Robertson / Mané (Liverpool, 2018-20), overlap. A note before the example: this is the IF(A) + WB(A) combination the Same-Channel Rule section warned about. The reason it worked at Liverpool (and the reason it's the canonical exception rather than the template) is that Mané was unusually disciplined about drifting into the half-space and staying there, leaving Robertson the touchline. Robertson's lung-busting overlapping runs gave the left side its width and the combination produced a steady stream of cut-backs, second balls, and IF-to-FB give-and-go's around the corner of the box. The FM equivalent is IF(A) + WB(A) on the left, but only attempt it when you've verified on the average position map that your IF actually stays inside; otherwise use one of the safer pairings.
Trent / Salah (Liverpool, 2023-24), inversion into midfield. Klopp's late tactical evolution gave Trent freedom to drift inside into central midfield rather than overlap, leaving Salah as the wider of the two on the right. It looked unusual on the average position map (the wide forward was the wider of the two), but Trent's elite passing range turned the central zone into the dangerous one. Slot walked the role back in 2024-25 toward a more traditional right-back position before Trent's eventual departure. The closest FM fit is Winger (A) or Inside Forward (A) on the right (preserving Salah as the wider player) with an Inverted Wing-Back (Support) for the Trent inversion. Earlier in the Klopp era (2018-22) the dynamic was the more conventional one (Trent overlapped wide, Salah cut inside), so this is a 2023+ pattern, not a Liverpool-era constant.
Cancelo (Manchester City, 2020-22), inverting full-back. Cancelo overlapped, underlapped, inverted into midfield, and held depending on game state and the wide forward's position. With Bernardo Silva or Foden as a true IF, Cancelo overlapped. With Mahrez as a wider IW, Cancelo inverted. There is no single FM role that captures the full Cancelo dynamic, but assigning an Inverted Wing-Back on Support is the closest match for the inversion behaviour. Be honest about the trade-off: in FM24 the IWB(S) rarely commits back out wide once it has inverted, so you're really choosing the inversion shape rather than a true two-way role. FM26 removed duties entirely and reframed the IWB family — verify the inversion behaviour against your in-game shape rather than assuming this carries over.
Frequently Asked Questions
When should I use an Inverted Winger versus an Inside Forward with my full-back?
Inverted Wingers stay wide longer and cut inside late; pair with an Attacking FB to bomb the channel together. Inside Forwards drift inside early; pair with a Support FB so the FB doesn't crowd the same channel. Fast rule: if the IF and the FB end up in the same vertical zone on the average position map, the pairing is wrong; swap roles or duties.
My WB(A) and IF are both ending up wide. What's wrong?
Nine times out of ten this is a foot-and-trait problem on the IF, not a role-pairing problem. Check the player's preferred foot relative to the side he's playing on (a left-footer on the left is the classic problem) and his Cuts Inside From Both Wings / Comes Deep to Get Balltraits. If the player can't be moved, change the role: either Inverted Winger (so he stays wide and the WB has the channel alone), or drop the WB to Support (so the IF takes the channel).
Do I need to set the Overlap or Underlap team instructions explicitly?
Not for it to work. The role-and-duty combination already produces overlapping or underlapping behaviour without TIs. The Overlap TI tends to amplify the existing pattern rather than introduce new behaviour, so use it as a tweak rather than the primary mechanism; tactical instructions generally reinforce role behaviour rather than override it.
Can I run an Attacking Wing-Back with an Inside Forward?
Yes, but only when the IF reliably drifts inside. Check the average position map after three matches: if the IF and WB are stacked in the same channel, the pairing isn't working and you should swap one of them. Liverpool's Mané/Robertson combination is proof it can work; most teams' attempts fail because the IF isn't actually drifting inside.
What's the best pairing against a low block?
Asymmetric: overlap on one side, underlap on the other. The overlap (IF + WB(A) or IW + FB(A)) creates wide width and pulls the block sideways; the underlap (IF + FB(S) drifting in, or IW + IWB(S)) attacks the half-space the block leaves narrow. Symmetric wide play against a low block is the most common way to be dominant and score zero; the block is set up to defend exactly that.
Putting It Together
The full-back and winger pairing is a geometry problem: who takes the channel, who takes the half-space, and who covers when the ball is lost. Pick the geometry first, then pick the roles that produce it. If two of your wide players want the same zone, you've made the wrong choice; swap one role and check again.
The same-channel warning is real, but a single role change fixes it. Asymmetric setups often beat symmetric ones, particularly when squad depth is limited or the team is reactive; symmetric width can still work when both sides are at peak strength and you're imposing your shape. Either way, don't trust the role label alone; the average position map is the only evidence that matters.
Related guides
Keep exploring the tactical library. These go well with the topic above.
Understanding the 4-3-3 Formation
Master the classic 4-3-3: player roles, tactical variations, and the trade-offs that decide whether it sings or stalls.
Possession-Based Tactics in Football Manager
Build the patient, control-the-tempo style without watching your opponents counter through the gaps you leave behind.
Counter-Attacking Excellence
Sit deep, win the ball, and break in three passes. The roles, instructions, and squad profile that make it work.