Low Block: Park the Bus
The deliberate underdog tactic: formation choices, duty distribution, and why Counter-Press is wrong here.
By John Brawner · Updated May 1, 2026
The Low Block Philosophy
Parking the bus has a bad reputation that mostly isn't earned. Done well, a low block is a deliberate choice: you concede territory, force the opposition to manufacture chances against eleven players behind the ball, and accept that you won't see much of the ball yourself. Done badly (usually because a manager confuses "defensive" with "panicked"), it becomes a 90-minute siege that ends 0-3 with three set-piece concessions.
The first thing to clear up: a low block is not a counter-attack. The two often travel together, but they aren't the same thing. Counter-attacking implies the plan is to score on the break, you're set up to get the ball forward fast, with two or three runners ready to commit. A pure low block doesn't necessarily commit anyone forward; the priority is the clean sheet, not the goal. You can park the bus and count on a single set-piece for your only attempt of the match, and on its day that is a complete plan.
This distinction matters in FM because, if you set Cautious mentality but leave a striker on Attack and a winger on Attack, you've told the engine you intend to counter, and your "low block" is going to look a lot more porous than you wanted. The block is built from the duty sheet up.
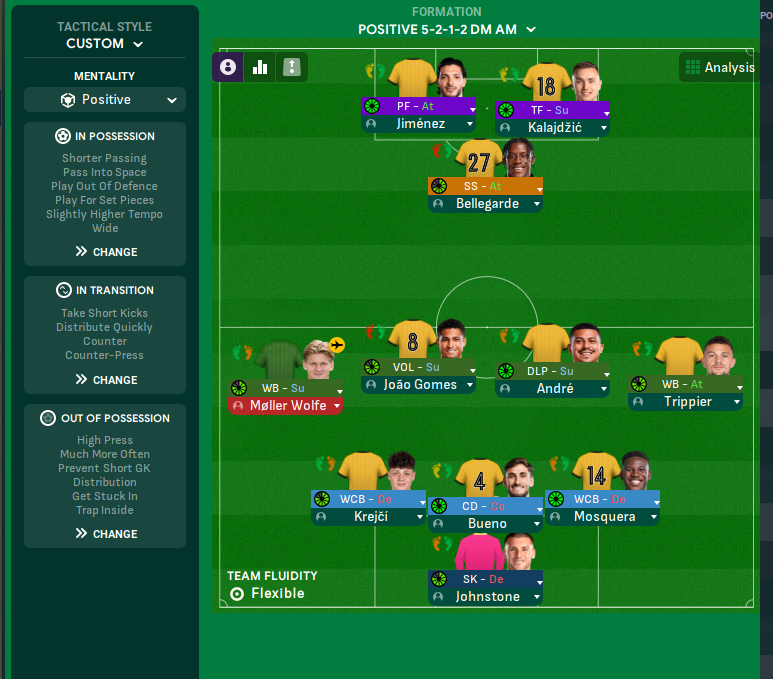
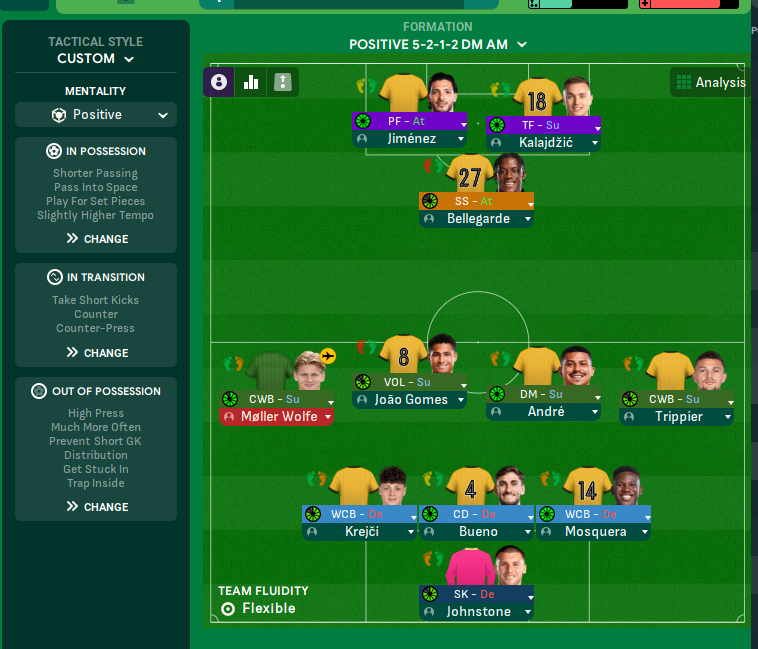
Version note: this guide uses FM24 vocabulary, where duties (Defend / Support / Attack) are the core lever for shaping a block. FM26 retired the duty system in favour of separate In Possession / Out of Possession formations and role sets, so the duty-by-duty advice below maps to FM26 role choices rather than a duty column. Mentality, defensive line, line of engagement, Counter-Press and Regroup carry over unchanged.
When to Park the Bus
- • Away to a much stronger side, points more valuable than performance
- • Cup ties where a 0-0 sets up a home replay or extra time
- • Closing out a knockout-leg lead from the first match
- • Down to ten men with 30+ minutes to play
- • A late 1-0 lead in a relegation six-pointer
- • Squad rotated to rest first-choice runners
Formation Comparison
Four formations get used for genuine low-block work in FM. They aren't interchangeable. They handle different threats differently, and the squad you already have should narrow the choice for you.
5-4-1: The Continental Shell
The default international low block. A back five and a midfield four behind the lone striker. Wing-Backs drop into the back five so you're a literal five-across, with no natural width to attack with on the counter.
- • Crosses smothered, five-back wins headers
- • Half-spaces have a body in them by default
- • Lone striker can hold up balls as a target
- • Runners from deep midfield can get in behind
- • No counter outlet beyond the lone forward
- • Wing-backs gas out by 75 minutes
5-3-2: Two Strikers, Same Block
The same defensive shell, with one wide midfielder dropped in favour of a second forward. You still defend with five at the back, but you've got two forwards to relieve pressure when the ball does come out.
- • Strike pair escapes pressure on clearances
- • Better shape to break on a turnover
- • Centre-mid trio holds numerical parity in the middle (fewer against a midfield three)
- • Three CMs covering full pitch width
- • Wide channels rely on wing-back recovery
- • Strikers can drift narrow and abandon counters
4-5-1: The Mid-Block That Drops
A flat or near-flat midfield five in front of a back four. The defensive silhouette ends up close to the 5-4-1 once the wide midfielders sit on top of the full-backs, but the identity is different: a back four (not five) means a spare body in midfield rather than in defence. Pick this over the 5-4-1 when your two best central midfielders are stronger than your third centre-back, and when you'd rather contest second balls 30 metres out than guarantee an extra body in the box.
- • Familiar shape, easy to coach in pre-season
- • Width comes from midfielders, not full-backs
- • Full-backs less prone to caught-upfield disasters
- • Back four vulnerable to back-post crosses
- • Wide mids must defend AND run on the break
- • Lone striker isolated on every clearance
4-4-2 Deep Variant: The English Block
Two banks of four with a deep partnership of strikers. This is what Allardyce's Bolton ran in the mid-2000s, and what most lower-league sides default to without thinking. The two strikers stay narrow and split the channels on the rare counter.
- • Compact and easy to organise
- • Two-striker pair escapes pressure naturally
- • Set-piece presence at both ends
- • Two-man midfield overrun by a midfield three
- • Wide midfielders pinned deep, no flank counter
- • Half-space runners get between the lines
Duty Distribution
The duty sheet is where most low blocks succeed or fail. The simplest rule is at most one Attack-duty player on the pitch, and usually zero. If you're parking the bus, the lone striker should be on Support. Deep-Lying Forward is the cleanest fit, dropping in to engage the centre-backs and slow the build without chasing the ball. Pressing Forward is harder to fit a low block: in my experience the role keeps stepping into presses that the rest of the shape isn't supporting, even when set to Defend, so I'd default to Deep-Lying Forward unless the matchup demands the press. Wide players are Support at most; full-backs and wing-backs are Defend. Centre-backs are Defend; the choice between Stopper and Cover comes down to whether the opposition has a target man (Stopper aggressive) or pace runners (Cover deep).
The midfield should have one ball-winner (Defensive Midfielder on Defend, or an Anchor) anchoring the central pocket. The second and third midfield slots can be Central Midfielders on Defend, or a Box-to-Box on Support if you want one player covering ground. Avoid Mezzala, Roaming Playmaker, and any Attack-duty central midfielder; their off-ball positioning is too high. The whole point is keeping numbers behind the ball, and a Mezzala leaves the half-space the second the build starts.
Why Counter-Press Is the Wrong Choice Here
This is the most common low-block error in FM. Counter-Press is the team instruction that tells your players to press immediately when possession is lost, the gegenpressing trigger. It works when the rest of your shape supports it: a higher line, intense pressing, midfielders on Support, runners eager to win the ball back five yards from where it was lost.
In a low block, none of those conditions hold. Your defensive line is Lower; your line of engagement is sat-deep; your midfielders are on Defend; your striker is 70 metres from the ball when possession is lost. Telling those players to Counter-Press creates a 30-metre sprint from your defensive shell up to the opposition's ball-carrier, which they'll happily play around, because there's now a vast gap between your striker and your centre-backs that wasn't there a moment ago. The press has no support runners and no shape to lean on.
The right pressing instruction in a low block is Regroup, paired with Drop Off More and a Lower Line of Engagement. Regroup tells your players to retreat and rebuild the shape after losing the ball, which is exactly what a low-block plan needs. The block is your defence; running out of it on every turnover defeats the entire setup.
The shorthand: Counter-Press belongs with a high block, Regroup belongs with a low block. Pair the pressing instruction to the line, never to instinct.
Instructions
Set These
Team Instructions (TI):
- • Mentality: Defensive (baseline) or Cautious (slightly-more-attacking variant)
- • Defensive Line: Lower
- • Line of Engagement: Lower
- • Pressing Intensity: Less Urgent (or Standard)
- • Drop Off More: on
- • Regroup (transition-out instruction)
- • Width: Narrower
- • Tempo: Lower
- • Passing: Standard or Shorter (Direct only when you have a genuine target up top)
Player Instructions (PI):
- • Trigger Press: Less Often (per player)
Reference: the Trigger Press dial has four named stops — Much Less Often, Less Often, More Often, Much More Often — with an unnamed default in between. Stand Off Opponents (where present) is the binary that tells the block to hold its ground rather than step. Layering both turns the block into pure rear-guard; pick the level you want before stacking them.
Avoid These
- • Counter-Press: the contradiction described above
- • More Urgent / Extremely Urgent pressing intensity: abandons the block
- • Higher Defensive Line: same issue
- • Play Out of Defence: invites pressure on your CBs
- • Work Ball Into Box: slow attacks die against settled defences
- • Higher Tempo: risks turnovers in dangerous areas
- • Overlap Left + Overlap Right: pulls full-backs out of the block
- • Get Stuck In: fouls and cards in your own third are catastrophic
Real-World Examples
Three reference points are worth keeping in mind. Each shows a different version of the low block and what it actually looks like over 90 minutes.
Mourinho's Inter, Champions League semi-final 2010, second leg vs Barcelona. Inter were down to ten men from the 28th minute and held a 3-1 first-leg lead. What followed was 60+ minutes of pure low block. The base shape that night was nominally a 4-2-3-1; with Motta sent off it collapsed to a 4-4-1 that became a 4-5-0 whenever Eto'o tracked back to make it a sixth midfielder. Inter had around 14% possession (Barcelona 86%) and two shots. They reached the final. The duty sheet was the giveaway: Eto'o, the world-class striker, was tracking back as an extra defender on the wide channel defensively. That is what parking the bus actually looks like at the top level: your best attacker accepting the role of an extra midfielder for the night, because the points are worth more than the performance.
Greece, Euro 2004. Otto Rehhagel won the tournament with a 4-4-2 deep variant that defended in two banks of four and counted on Angelos Charisteas for set-piece headers. They beat Portugal twice (group stage and final) and France in the quarter-finals. The team didn't out-play anyone; they out-organised everyone. The lesson for FM is that a low block at the level of a deep 4-4-2 doesn't need world-class attackers. It needs a tall centre-forward, two centre-backs who win their headers, and two banks of four that don't lose their shape. Most squads have the shape components, but at lower-league level the centre-backs often don't win their aerial duels reliably, which is why low blocks at that level so often concede on set pieces. If your CBs aren't winning headers, the 4-4-2 deep variant is a poor fit; lean toward a 5-4-1 with a third defender in the box instead.
Italy at Euro 2020 vs Spain, semi-final. A more recent and more interesting example because Italy weren't supposed to be the underdog. Spain dominated possession (around 65%); Italy dropped into a deep 4-3-3 that looked like a 4-5-1 without the ball (4-1-4-1 in possession-out terms), defended their box, and scored on a single counter through Federico Chiesa, conceded a Morata equaliser late on, then won the penalty shootout 4-2. The relevant detail is that Italy chose the low block against the run of expectation. They read the matchup, accepted that Spain's pressing-and-circulation game would punish a higher line, and accepted a deep mid-block deliberately. That's the most useful lesson: the low block (or its near-cousin the deep mid-block) isn't only for weaker sides. It's a tool you reach for when the matchup says so, regardless of where you sit in the table.
Frequently Asked Questions
Should I use Waste Time on a 1-0 lead?
Carefully, and not from minute one. Waste Time on Maximum from kick-off puts an unmistakable delay on every dead ball, and the referee starts booking. Bring it up gradually as the lead matures, and only push it toward the high end inside the final 15 minutes. The bigger gain comes from duty changes (swap an Attack winger for a Support winger, or sub on a tracking midfielder) rather than from cranking the dial.
My striker has nothing to do. Is that fine?
Yes, that is the deal you took. A pure low block accepts that the striker may have one half-chance and zero shots on target, and you live with it because the clean sheet was the goal. If that result is intolerable, you wanted a counter-attack, not a low block. Flip to Cautious mentality with one Support striker and one Attack winger and accept slightly more defensive risk in exchange for an outlet.
Counter-Press or Regroup, settle it for me.
If your Defensive Line is set Higher, Counter-Press. If Standard, Drop Off More with Less Urgent pressing. If Lower, Regroup. The pairing rule is fixed; the instruction has to match the line because the press needs the line to support it. Mixing them (Counter-Press with a Lower line) produces the gap that ends in a goal almost every time.
What's the most common parking-the-bus mistake in FM?
Leaving an Attack-duty player on the pitch. Managers drag mentality to Defensive and assume the duties follow, but they don't. Your full-back on Attack is still bombing forward, leaving the wide channel empty when the opposition turns over. Read the duty column before kick-off, not the mentality slider. If anyone is on Attack in a low block, ask yourself why; usually you change them to Support.
Can a low block work in a top-six side?
Situationally, yes. The Italy-vs-Spain example is the clearest case: a strong side that recognises a bad matchup and chooses the low block for one match. The mistake is using it as a season-long default. A top-six squad has the attacking talent to convert possession into chances, and a low block leaves that talent unused. Reach for it on European nights, in difficult away ties, or when a single result is more valuable than the manner of winning.
Conclusion
The low block is a deliberate plan, not a fallback. Pick the formation that fits your squad, set the duties to keep numbers behind the ball, pair Lower Defensive Line with Regroup (never Counter-Press), and accept that you won't see much of the ball. Done well, the tactic is genuinely effective against stronger sides. Greece proved it, Mourinho proved it, Italy proved it. Done badly, it becomes a 90-minute siege you weren't prepared for. The difference between the two is almost always in the duty column.
Related guides
Keep exploring the tactical library. These go well with the topic above.
Understanding the 4-3-3 Formation
Master the classic 4-3-3: player roles, tactical variations, and the trade-offs that decide whether it sings or stalls.
Possession-Based Tactics in Football Manager
Build the patient, control-the-tempo style without watching your opponents counter through the gaps you leave behind.
Counter-Attacking Excellence
Sit deep, win the ball, and break in three passes. The roles, instructions, and squad profile that make it work.