Reading FM Attributes for Tactical Fit
The 13/15/17 working tiers, hidden attributes, and the per-role priorities that matter.
By John Brawner · Updated May 1, 2026
The Problem with FM Attribute Numbers
Football Manager gives you a 1–20 scale on every attribute, which is a deceptively simple way to describe a player. The trap is that the numbers feel continuous when they really aren't. A 12 and a 14 look like a small gap on the screen; on the pitch they're a chasm. A 14 and a 16 look like the same kind of gap; in practice the 16 is barely noticeable. The scale is non-linear, and most of the bad squad-building decisions in this game come from people treating it as if it were linear.
This guide is about reading attributes the way a working FM player does: in tiers, with role-specific priorities, and with a clear understanding of which numbers the game is hiding from you.
The 13/15/17 Tier Framework
We use 13/15/17 as our working tiers (others use 12/15/18 or 10/14/17), but the principle (non-linear thresholds across the scale) holds regardless of the exact cutoffs. Each one is a threshold that means something specific about whether a player can actually do the job at a given level.
What each tier means
- 13, usable at this level. The player can perform the role competently. They will not stand out, but they will not let the team down on that attribute. This is the floor for "I can play them every week."
- 15, good at this level. The attribute is now an asset rather than just adequate. A 15 in the right places turns a squad rotation player into a starter. Most of your starters in a top-half side should be hitting 15s on their key attributes.
- 17, elite at this level. This is where the player is genuinely better than the league at that one thing. You cannot expect every starter to have 17s; you should expect your best two or three players to have one or two each, on the attributes that matter most for their role.
The thresholds shift with the level you're at. In the Vanarama North, 13 finishing is elite and 11 is usable. In the Premier League, 13 finishing is bench fodder and you'd want 16+ for a first-choice striker. Whenever you read scouting reports, mentally locate the level: the league average pulls every threshold up or down with it.
Per-role priority thresholds
The 13/15/17 tiers apply to the right attributes for the role, not every attribute. The floors below are my own working numbers at the Premier-League equivalent level, not FM's official Key Attributes for each role. The in-game Key Attributes panel is the canonical source, and my floors prioritise differently in a couple of places (noted inline):
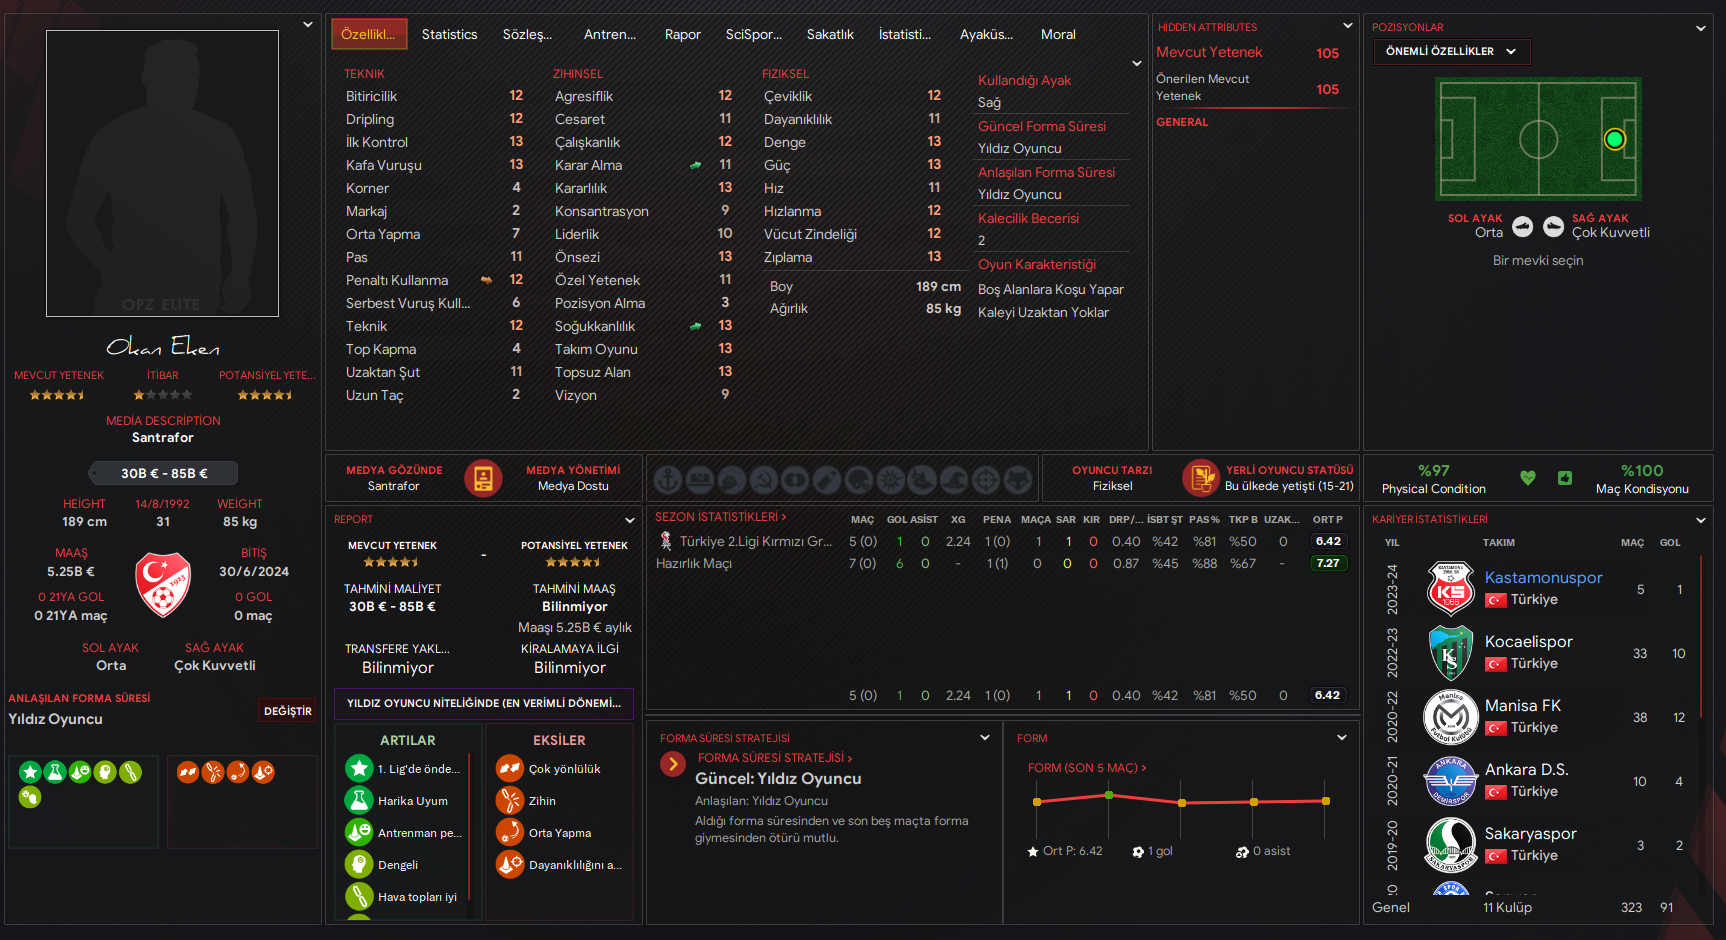
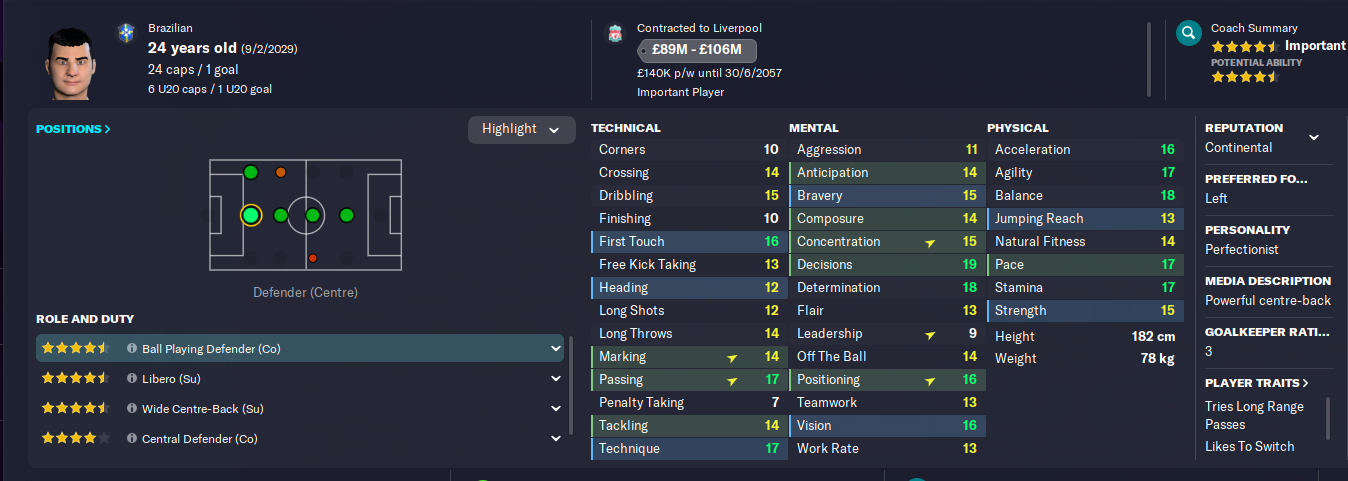
- Ball-Playing Defender: Passing 13+, Composure 13+, Vision 11+. Drop below those and the role just becomes a Central Defender with worse positioning.
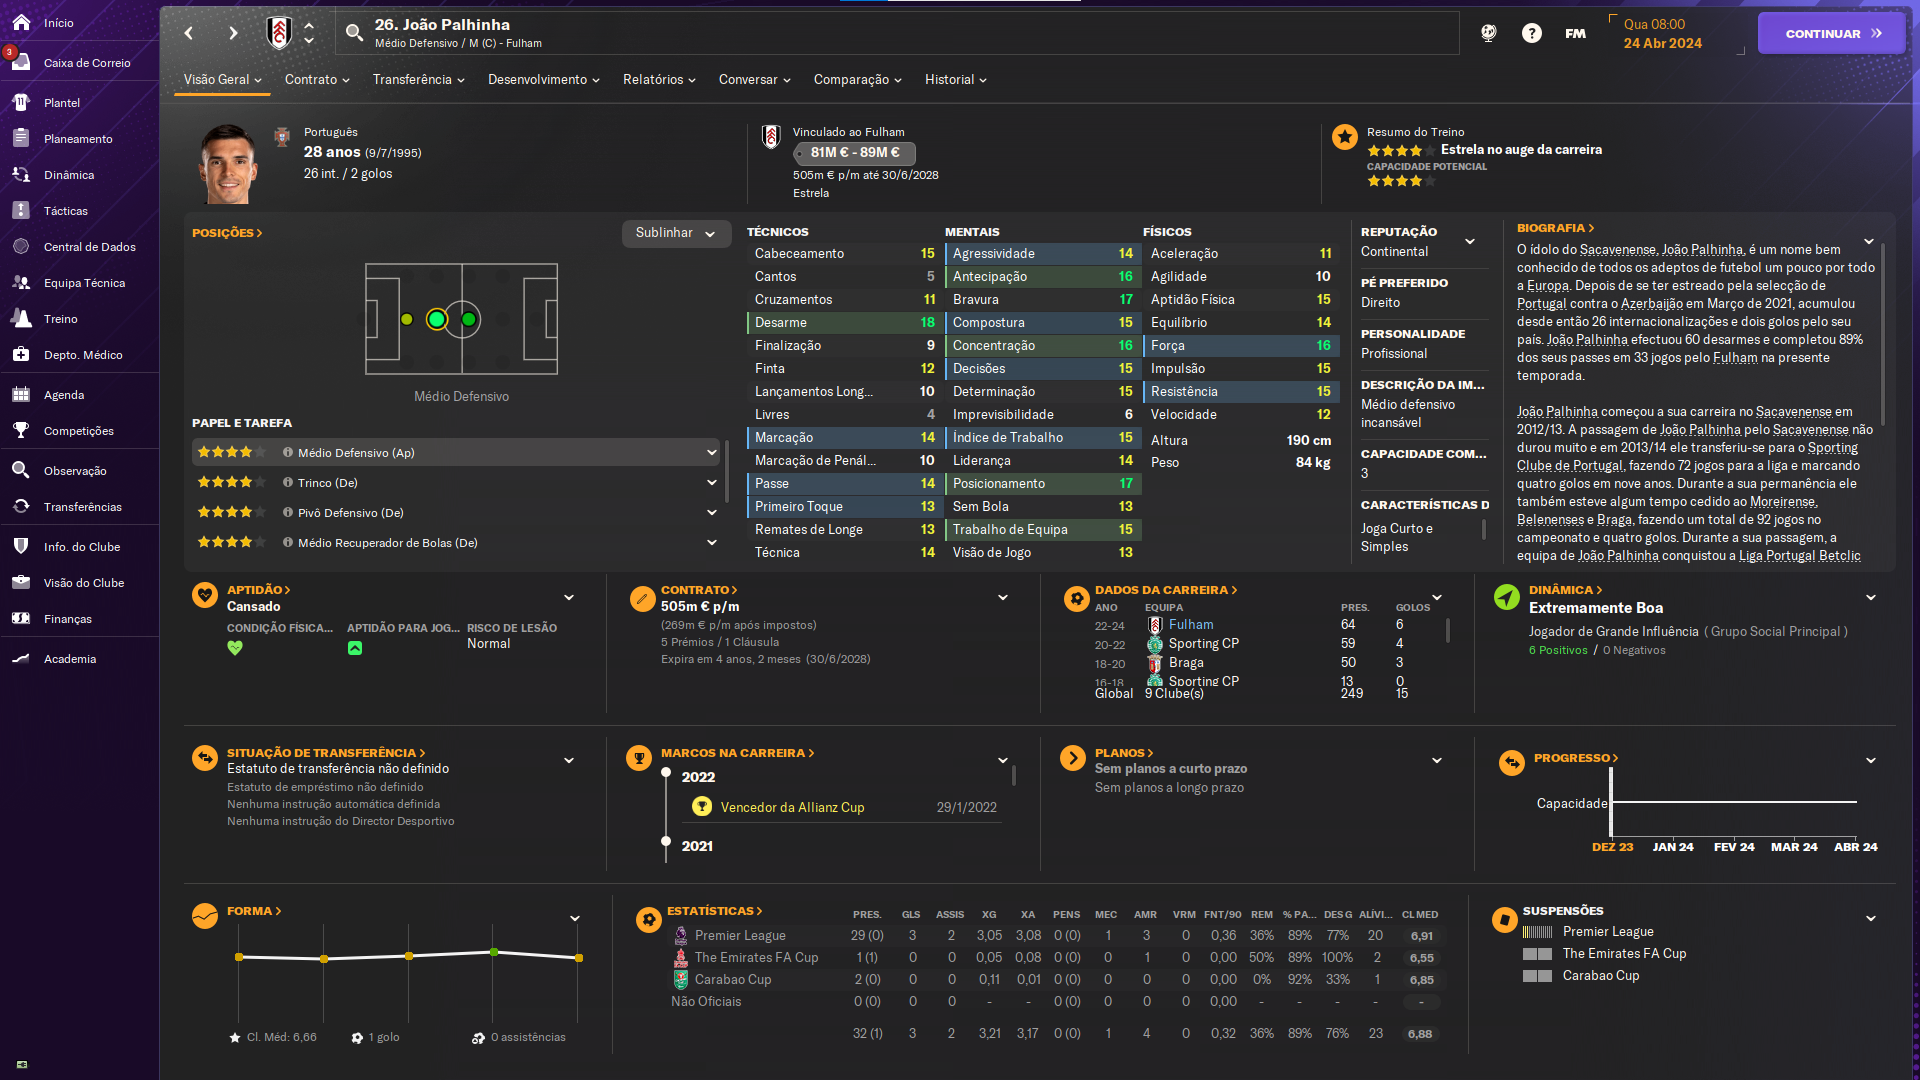
- Anchor / DM (Defend): Positioning 15+, Anticipation 13+, Concentration 13+, Tackling 13+. Anchors don't chase, they intercept; Pace and Stamina sit lower on the priority list because the role doesn't cover the ground a Box-to-Box does.
- Box-to-Box Midfielder: Stamina 15+, Work Rate 15+, Off the Ball 13+. Stamina under 14 turns this role into a 60-minute liability.
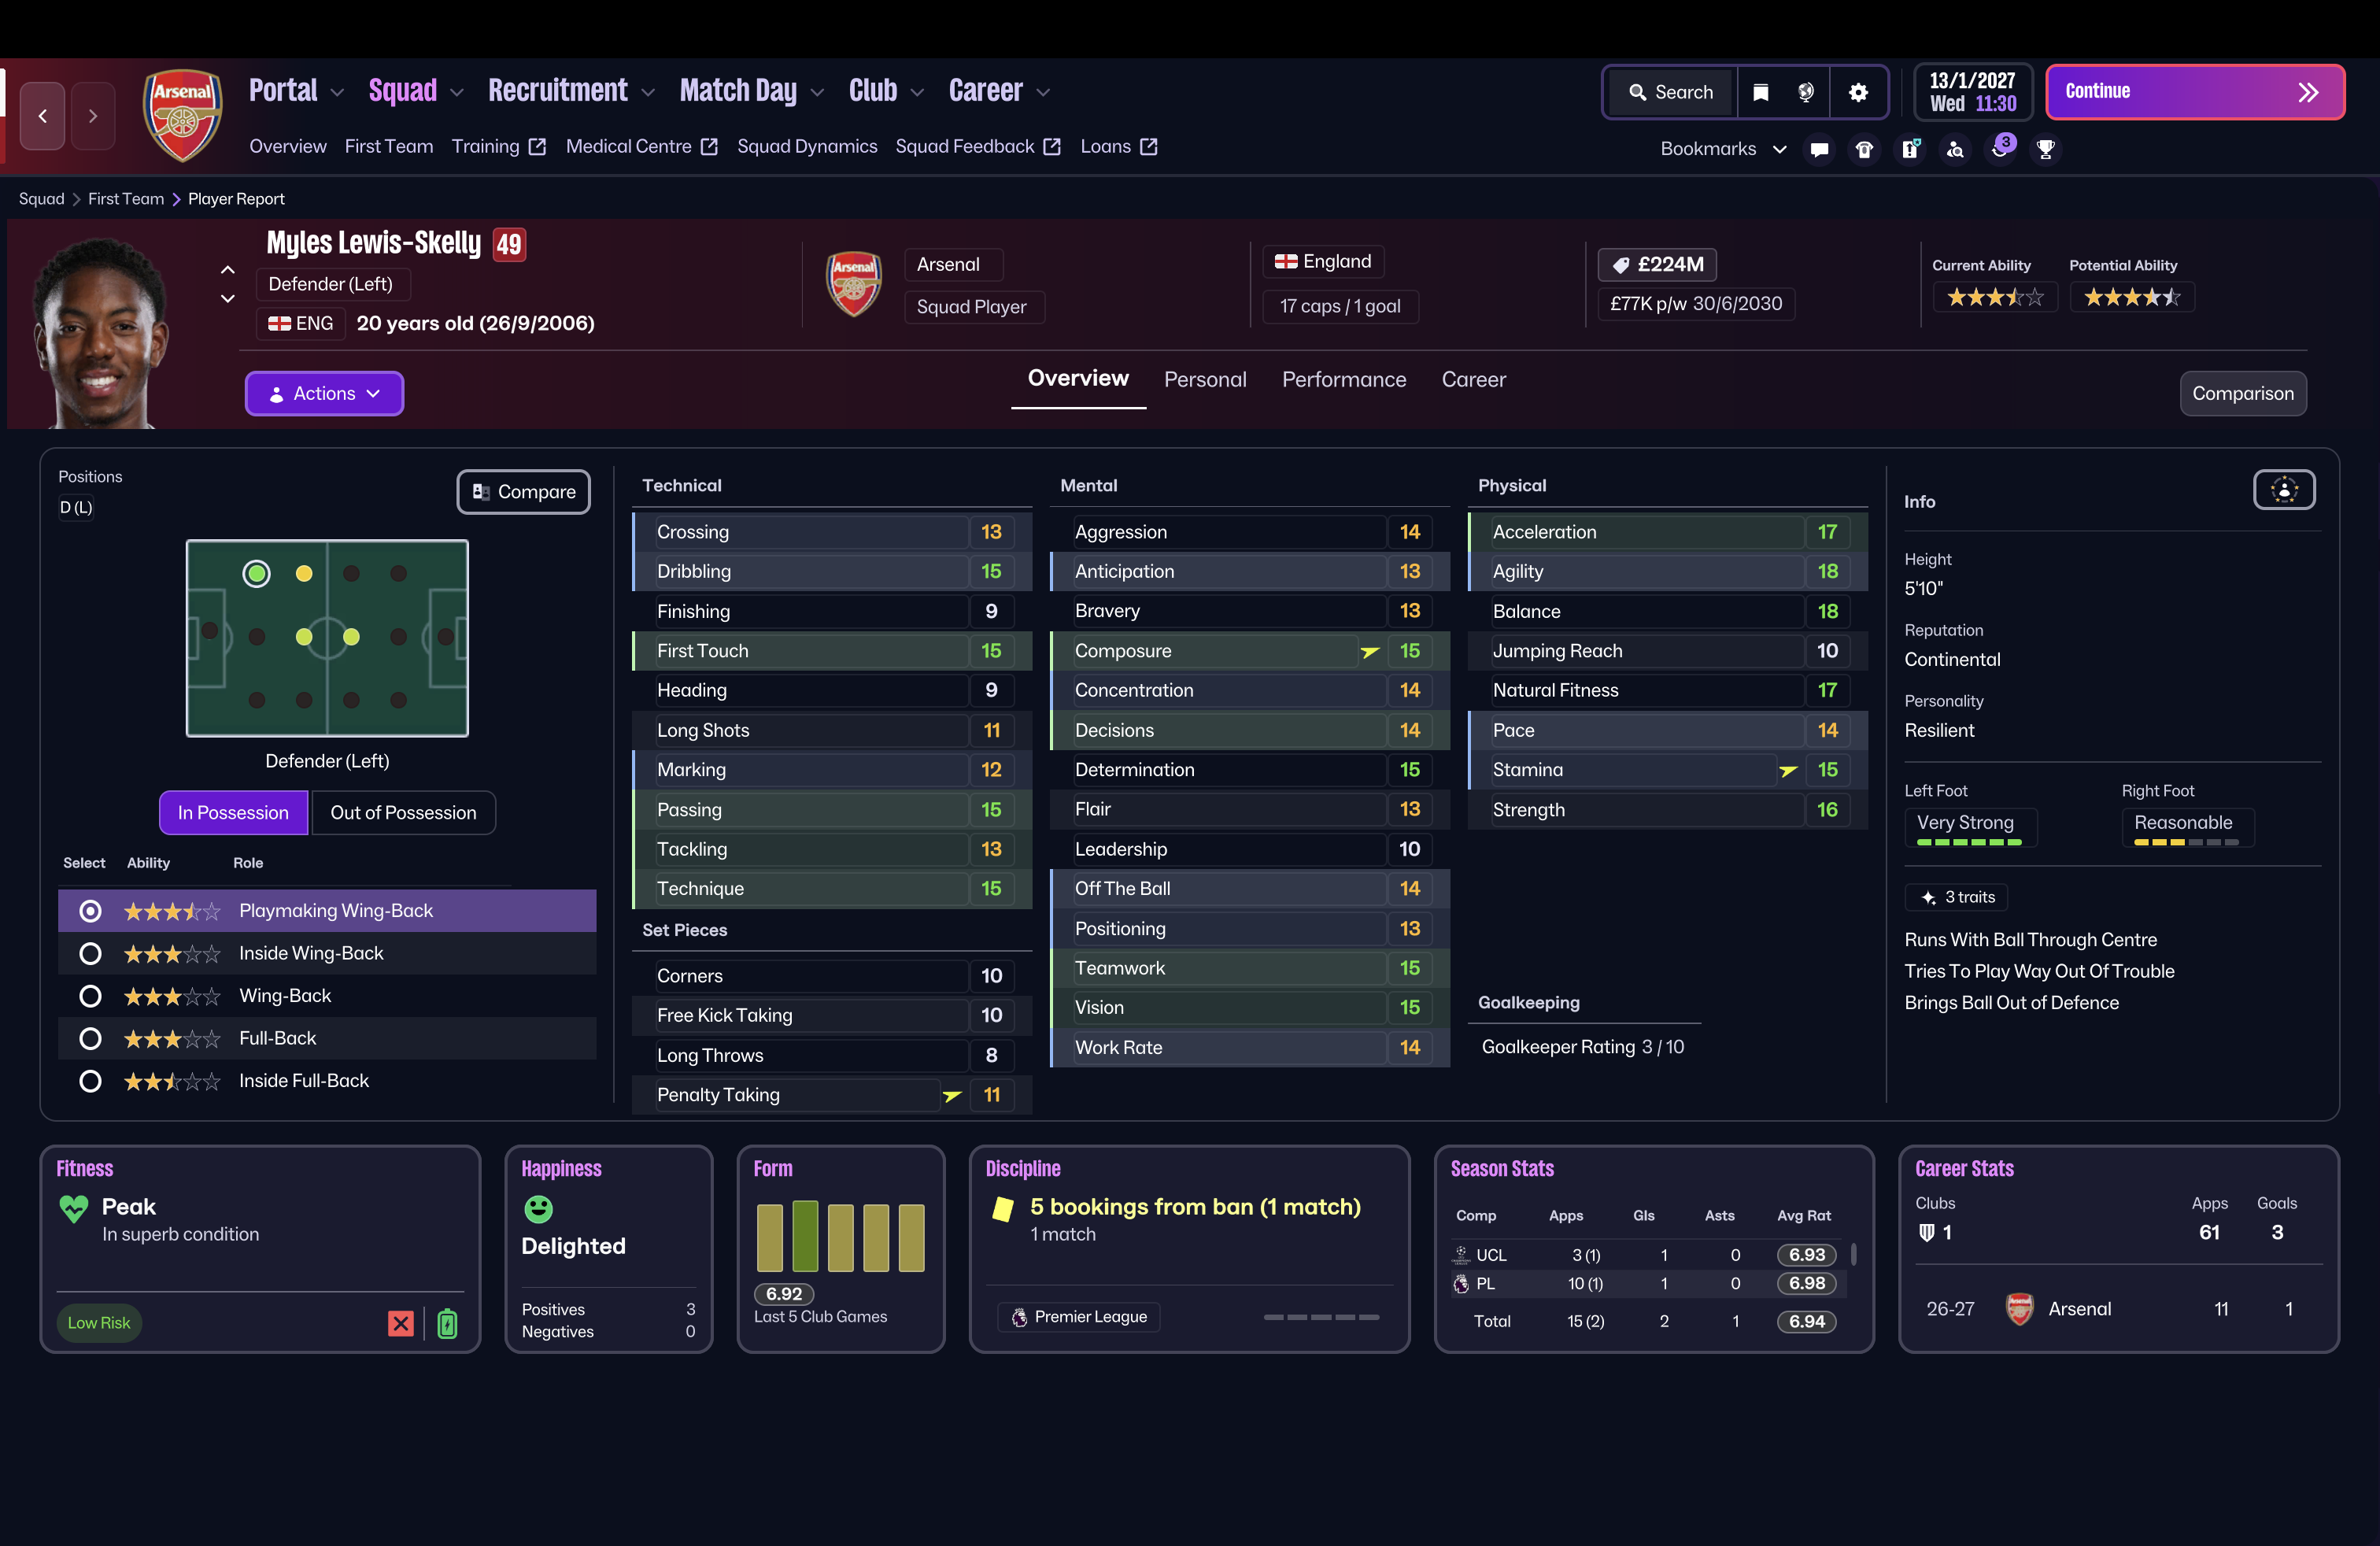
- Inside Forward: Acceleration 15+, Off the Ball 14+, Dribbling 13+, Finishing 13+. FM lists both Pace and Acceleration as IF Key Attributes; I weight Acceleration higher because IFs receive in tight spaces and the half-yard off the first step is what creates the shot. Off the Ball matters at least as much as Acceleration for the runs that actually score the goals. Caveat on Pace: at Premier-League level, Pace 13 is the comfort floor for any wide attacker (anything below and quick fullbacks will bully them physically), but it's a comfort floor, not a confidence floor, and a 13 Pace / 17 Acceleration IF can still be the right pick for the right tactic.
- Complete Forward: First Touch 15+, Off the Ball 15+, Finishing 13+, plus a creative attribute (Vision or Passing) at 13+. Skipping the creative attribute is what turns a CF into an expensive Poacher. Worth flagging: this is the highest-CA-cost role in the game, with floors above the Inside Forward role on two attributes. Most clubs can't actually field a true Complete Forward. If your striker hits the IF floors but not these, accept that and play a different role.
Notice what's not on those lists for most roles: Pace as a generic requirement, Strength as a tiebreaker, Aggression as a default ask. Aggression is role-dependent, though: useful for Ball-Winning Midfielders, Pressing Forwards, and any role used with More Urgent Pressing; less critical elsewhere. Those are the attributes scouts overweight in their highlighted reports; see the trap section below.
One thing to keep straight: the 13/15/17 numbers in this section are tierlabels at the level you're playing at, not literal numbers across all leagues. Use the tier mapping for the league you're at (so 13 in the Premier League and 11 in Vanarama North both mean "usable"), then read the role floors above as tier labels. A "13+" Anchor Positioning floor in Vanarama North is really an 11+ in absolute terms: same tier, different absolute number.
Hidden Attributes: the Numbers FM Doesn't Show You
The 1–20 attribute screen is not the whole picture. Football Manager tracks a set of personality and behavioural attributes that don't appear on the standard player profile, and they decide a lot of what actually happens across a season. You can't see the raw values, but you can read them indirectly through scout reports, tutoring outcomes, and player traits. Six that matter most for squad building:
- Consistency. The variance on a player's match performances. Two players with the same average rating can have wildly different consistency numbers; the inconsistent one wins you matches and loses you matches in equal measure. Read it through the scout's "performance" comments and the spread of match ratings on the player profile.
- Important Matches. How well a player performs in cup ties, derby fixtures, and title-deciding games. A high-Important-Matches player is who you build a knockout cup run around. Read it through the scout's "big game" line and through the player's reputation in domestic cups.
- Pressure. Decides whether a player freezes when they step up to a top club or play in front of a big crowd. Bringing a League-One striker to a Champions League side often fails on Pressure rather than Finishing. Read it through scout reports that mention "should handle pressure well" or "may struggle with the demands of a bigger club."
- Professionalism. Drives training output, injury recovery behaviour, and how a player responds to being benched or out of form. A high-Professionalism squad trains harder and tilts attribute development upward over a save; a low-Professionalism dressing room rots from the inside. Read it through coach reports on training application and through tutoring outcomes.
- Injury Proneness. The single attribute most likely to wreck a signing. Two players with identical Stamina and Natural Fitness can have completely different injury records because of this hidden number. Read it through the player's previous-season injury history and through scout phrasing like "has had injury problems."
- Versatility. How well a player adapts when retrained for a new position. Crucial for squad rotation and especially for buying young players whose long-term position you're still deciding. Read it through the scout's "Versatility" line. Anecdotally, fast-improving Position familiarity during retraining can be a versatility tell, though we wouldn't lean on it as hard as the scout phrasing.
Hidden attributes are the main reason two players with identical visible profiles can have wildly different careers. If you ever sign a player whose numbers look great and who then plays nothing like the numbers, the explanation almost always lives in this list.
Two visible attributes that work like hidden ones because most managers underweight them: Determination and Natural Fitness. Both show on the standard player profile, but they drive a stack of behind-the-scenes effects: Determination shapes training rate, response to team talks, and late-match mental resilience; Natural Fitness governs match-to-match recovery and how stamina holds up across a season. A high-Stamina, low-Natural-Fitness player gases by February. Read these two with the same weight you give the hidden list.
The "Key Attributes" Trap
Open any scouting report and Football Manager will helpfully highlight the player's "key attributes" (the numbers it thinks matter for the position). For most squad decisions, these highlights are subtly misleading, and following them blindly is how managers end up with an expensive squad that doesn't suit their tactic.
The problem is that the highlighted attributes are picked for the player's position, not for the role you intend to play them in. A "Central Midfielder" highlight set is roughly the same whether you want to use the player as an Anchor, a Box-to-Box, or an Advanced Playmaker, but those three roles want completely different attribute floors. The Anchor wants Positioning and Tackling above all; the Box-to-Box wants Stamina and Work Rate; the Advanced Playmaker wants Vision and Passing. The highlighted "key attributes" rarely capture the role-specific priorities cleanly.
The trap shows up in three concrete ways: you reject players who'd be perfect for your tactic because their position-default highlights look weak; you sign players with strong highlights who never quite click in your specific role; and you spend wages on attributes (Strength, Aggression, Bravery) that don't actually drive your tactic. The fix is to ignore the highlights entirely once you know what role you're scouting for, and check the role-specific floor list directly.
A good habit: open the role description in your tactic, read the "Key Attributes" FM lists for that role (not the position), and write down the top three. Those are the numbers you scout against. Everything else is a tiebreaker.
Three Illustrative Scouting Decisions
Three quick stories that show the framework in action.
Case 1: The "wrong" winger who fit the tactic
Mid-table Premier League side, scouting wide forwards. The shortlist has a 16-Pace, 15-Crossing, 12-Acceleration winger and a 13-Pace, 13-Crossing, 17-Acceleration alternative. The first player has all the highlighted "key attributes" lit up green; the second one's profile looks merely fine. The tactic is a 4-3-3 with Inside Forwards on Support (FM24 duty language; in FM26 read this as the equivalent IP-role variant), a role that wants Acceleration above Pace because IFs receive in tight spaces. The 17-Acceleration player is the right signing, even though the scout report makes him look ordinary. This is the "key attributes" trap in its purest form.
Case 2: The DM who couldn't anchor
Promotion-chasing Championship side. The manager signs a DM with 16 Tackling, 15 Strength, 14 Aggression: a bruiser who looks built for the league. After two months, the DM is being pulled out of position constantly and the team concedes through the middle. The hidden number: Positioning 11. The tactical role asked for an Anchor, and Anchors don't tackle their way out of trouble; they stay put and intercept. Tackling 16 with Positioning 11 is a Ball-Winning Midfielder, not an Anchor. Lesson: read the role's primary attribute first, not the position's headline ones.
Case 3: The striker who stopped scoring in November
Newly-promoted side signs a target man with 15 Finishing, 16 Strength, 14 Heading. He scores eight in his first ten matches, then enters a long scoring drought. Scout report on signing had said "may struggle with the demands of a bigger club" (a Pressure tell). Coupled with Natural Fitness 9, his recovery between matches was the worst in the squad, and the cumulative load looked like a contributor by mid-November. Both hidden attributes were plausibly doing damage; neither showed up on the visible profile. Slumps that severe usually involve a stack of factors (morale, dressing room, opposition adaptation), so don't read this as a clean "two hidden attributes caused the slump" story; it's that the hidden attributes belonged on the suspect list and a manager scouting only the visible profile wouldn't have flagged them at all. The fix was rotation, and form recovered after a stretch on the bench.
Frequently Asked Questions
Does the 13/15/17 tier framework work in lower leagues?
Yes, but you shift the tiers down. In Vanarama North or below, treat 11 as the "usable" floor and 13 as elite (matching the body section above). The relative gaps are what matter: a player who's two tiers above the league average on one role attribute is a starter regardless of whether the absolute number is 11 or 17.
Why do my scouts highlight different attributes than the role wants?
Because scout highlights are picked from a position-default set, not from your selected role. The game can't know you're using your CMs as Mezzalas (FM24) or Channel Midfielders (FM26) rather than CM(S)s. Once you know the role, ignore the green highlights and check the role's own attribute list inside the tactic editor; those are the numbers that actually matter.
How do I read hidden attributes if I can't see them?
Three sources, in order of reliability. First, scout reports: pay attention to phrasing about pressure, big games, and recovery. Second, tutoring outcomes: a successful tutoring chain reveals the mentor's personality (you can infer what was eligible to transfer), and probabilistically passes those traits to the tutee; it does not surface the tutee's own pre-existing hidden attributes. Third, match-rating spread on the player profile: high-Consistency players cluster their ratings tightly; inconsistent ones swing from 6.0 to 8.5 across consecutive games.
Should I retrain a player whose attributes don't match my tactic?
Only if Versatility is high and the player is under 24. Retraining shifts Position familiarity, but it doesn't grow new attributes; a slow CB doesn't get faster by being retrained as a DM. Retraining works best when the player already has the underlying attributes for the new role and just needs the positional reps. Otherwise, sell and recruit; you'll save a season.
Is Determination really worth weighting that highly?
Yes, though more as an underweighted attribute than a magic stat. Determination feeds into training rate, response to team talks, and late-match mental resilience, all of which compound across a season. A squad with average Determination 15 will, in my experience, tend to outperform a comparable squad sitting around 11 by a margin that's invisible on the attribute screen but shows up in the league table. Tutor your high-Determination veterans onto your wonderkids early; it's one of the cheapest compounding edges in the game.
Conclusion
Attributes are the surface Football Manager presents to you; the working game lives a layer below. Most of the bad squad decisions in this game come from managers staring at the visible numbers and missing what's underneath.
Related guides
Keep exploring the tactical library. These go well with the topic above.
Understanding the 4-3-3 Formation
Master the classic 4-3-3: player roles, tactical variations, and the trade-offs that decide whether it sings or stalls.
Possession-Based Tactics in Football Manager
Build the patient, control-the-tempo style without watching your opponents counter through the gaps you leave behind.
Counter-Attacking Excellence
Sit deep, win the ball, and break in three passes. The roles, instructions, and squad profile that make it work.