3-2-2-2-1 Tactic
3-2-2-2-1
Creating scoring opportunities through the combination of wing and central play. The presence of 3 strong defenders provides a solid structure at the back.
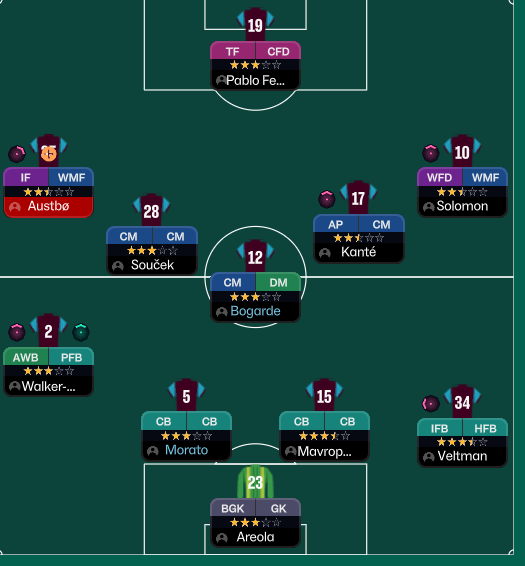
Loading tactical analysis...
Formation and style
3-2-2-2-1
In possession
Play Out of Defence
Focus Play Down Both Flanks
In transition
Counter-Press
Counter
Out of possession
Higher Defensive Line
Higher Line of Engagement
Player roles
GK
Goalkeeper
Defend
CB
Ball-Playing Defender
Defend
CB
No-Nonsense Centre-Back
Defend
CB
No-Nonsense Centre-Back
Defend
DM
Defensive Midfielder
Defend
CM
Central Midfielder
Support
CM
Central Midfielder
Support
AP
Advanced Playmaker
Support
IF
Inside Forward
Attack
WM
Wide Midfielder
Attack
TF
Target Forward
Attack
Phase description
Focuses on using width through the Inside Forward and Wide Midfielder to create spaces in the defence.
Pressing forward quickly to regain possession and use available width.
Creating scoring opportunities through the combination of wing and central play.
Team shape defence
Compact
The team maintains a compact shape with high defensive engagement.
Higher Defensive Line and Higher Line of Engagement.
Team shape attack
Exploit Flanks
Utilizes the full width of the pitch, with players positioned to exploit flanks.
Focus Play Down Both Flanks.
Key strengths
Defensive Solidity
The presence of 3 strong defenders provides a solid structure at the back.
3 CBs in the formation.
Fluid Midfield
The midfield setup allows for both defensive stability and creative play.
Use of DMs and CMs to maintain control.
Conflicting tactics
High Defensive Line
May leave gaps behind if players are quick to exploit space.
Higher Defensive Line with 3 defenders.
Limited Cover
The pressing style may leave the central areas vulnerable to counter-attacks.
Counter-Pressing combined with aggressive Line of Engagement.
Risk exposures
Risk Exposures
Items
Defensive Lines
High engagement may expose defenders to faster counter-attacks.
Higher Defensive Line and High-Pressing model.
Transition Phases
Quick transitions by opponents can exploit the lack of defensive cover.
Counter-Pressing combined with pressing style.
Role synergies
Role Synergies
Items
AP and CMs
AP can create chances for CMs, enhancing central attacking options.
AP role at [4,3] supported by CM roles.
IF and Target Forward
IF's movement can complement the Target Forward's positioning, creating space.
IF at [6,1] and TF at [6,3].
Suggested questions
How can I utilize my attacking players to increase scoring efficiency?
What tactical adjustments can help in away matches against stronger opponents?
Are there specific player roles or attributes I should prioritize for future signings?
Related Tactics
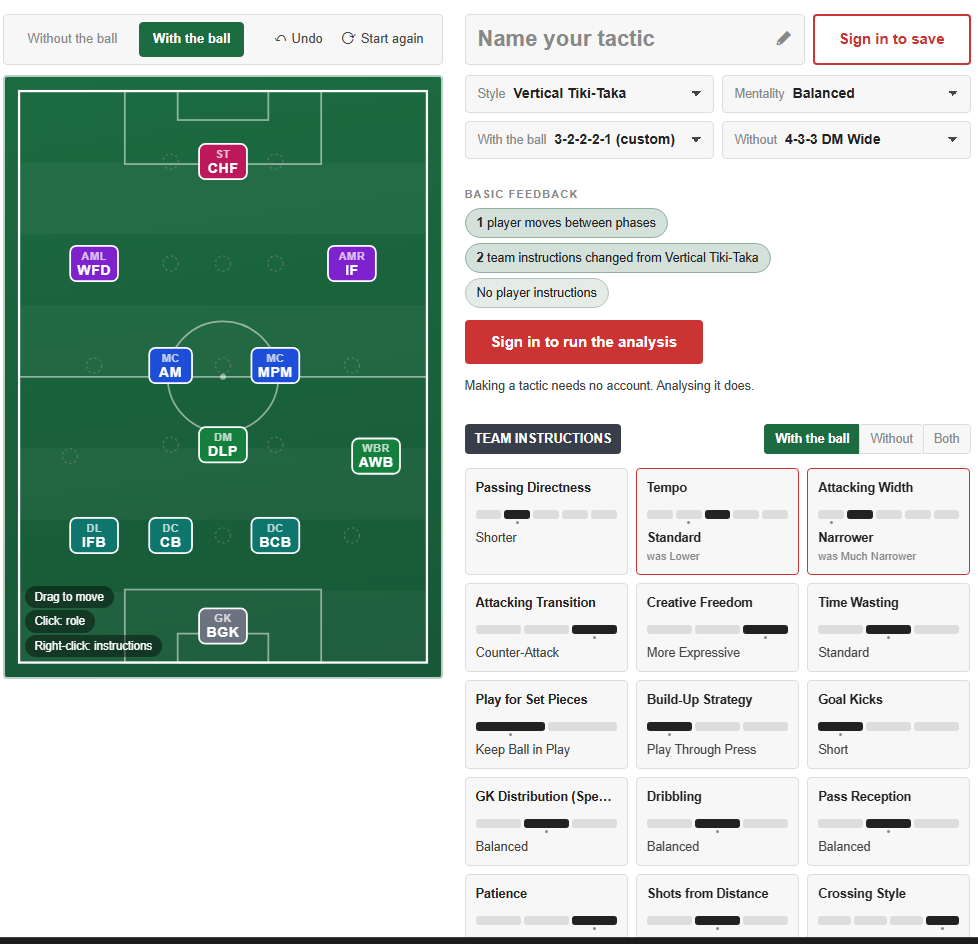
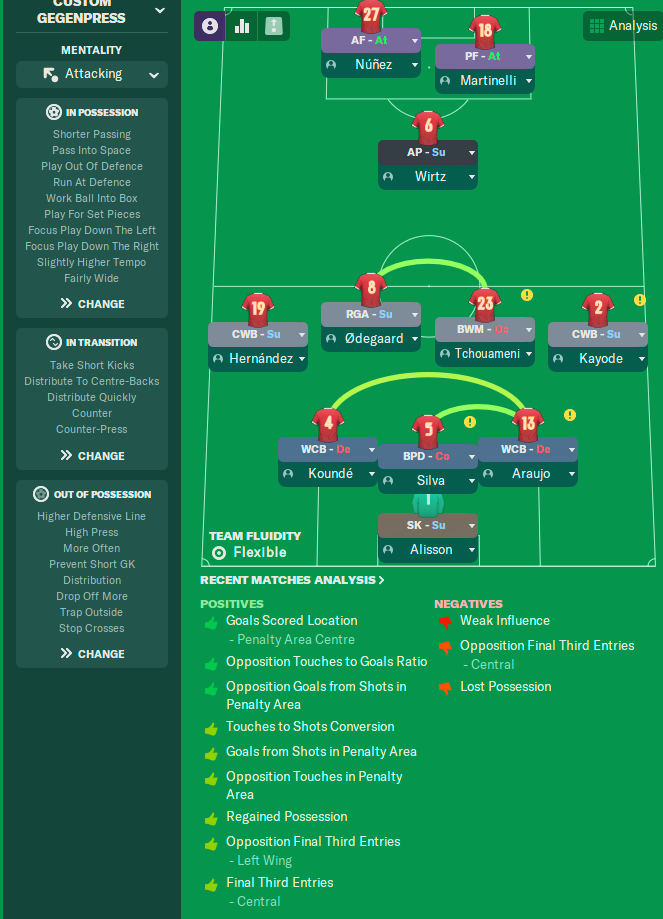
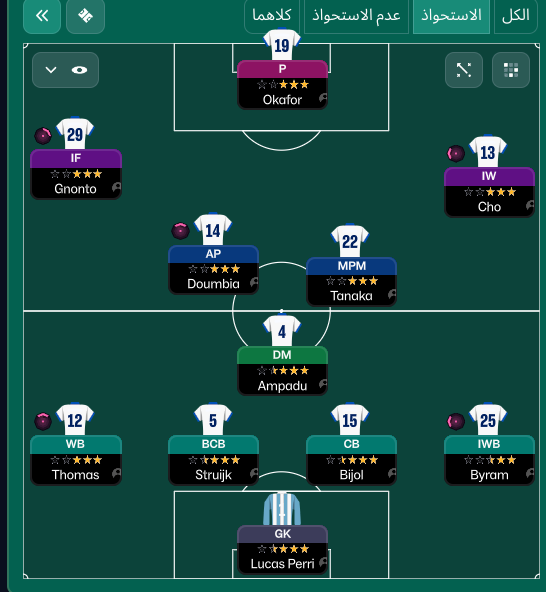


Guides for this tactic
The tactical theory behind the 3-2-2-2-1: roles, instructions, and the trade-offs that decide whether the system holds up.
Playing styles
Tiki-Taka vs Positional Play
Why circulation density and zonal occupation aren't the same thing in FM, and the half-space occupation rule that decides build-up.
Read guide
Foundations
Pressing Triggers and Intensity
Counter-Press, Regroup, Stand Off, Trigger Press: what each pressing instruction does in FM and how to pair them without contradicting.
Read guide
Foundations
Defensive Line and Line of Engagement
The pairing rule for Defensive Line and Line of Engagement, all 9 combinations, and the gap that costs goals.
Read guide