Vertical Tiki-Taka 3-2-2-2-1 (Balanced) Tactic
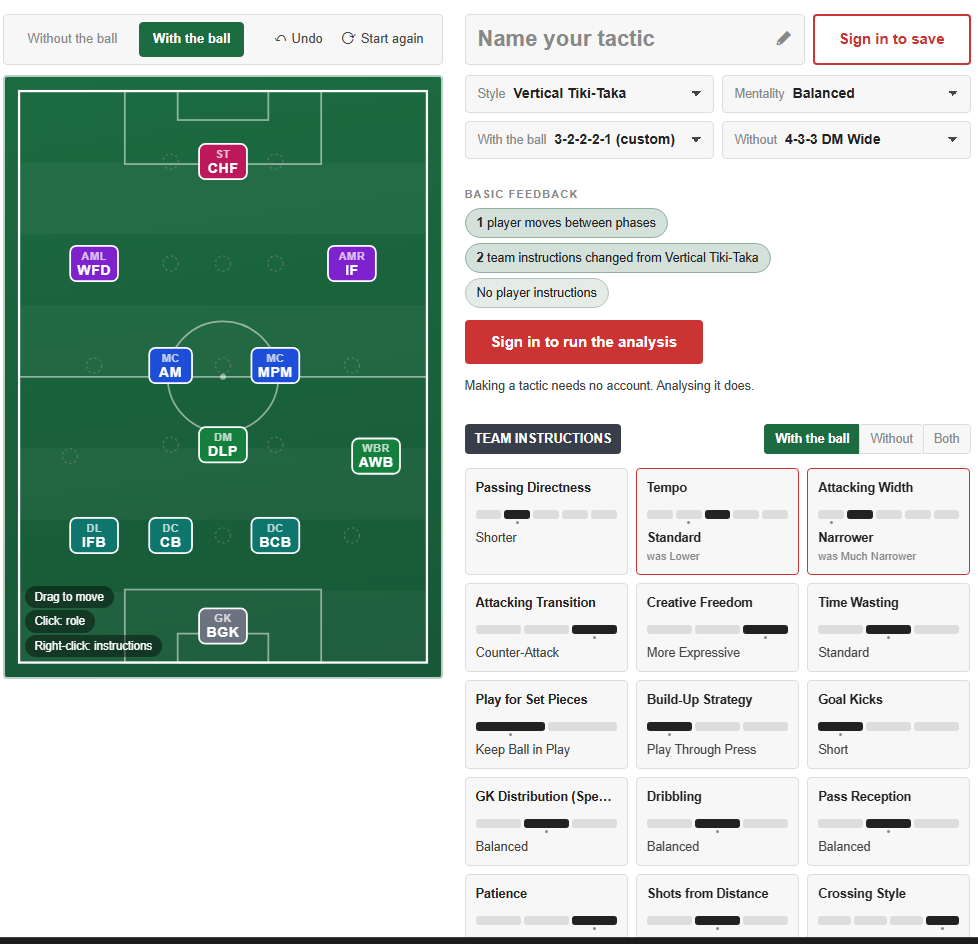
3-2-2-2-1
Patience in build-up play with an emphasis on exploiting narrow spaces. Utilizing DLP and AM roles, this setup can control the midfield effectively.
Loading tactical analysis...
Formation and style
Vertical Tiki-Taka
Balanced
3-2-2-2-1
In possession
Shorter Passing
Standard Tempo
Narrower Width
In transition
Counter-Attack
Player roles
GK
Goalkeeper
Defend
DL
Inverted Full-Back
Support
DC
Centre-Back
Defend
DC
Ball-Playing Defender
Defend
DM
Deep-Lying Playmaker
Support
MC
Advanced Playmaker
Support
MC
Mezzala
Attack
WBR
Wing-Back
Attack
AML
Wide Forward
Attack
AMR
Inside Forward
Attack
ST
Complete Forward
Attack
Phase description
The team aims to maintain possession with short passing, utilizing the midfield to create opportunities.
Quick transition into counter-attacking when possession is lost.
Patience in build-up play with an emphasis on exploiting narrow spaces.
Team shape defence
Compact
Defensive line maintains a compact shape, making it difficult for opponents to penetrate.
The presence of a DLP and two CBs in defensive roles aids this compactness.
Team shape attack
Fluid
A fluid attacking shape that allows for dynamic movement and interchanging positions.
Roles like MPM and AM create versatile options for progressing the ball.
Key strengths
Strong Midfield Control
Utilizing DLP and AM roles, this setup can control the midfield effectively.
DLP-S at [3,3] and AM-S at [4,3] ensure strong central positioning.
Attacking Width Options
The use of WBs provides width and encourages deep runs, stretching the opposition.
WBR-A at [2,5] and AML-A at [6,2] help to exploit wide areas.
Conflicting tactics
Potential Vulnerability in Full-Back Areas
Inverted full-backs can create space if not properly supported.
IFB at [2,1] may leave gaps if WBR-A at [2,5] is committed forward.
Overcrowding in Midfield
With three players in central areas, it may restrict movement.
Advanced Playmaker at [4,3] and Mezzala at [4,4] could overlap, causing congestion.
Risk exposures
Risk Exposures
Items
Defensive Transition
When attackers press forward, midfielders might be too far up to recover quickly.
Advanced Playmaker at [4,3] could leave gaps during counters.
Wide Areas
May be exposed if full-backs push too high in attack without adequate cover.
Inverted FB could leave [2,1] vulnerable to counter play.
Role synergies
Role Synergies
Items
DLP and AM
DLP-S works well with AM-S to link defense to attack efficiently.
DLP-S at [3,3] provides a pivot for AM-S at [4,3].
WB and WFD
WBR-A overlapping with WFD-A creates unpredictable width in attacks.
WBR-A at [2,5] supports AML-WFD at [6,2].
Suggested questions
How will you manage transitions when possession is lost?
What adjustments will you make against teams that press high?
How do you plan to optimize your full-backs' involvement without risking defensive stability?
Related Tactics
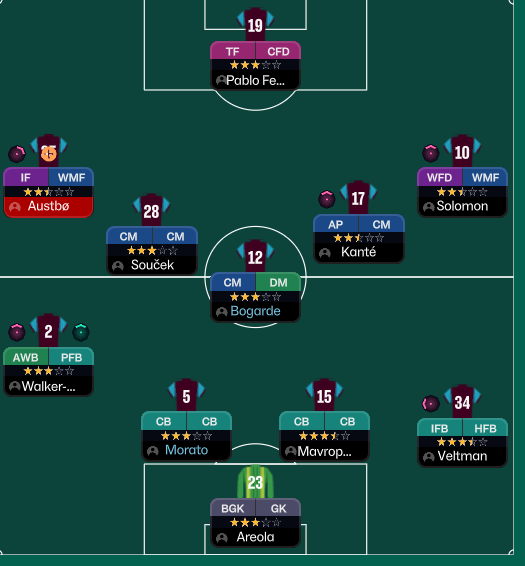
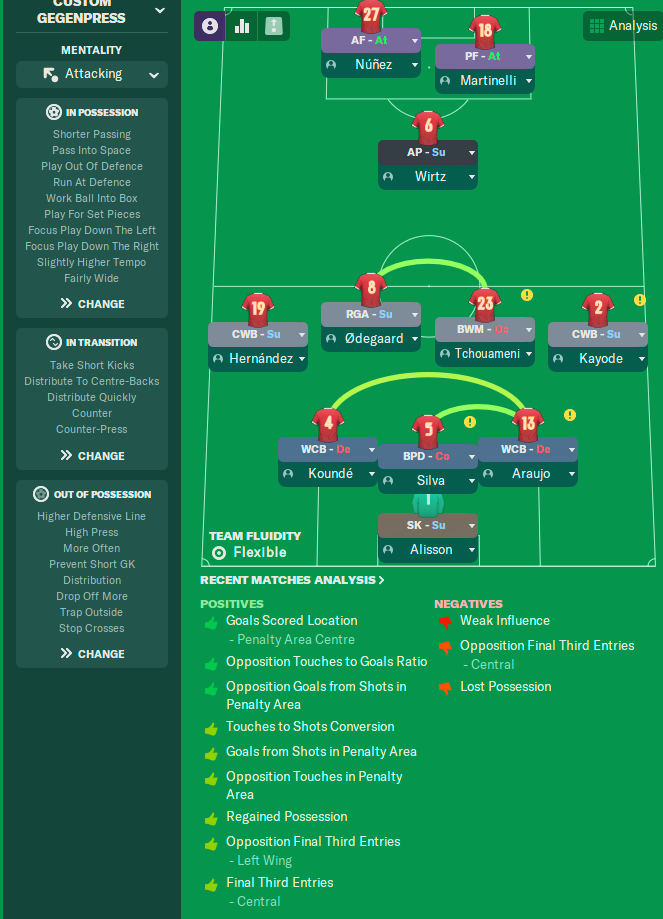
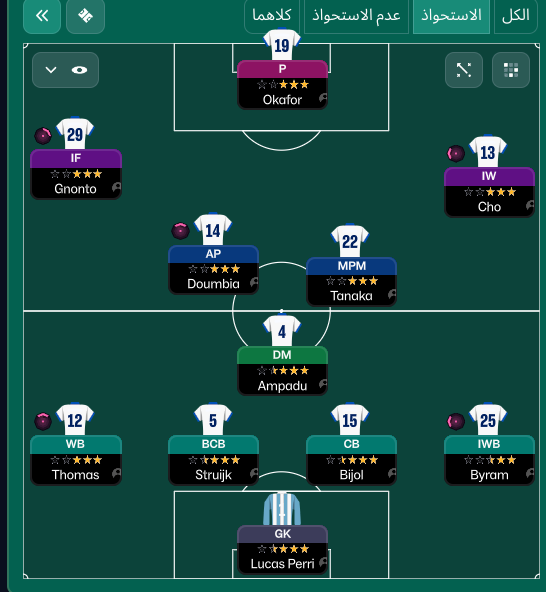


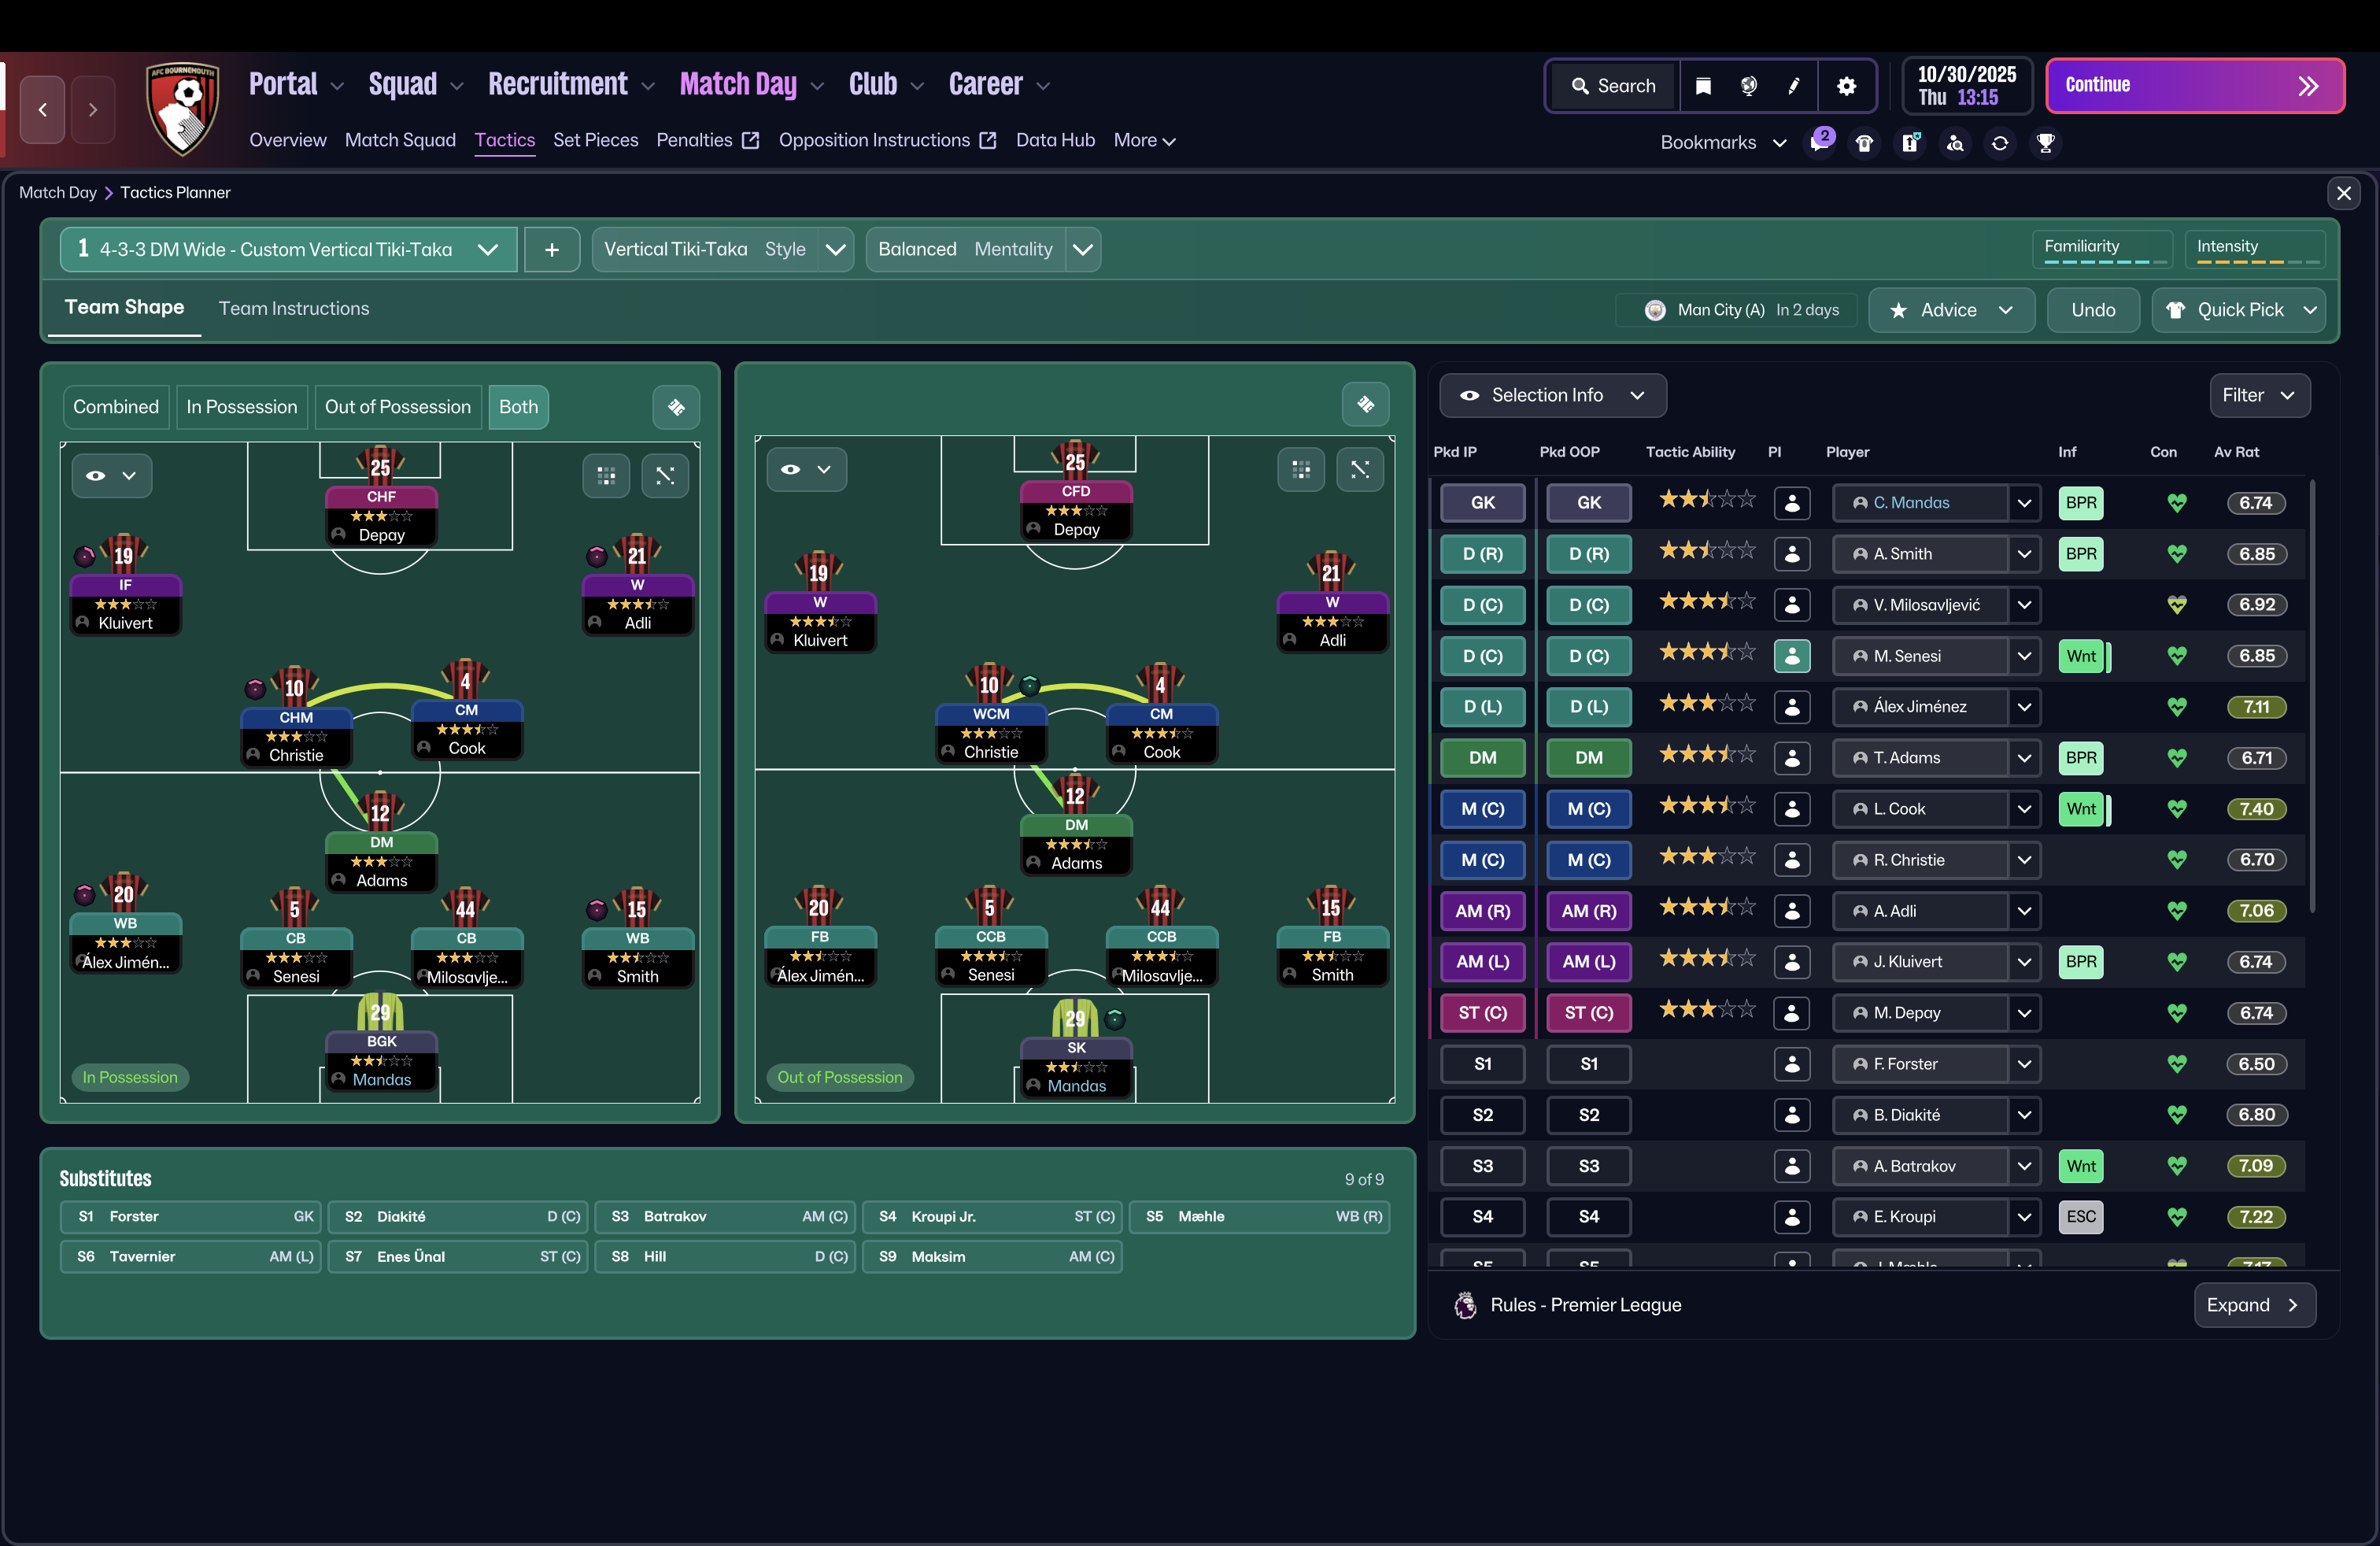
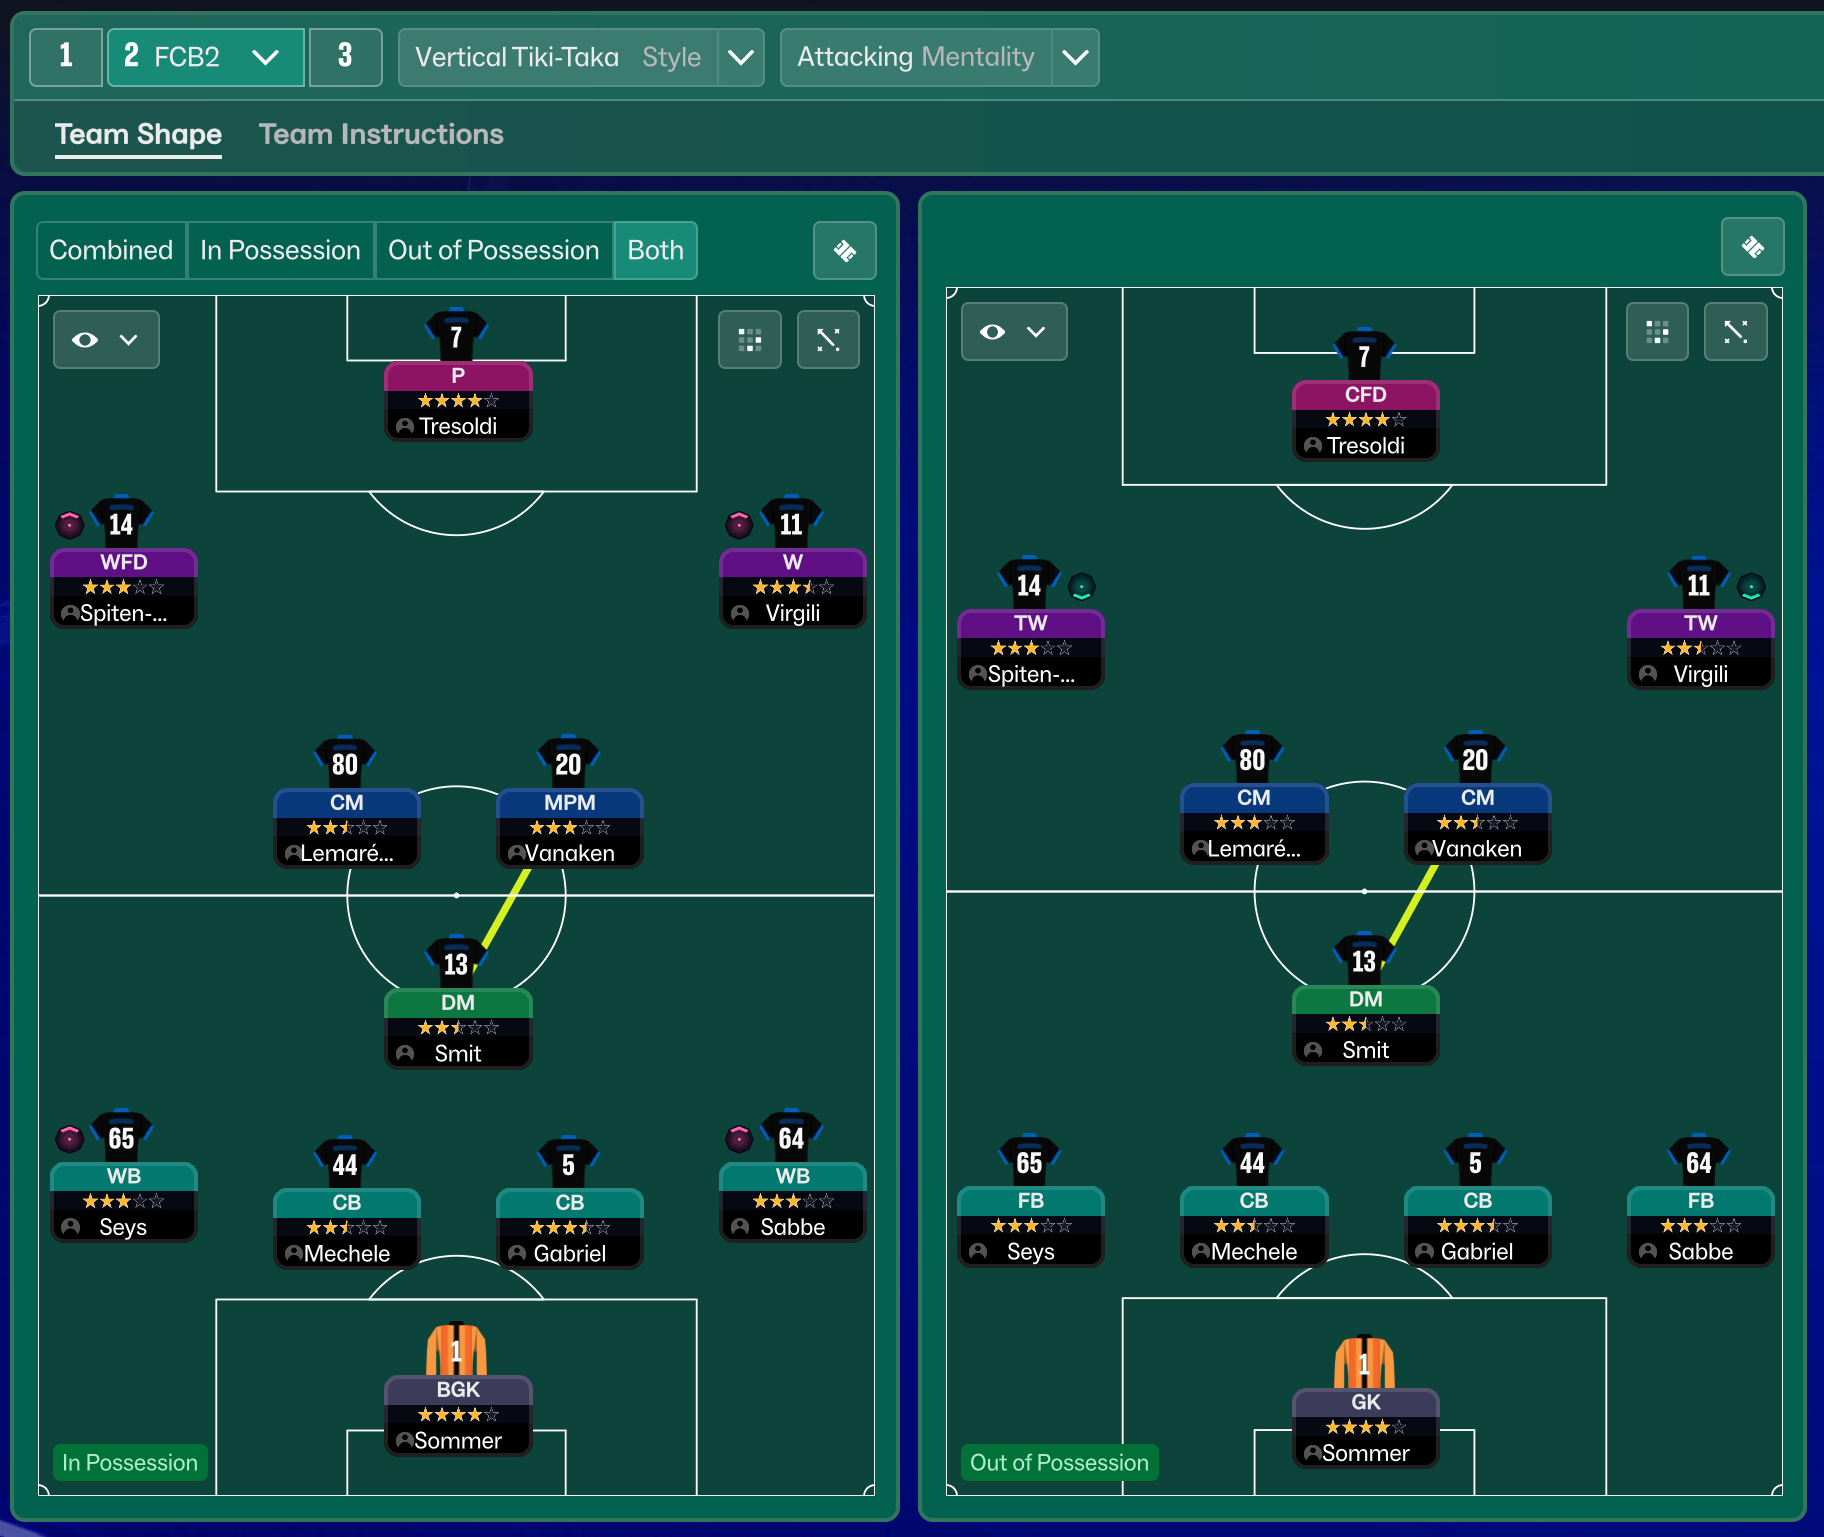
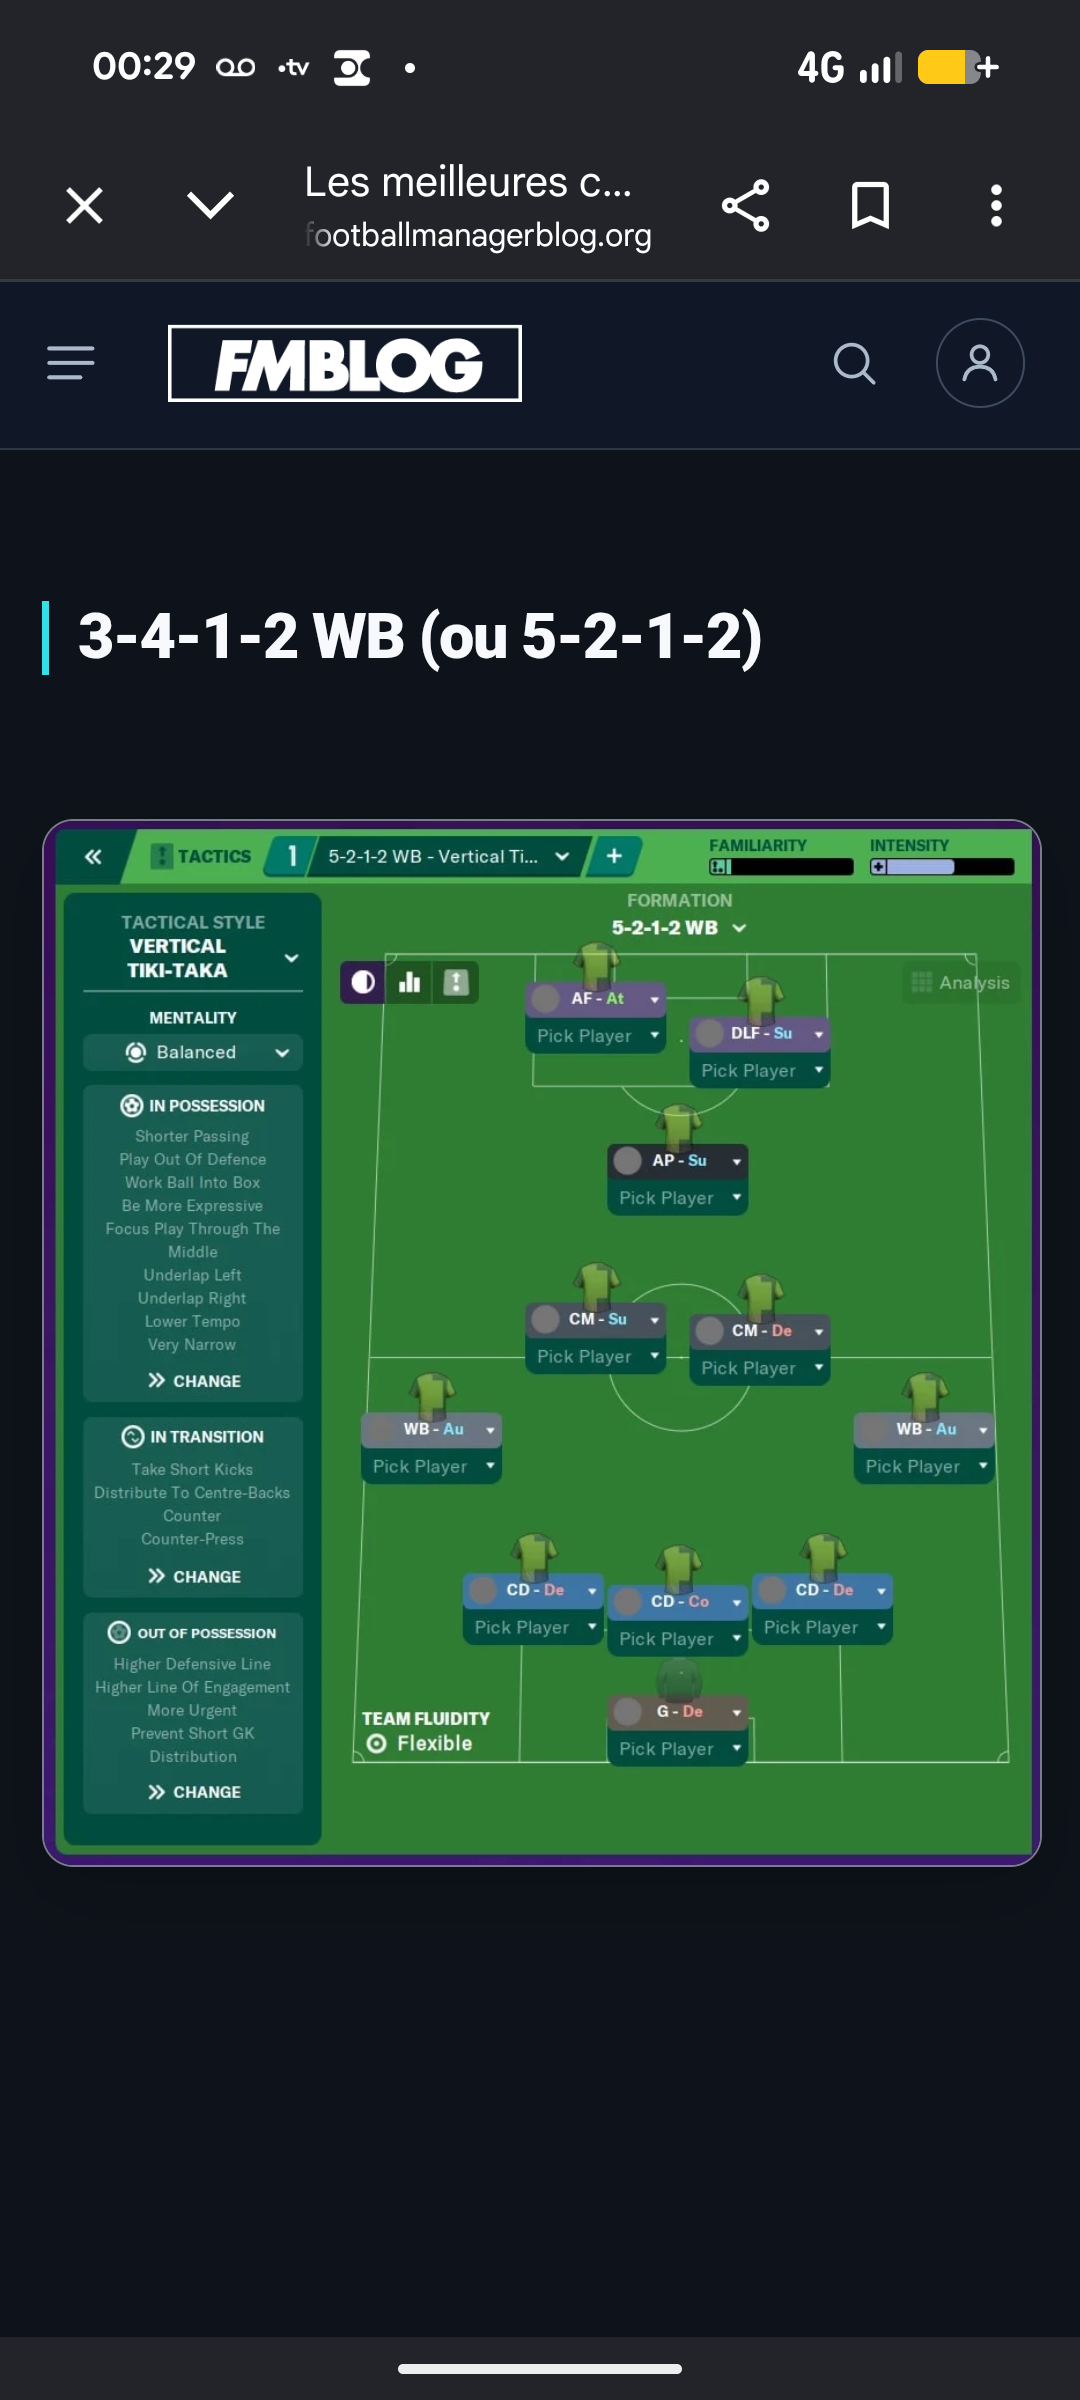
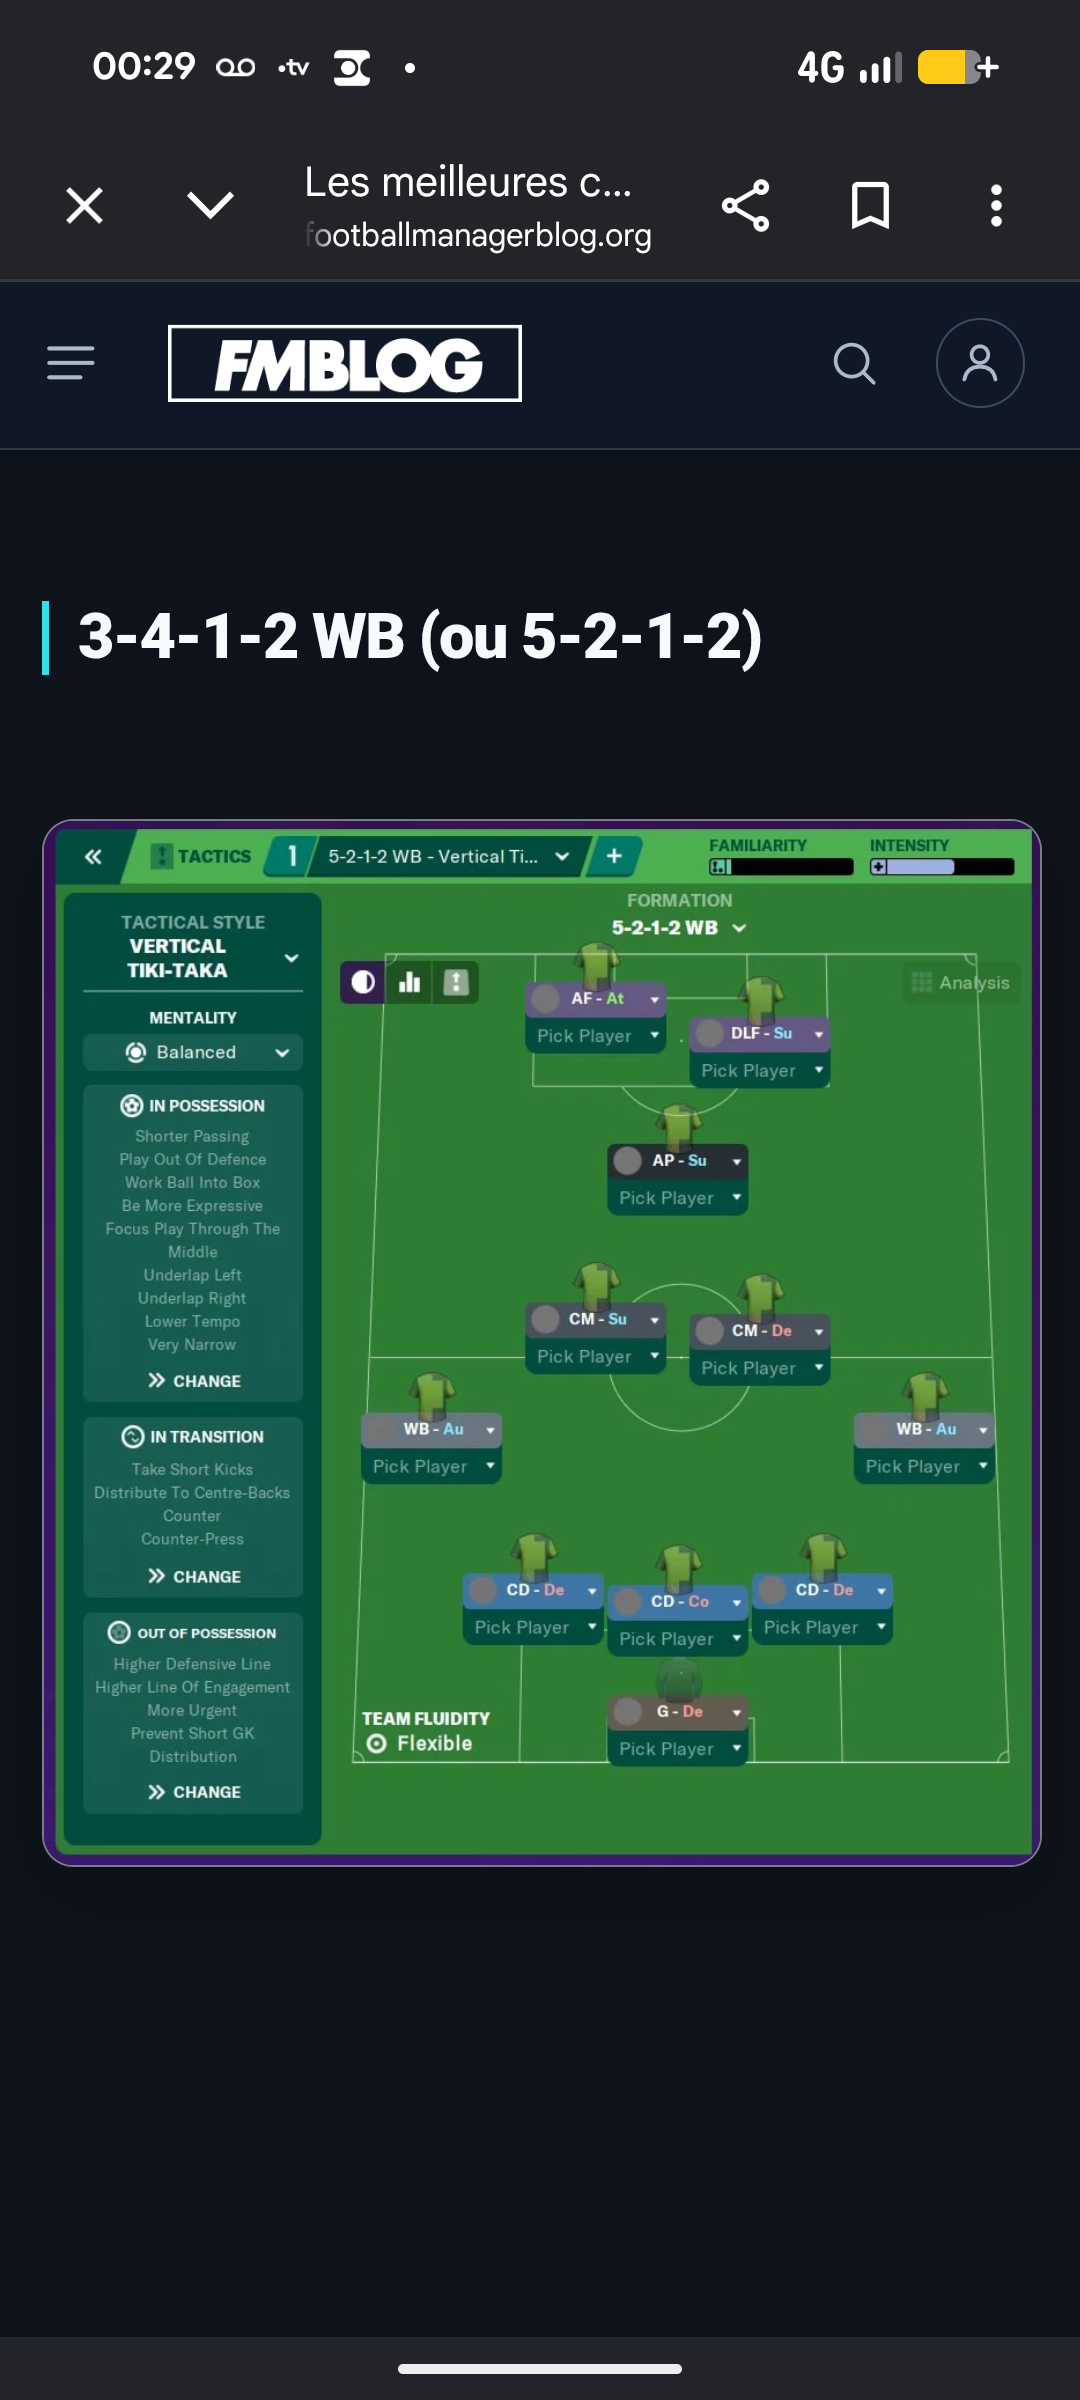
More Vertical Tiki-Taka tactics
Guides for this tactic
The tactical theory behind the 3-2-2-2-1: roles, instructions, and the trade-offs that decide whether the system holds up.
Playing styles
Tiki-Taka vs Positional Play
Why circulation density and zonal occupation aren't the same thing in FM, and the half-space occupation rule that decides build-up.
Read guide
Foundations
Pressing Triggers and Intensity
Counter-Press, Regroup, Stand Off, Trigger Press: what each pressing instruction does in FM and how to pair them without contradicting.
Read guide
Foundations
Defensive Line and Line of Engagement
The pairing rule for Defensive Line and Line of Engagement, all 9 combinations, and the gap that costs goals.
Read guide