Vertical Tiki-Taka 4-3-3 DM Wide (Balanced) Tactic
4-3-3 DM Wide
To maintain possession and create combinations in the final third, leveraging the width provided by the Wing-Backs. The deployment of Wing-Backs enables…
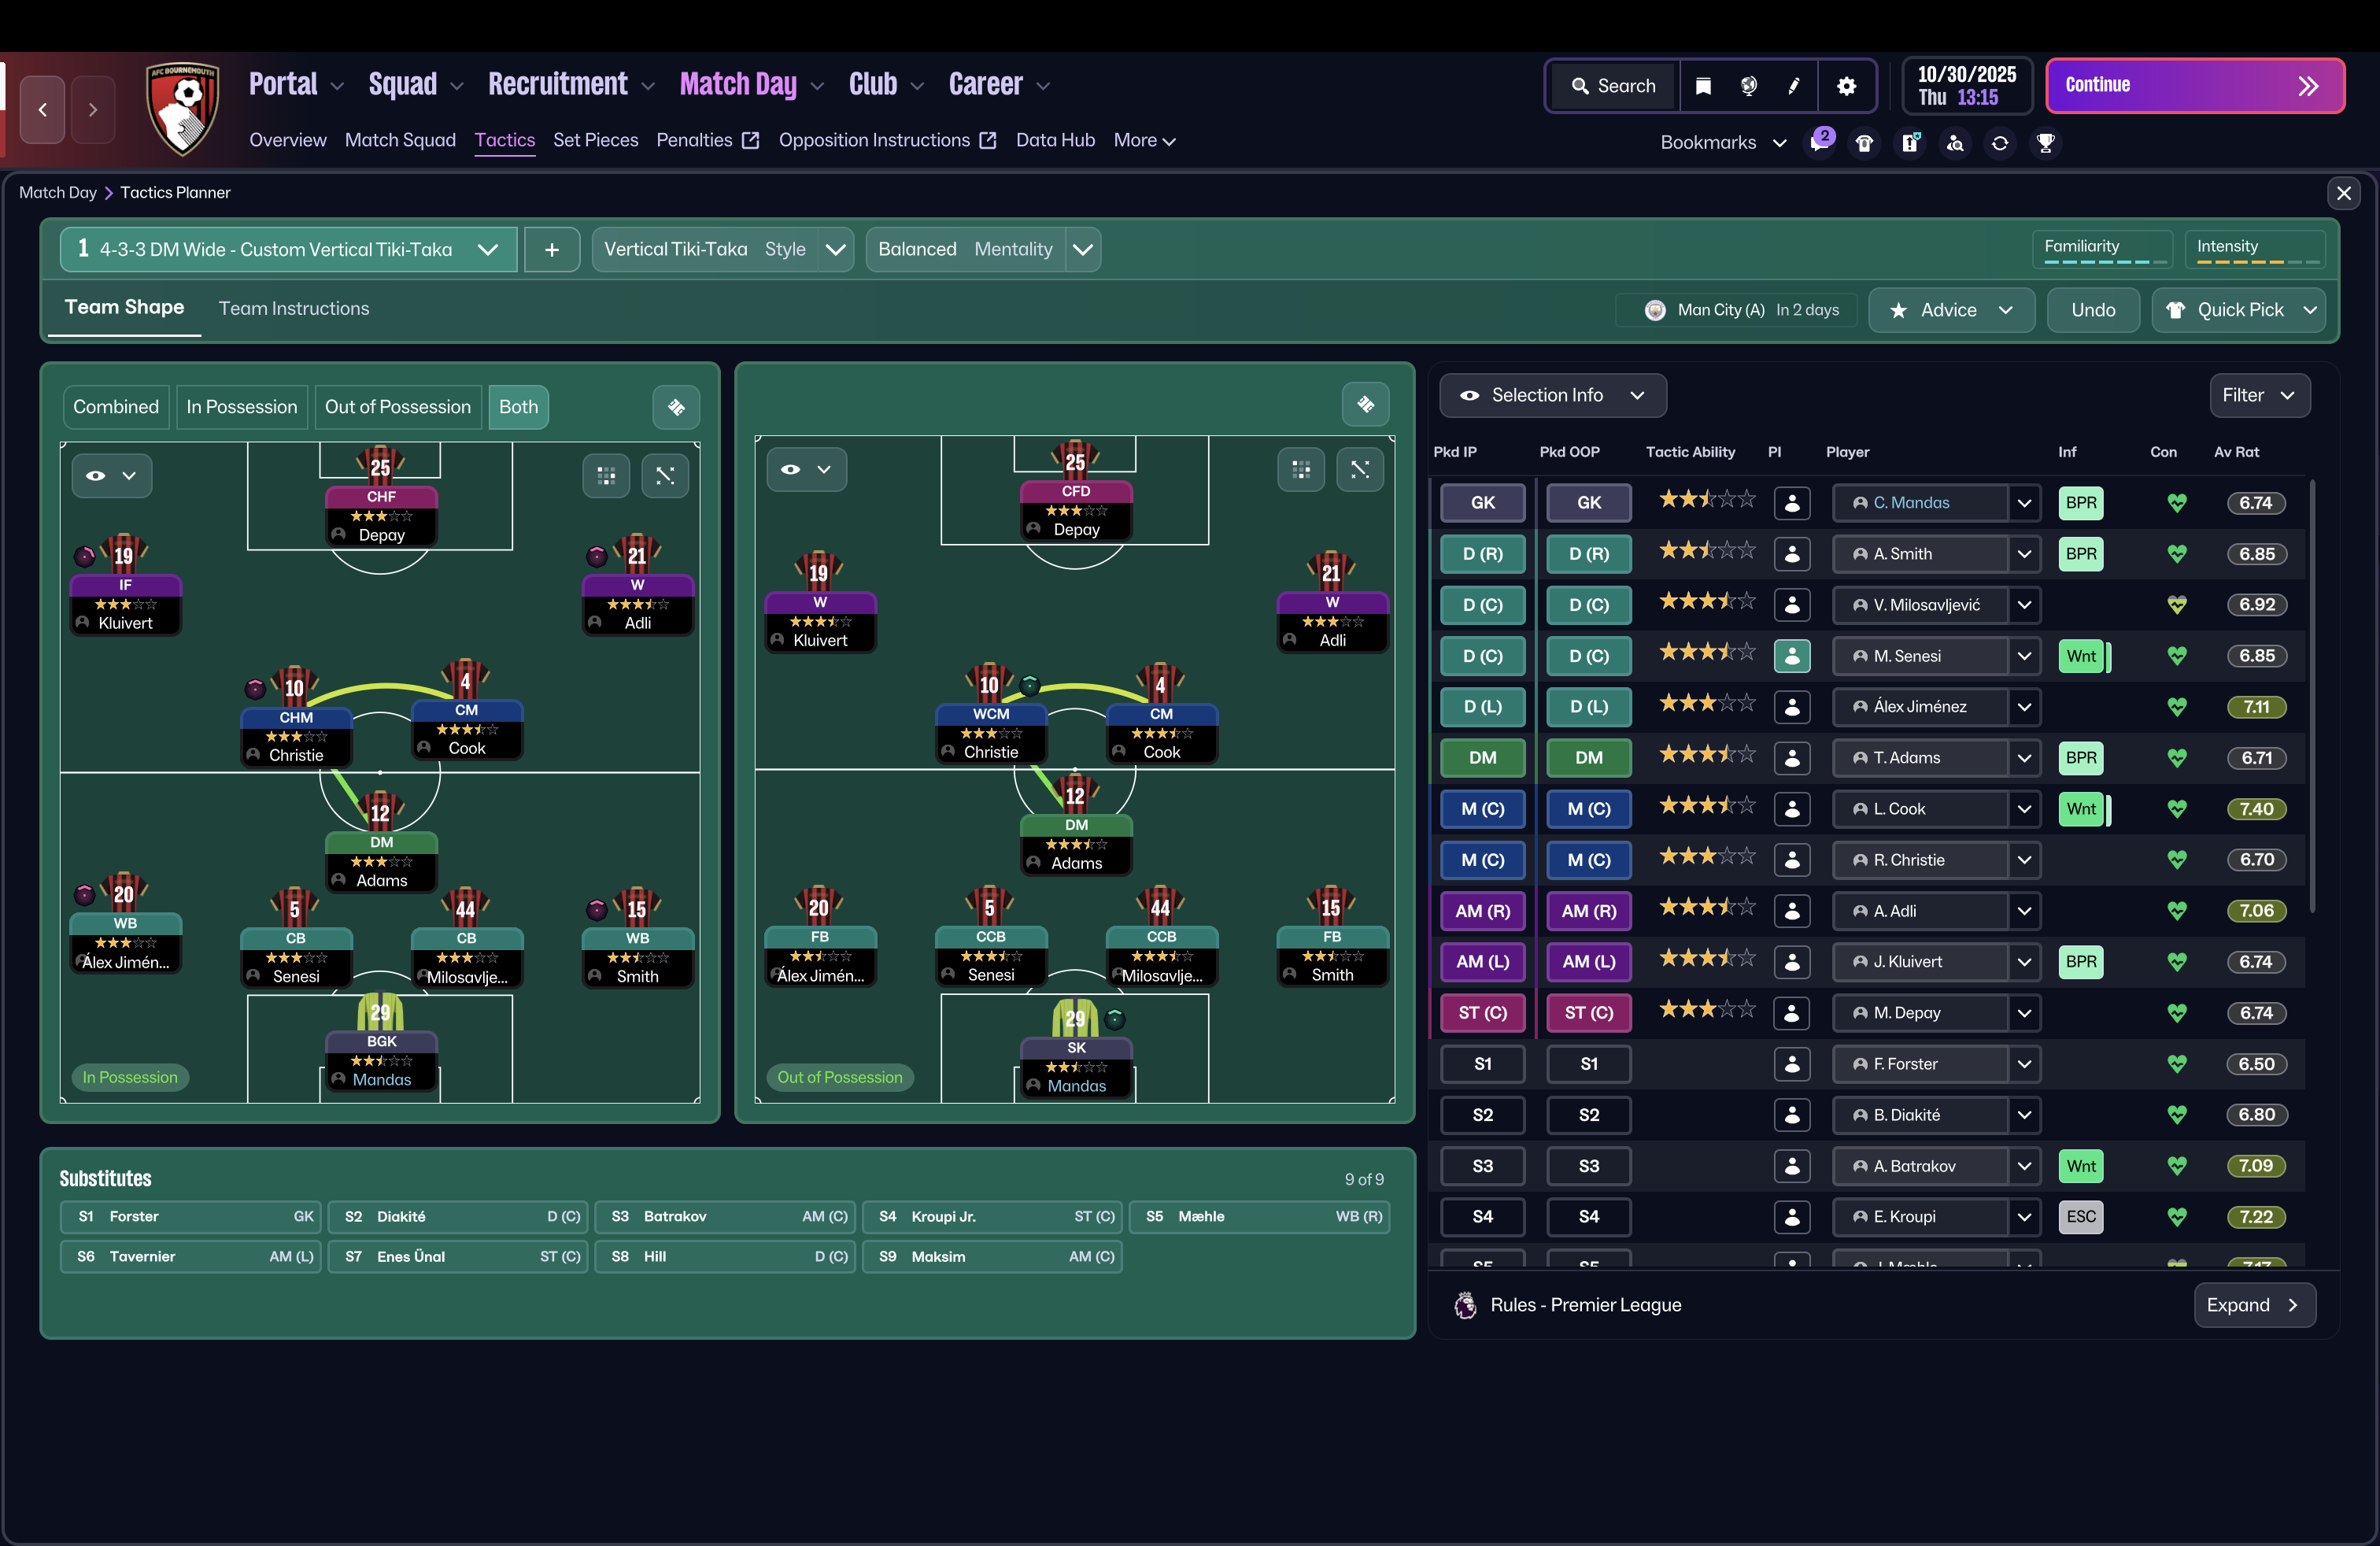
Loading tactical analysis...
Formation and style
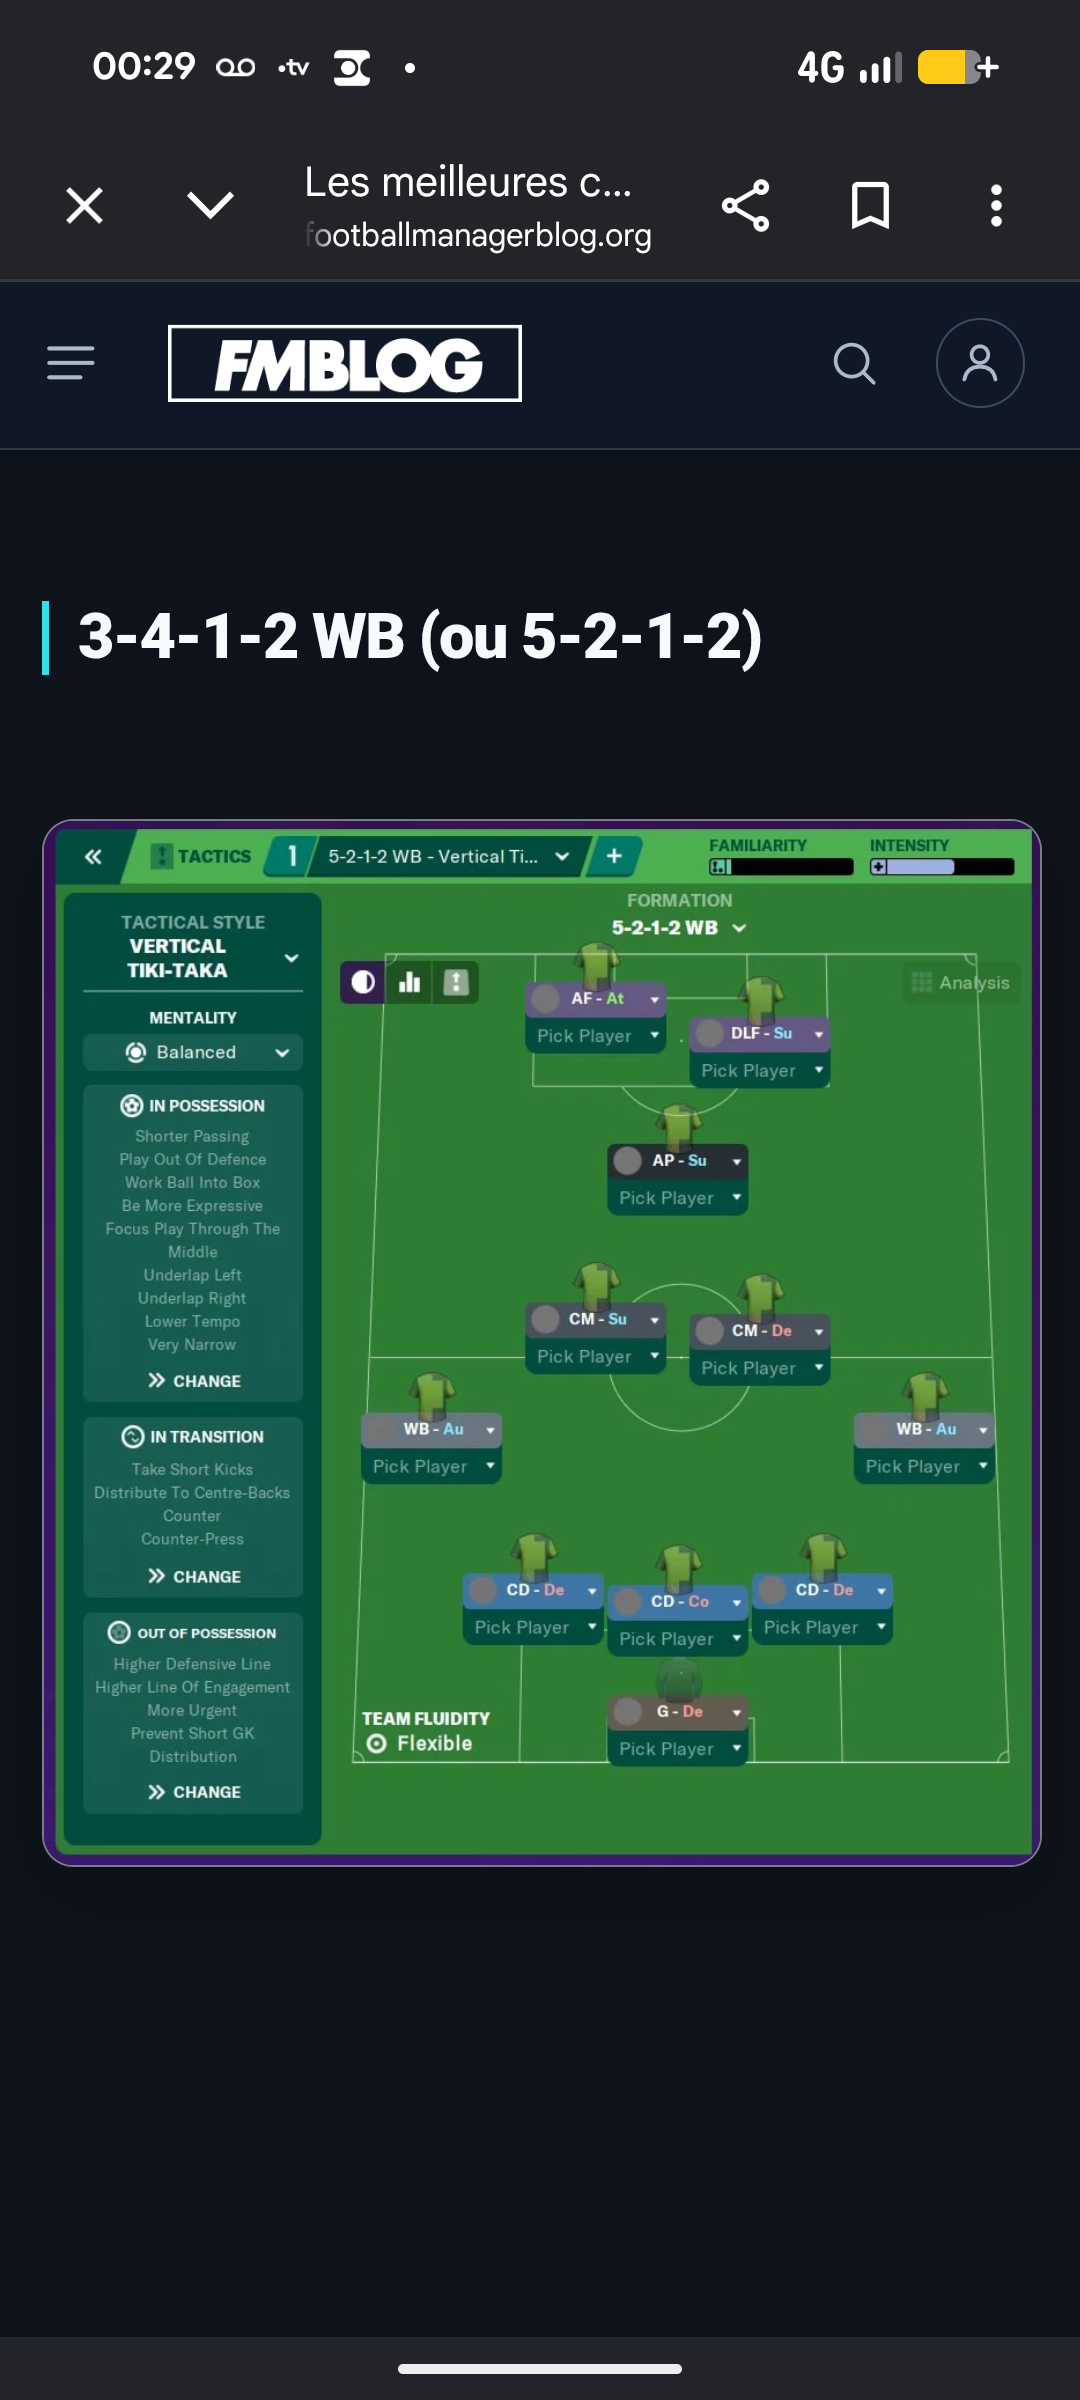
Vertical Tiki-Taka
Balanced
4-3-3 DM Wide
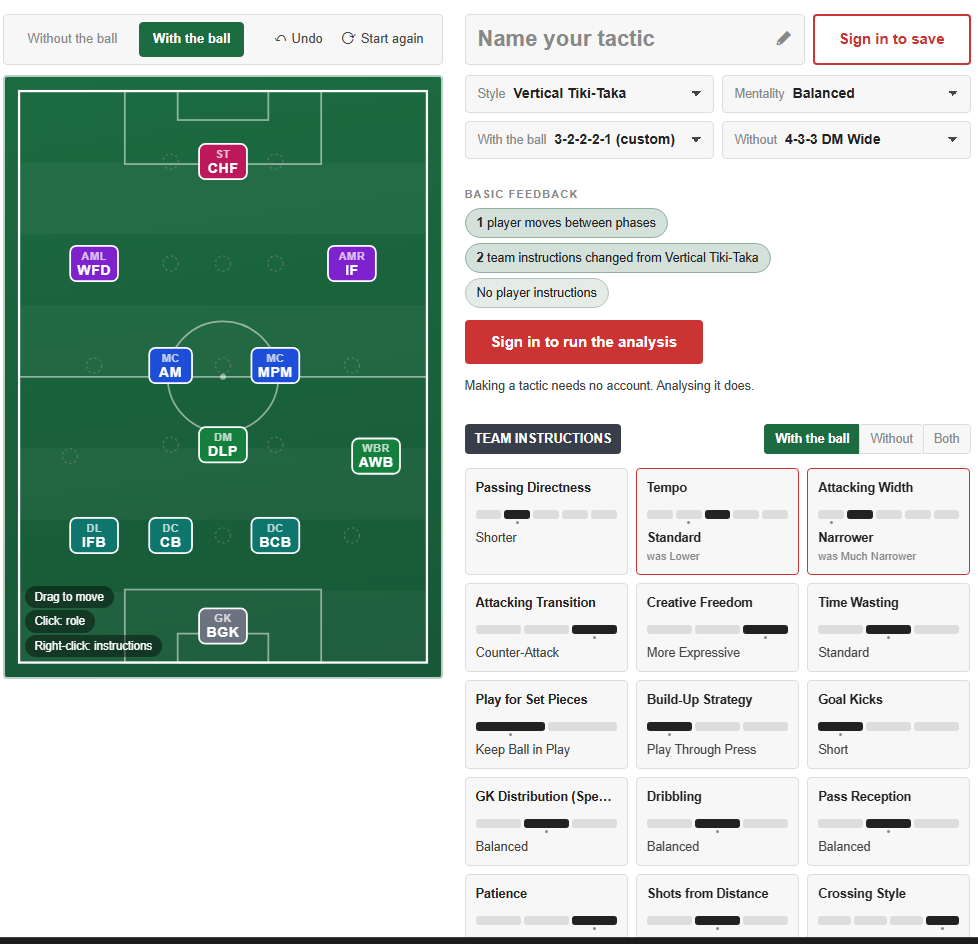
In possession
Play Out of Defence
Shorter Passing
High Tempo
Be More Expressive
In transition
Counter
Counter-Press
Out of possession
Higher Line of Engagement
Higher Defensive Line
Prevent Short GK Distribution
Player roles
GK
Goalkeeper
De
CB
Ball-Playing Defender
De
CB
Ball-Playing Defender
De
FB
Wing-Back
At
FB
Wing-Back
At
DM
Ball-Winning Midfielder
De
CM
Central Midfielder
Su
CM
Wide Central Midfielder
Su
AM
Inside Forward
At
AM
Inside Forward
At
ST
Complete Forward
At
Phase description
The team utilizes quick passing and movement to break down opposition defenses, focusing on utilizing the wings through the wing-backs and inside forwards.
Upon losing possession, the team quickly transitions to a counter-pressing strategy, aiming to regain control high up the pitch.
To maintain possession and create combinations in the final third, leveraging the width provided by the Wing-Backs.
Team shape defence
4-3-3
Solid defensive structure with the double pivot in front of the back four, offering support for quick recoveries.
2 BPDs at [2,2], [2,4] and 1 BWM at [3,3].
Team shape attack
4-3-3
Wider attacking structure allowing inside forwards to cut in, supported by overlapping wing-backs.
WBs at [2,1], [2,5], IFs at [5,2], [5,4], and CF at [6,3].
Key strengths
Dynamic Wing Play
The deployment of Wing-Backs enables wide play, stretching opponent defenses.
WBs at [2,1], [2,5] supporting Inside Forwards.
Strong Midfield Control
Two creative midfielders supporting a defensive anchor strengthens ball retention and distribution.
CMs at [3,2], [3,4] and BWM at [3,3].
Conflicting tactics
Potential Vulnerability on the Counter
High line may leave gaps for quick counter-attacks, especially against fast opposition wingers.
Higher Defensive Line and Higher Line of Engagement instructions.
Wing-Back Dependency
Reliance on WBs for width could be problematic if they are marked tightly or caught out of position.
WBs at [2,1], [2,5] with overlapping runs needed.
Risk exposures
Risk Exposures
Items
Defensive Transition
The transition could leave gaps as players rush forward.
Counter-Press strategy needs immediate support from midfield.
Wide Play
Over-reliance on WBs could make the attack predictable.
Heavy reliance on WBs for width at the expense of central dynamics.
Role synergies
Role Synergies
Items
CM-Su and BWM-De
Provides both defensive solidity and transitioning options.
CM-Su at [3,4] with BWM-De at [3,3].
IF-A and CF-A
Messy inter-play in the frontline can lead to goals.
IFs at [5,2], [5,4] creating space for CF at [6,3].
Suggested questions
How effective are the wing-backs in contributing to both defence and attack?
Is there a need for a more aggressive pressing strategy given the higher line of engagement?
How can we improve central play to leverage the strengths of the inside forwards?
Related Tactics
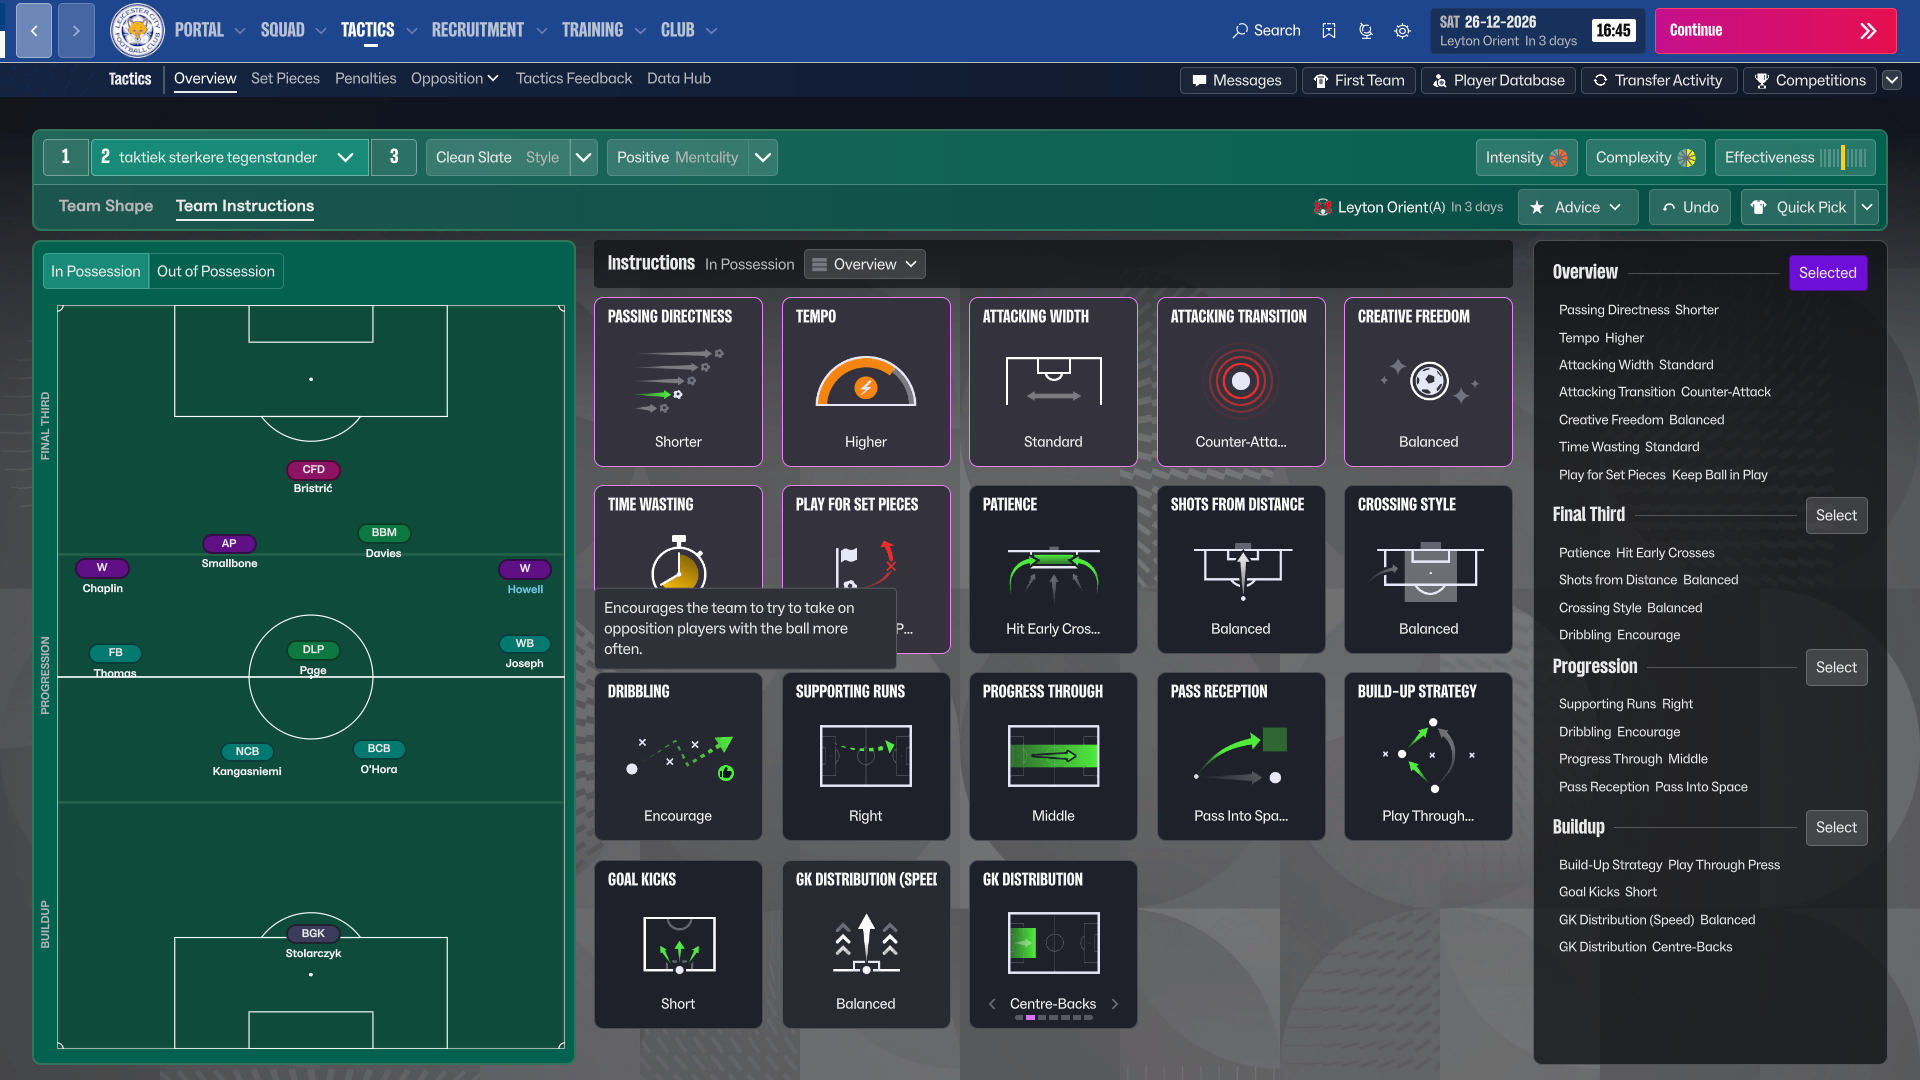
4-3-3 DM Wide Formation
clean slate
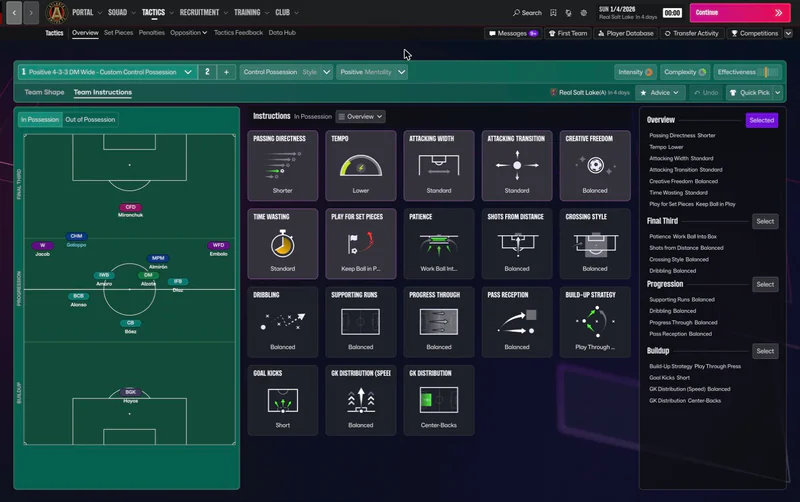
Control Possession 4-3-3 DM Wide
control possession
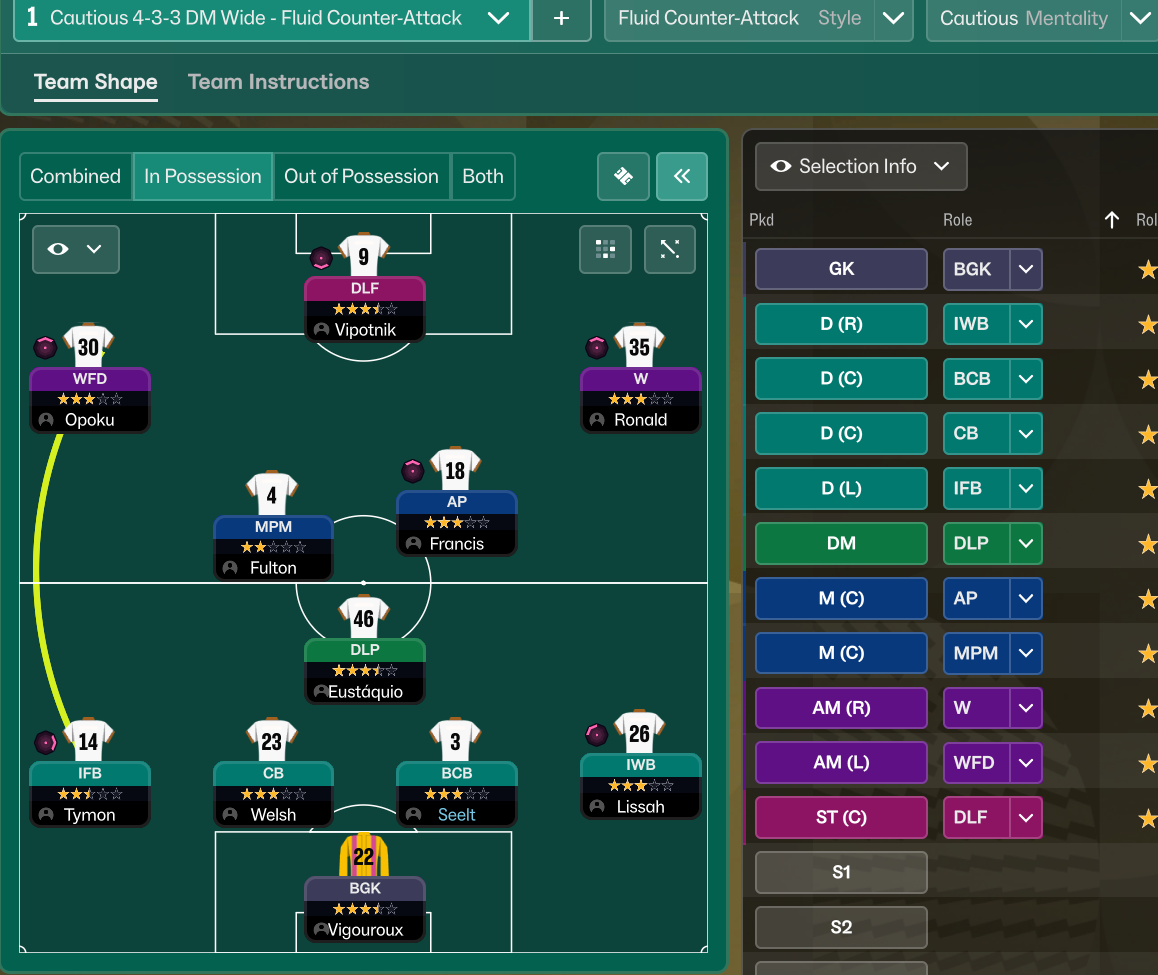
Fluid Counter-Attack 4-3-3 DM Wide
Fluid Counter-Attack
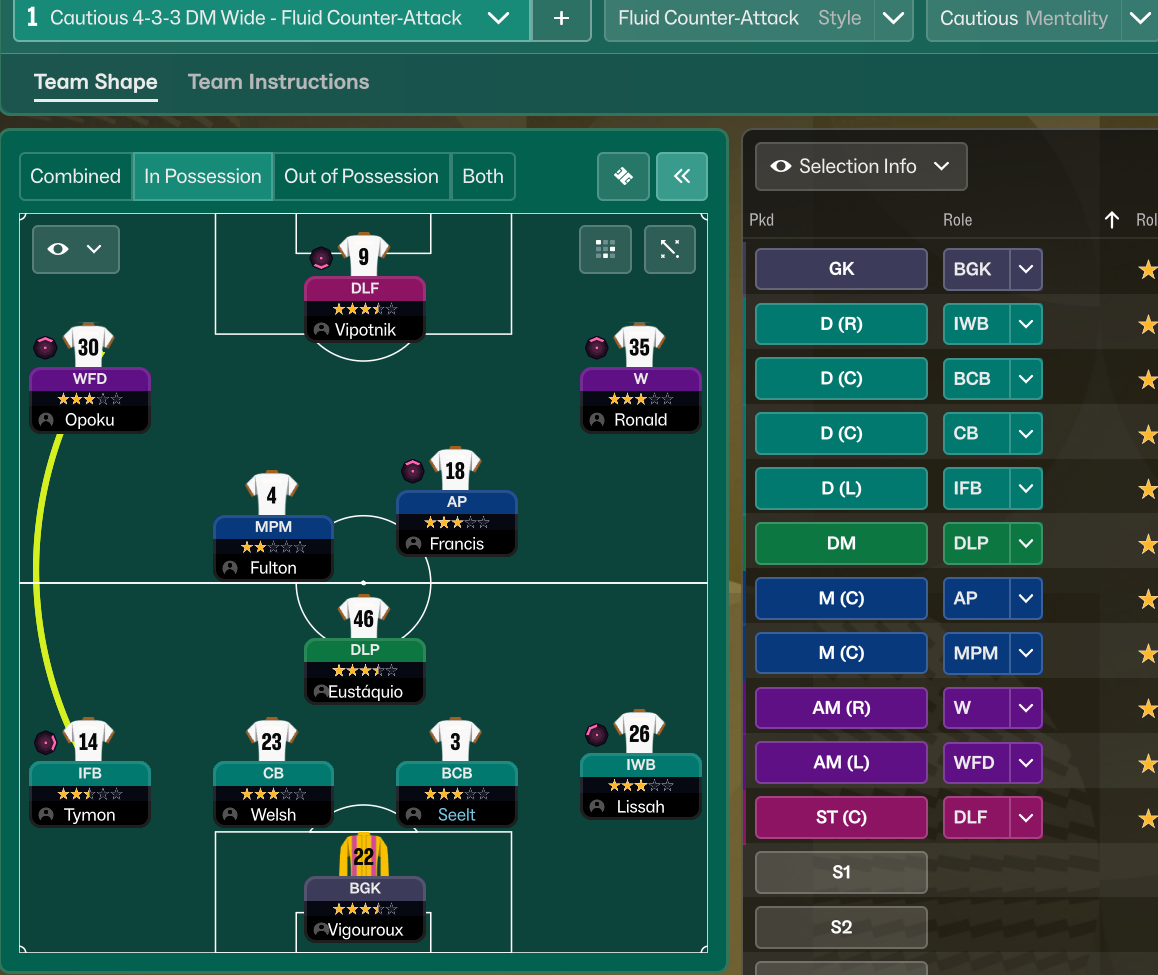
Fluid Counter-Attack 4-3-3 DM Wide
Fluid Counter-Attack
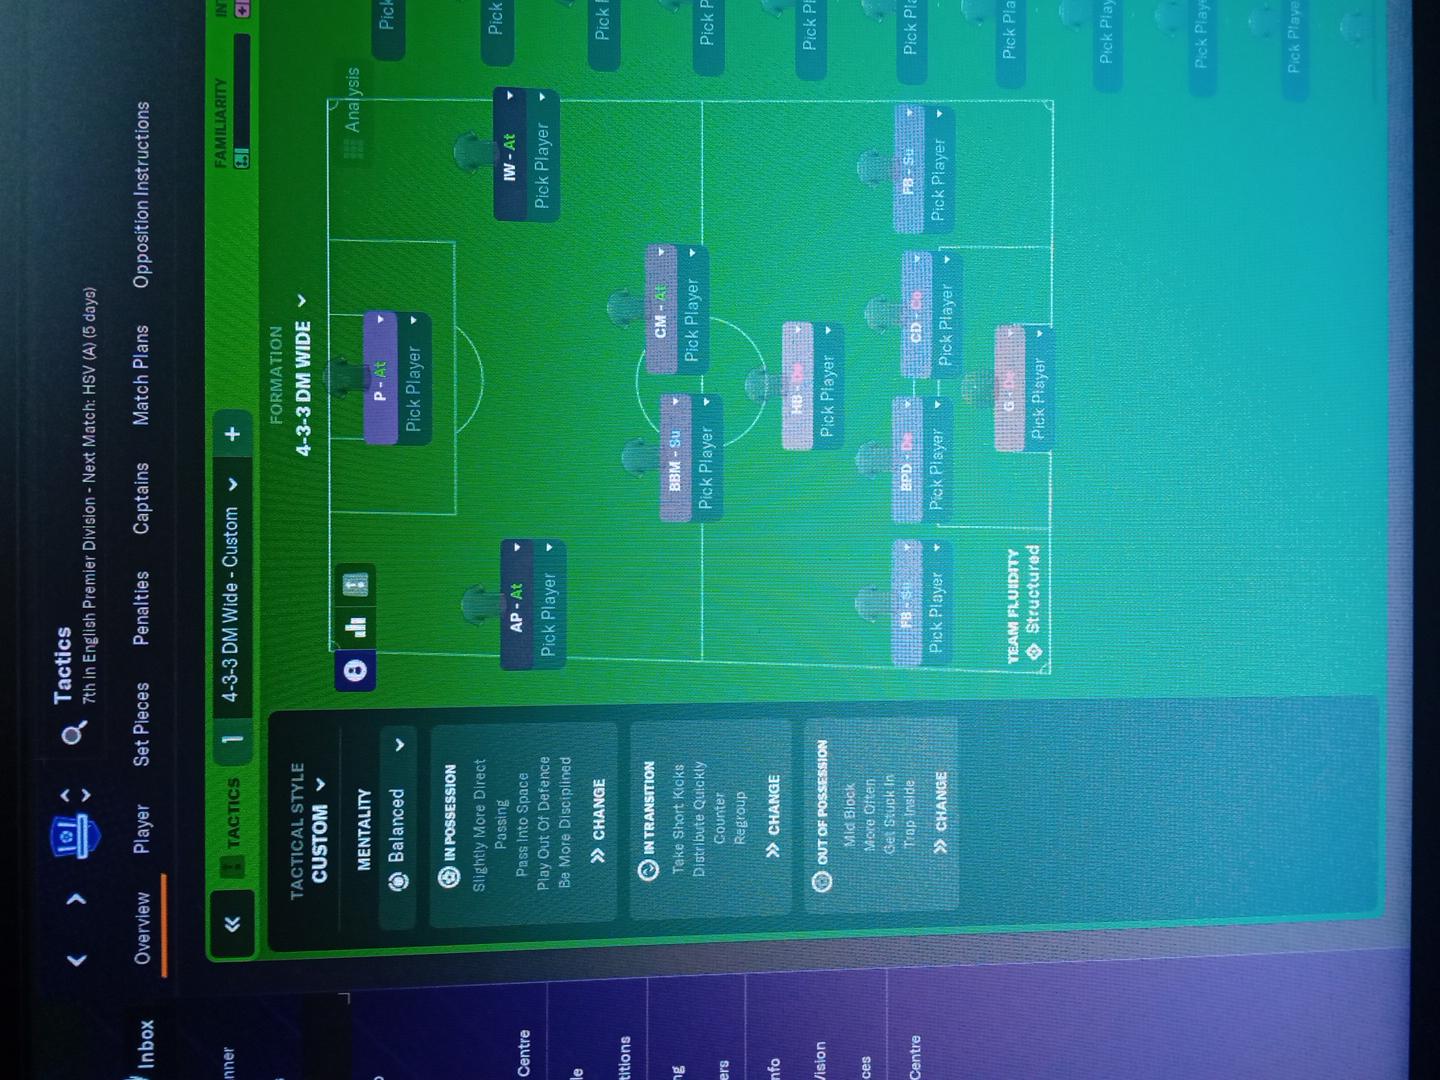
4-3-3 DM Wide Formation
Custom
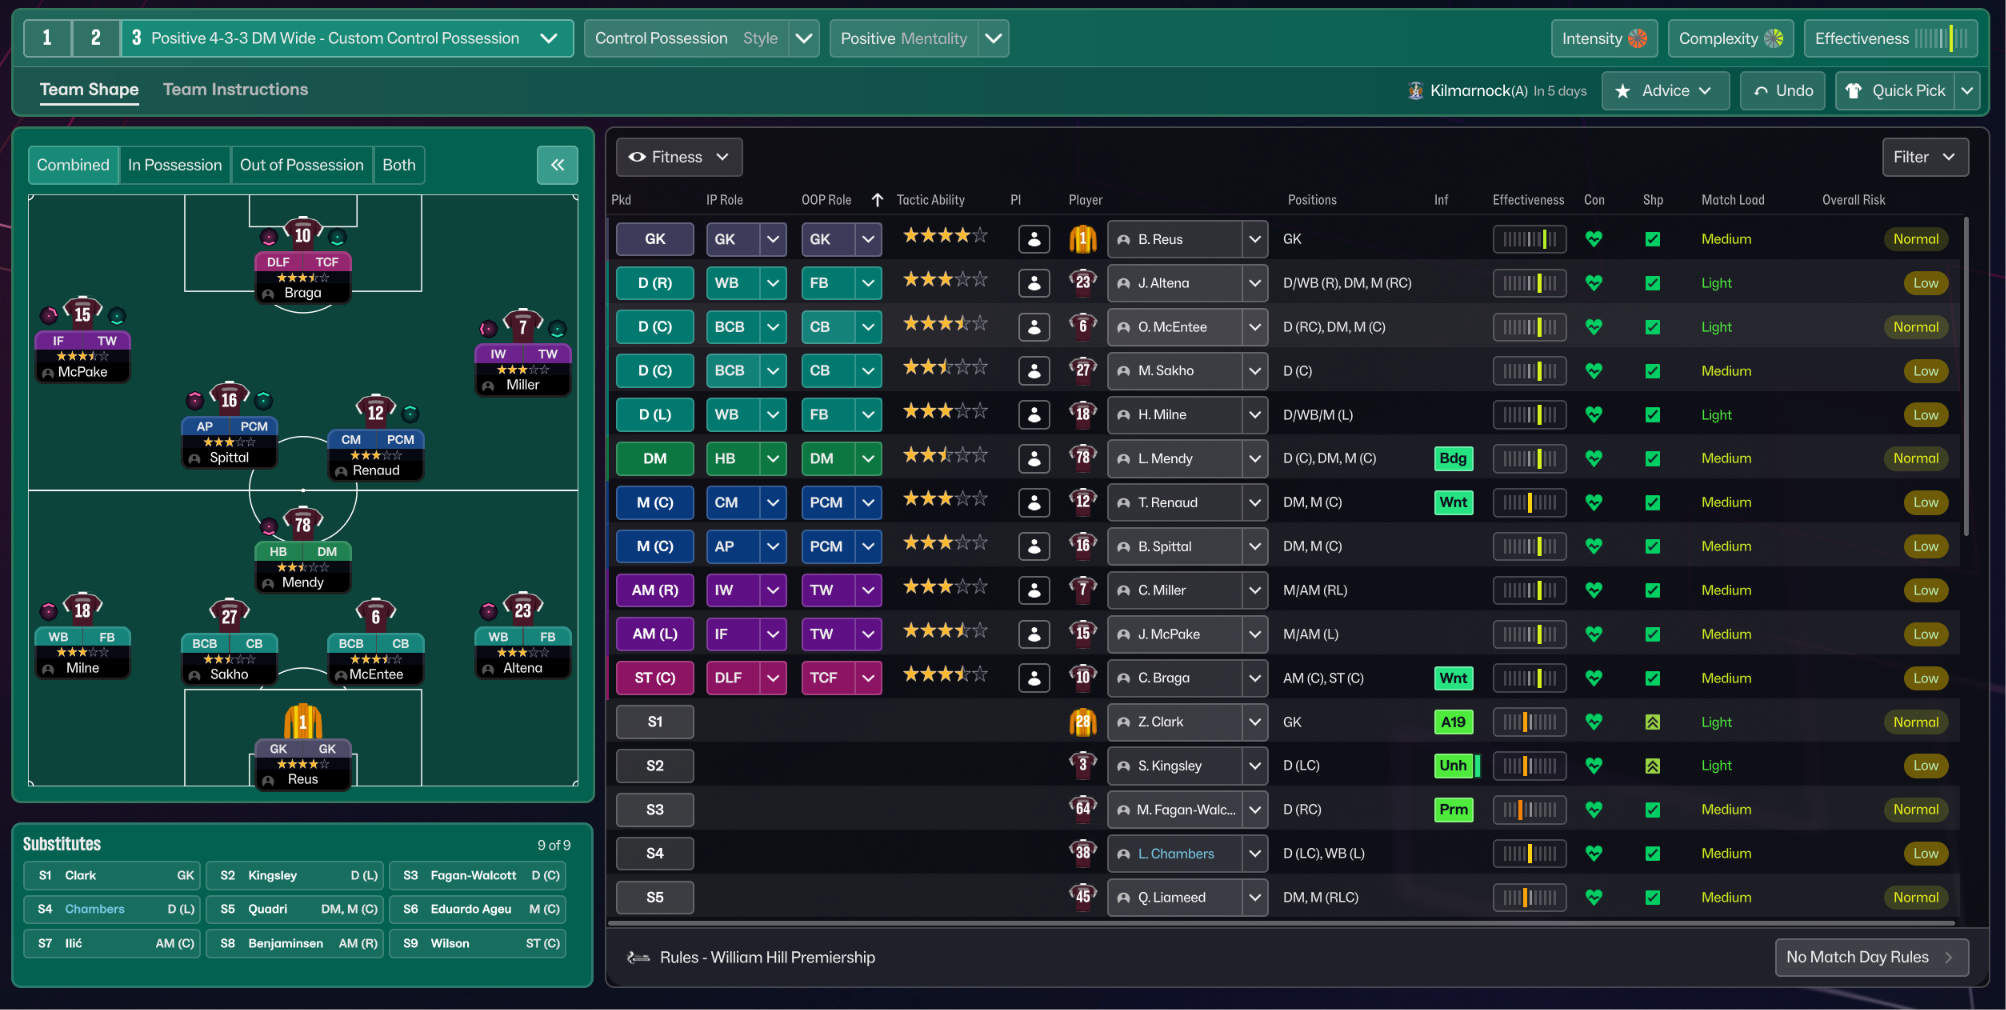
Control Possession 4-3-3 DM Wide
Control Possession
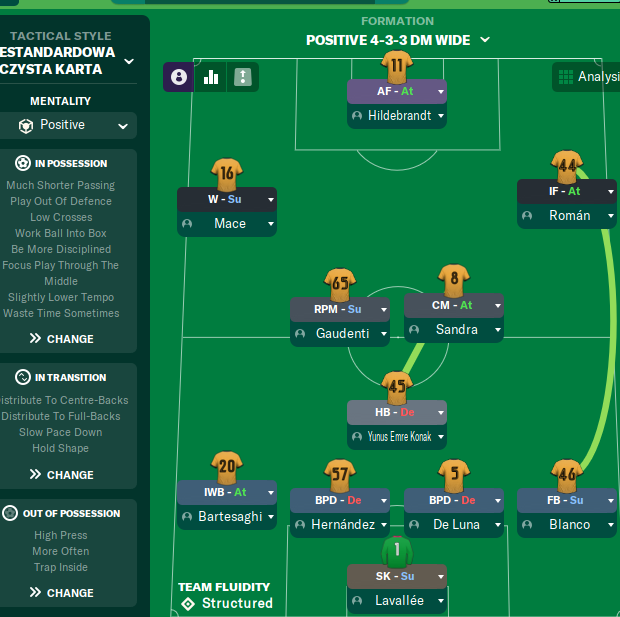
Positive 4-3-3 DM Wide
Positive
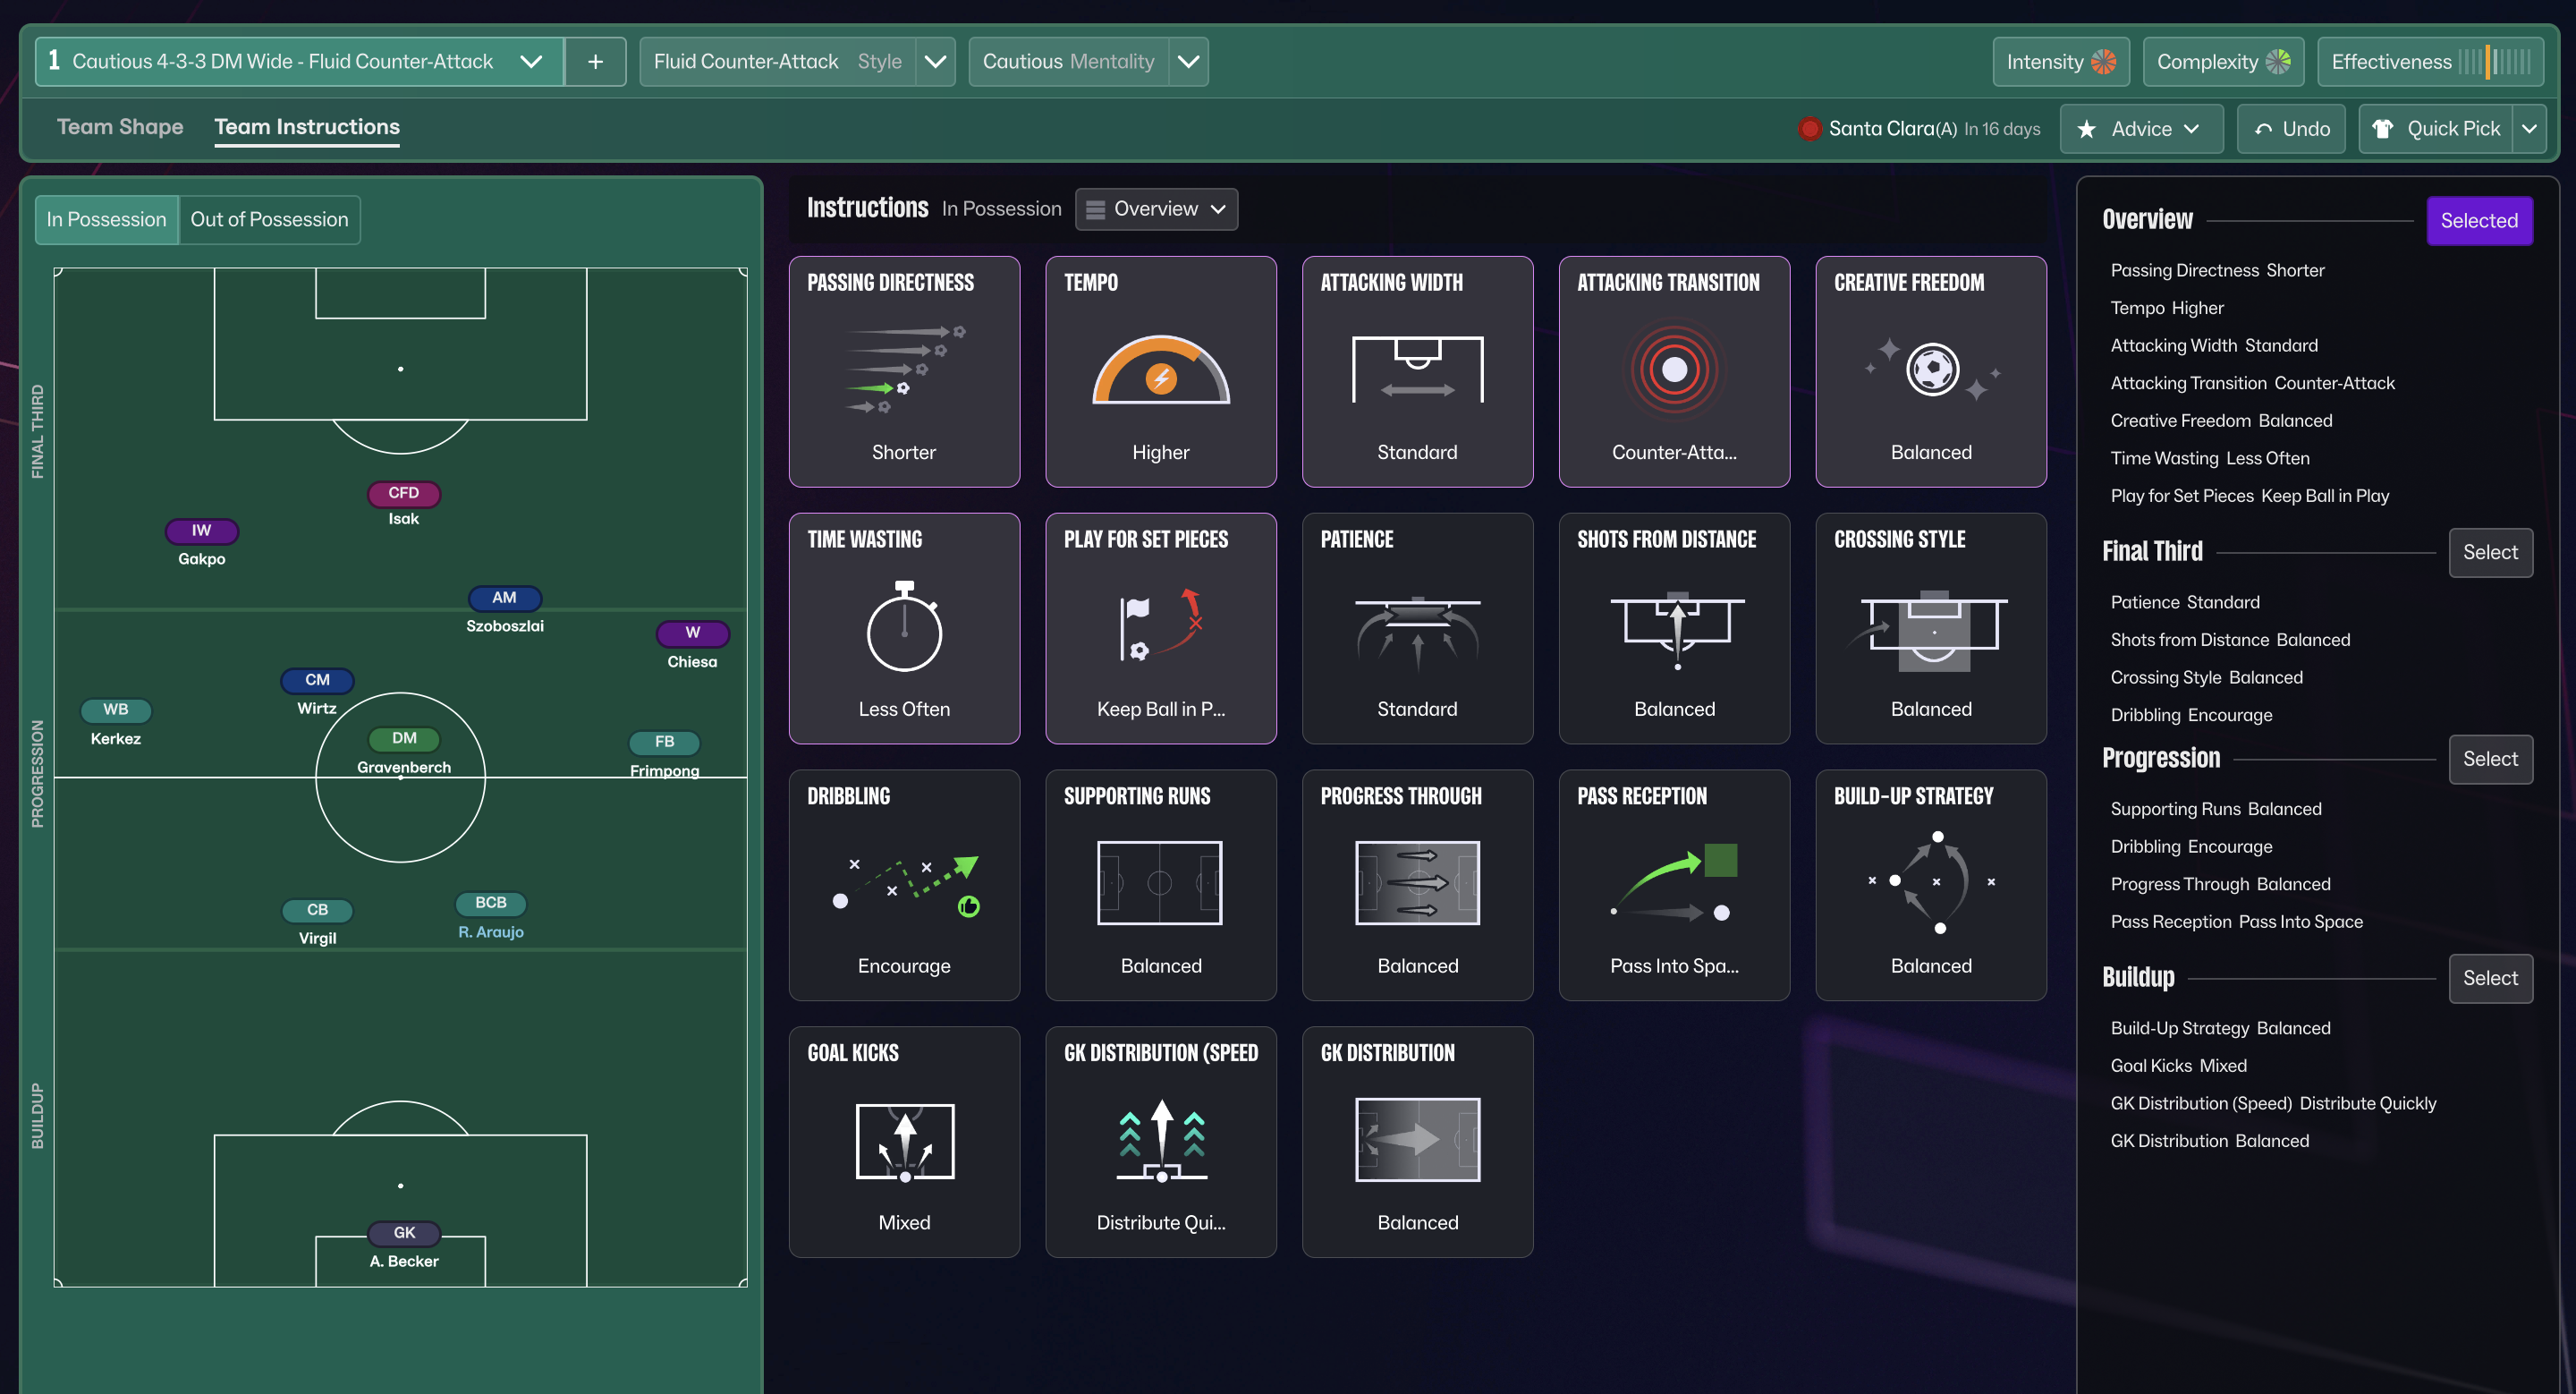
Fluid Counter-Attack 4-3-3 DM Wide
Fluid Counter-Attack
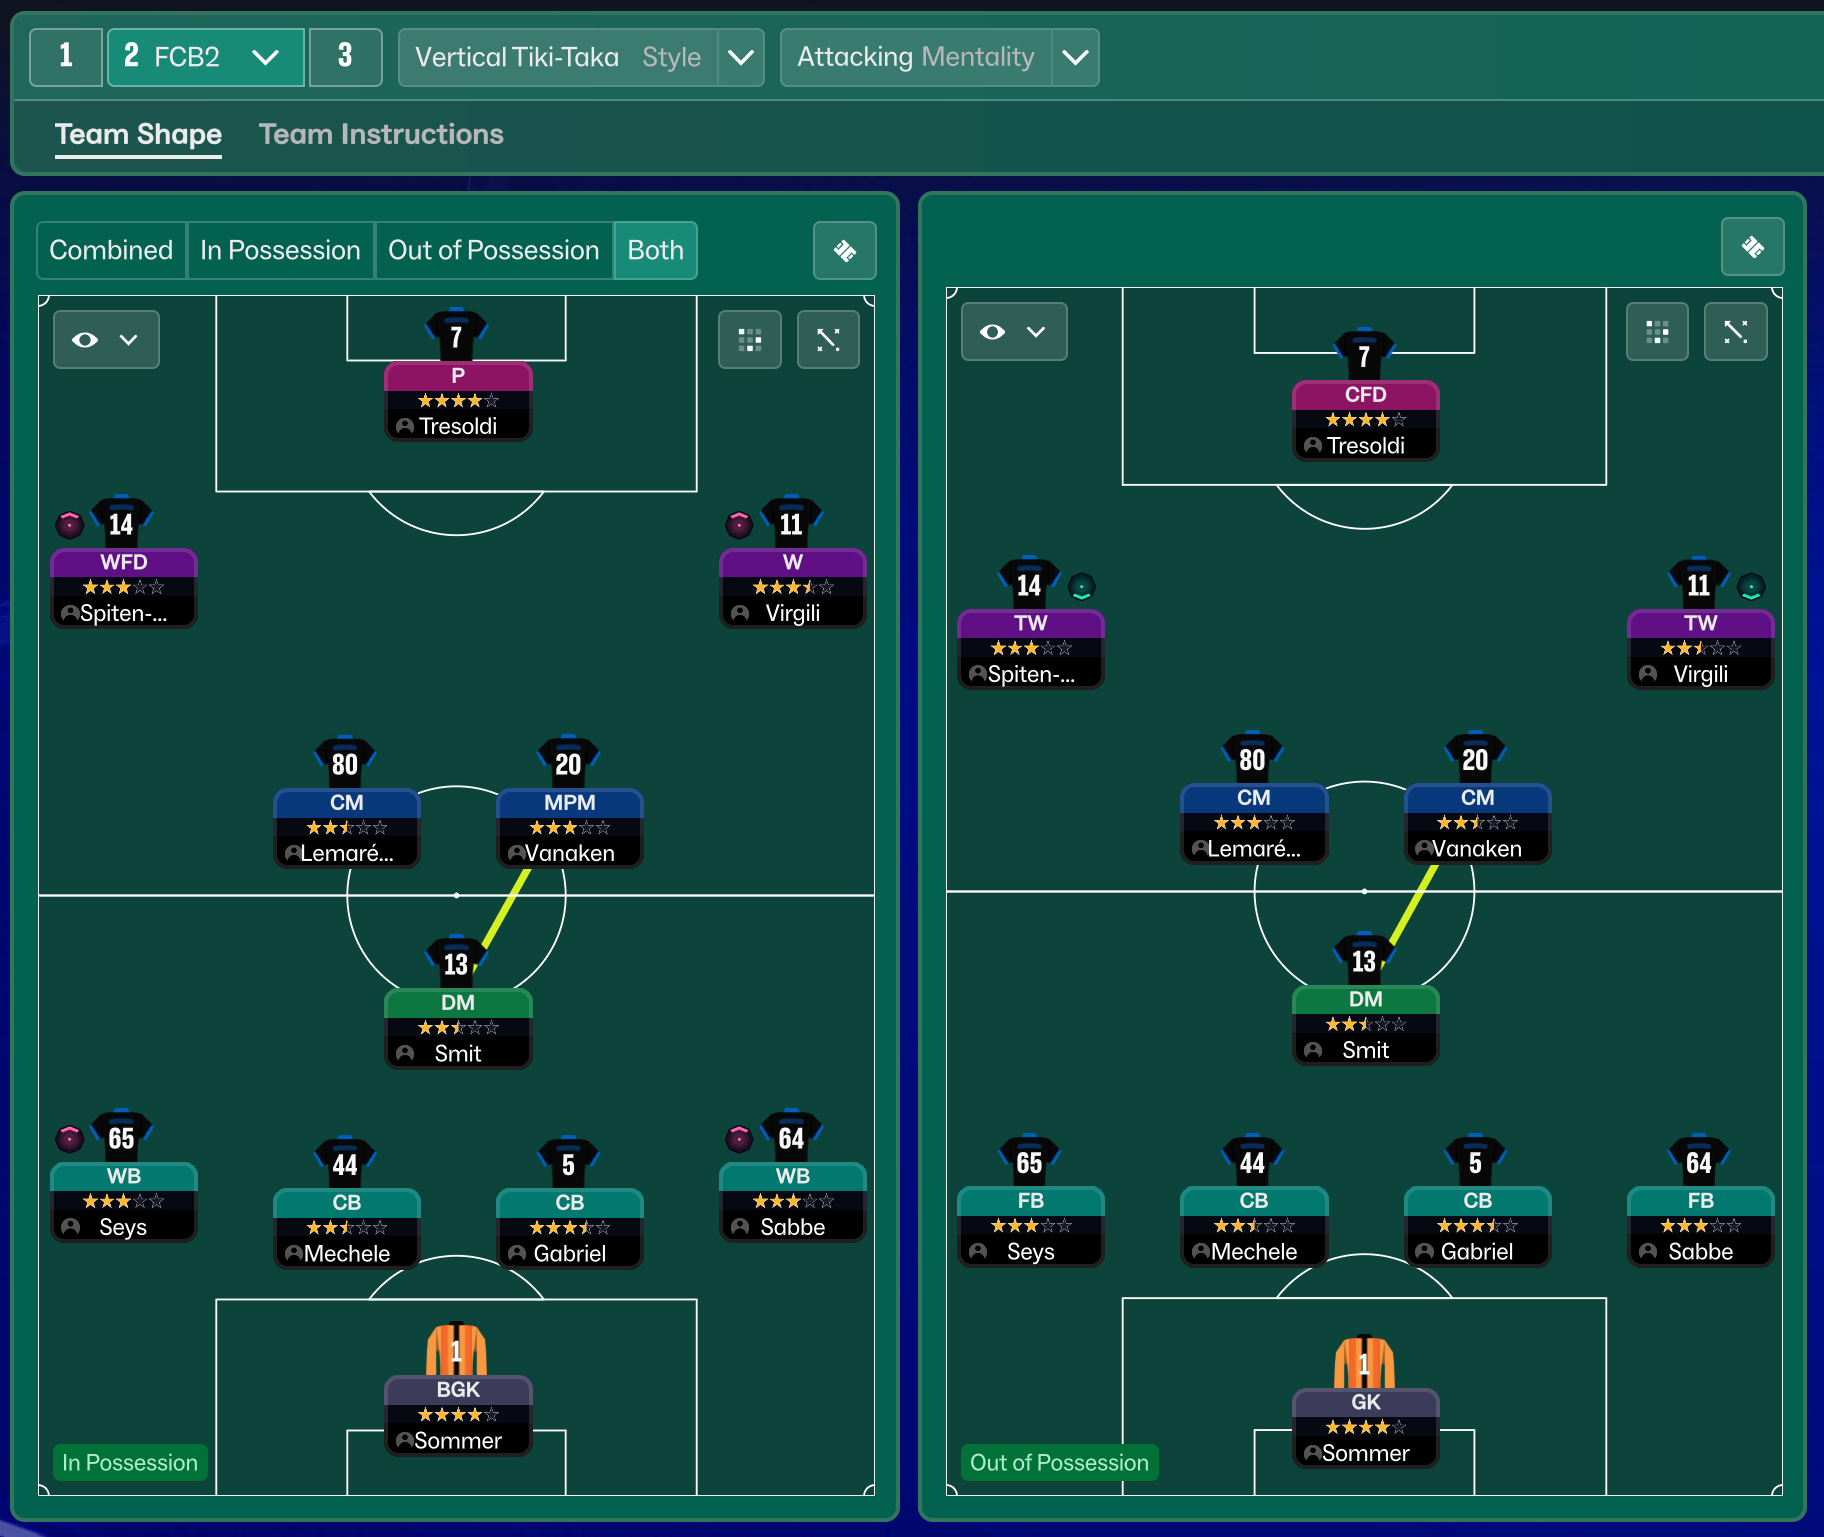
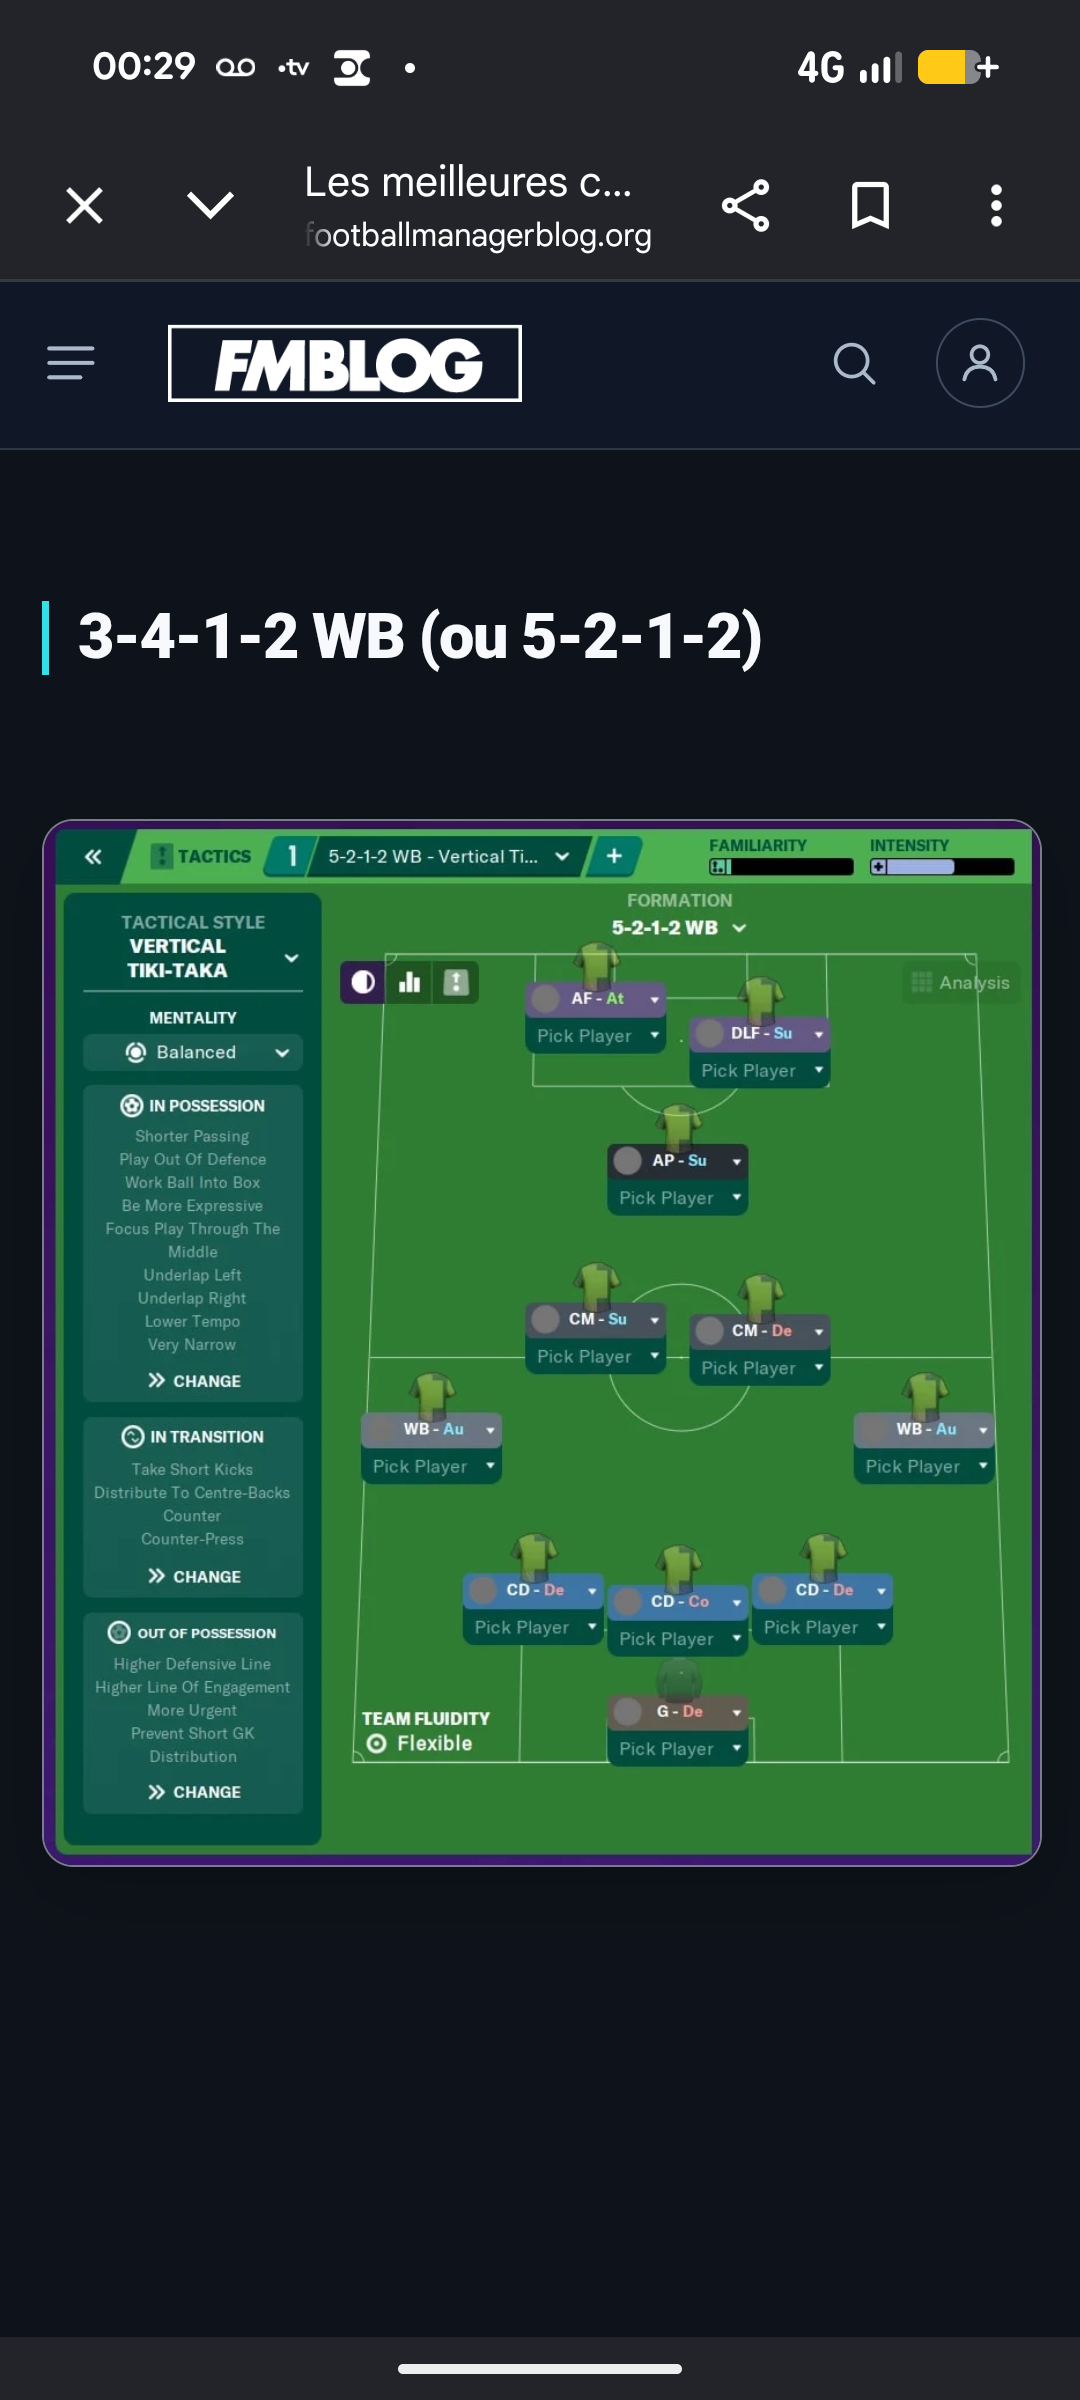
More Vertical Tiki-Taka tactics
Guides for this tactic
The tactical theory behind the 4-3-3 DM Wide: roles, instructions, and the trade-offs that decide whether the system holds up.
Playing styles
Tiki-Taka vs Positional Play
Why circulation density and zonal occupation aren't the same thing in FM, and the half-space occupation rule that decides build-up.
Read guide
Playing styles
Possession-Based Tactics in Football Manager
Build the patient, control-the-tempo style without watching your opponents counter through the gaps you leave behind.
Read guide
Match preparation
Game-State Tactics
Protect a 1-0, chase a 1-0, hold a draw away. How to manage game state in FM through duties and roles, not by lurching to Defensive.
Read guide