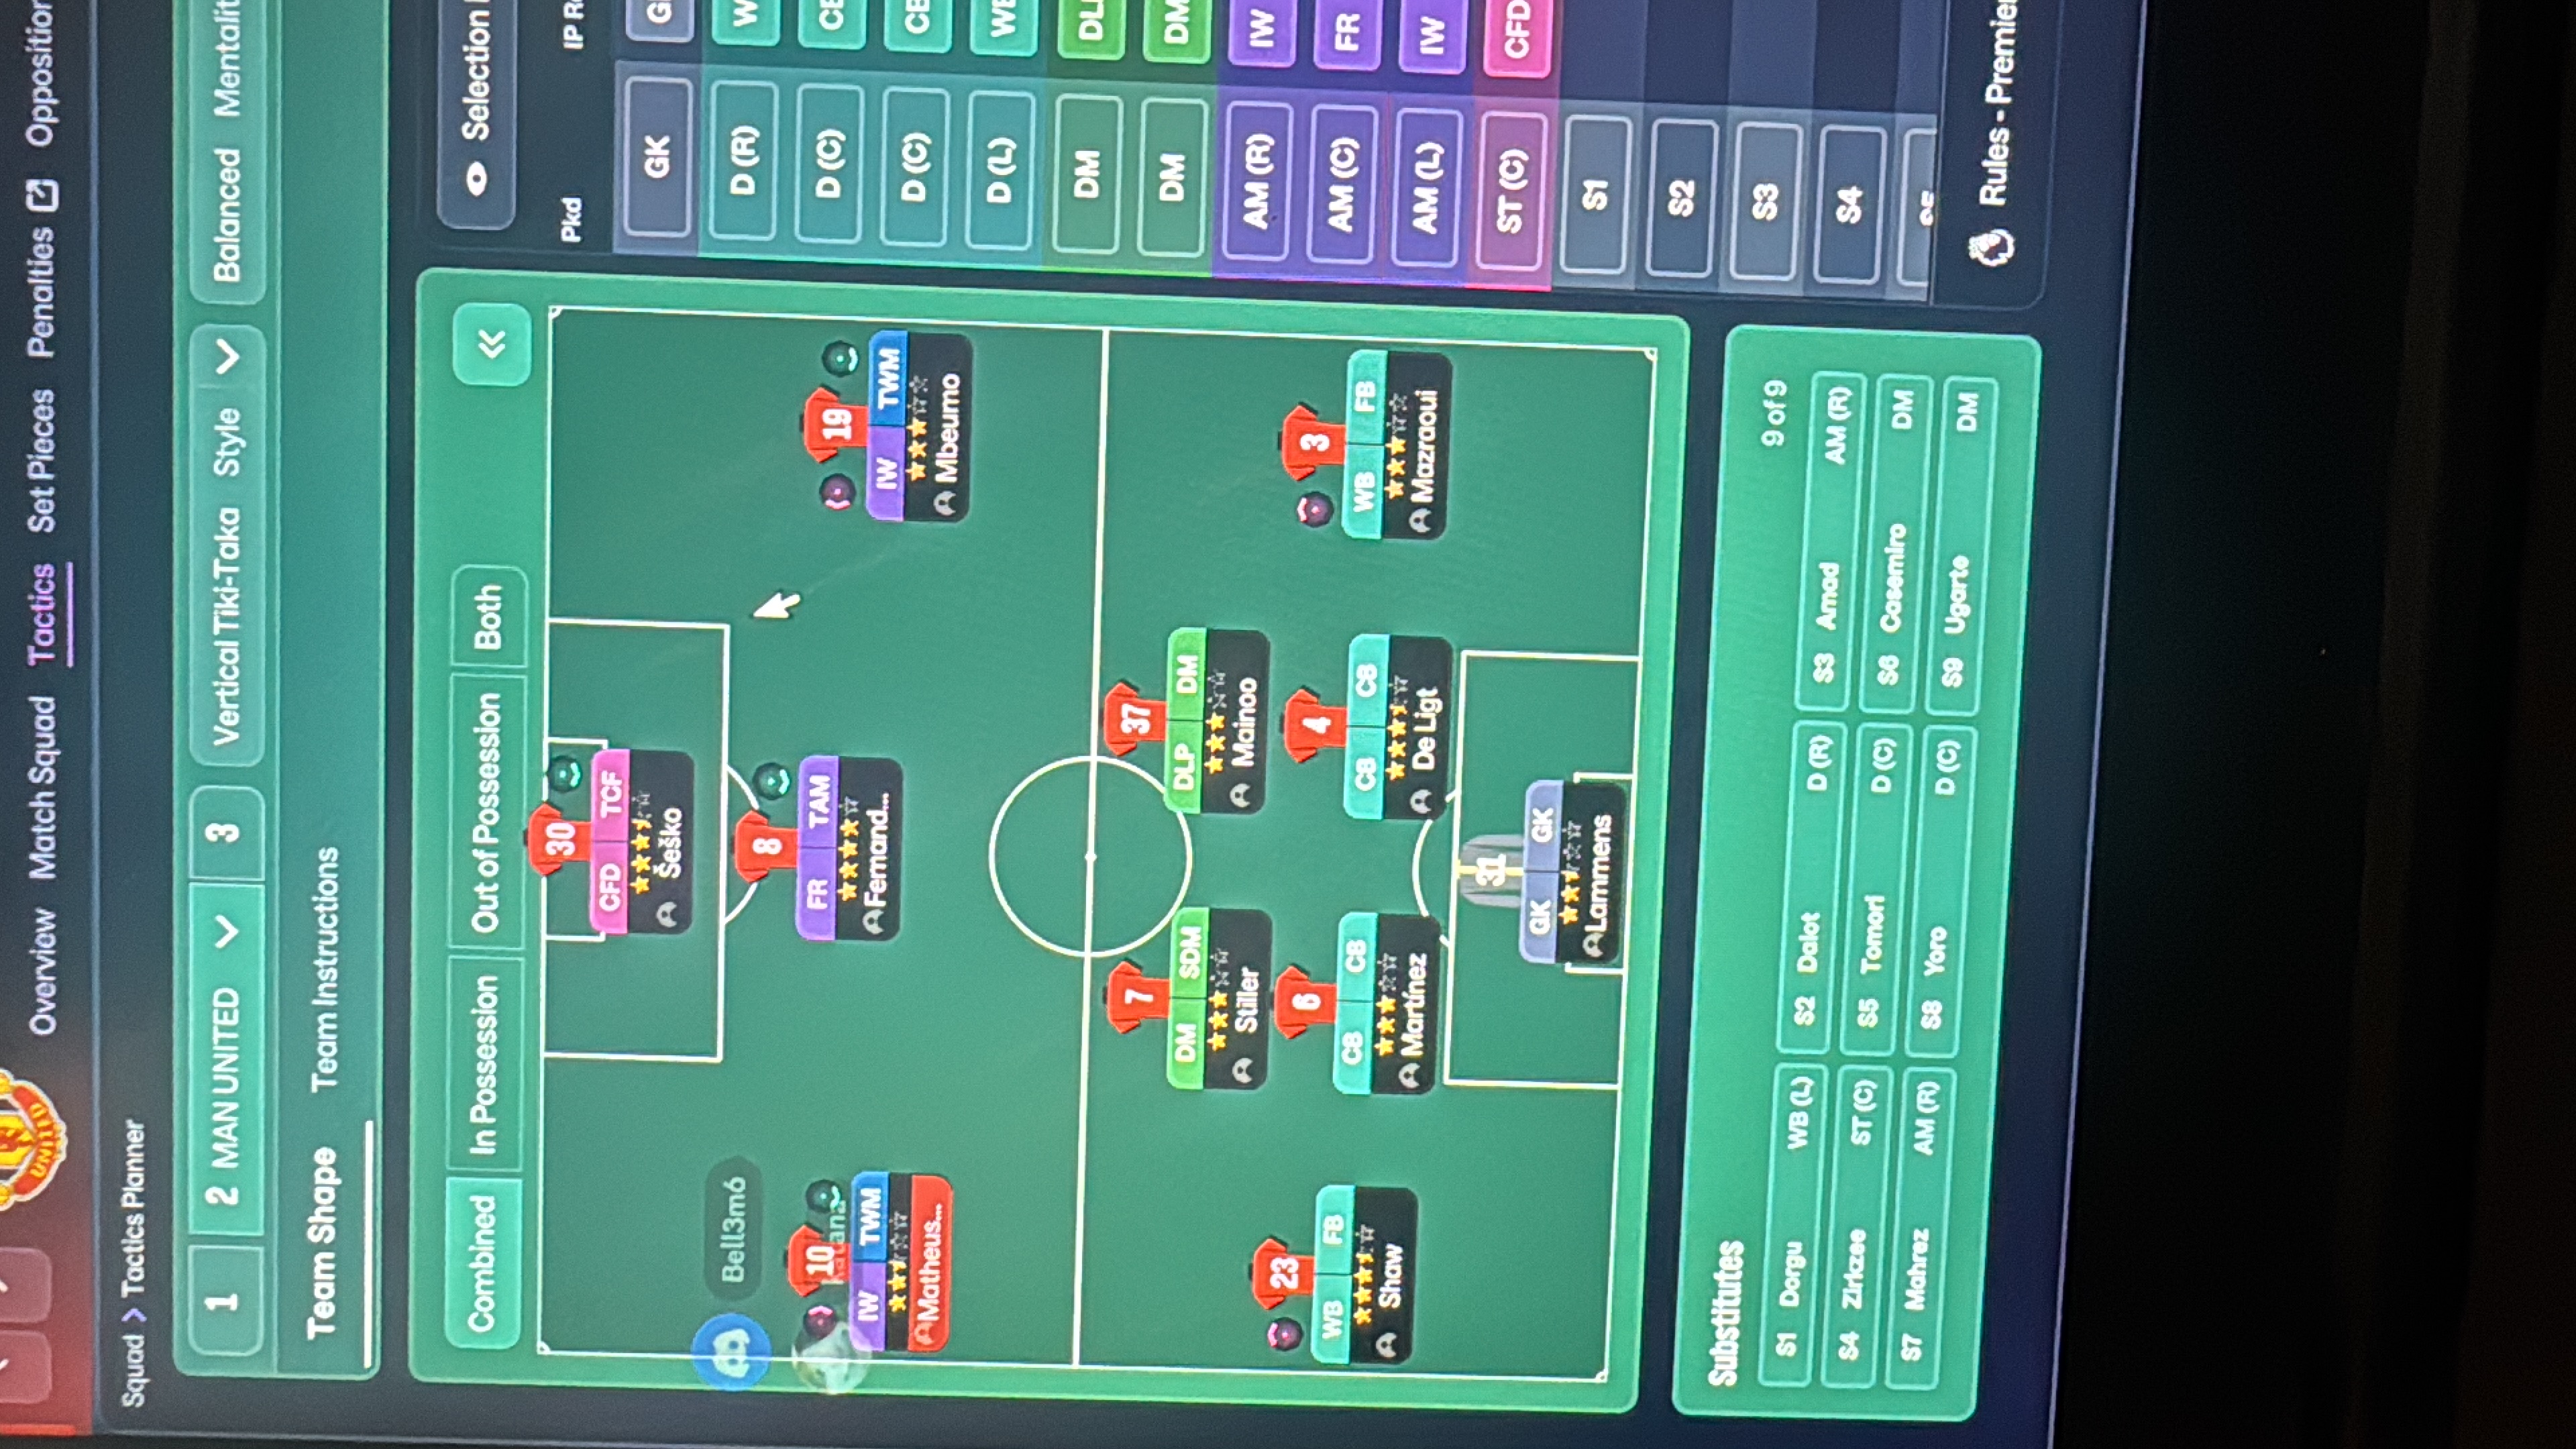
Vertical Tiki-Taka 5-2-1-2 WB (Balanced) Tactic
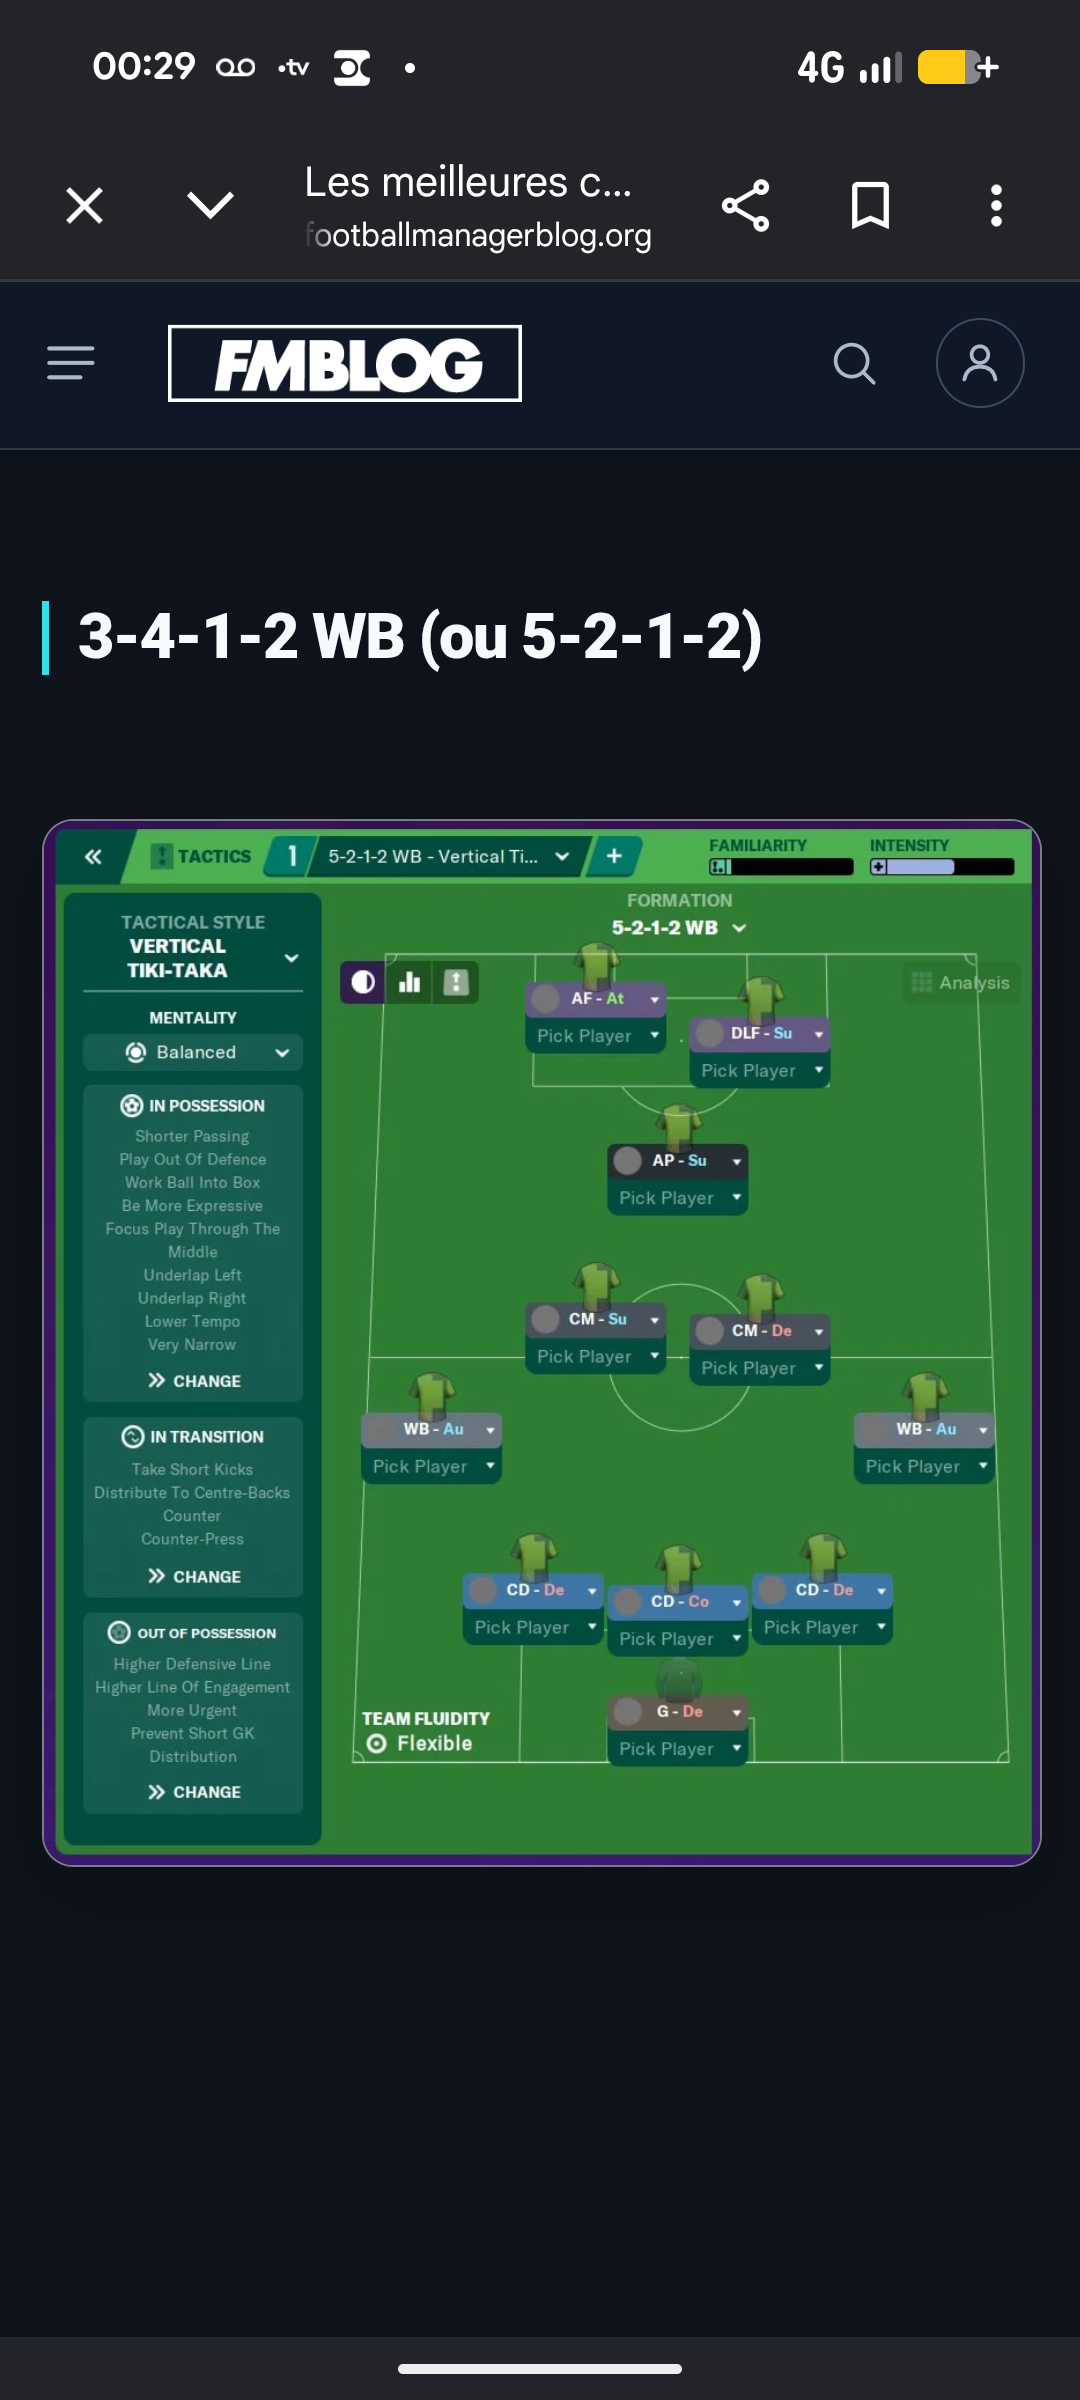
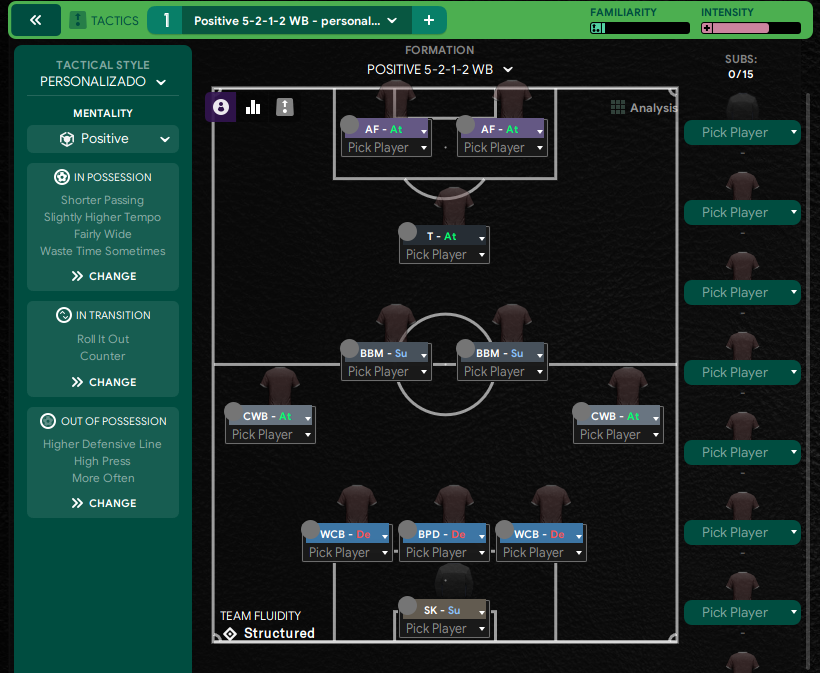
5-2-1-2 WB
Utilizing wing-backs to create width, while central players facilitate through-passes. The team can quickly switch between defense and attack utilizing…
Loading tactical analysis...
Formation and style
Vertical Tiki-Taka
Balanced
5-2-1-2 WB
Flexible
In possession
Shorter Passing
Play Out Of Defence
Work Ball Into Box
Be More Expressive
Focus Play Through The Middle
Underlap Left
Underlap Right
Lower Tempo
Very Narrow
In transition
Take Short Kicks
Distribute To Centre-Backs
Counter
Counter-Press
Out of possession
Higher Defensive Line
Higher Line Of Engagement
More Urgent
Prevent Short GK Distribution
Player roles
GK
G
De
Defender
CD
De
Defender
CD
De
Defender
CD
De
Wing Back
WB
Au
Wing Back
WB
Au
Central Midfielder
CM
Su
Attacking Midfielder
AP
Su
Deep-Lying Forward
DLF
Su
Advanced Forward
AF
At
Phase description
Quick, short passing sequences; focused on maintaining possession and creating space through quick movement.
Rapidly regain possession through counter-pressing; ensuring immediate pressure when possession is lost.
Utilizing wing-backs to create width, while central players facilitate through-passes.
Team shape defence
5
Defensive setup with three centre-backs and two wing-backs providing coverage and width.
3 CD at [2,1],[2,3],[2,5] and WB at [3,1],[3,5]
Team shape attack
3-2
Flexible attacking formation utilizing width from wing-backs and central creativity from the AP.
AF at [6,3] and DLF at [6,2] facilitating central play.
Key strengths
Fluid Transition Play
The team can quickly switch between defense and attack utilizing wing-backs and midfield support.
Wing Backs (WB-Au at [3,1],[3,5]) providing width and options in transition.
Strong Central Control
A dominant midfield pairing allows for ball retention and transition.
Central Midfielders (CM-Su at [4,2] and AP-Su at [5,3]) facilitating ball movement.
Conflicting tactics
Overcommitment on Flanks
Heavy wing-play might expose central areas when the wing-backs push high.
WB-Au at [3,1],[3,5] could leave space.
Slow Build-up Risks
Lower tempo may slow down counter opportunities and defensive exposure.
Lower Tempo instruction could undermine quick breaks.
Risk exposures
Risk Exposures
Items
Wings
High wing-back positioning may leave gaps in defense if caught forward.
WB-Au at [3,1] and [3,5] risk being exposed.
Transition Speed
Slow build play risks losing offensive momentum and defensive stability.
Lower Tempo instruction limits quick transitions.
Role synergies
Role Synergies
Items
WB-Au + CM-Su
Wing-backs providing width, complementing central midfield progression.
WB at [3,1] and [3,5], CM at [4,2] support quick flank play.
DLF-Su + AF-At
DLF engages defenders, allowing AF space to exploit gaps behind.
DLF at [6,2] assists AF at [6,3].
Suggested questions
What adjustments can be made to maintain defensive balance when wing-backs attack?
How can midfield transitions be improved to counteract quick opposition attacks?
What formations work best against teams employing high pressing?
Related Tactics
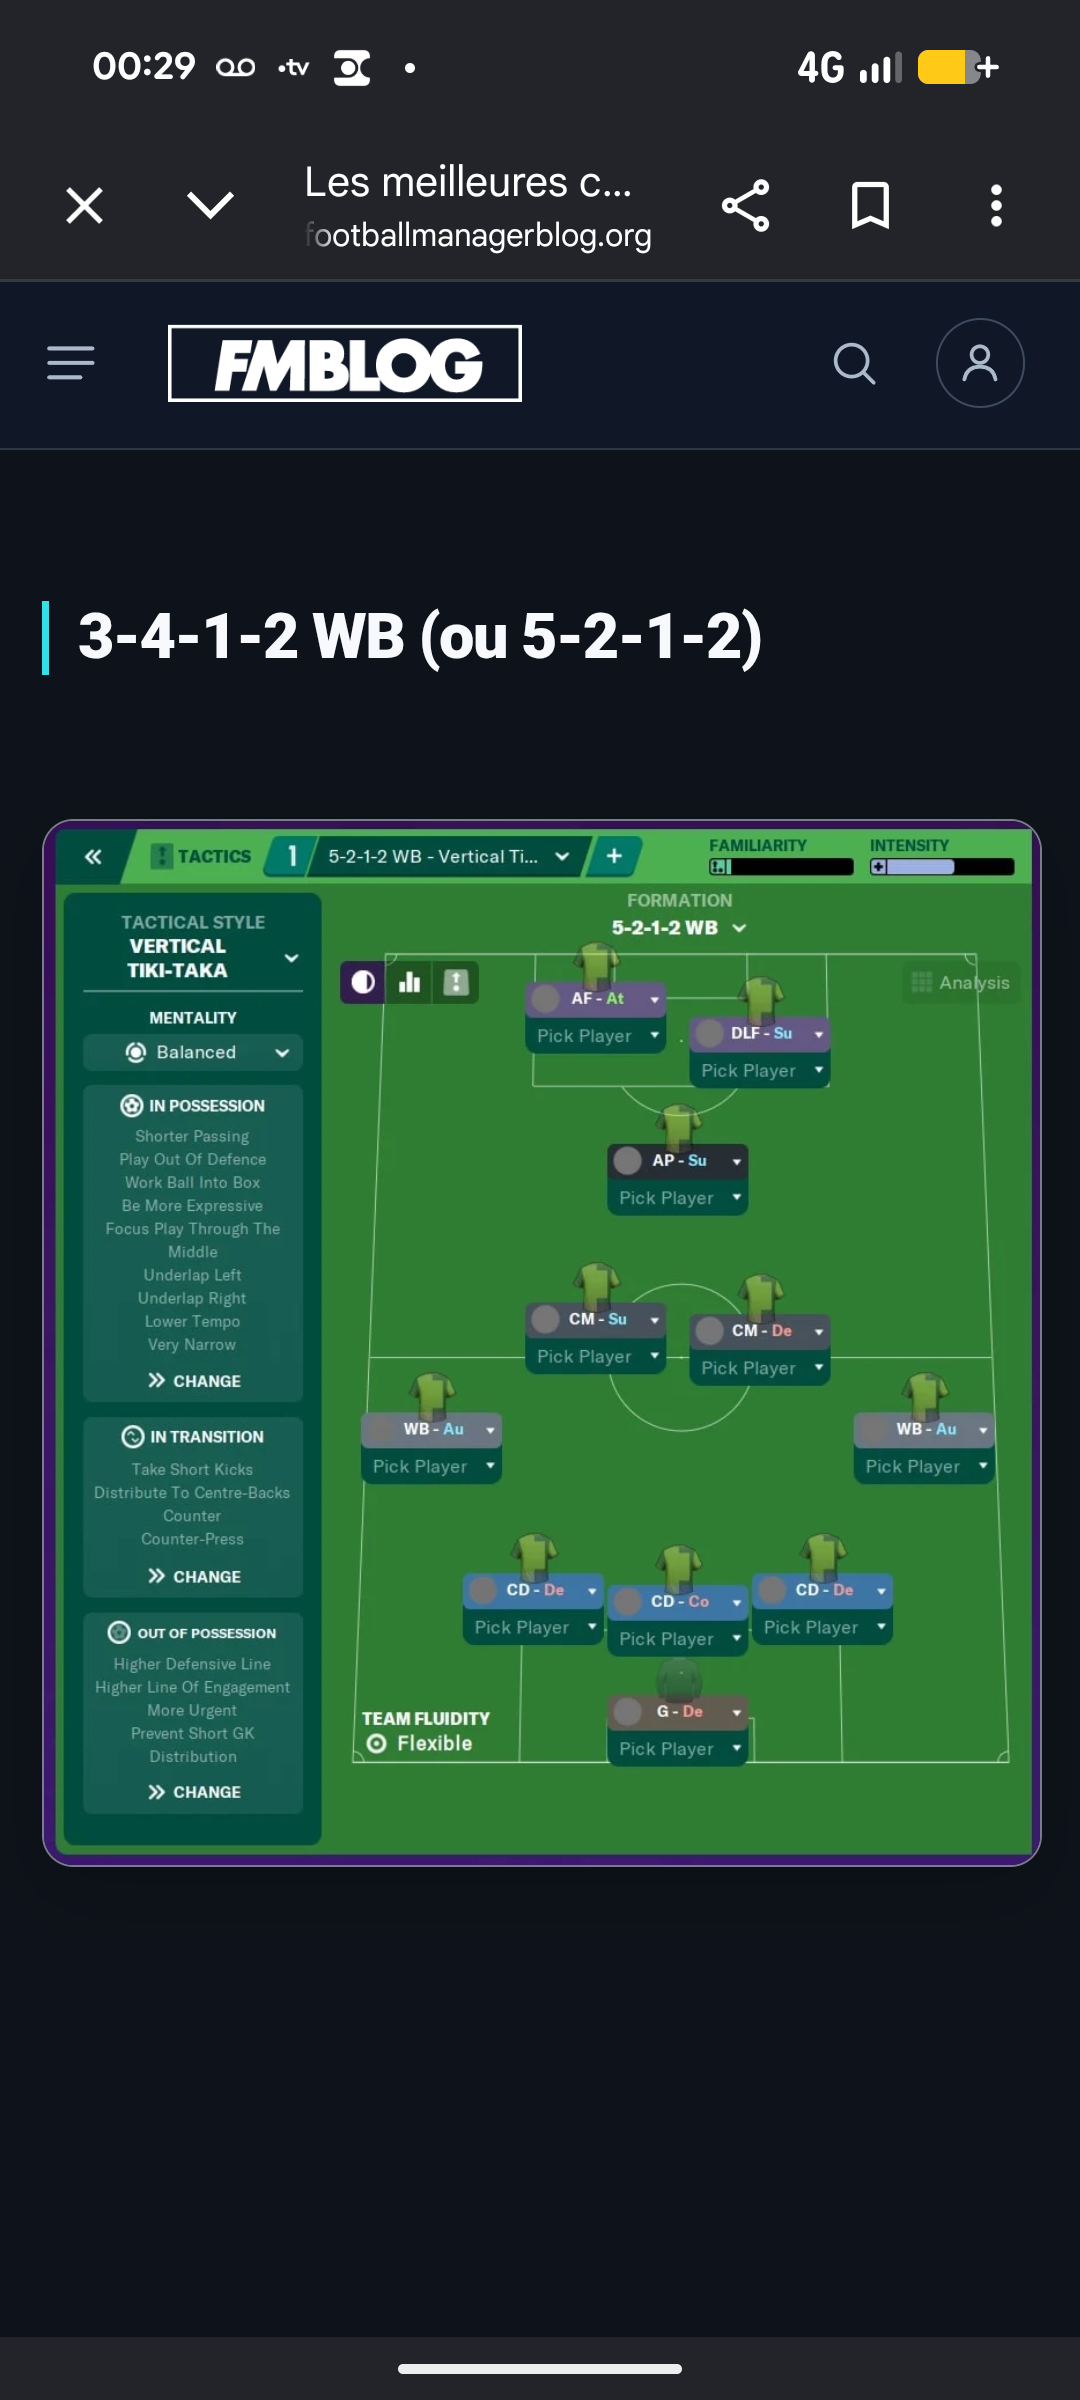
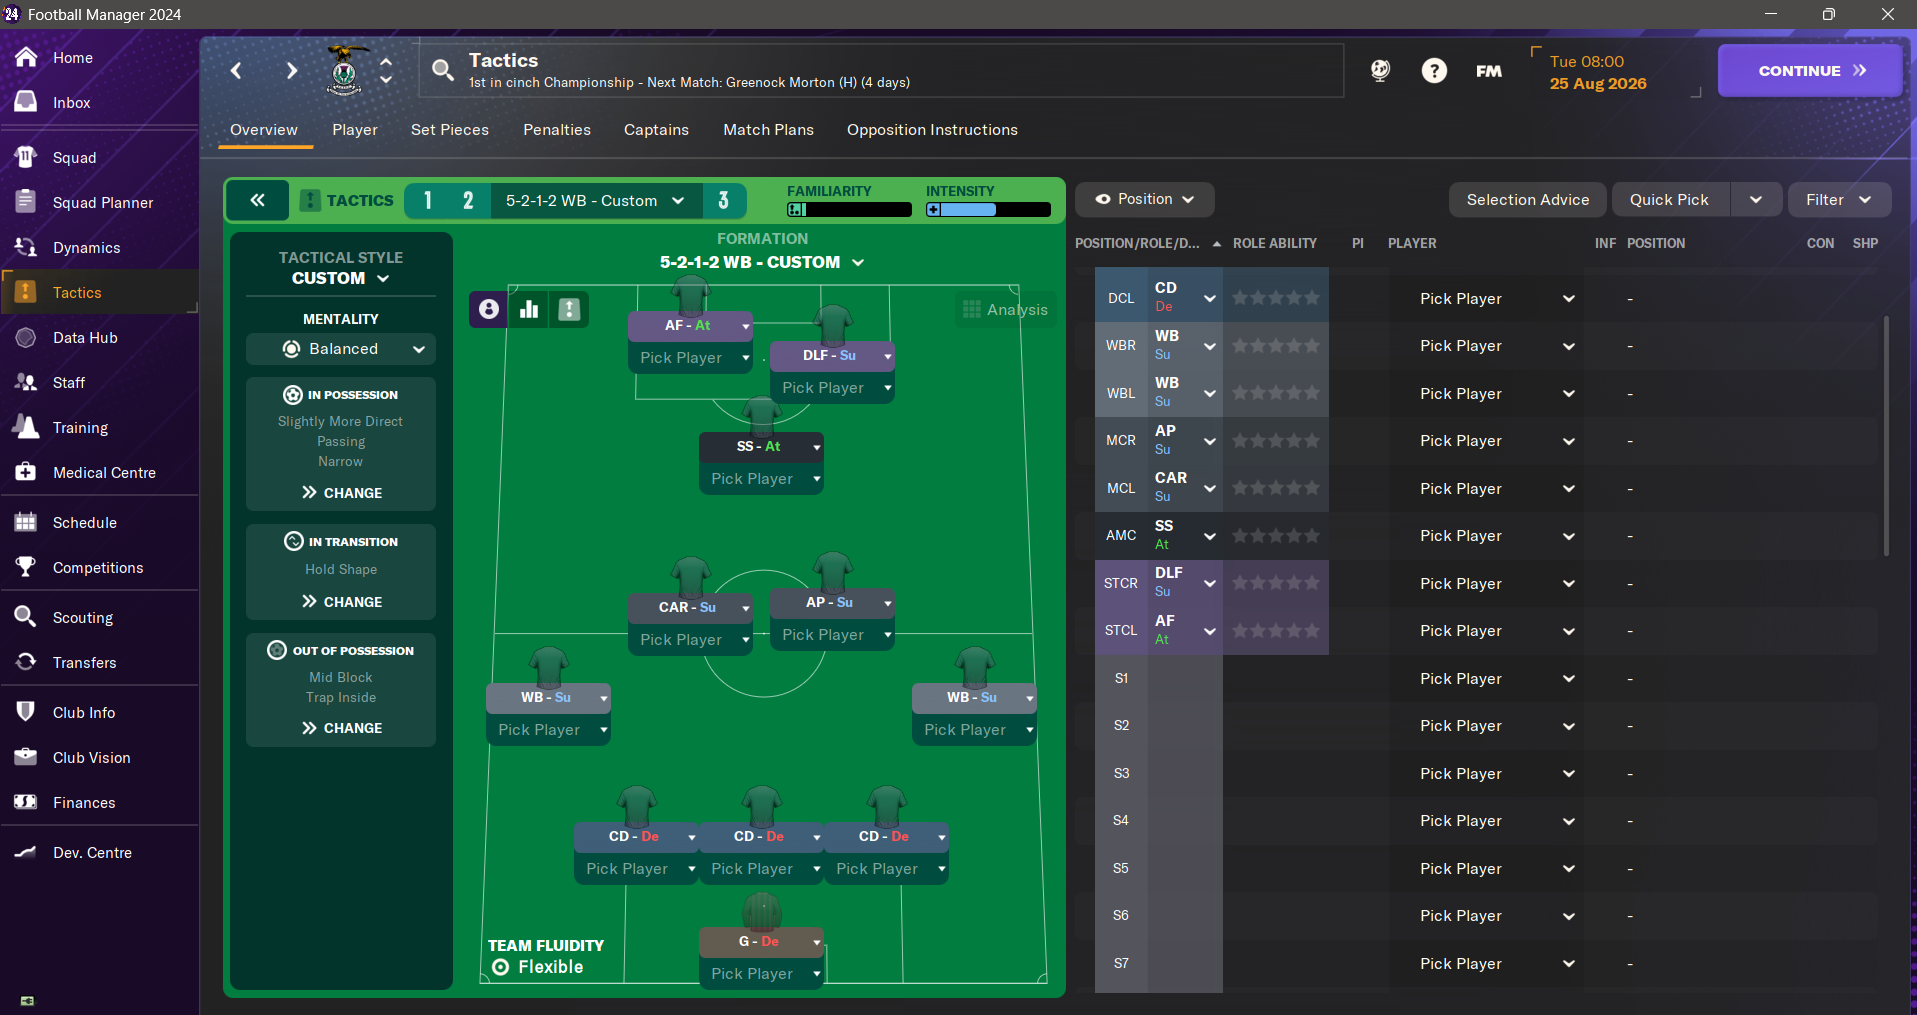
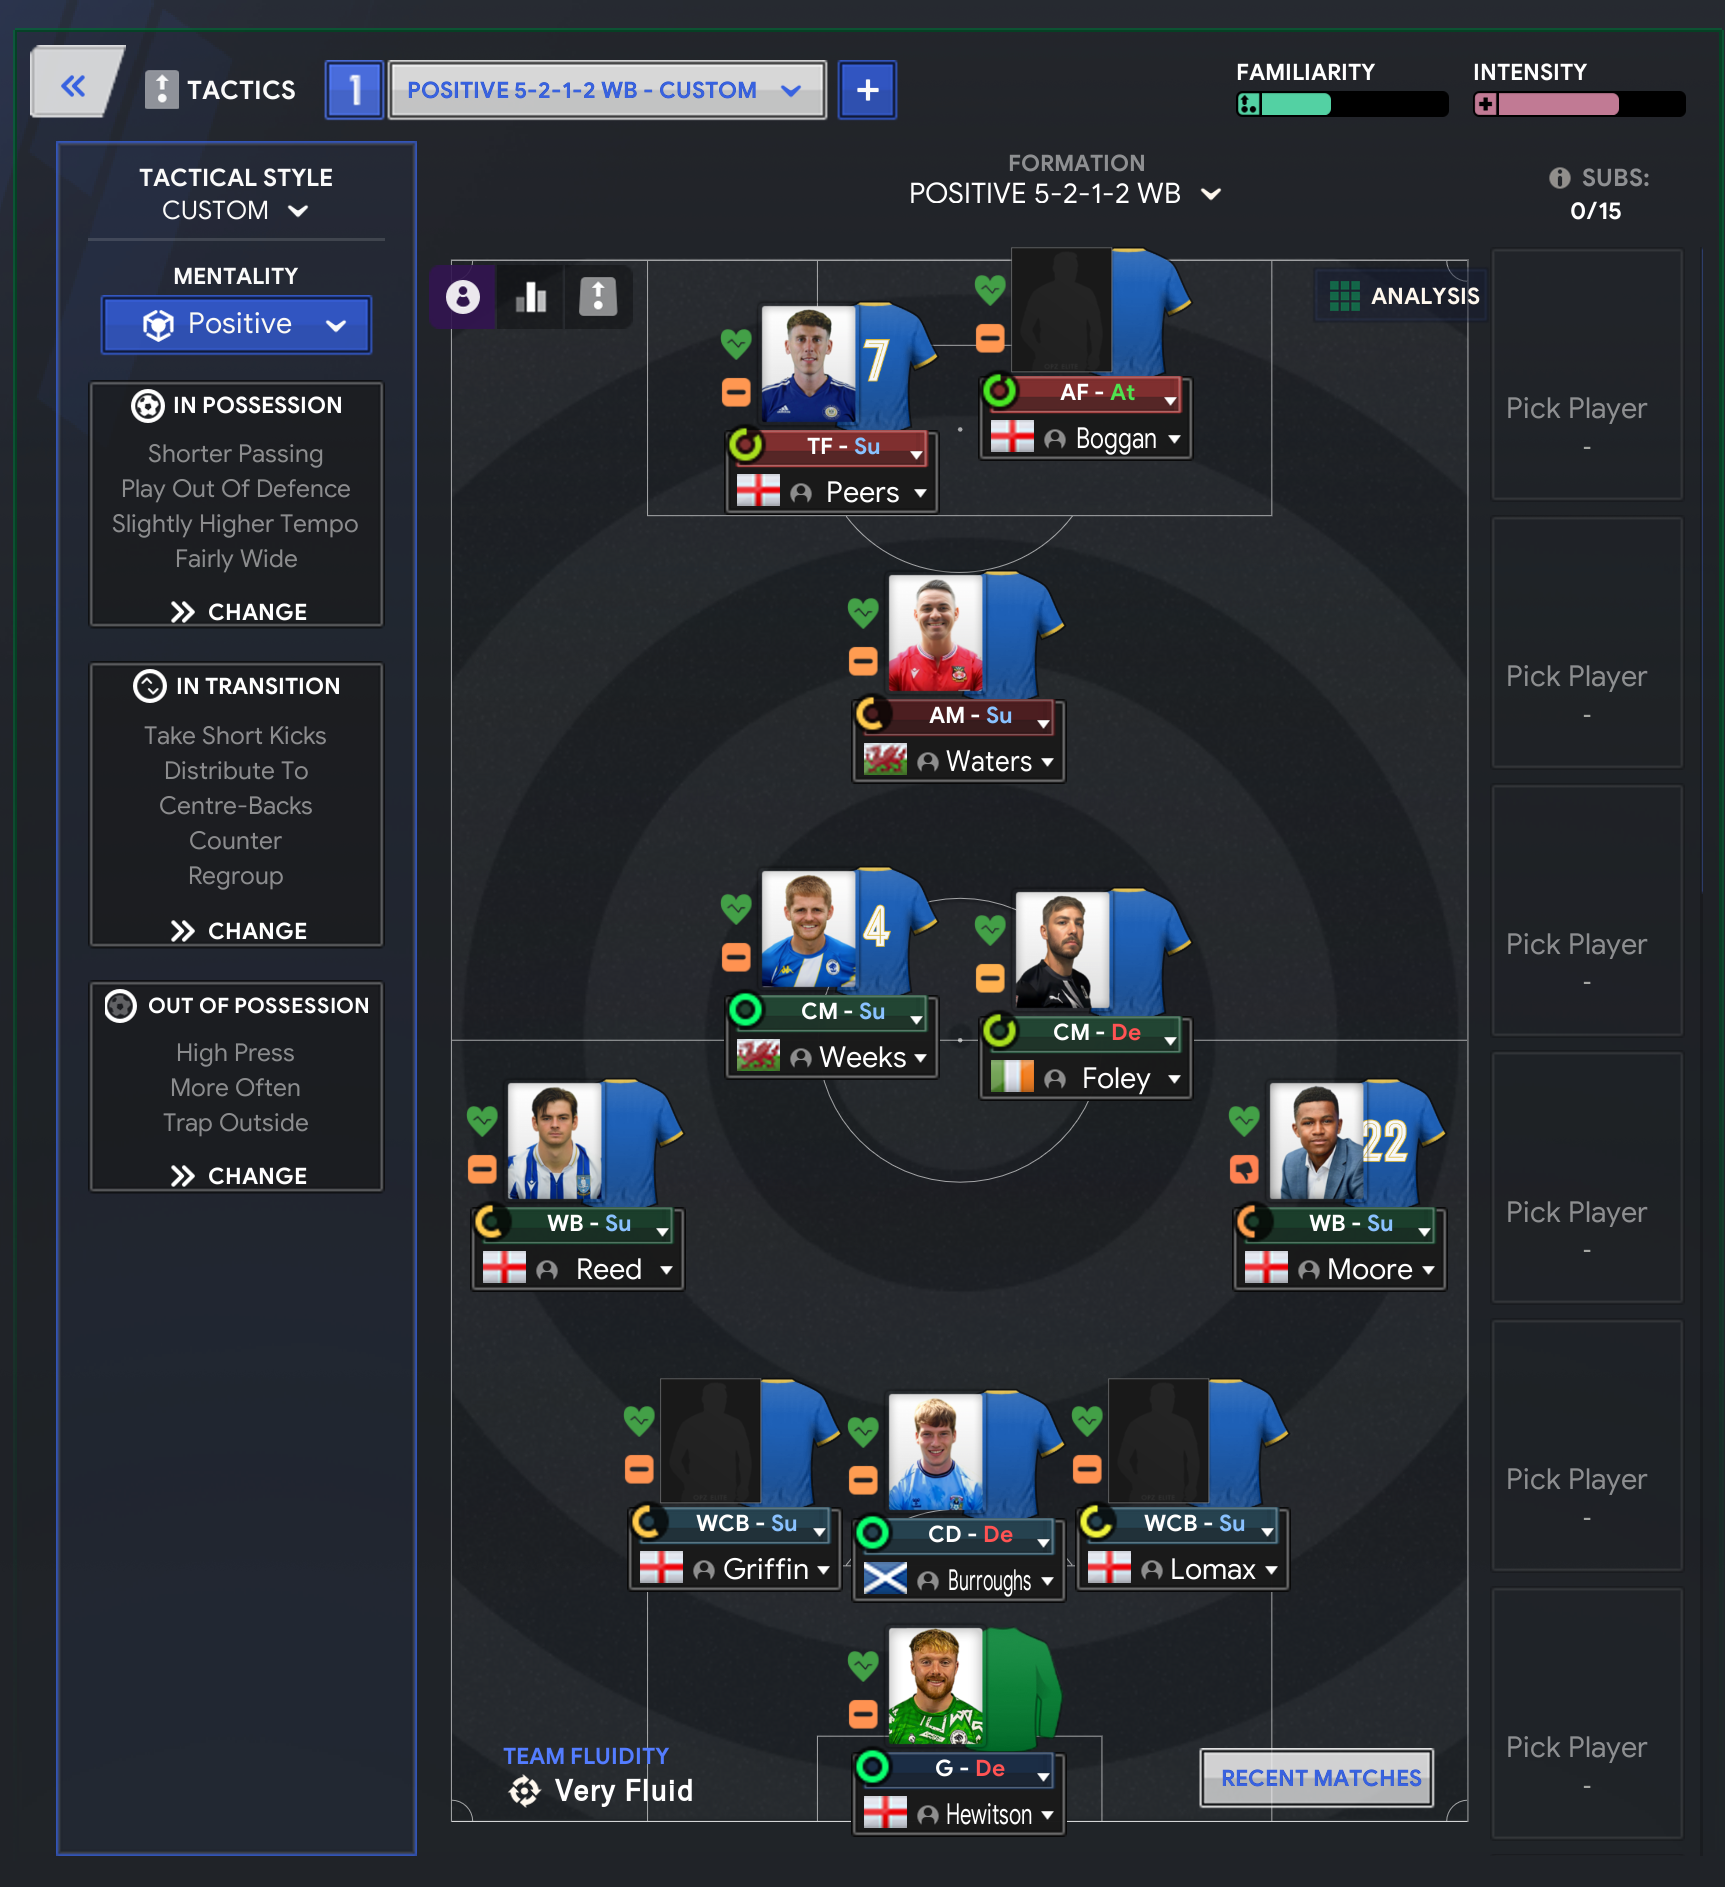
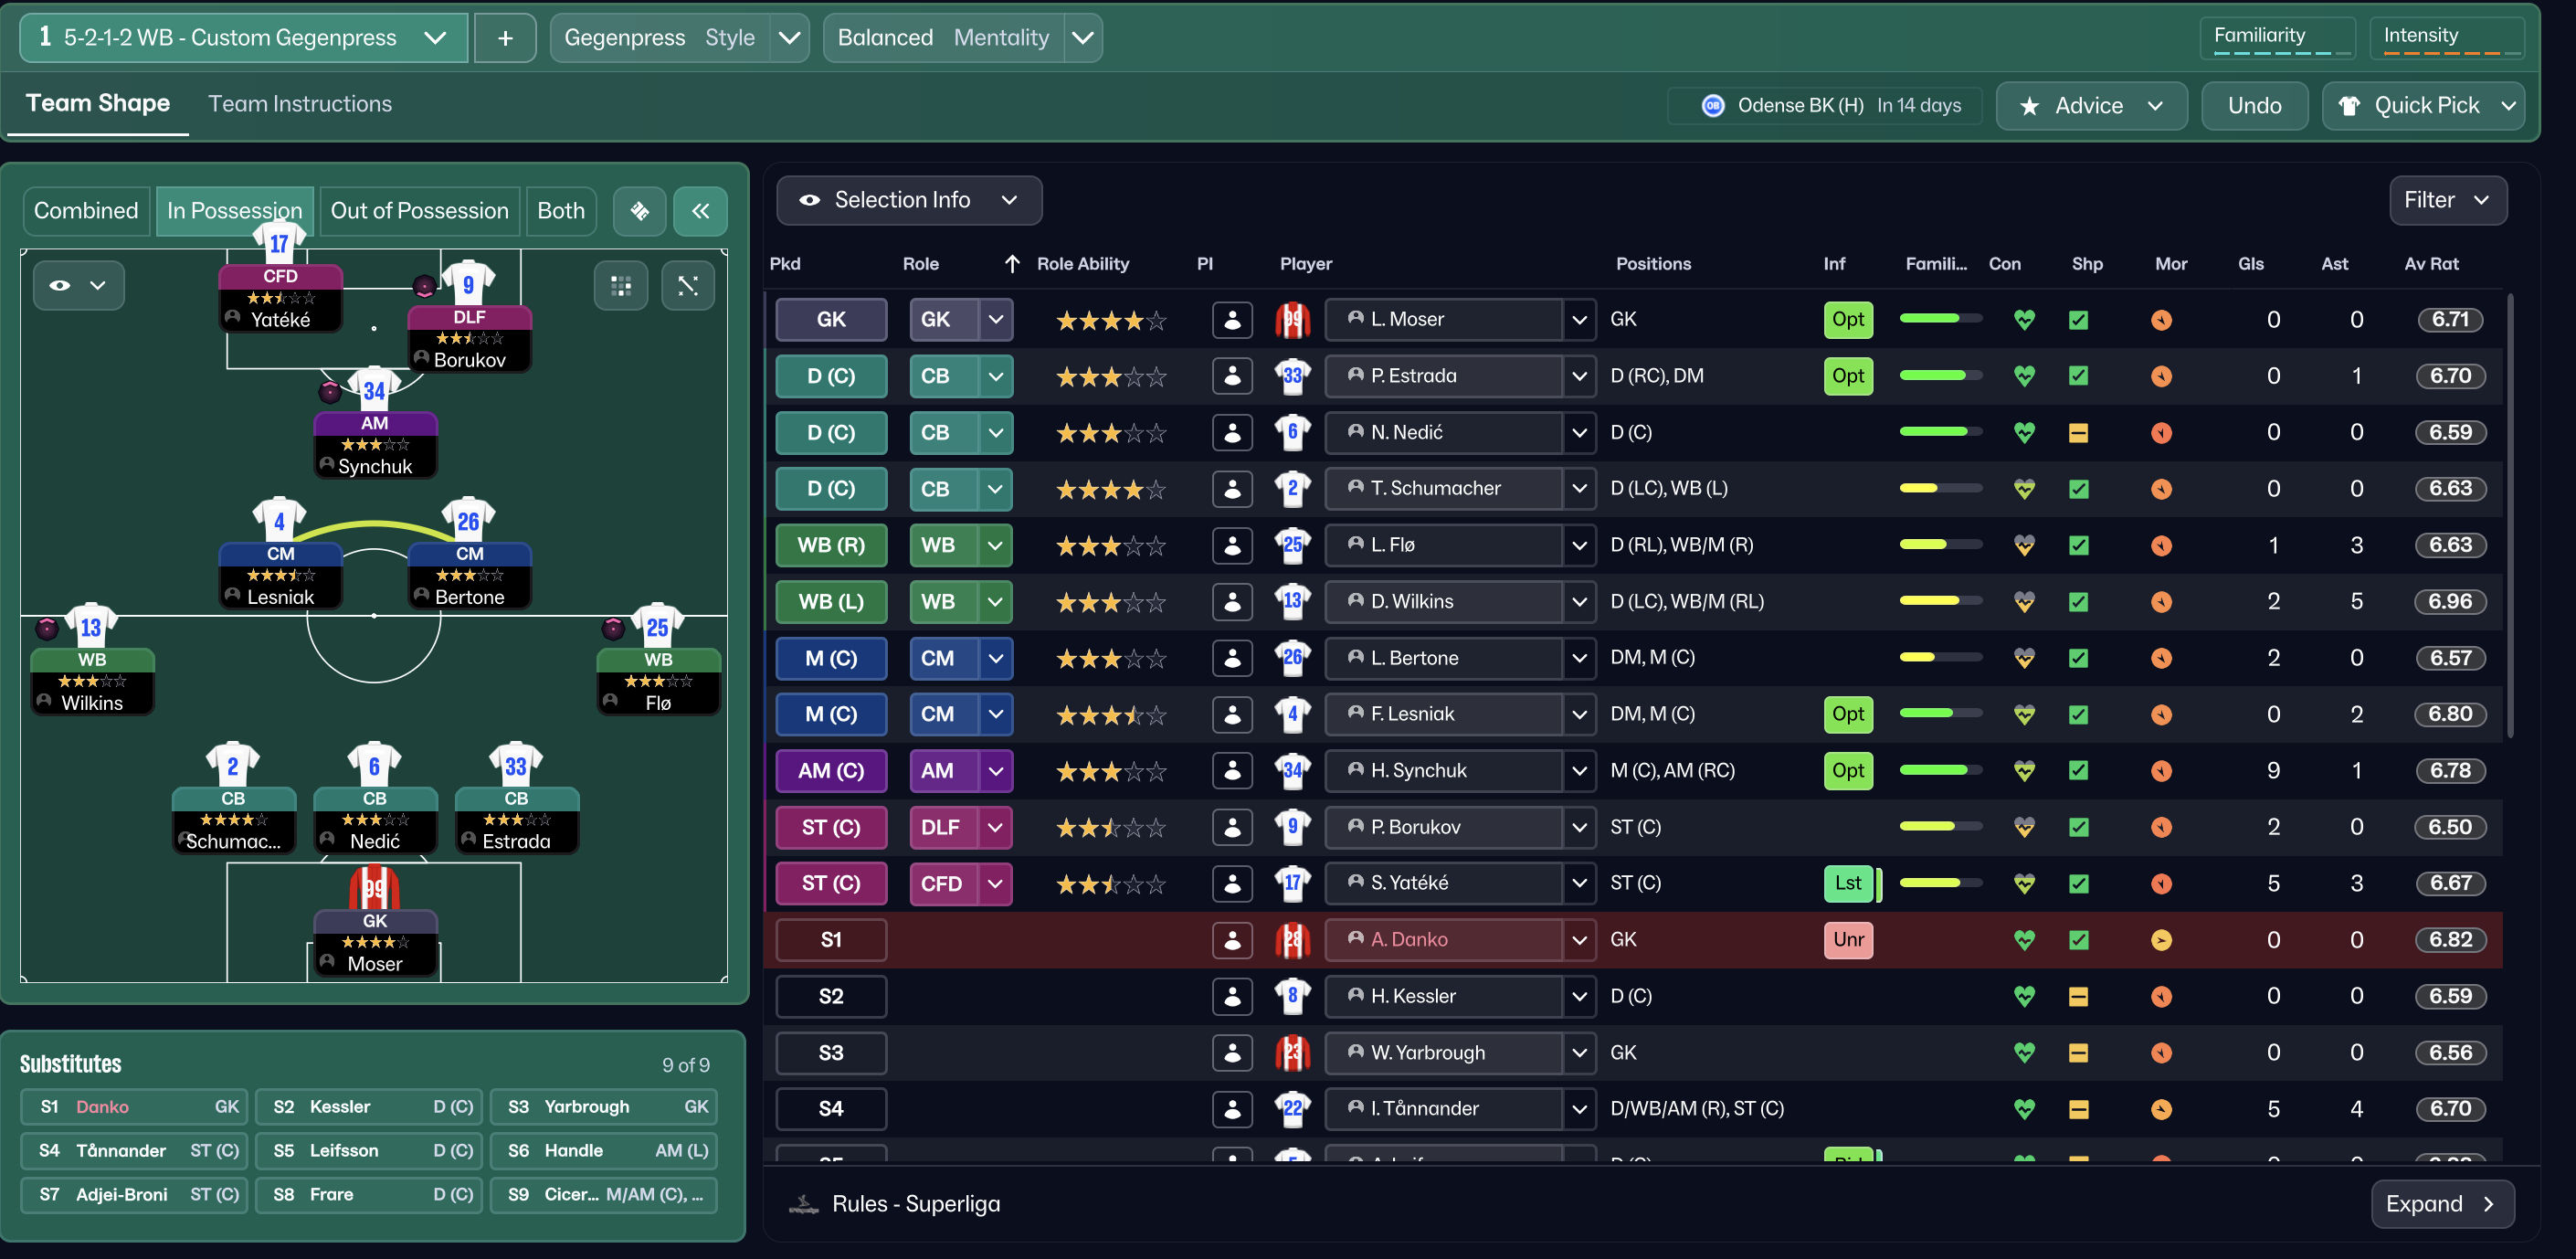
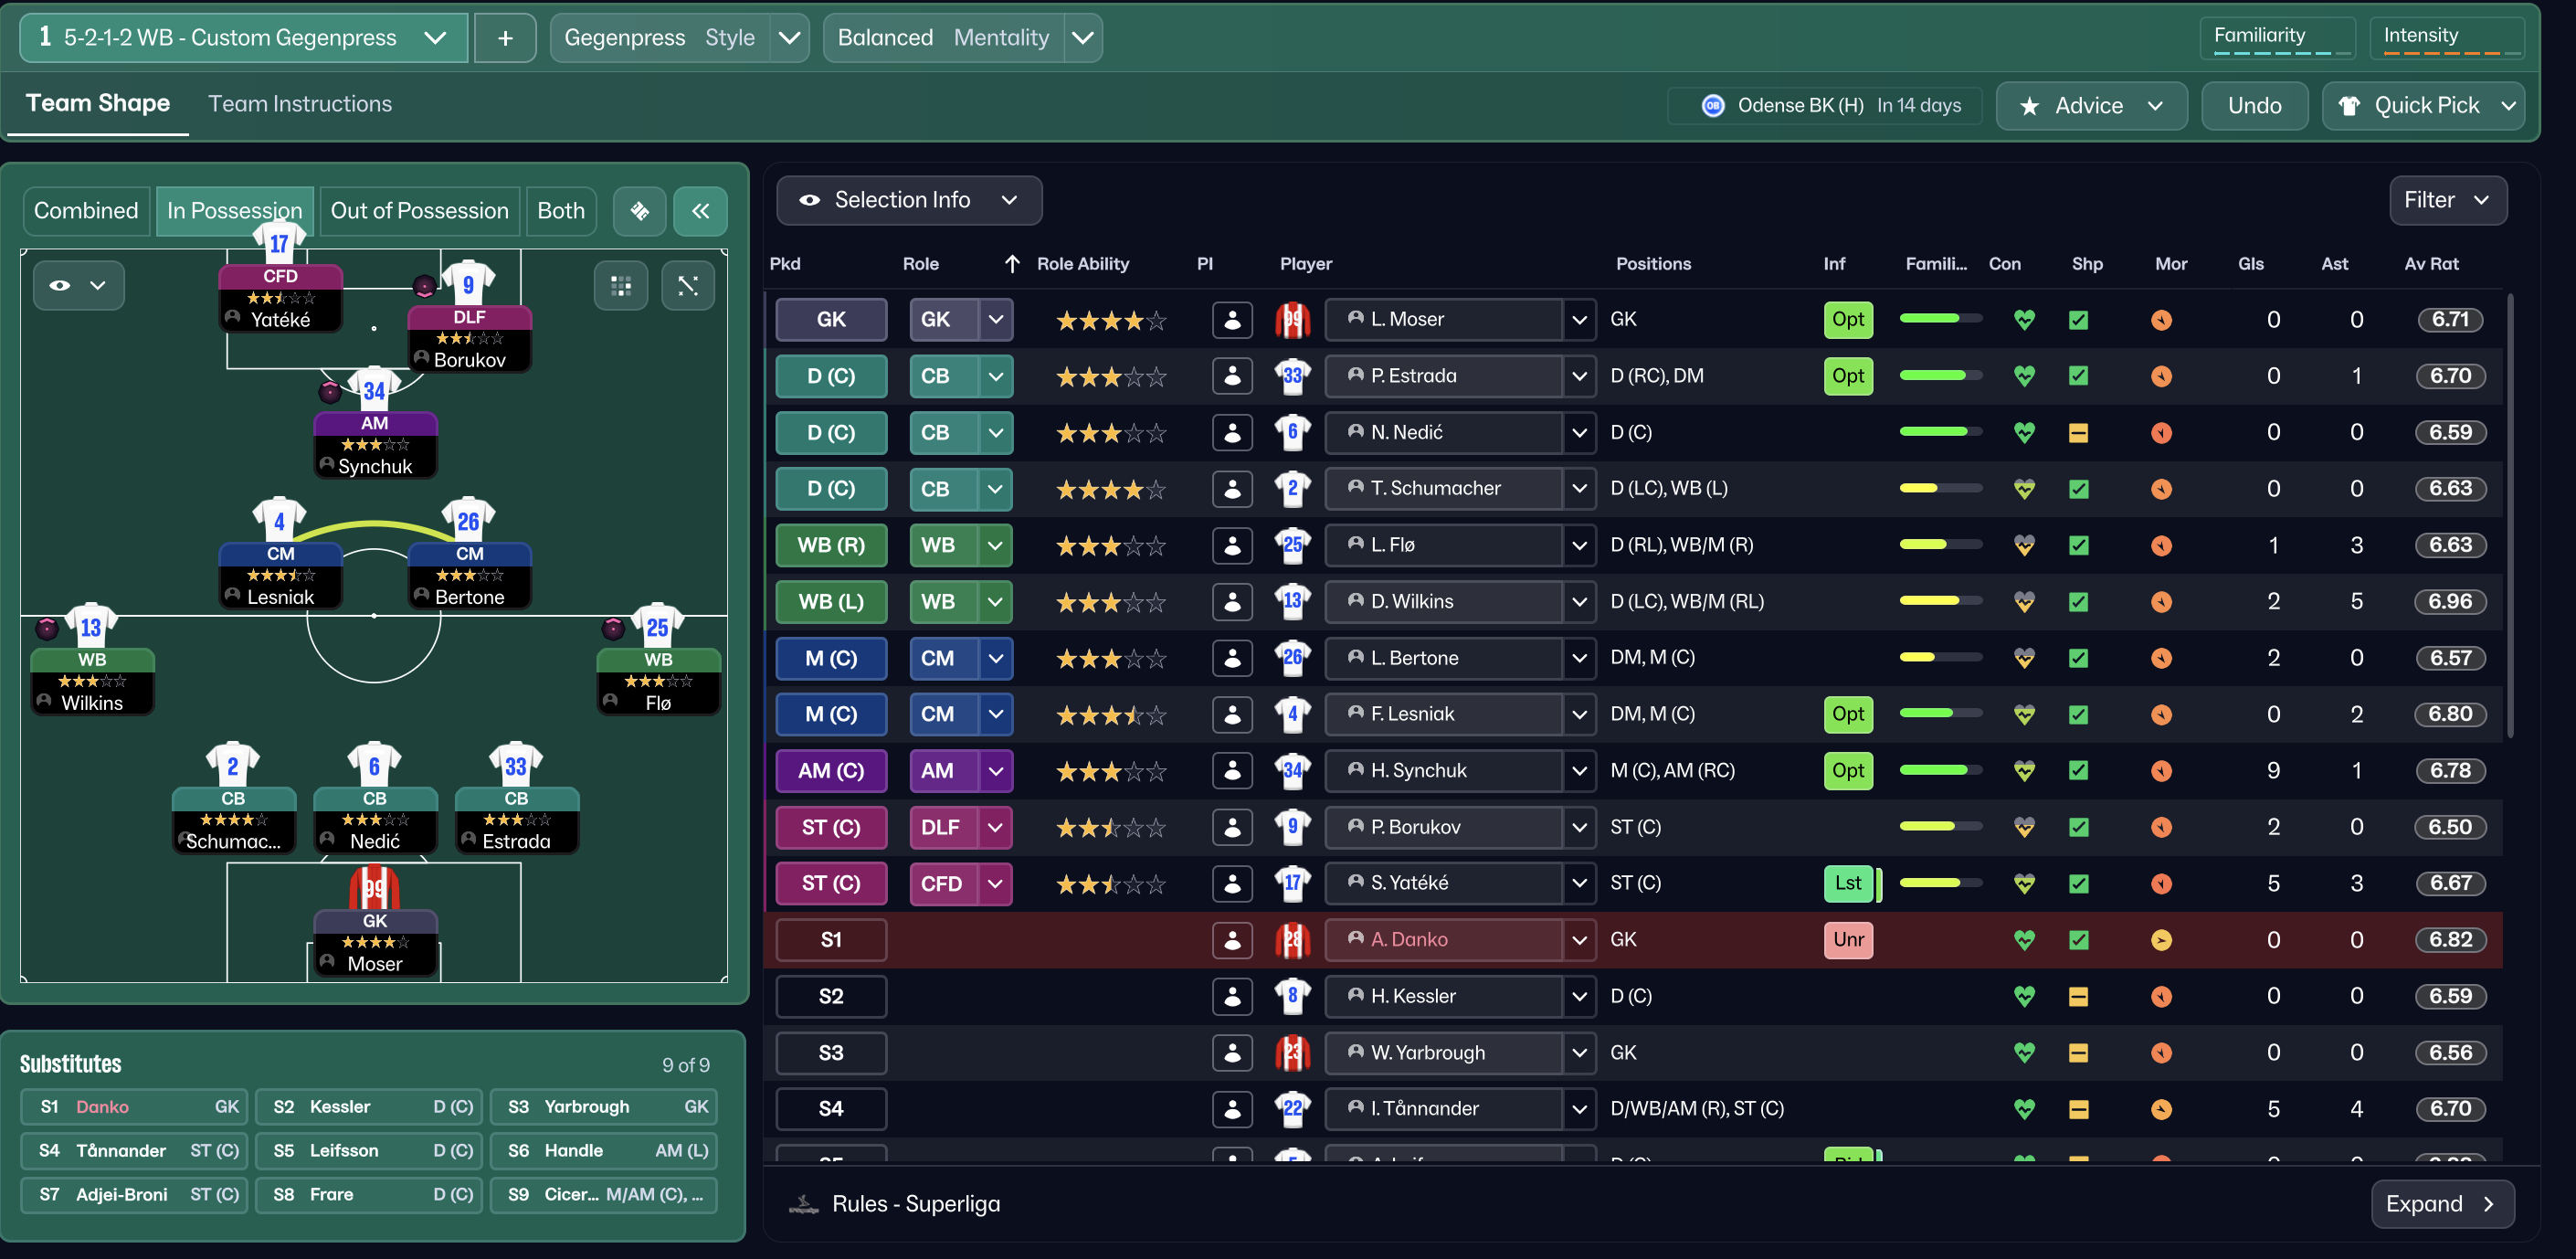
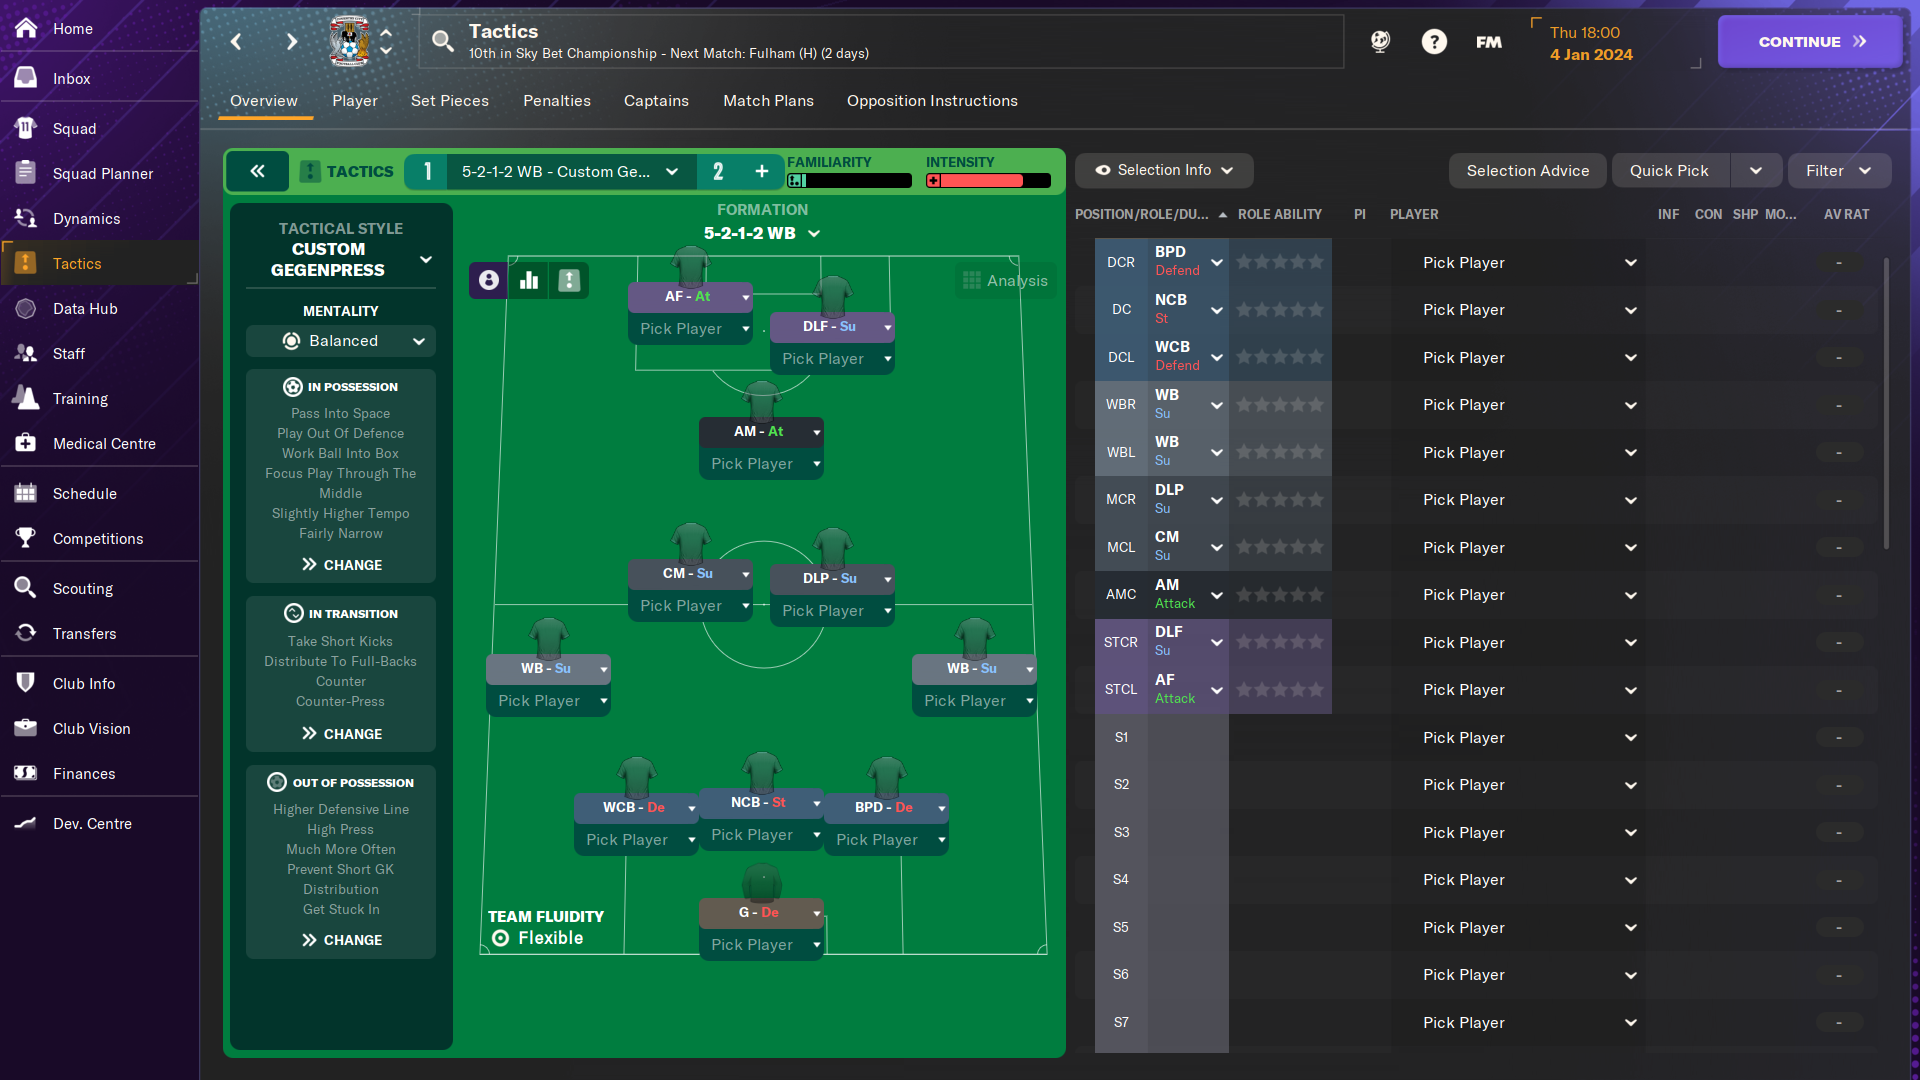
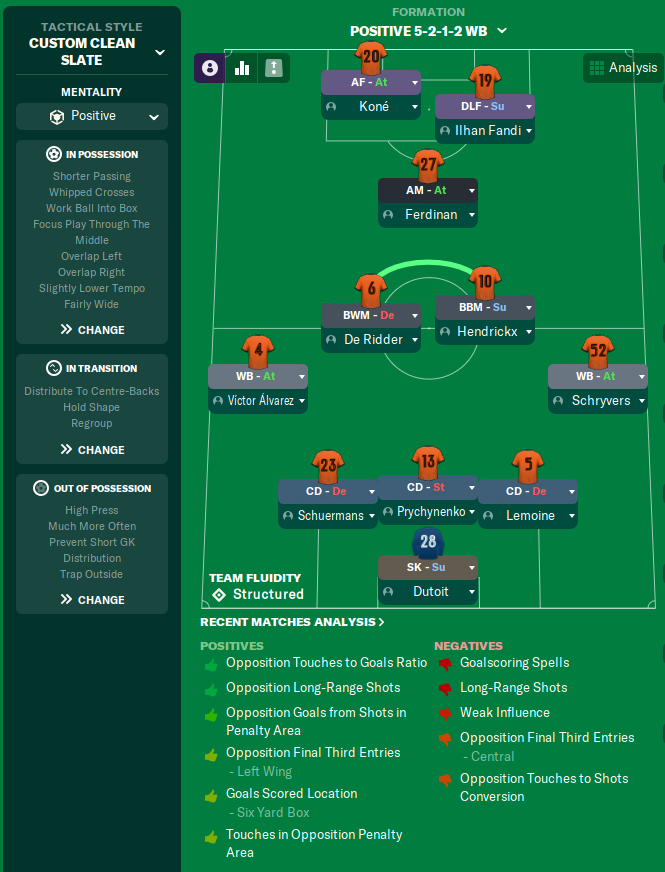
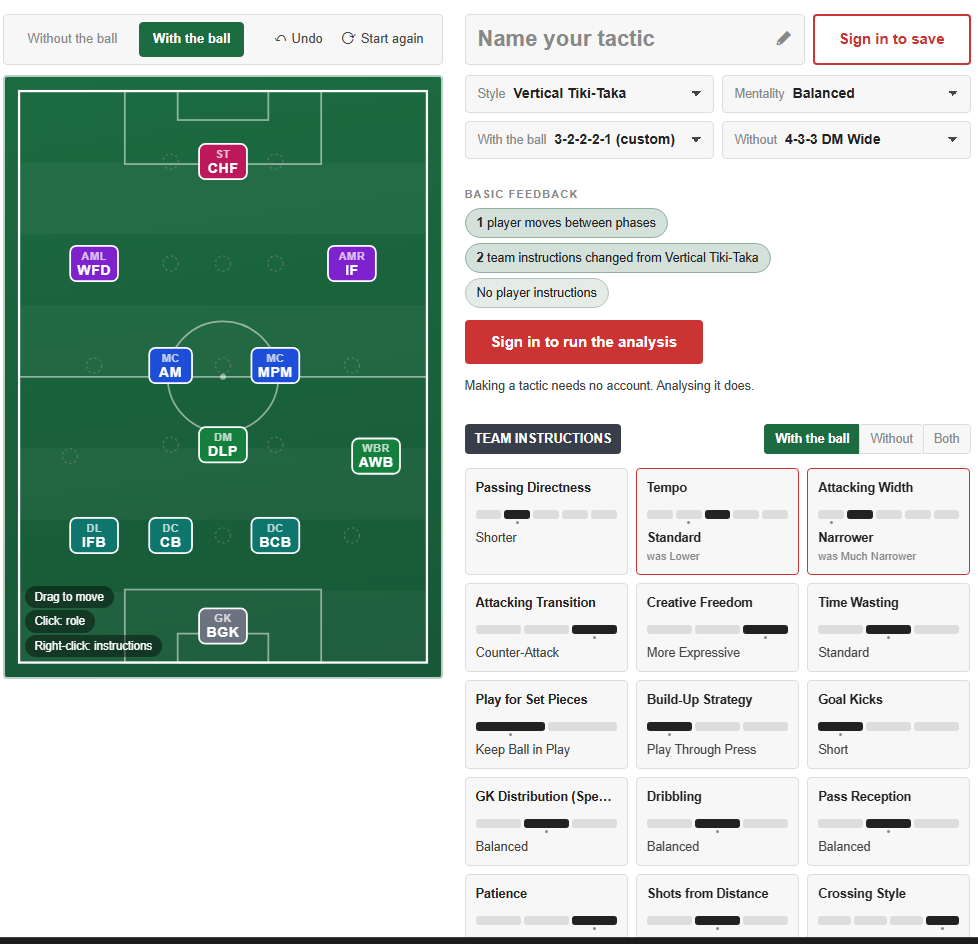
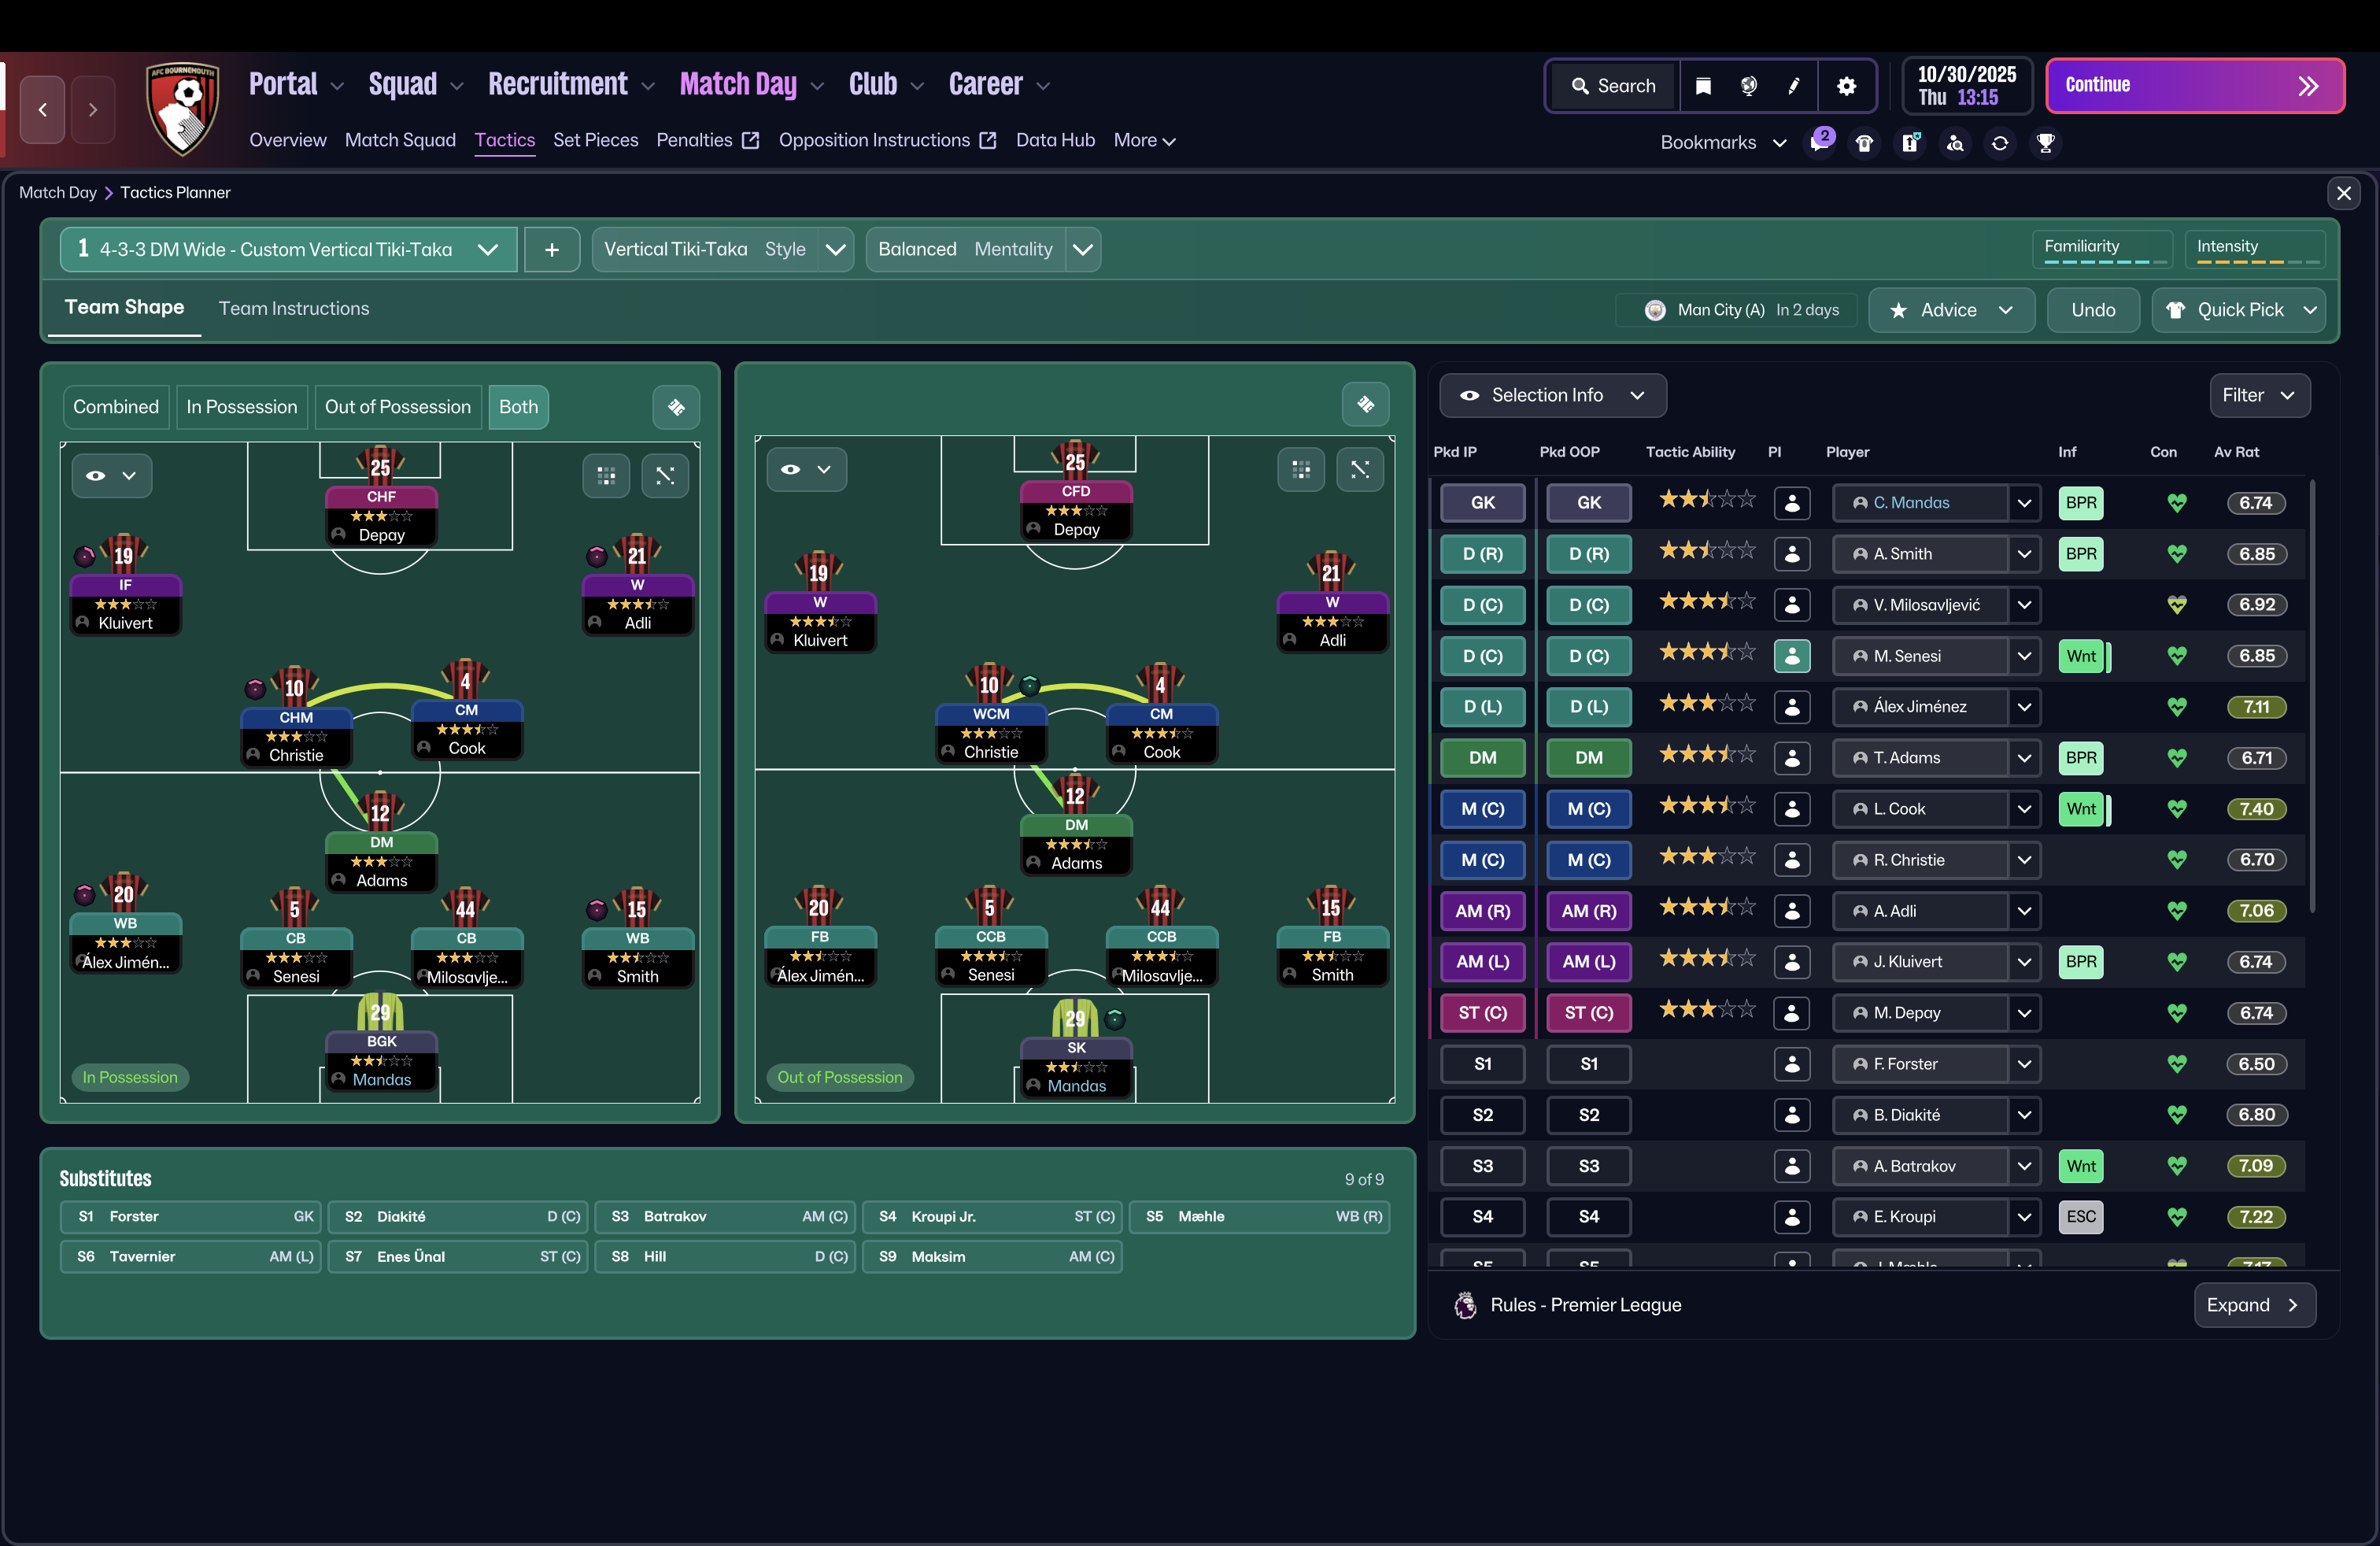
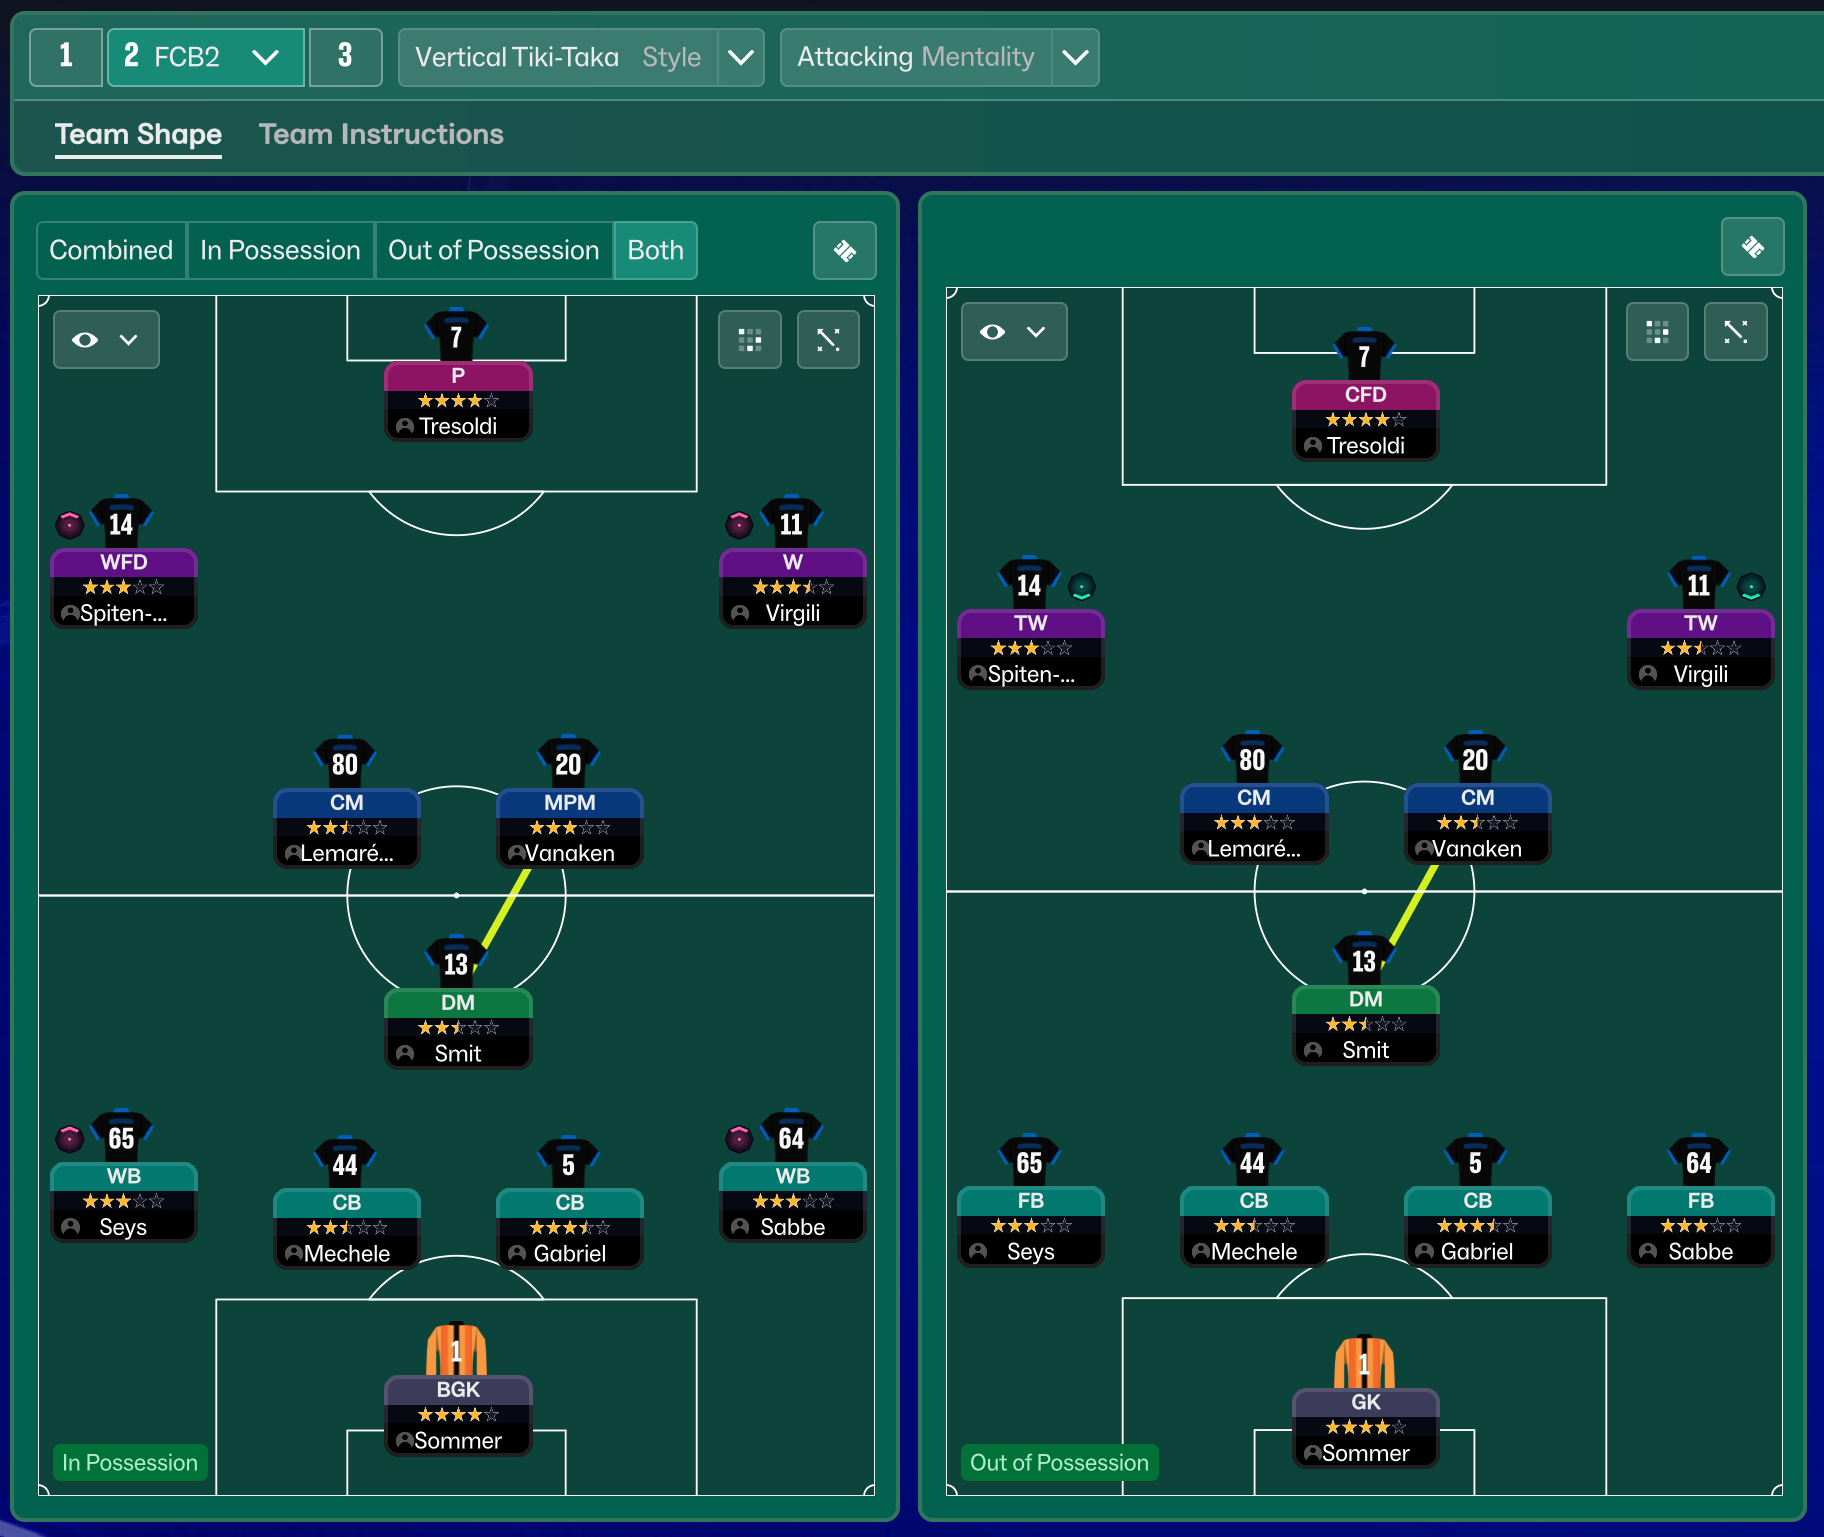
More Vertical Tiki-Taka tactics
Guides for this tactic
The tactical theory behind the 5-2-1-2 WB: roles, instructions, and the trade-offs that decide whether the system holds up.
Playing styles
Low Block: Park the Bus
The deliberate underdog tactic in FM: formation choices, duty distribution, and why Counter-Press is exactly wrong inside a low block.
Read guide
Foundations
Mentality, Duty & Roles
How Mentality, Duty, and Role interact in FM, why duty trumps mentality every time, and the role-on-top-of-duty composition rules.
Read guide
Foundations
Pressing Triggers and Intensity
Counter-Press, Regroup, Stand Off, Trigger Press: what each pressing instruction does in FM and how to pair them without contradicting.
Read guide