Vertical Tiki-Taka 4-2-3-1 Wide (Balanced) Tactic
4-2-3-1 Wide
Employs width through wingers while allowing full-backs to advance. The trio of attacking midfielders and striker can interchange roles effectively.
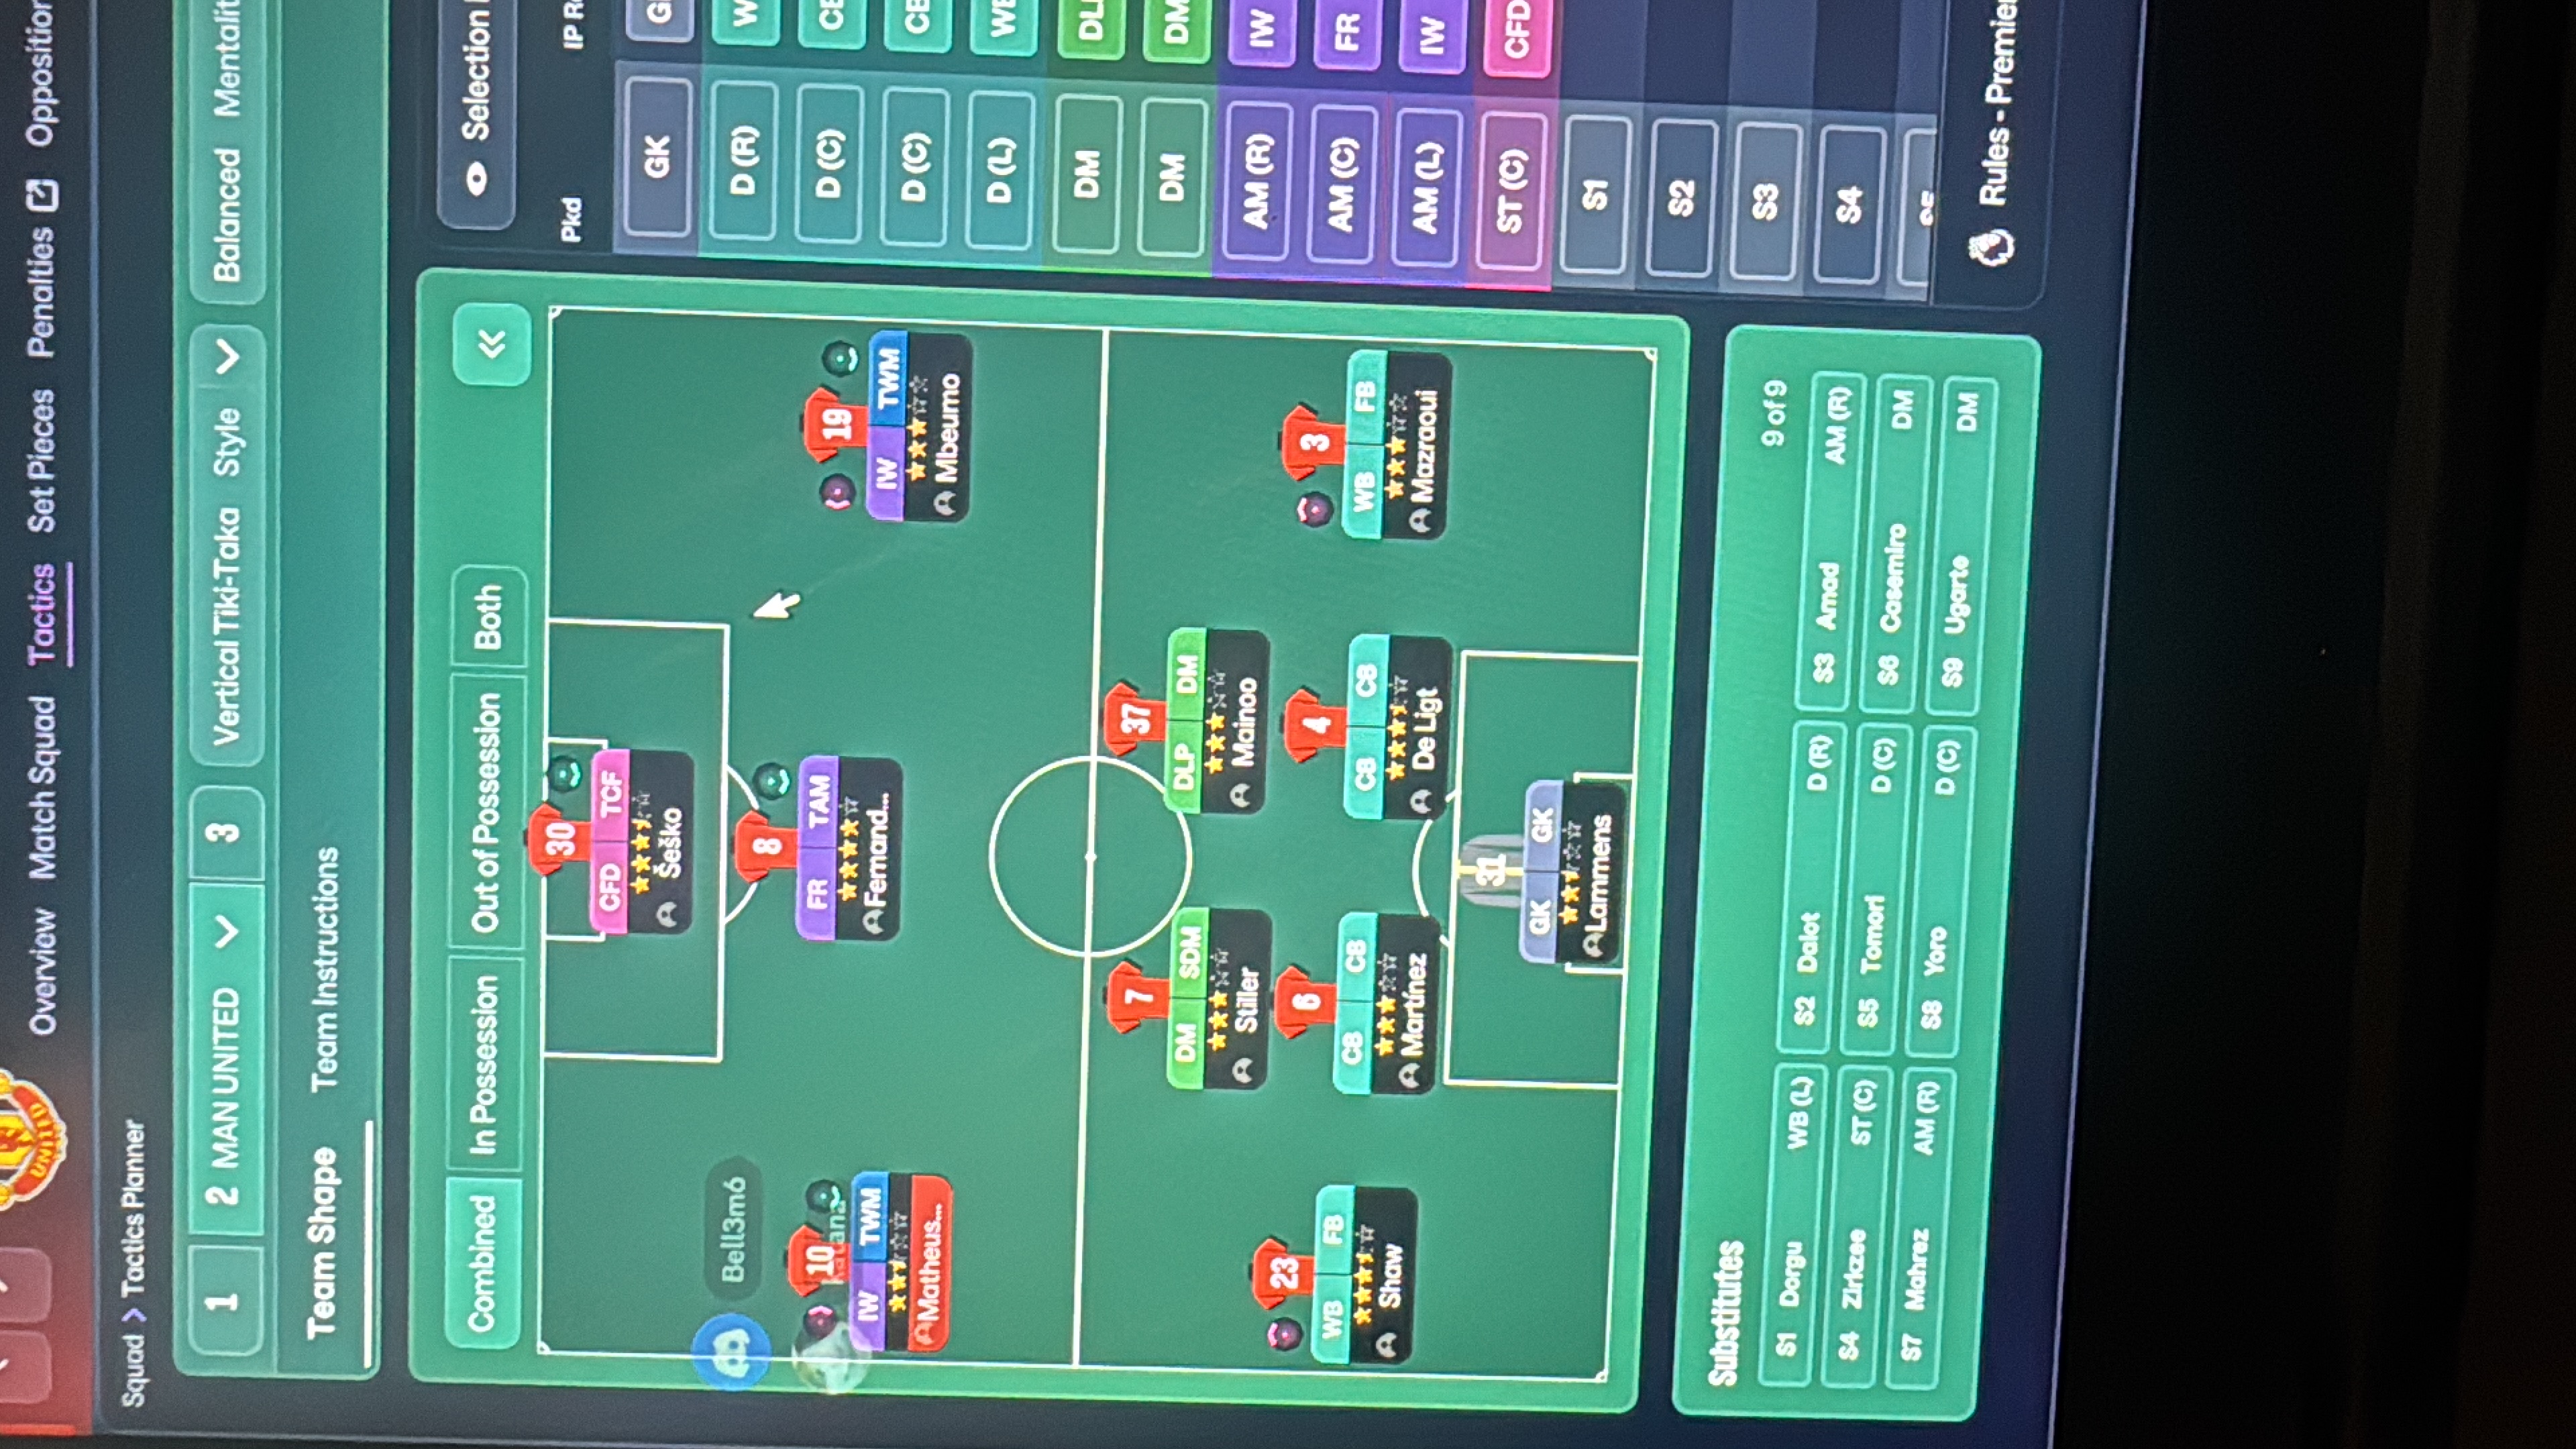
Loading tactical analysis...
Formation and style
Vertical Tiki-Taka
Balanced
4-2-3-1 Wide
In possession
Play Out of Defence
Pass Into Space
Work Ball Into Box
In transition
Counter-Press
Counter
Out of possession
Higher Defensive Line
Higher Line of Engagement
Prevent Short GK Distribution
Player roles
GK
G
CB
CB
CB
CB
WB
WB
Su
DM
DM
De
DM
DLP
Su
AM
TAM
Su
IW
IW
At
IW
IW
At
ST
CF
At
Phase description
Focuses on ball retention with quick short passes and movement, creating high-quality chances.
Quick to regain possession with immediate pressure on the ball carrier.
Employs width through wingers while allowing full-backs to advance.
Team shape defence
Compact
Maintains a compact shape to limit spaces between lines and limit opposition chances.
Utilizes a Higher Defensive Line and a Higher Line of Engagement.
Team shape attack
Fluid
Players interchange positions to create confusion in opposing defense and exploit gaps.
Utilizes 'Work Ball Into Box' with overlapping full-backs providing width.
Key strengths
Fluid Attack
The trio of attacking midfielders and striker can interchange roles effectively.
TAM at [5,3], IW at [6,2], IW at [6,4].
Flexible Wing Play
Two inverted wingers can cut inside, offering goalscoring options and playmaking.
IW at [6,2], IW at [6,4] with attacking duties.
Conflicting tactics
High Defensive Line Risk
Requires fast defenders to cope with counter-attacks; may leave gaps if caught.
Higher Defensive Line with [2,1], [2,2], [2,3], [2,4].
Overlapping Full-Backs
Risks exposing the flanks if the ball is lost in advanced positions.
WB at [2,1] with potential to get forward.
Risk exposures
Risk Exposures
Items
Defensive Vulnerability
High line can be exposed to speed merchants.
Higher Line of Engagement and Defensive Line settings.
Transition Risks
Loss of possession can lead to quick counter-attacks against unbalanced team.
Counter-Press and Counter instructions can leave gaps.
Role synergies
Role Synergies
Items
DLP-S and DM-D
Allows for a balance between defensive stability and creative outlet.
DLP at [3,3] complements DM at [3,2].
IW and WB
Creates overlapping options and opens space for shots from the wingers.
IW at [6,2] and WB at [2,1] work in tandem.
Suggested questions
What are the strengths of your central midfield pairing?
How do you plan to exploit weaknesses in the opponent's formation?
What adjustments will you make if you concede an early goal?
Related Tactics
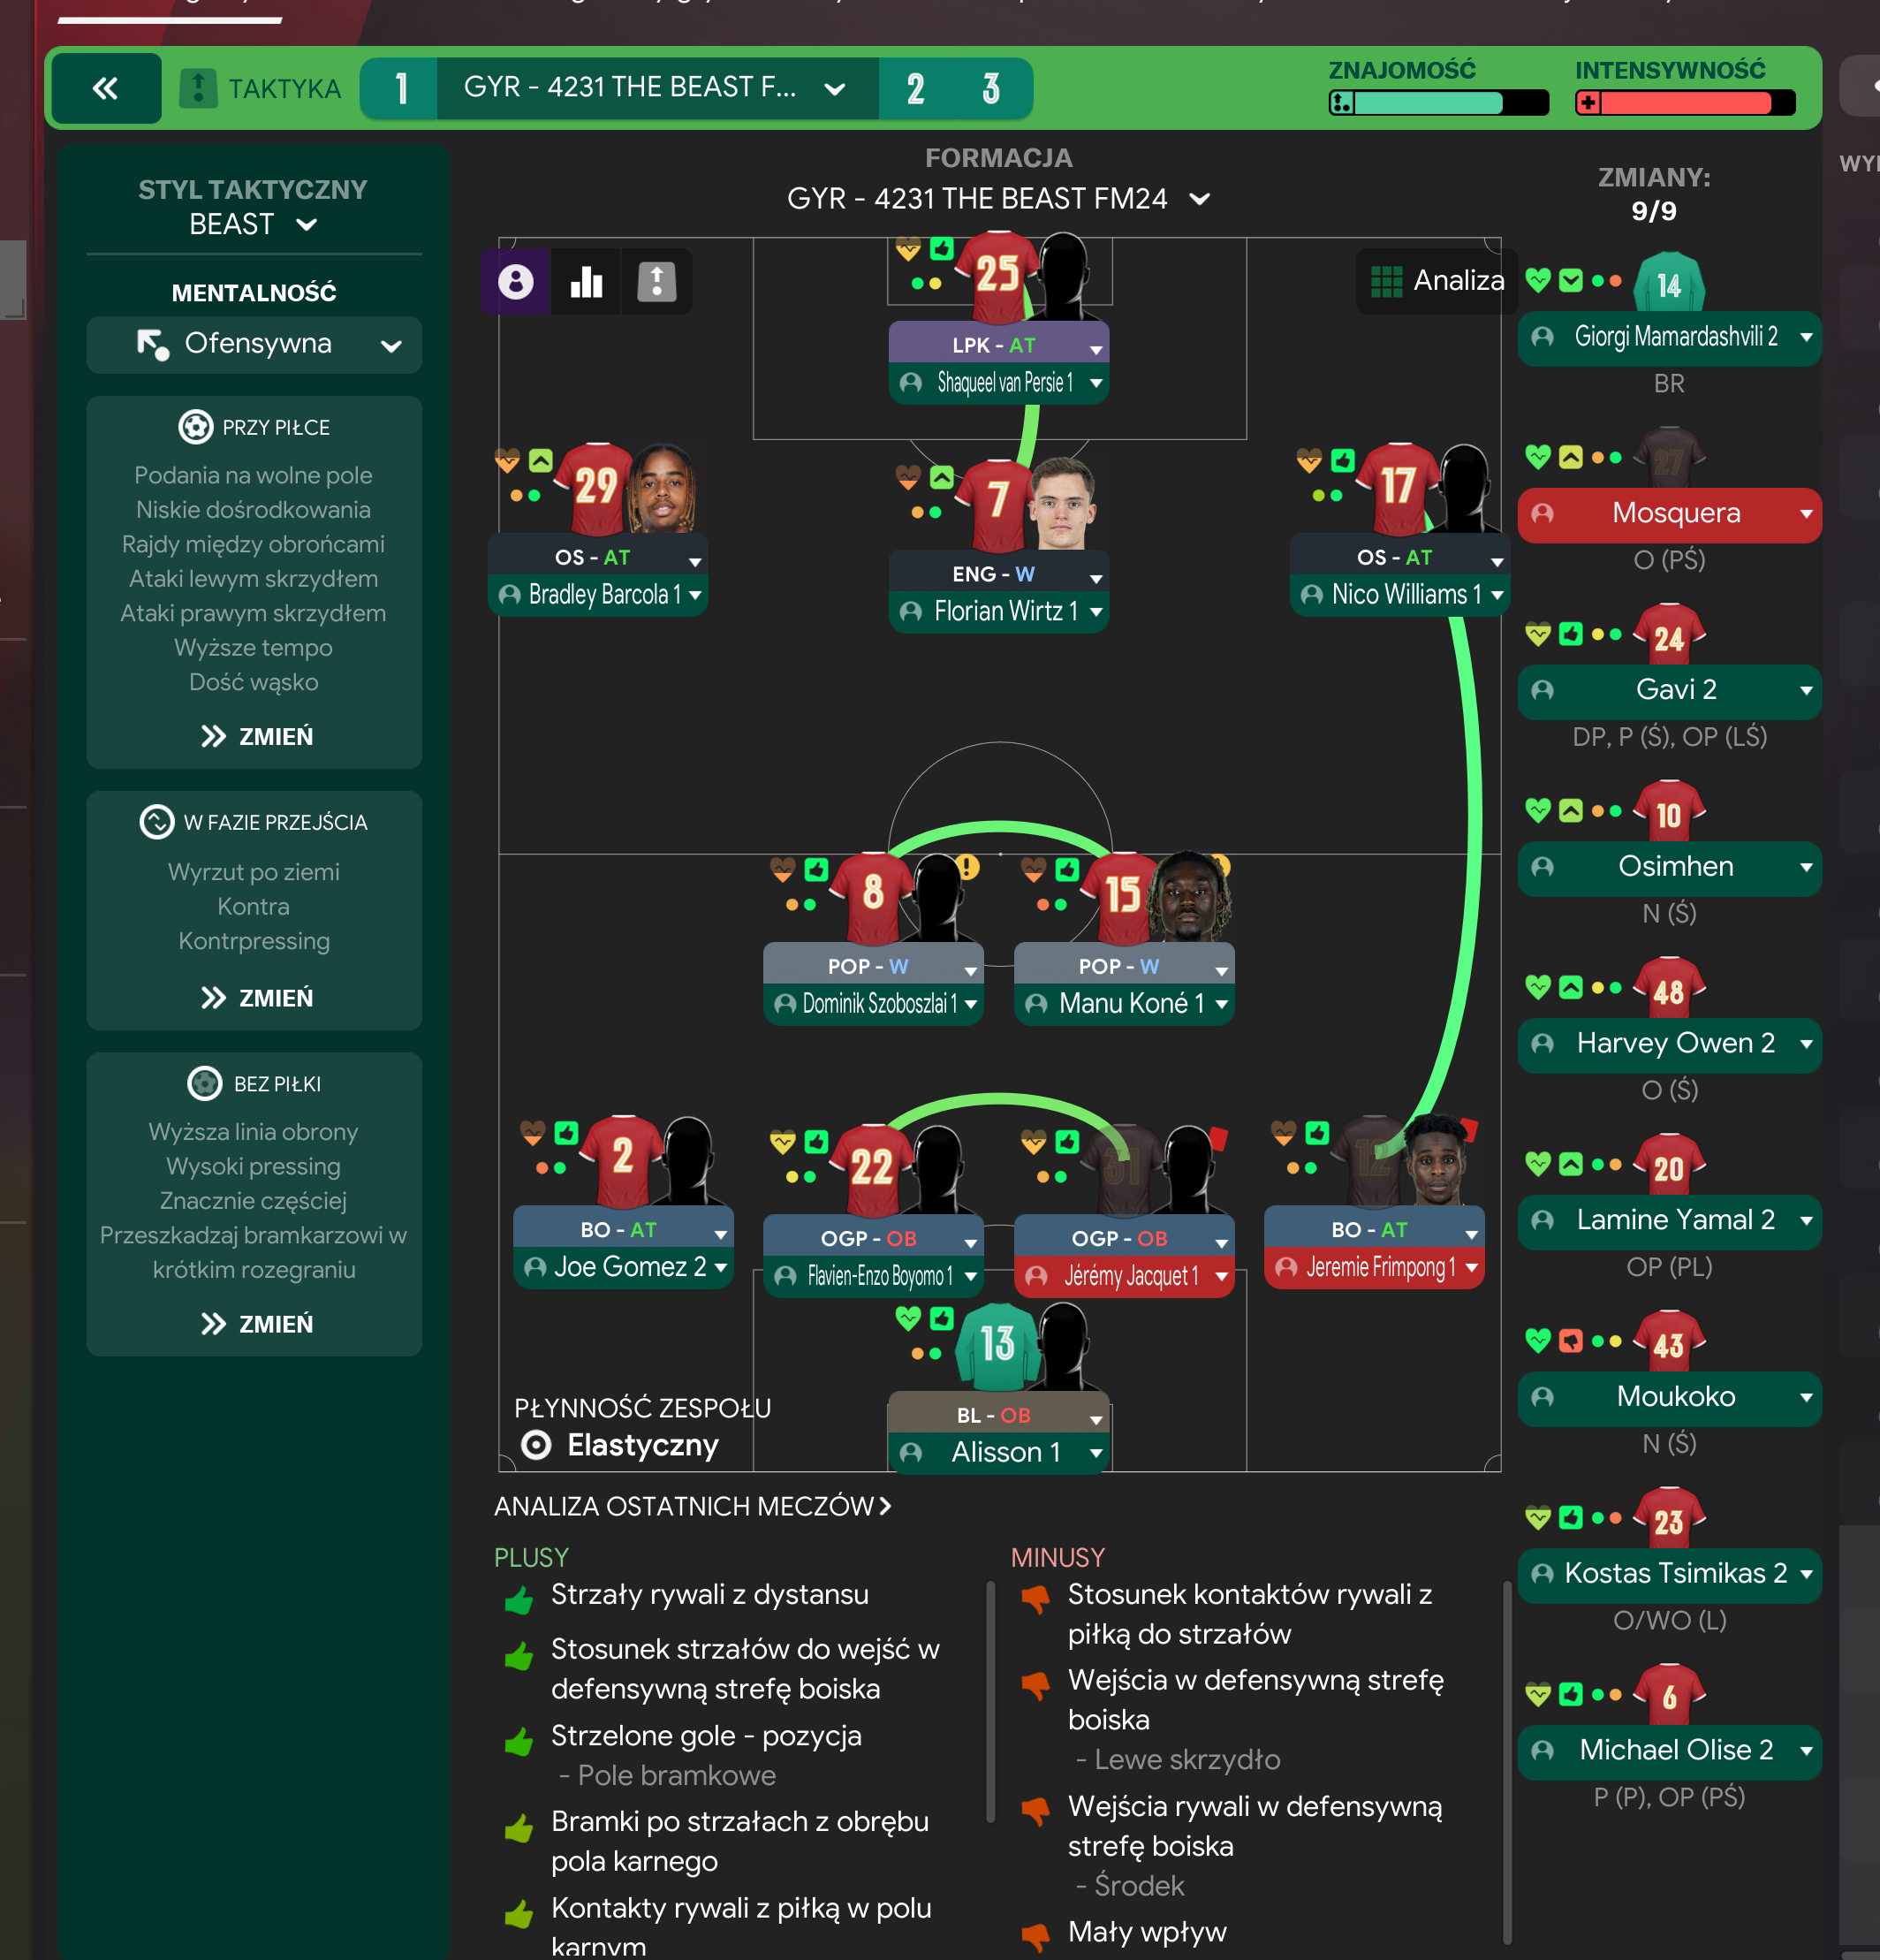
Gegenpress 4-2-3-1 Wide
Gegenpress
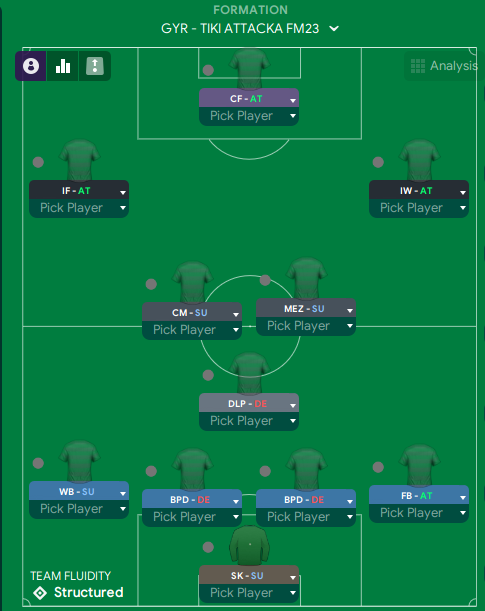
Tiki-Taka 4-2-3-1 Wide
Tiki Taka
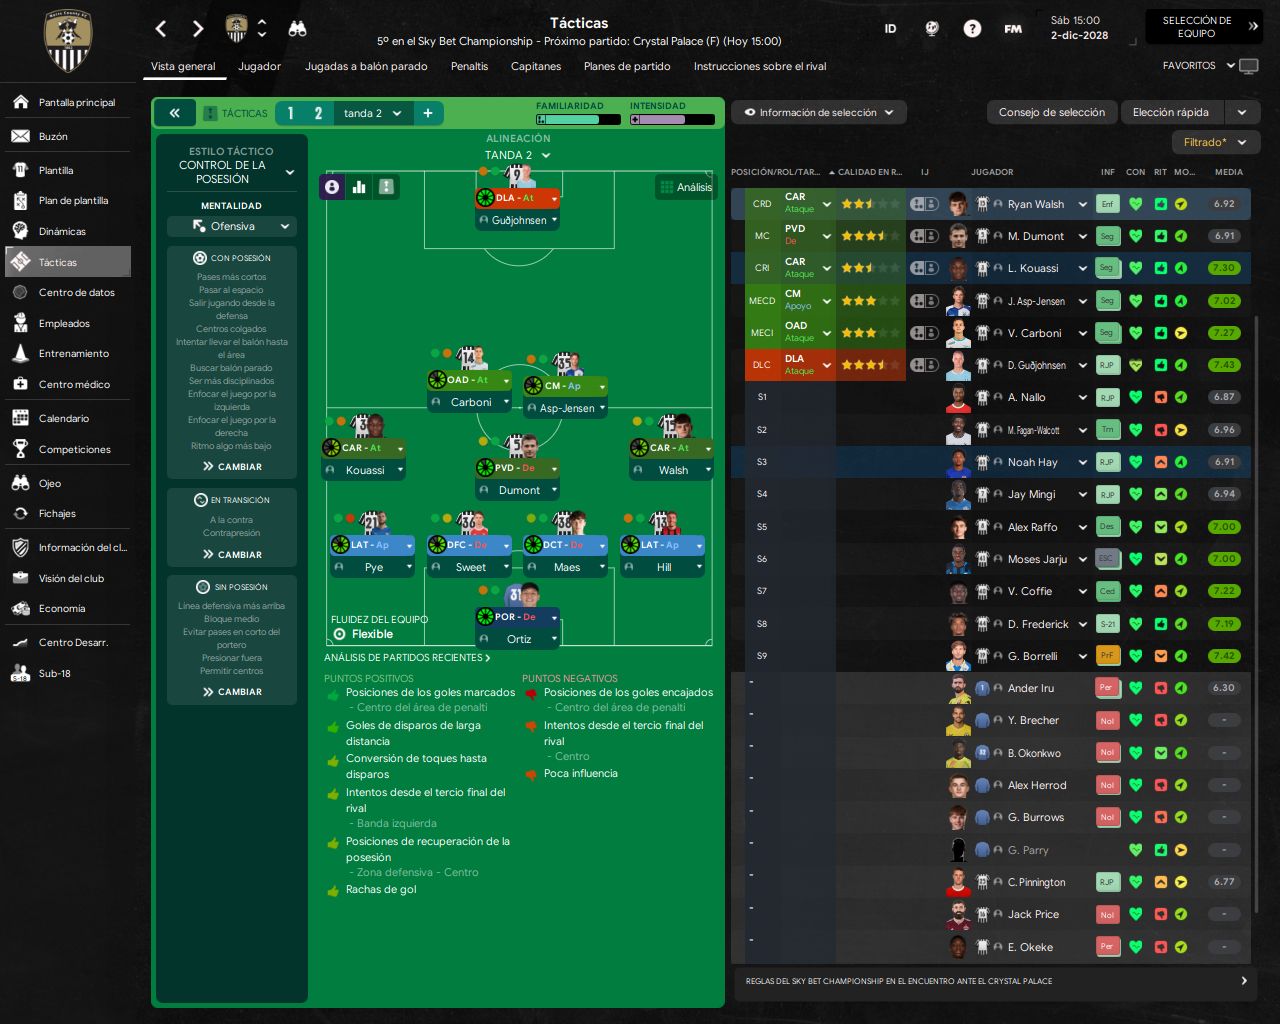
4-2-3-1 Wide Formation
Control de la posesión
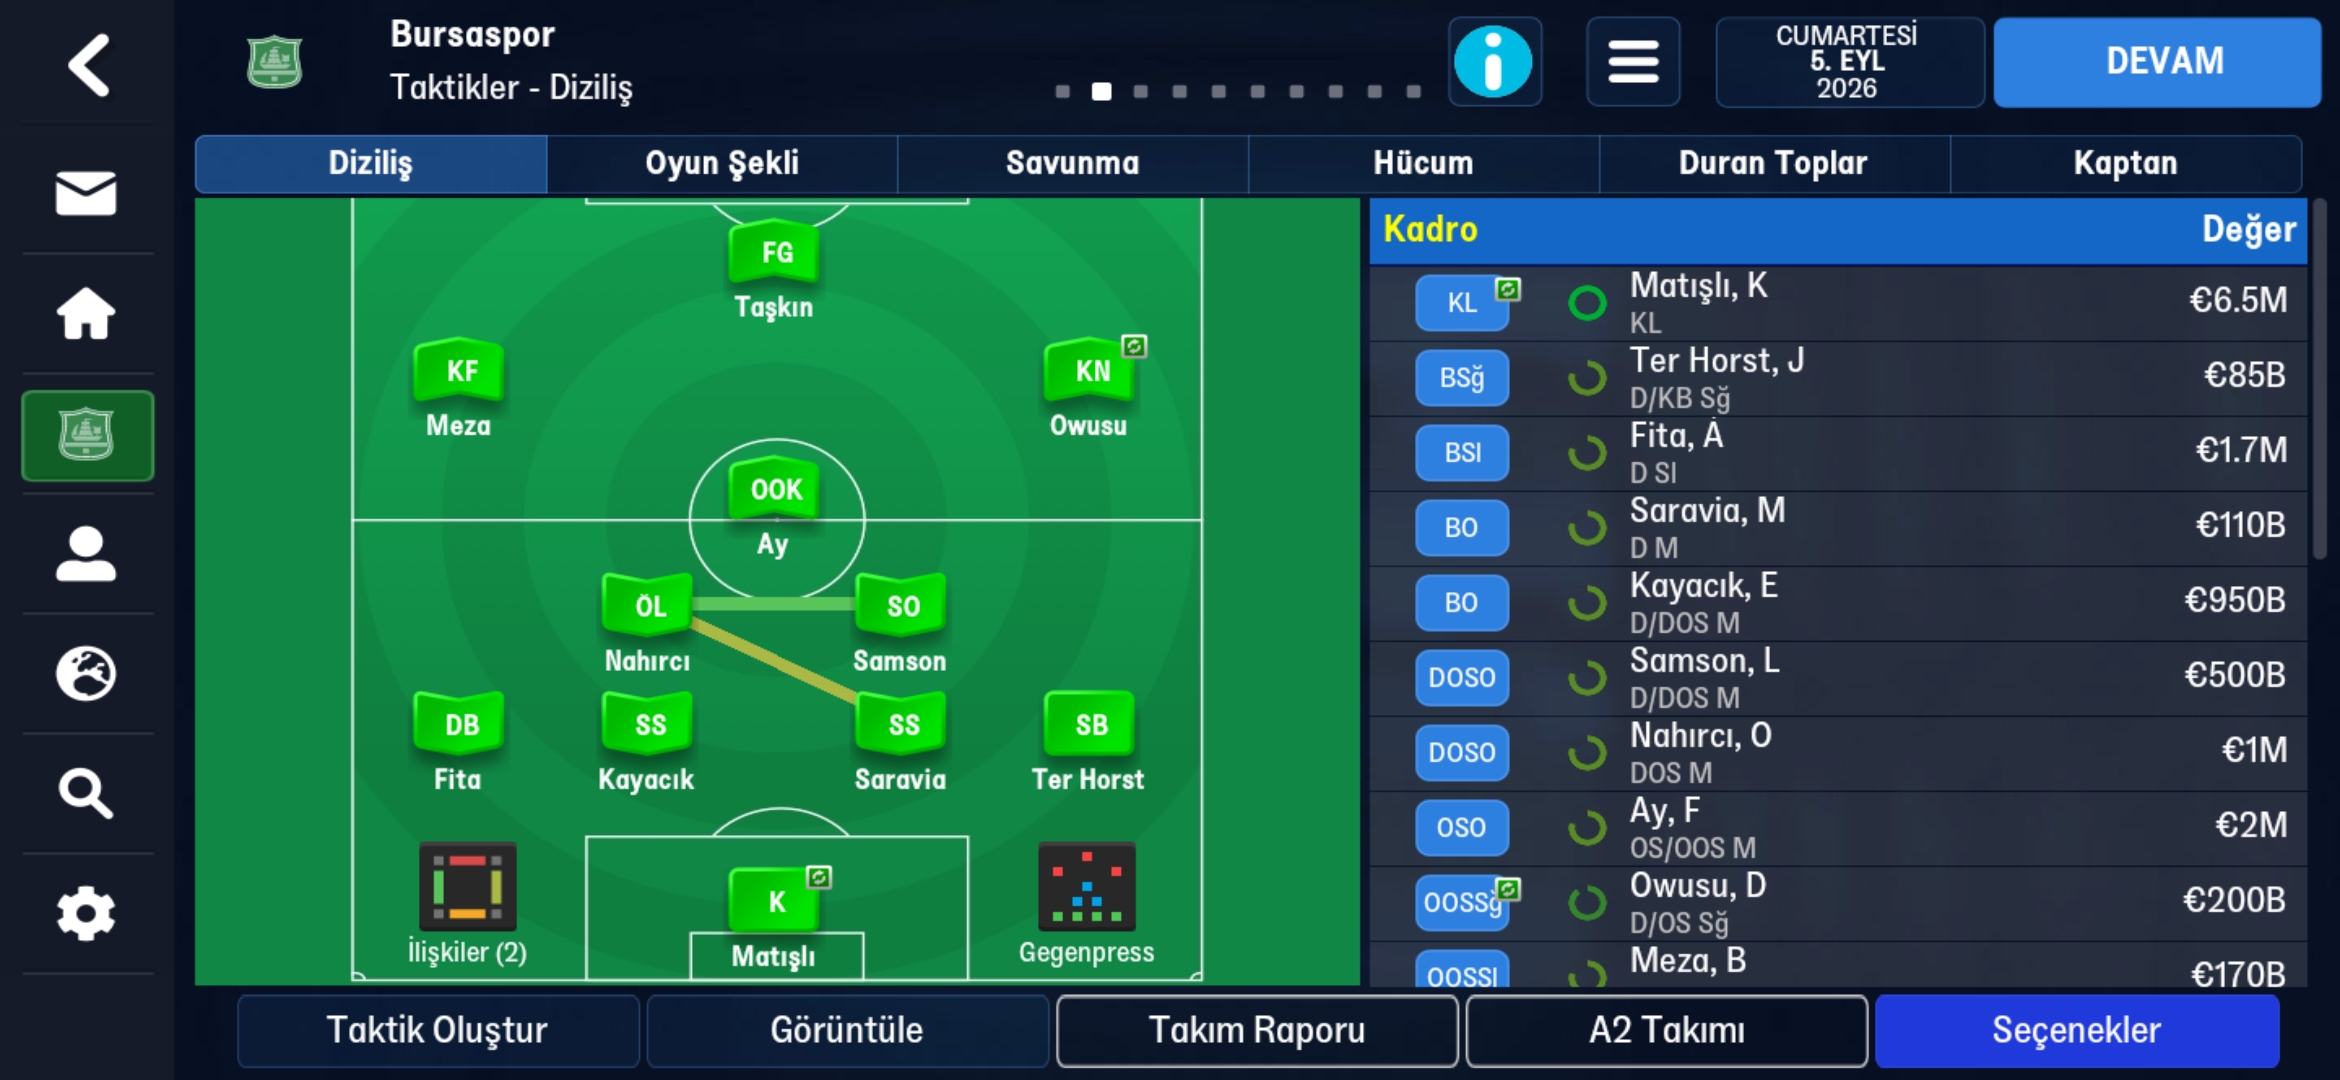
Gegenpress 4-2-3-1 Wide
Gegenpress
Gegenpress 4-2-3-1 Wide
Gegenpress
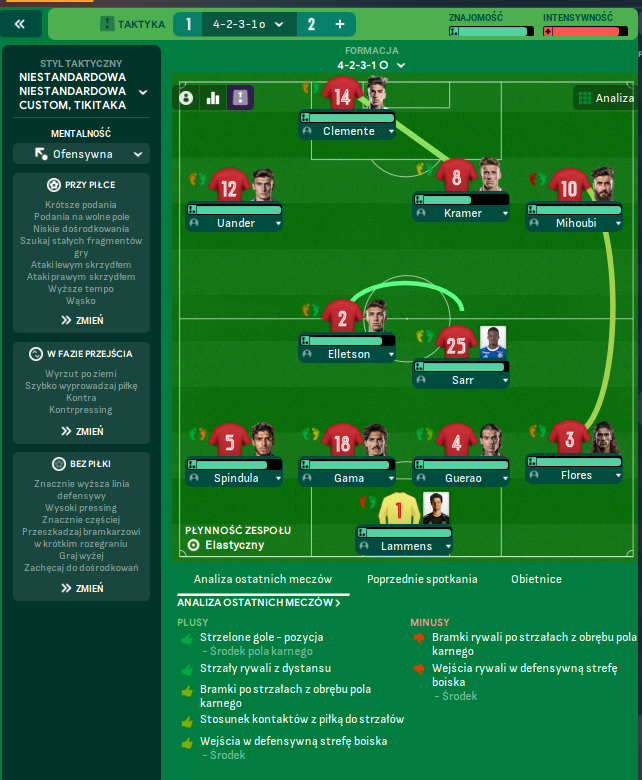
Tiki-Taka 4-2-3-1 Wide
Tiki-Taka
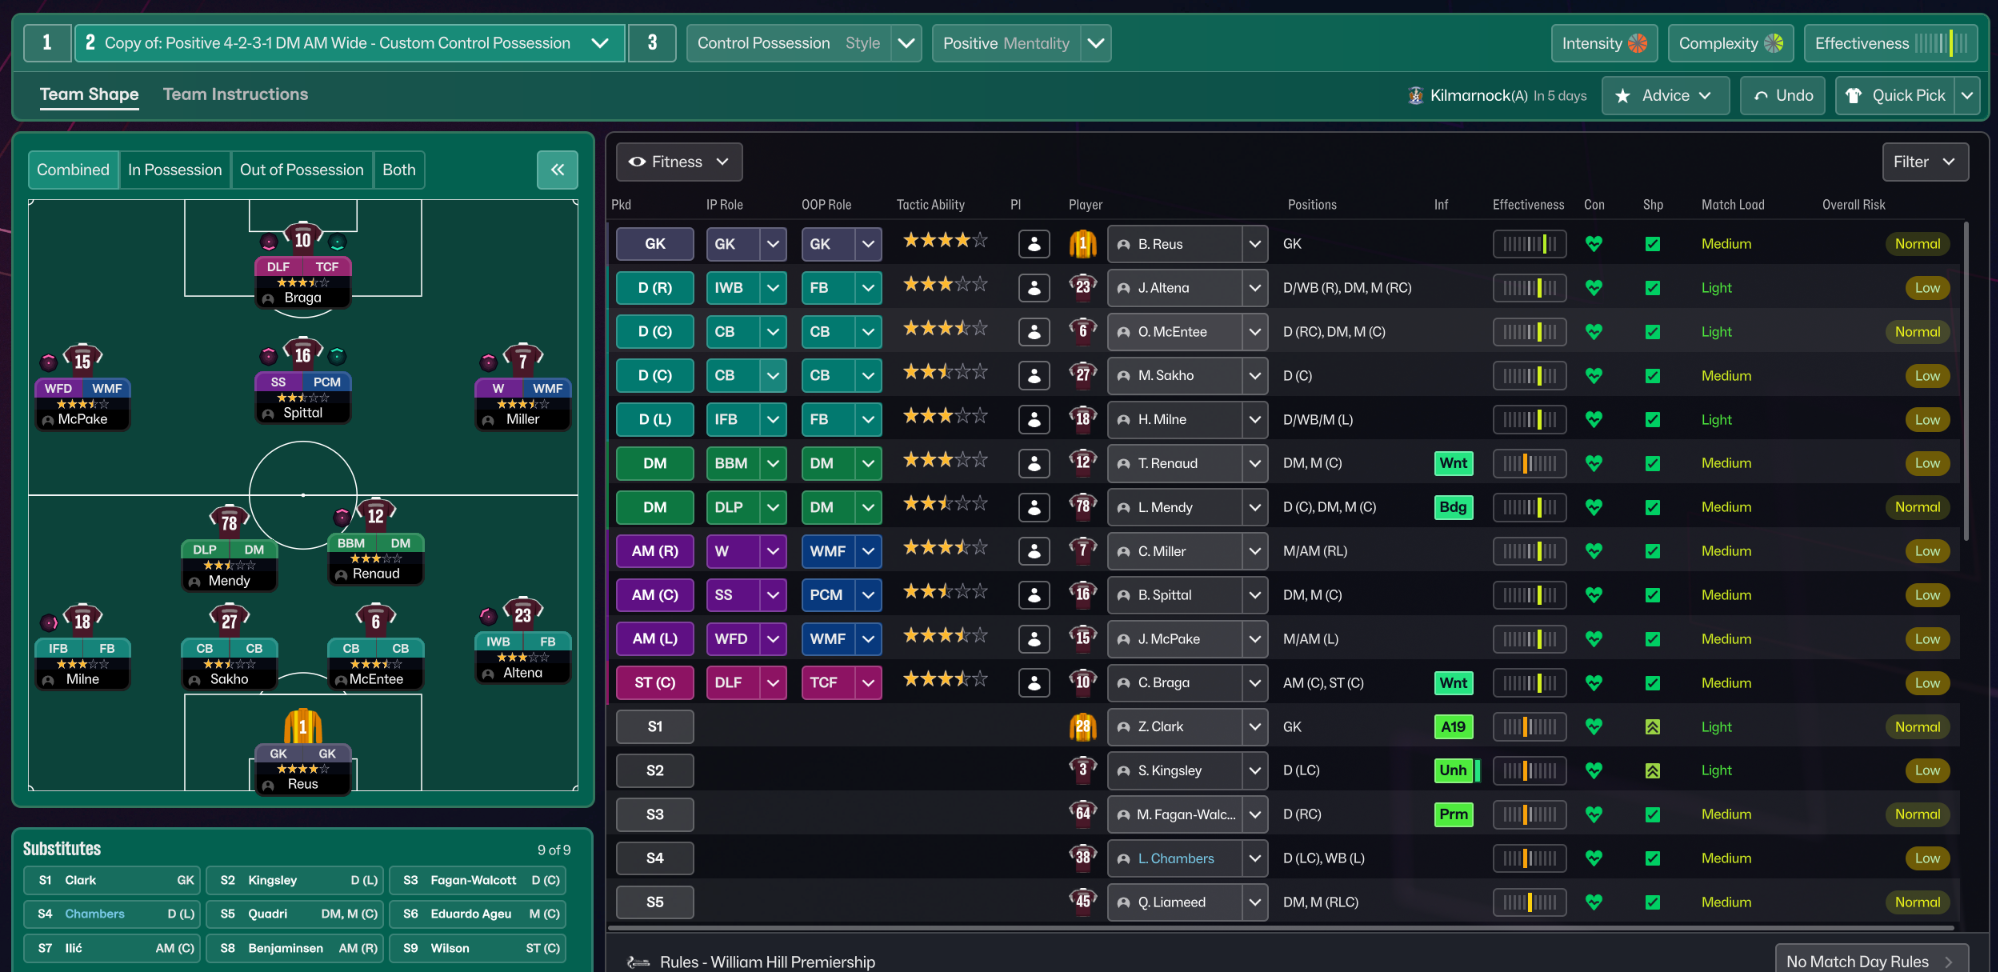
Control Possession 4-2-3-1 Wide
Control Possession
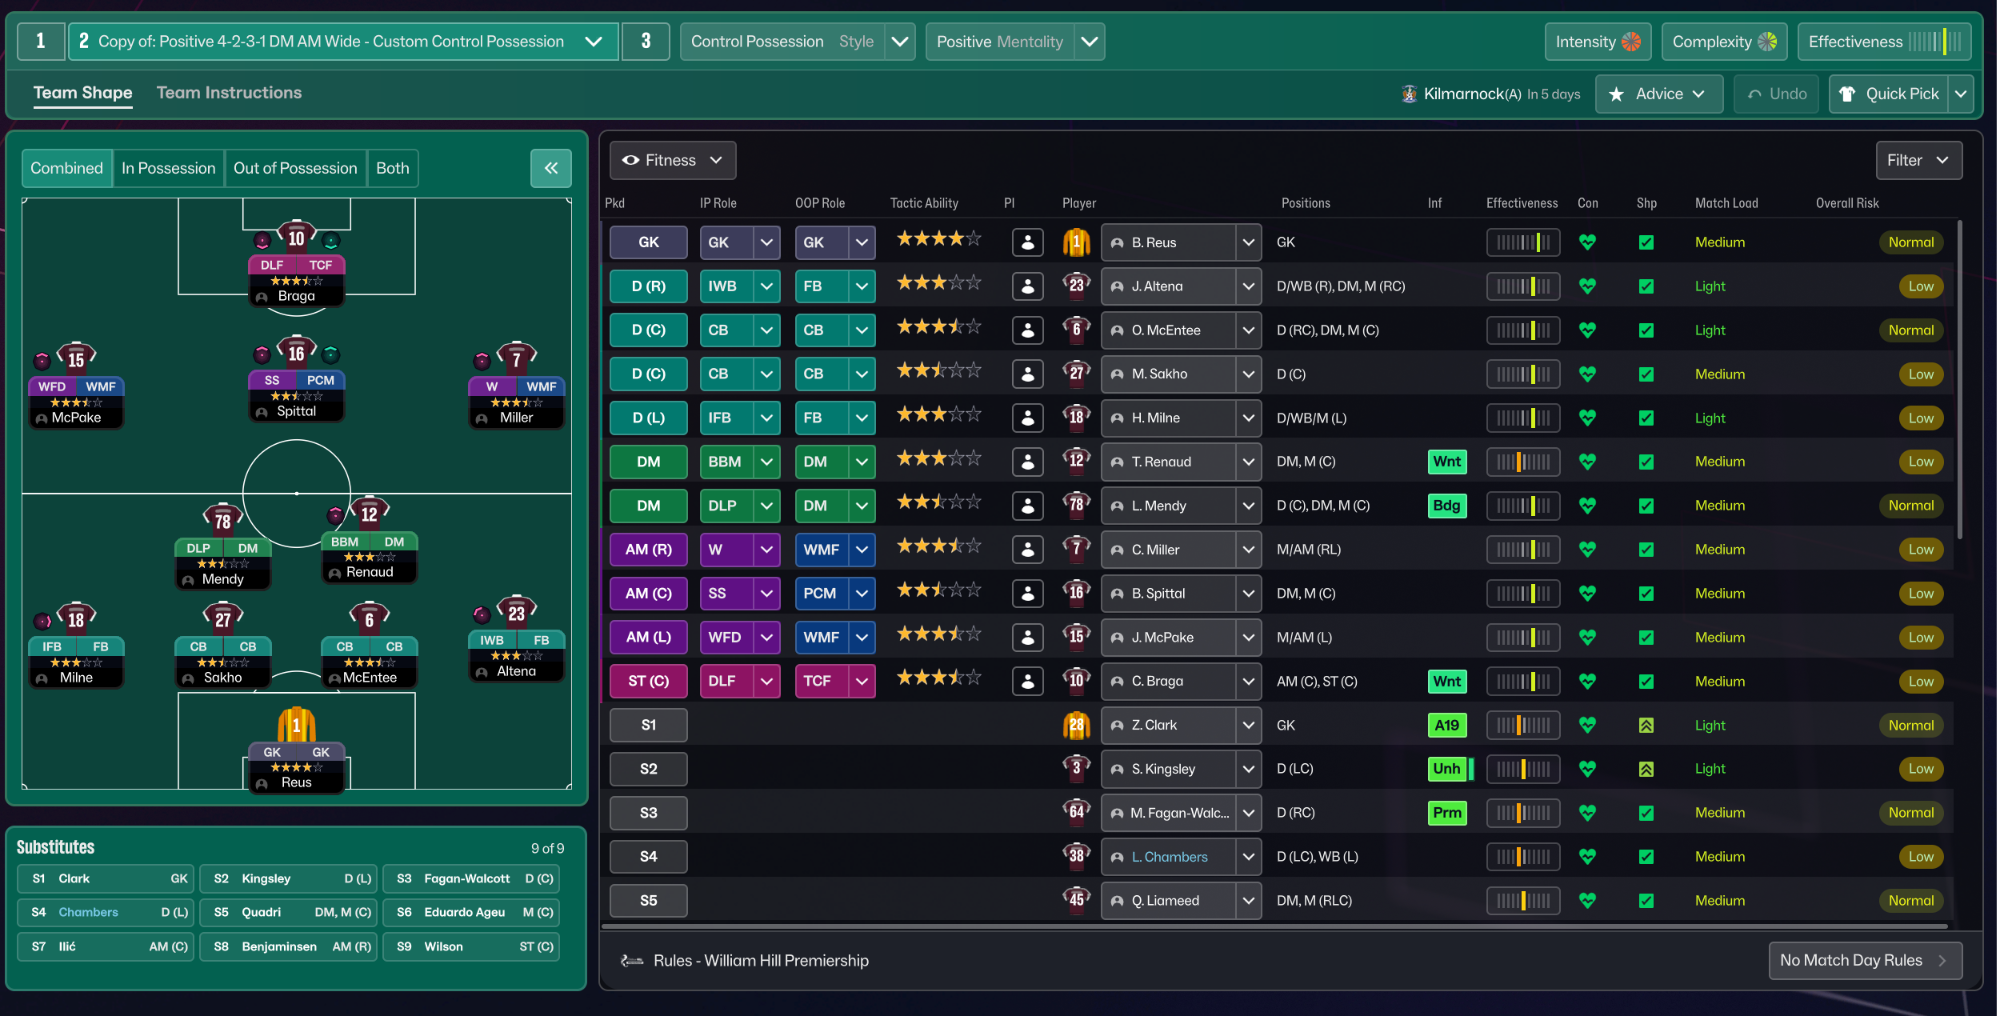
Control Possession 4-2-3-1 Wide
Control Possession
More Vertical Tiki-Taka tactics
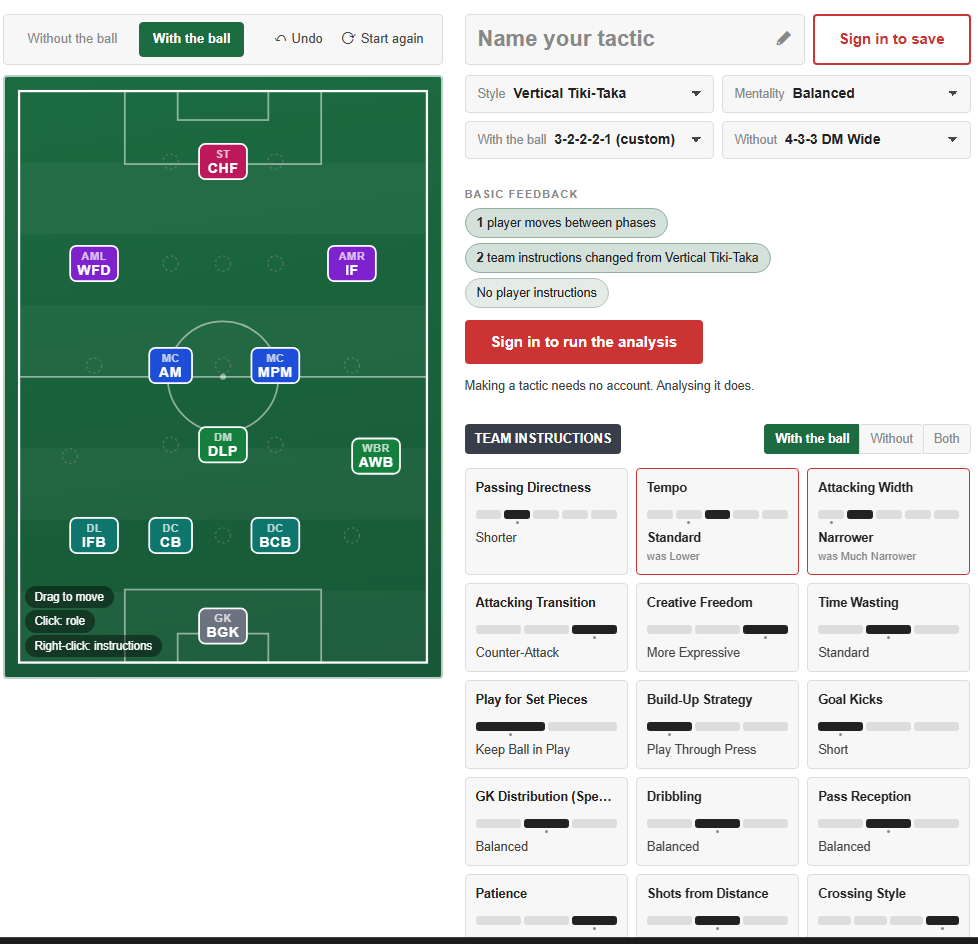
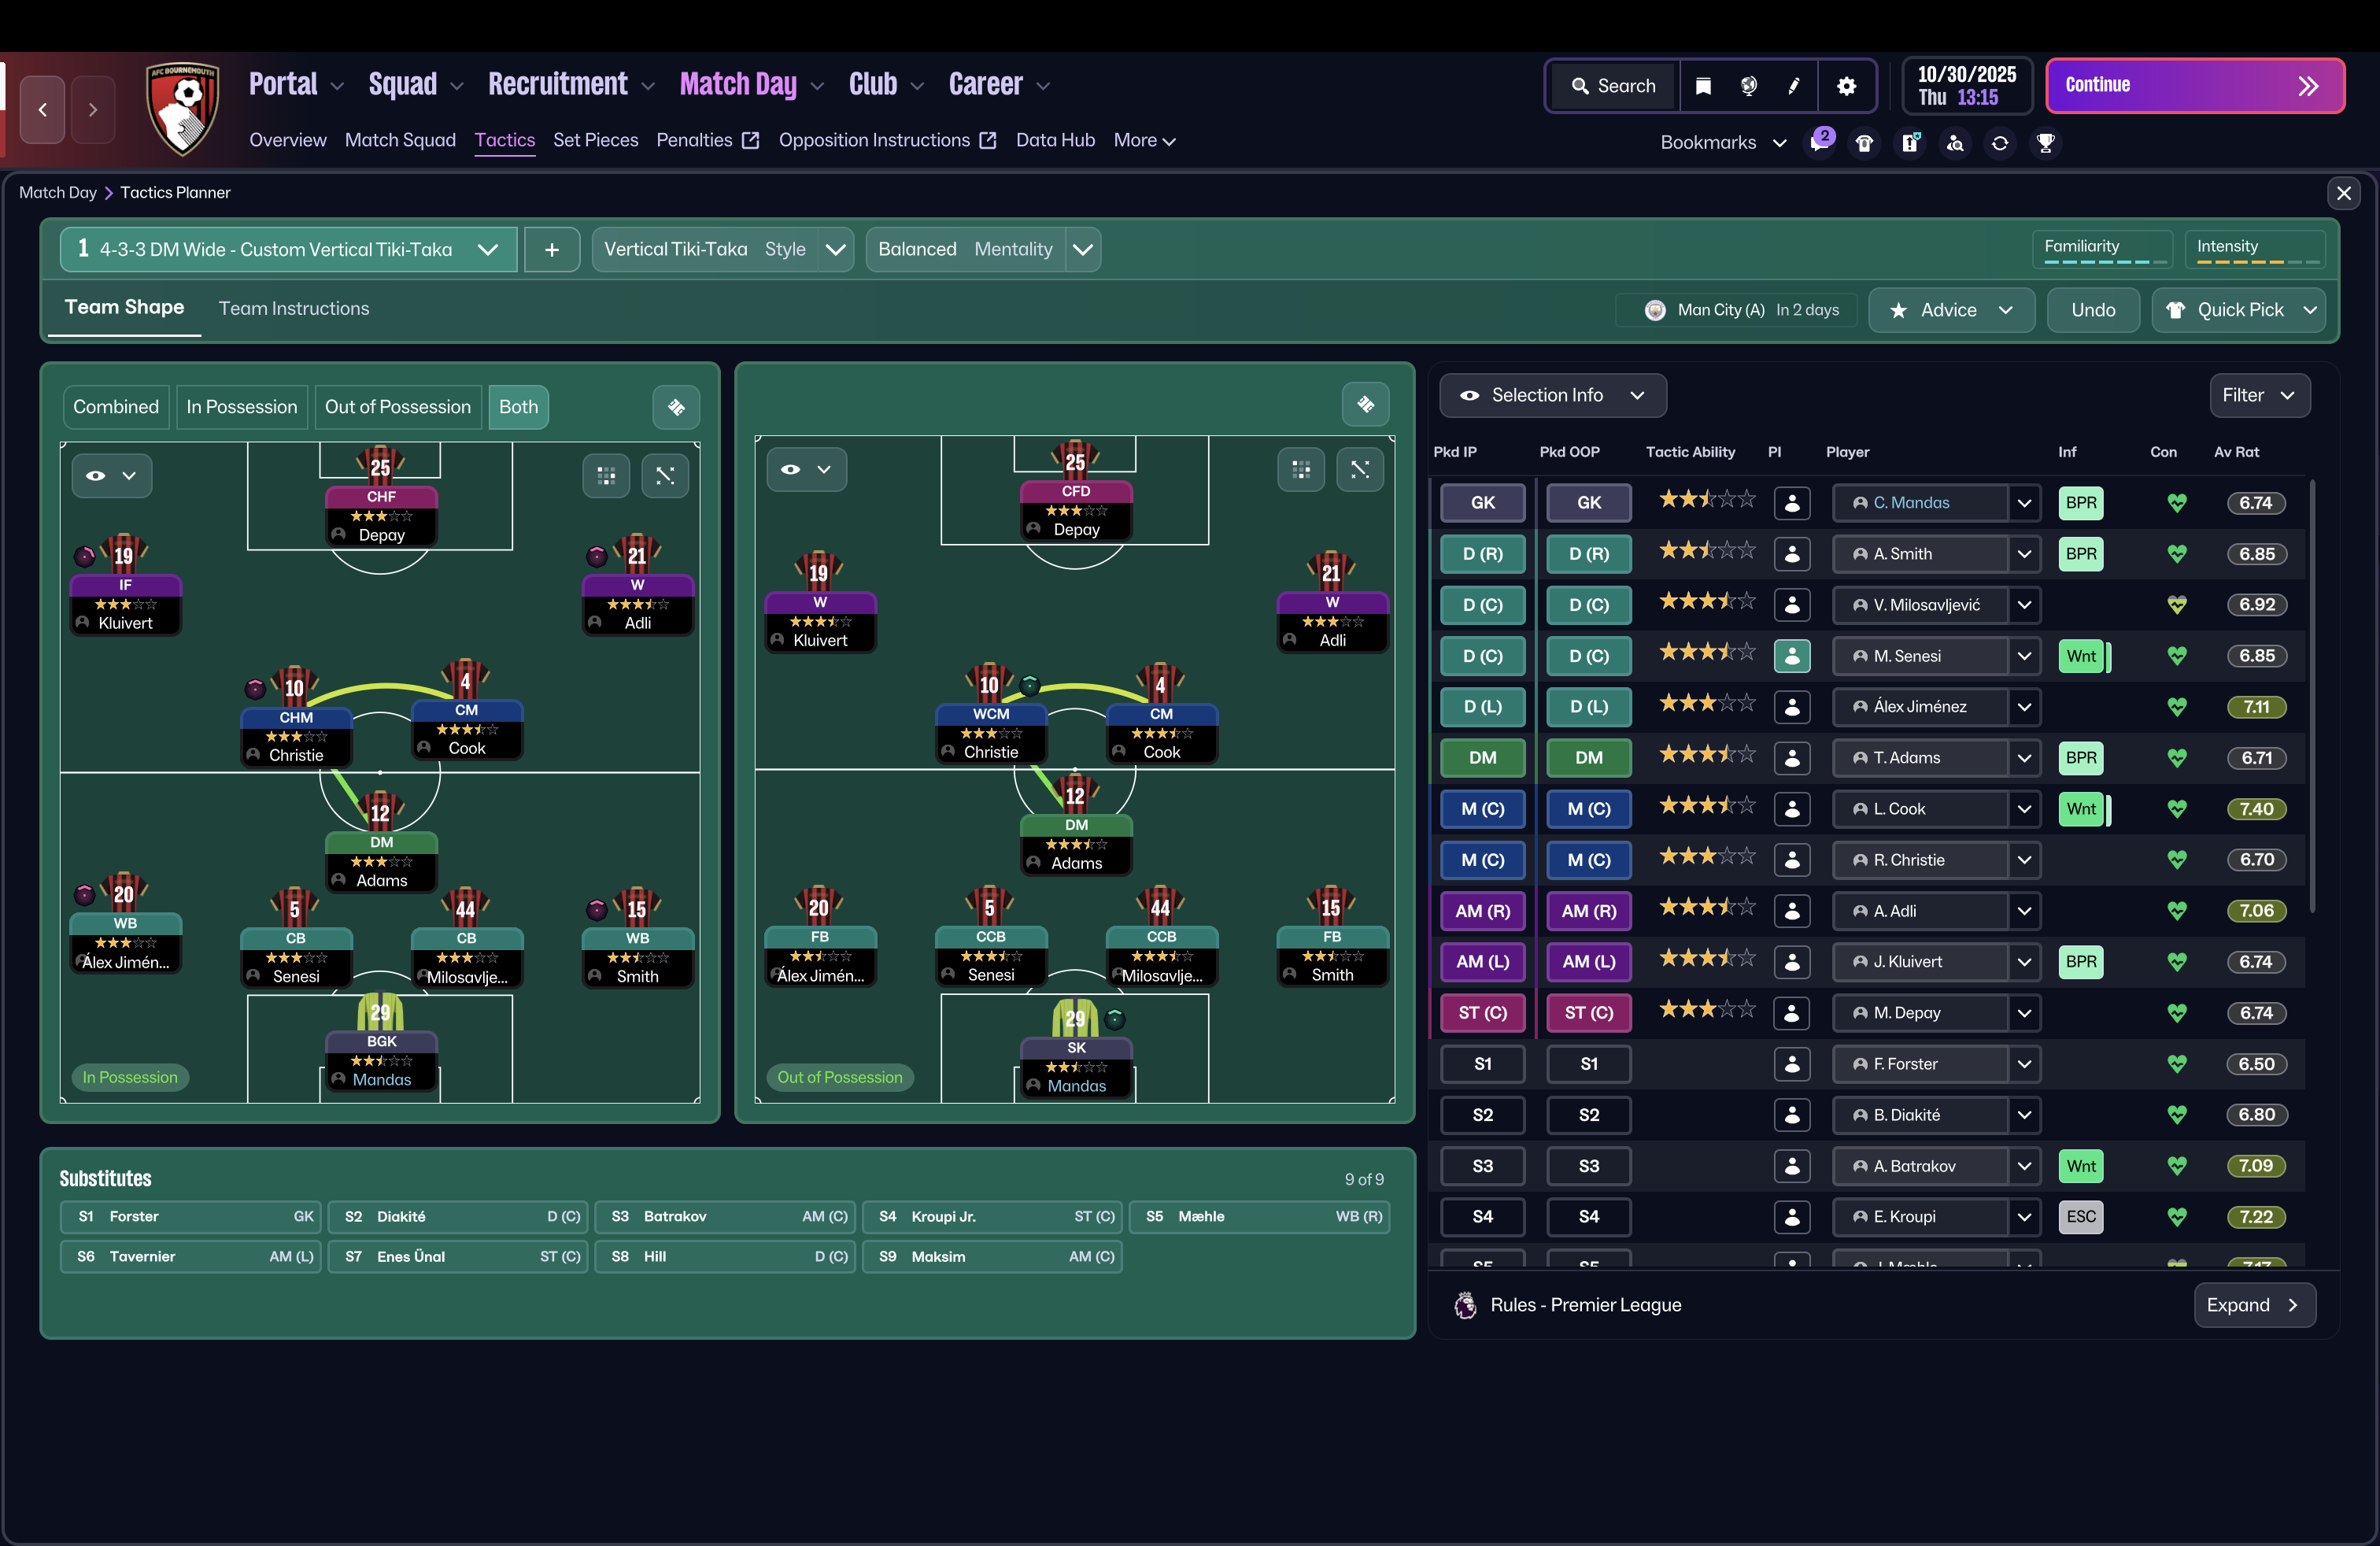
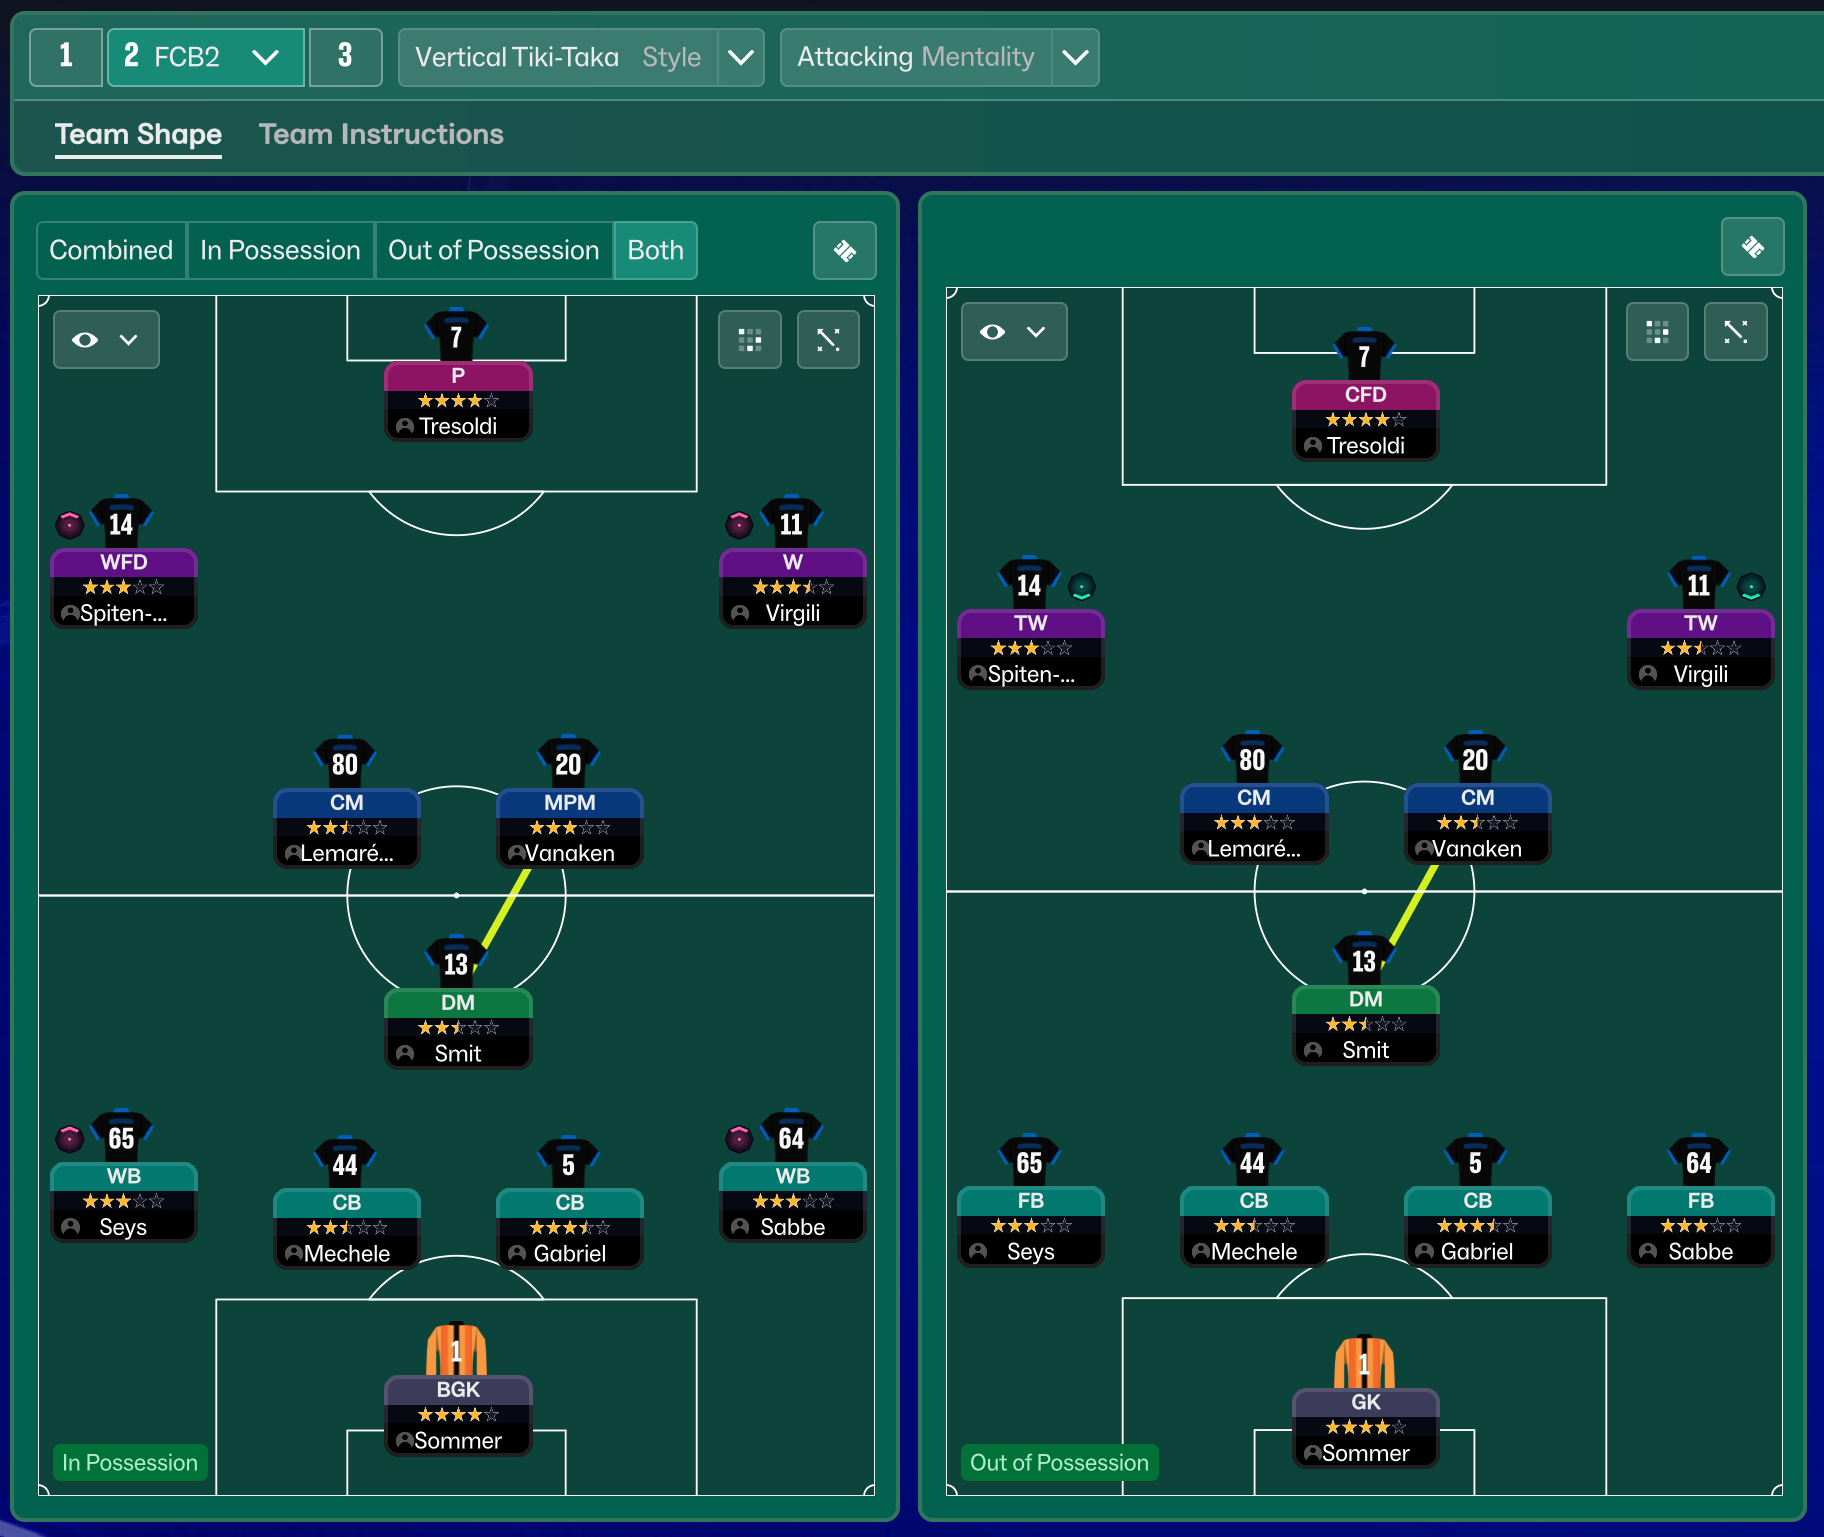
Guides for this tactic
The tactical theory behind the 4-2-3-1 Wide: roles, instructions, and the trade-offs that decide whether the system holds up.
Player pairings
Midfield Pairs in 4-2-3-1 and 4-4-2
Double pivots and flat pairs in 4-2-3-1 and 4-4-2: when each pairing works, when it collapses, and the AMC unicorn that rescues both.
Read guide
Playing styles
Gegenpressing: A Full Guide
Klopp-style gegenpressing in FM, including squad profile, line-and-press pairing, sustainable workload, and the antipatterns to avoid.
Read guide
Foundations
Defensive Transitions
The five seconds after losing the ball decide most matches. Counter-press, drop-and-recover, and how to know which one you should be doing.
Read guide