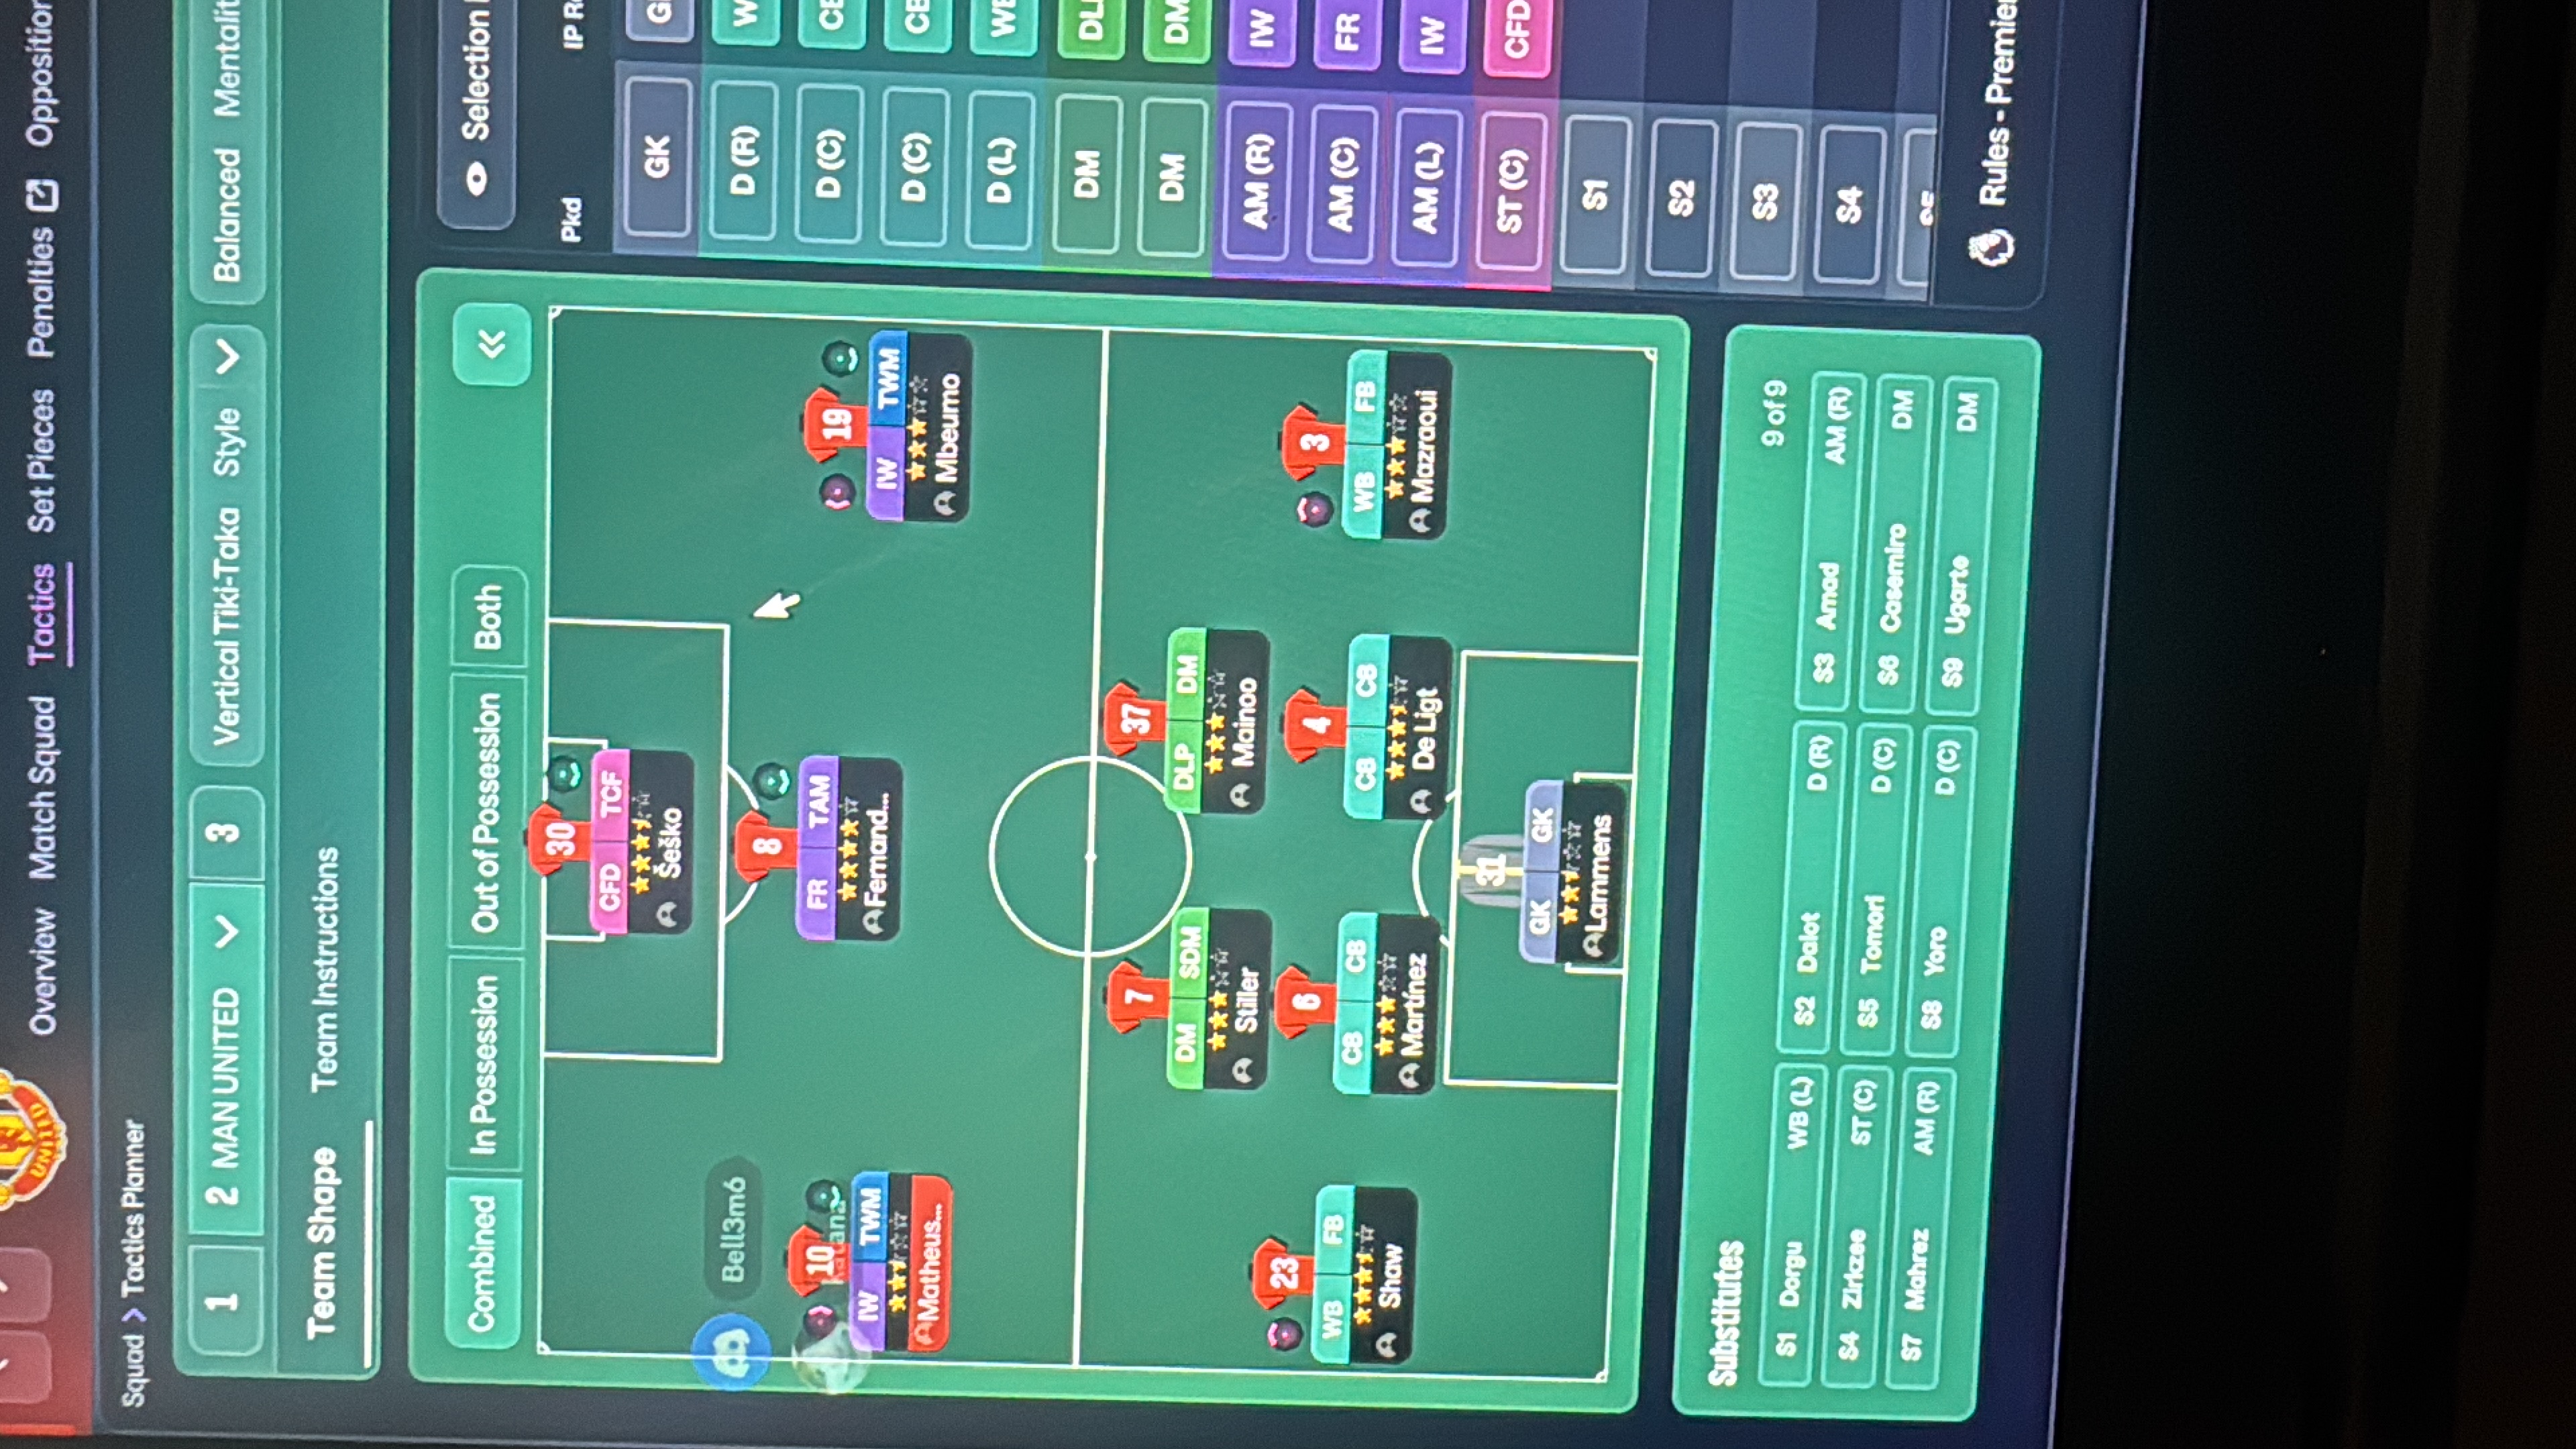
Vertical Tiki-Taka 5-2-1-2 WB (Balanced) Tactic
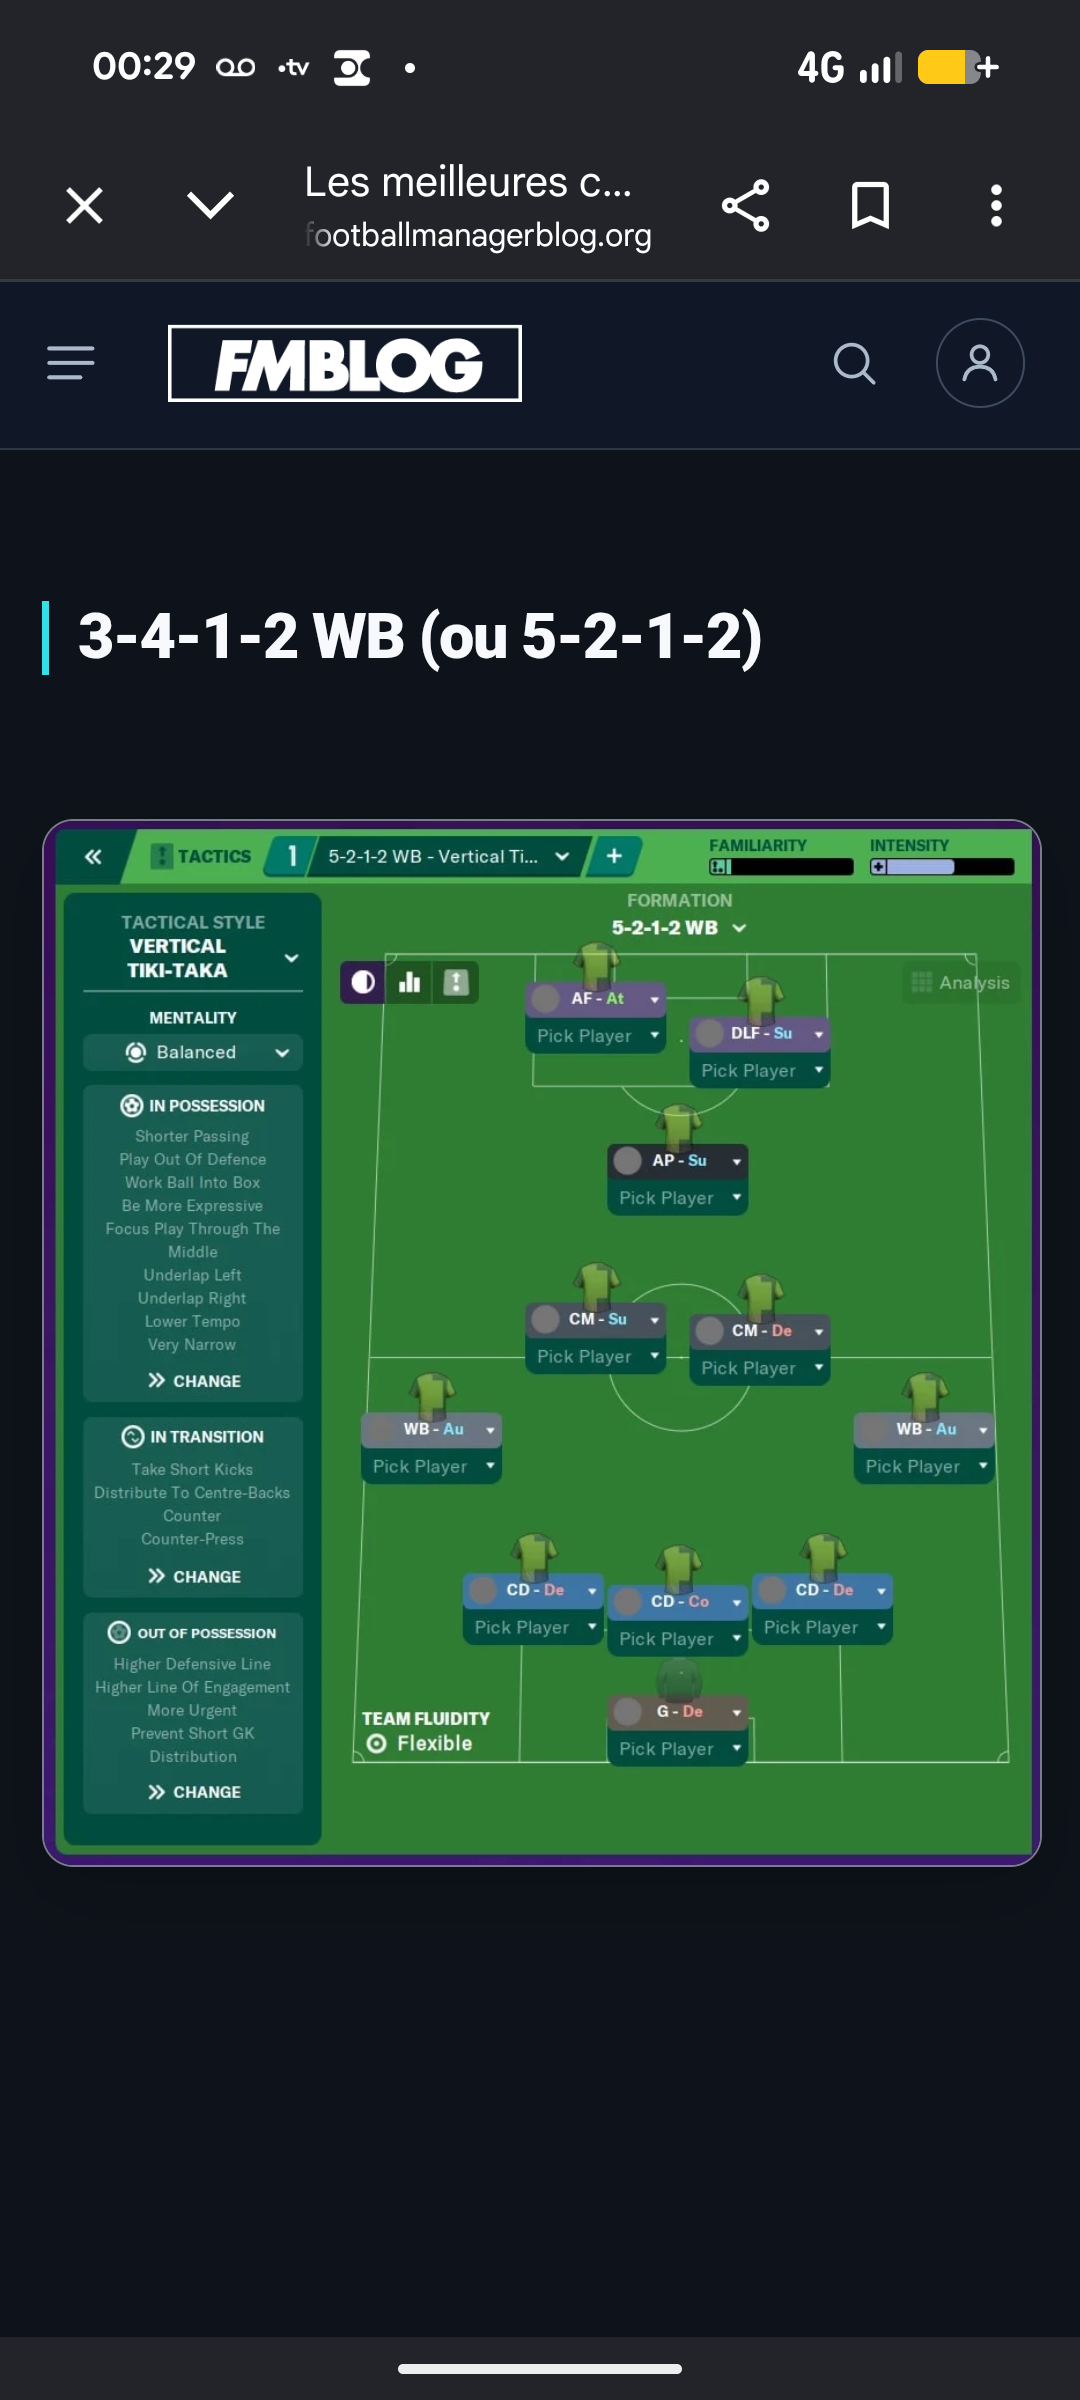
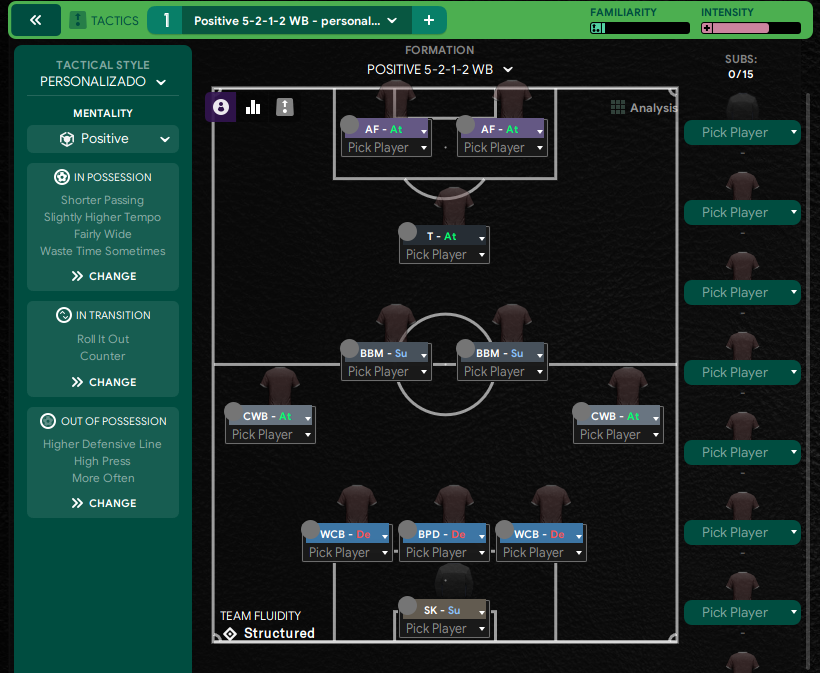
5-2-1-2 WB
Utilizing width through wing-backs while maintaining a strong central presence. Three centre-backs provide robustness against opposition attacks.
Loading tactical analysis...
Formation and style
Vertical Tiki-Taka
Balanced
5-2-1-2 WB
Flexible
In possession
Shorter Passing
Play Out Of Defence
Work Ball Into Box
Be More Expressive
Focus Play Through The Middle
Underlap Left
Underlap Right
Lower Tempo
Very Narrow
In transition
Take Short Kicks
Distribute To Centre-Backs
Counter-Press
Out of possession
Higher Defensive Line
Higher Line Of Engagement
More Urgent
Prevent Short GK Distribution
Player roles
GK
G
De
CB
CD
De
CB
CD
De
CB
CD
De
CM
CM
Su
CM
AP
Su
WB
WB
Au
WB
WB
Au
ST
AF
At
ST
DLF
Su
Phase description
Triangular passing through midfield and focus on underlapping wing-backs to create width.
Quick recovery with high engagement to regain possession.
Utilizing width through wing-backs while maintaining a strong central presence.
Team shape defence
Compact
Three central defenders provide a sturdy base, with wing-backs ready to drop back.
Three centre-backs (CD-De) at [2,2], [2,3], [2,4] with higher line engagements.
Team shape attack
Dynamic
The attack spreads with wing-backs pushed forward while strikers maintain depth.
Wing-backs (WB-Au) at [2,1], [2,5] and dual strikers (AF-At, DLF-Su) at [6,2], [6,3].
Key strengths
Defensive Solidity
Three centre-backs provide robustness against opposition attacks.
CD-De at [2,2], [2,3], [2,4] create a strong defensive unit.
Width in Attack
Wing-backs offer width, providing more passing options and stretching the opposition.
WB-Au at [2,1] and [2,5] contribute to attacking threats and support.
Conflicting tactics
Pace Against Teams
If faced against very fast counter-attacks, the higher engagement might expose the backline.
Higher Line Of Engagement could create gaps behind the three central defenders.
Narrow Playing Style
The very narrow style could struggle against teams using wide play.
Very Narrow instruction could limit options against wide formations.
Risk exposures
Risk Exposures
Items
Defensive Line
With a higher defensive line, counter-attacks could be a significant risk.
Higher Line Of Engagement position might lead to gaps behind CD-De at [2,2], [2,3], [2,4].
Midfield Control
Lack of numbers in midfield may lead to losing control in contested areas.
Only two CMs (CM-Su at [4,2] and AP-Su at [4,3]) to control the midfield against teams with more presence.
Role synergies
Role Synergies
Items
Advanced Playmaker & Strikers
The AP can create opportunities for the strikers, enhancing goal-scoring chances.
The link between AP-Su at [4,3] and AF-At at [6,2] facilitates creative attacking plays.
Wing-Backs & Central Midfielders
Wing-backs provide width, allowing central midfielders to operate more freely.
WB-Au at [2,1] and [2,5] create space for CM-Su at [4,2] to link play.
Suggested questions
How can I adapt the formation against teams that exploit width?
What adjustments can I make to enhance midfield control?
How do I improve the fluidity between my attacking players?
Related Tactics
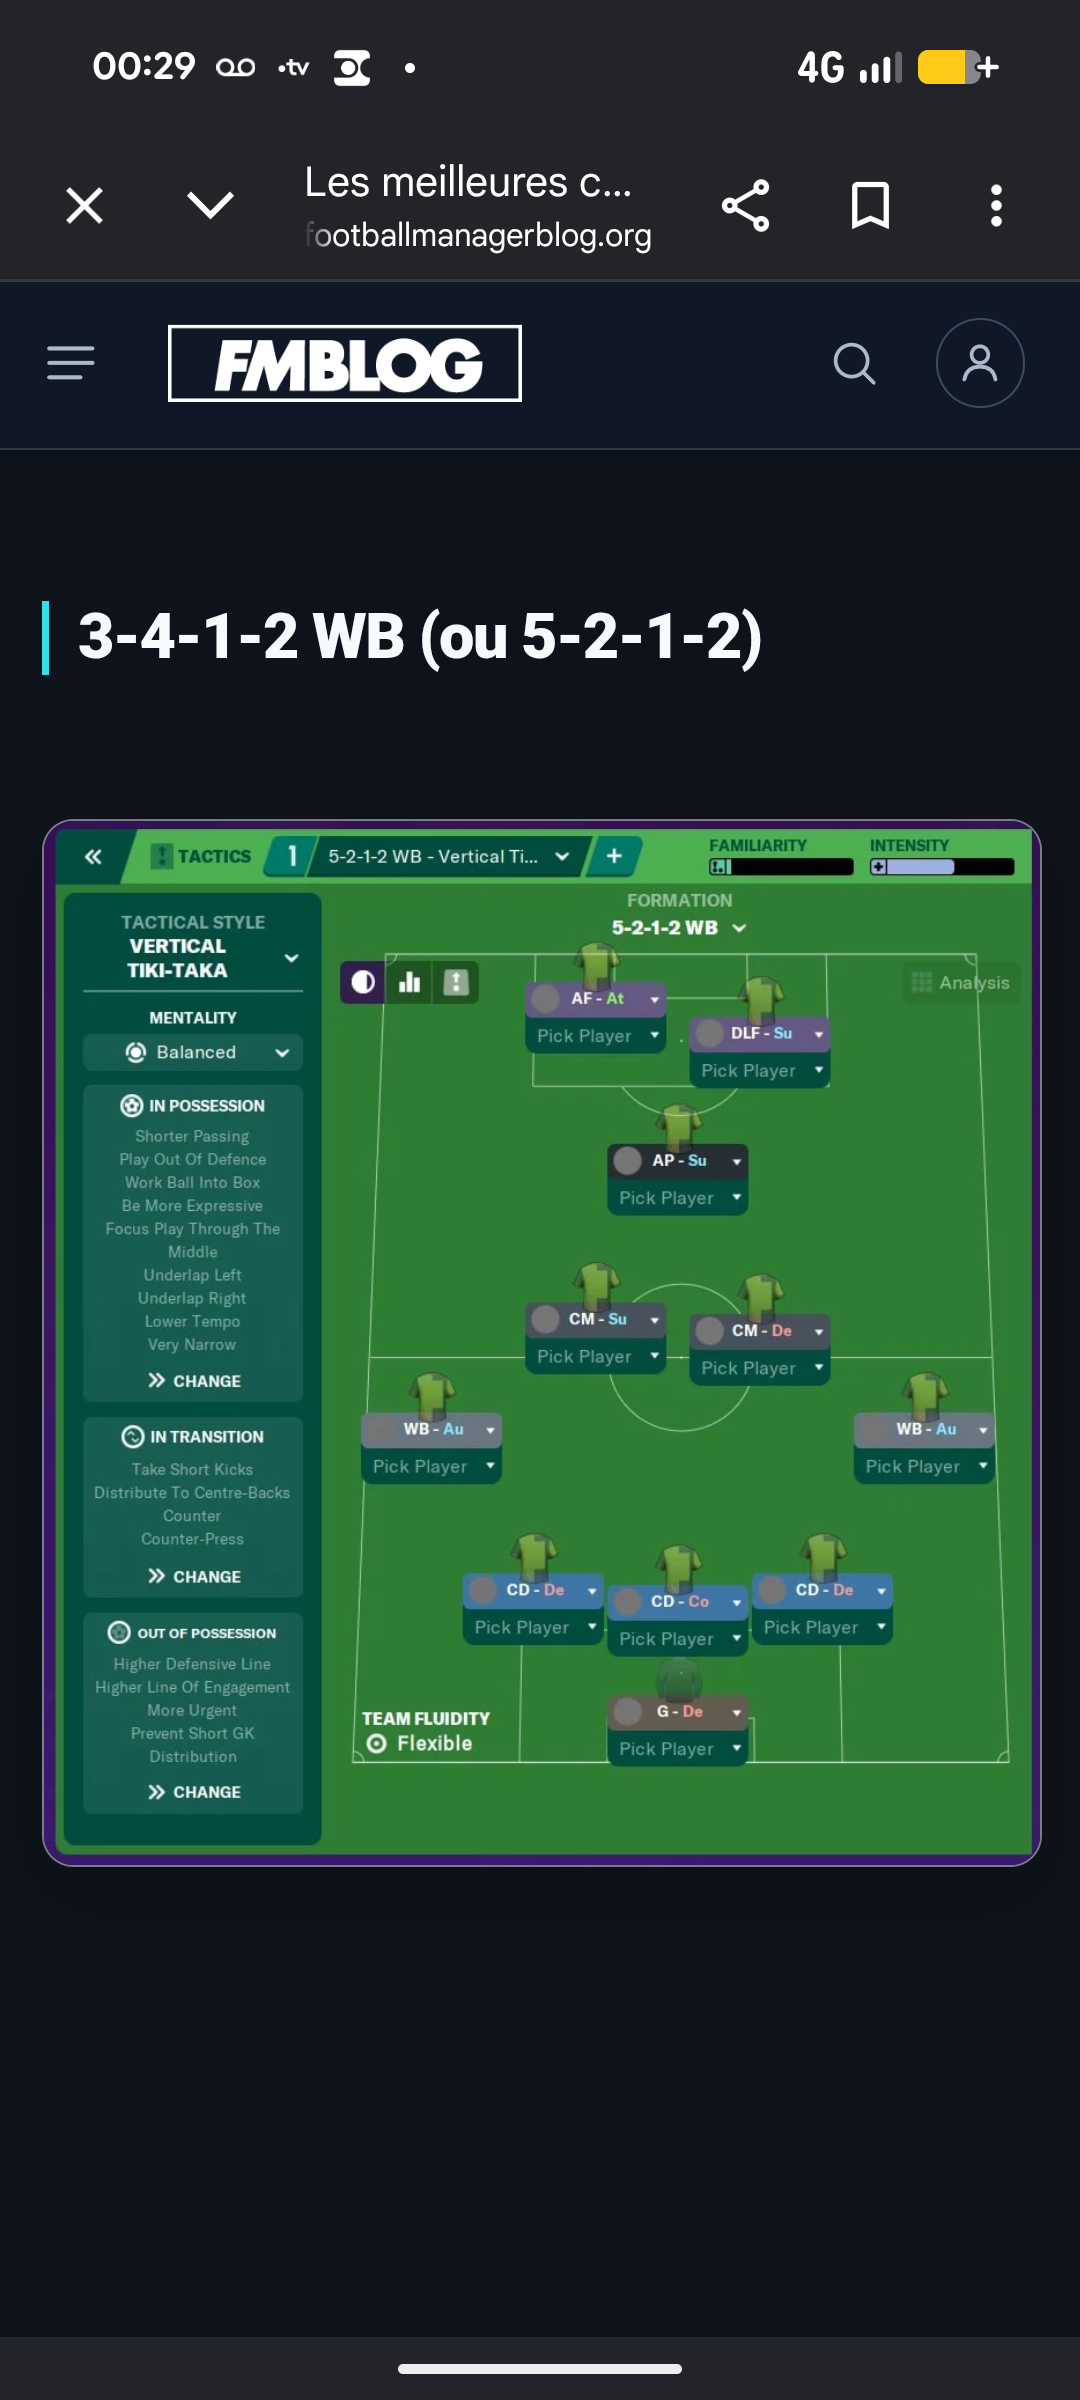
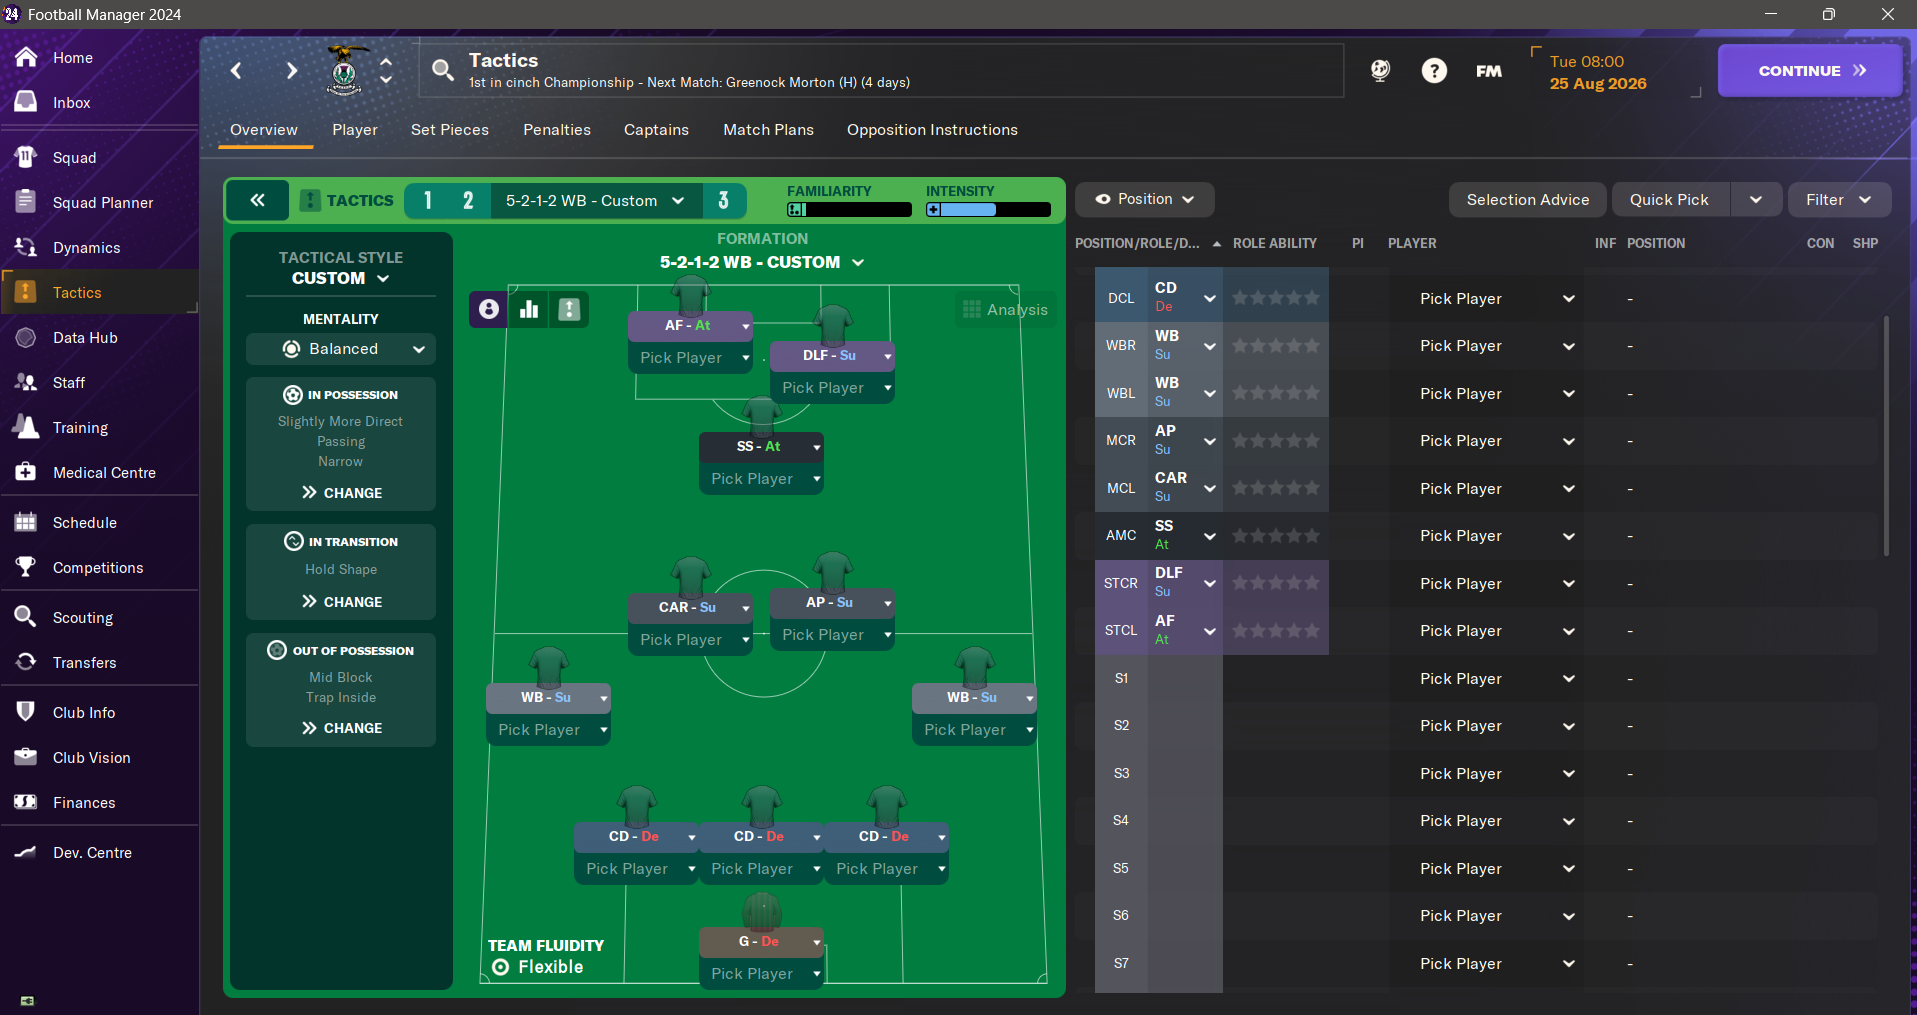
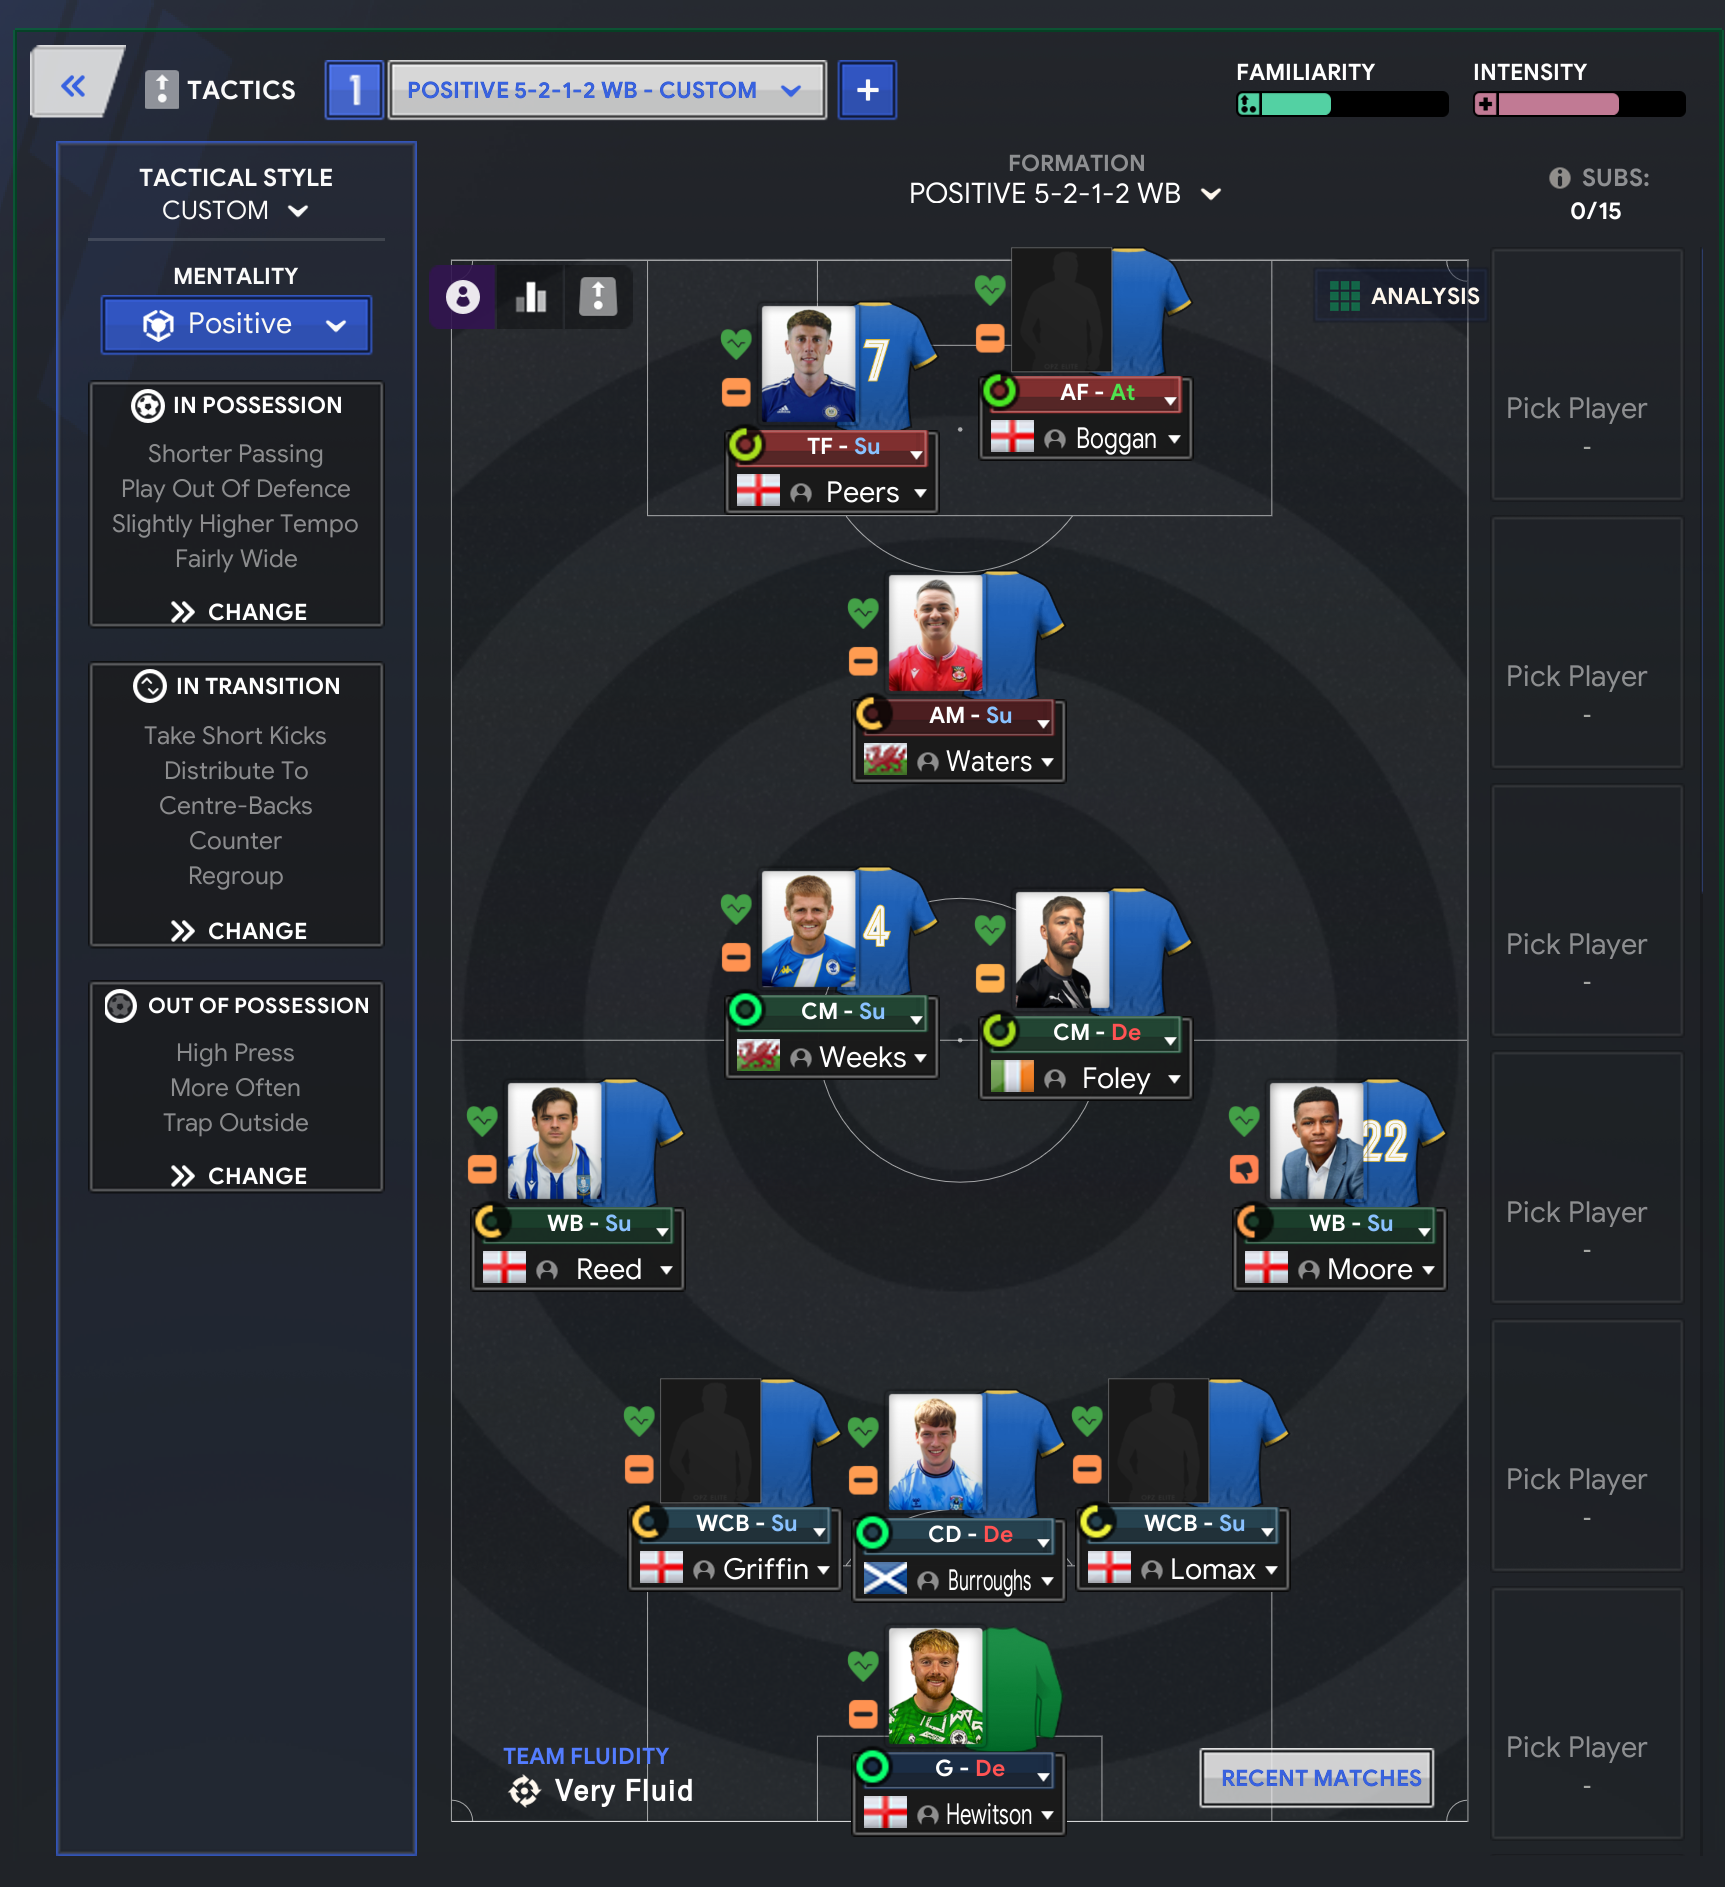
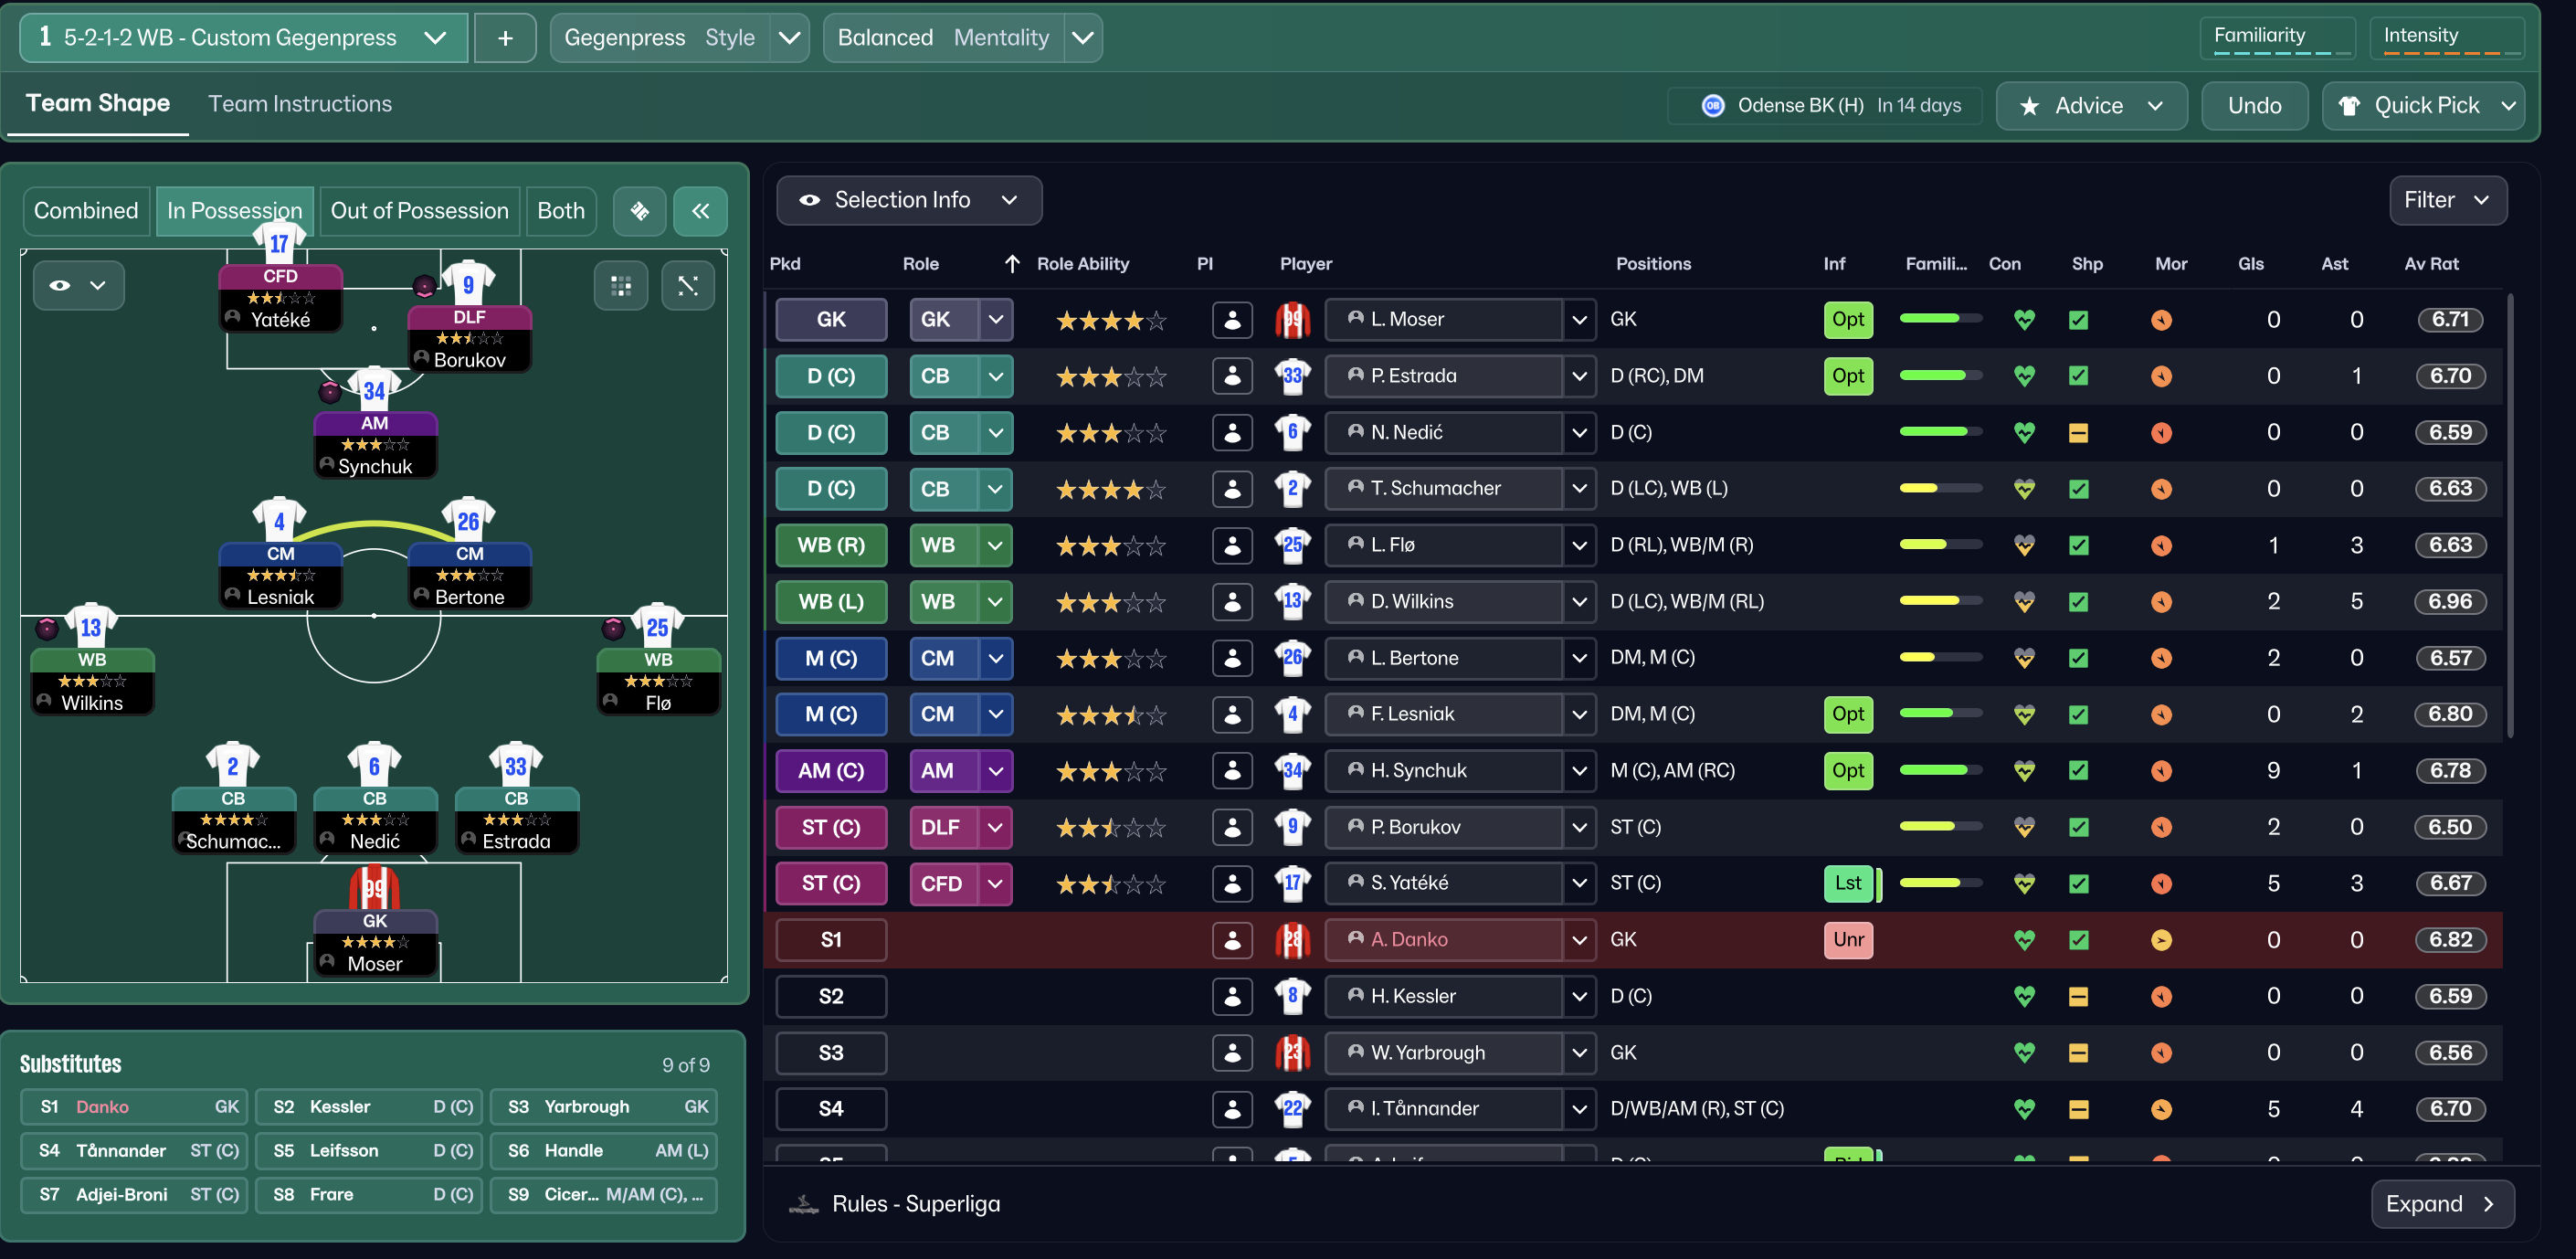
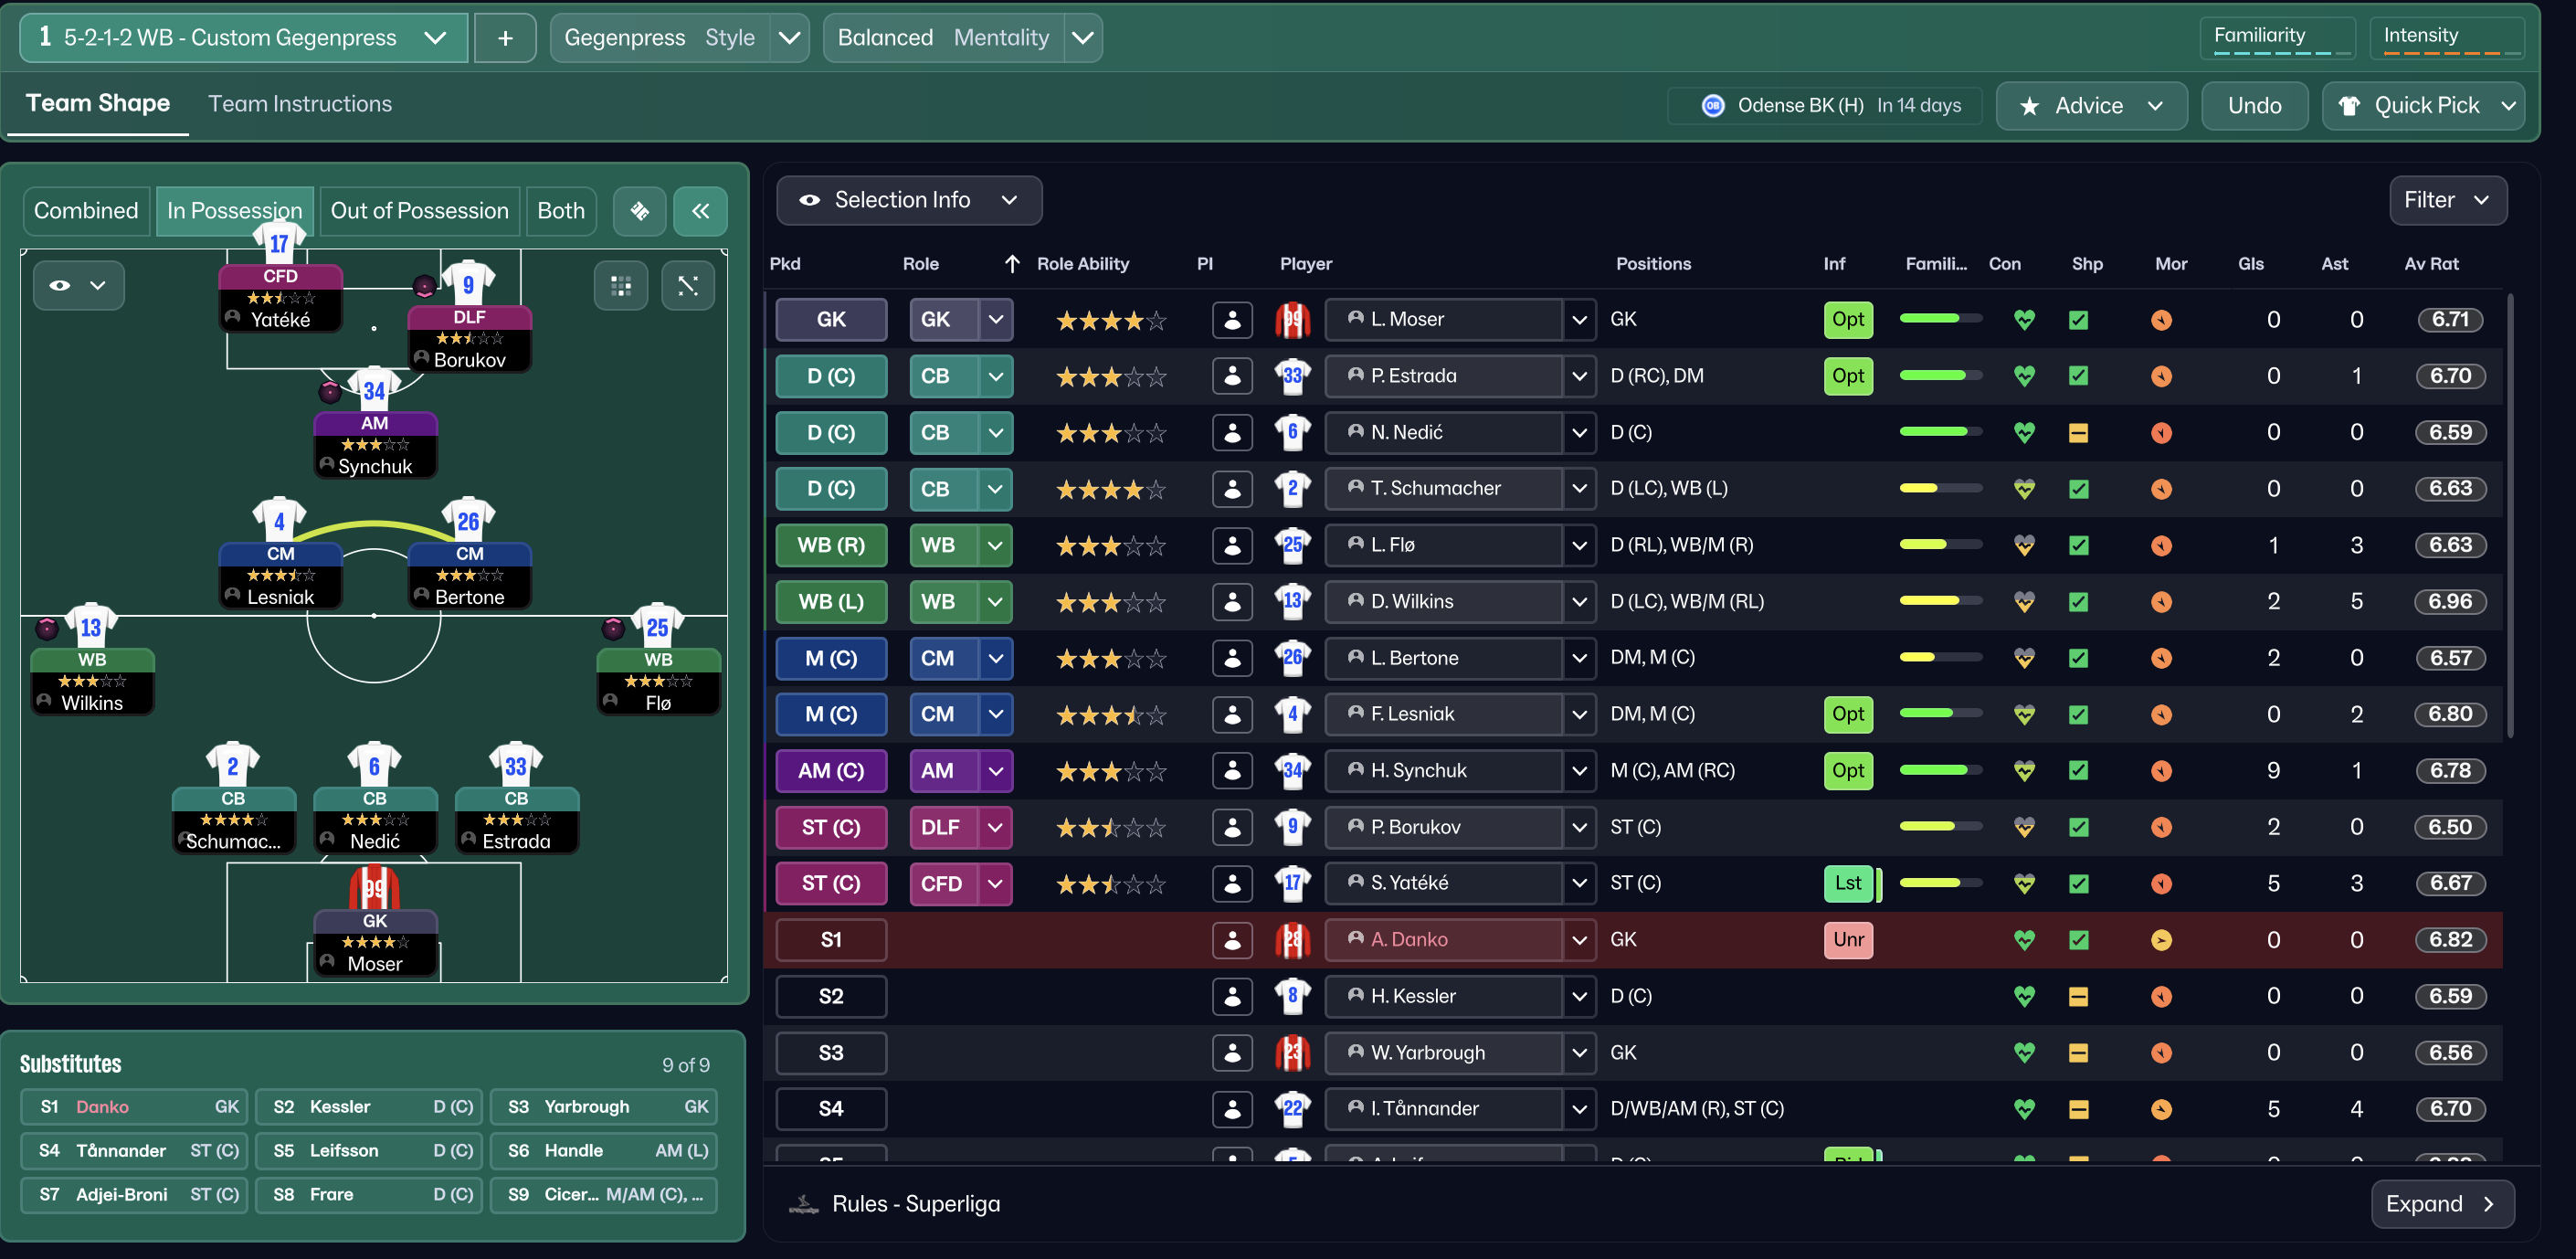
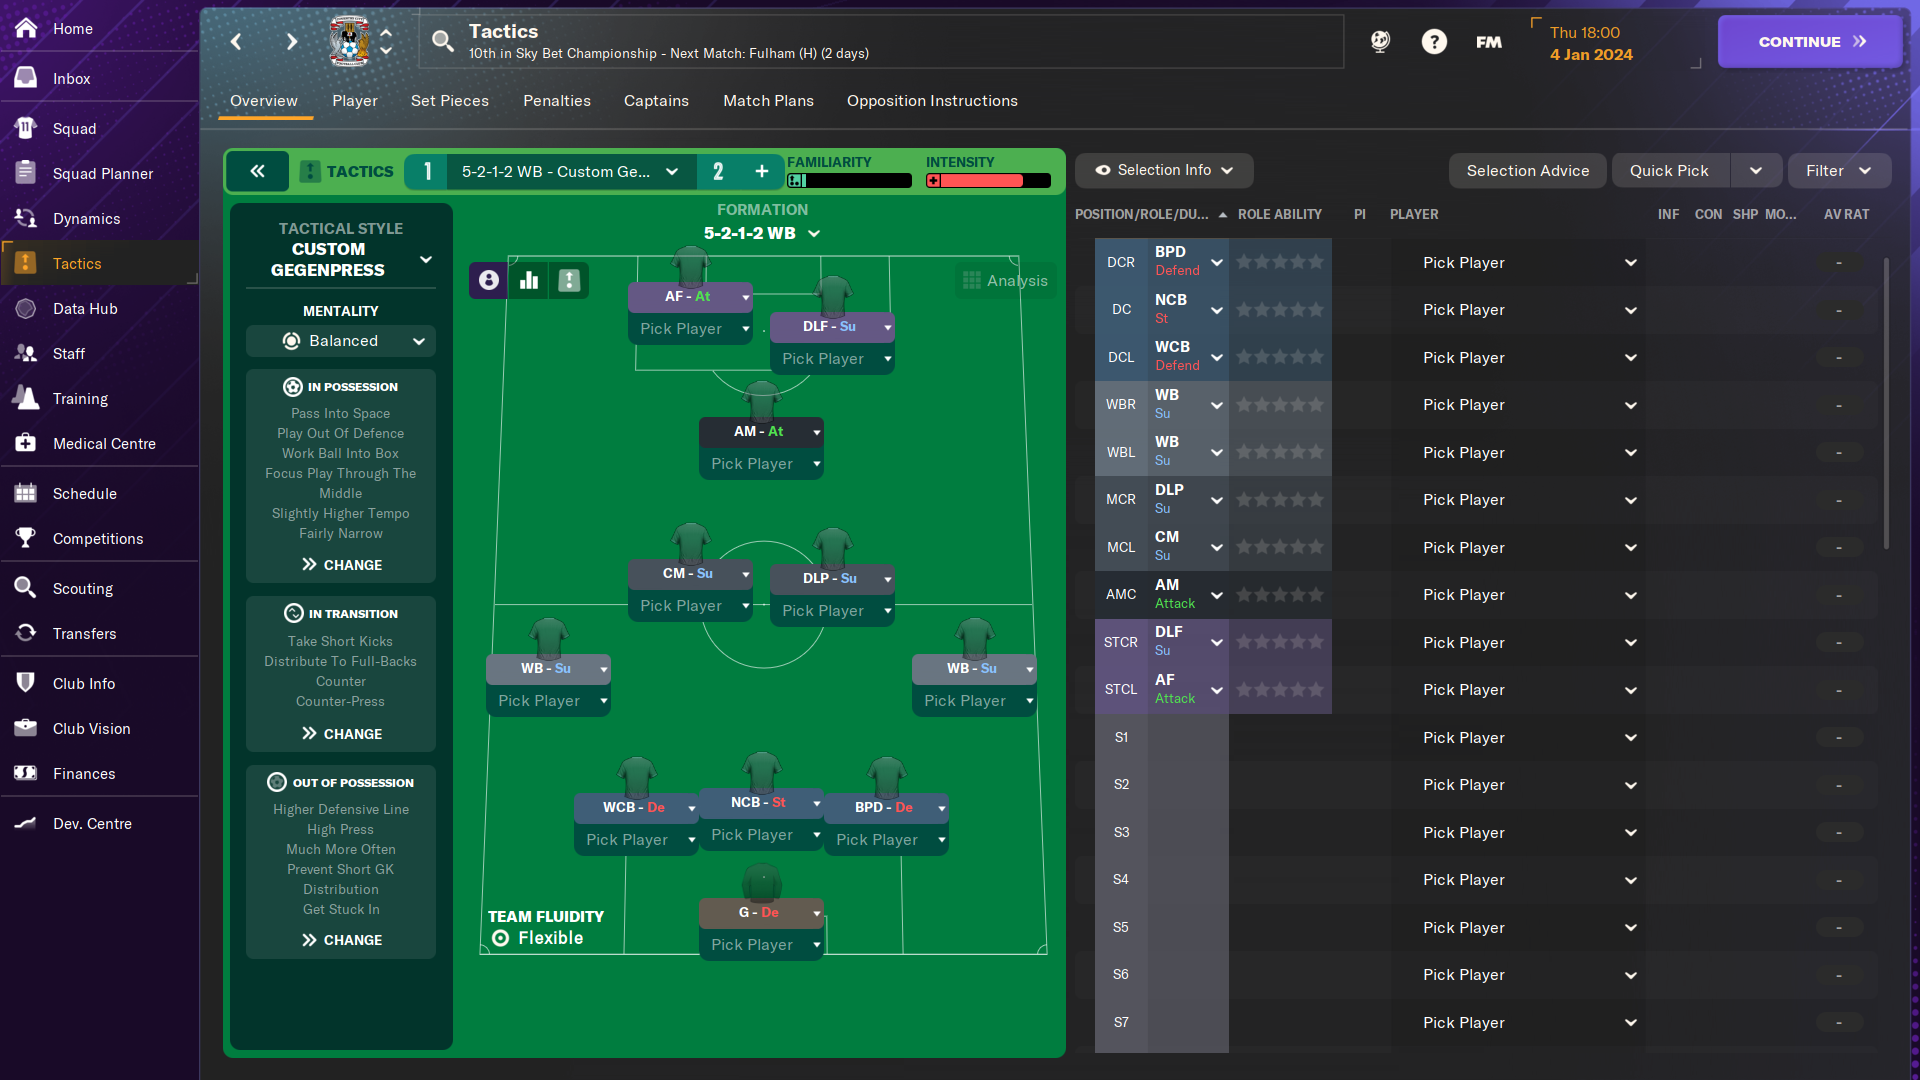
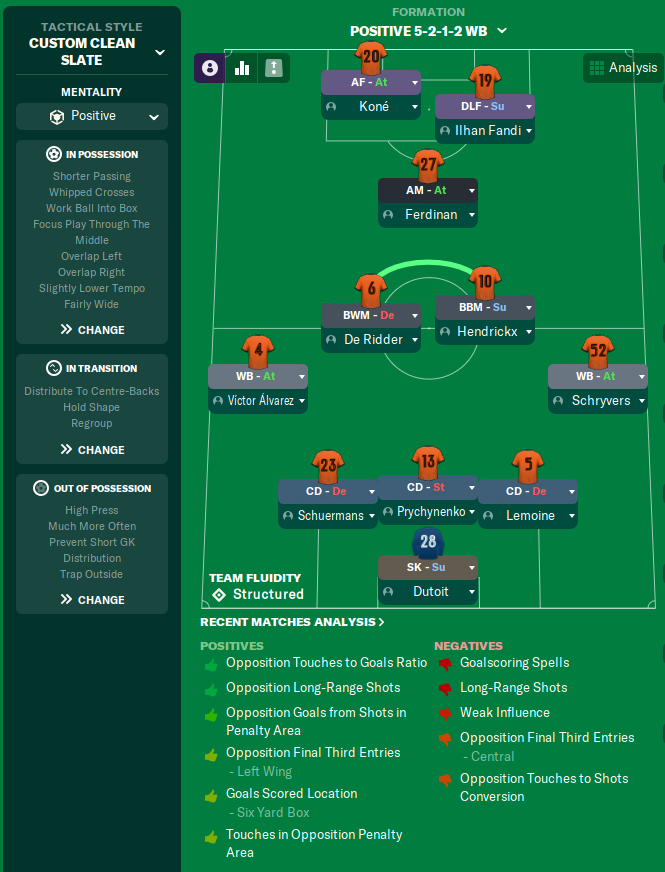
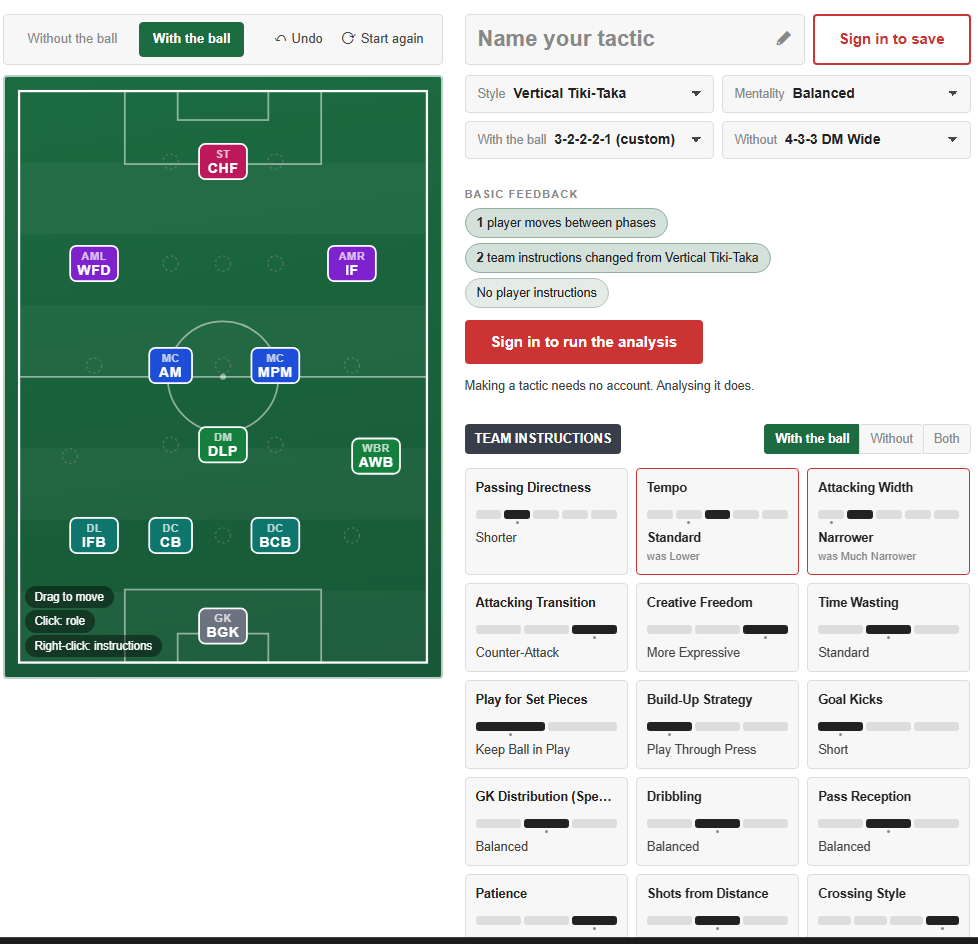
More Vertical Tiki-Taka tactics
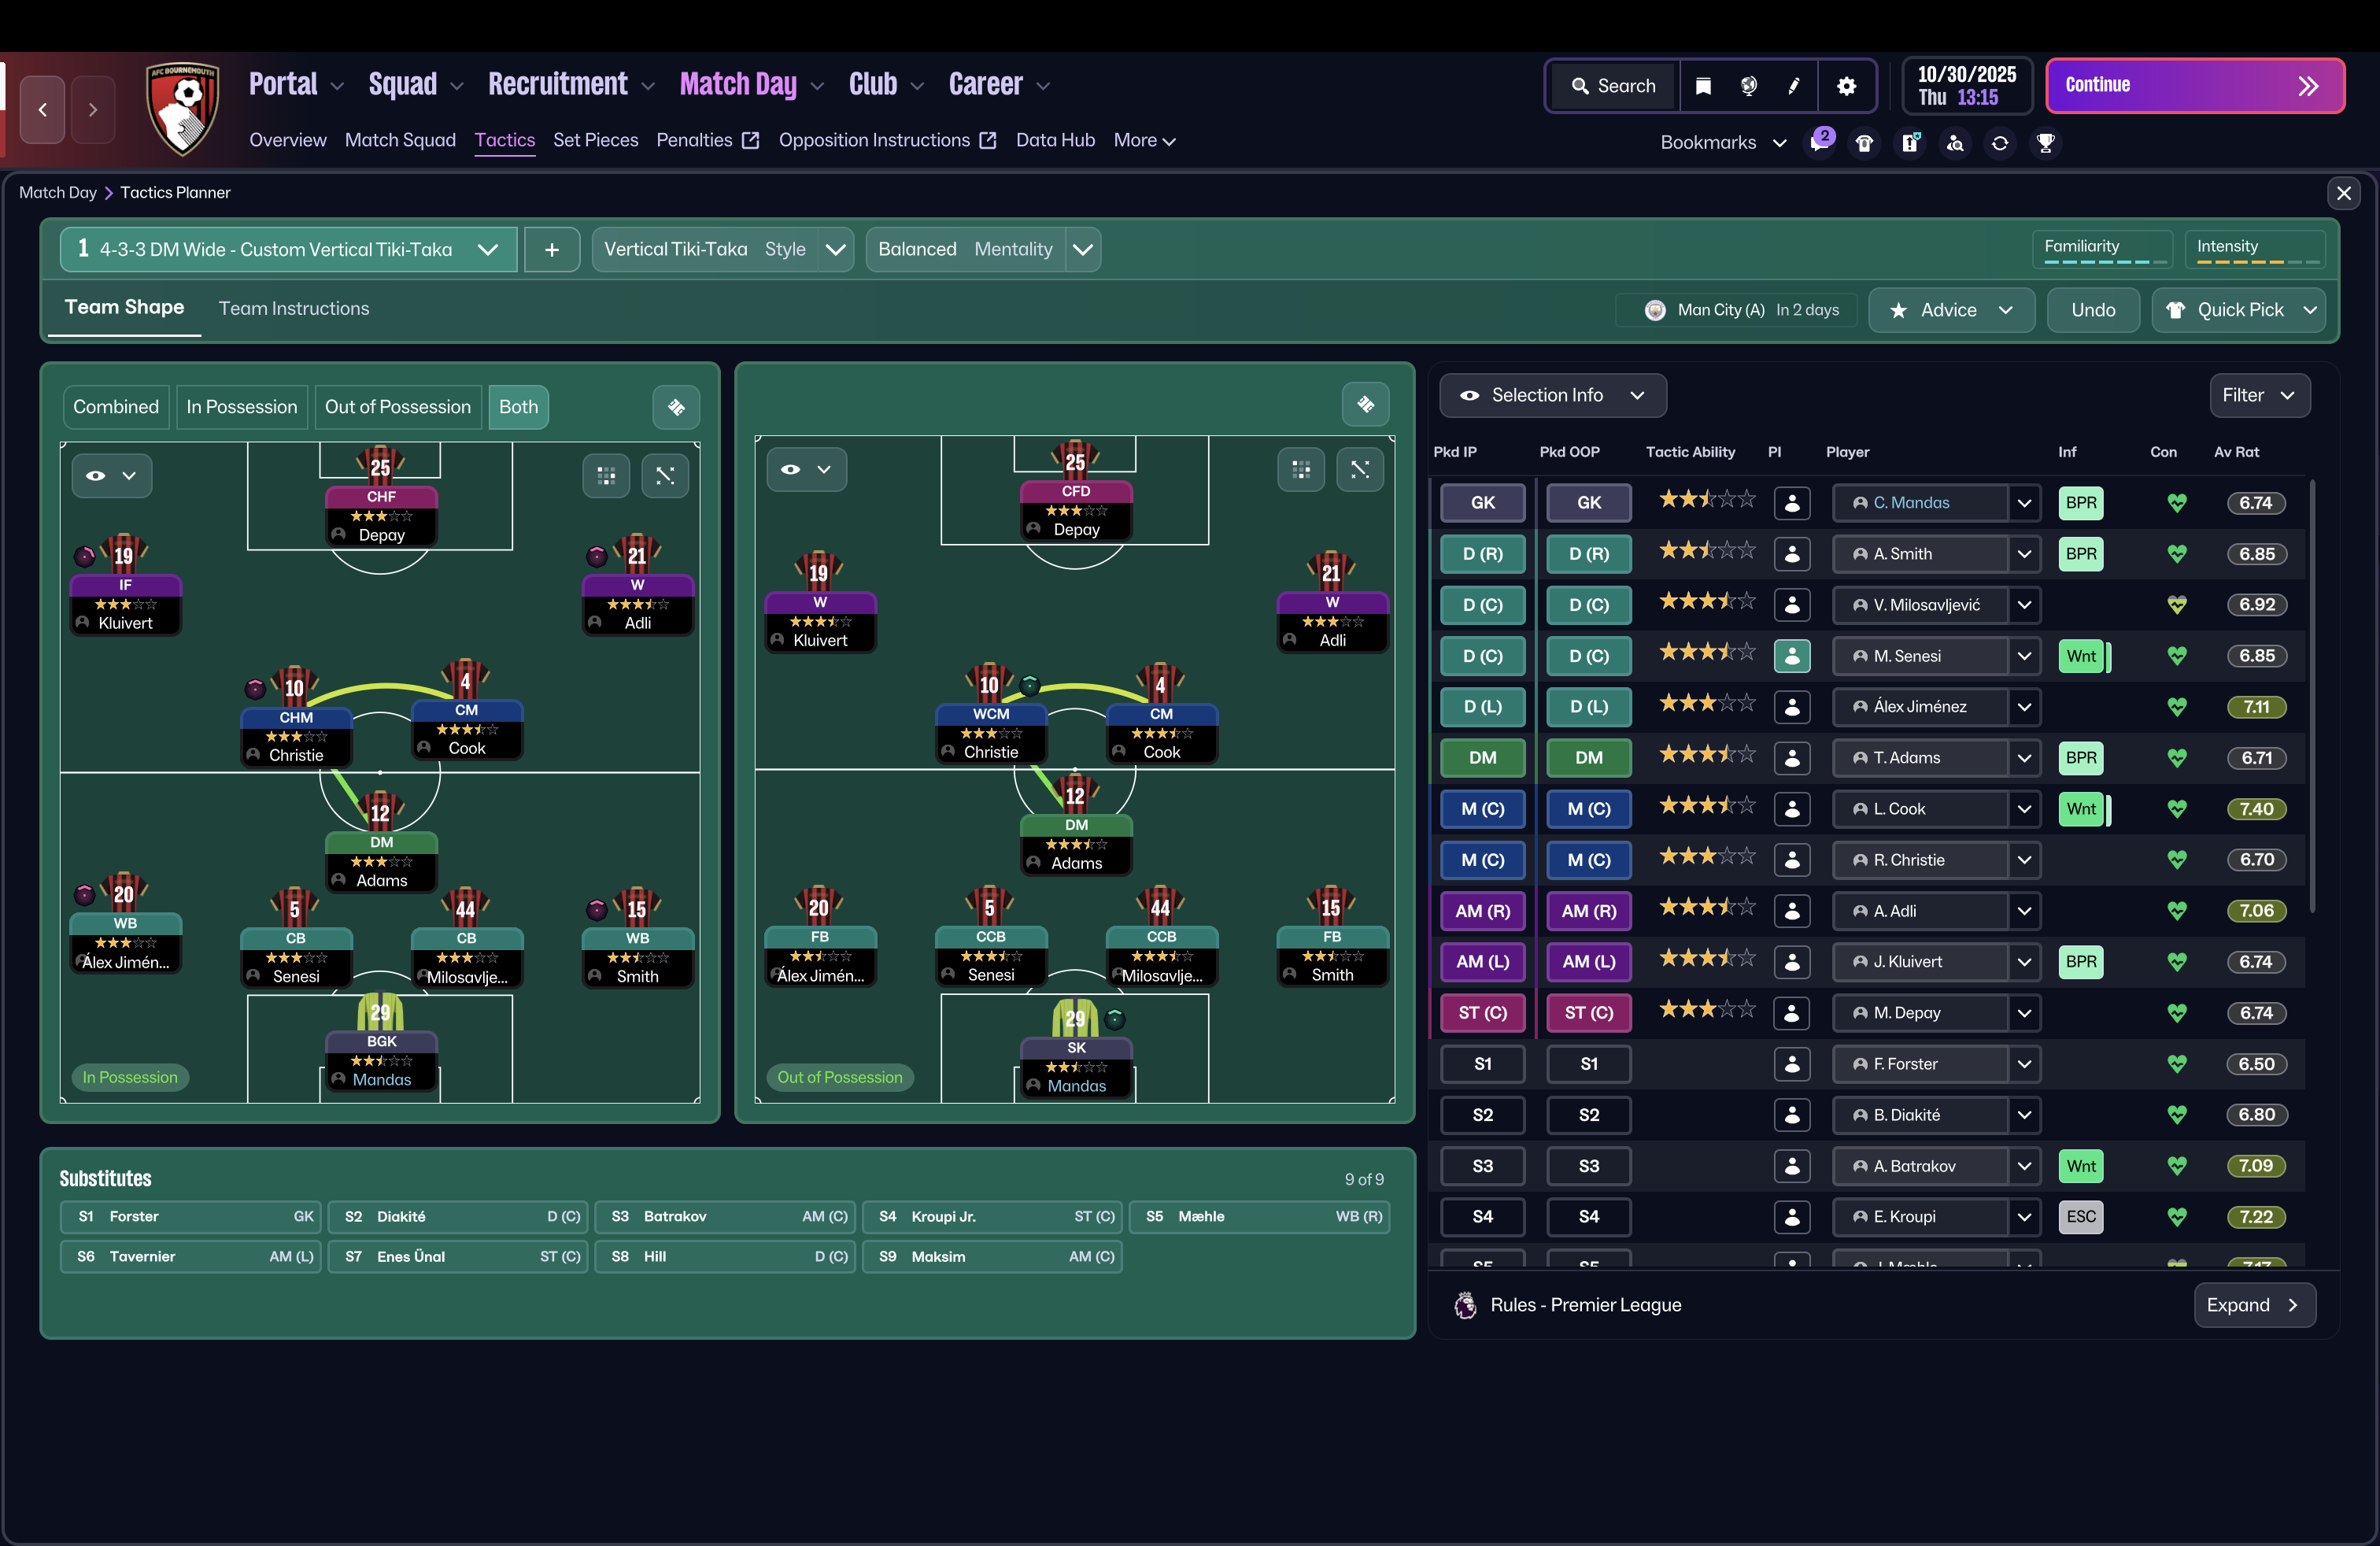
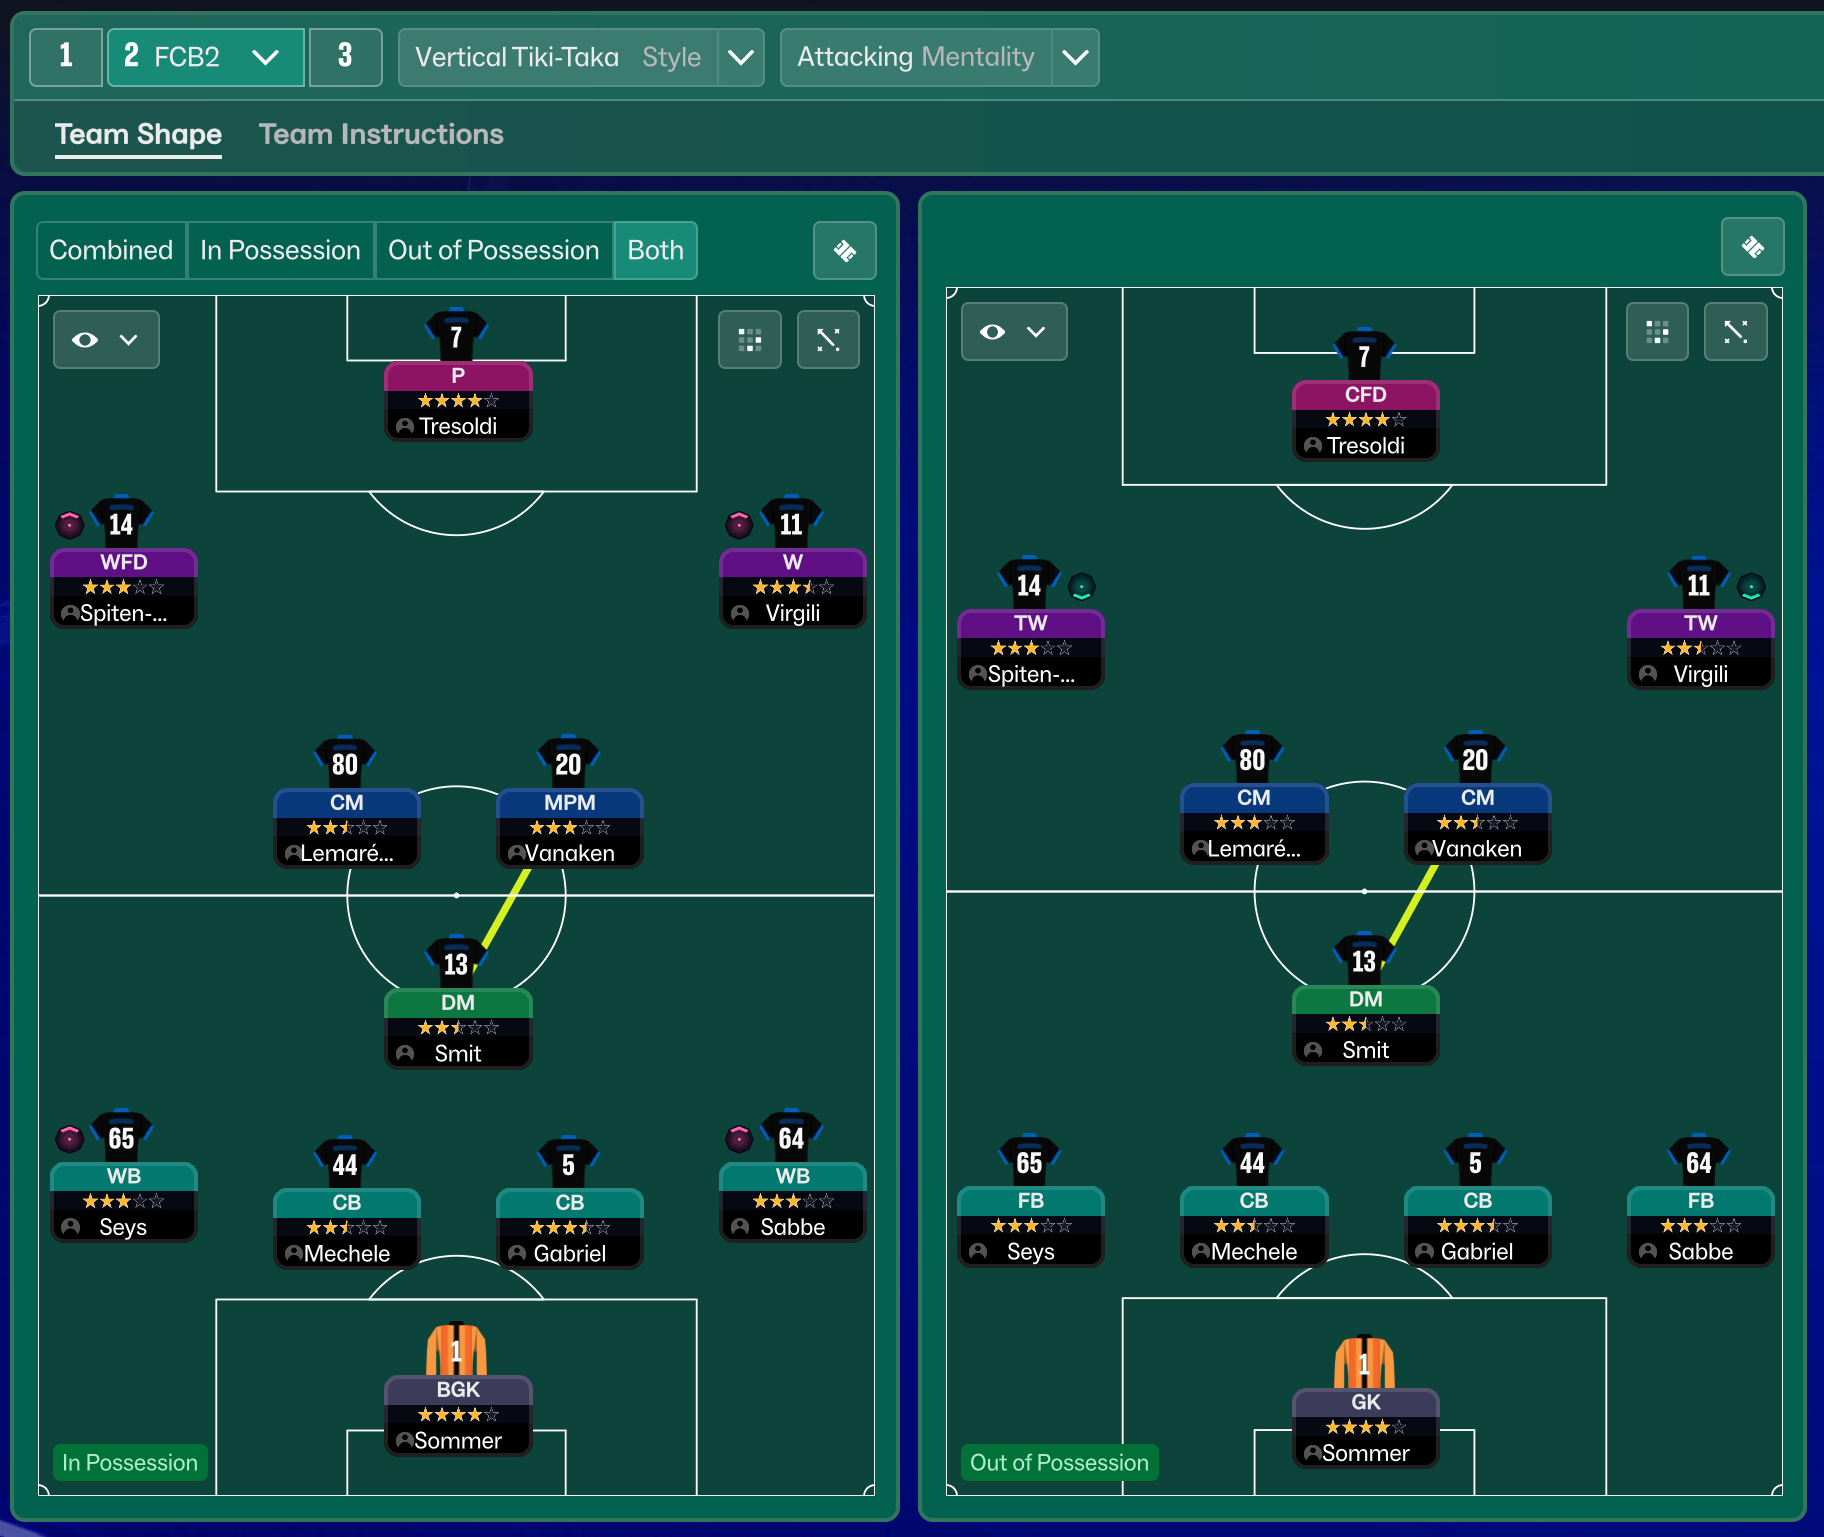
Guides for this tactic
The tactical theory behind the 5-2-1-2 WB: roles, instructions, and the trade-offs that decide whether the system holds up.
Playing styles
Low Block: Park the Bus
The deliberate underdog tactic in FM: formation choices, duty distribution, and why Counter-Press is exactly wrong inside a low block.
Read guide
Match preparation
Reading the Match Tablet
Pass map, average position, xG, possession by zone: what each tablet panel tells you in FM and the tactical change it should trigger.
Read guide
Foundations
FM27 Tactics: What Changed from FM26
FM27 keeps FM26's tactic system. Here is what stays the same, the small changes that can catch you out, and what the new Tactical Effectiveness system asks of you.
Read guide