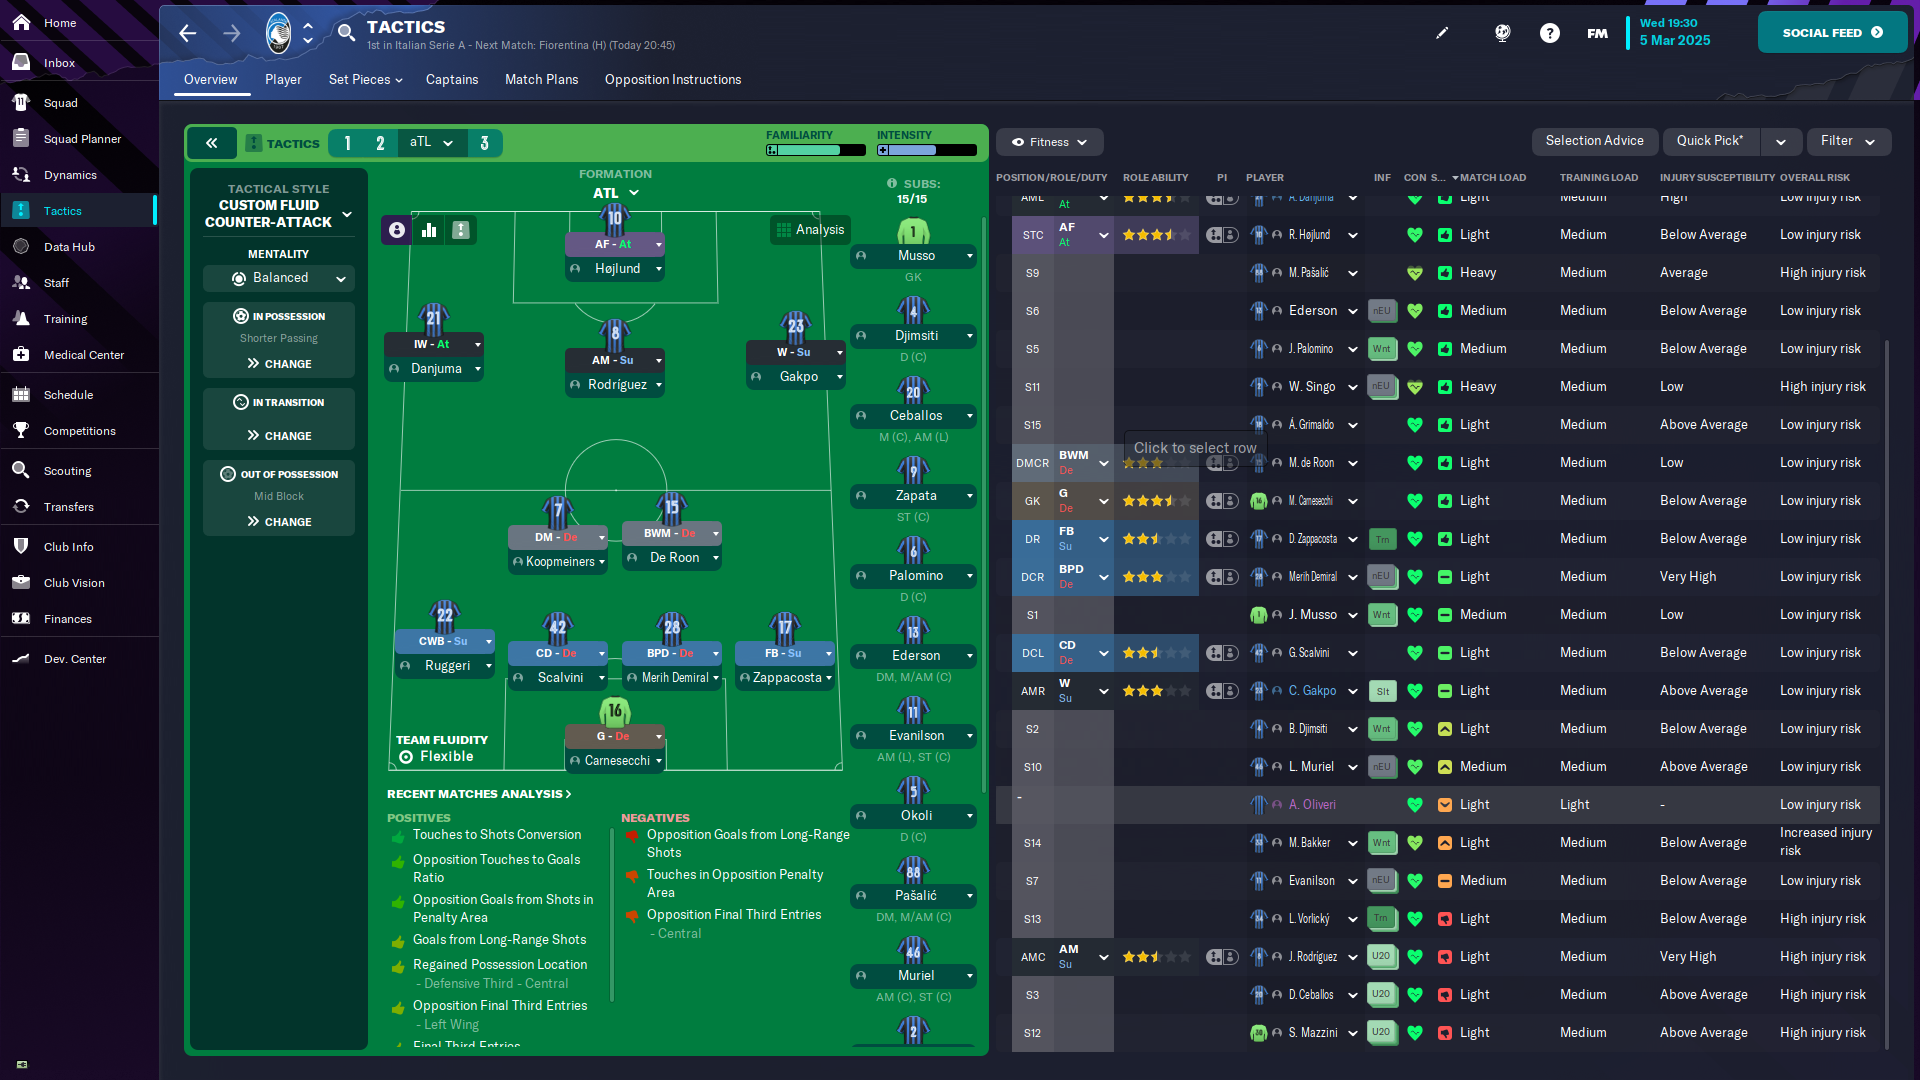
Fluid Counter-Attack 4-3-3 DM Wide (Cautious) Tactic
4-3-3 DM Wide
Maintain possession while exploiting space on the flanks. The system emphasizes attacking down the flanks, leveraging the wingers and full-backs.
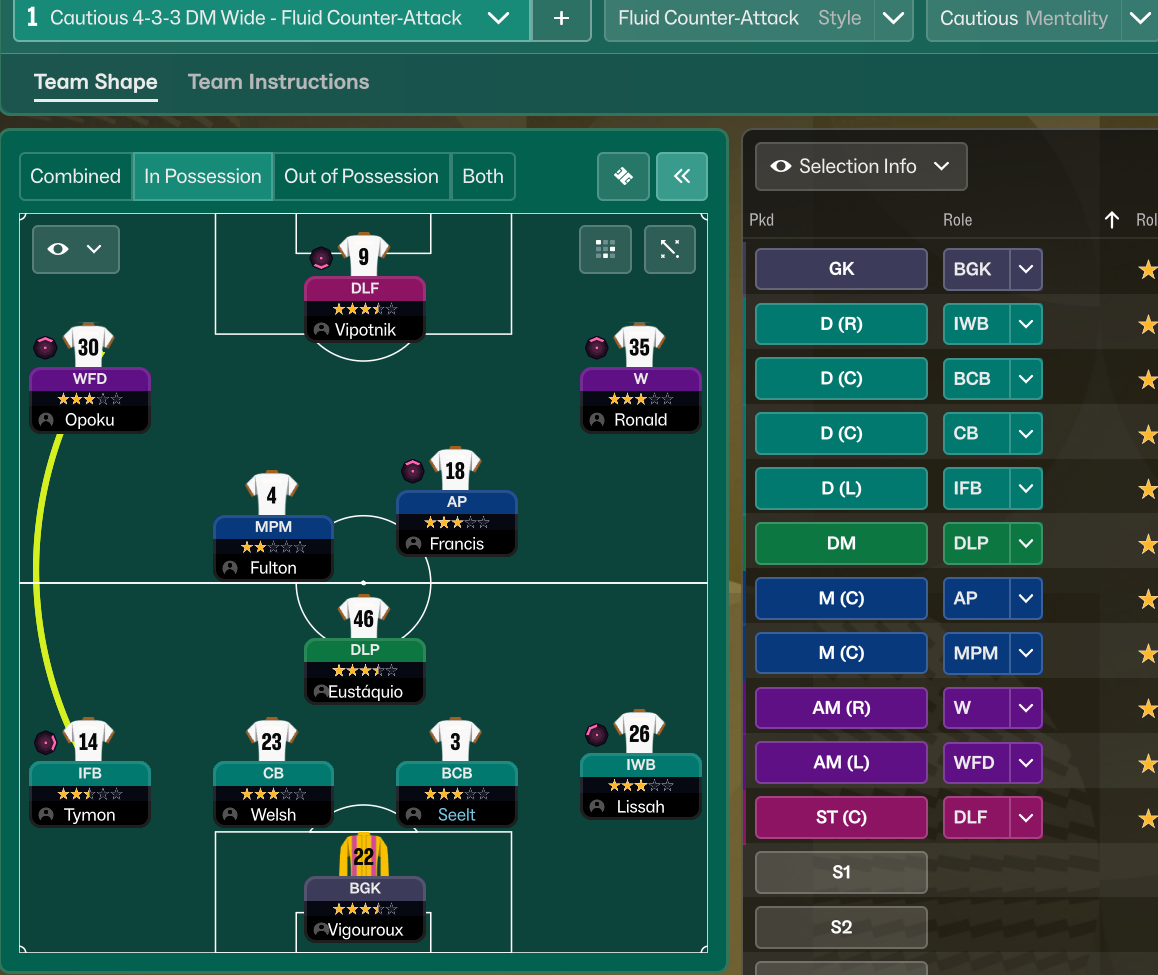
Loading tactical analysis...
Formation and style
Fluid Counter-Attack
Cautious
4-3-3 DM Wide
Fluid
In possession
Focus Play Down Flanks
Play Out of Defence
Hit Early Crosses
In transition
Counter
Counter-Press
Out of possession
Higher Line of Engagement
Standard Defensive Line
Prevent Short GK Distribution
Trap Outside
Player roles
GK
Goalkeeper
Defend
D (R)
Inverted Full-Back
Defend
D (C)
Ball-Playing Defender
Defend
D (C)
Centre-Back
Defend
D (L)
Inverted Full-Back
Defend
DM
Deep-Lying Playmaker
Support
M (C)
Advanced Playmaker
Support
M (C)
Mezzala
Support
AM (R)
Winger
Attack
AM (L)
Wide Forward
Attack
ST
Deep-Lying Forward
Support
Phase description
Utilizes width for penetration and plays the ball into forward areas quickly.
Focuses on regaining possession through counter-pressing after losing the ball.
Maintain possession while exploiting space on the flanks.
Team shape defence
4-1-4-1
Compact shape with a protective shield offered by the deep-lying playmaker.
DLP-S at [3,3] supports the back line.
Team shape attack
4-3-3
Wide shape with wingers providing width and a deep-lying forward facilitating link-up play.
Winger at [5,2] and Wide Forward at [5,1] help in stretching the defence.
Key strengths
Wide Play
The system emphasizes attacking down the flanks, leveraging the wingers and full-backs.
Winger (W) at [5,2] and Wide Forward (WFD) at [5,1] with instructions to focus play down flanks.
Midfield Control
A diverse midfield trio provides both creativity and robustness in the center.
DLP-S at [3,3] and AP at [4,3] allow for fluid transitions.
Conflicting tactics
Offensive Midfield Integration
The advanced playmaker and mezzala may inadvertently occupy similar spaces.
Both AP at [4,3] and MPM at [4,2] could lead to positional congestion.
Defensive Transition Vulnerability
A cautious approach may leave the team exposed during quick transitions.
Higher Line of Engagement could be exploited if possession is lost.
Risk exposures
Risk Exposures
Items
Counter-Attacks
High line may expose the defense to quick opposition counter-attacks.
Higher Line of Engagement is currently set.
Midfield Congestion
Overlapping roles in midfield may lead to positional clashes.
AP at [4,3] and MPM at [4,2] may occupy similar zones.
Role synergies
Role Synergies
Items
Deep-Lying Playmaker and Advanced Playmaker
The DLP supports build-up while the AP adds creativity in advanced areas.
DLP-S at [3,3] and AP at [4,3] working in tandem.
Inverted Full-Back and Mezzala
The IFB can provide width while the MEZ attacks into space vacated.
IFB at [2,1] and MEZ-S at [4,2] creating overloads.
Suggested questions
How does the team cope with high-pressing opponents?
Can the midfield duo support both defence and attack efficiently?
What adjustments can be made against teams with strong wide players?
Related Tactics
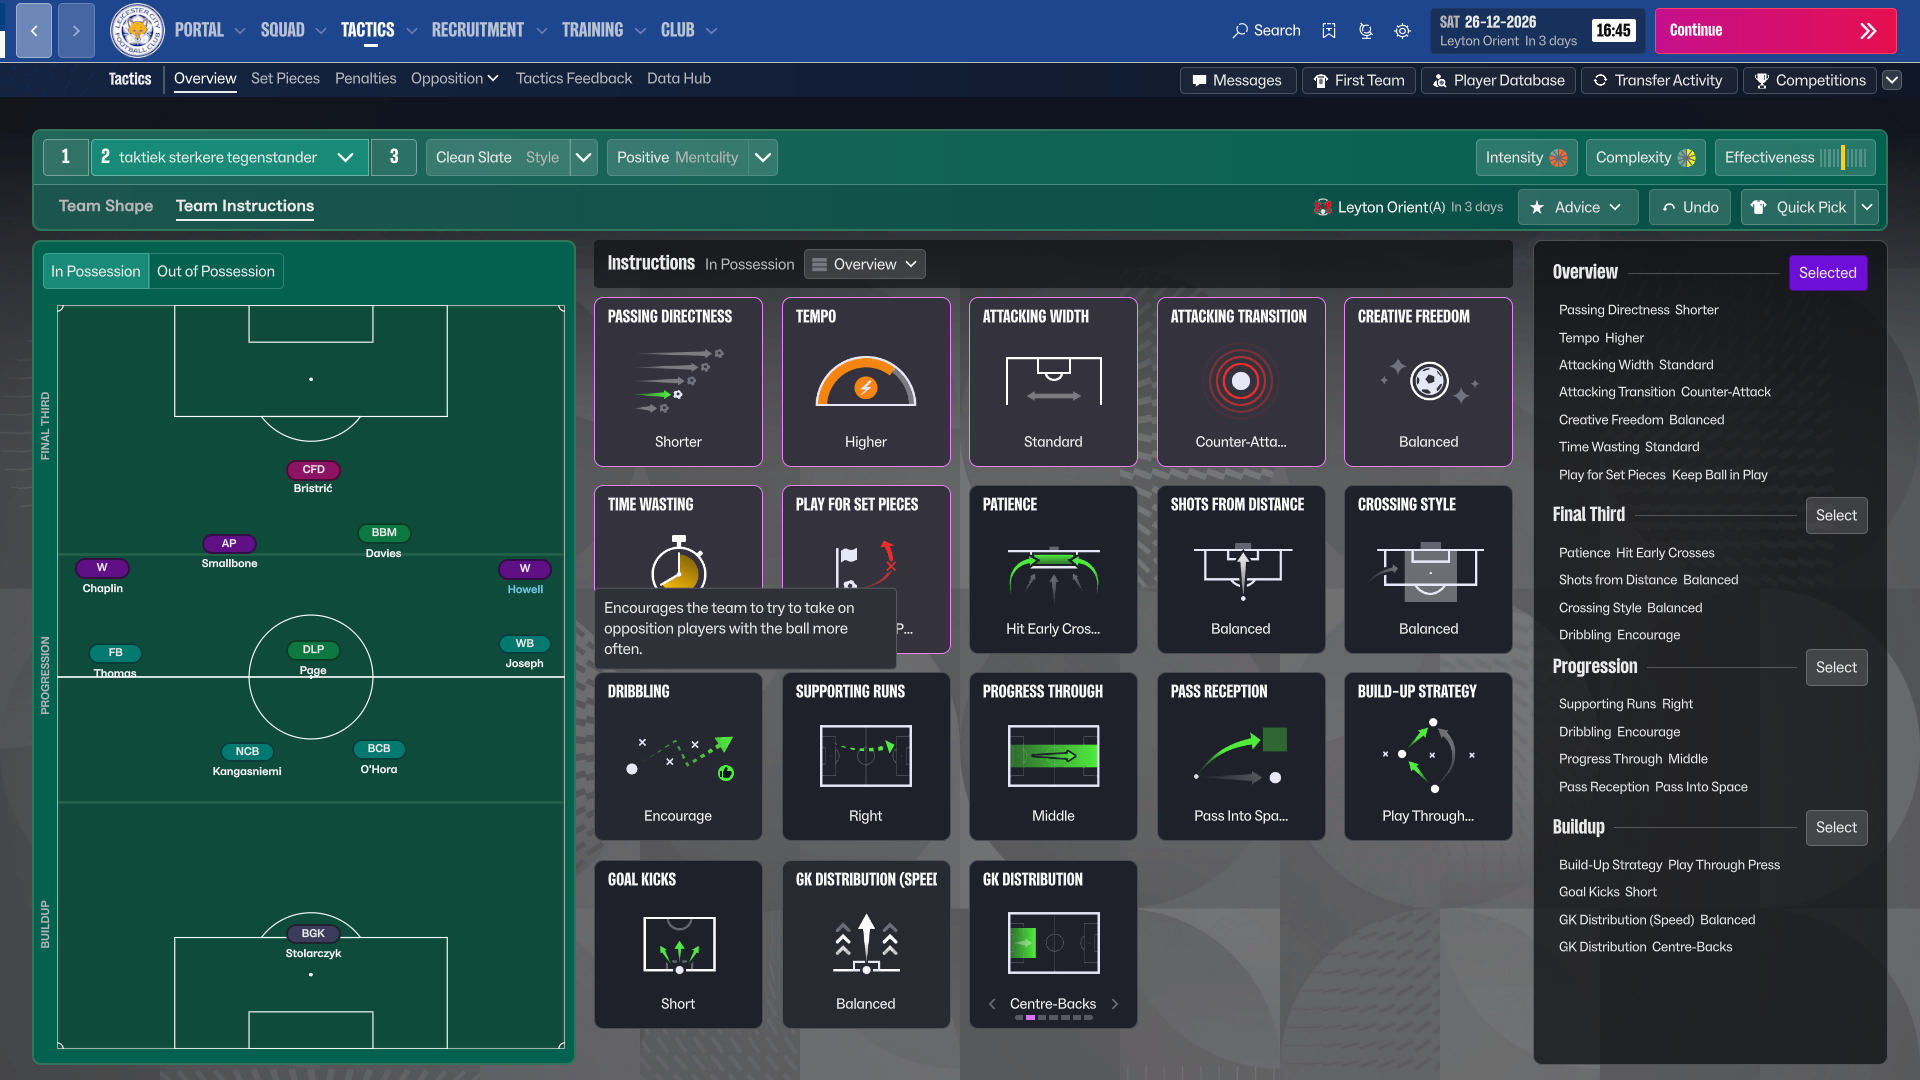
4-3-3 DM Wide Formation
clean slate
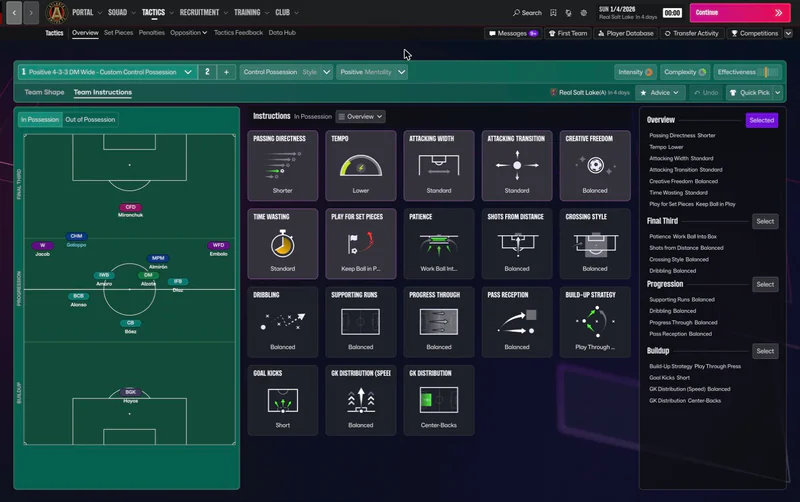
Control Possession 4-3-3 DM Wide
control possession
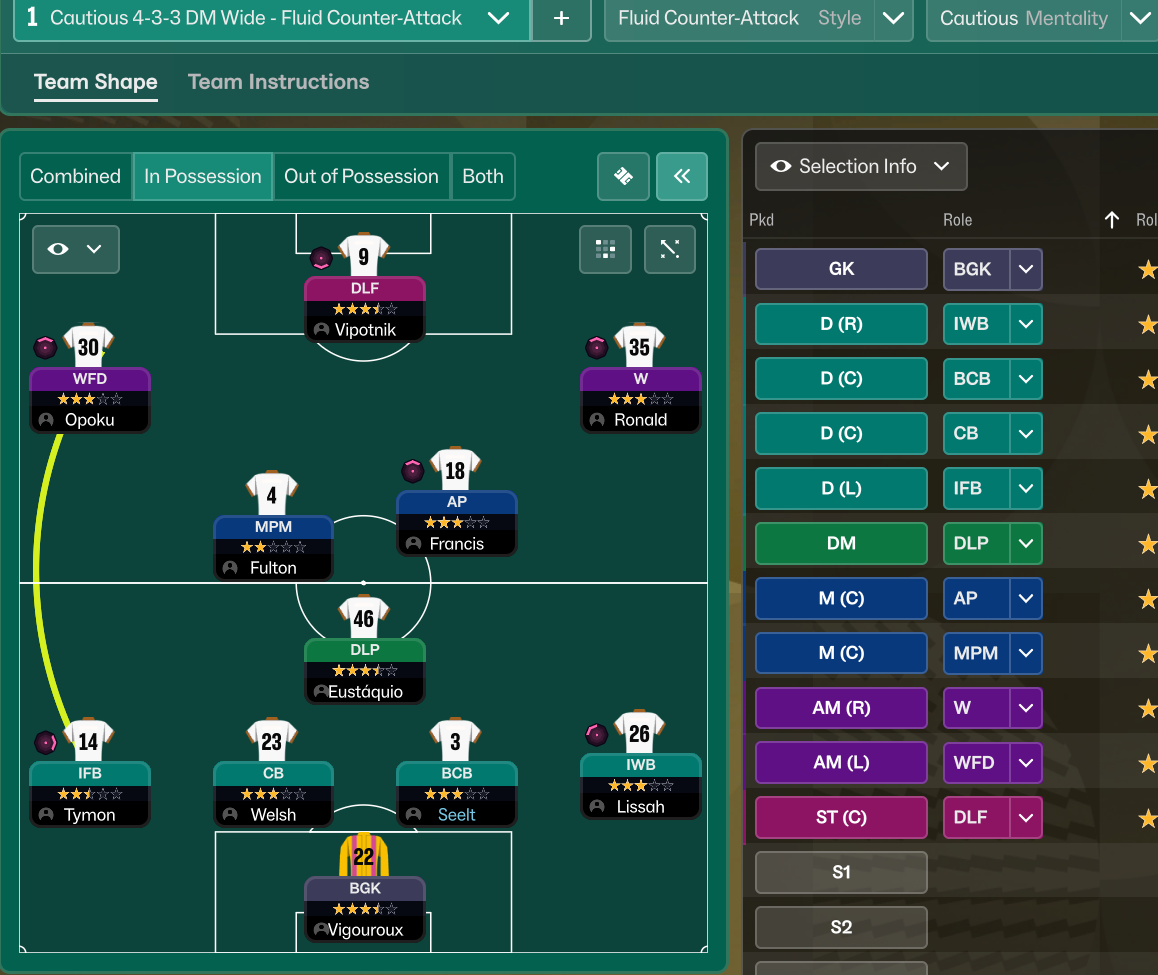
Fluid Counter-Attack 4-3-3 DM Wide
Fluid Counter-Attack
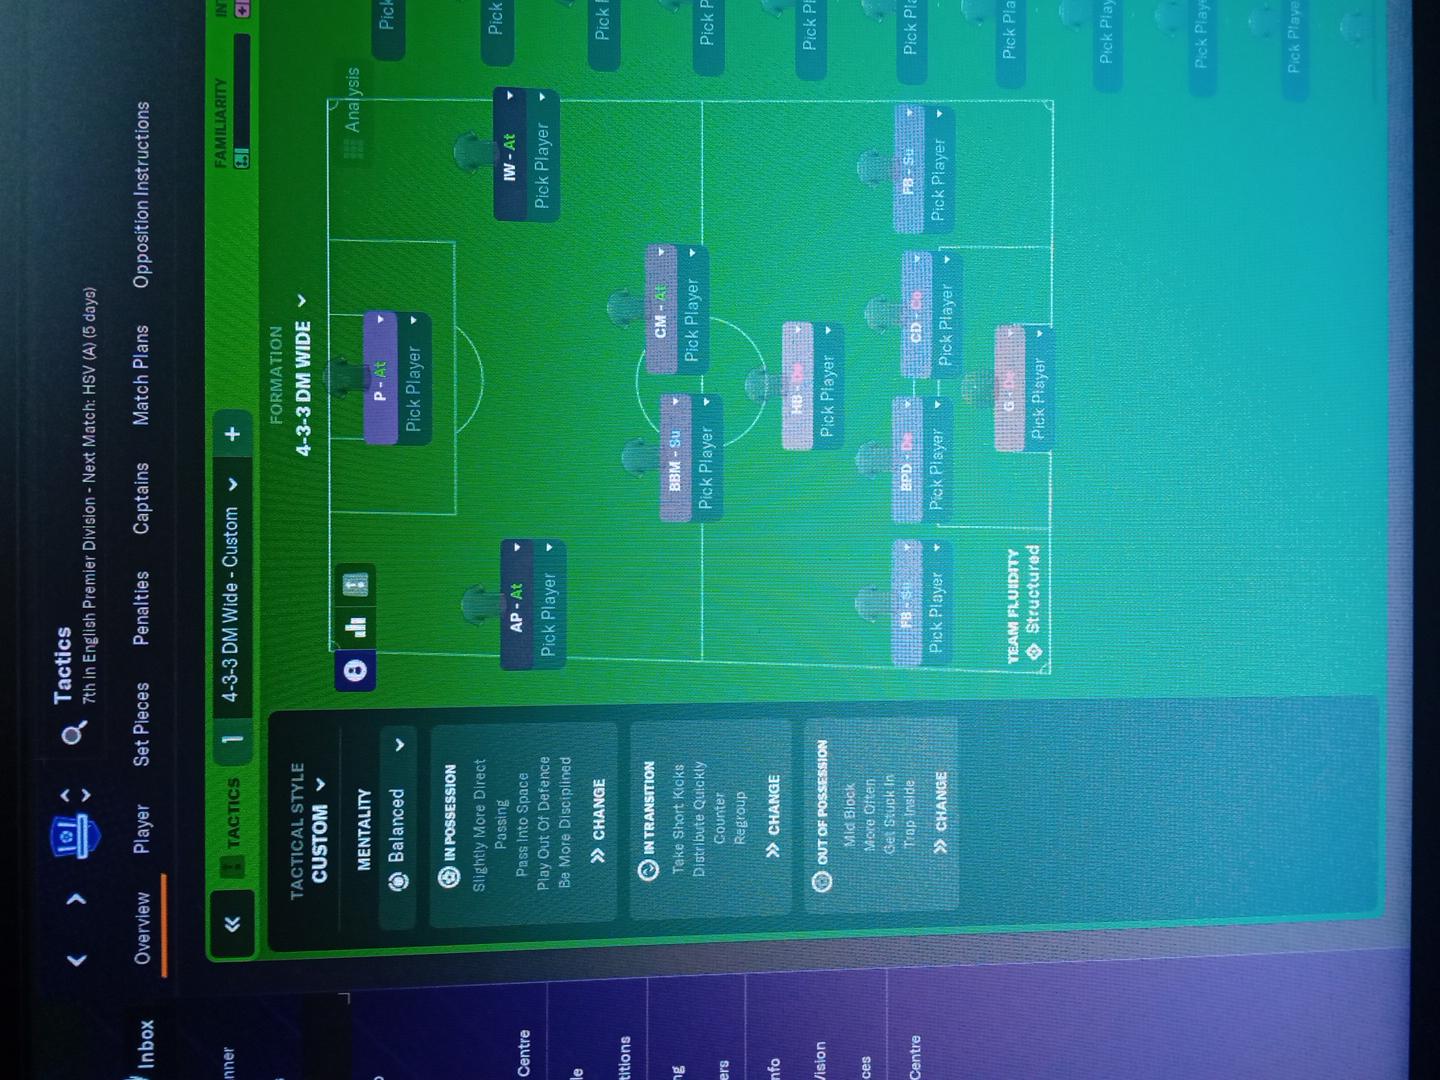
4-3-3 DM Wide Formation
Custom
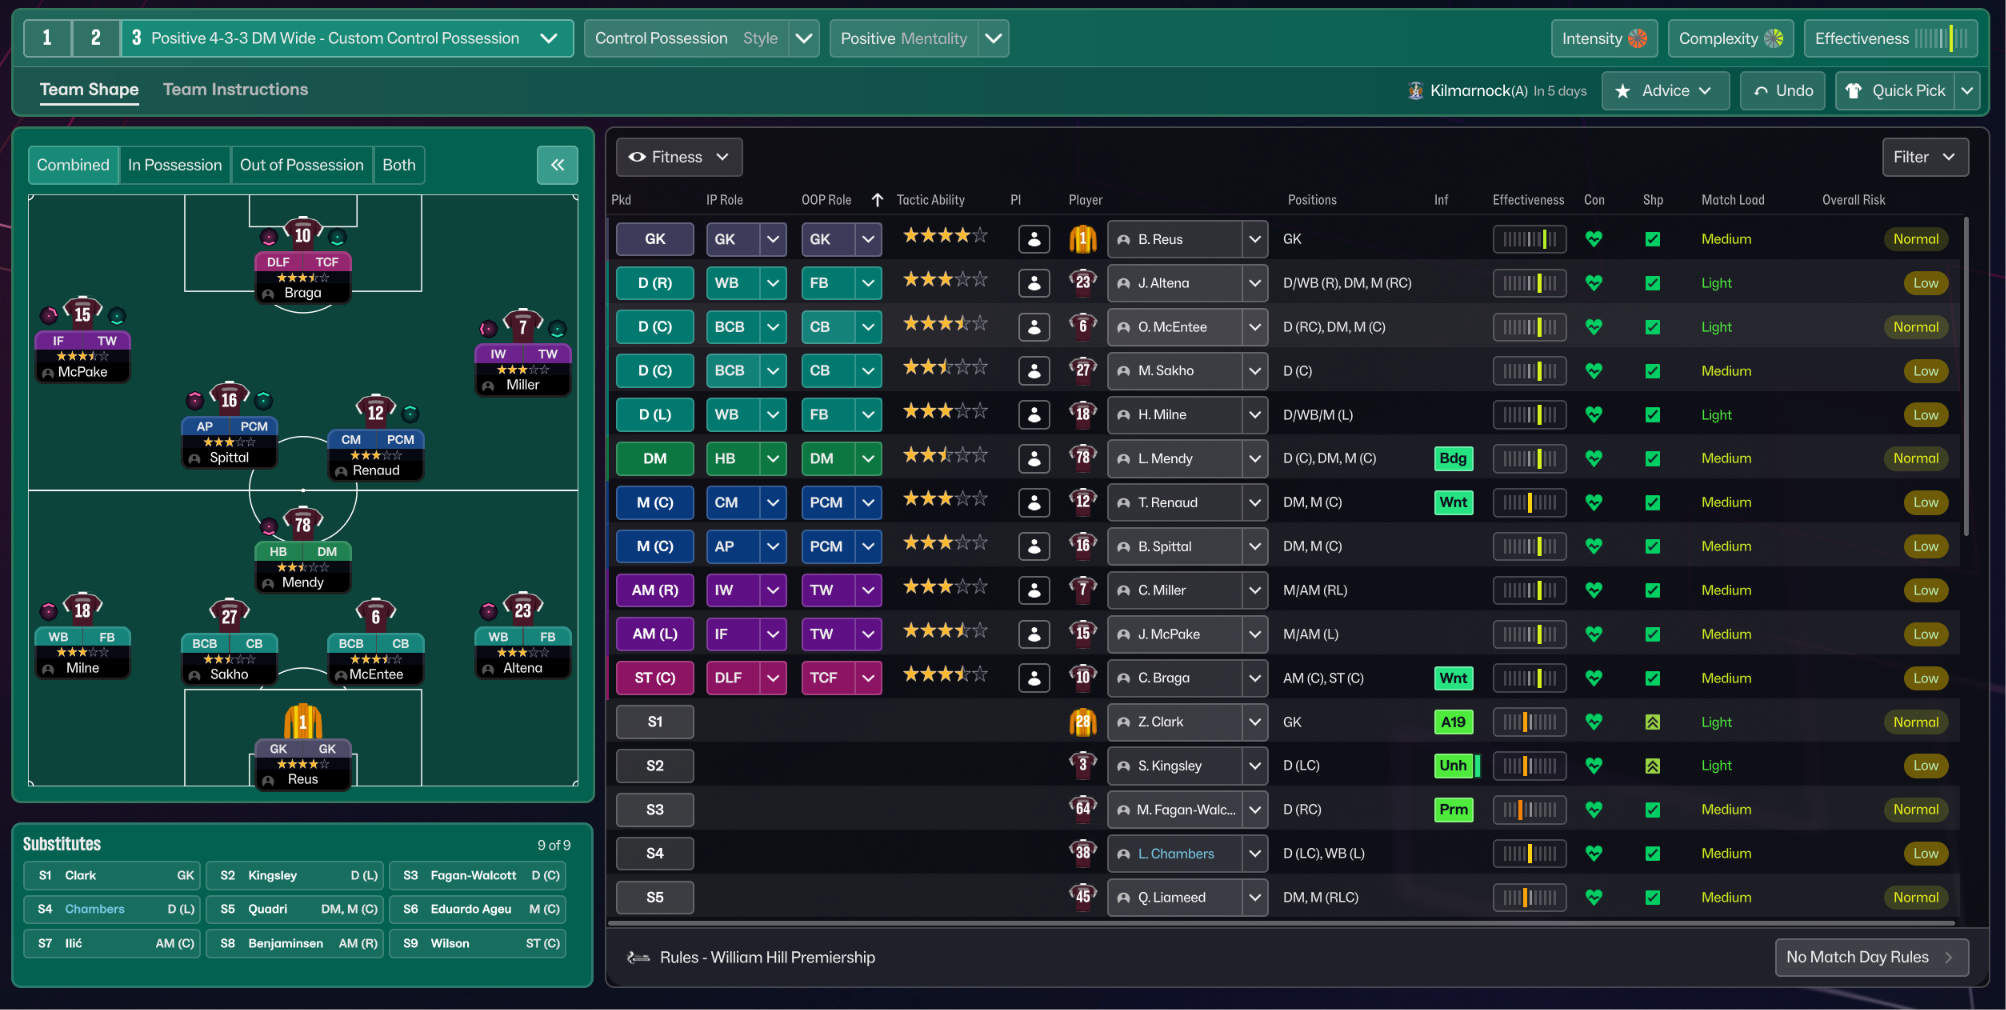
Control Possession 4-3-3 DM Wide
Control Possession
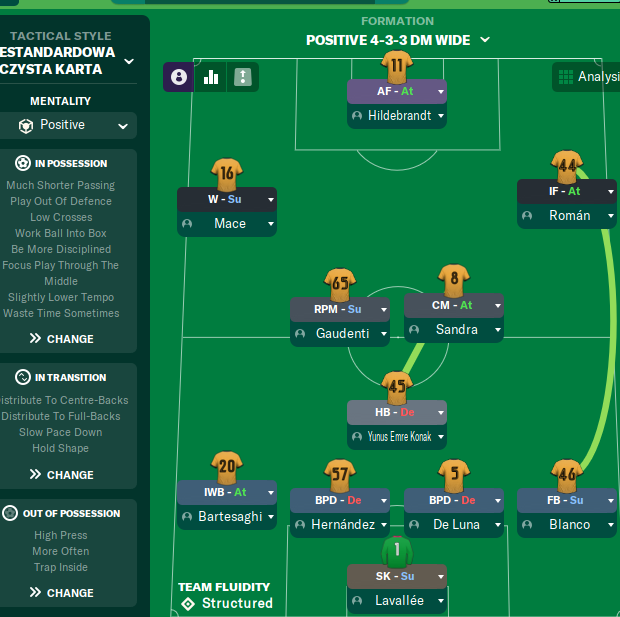
Positive 4-3-3 DM Wide
Positive
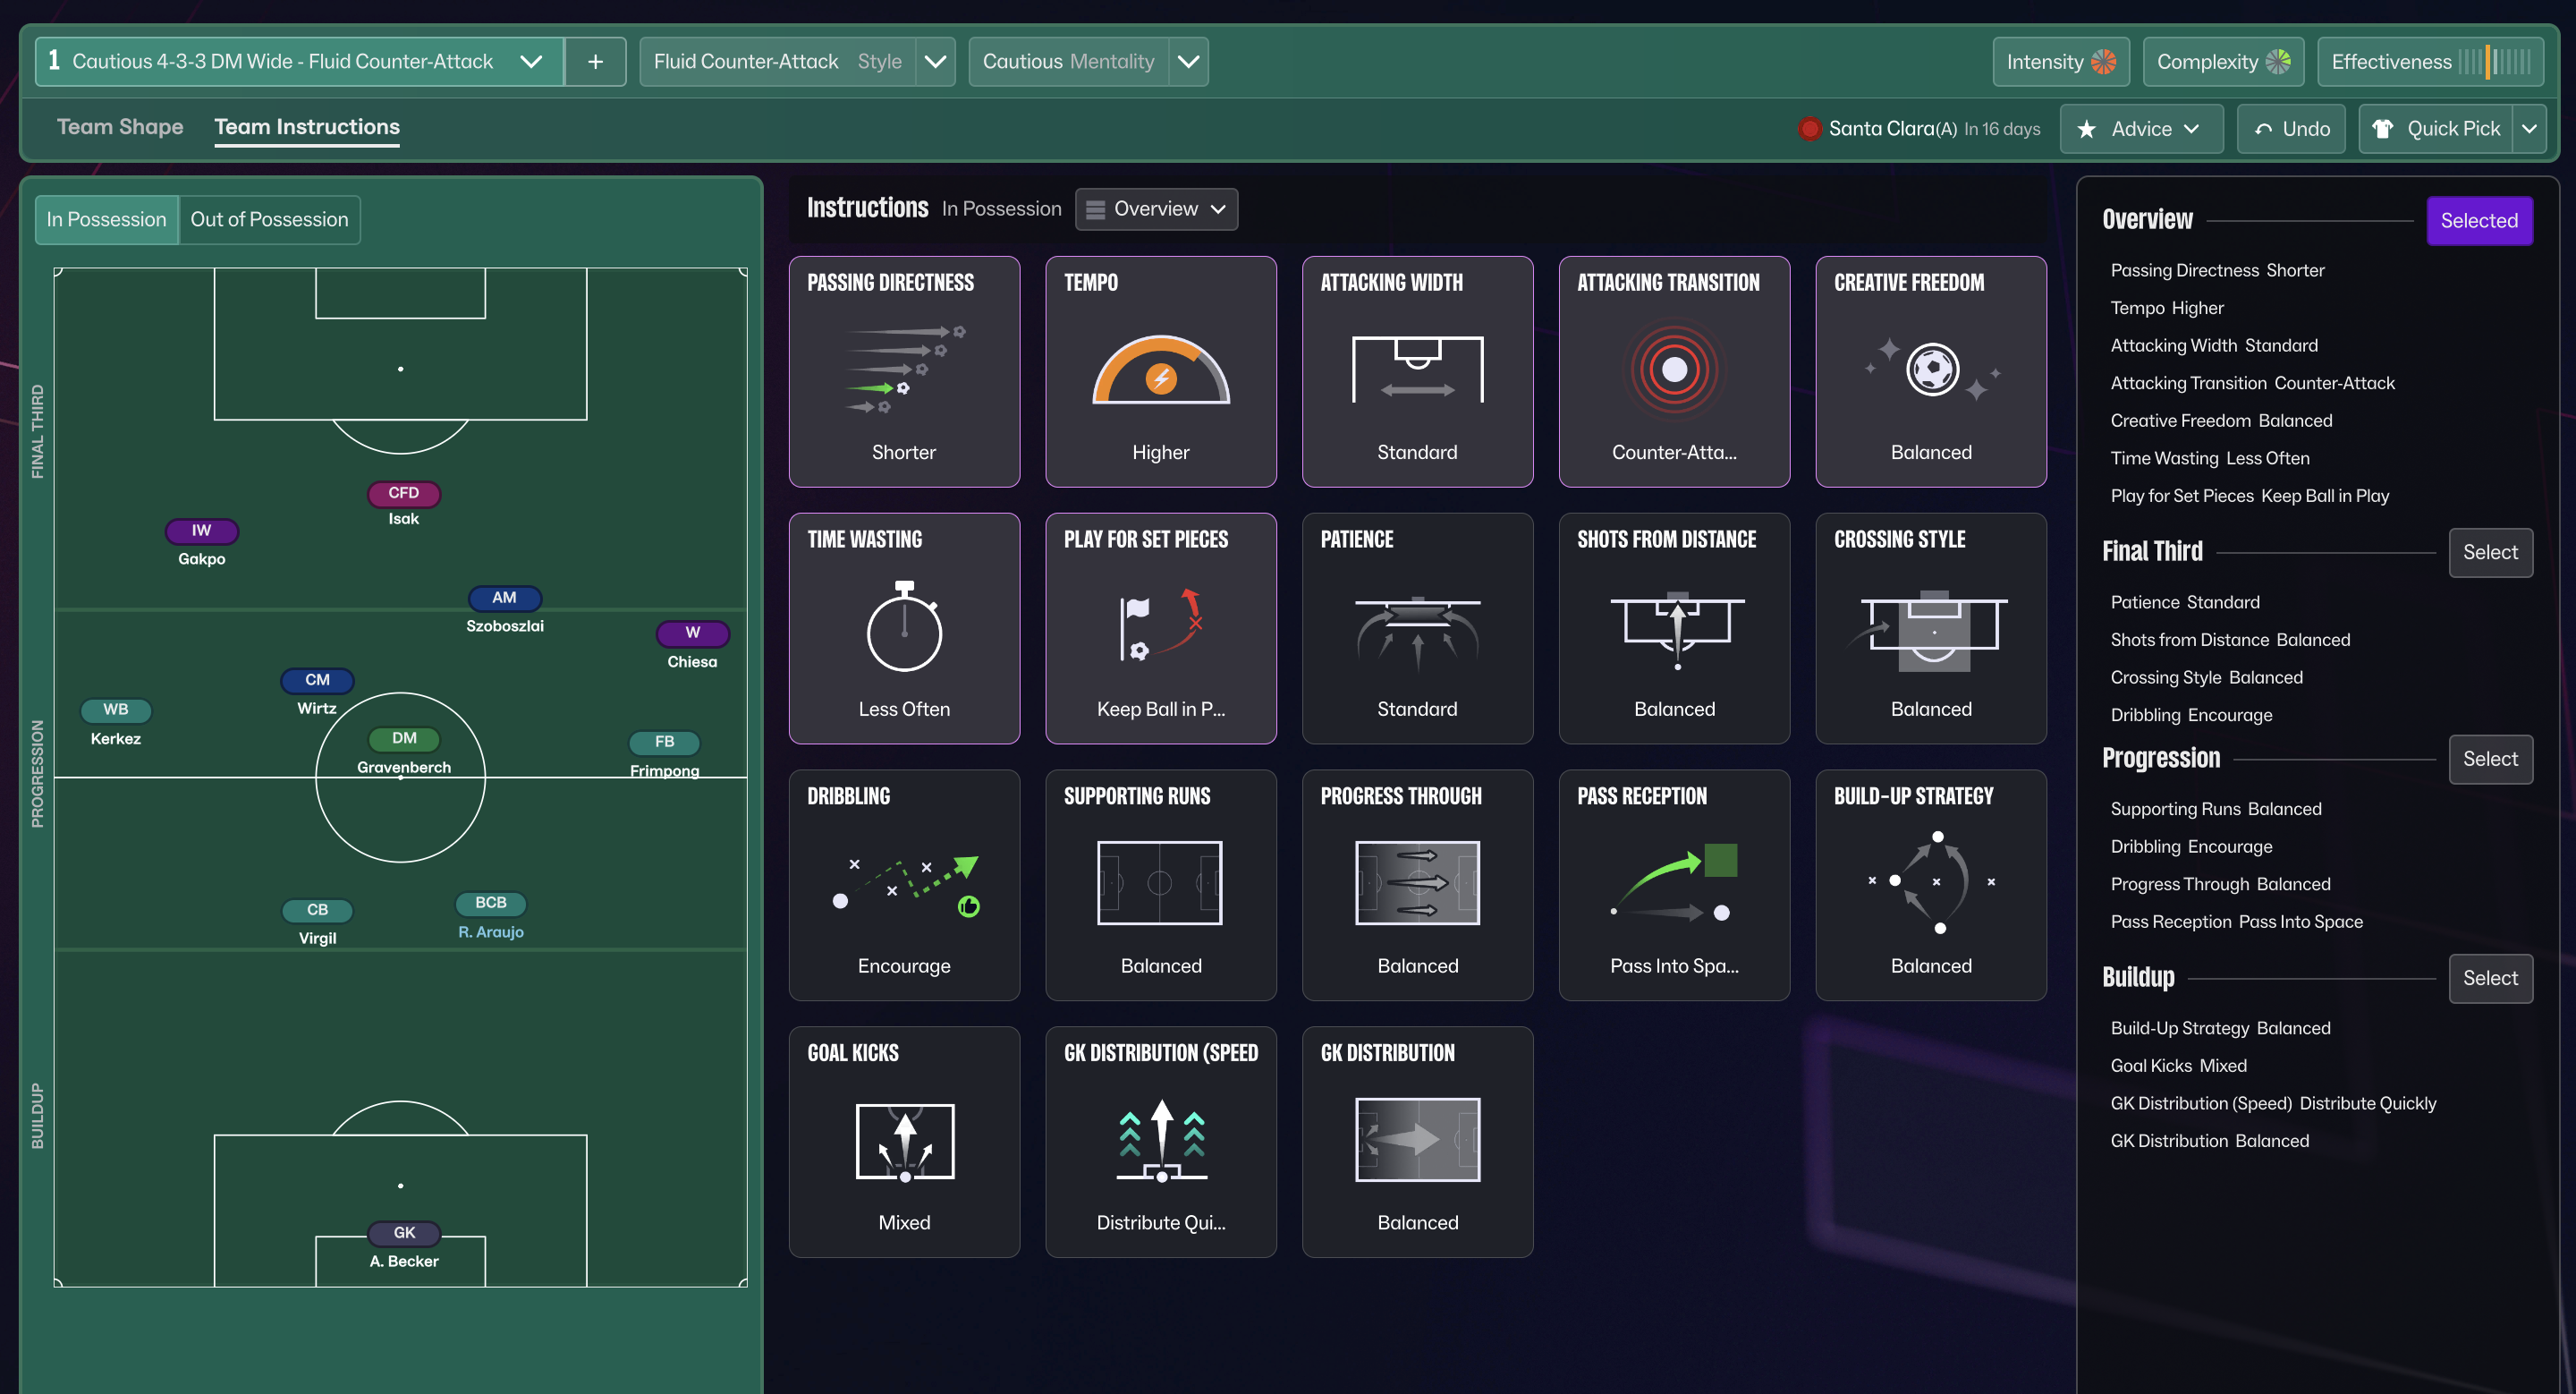
Fluid Counter-Attack 4-3-3 DM Wide
Fluid Counter-Attack
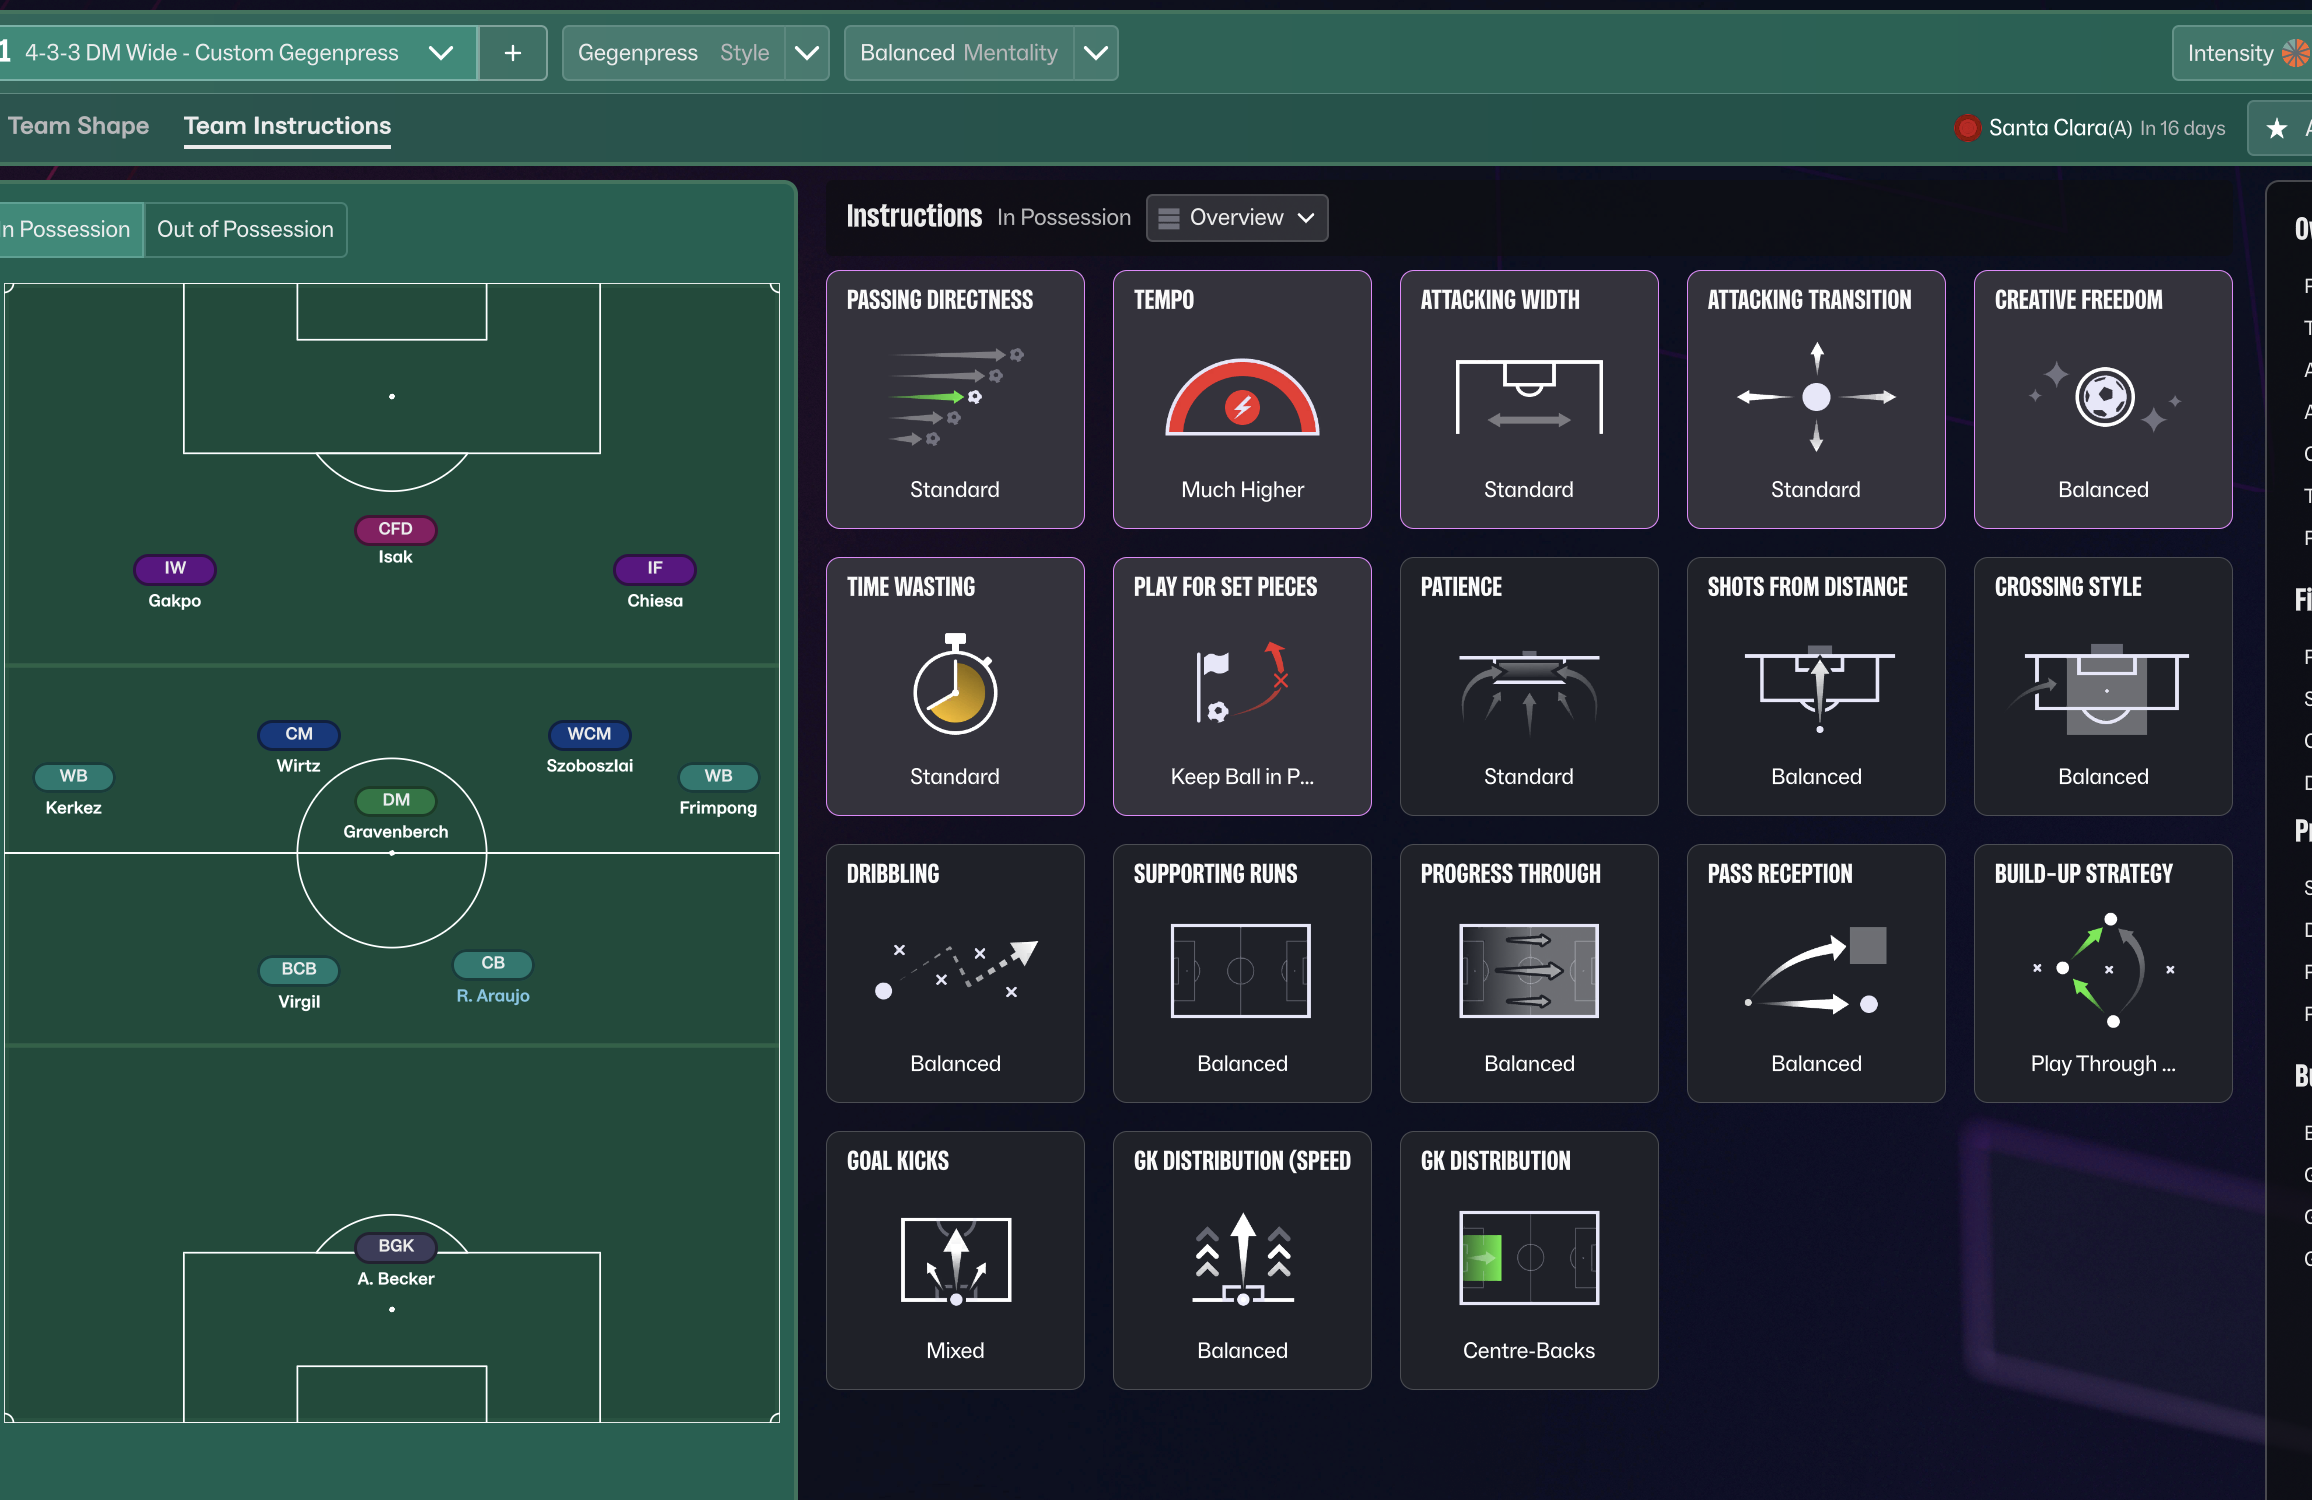
Gegenpress 4-3-3 DM Wide
Gegenpress
More Fluid Counter-Attack tactics
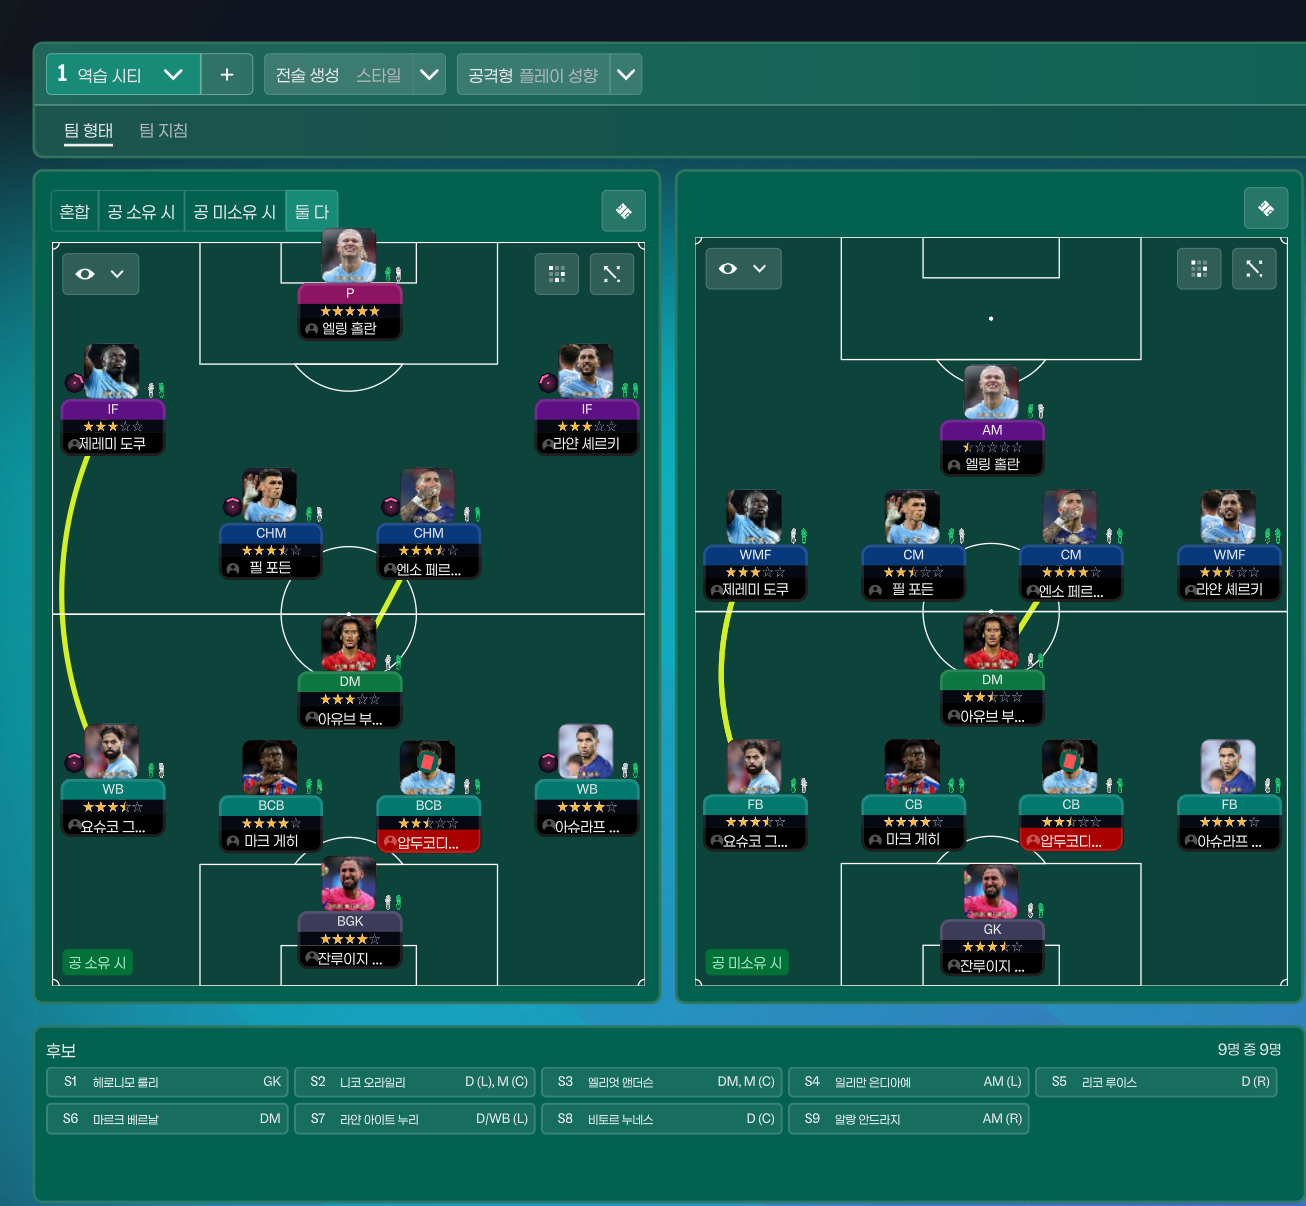
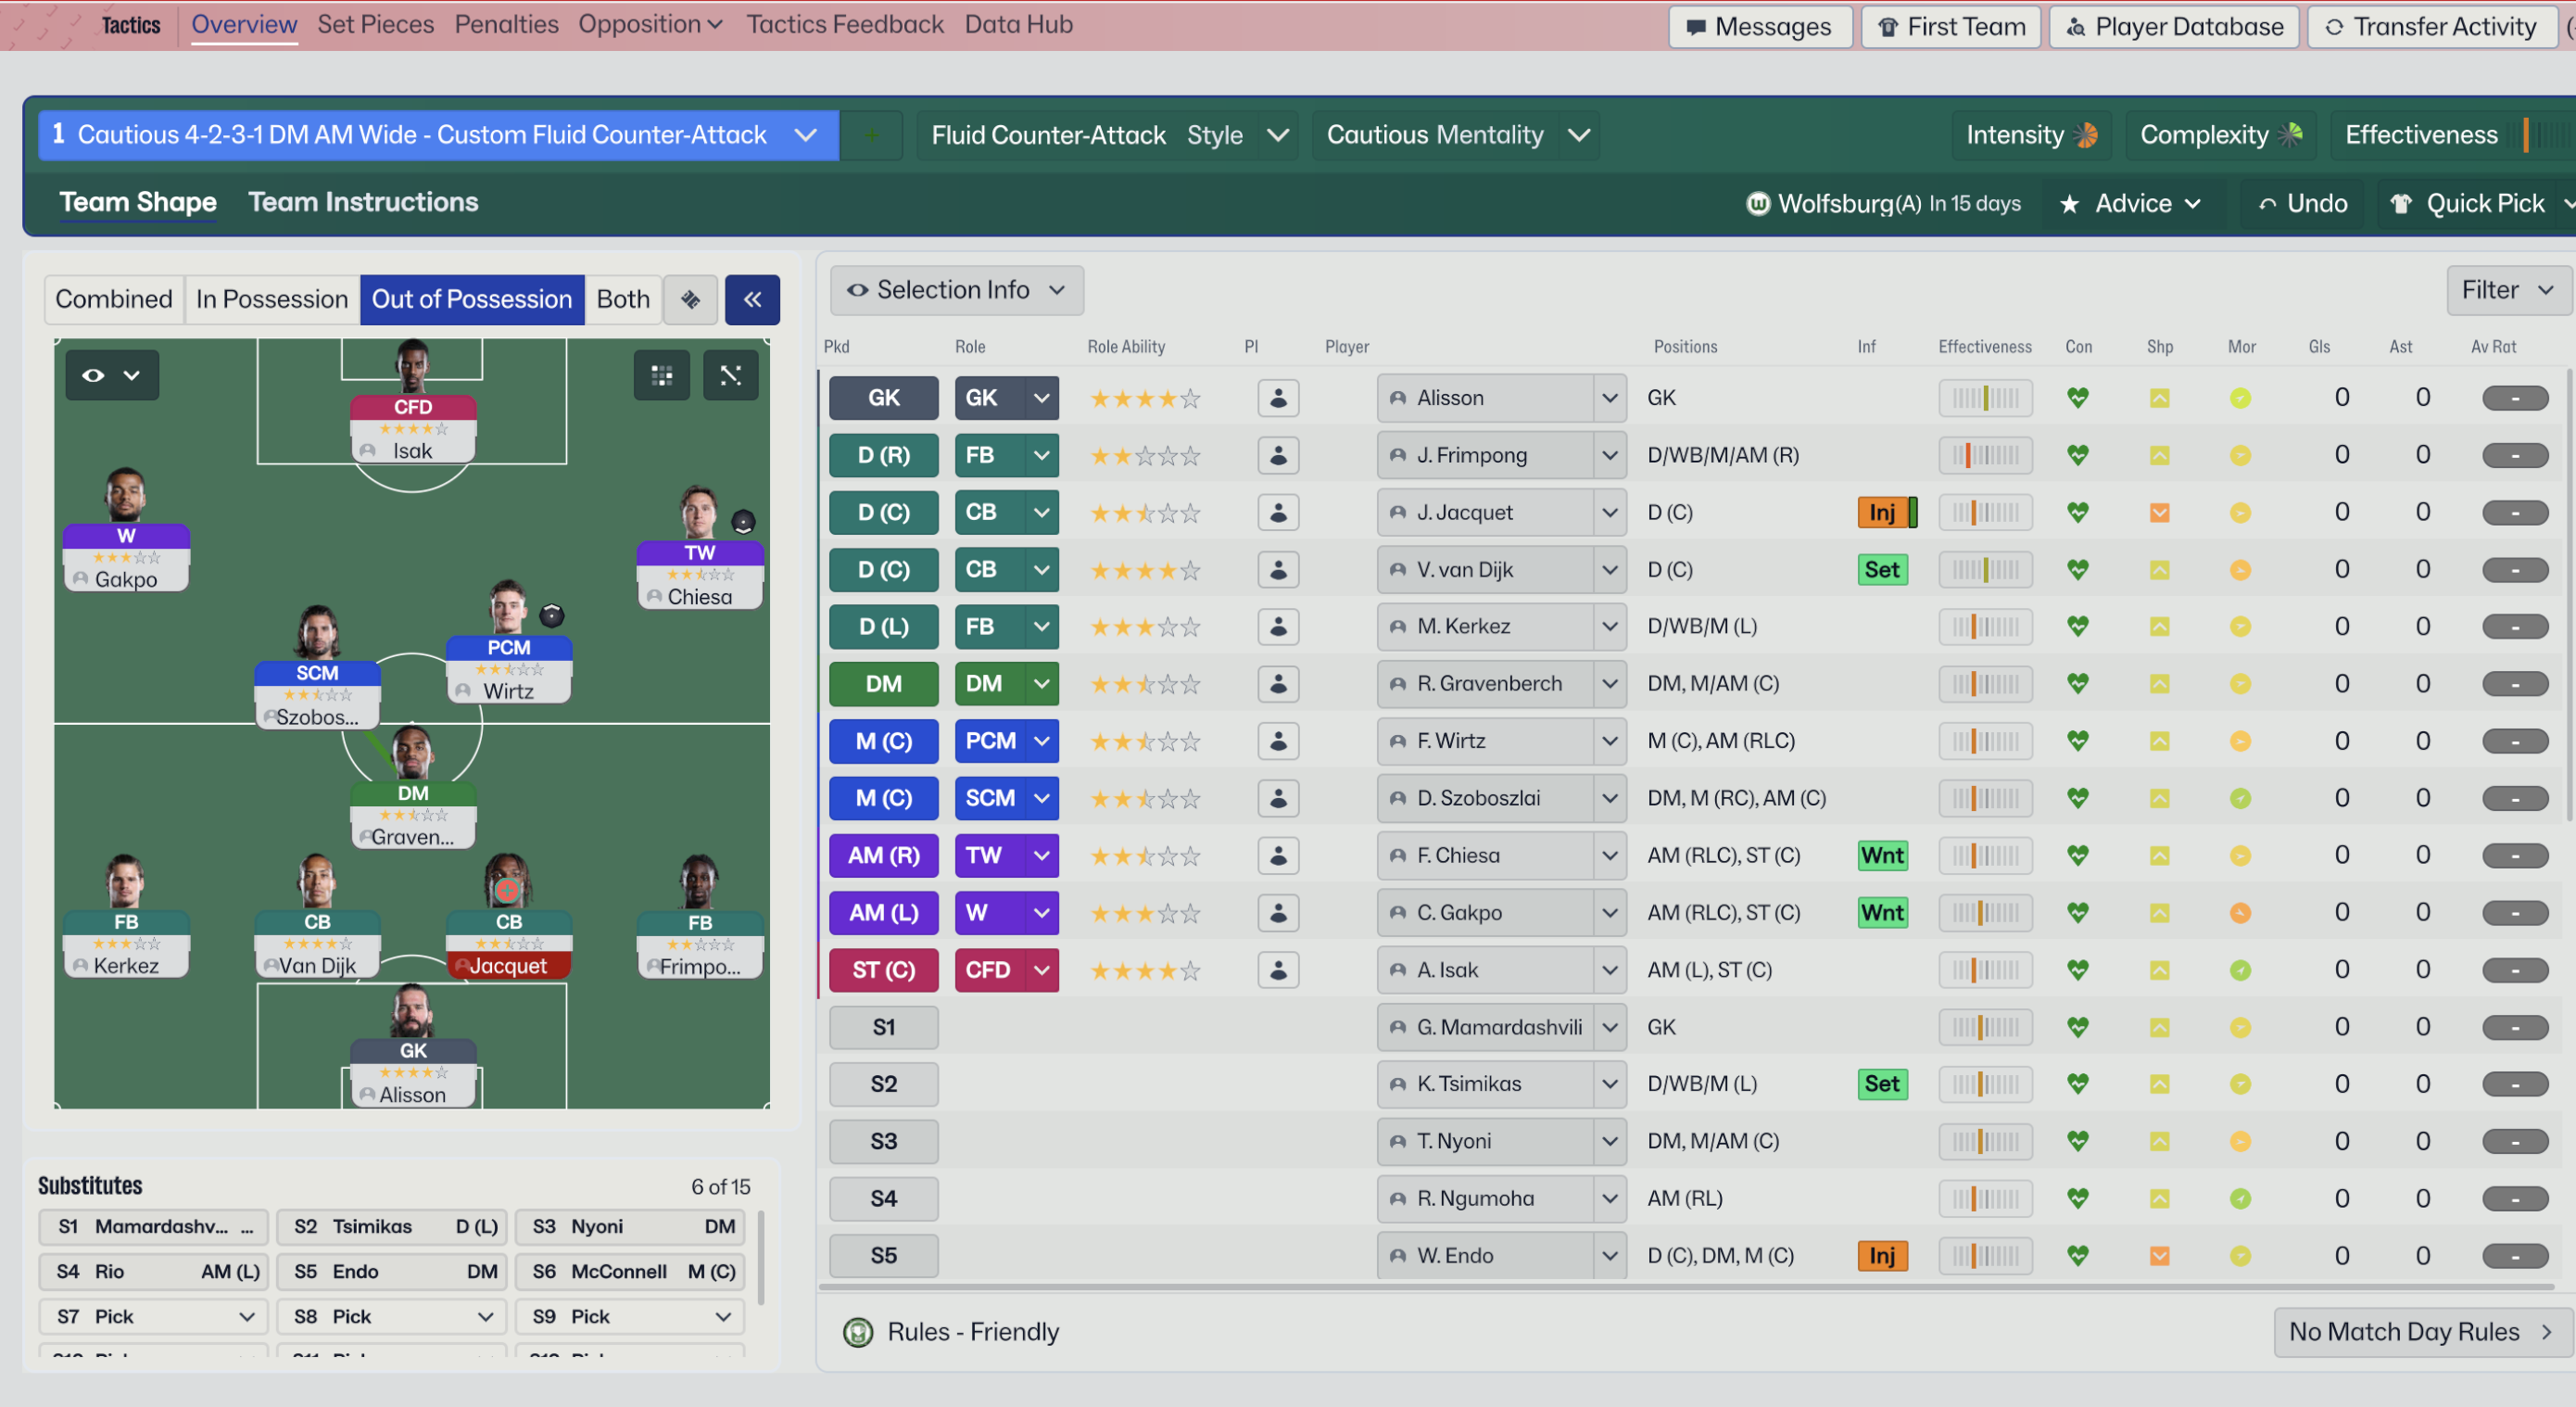
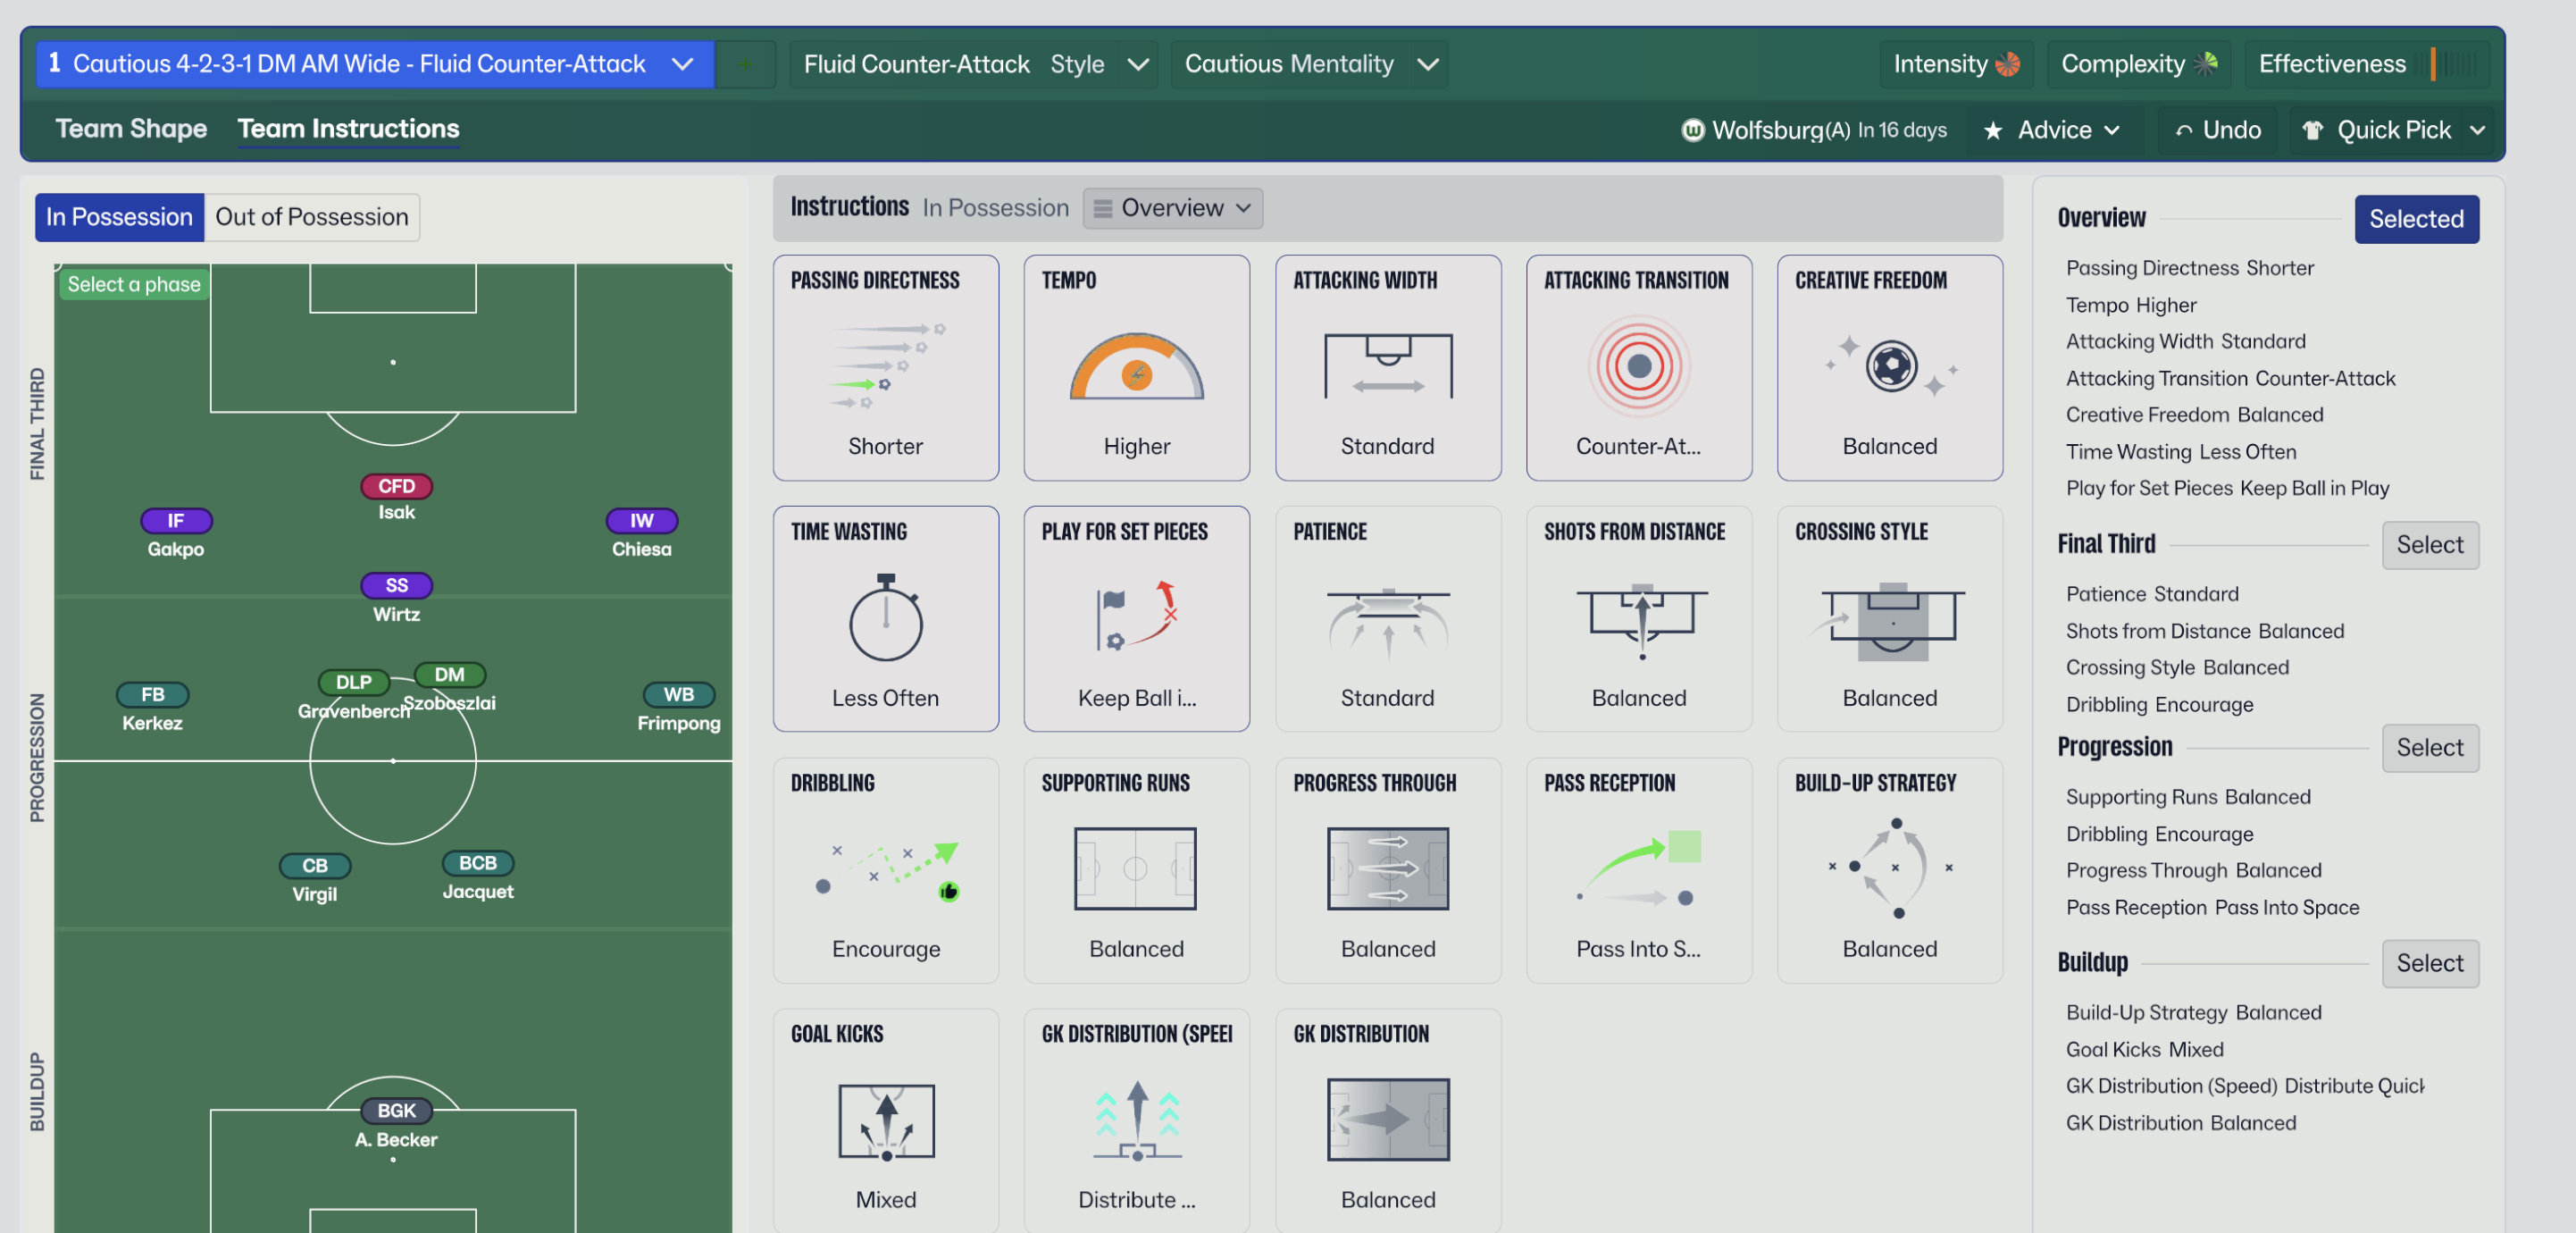
Guides for this tactic
The tactical theory behind the 4-3-3 DM Wide: roles, instructions, and the trade-offs that decide whether the system holds up.
Playing styles
Gegenpressing: A Full Guide
Klopp-style gegenpressing in FM, including squad profile, line-and-press pairing, sustainable workload, and the antipatterns to avoid.
Read guide
Playing styles
Tiki-Taka vs Positional Play
Why circulation density and zonal occupation aren't the same thing in FM, and the half-space occupation rule that decides build-up.
Read guide
Foundations
Wing Play vs Central Play
Build through the wide areas or through the middle? A working framework for picking the right one for your squad.
Read guide