Fluid Counter-Attack 4-2-3-1 Wide (Cautious) Tactic
4-2-3-1 Wide
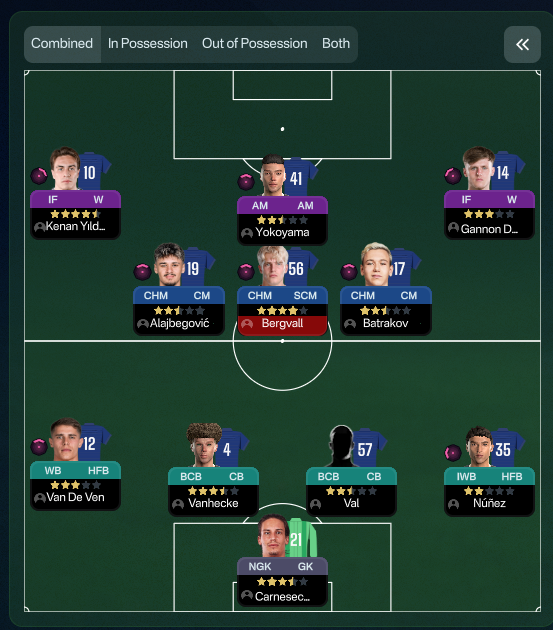
Building attacks through the centre while utilizing pace on the wings. The presence of two central defenders and a dedicated DM ensures stability.
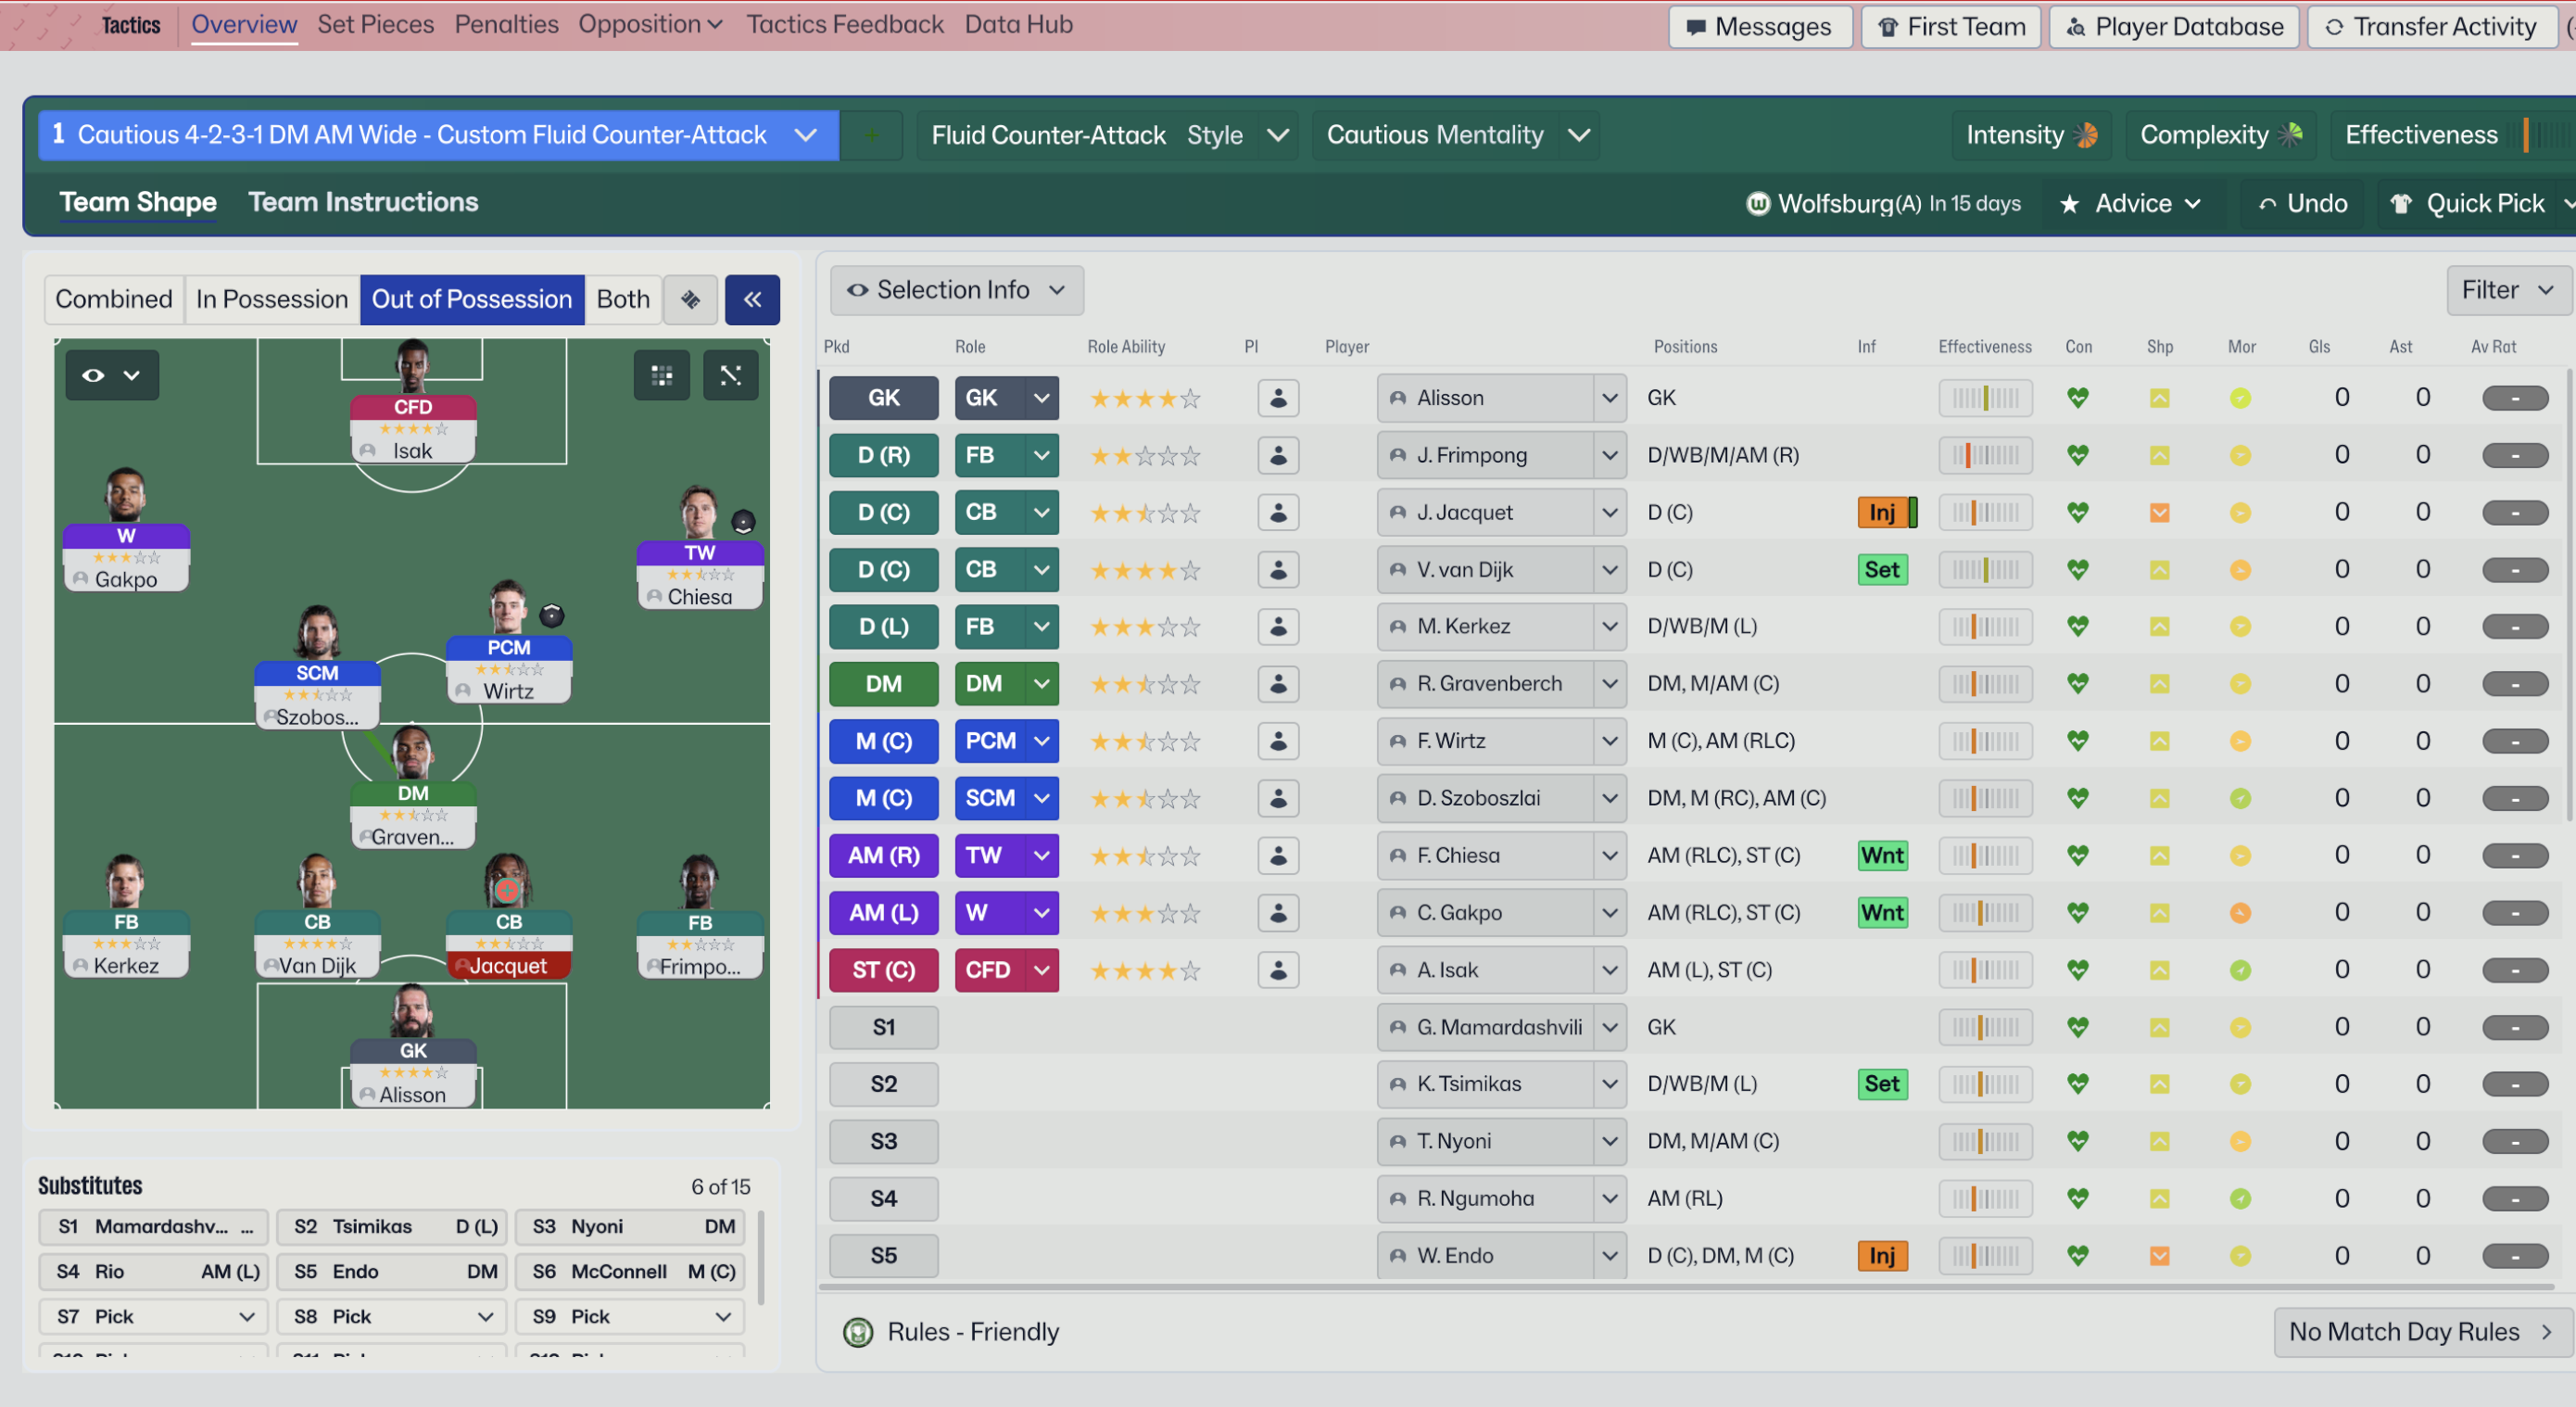
Loading tactical analysis...
Formation and style
Fluid Counter-Attack
Cautious
4-2-3-1 Wide
Custom Fluid
In possession
Play Out of Defence
Pass Into Space
Work Ball Into Box
In transition
Counter-Press
Counter
Out of possession
Higher Defensive Line
Much Higher Line of Engagement
Prevent Short GK Distribution
Trigger Press More Often
Player roles
GK
GK
DC
CB
DC
CB
DL
FB
Support
DR
FB
Support
DM
DM
Defend
ML
W
Support
MC
SCM
Support
MC
PCM
Support
MR
TW
Support
ST
CF
Attack
Phase description
Utilizes width with wingers and a central playmaker feeding the CF.
Focuses on regaining possession quickly after losing the ball.
Building attacks through the centre while utilizing pace on the wings.
Team shape defence
Compact
Defenders maintain a compact shape to reduce spaces against opposition.
Higher Defensive Line and Much Higher Line of Engagement indicate pressure on the opponent.
Team shape attack
Fluid
Wide players stretch the play, providing options for the central CF.
Usage of W (Wide) and TW (Trequartista) roles allows fluid movement and interchanges.
Key strengths
Defensive Solidity
The presence of two central defenders and a dedicated DM ensures stability.
DM-D at [3,3] helps shield the defence effectively.
Pace on the Wings
Utilizing wingers allows quick transitions and potential overloads.
W at [6,1] and TW at [5,3] are positioned to exploit space.
Conflicting tactics
Vulnerability to Counter Attacks
Higher lines may expose the defence against quick counter-attacks.
Higher Defensive Line and Much Higher Line of Engagement can leave spaces behind.
Over-reliance on Width
The formation demands wingers to be effective; injuries or poor performance here can hurt balance.
The setup relies heavily on W at [6,1] and TW at [5,3].
Risk exposures
Risk Exposures
Items
Wide Areas
If the opposing team uses width effectively, could exploit space left by the full-backs.
FBs in [2,4] and [2,5] with attacking support roles may leave gaps.
Central Midfield
Without a dedicated defensive midfielder, the central area could be overrun.
DM-D at [3,3] may struggle against packed midfields.
Role synergies
Role Synergies
Items
DM and CBs
The DM provides cover for the centre-backs, allowing them to engage higher.
DM-D at [3,3] with CBs helps maintain stability.
Winger and Playmaker
Wingers support the playmaker while stretching the defence.
W at [6,1] and PCM at [4,3] create dynamic attacking options.
Suggested questions
How can we adjust the formation to better handle counter-attacks?
Should we consider player rotations more frequently given the demands on wide roles?
What adjustments can enhance our effectiveness in midfield control?
Related Tactics
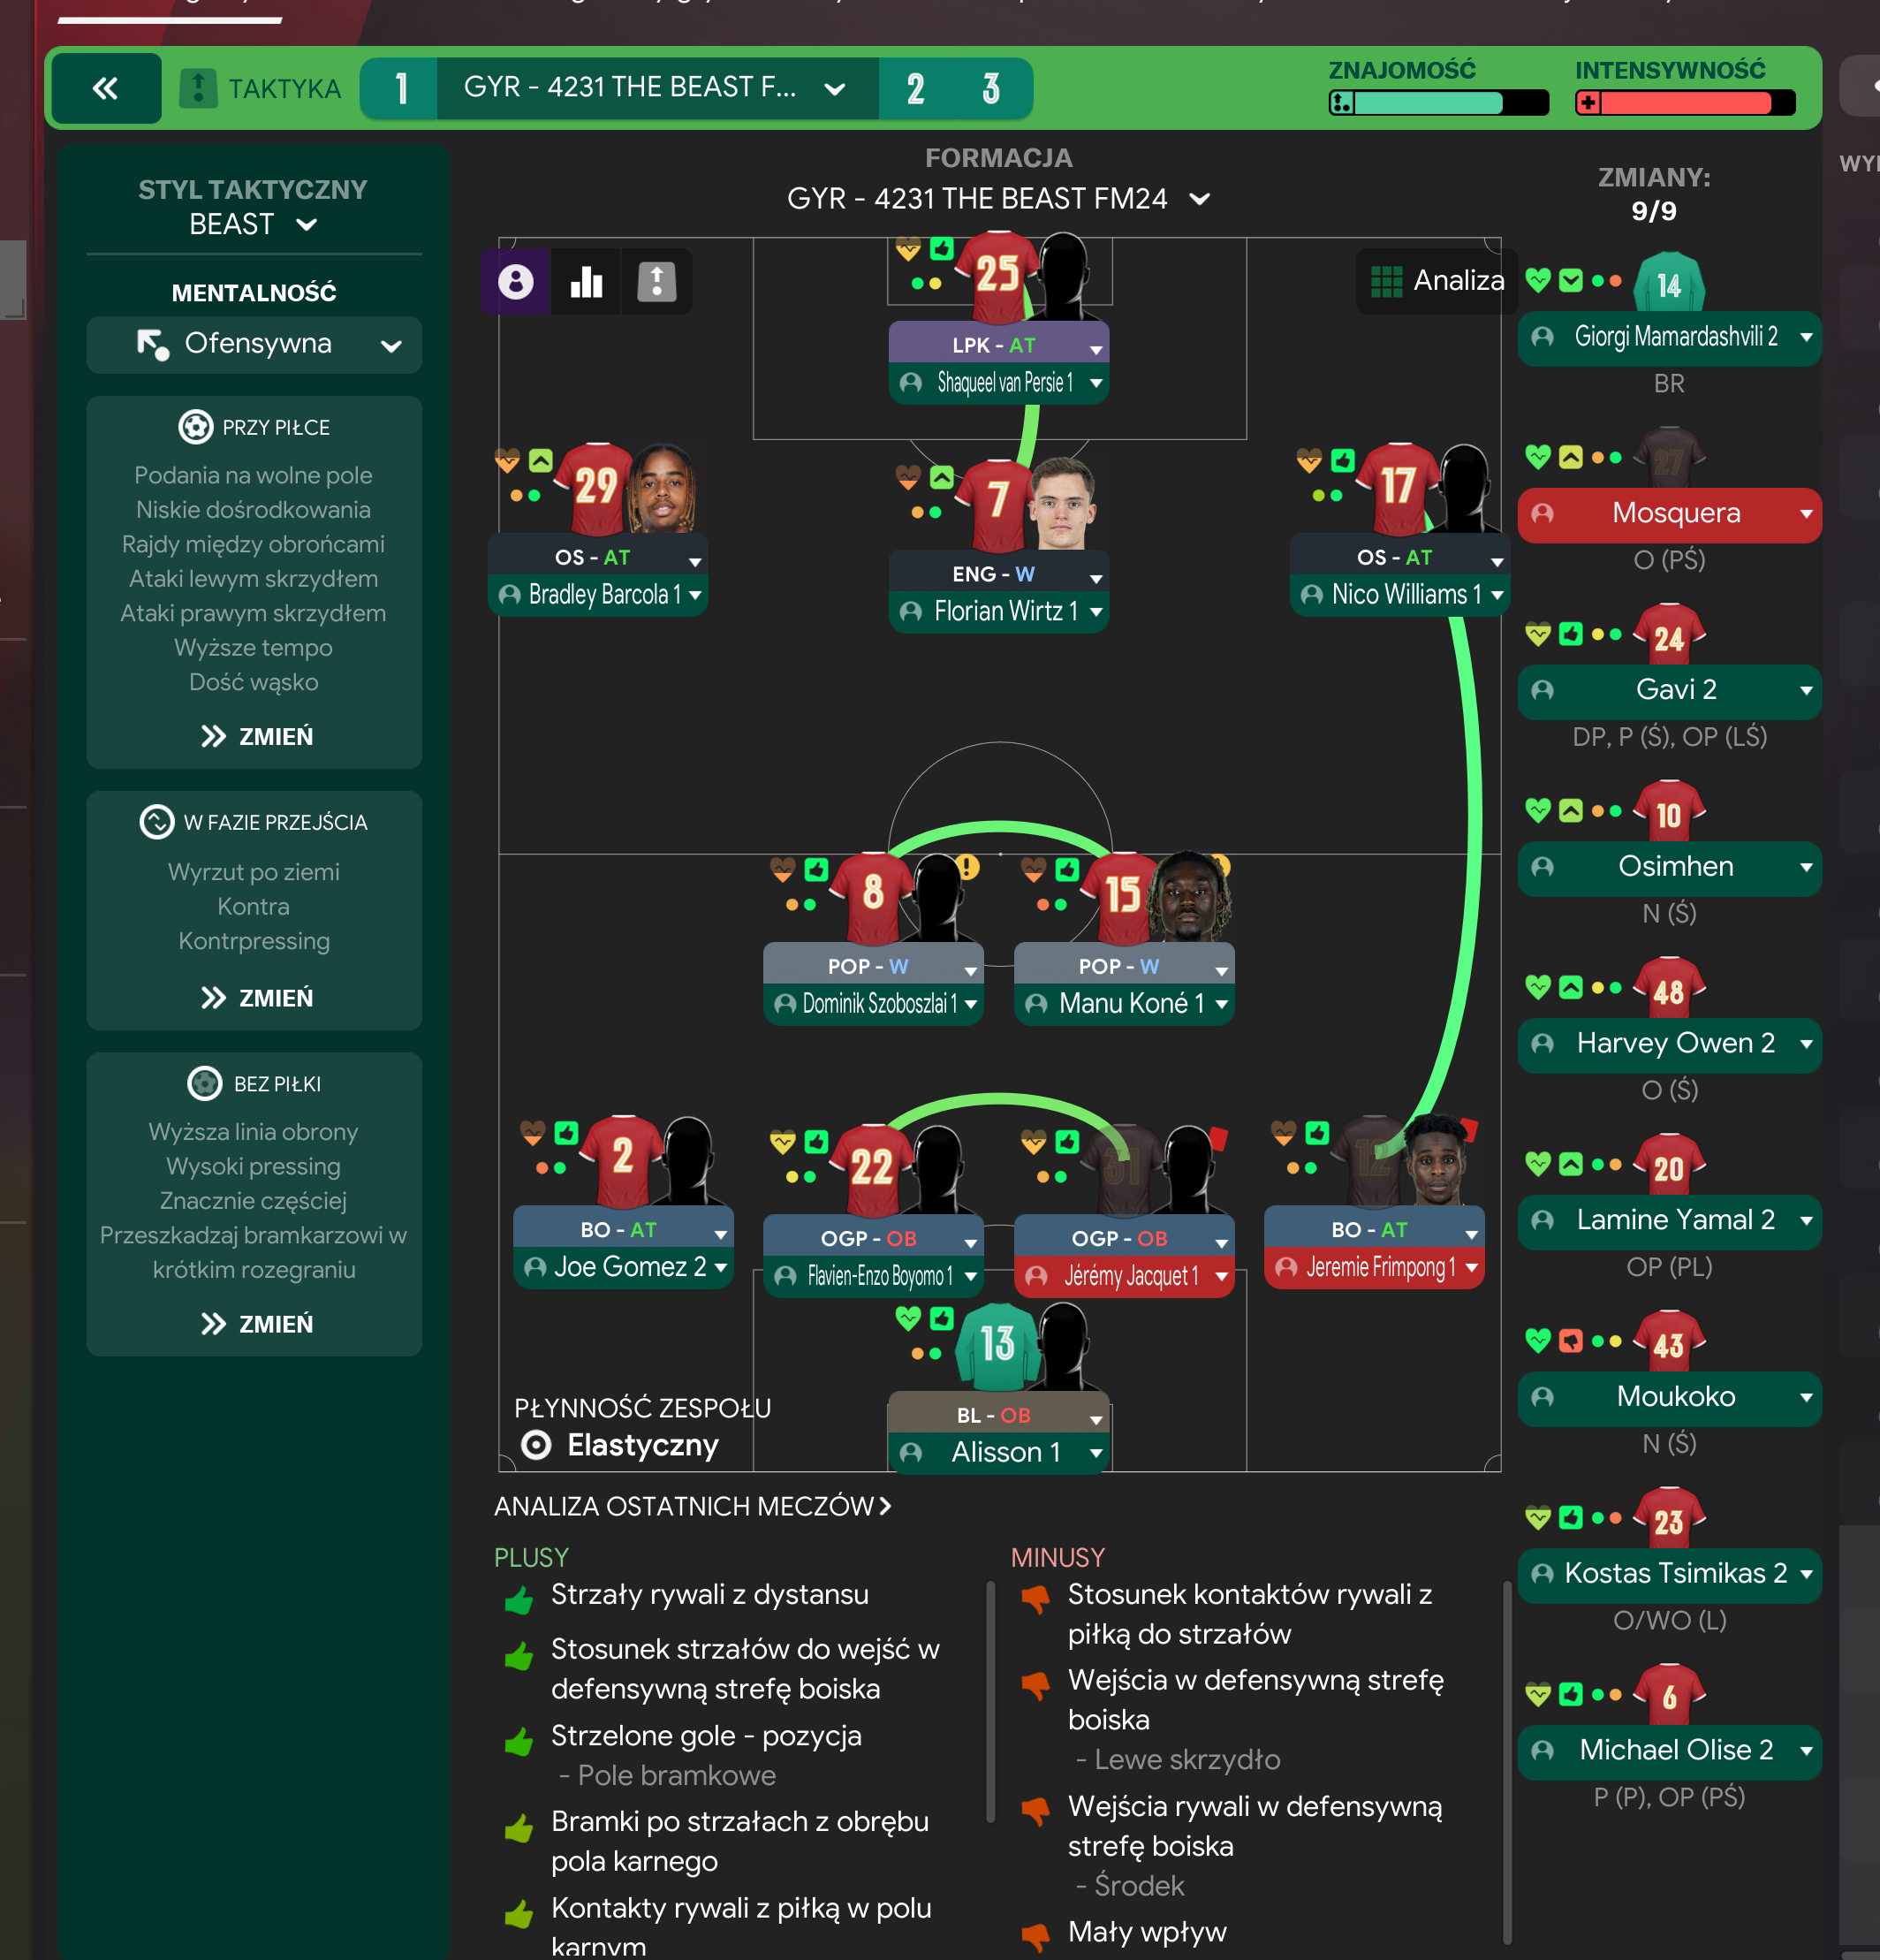
Gegenpress 4-2-3-1 Wide
Gegenpress
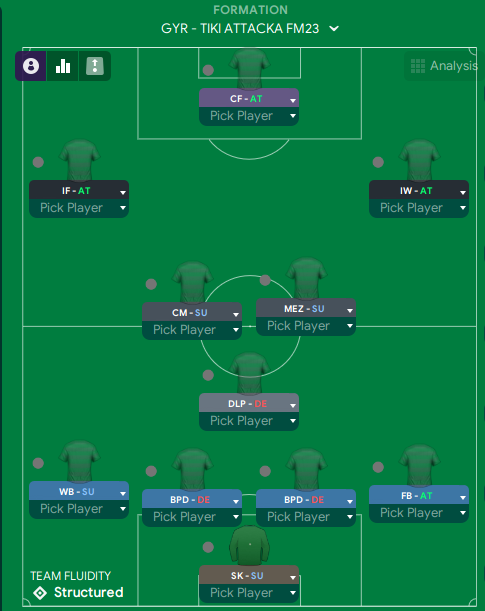
Tiki-Taka 4-2-3-1 Wide
Tiki Taka
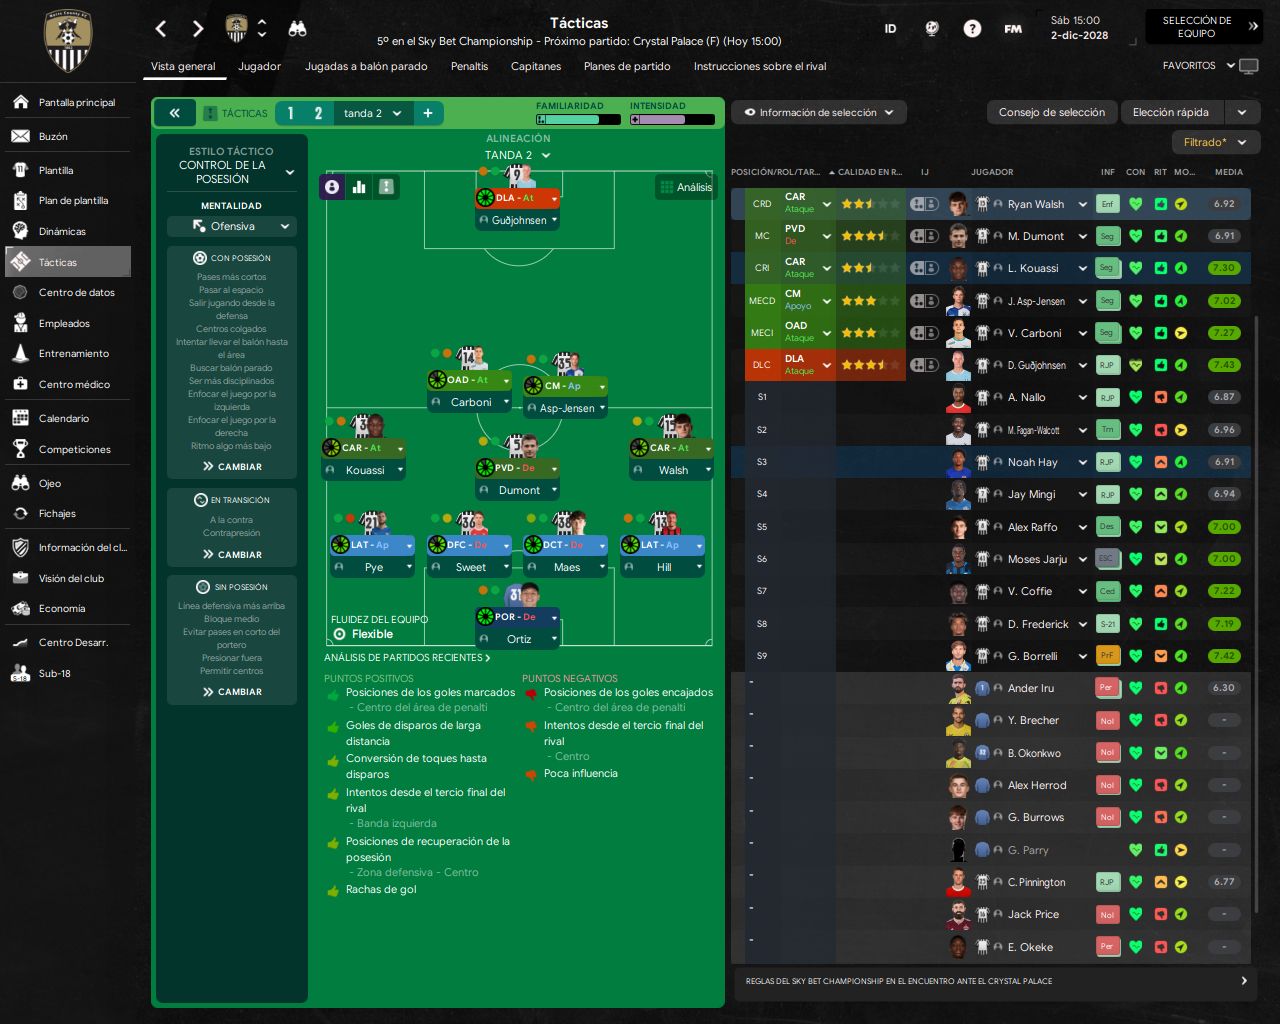
4-2-3-1 Wide Formation
Control de la posesión
Gegenpress 4-2-3-1 Wide
Gegenpress
Gegenpress 4-2-3-1 Wide
Gegenpress
Tiki-Taka 4-2-3-1 Wide
Tiki-Taka
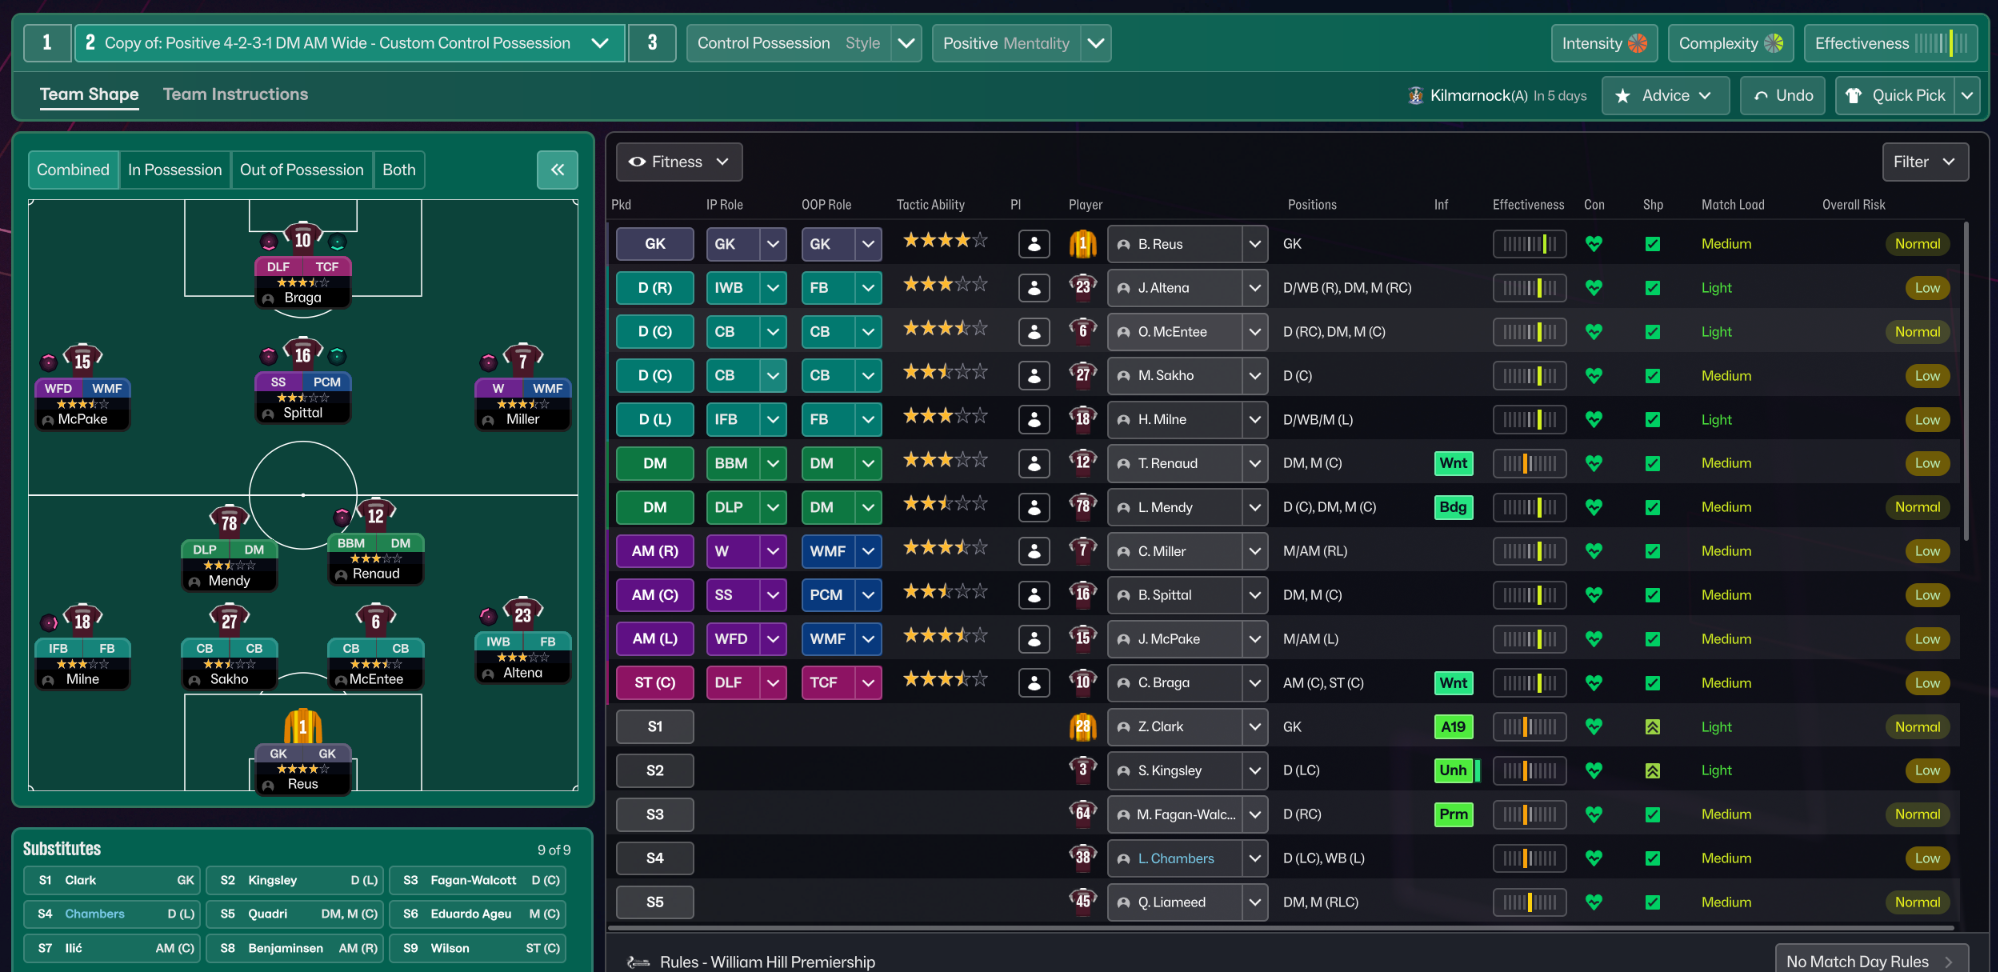
Control Possession 4-2-3-1 Wide
Control Possession
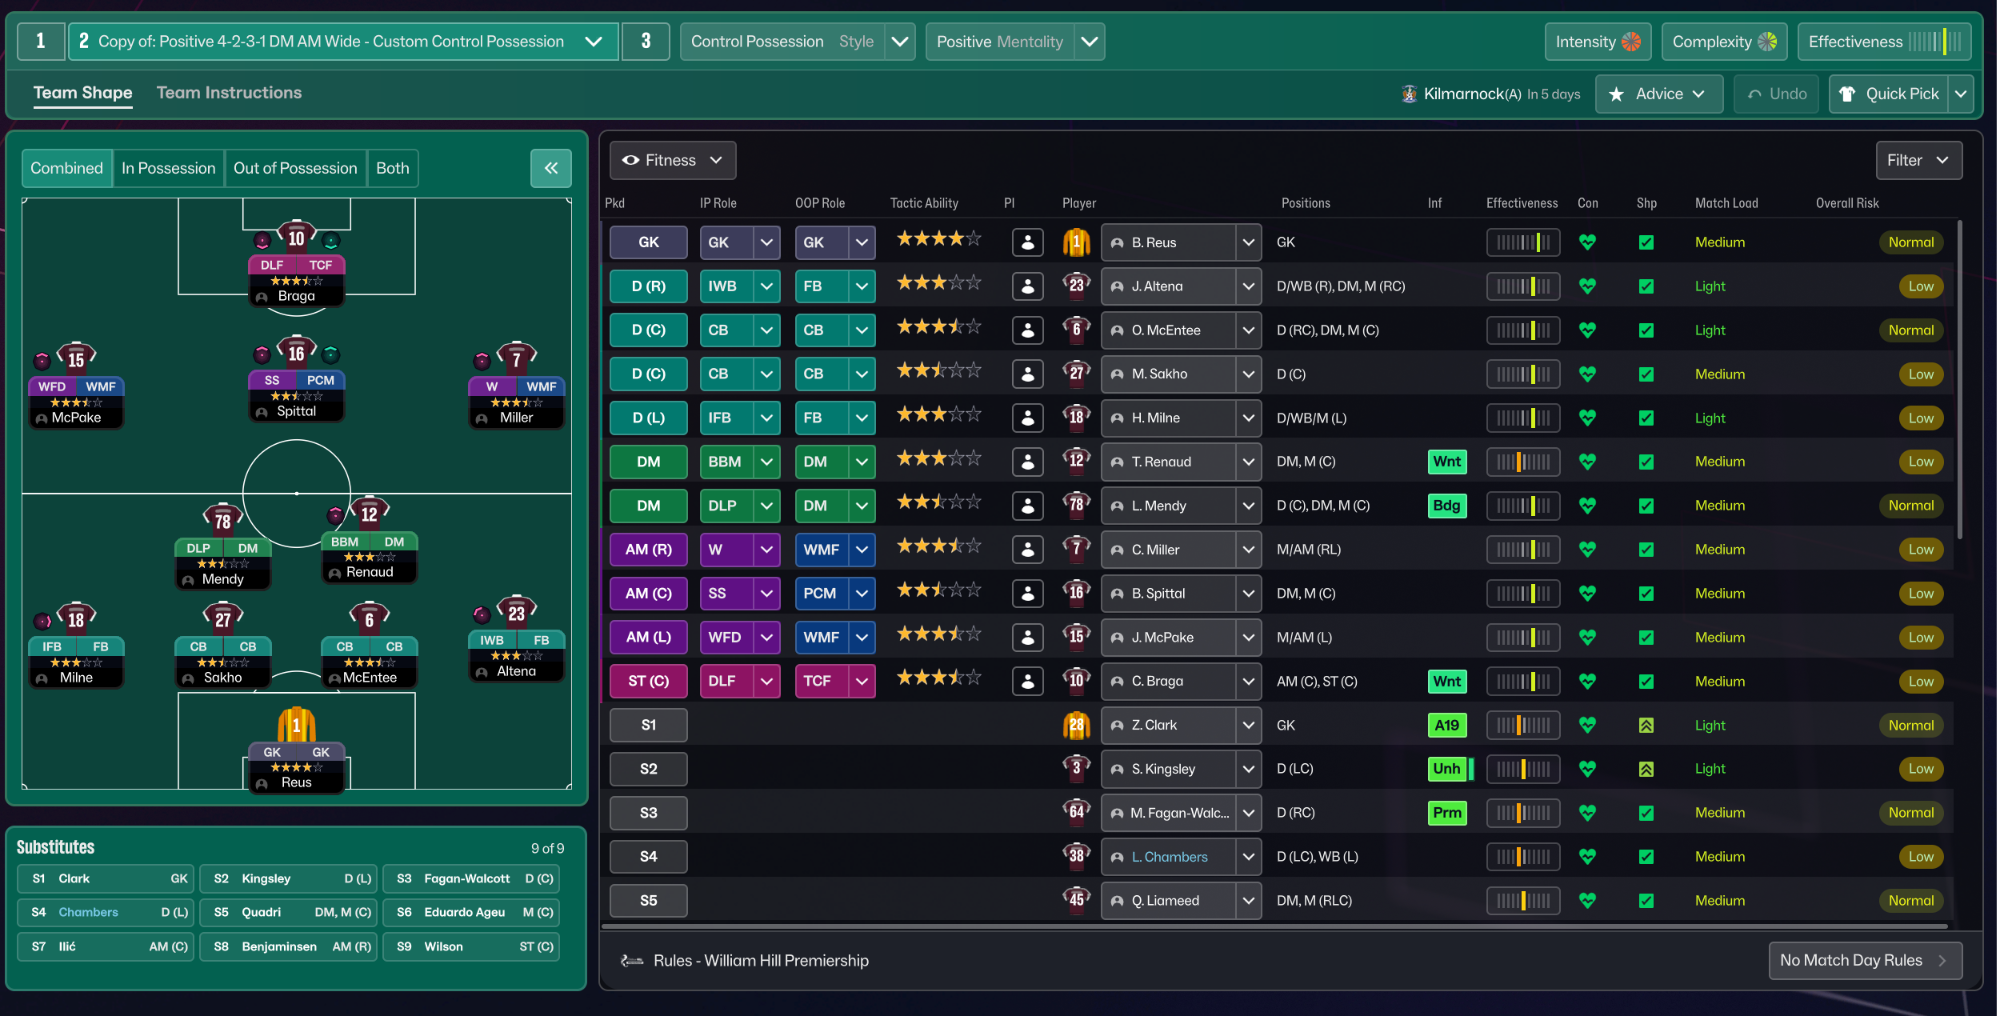
Control Possession 4-2-3-1 Wide
Control Possession
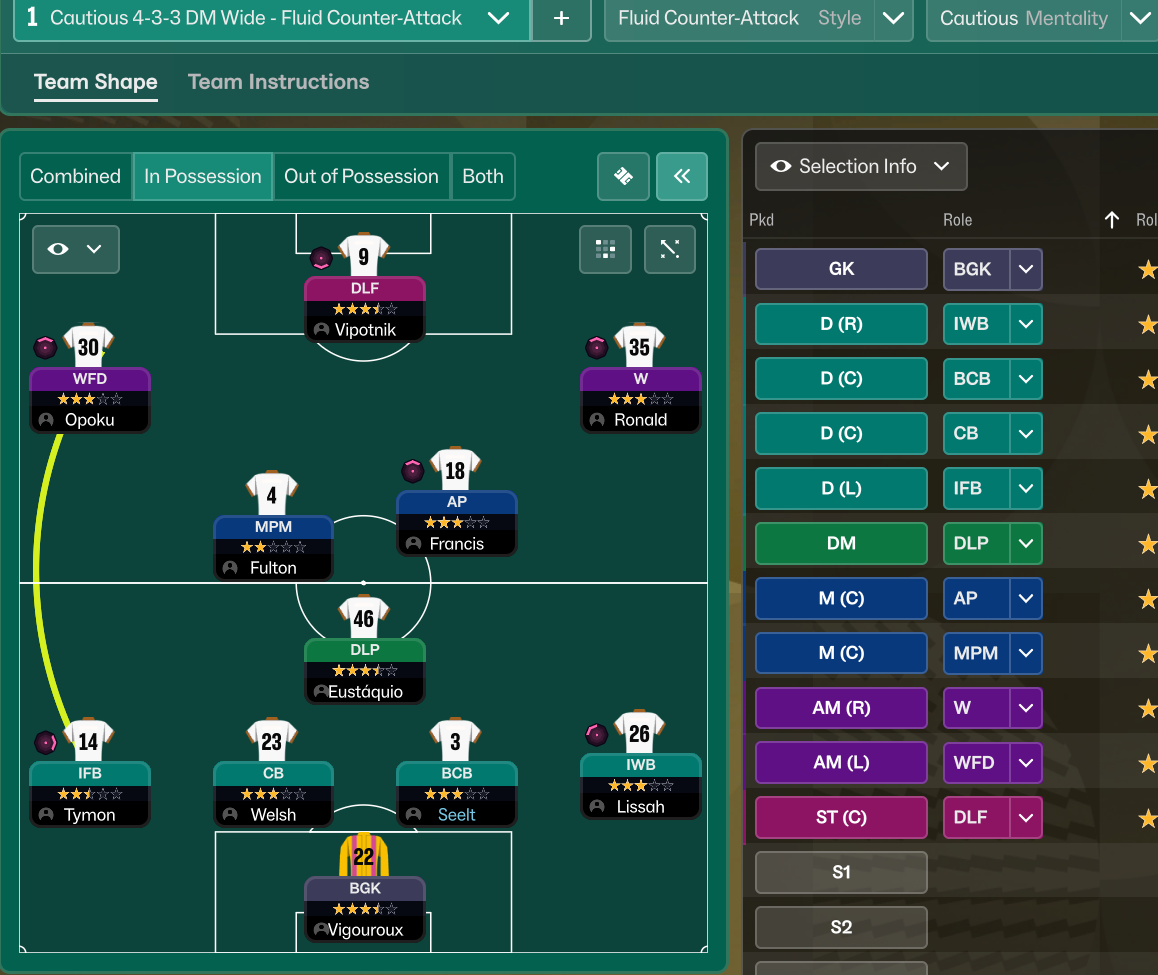
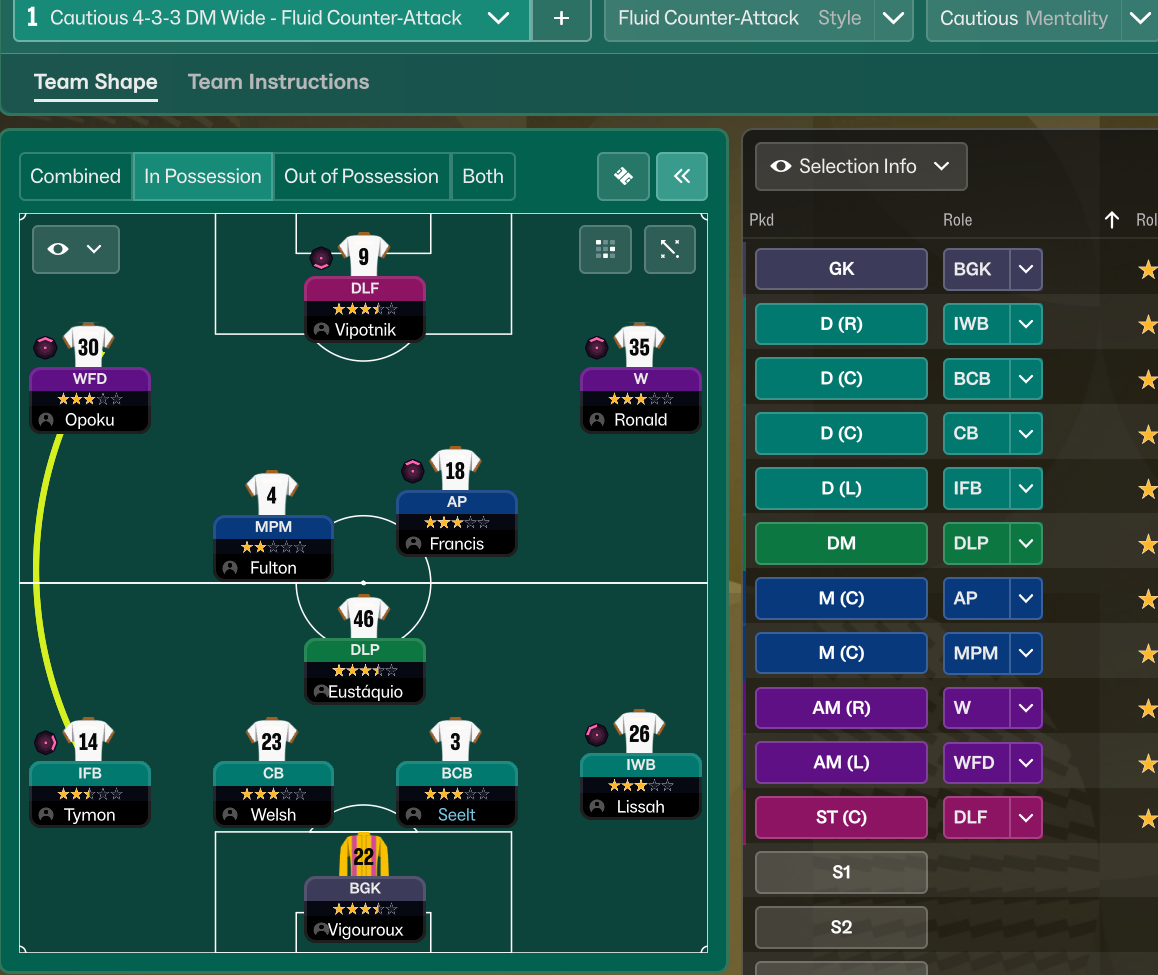
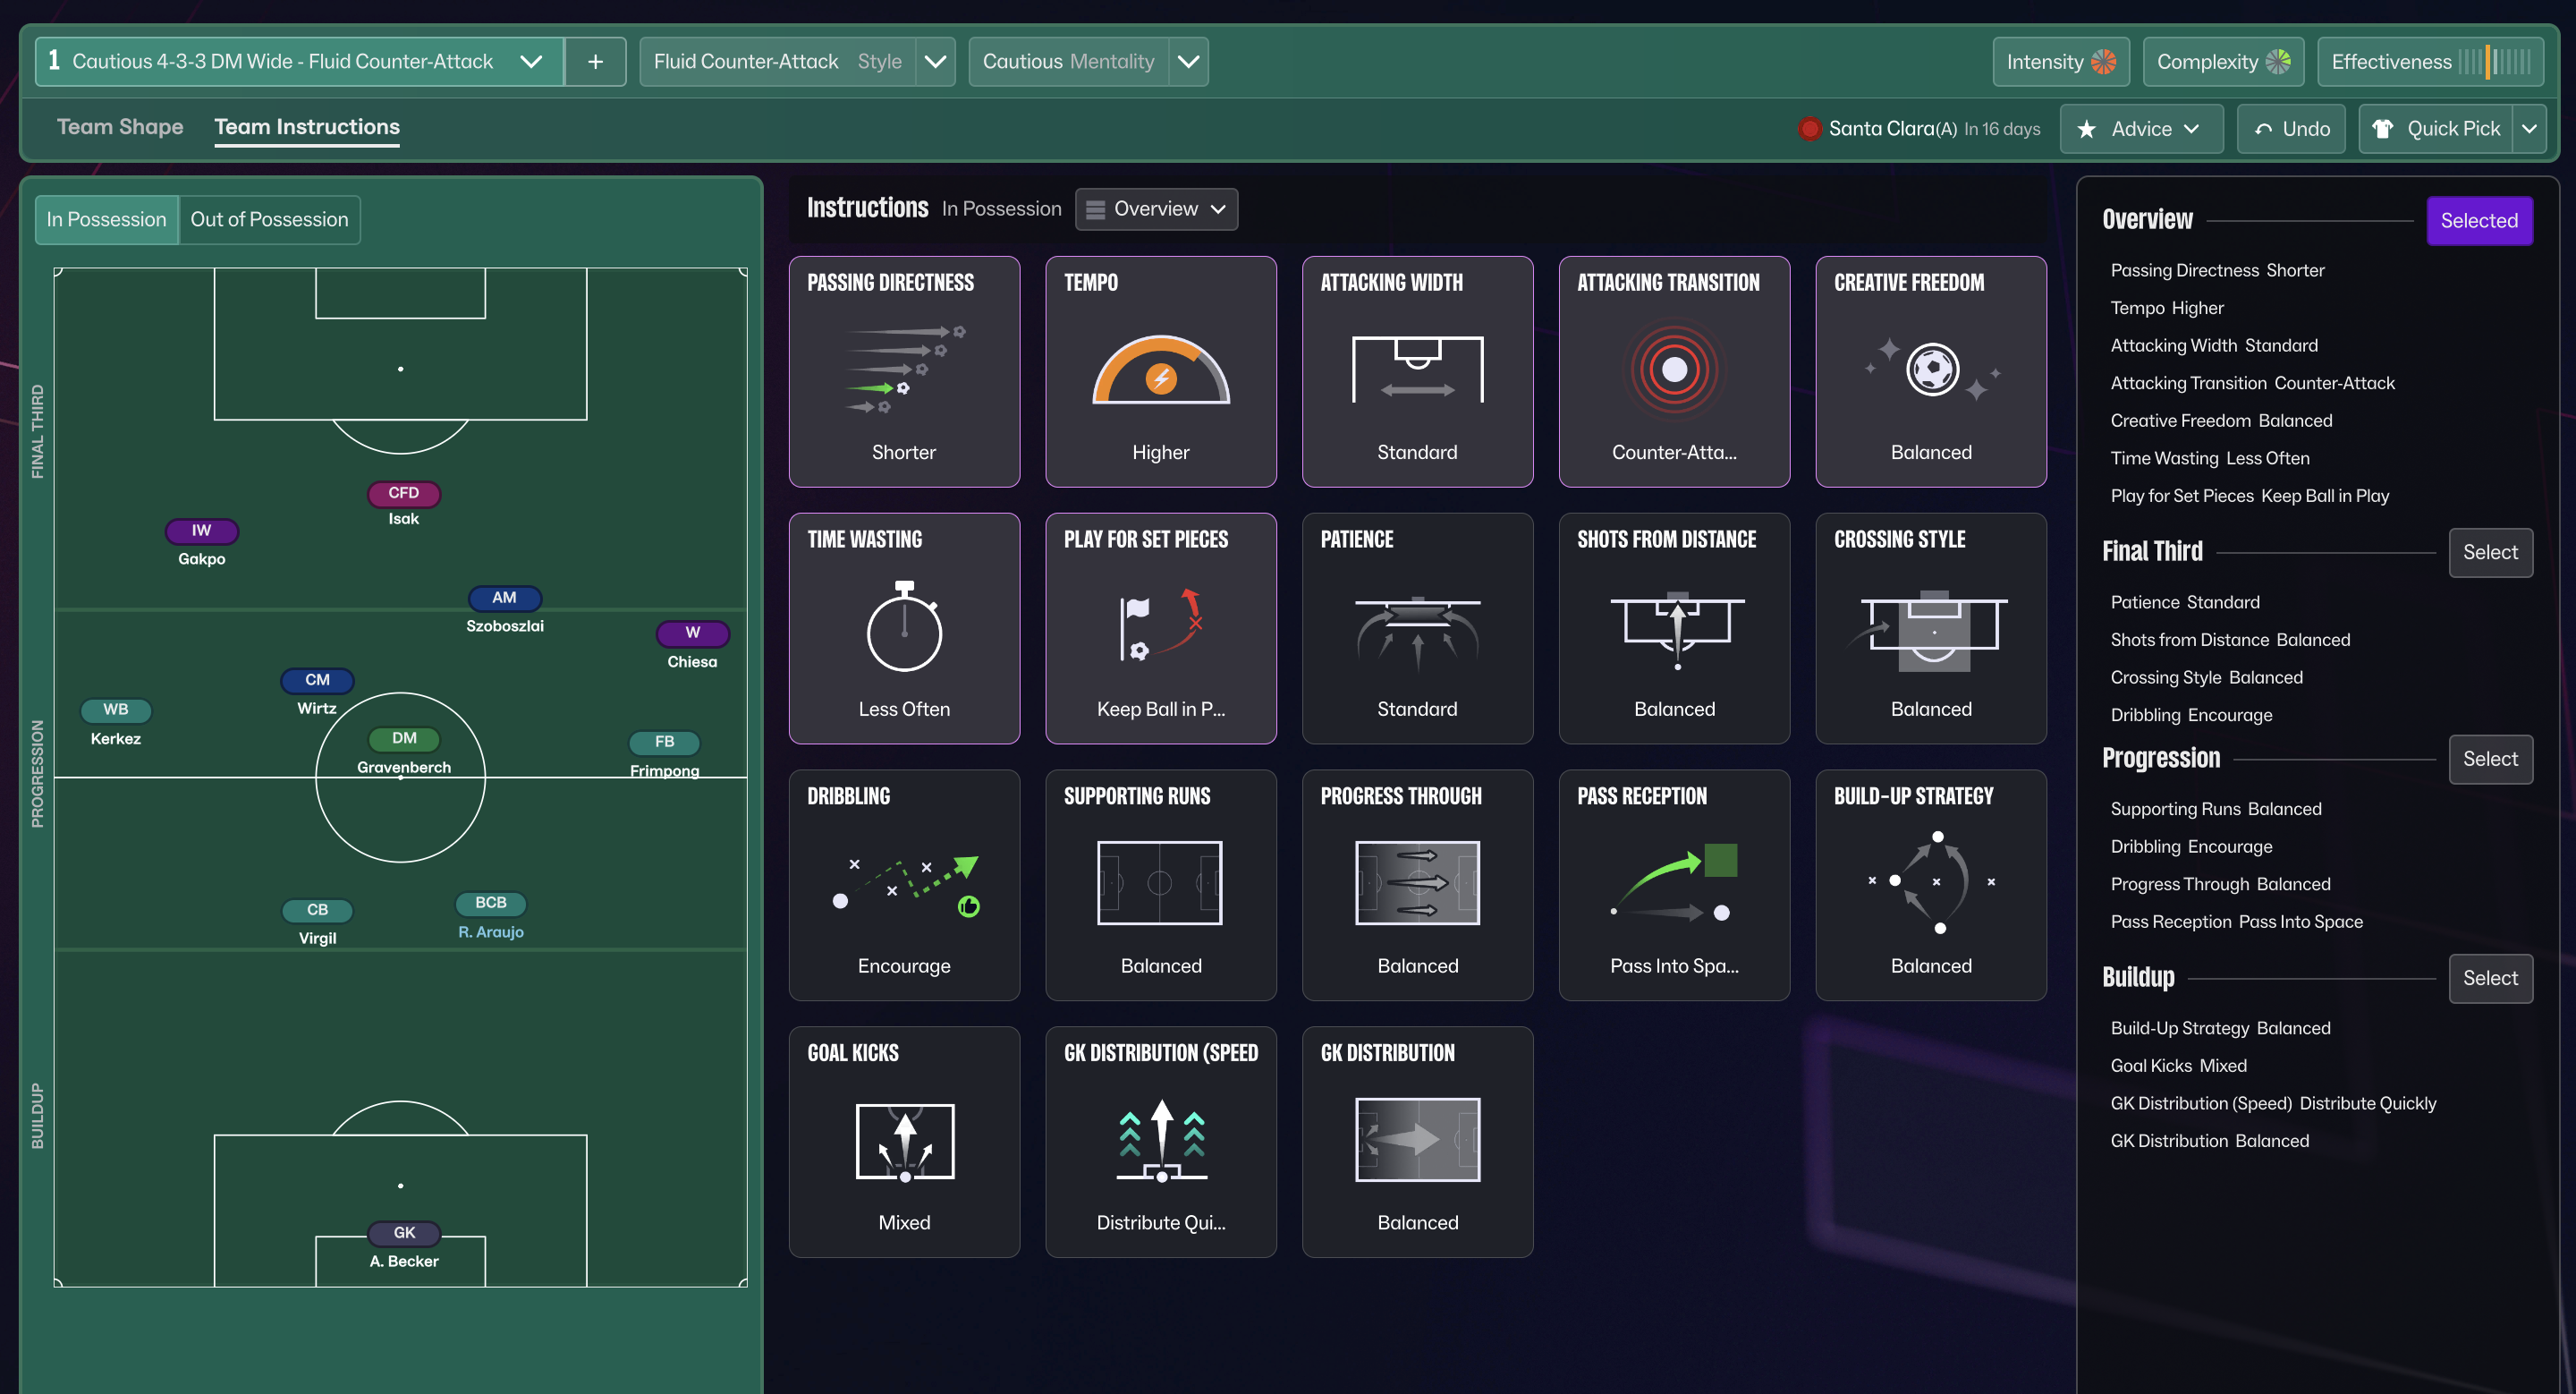
More Fluid Counter-Attack tactics
Guides for this tactic
The tactical theory behind the 4-2-3-1 Wide: roles, instructions, and the trade-offs that decide whether the system holds up.
Playing styles
Gegenpressing: A Full Guide
Klopp-style gegenpressing in FM, including squad profile, line-and-press pairing, sustainable workload, and the antipatterns to avoid.
Read guide
Player pairings
Midfield Pairs in 4-2-3-1 and 4-4-2
Double pivots and flat pairs in 4-2-3-1 and 4-4-2: when each pairing works, when it collapses, and the AMC unicorn that rescues both.
Read guide
Match preparation
Game-State Tactics
Protect a 1-0, chase a 1-0, hold a draw away. How to manage game state in FM through duties and roles, not by lurching to Defensive.
Read guide