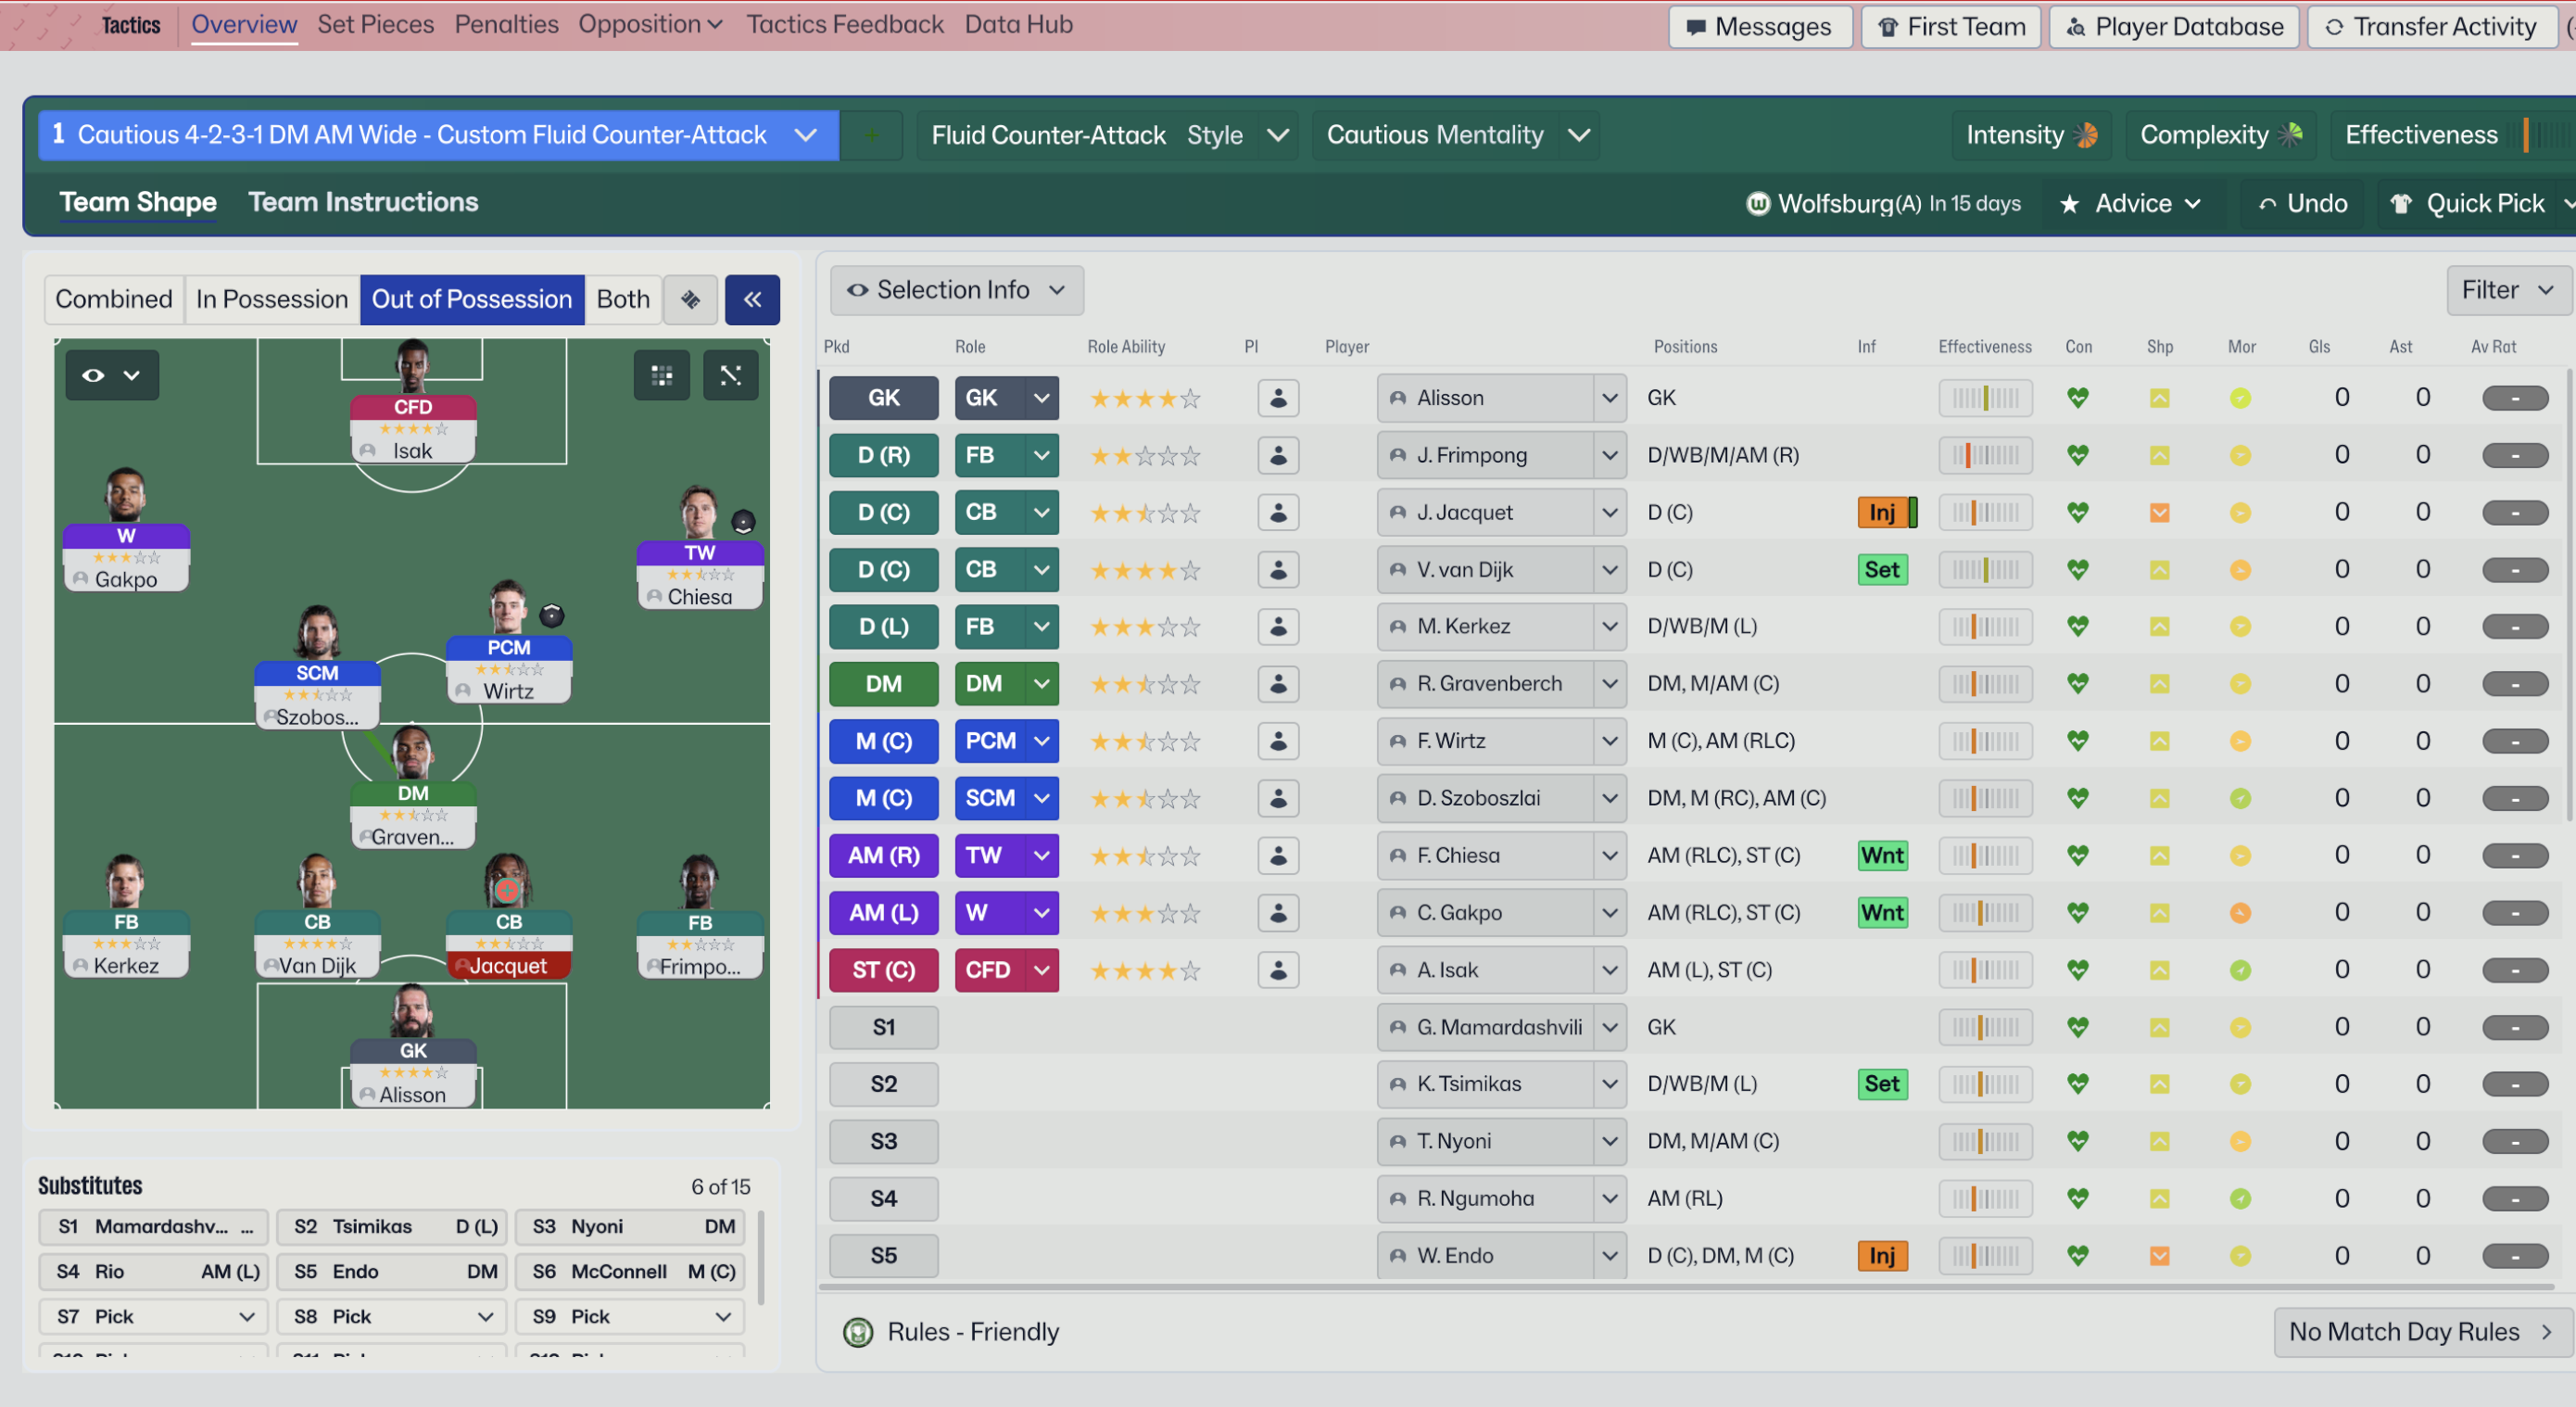
Fluid Counter-Attack 3-5-2 (Attack) Tactic
3-5-2
Utilizing the width of the pitch to create space for inside forwards. The combination of roaming playmaker and box-to-box midfielder aids in maintaining…
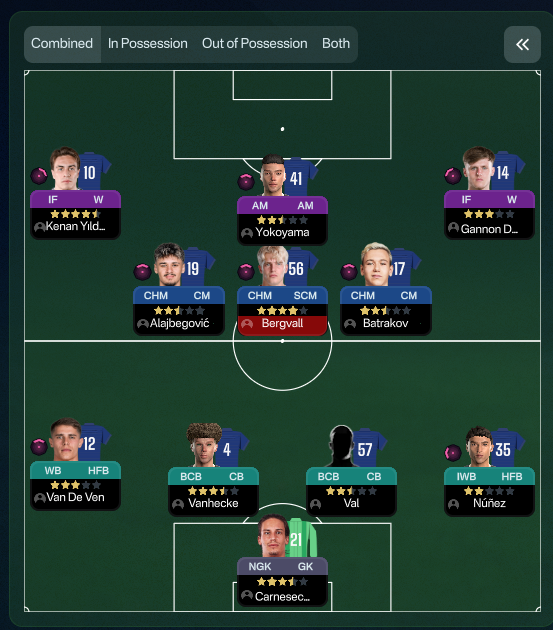
Loading tactical analysis...
Formation and style
Fluid Counter-Attack
Attack
3-5-2
Structured
In possession
Work Ball Into Box
Push Higher Up
Focus Play Through The Middle
In transition
Counter
Counter Press
Out of possession
Higher Defensive Line
Higher Line of Engagement
Prevent Short GK Distribution
Player roles
GK
Goalkeeper
Defend
CB
Ball-Playing Defender
Defend
CB
Ball-Playing Defender
Defend
CB
No-Nonsense Centre-Back
Defend
WB
Wing-Back
Support
CM
Roaming Playmaker
Support
CM
Central Midfielder
Support
CM
Box-to-Box Midfielder
Support
AM
Advanced Playmaker
Support
IF
Inside Forward
Attack
IF
Inside Forward
Attack
Phase description
Quick transitions from defence to midfield focus on getting the ball wide to the inside forwards.
Rapid counter-pressing to regain possession quickly after losing the ball.
Utilizing the width of the pitch to create space for inside forwards.
Team shape defence
3-5-2
A balanced defensive shape with three central defenders and two wing-backs providing cover.
3 CBs at [2,2], [2,3], [2,4]; 2 WBs at [2,1], [2,5]
Team shape attack
Wide Play
The attacking shape utilizes inside forwards for width and central support from midfield.
2 IFs at [6,1], [6,5]; 1 AM at [5,3]; 3 CMs supplying passes.
Key strengths
Solid Midfield Control
The combination of roaming playmaker and box-to-box midfielder aids in maintaining possession and transitions.
RPD-S at [3,3] and BBM-S at [4,2] providing central dominance.
Attacking Width
Inside forwards offer width while pressing the defence, opening space for central players.
IFs at [6,1] and [6,5] stretch the opposition.
Conflicting tactics
Midfield Overload
The setup may struggle against teams that mark closely across midfield, reducing space.
3 CMs might lead to congestion if opposition applies pressure.
Vulnerability on Flanks
With only two wing-backs, there may be gaps when they push forward, exposing the defence.
Wing-backs at [2,1] and [2,5] lack immediate support in transition.
Risk exposures
Risk Exposures
Items
Flank Defense
Teams with strong wingers may exploit the space left by wing-backs going forward.
WBs at [2,1] and [2,5]; potential for weakness against fast opponents.
Counter-Attacks
High line combined with aggressive pressing may leave gaps for quick counter-attacks.
Higher Defensive Line and Higher Line of Engagement could get exploited.
Role synergies
Role Synergies
Items
Roaming Playmaker and Box-to-Box Midfielder
Both roles can interchange, providing fluid movement and creating passing lanes.
RPD-S at [3,3] with BBM-S at [4,2] maximizing midfield fluidity.
Inside Forwards and Advanced Playmaker
Inside forwards can exploit spaces created by the advanced playmaker in transition.
IFs at [6,1], [6,5] working with AM at [5,3] to penetrate the defence.
Suggested questions
How can I improve the team's defensive shape against fast counter-attacks?
What adjustments can be made to increase midfield creativity?
How can we better utilize the width provided by wing-backs?
Related Tactics
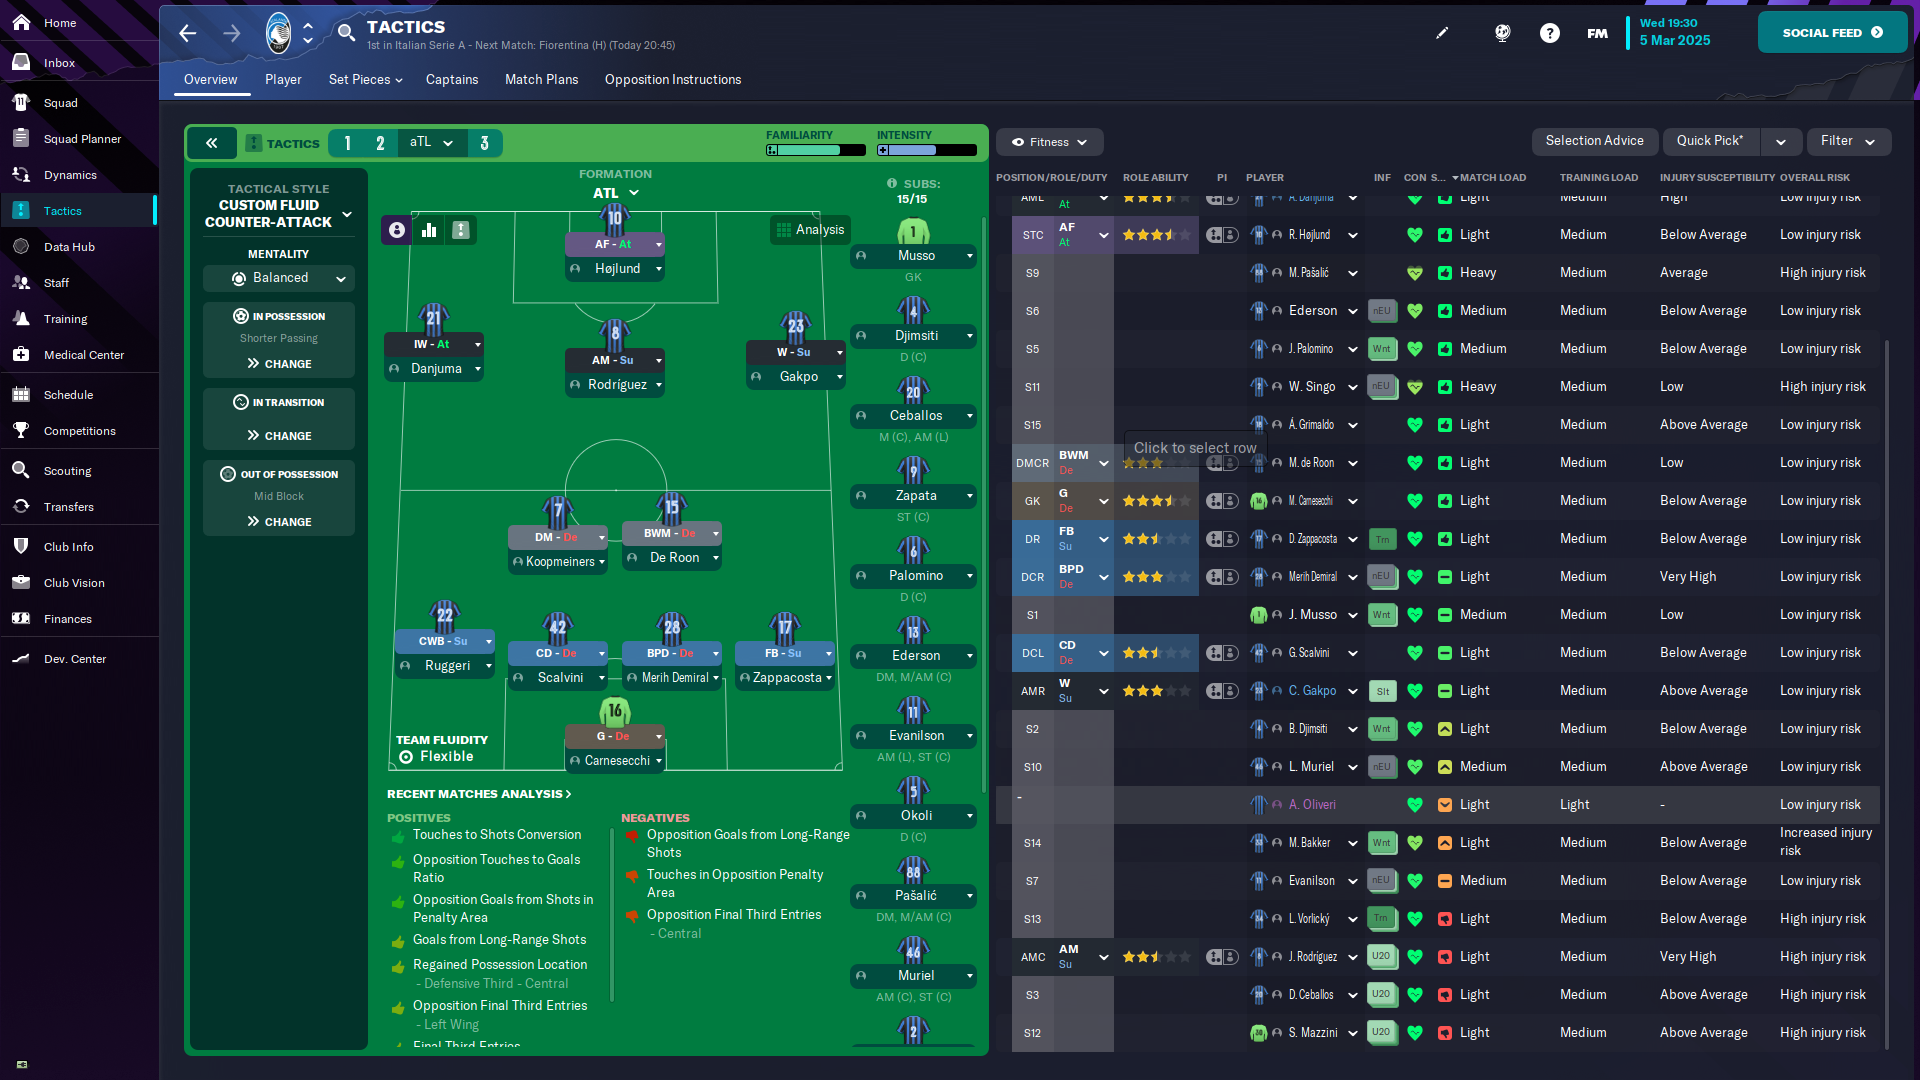
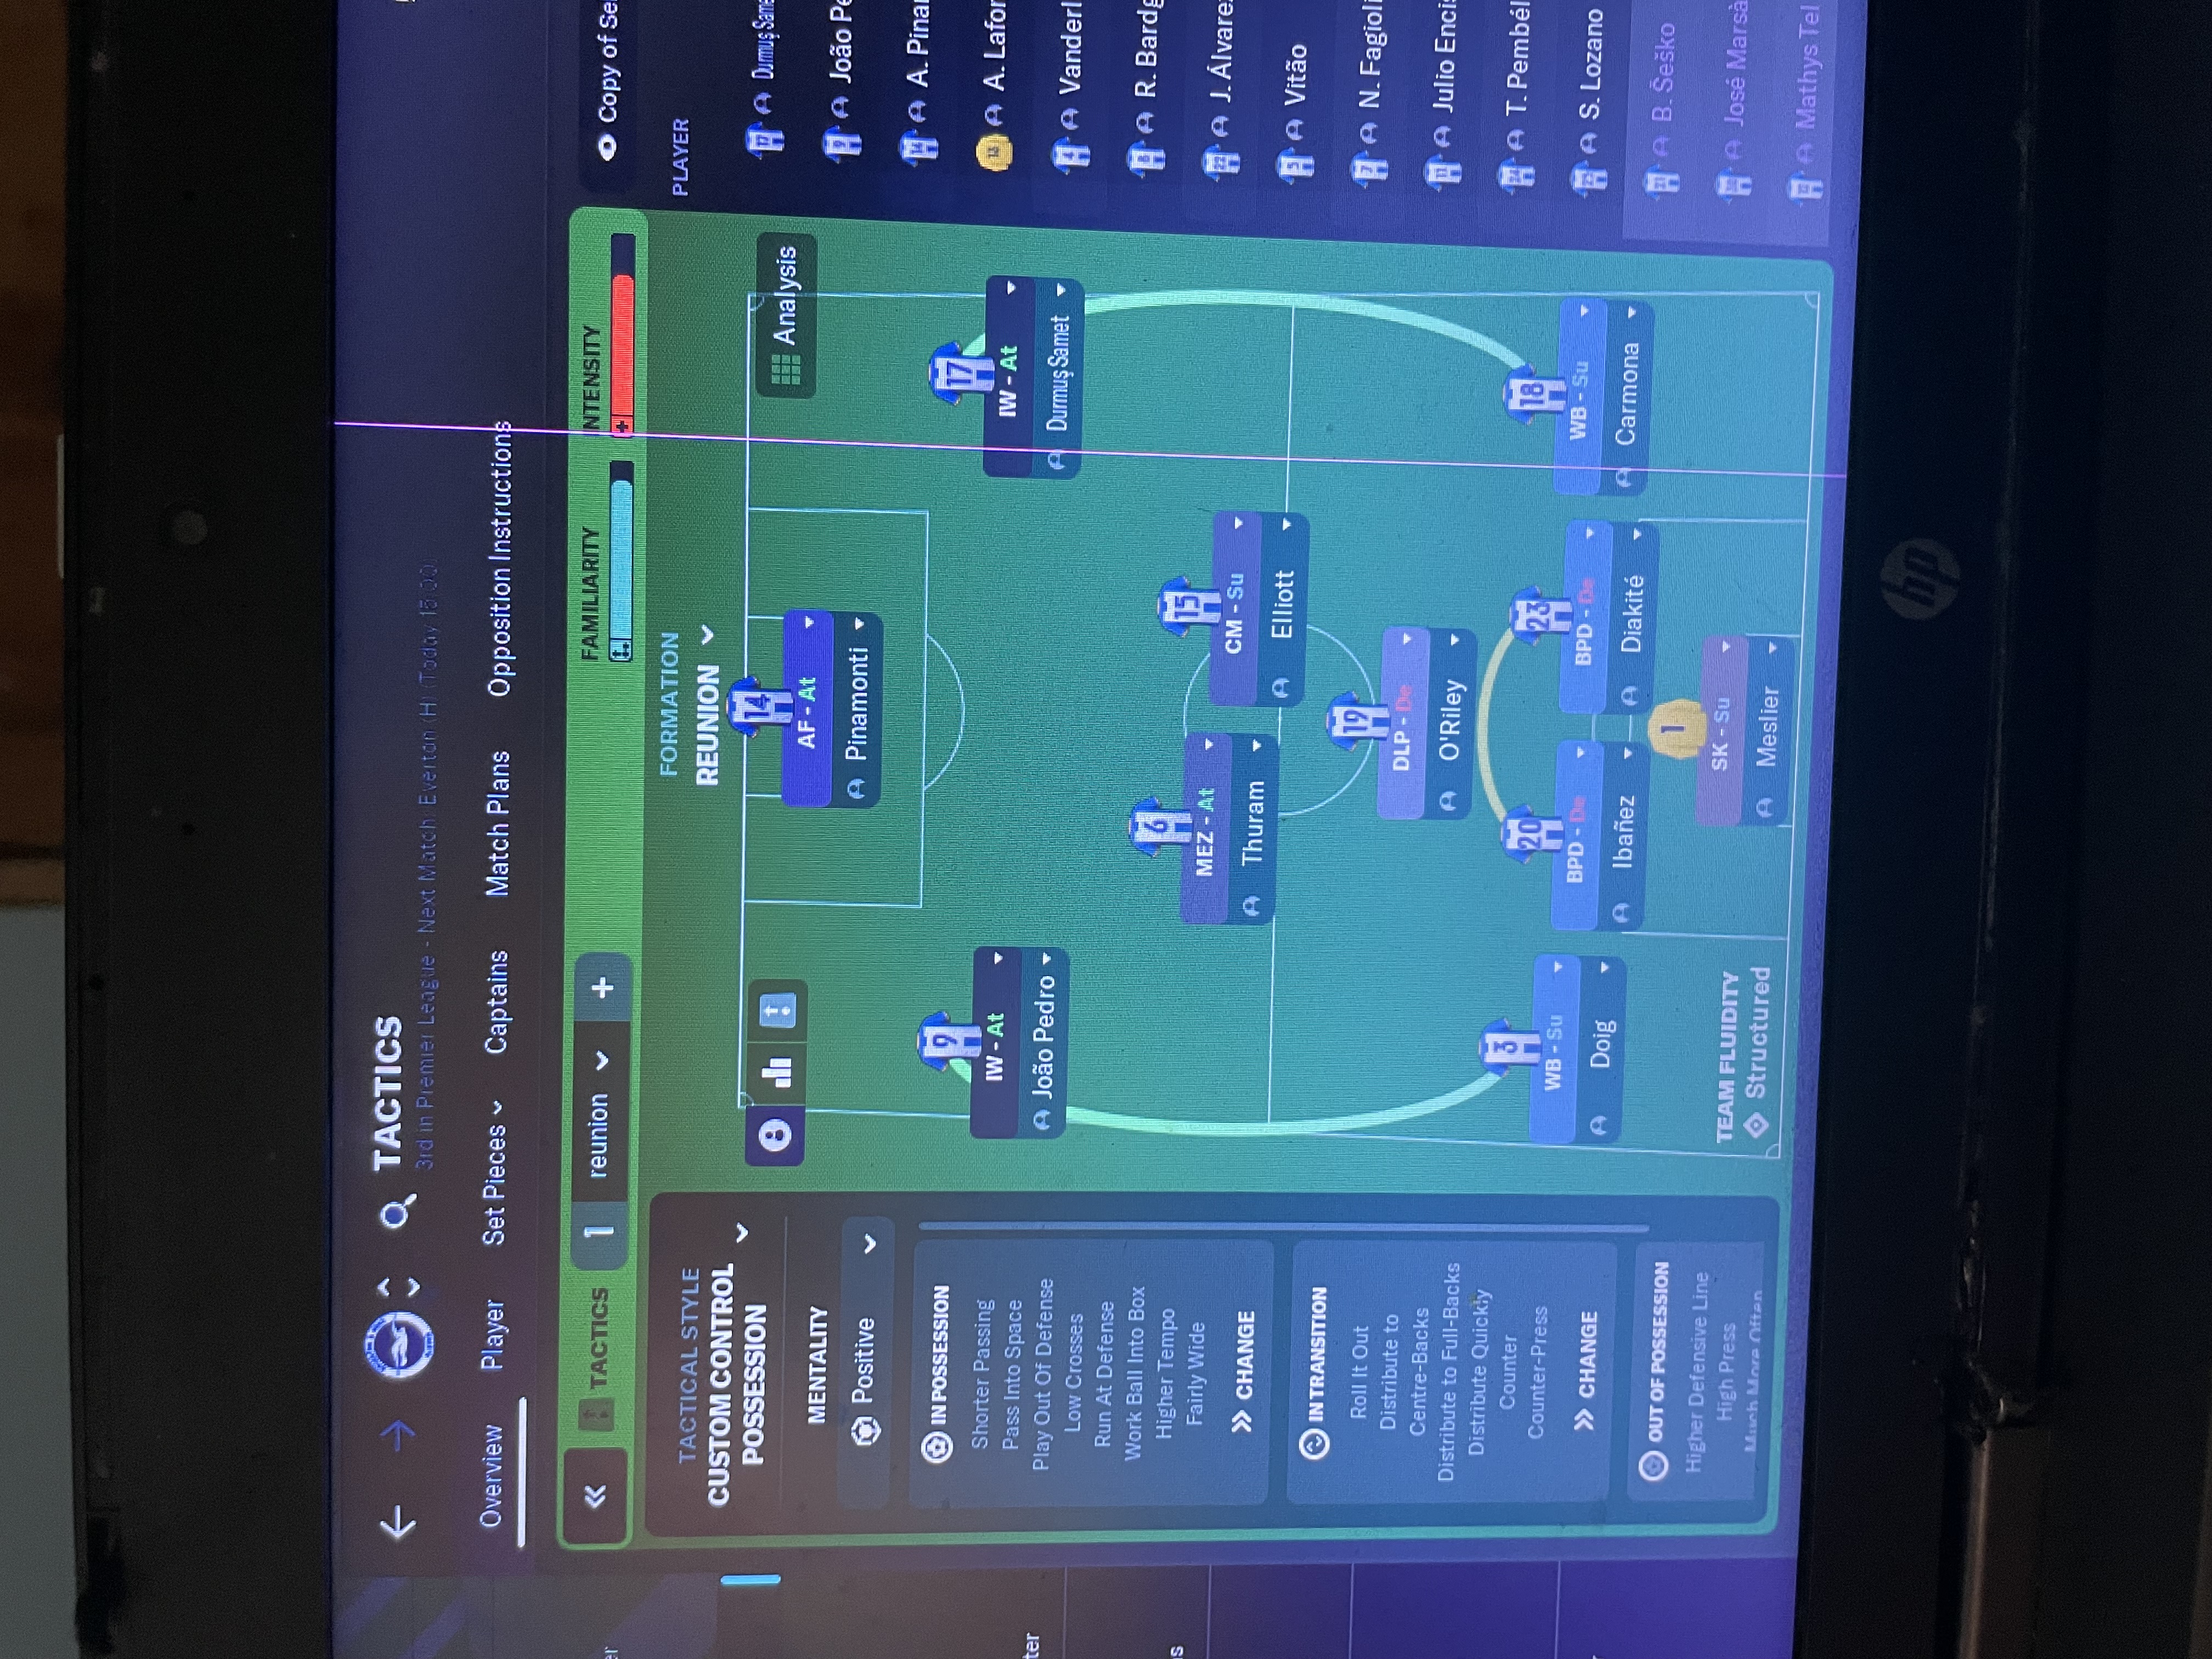
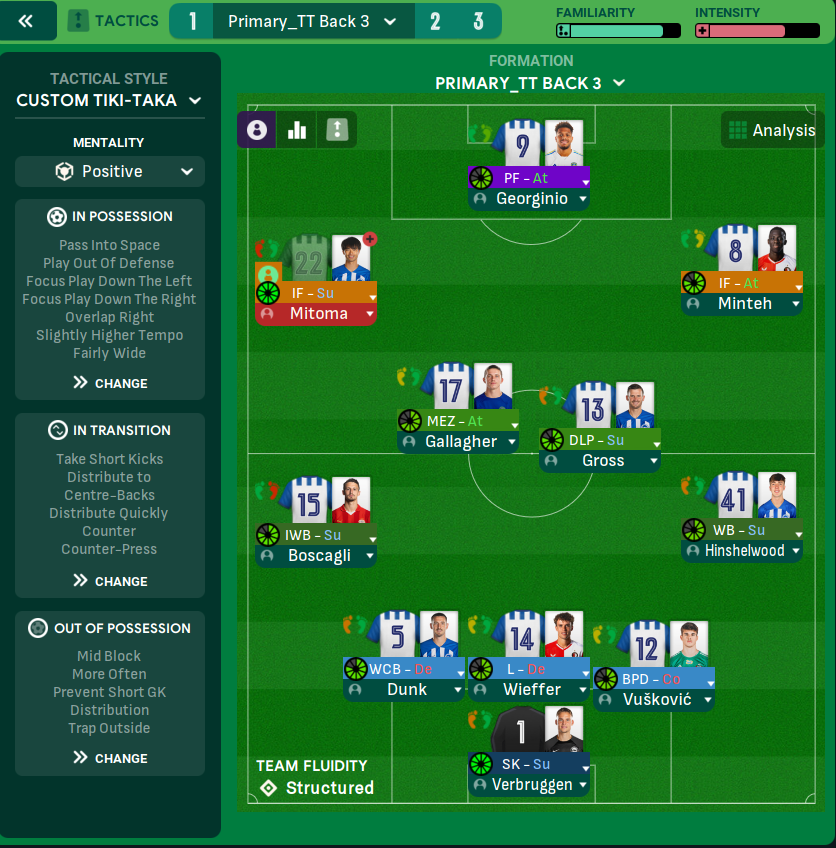
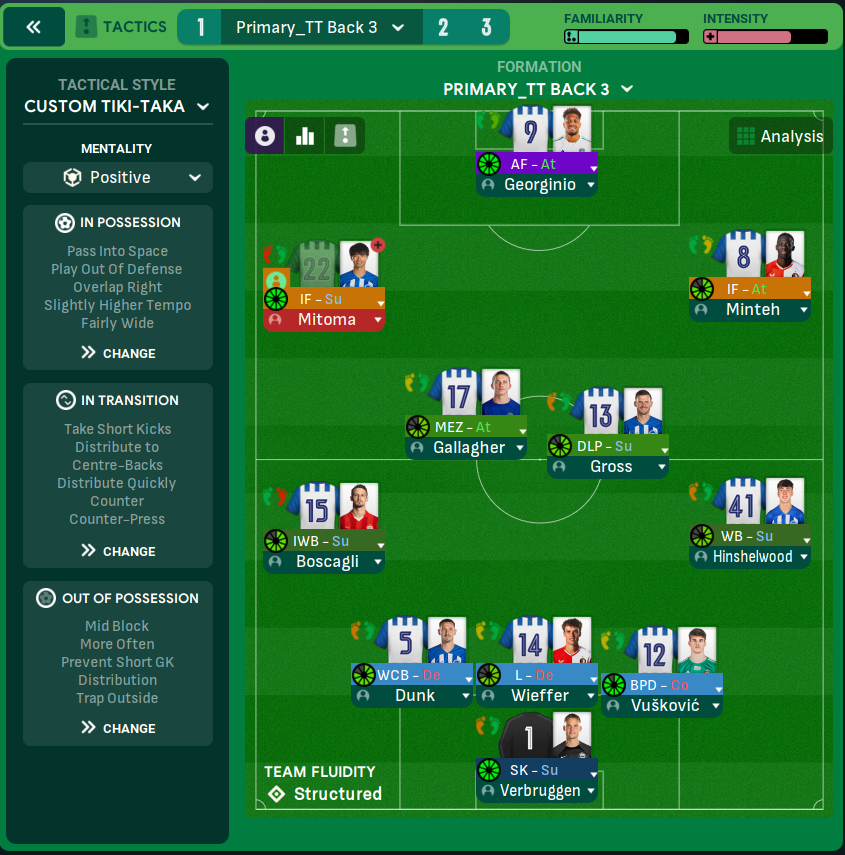
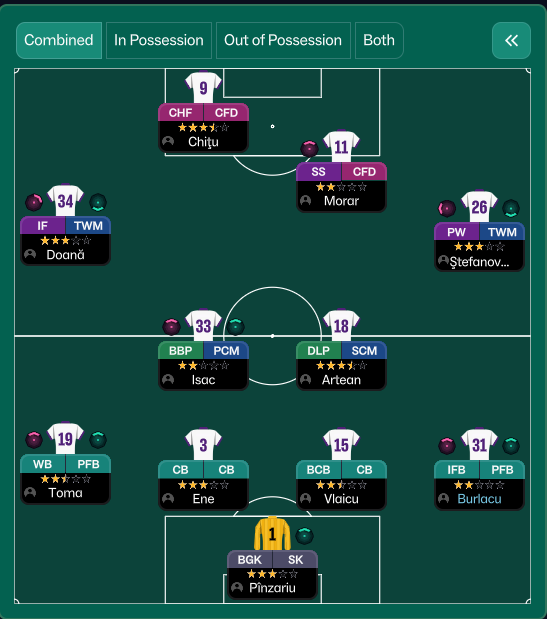
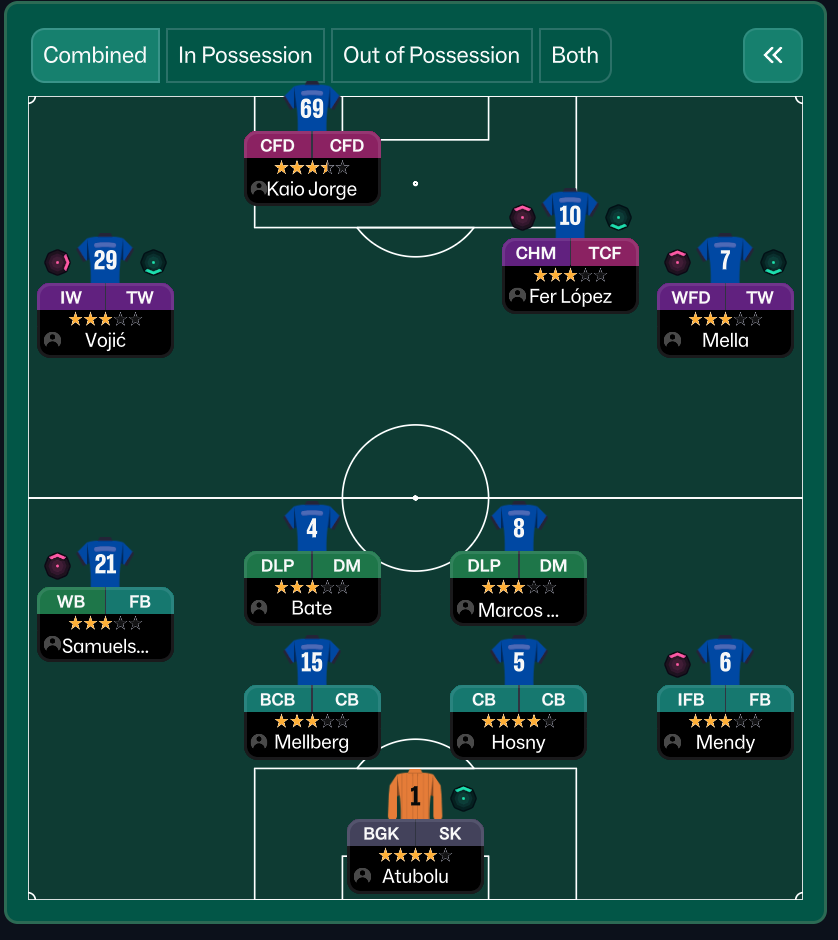
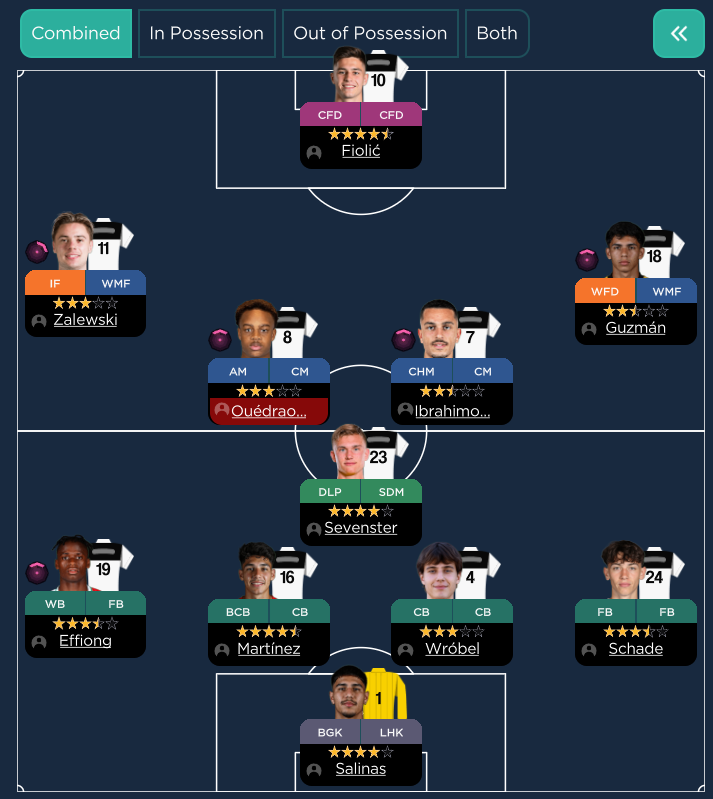
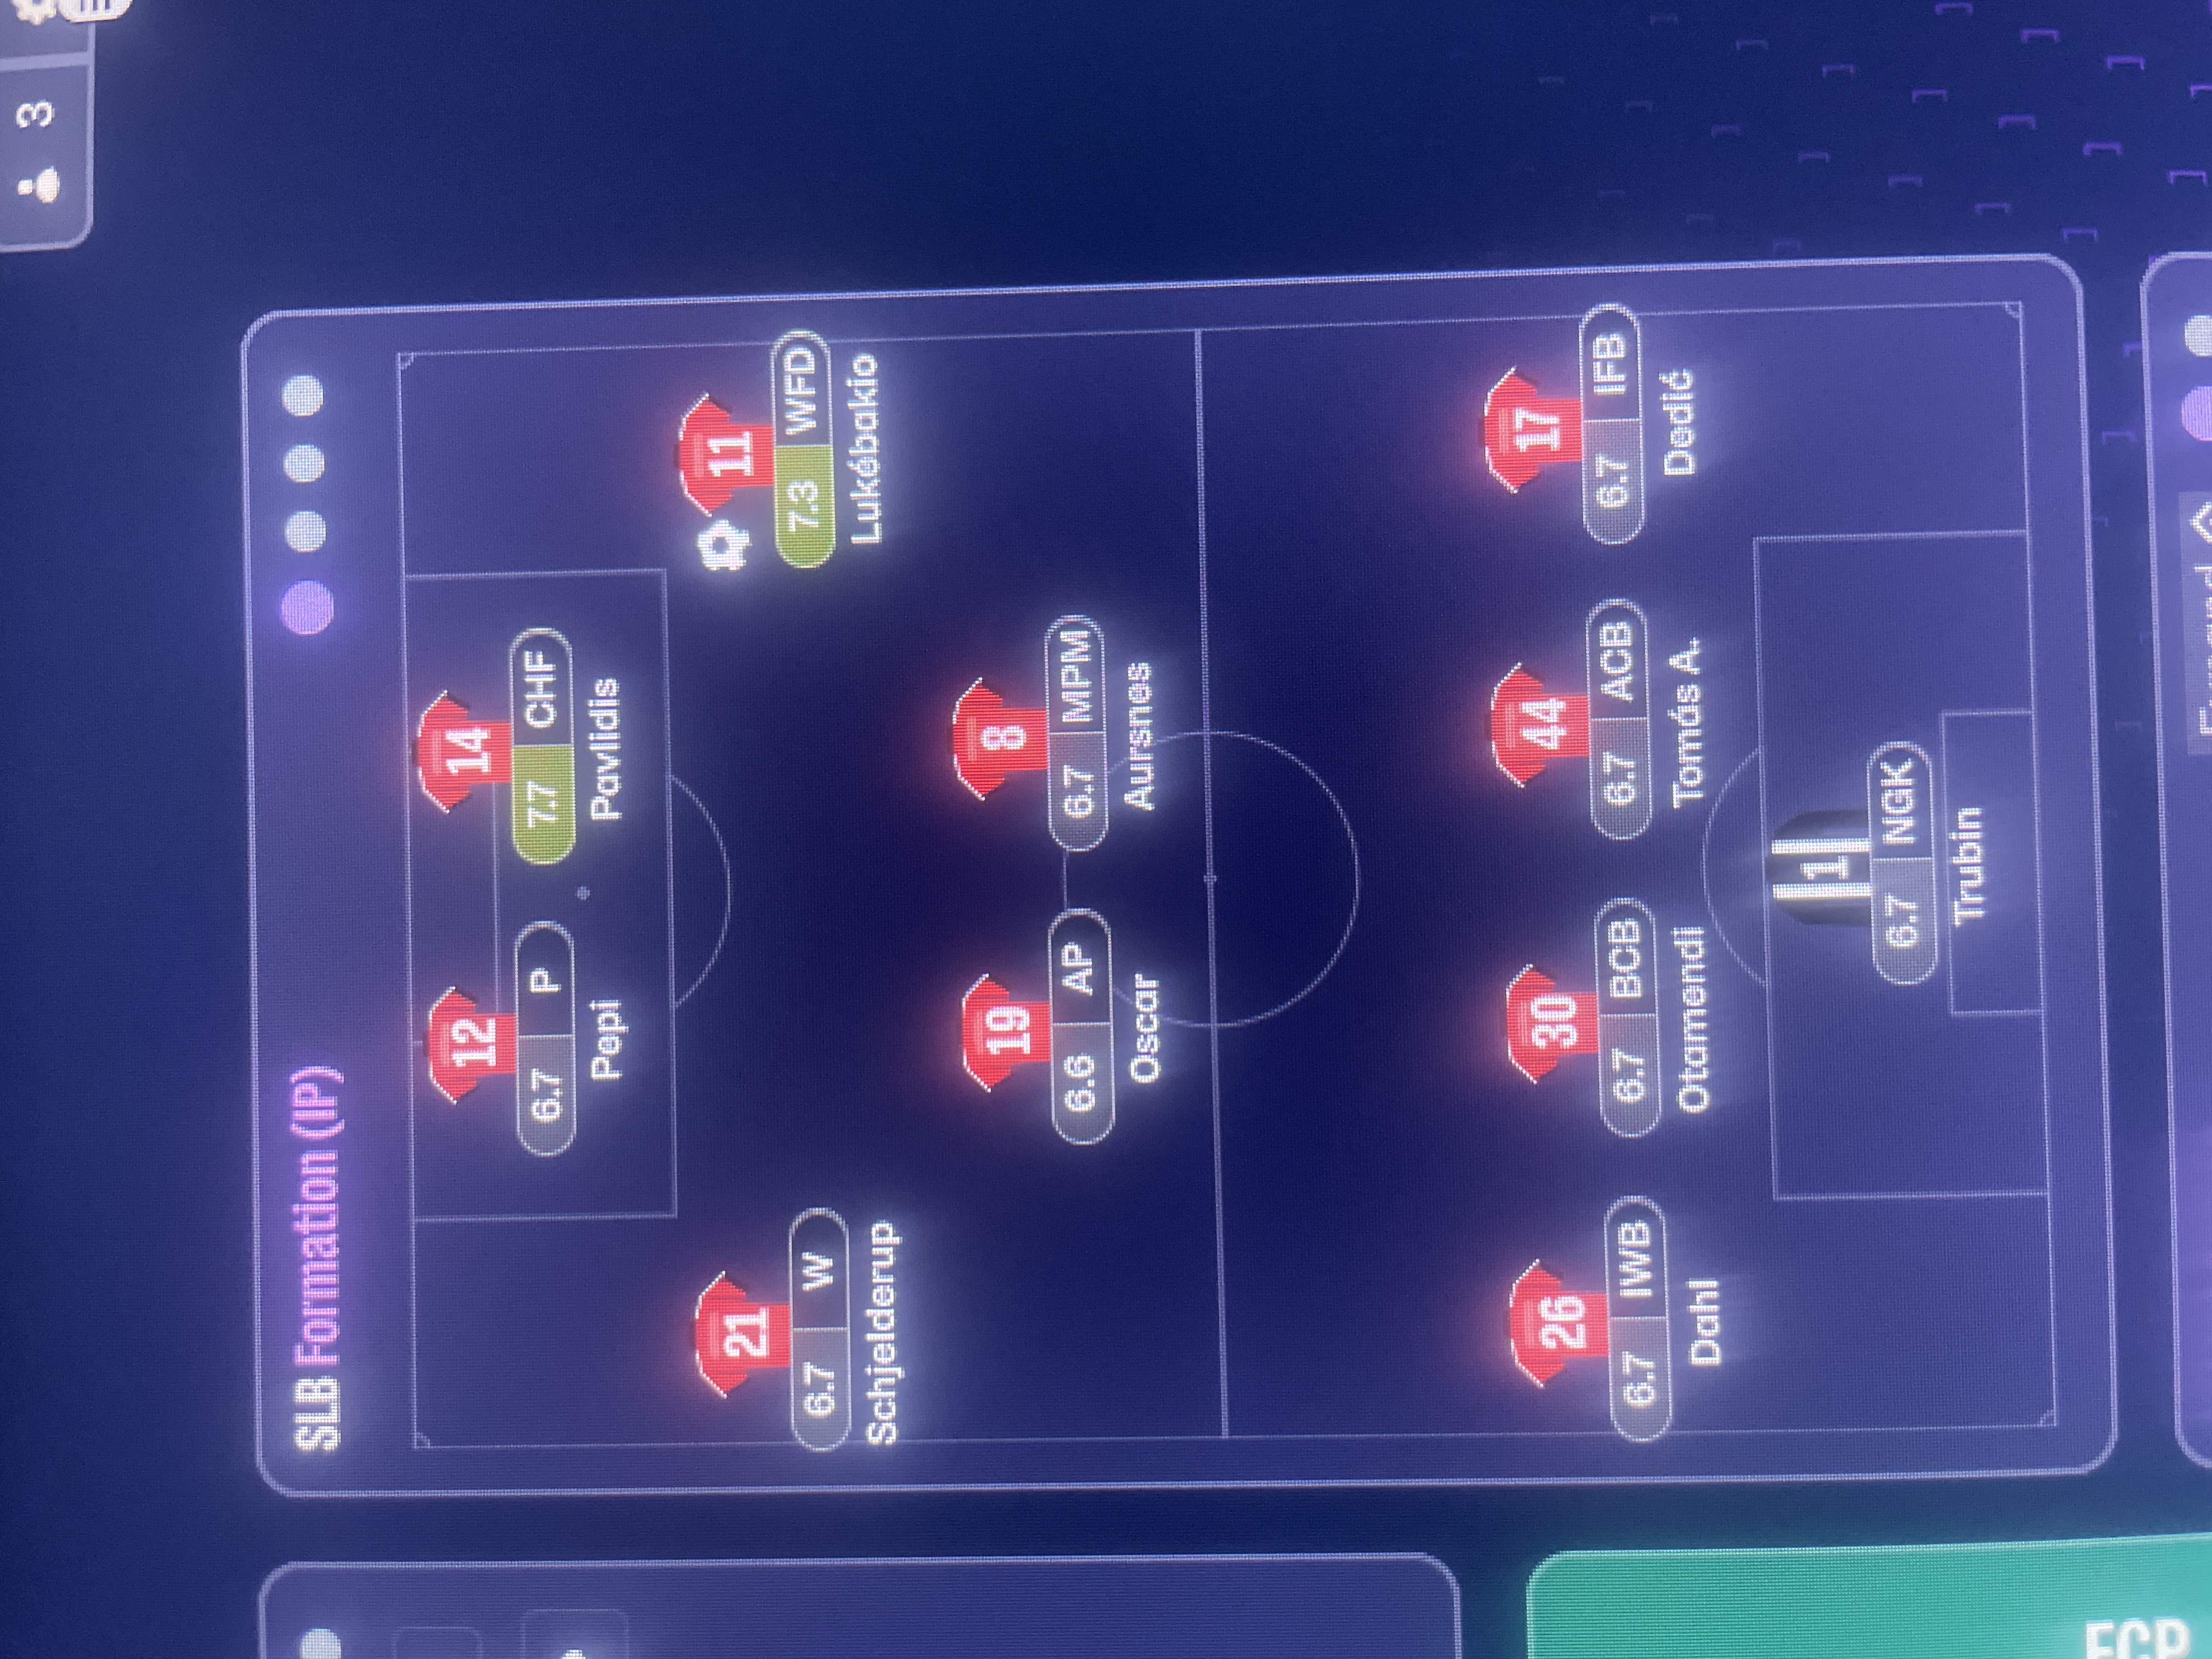
More Fluid Counter-Attack tactics
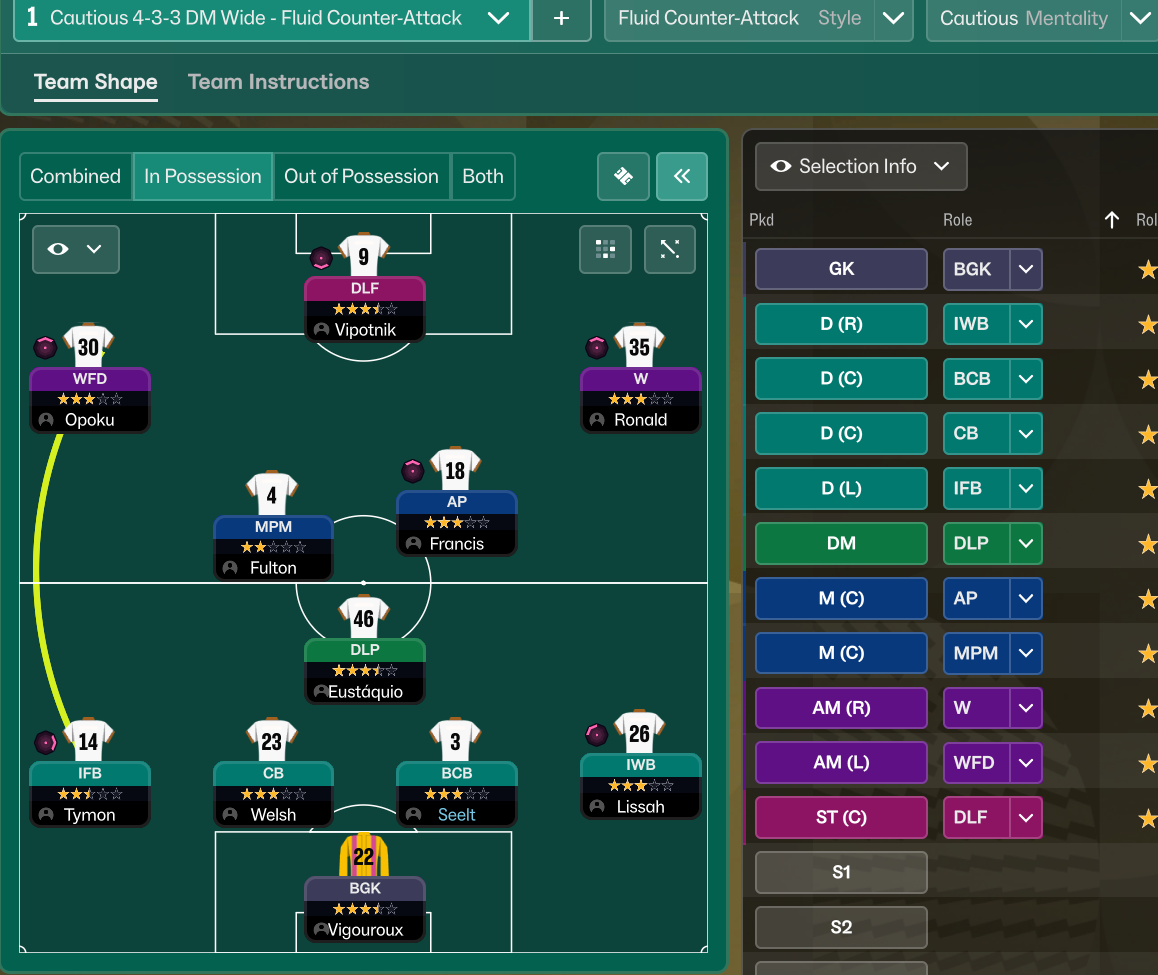
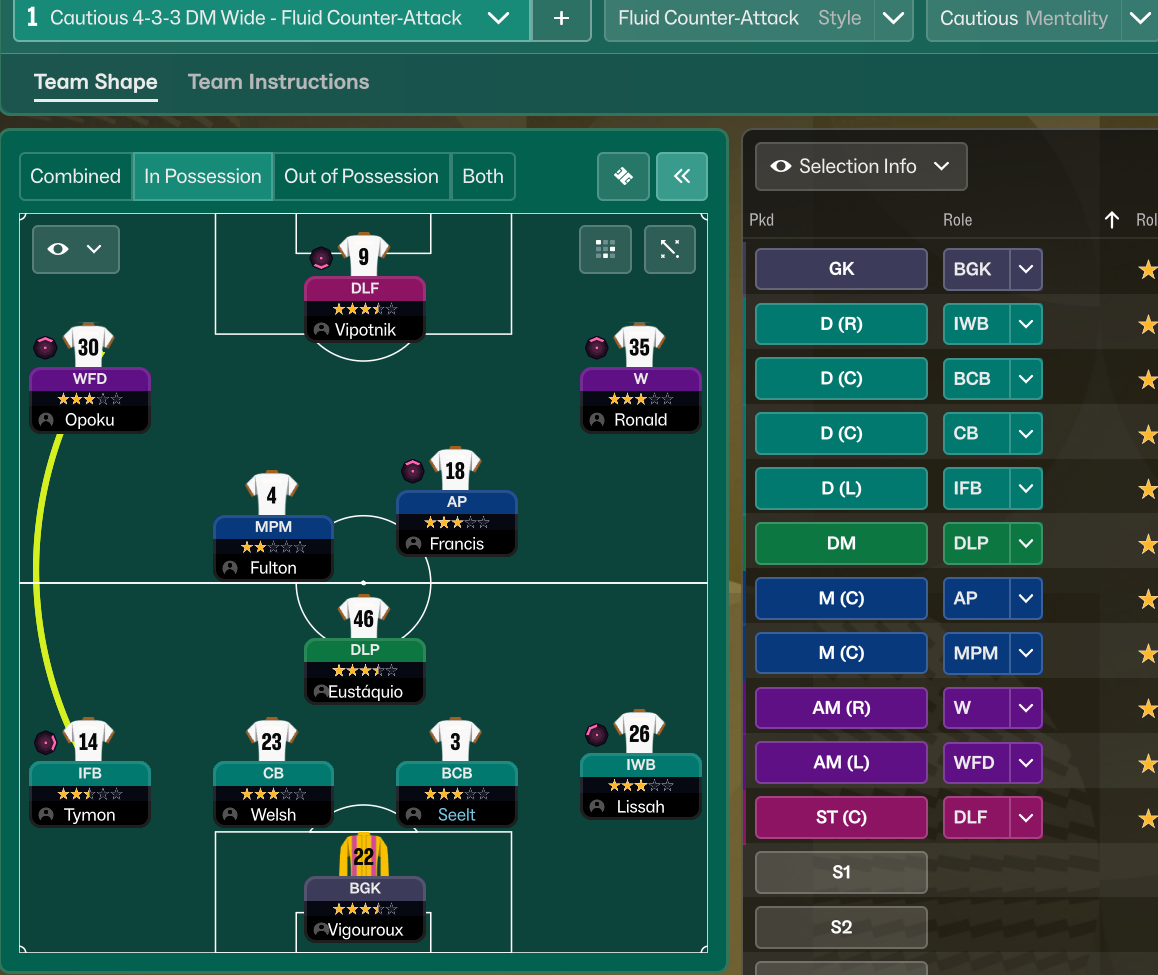
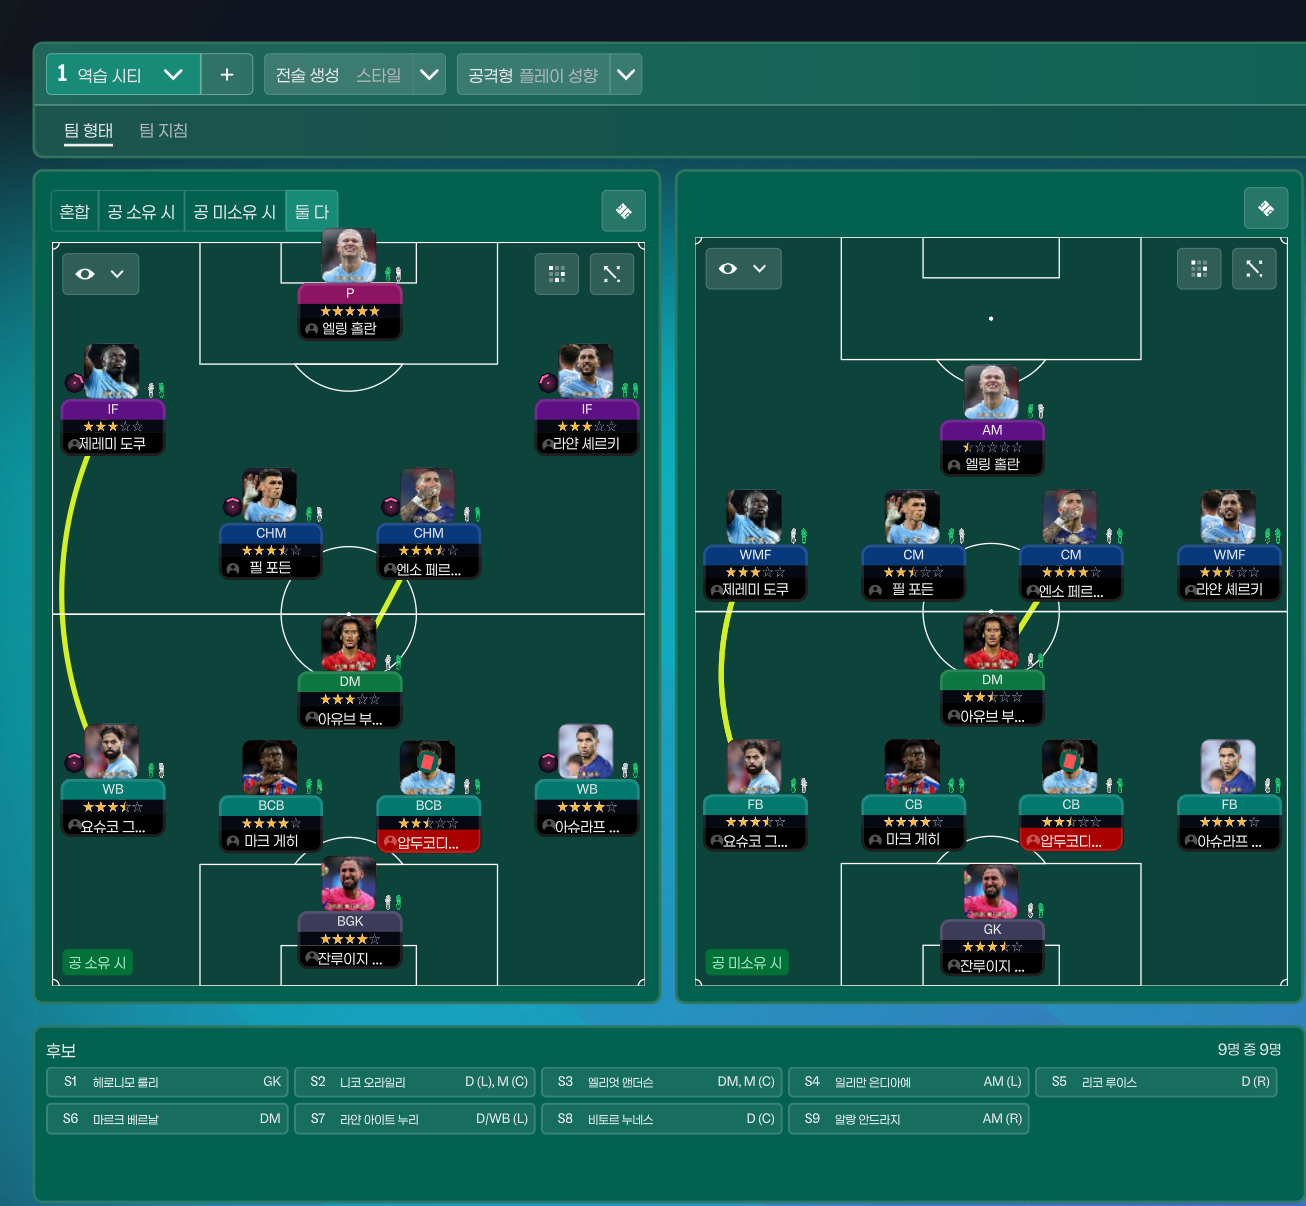
Guides for this tactic
The tactical theory behind the 3-5-2: roles, instructions, and the trade-offs that decide whether the system holds up.
Foundations
Defensive Line and Line of Engagement
The pairing rule for Defensive Line and Line of Engagement, all 9 combinations, and the gap that costs goals.
Read guide
Foundations
Width, Compactness, and Tempo
What Higher Tempo, Wider, and Narrower actually do in FM, plus the dial contradictions and antipatterns players run into most often.
Read guide
Foundations
Wing Play vs Central Play
Build through the wide areas or through the middle? A working framework for picking the right one for your squad.
Read guide