Counter-Attack 3-5-2 (Balanced) Tactic
3-5-2
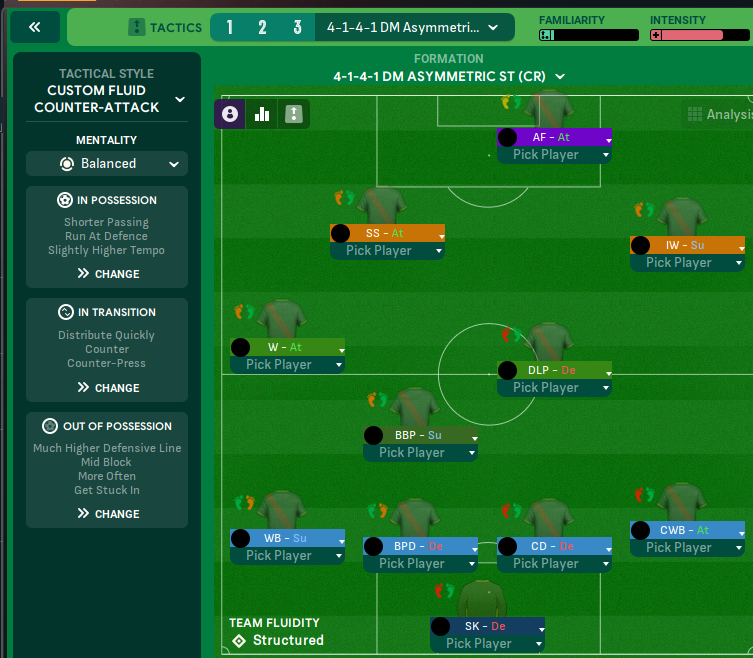
Utilize fast wing play and central attacking movements to break down defenses. Having an Advanced Playmaker and Ball-Winning Midfielder allows control.
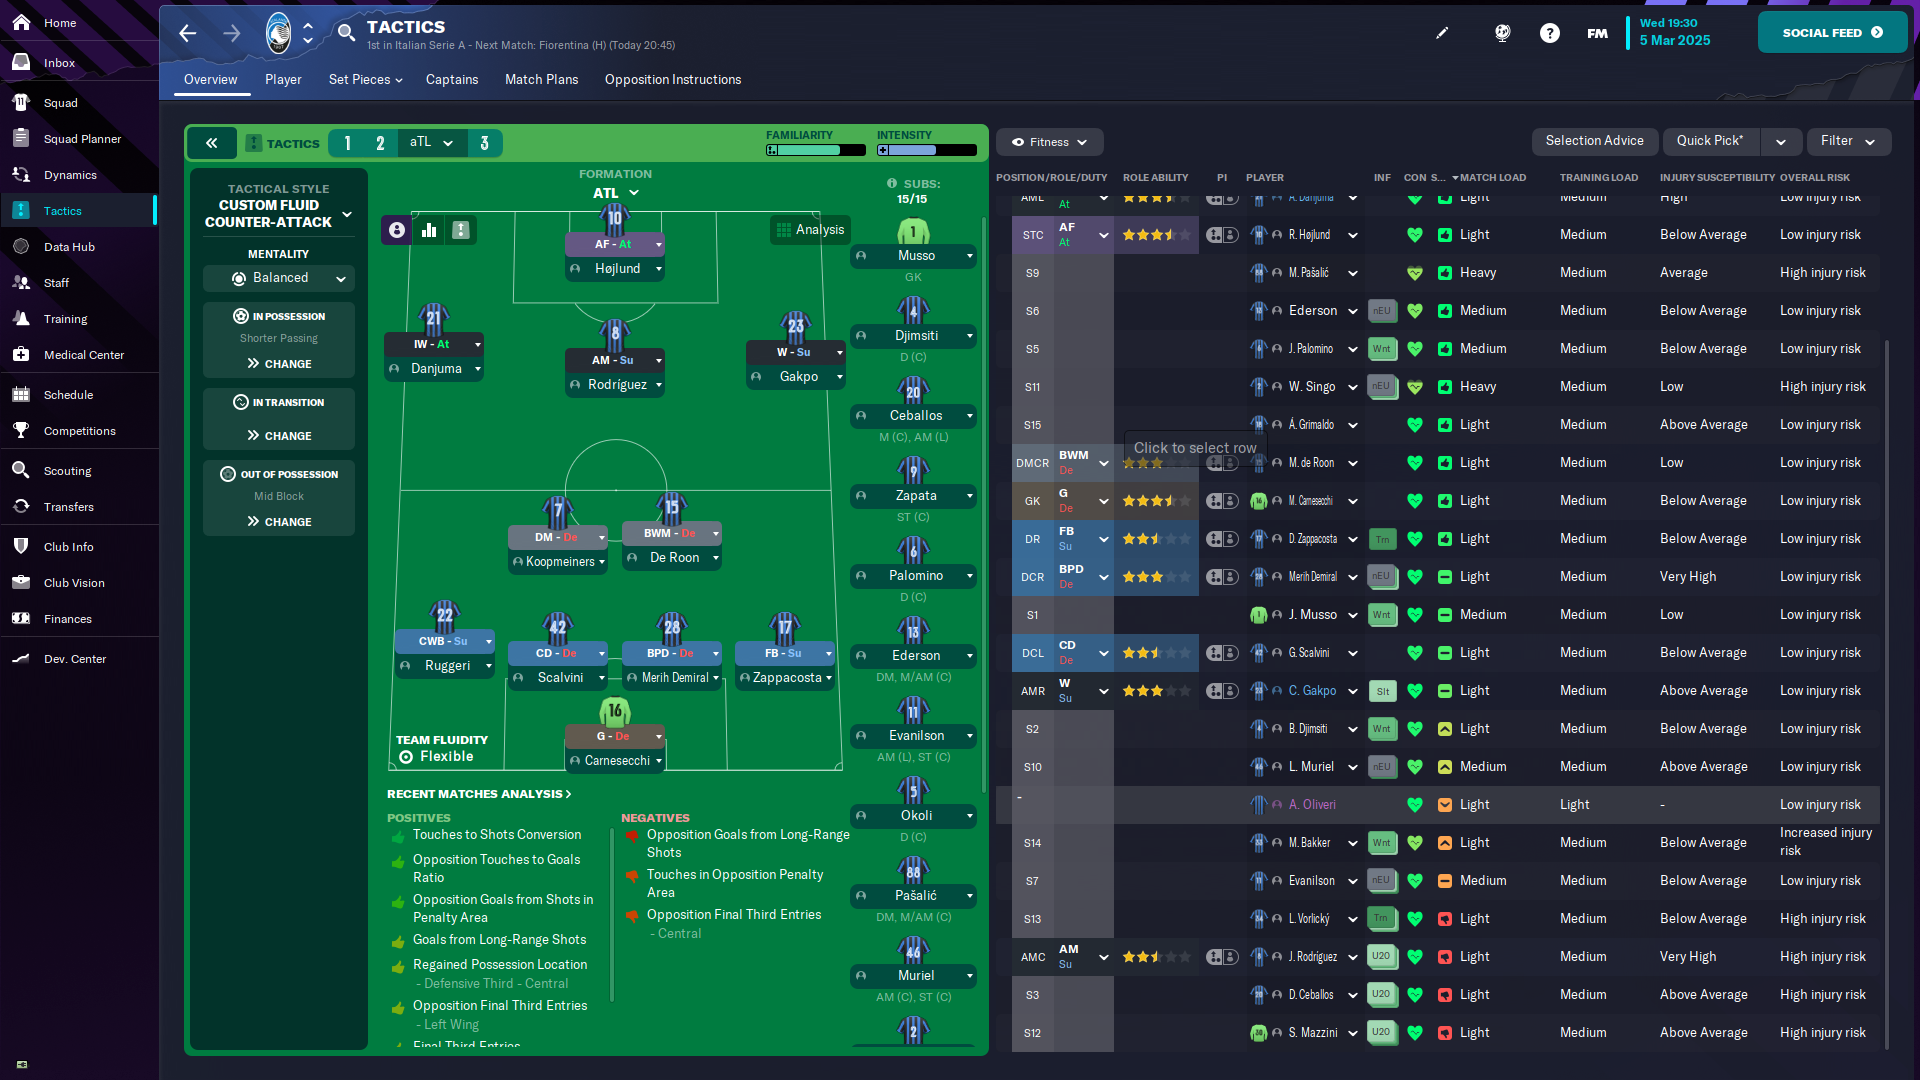
Loading tactical analysis...
Formation and style
Counter-Attack
Balanced
3-5-2
Flexible
In possession
Shorter Passing
Pass Into Space
Work Ball Into Box
In transition
Counter-Press
Counter
Out of possession
Mid Block
Higher Defensive Line
Higher Line of Engagement
Player roles
GK
Goalkeeper
De
DC
Ball-Playing Defender
De
DC
Centre-Back
De
DC
Complete Wing-Back
Su
DM
Defensive Midfielder
De
DM
Ball-Winning Midfielder
De
CM
Advanced Playmaker
Su
AM
Inverted Winger
At
AM
Attacking Midfielder
Su
ST
Advanced Forward
At
Phase description
Focuses on quick transitions to exploit space with attacking width.
Presses immediately after losing the ball to regain possession quickly.
Utilize fast wing play and central attacking movements to break down defenses.
Team shape defence
Mid Block
Maintains a compact defensive shape with slight pressure on the ball.
Utilizes 'Mid Block' and 'Higher Defensive Line' instructions.
Team shape attack
Fluid Width with Central Attacking Focus
Attacks leverage width to create space for central players.
Instructions emphasize 'Work Ball Into Box' and 'Pass Into Space'.
Key strengths
Strong Central Midfield
Having an Advanced Playmaker and Ball-Winning Midfielder allows control.
Advanced Playmaker at [4,3] supports offensive plays, while BWM at [3,2] provides defensive stability.
Dynamic Wings
Inverted Winger and Complete Wing-Back offer width and attacking options.
IW-A at [5,2] and CWB-S at [2,5] facilitate diverse attacking movements.
Conflicting tactics
Possession Style Opponents
May struggle against teams that dominate possession and play high pressure.
Balancing a 'Mid Block' may leave gaps if pressed heavily.
Teams with Strong Wing Play
Vulnerable against teams exploiting wide areas, particularly behind wing-backs.
CWB-S at [2,5] could be isolated against opposing wingers.
Risk exposures
Risk Exposures
Items
Defensive Vulnerability on Flanks
Wing-backs may be caught out of position during transitions.
CWB-S at [2,5] may lead to gaps if advanced too often.
Over-reliance on Counter
Success depends on quick transitions which may fail against deep defenses.
If faced with a low block, counters may be ineffective.
Role synergies
Role Synergies
Items
BWM-D with DM-D
Provides solid defensive cover in midfield and supports transitions.
BWM at [3, 2] and DM at [3, 3] bolster midfield defensively.
CWB-S with IW-A
Creates overlap and positional flexibility when attacking.
CWB-S at [2, 5] allows IW to cut inside, increasing offensive options.
Suggested questions
How can we better exploit deep defensive setups?
Which substitutions would benefit this formation late in matches?
What adjustments can enhance midfield transitions?
Related Tactics
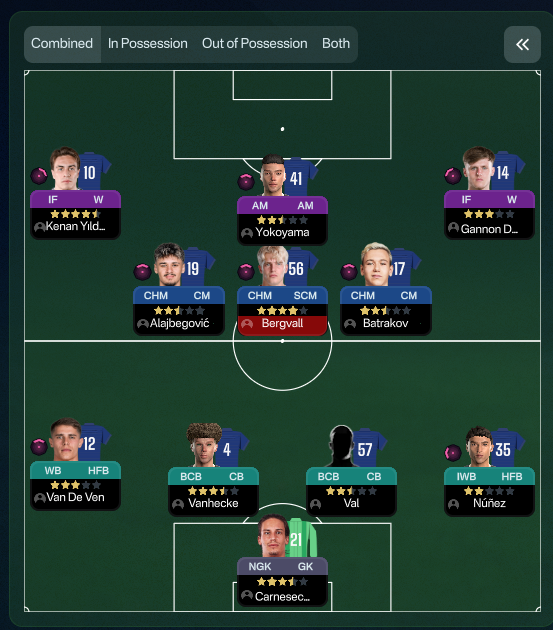
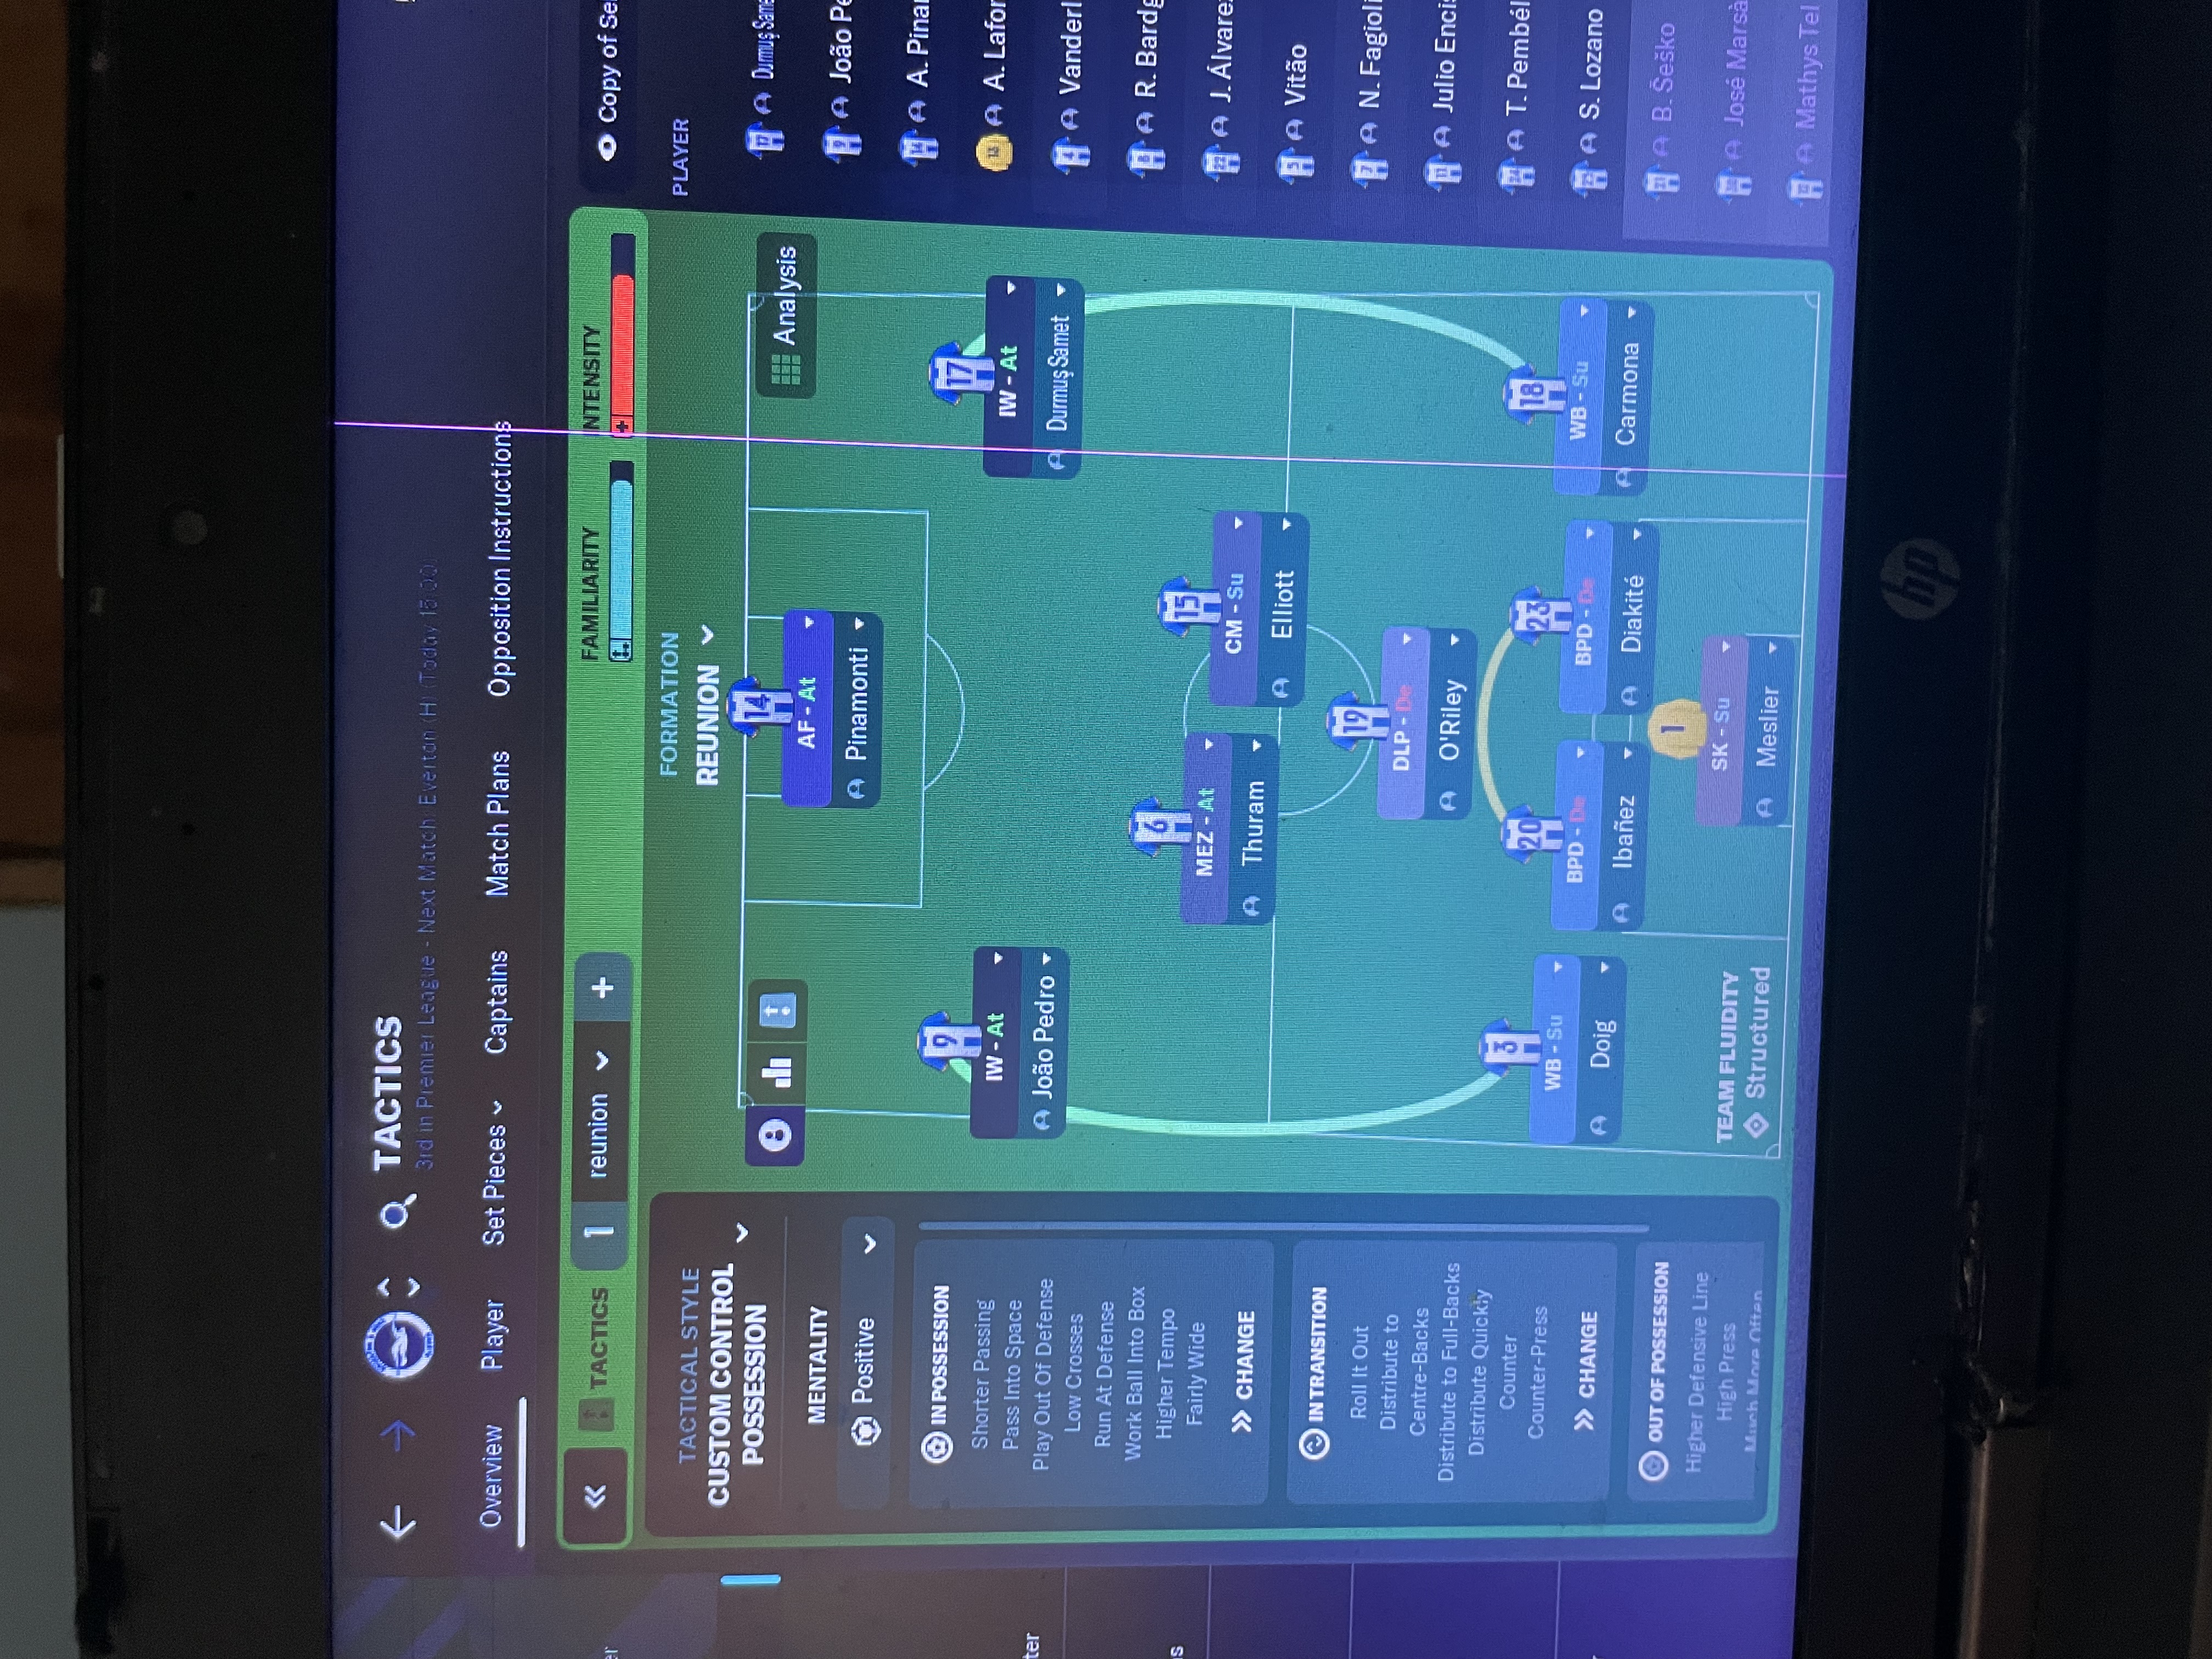
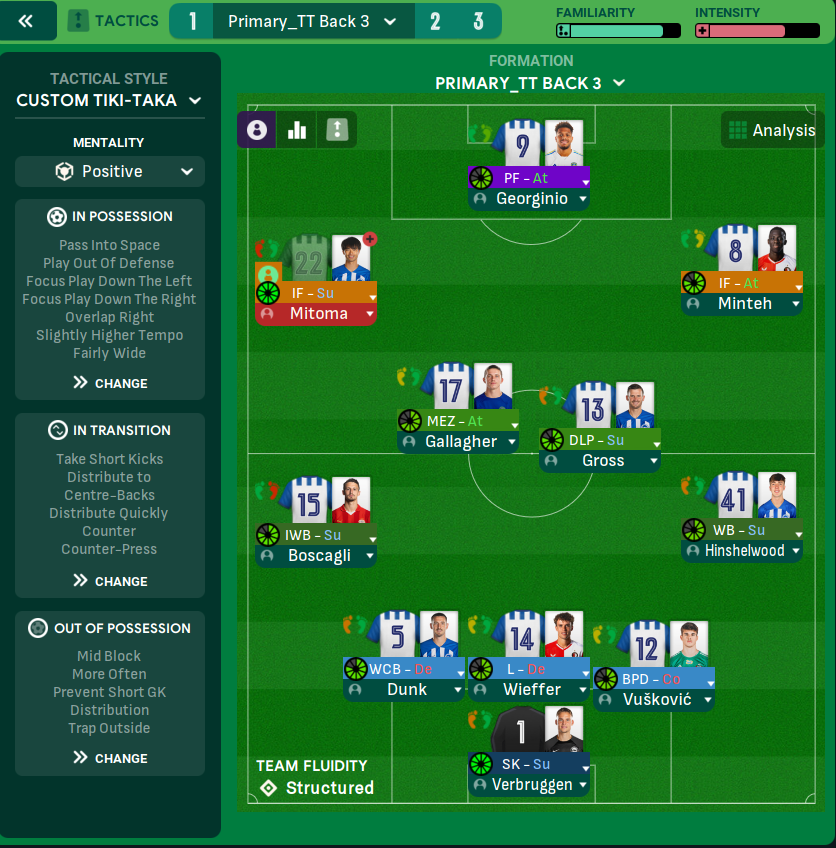
More Counter-Attack tactics
Guides for this tactic
The tactical theory behind the 3-5-2: roles, instructions, and the trade-offs that decide whether the system holds up.
Foundations
FM27 Tactics: What Changed from FM26
FM27 keeps FM26's tactic system. Here is what stays the same, the small changes that can catch you out, and what the new Tactical Effectiveness system asks of you.
Read guide
Foundations
Mentality, Duty & Roles
How Mentality, Duty, and Role interact in FM, why duty trumps mentality every time, and the role-on-top-of-duty composition rules.
Read guide
Foundations
Pressing Triggers and Intensity
Counter-Press, Regroup, Stand Off, Trigger Press: what each pressing instruction does in FM and how to pair them without contradicting.
Read guide