Counter-Attack 3-4-2-1 (Attacking) Tactic
3-4-2-1
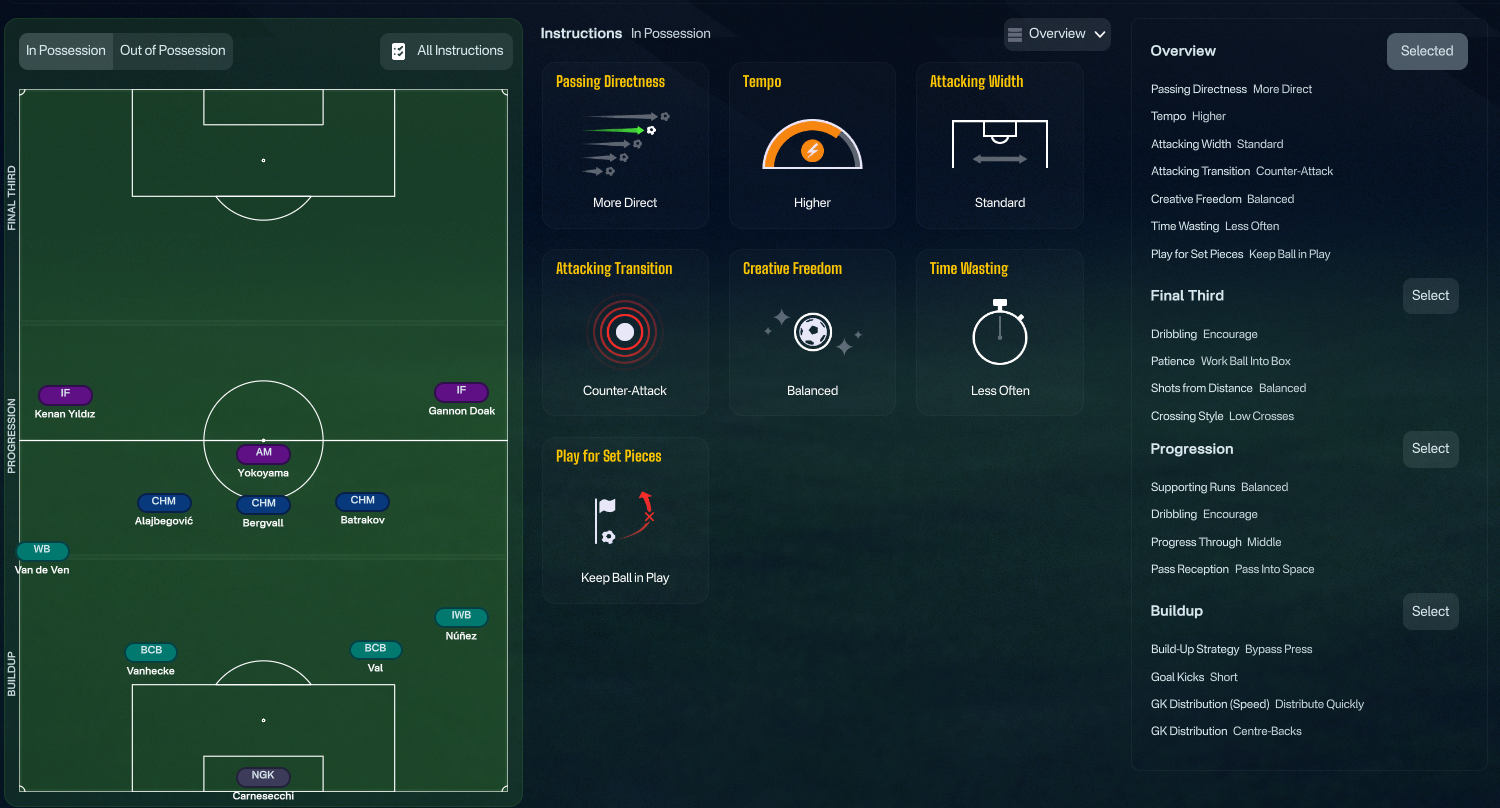
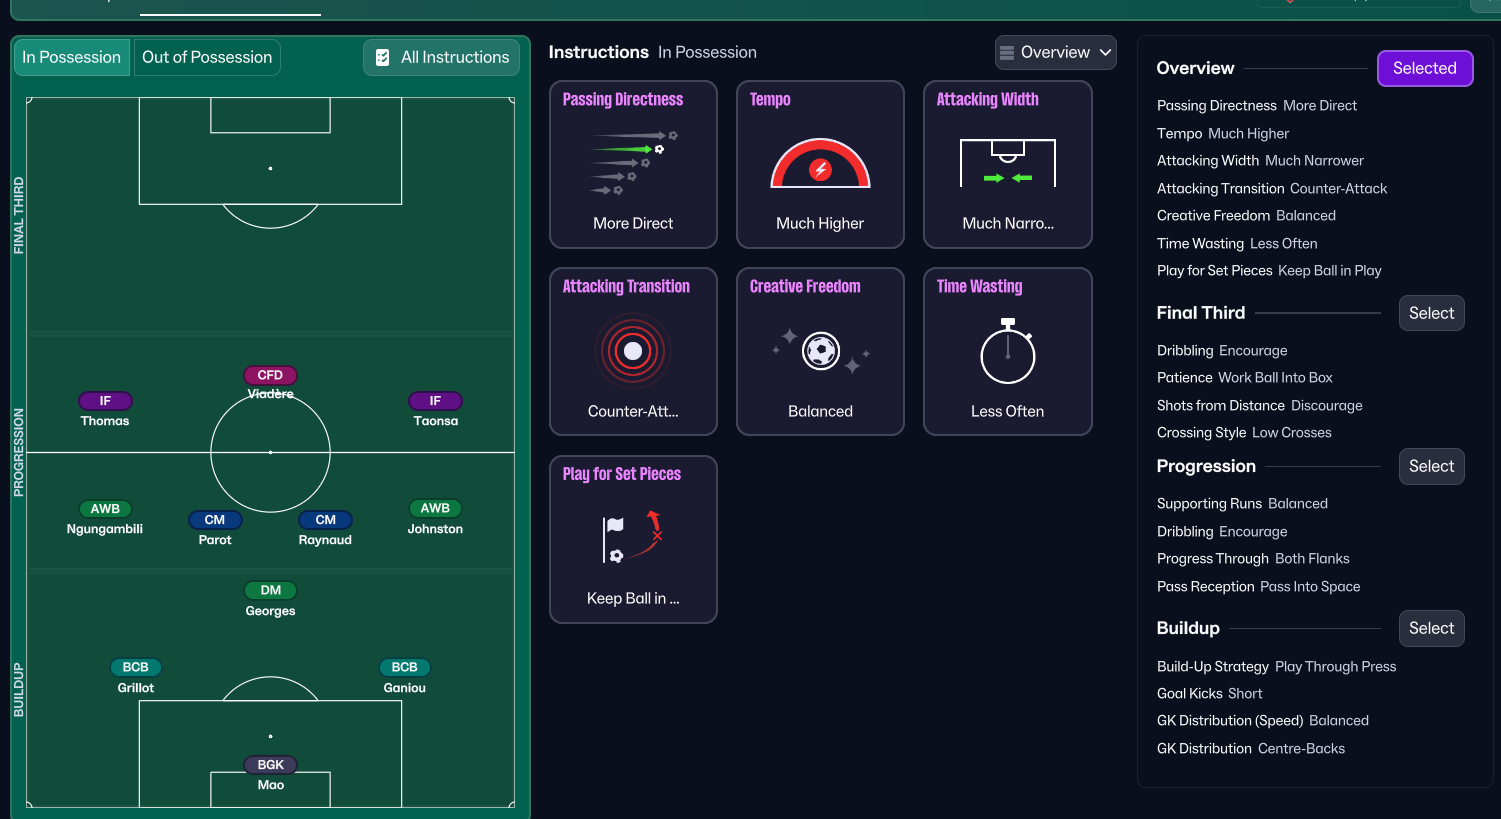
Utilizing the pace of the inside forwards in the attacking third. The inside forwards can cut inside and create space, making attacks unpredictable.
Loading tactical analysis...
Formation and style
Counter-Attack
Attacking
3-4-2-1
In possession
More Direct
Higher
Standard
Counter-Attack
Balanced
Less Often
Keep Ball in Play
Player roles
GK
Goalkeeper
Defend
DC
Ball-Playing Defender
Defend
DC
Ball-Playing Defender
Defend
DC
Inverted Wing-Back
Support
WB
Wing-Back
Support
CM
Central Midfielder
Support
CM
Central Midfielder
Support
CM
Central Midfielder
Support
AM
Attacking Midfielder
Attack
IF
Inside Forward
Attack
IF
Inside Forward
Attack
Phase description
Quick transitions with an emphasis on utilizing the wings and inside forward runs.
Utilizing the pace of the inside forwards in the attacking third.
Team shape defence
Compact
A tightly knit defensive unit with three central defenders and wing-backs providing width.
Three defenders at [2,2], [2,3], and [2,4] creating a solid backline.
Team shape attack
Fluid
Dynamic positioning with wide forwards and an advanced playmaker aiming to break through defenses.
AM at [5,3] supported by IFs at [6,2] and [6,4].
Key strengths
Dynamic Attack
The inside forwards can cut inside and create space, making attacks unpredictable.
IFs at [6,2] and [6,4] facilitate direct runs towards goal.
Solid Defensive Unit
The three central defenders enhance the team's defensive stability.
DCs positioned at [2,2], [2,3], [2,4] providing a triangular defensive structure.
Conflicting tactics
Overly Committed Attack
Potential vulnerability on the counter due to advanced positioning of inside forwards.
IFs at [6,2] and [6,4] may leave gaps if possession is lost.
Midfield Overload
Possibility of being outnumbered in midfield if opponents match the midfield structure.
Three CM roles might struggle against a four-man midfield setup.
Risk exposures
Risk Exposures
Items
Flank Defensiveness
Wing-backs may be caught too high during transitions, impacting defensive shape.
WB at [2,1] and IWB at [2,5] potentially leave gaps behind.
Midfield Control
Potential vulnerabilities against teams deploying a packed midfield.
Three CM roles vs. opponents with four might result in numerical disadvantages.
Role synergies
Role Synergies
Items
Wing-Back and Inside Forwards
Enhance wing play while allowing inside forwards to exploit central spaces.
WB at [2,1] creating overlaps with IF at [6,2].
Central Midfield Trio
Allowed to interchange positions for fluid ball circulation.
CM roles supporting each other enhance midfield dynamics.
Suggested questions
How can we better utilize the widths provided by the wing-backs?
What adjustments can we make to strengthen our midfield presence?
How can we minimize vulnerabilities during defensive transitions?
Related Tactics
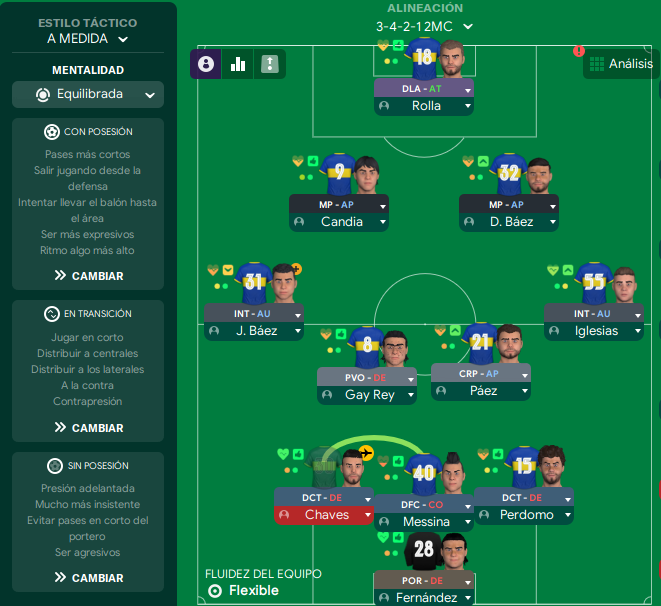
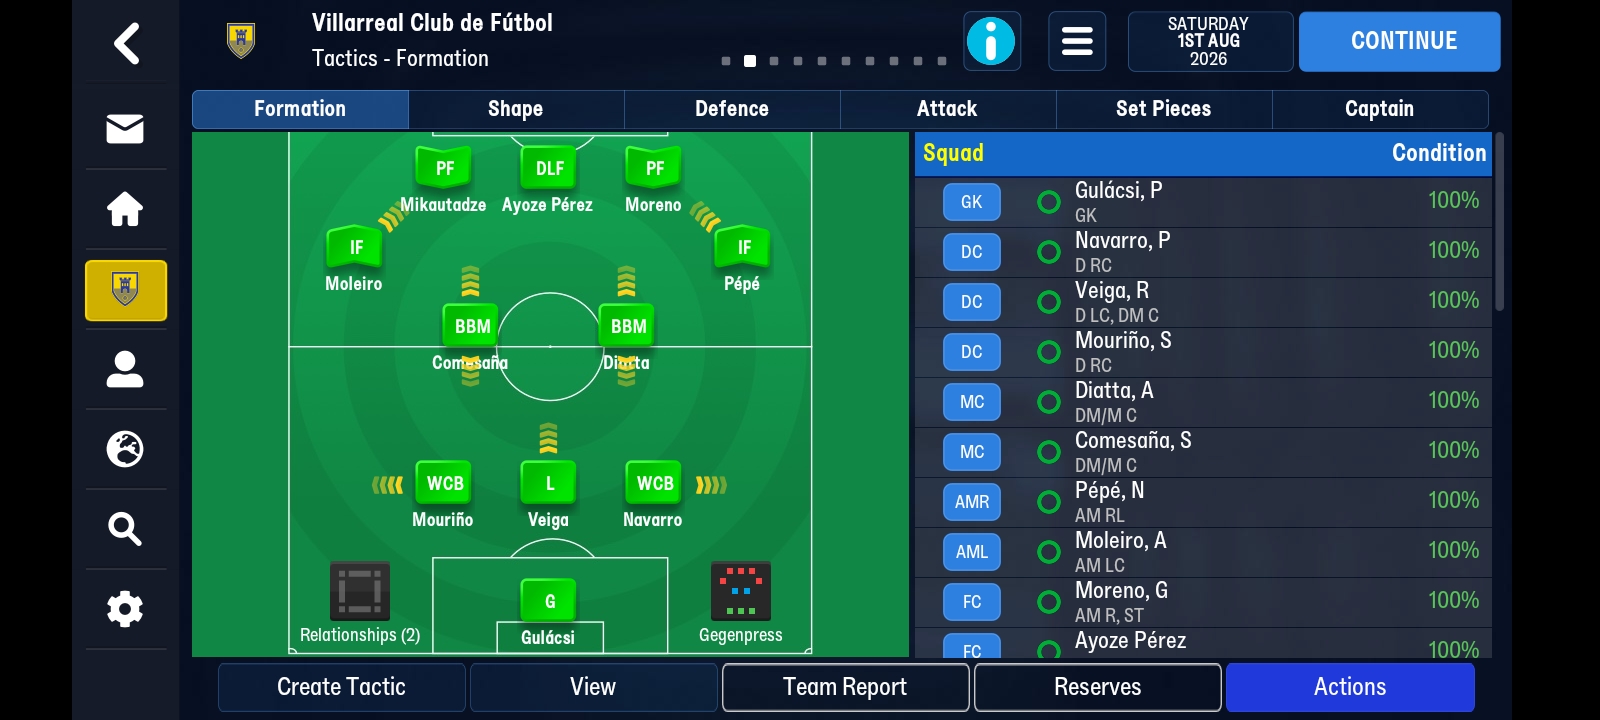
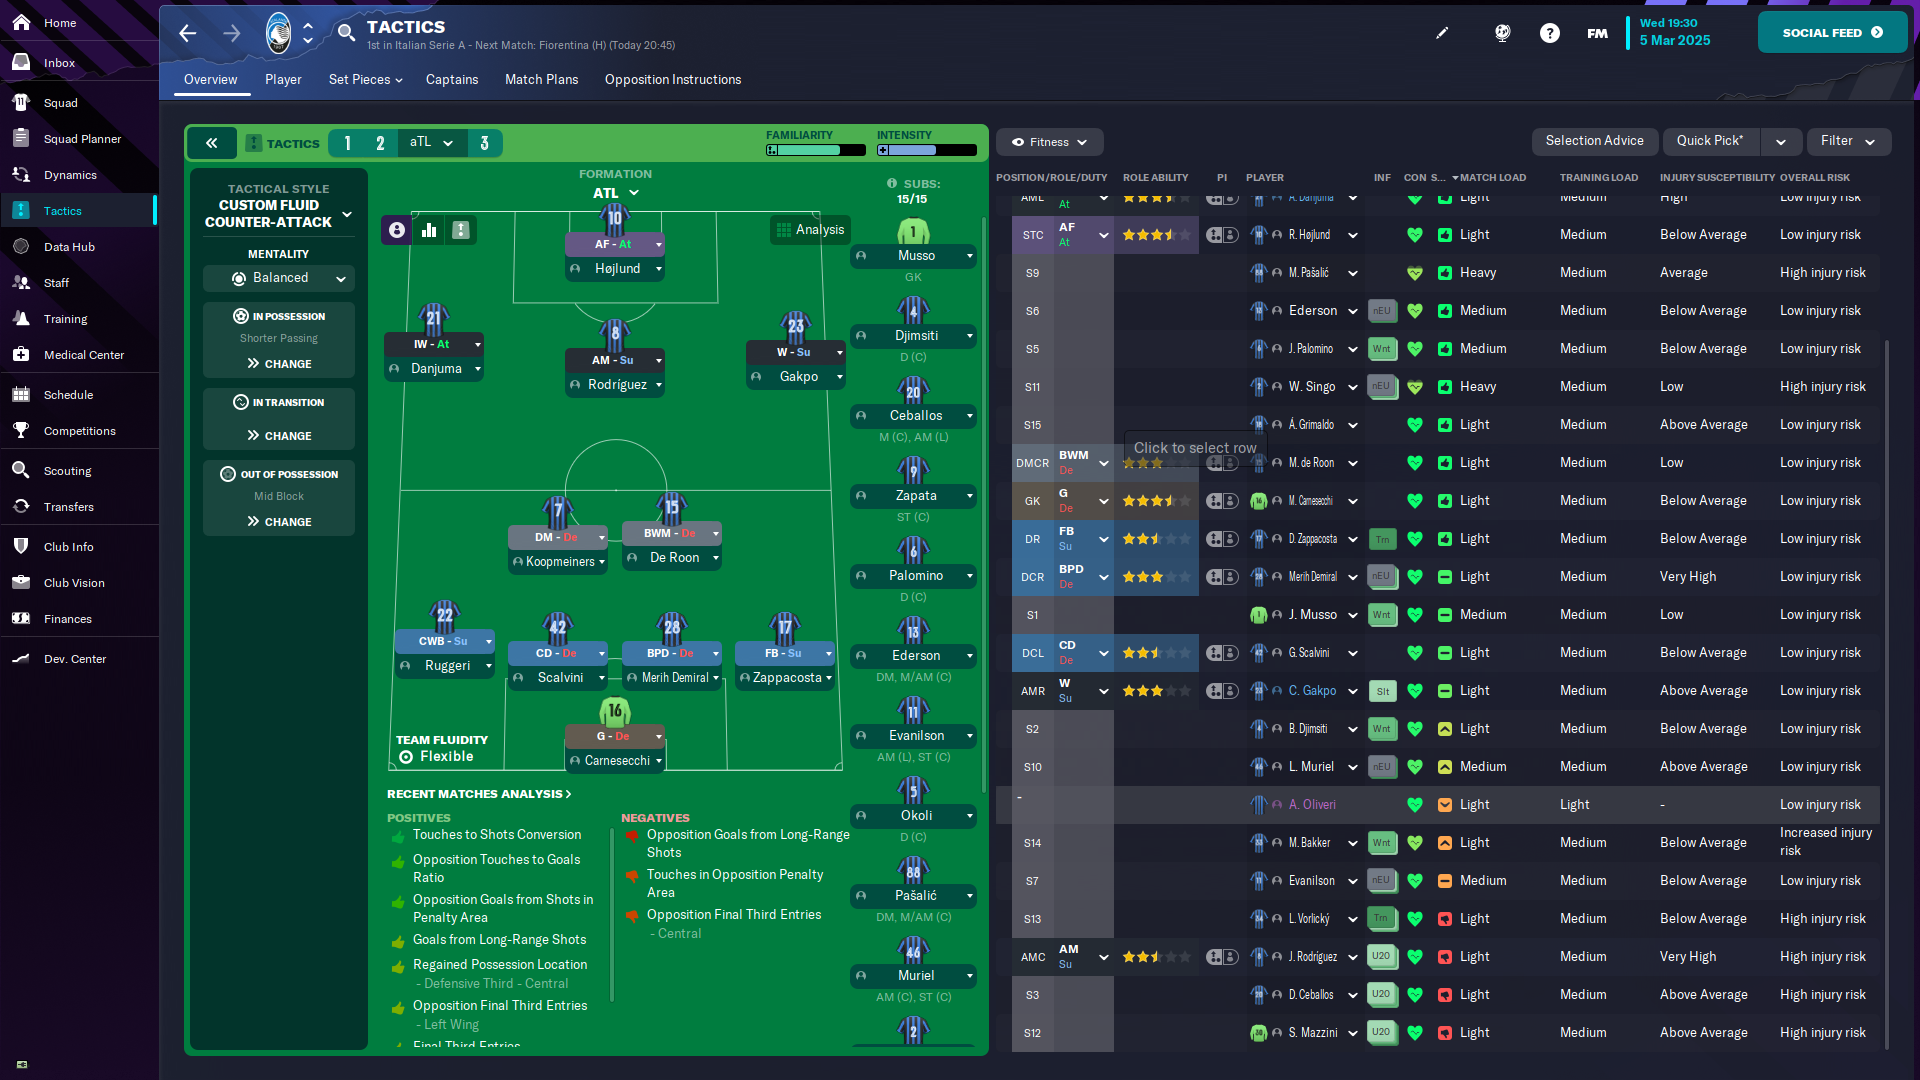
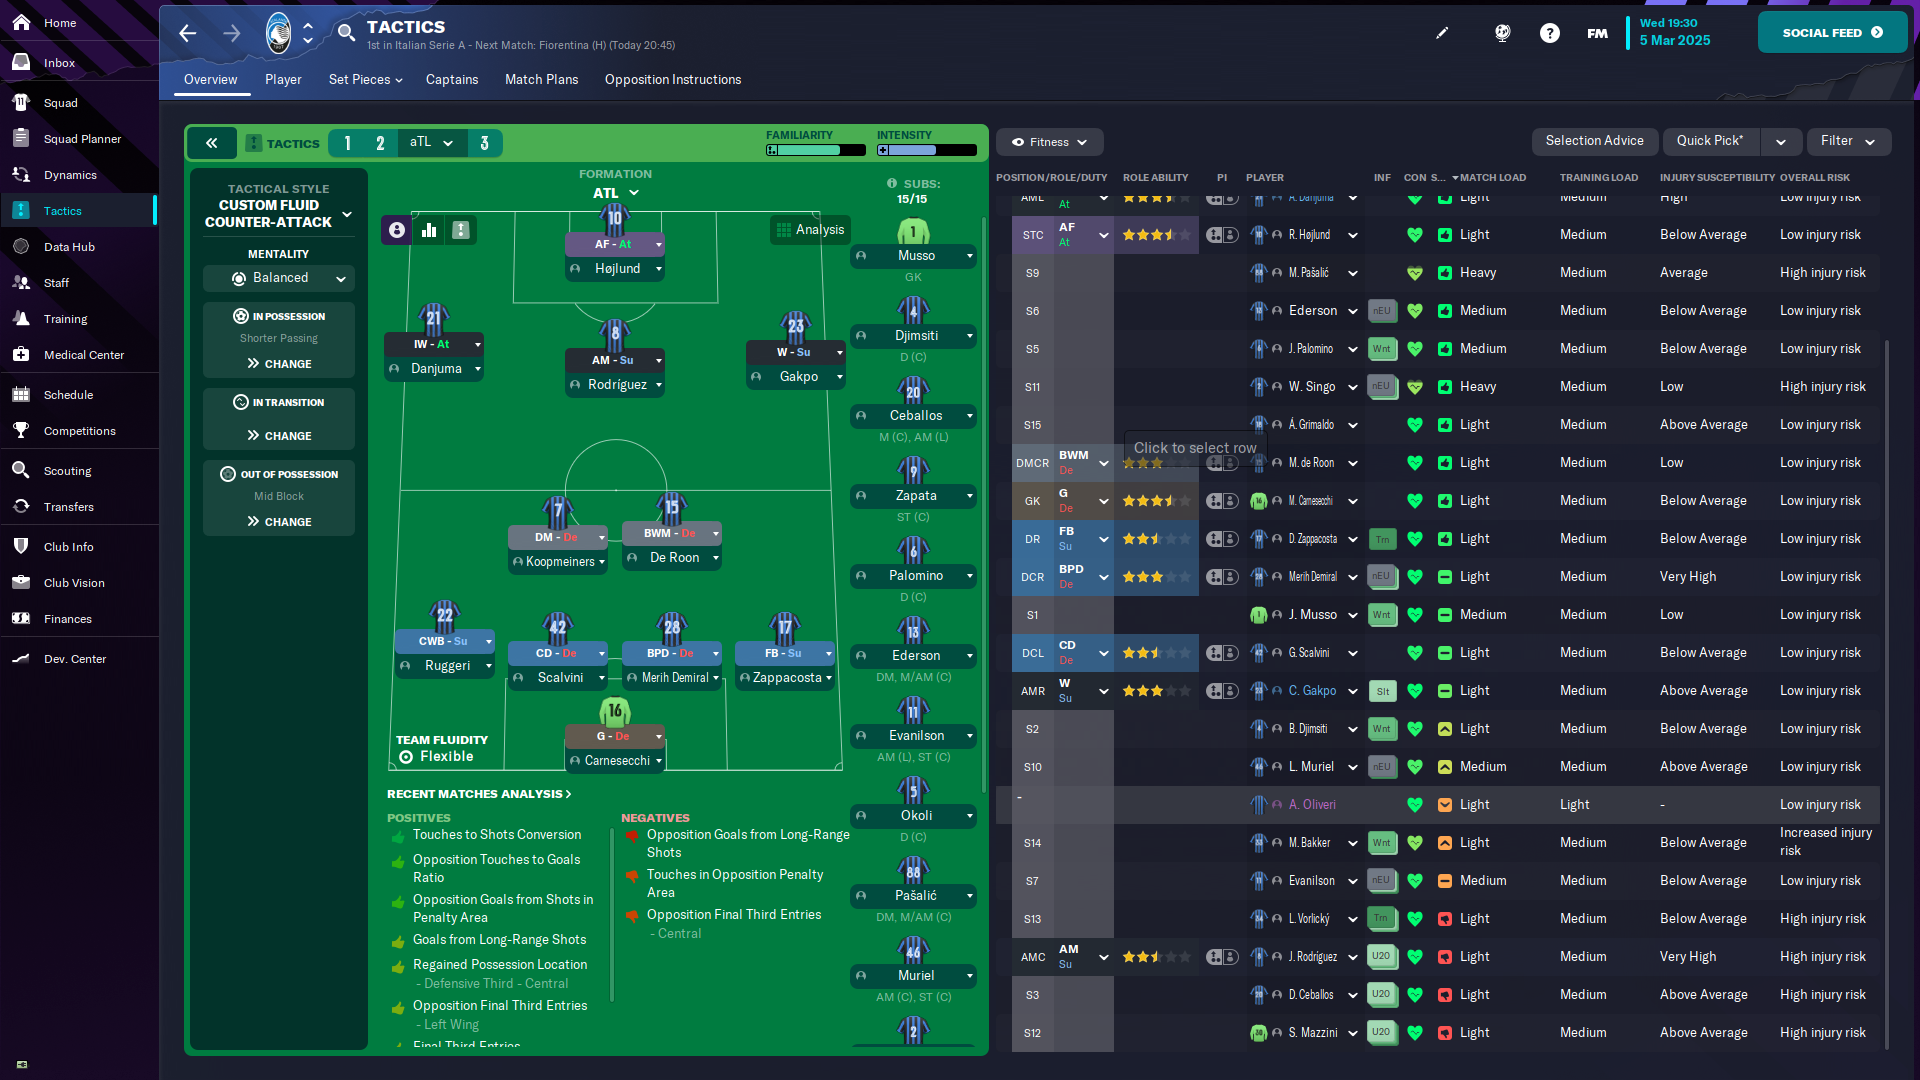
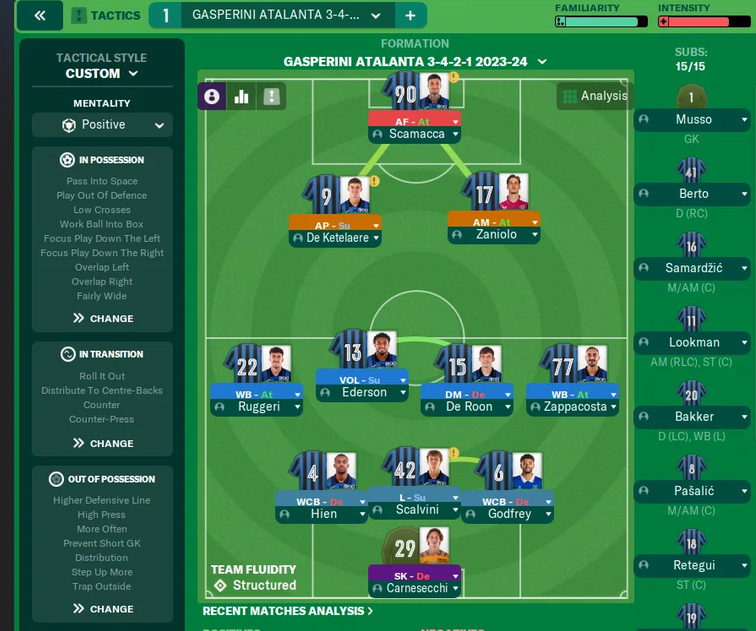
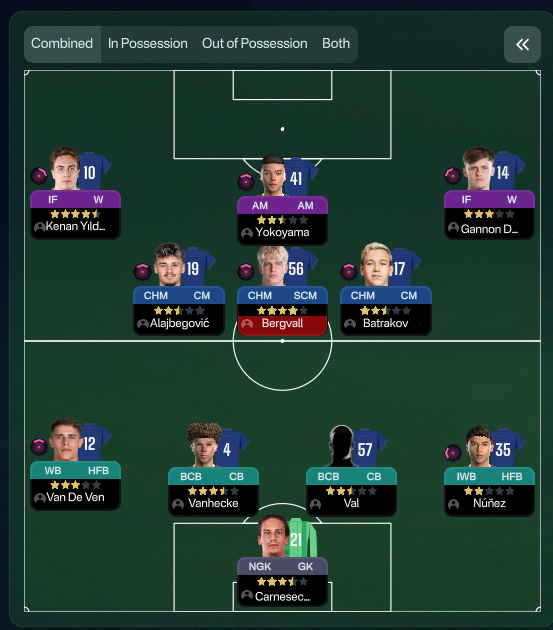
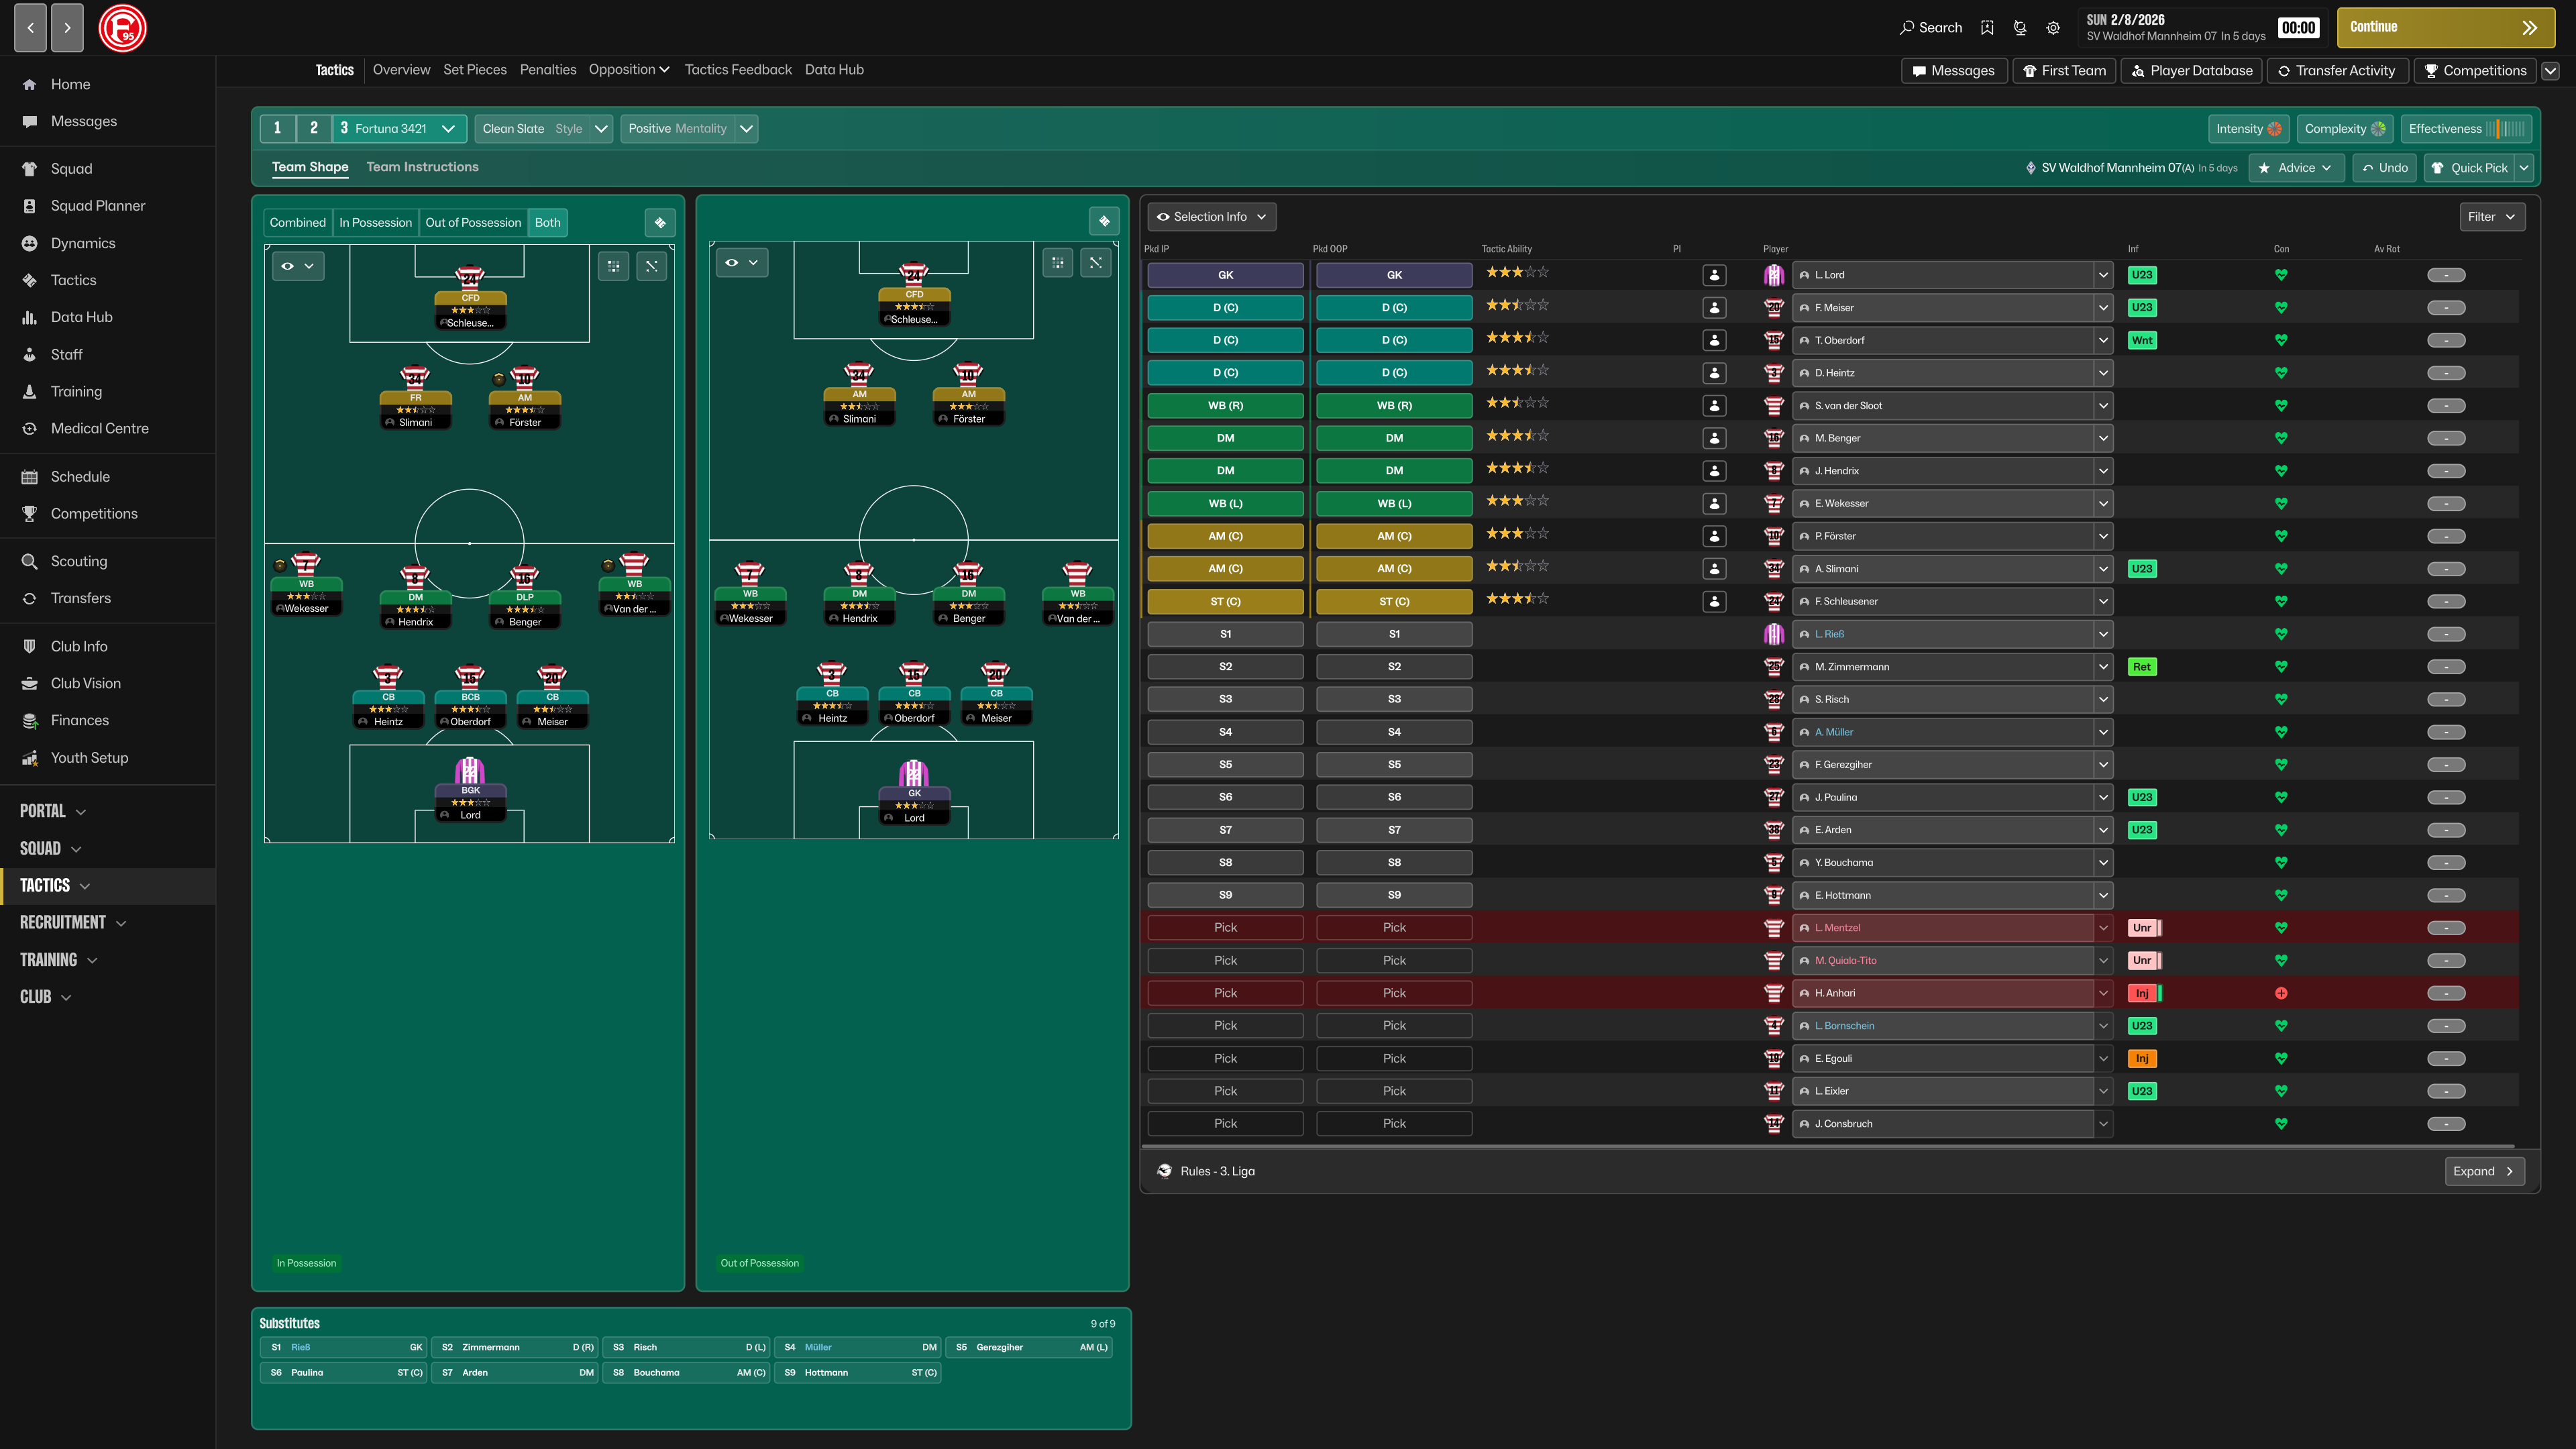
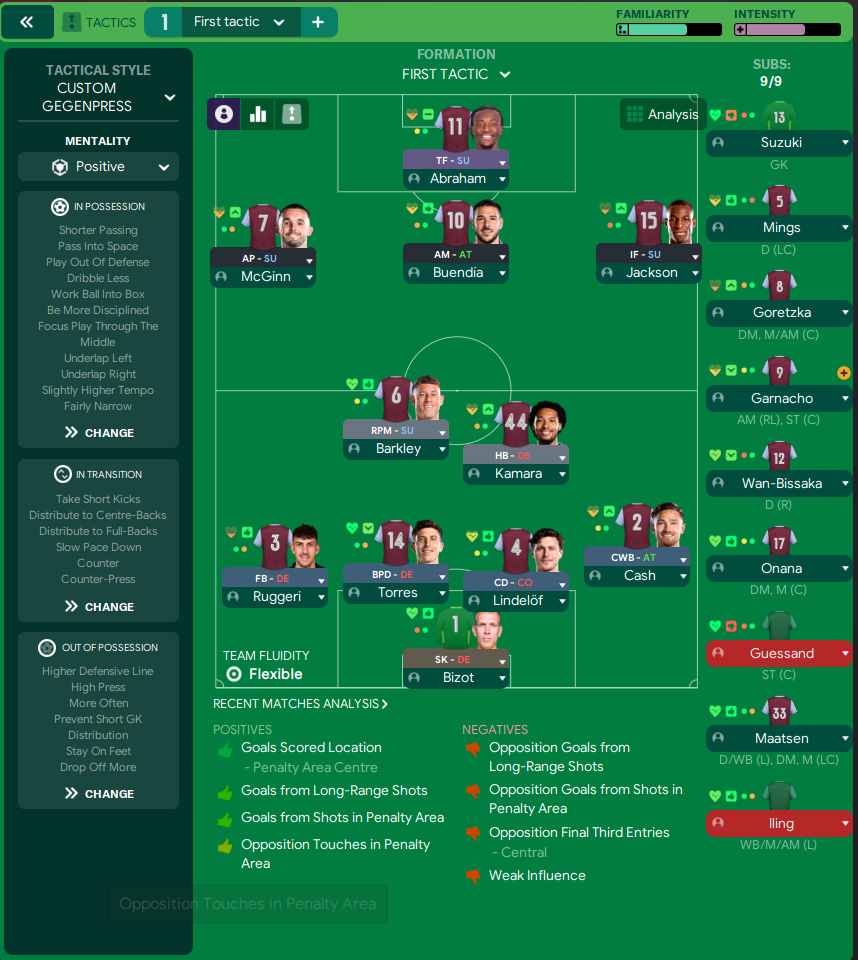
More Counter-Attack tactics
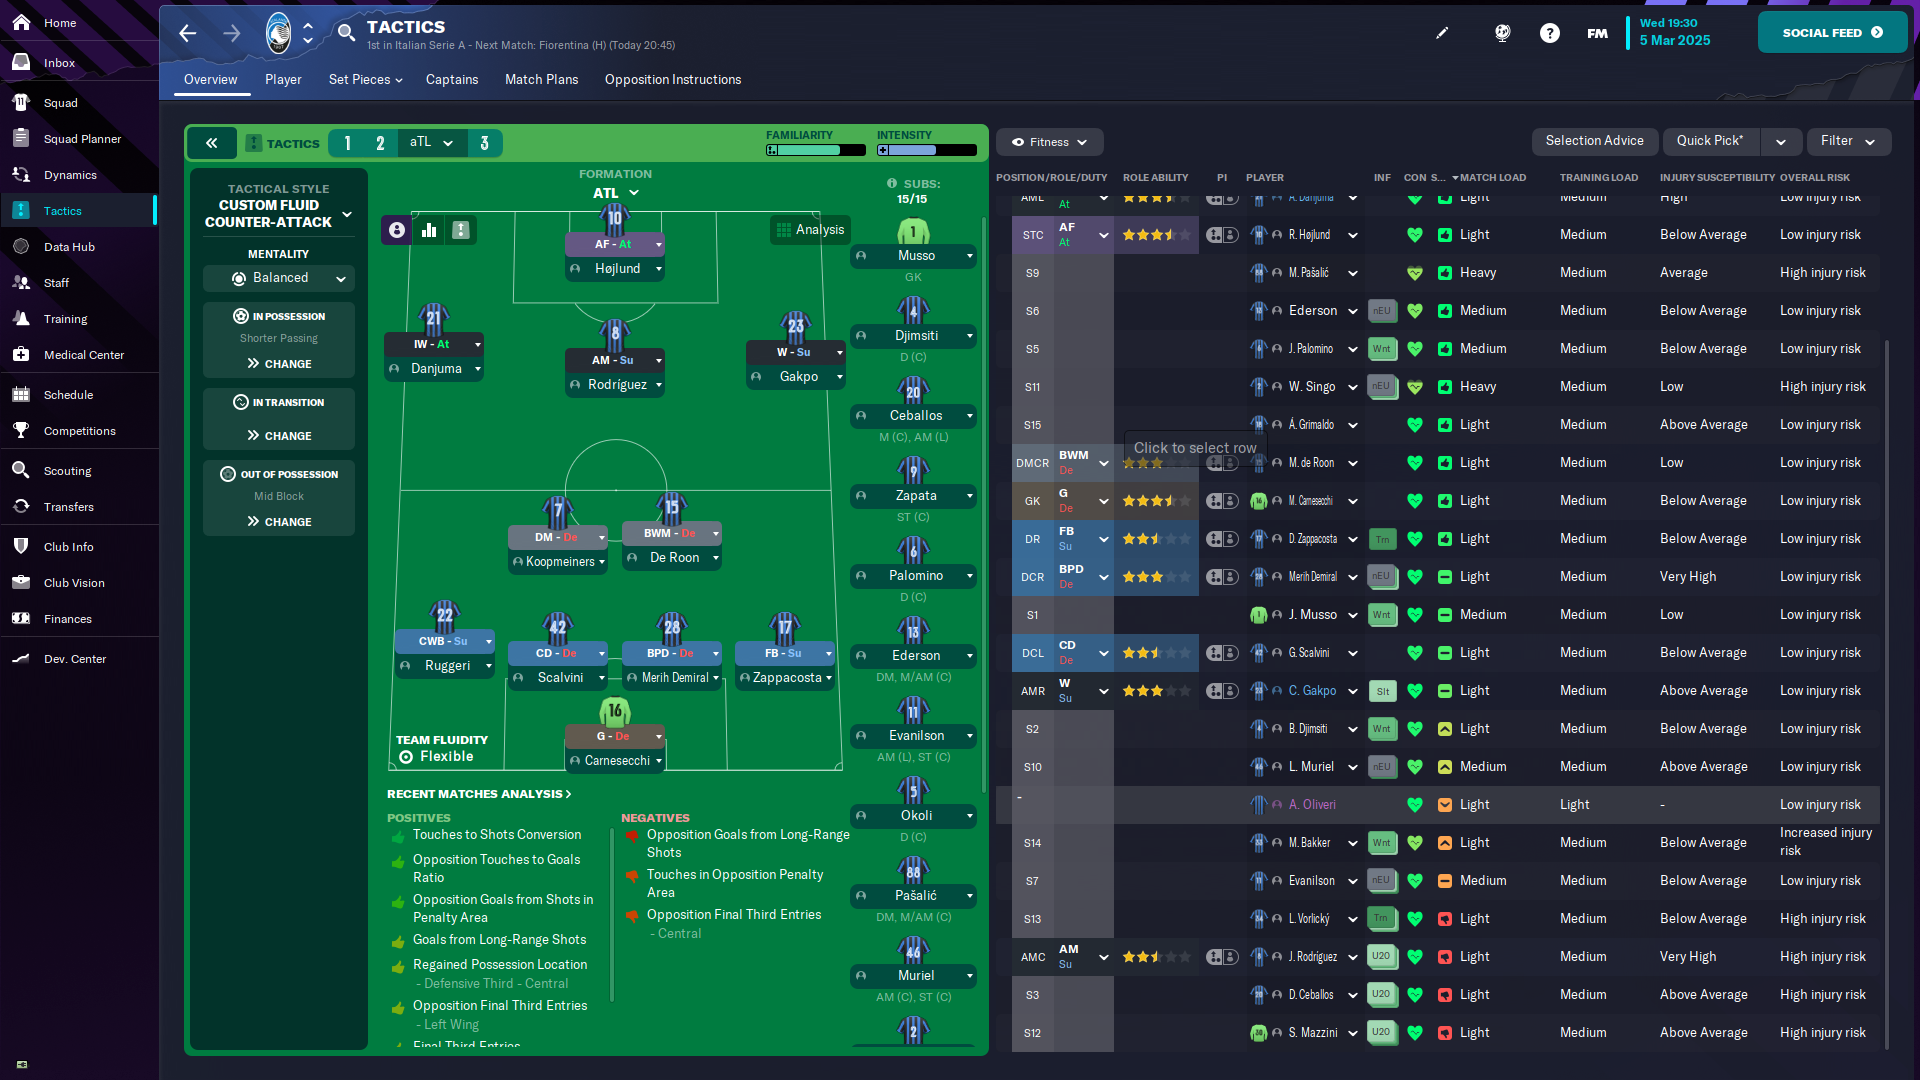
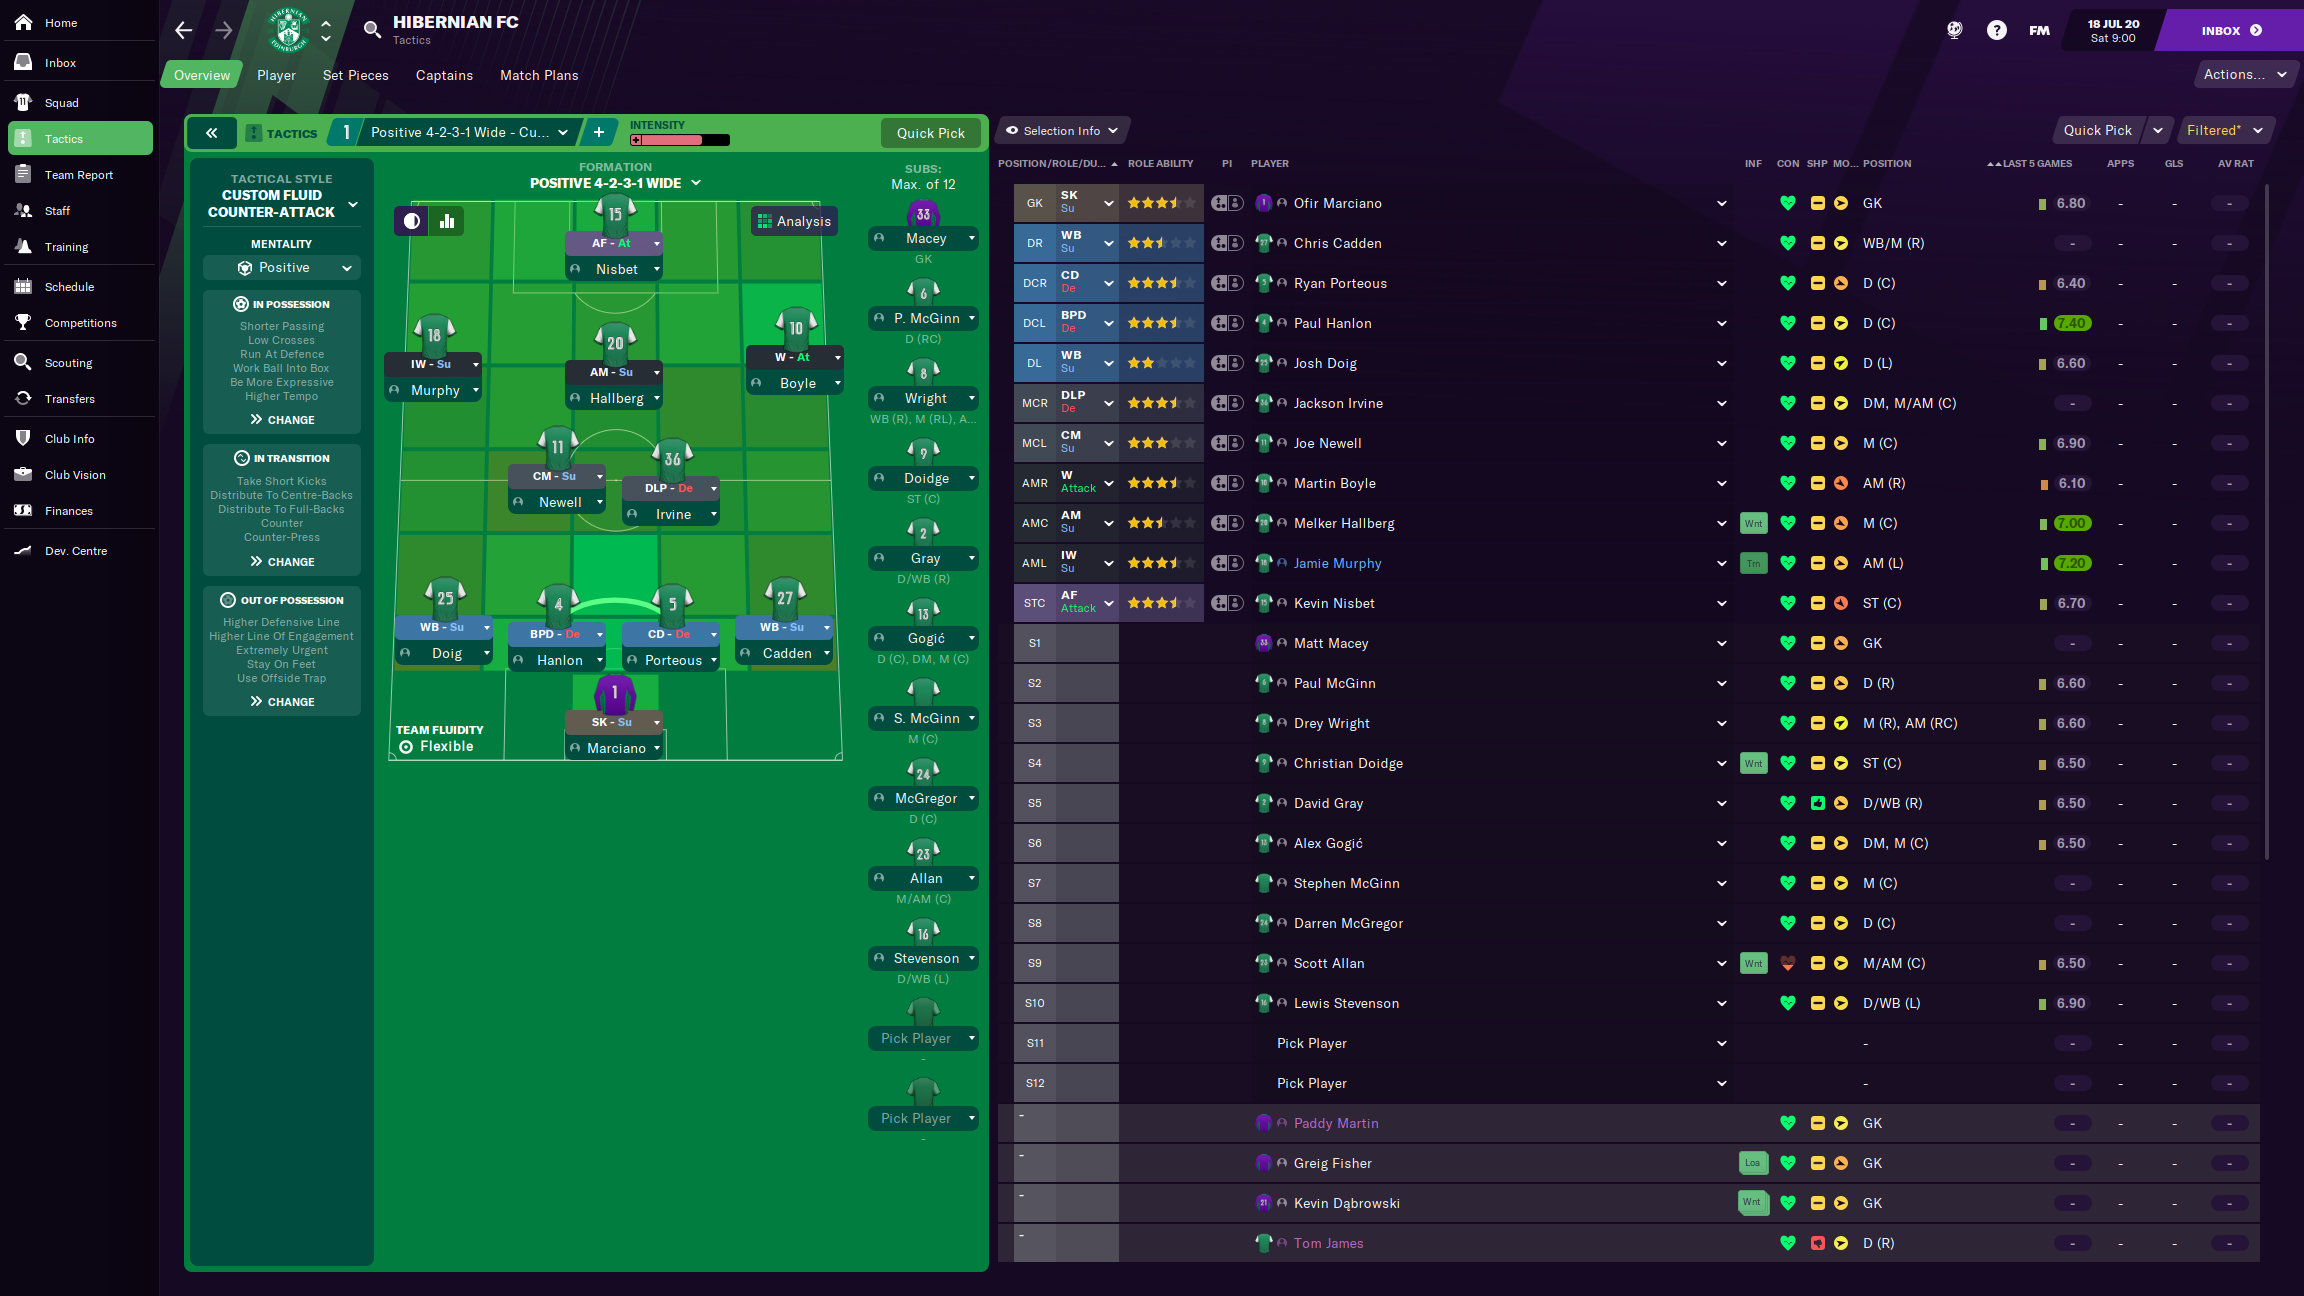
Guides for this tactic
The tactical theory behind the 3-4-2-1: roles, instructions, and the trade-offs that decide whether the system holds up.
Foundations
Pressing Triggers and Intensity
Counter-Press, Regroup, Stand Off, Trigger Press: what each pressing instruction does in FM and how to pair them without contradicting.
Read guide
Foundations
Defensive Line and Line of Engagement
The pairing rule for Defensive Line and Line of Engagement, all 9 combinations, and the gap that costs goals.
Read guide
Foundations
Width, Compactness, and Tempo
What Higher Tempo, Wider, and Narrower actually do in FM, plus the dial contradictions and antipatterns players run into most often.
Read guide