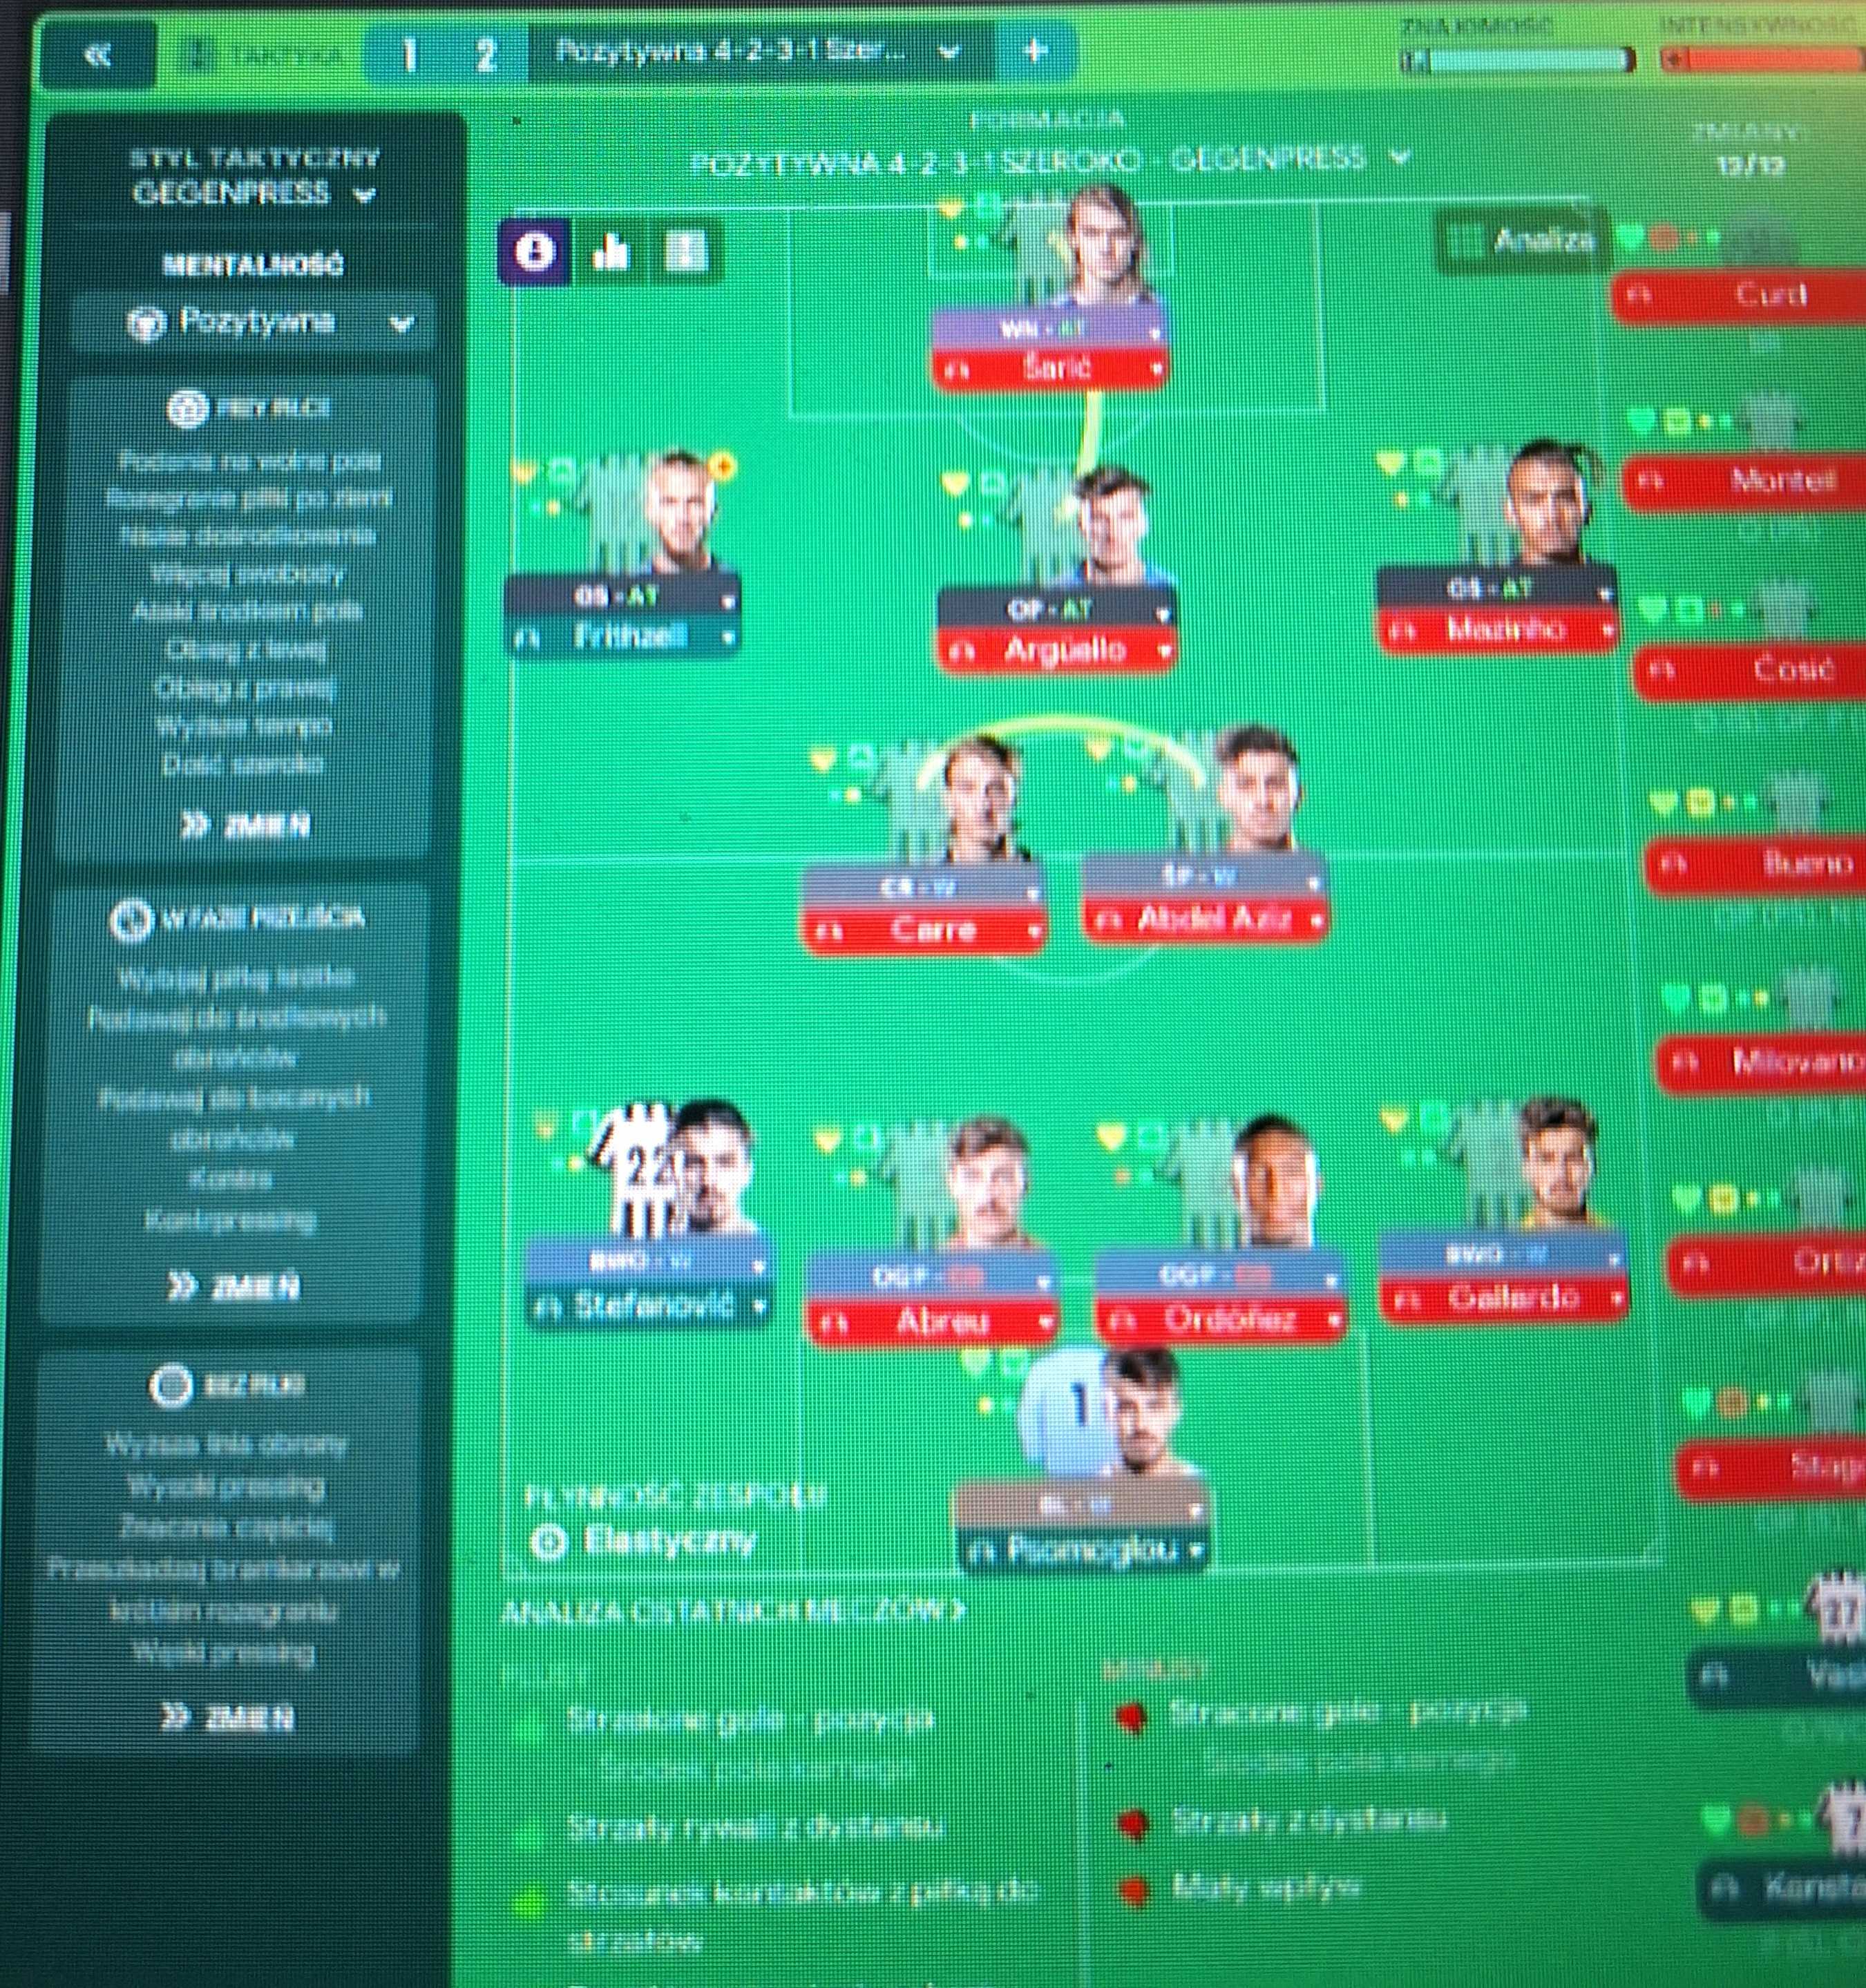
Gegenpress 3-4-2-1 (Attacking) Tactic
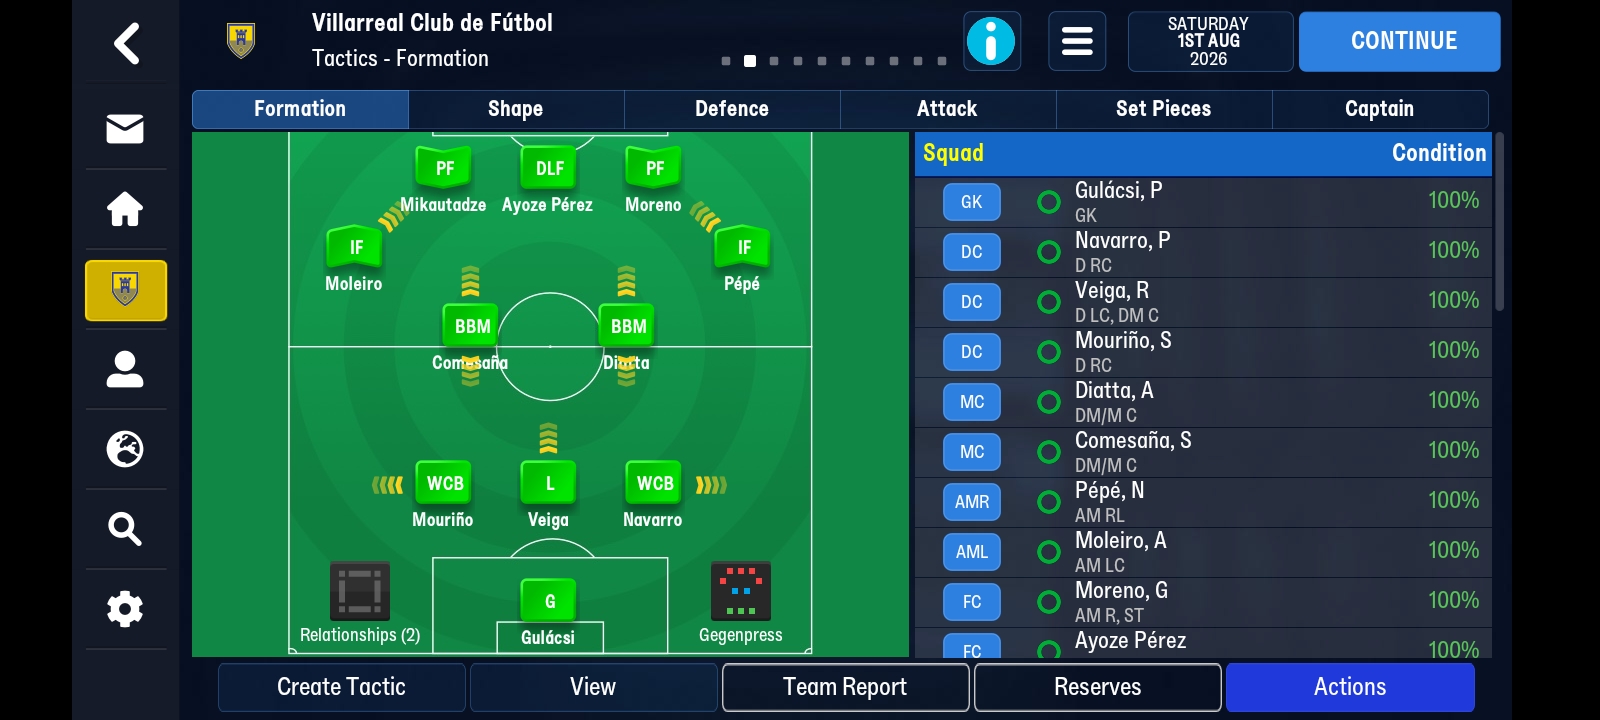
3-4-2-1
Utilizing width and fast breaks. Aggressive pressing system to win the ball high.
Loading tactical analysis...
Formation and style
Gegenpress
Attacking
3-4-2-1
Structured
In possession
Play Out of Defence
Focus Play Down the Left
Overlap Left
Be More Expressive
In transition
Counter-Press
Counter
Out of possession
Higher Defensive Line
Much Higher Line of Engagement
Trigger Press More Often
Player roles
GK
G
DC
WCB
DC
WCB
DC
L
DM
BBM
CM
BBM
AML
IF
AMR
IF
FC
PF
At
FC
DLF
Su
FC
PF
At
Phase description
Quick transitions and aggressive pressing to win the ball high up.
Immediate counter-press to regain possession.
Utilizing width and fast breaks.
Team shape defence
3-2
Balanced structure with three defenders and two midfielders providing cover.
WCB at [2,1] and [2,5] giving width.
Team shape attack
3-2-3
Three forwards stretching the defense and two inside forwards cutting in.
PF and DLF in central positions at [6,3] and [6,2] creating space.
Key strengths
High Pressing
Aggressive pressing system to win the ball high.
Gegenpress instruction indicates a focus on regaining possession immediately.
Wide Play
Utilizing width through inside forwards to stretch defenses.
IF roles at [5,1] and [5,5] with Play Down the Left focus.
Conflicting tactics
Central Congestion
Excessive players in central areas may limit width.
Two BBM roles in central zones with little distribution to wider players.
Defensive Vulnerability
Higher defensive line may expose back line to counter-attacks.
Higher Defensive Line and Higher Line of Engagement instructions.
Risk exposures
Risk Exposures
Items
Defensive Line
Pushes defenders higher and leaves gaps for counter-attacks.
Higher Defensive Line instruction.
Midfield
Dual BBM roles could lead to positional overlaps and isolation of wide players.
BBM at [4,3] and [4,4] with limited width.
Role synergies
Role Synergies
Items
BBM and IF
BBMs can provide support to inside forwards, facilitating overloads.
BBMs at [4,3] and [4,4] connecting with IFs.
WCB and BBM
WCBs can support BBMs in build-up while also providing defensive stability.
WCBs at [2,1] and [2,5] with BBM roles nearby.
Suggested questions
How can we improve the width in attacking play?
What adjustments should be made to the defensive setup to minimize risks?
Are the current roles for forwards optimized for space usage?
Related Tactics
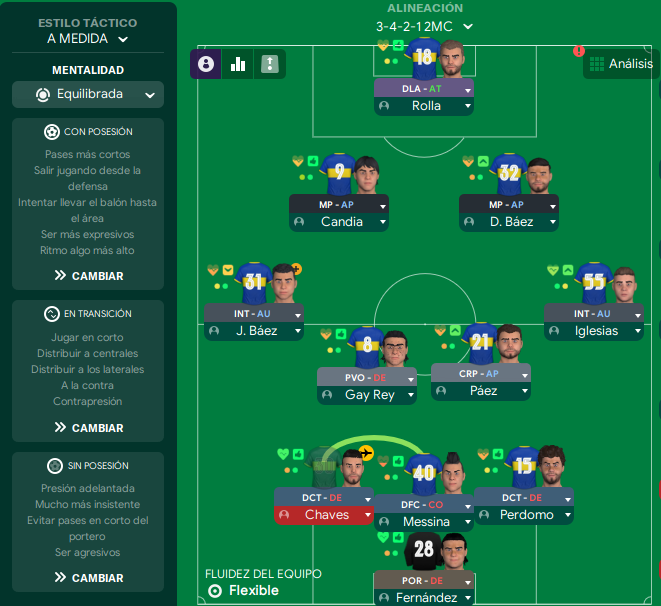
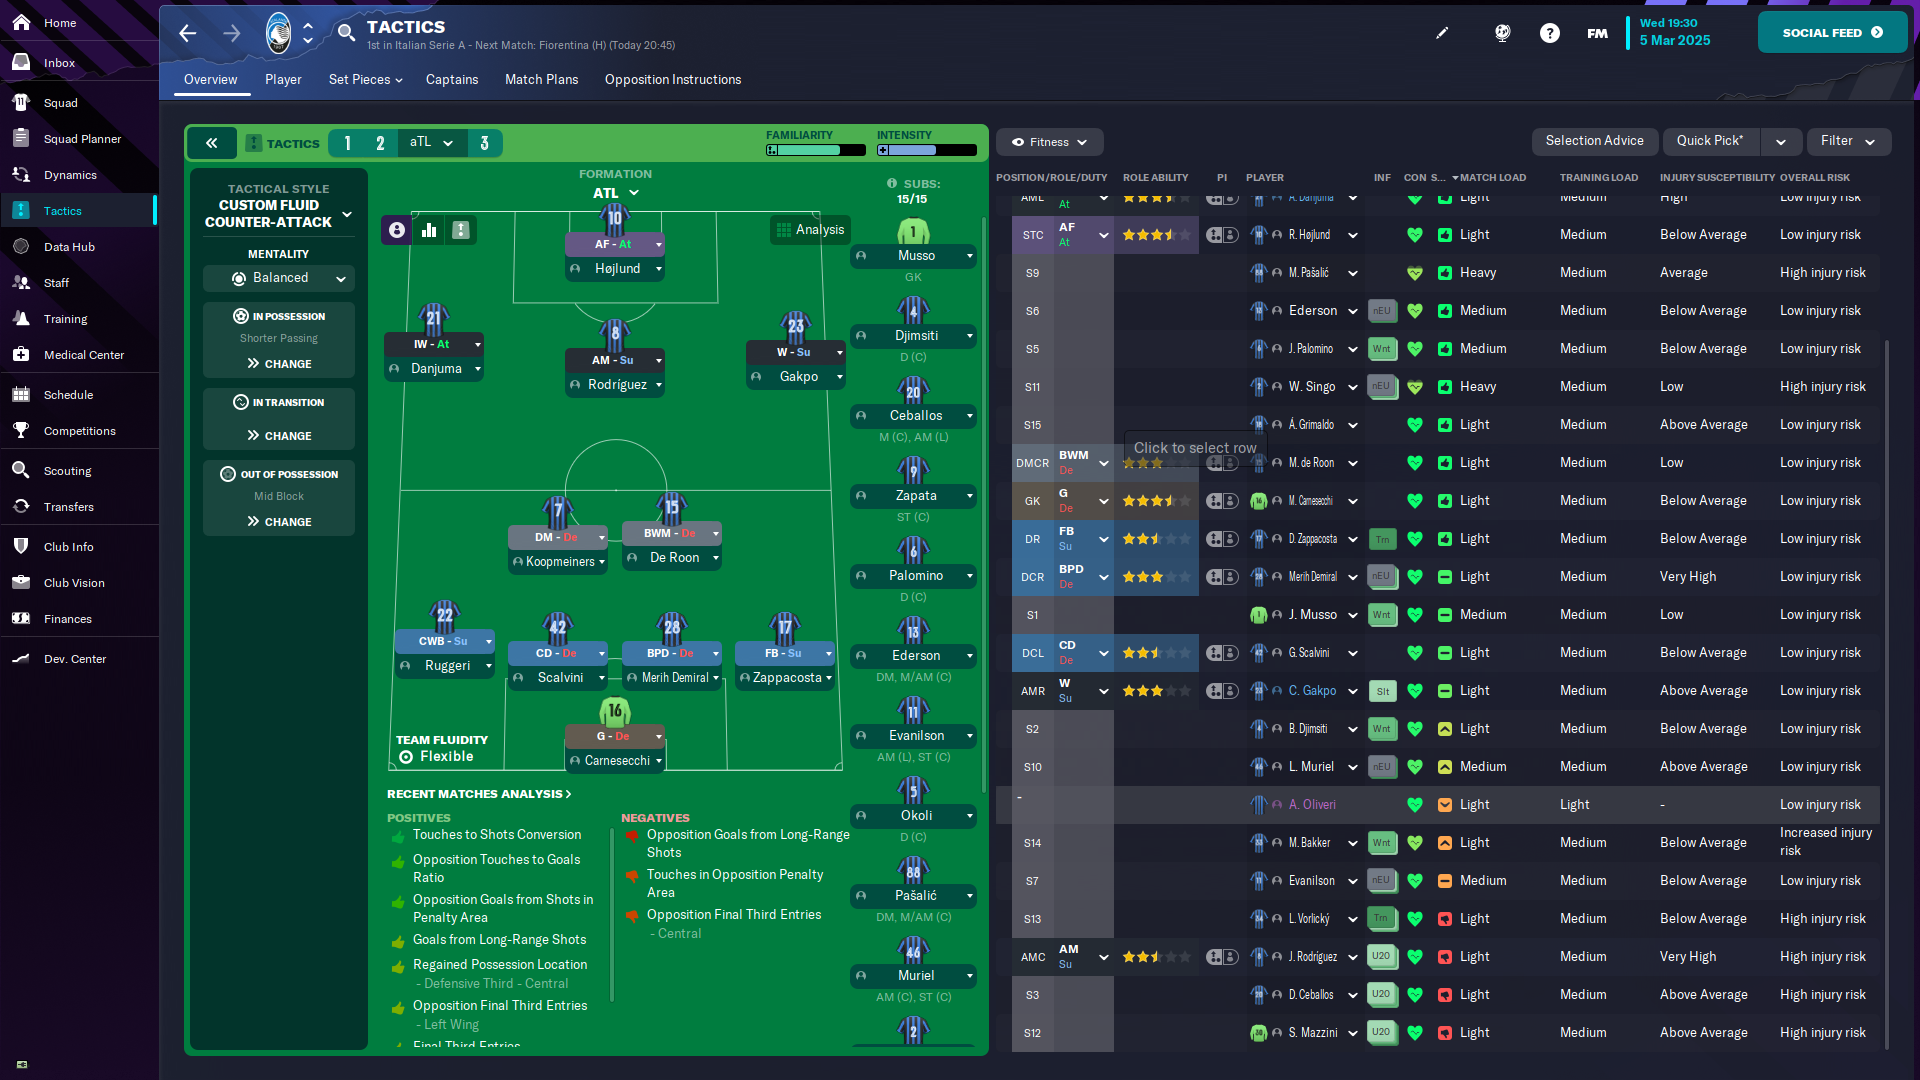
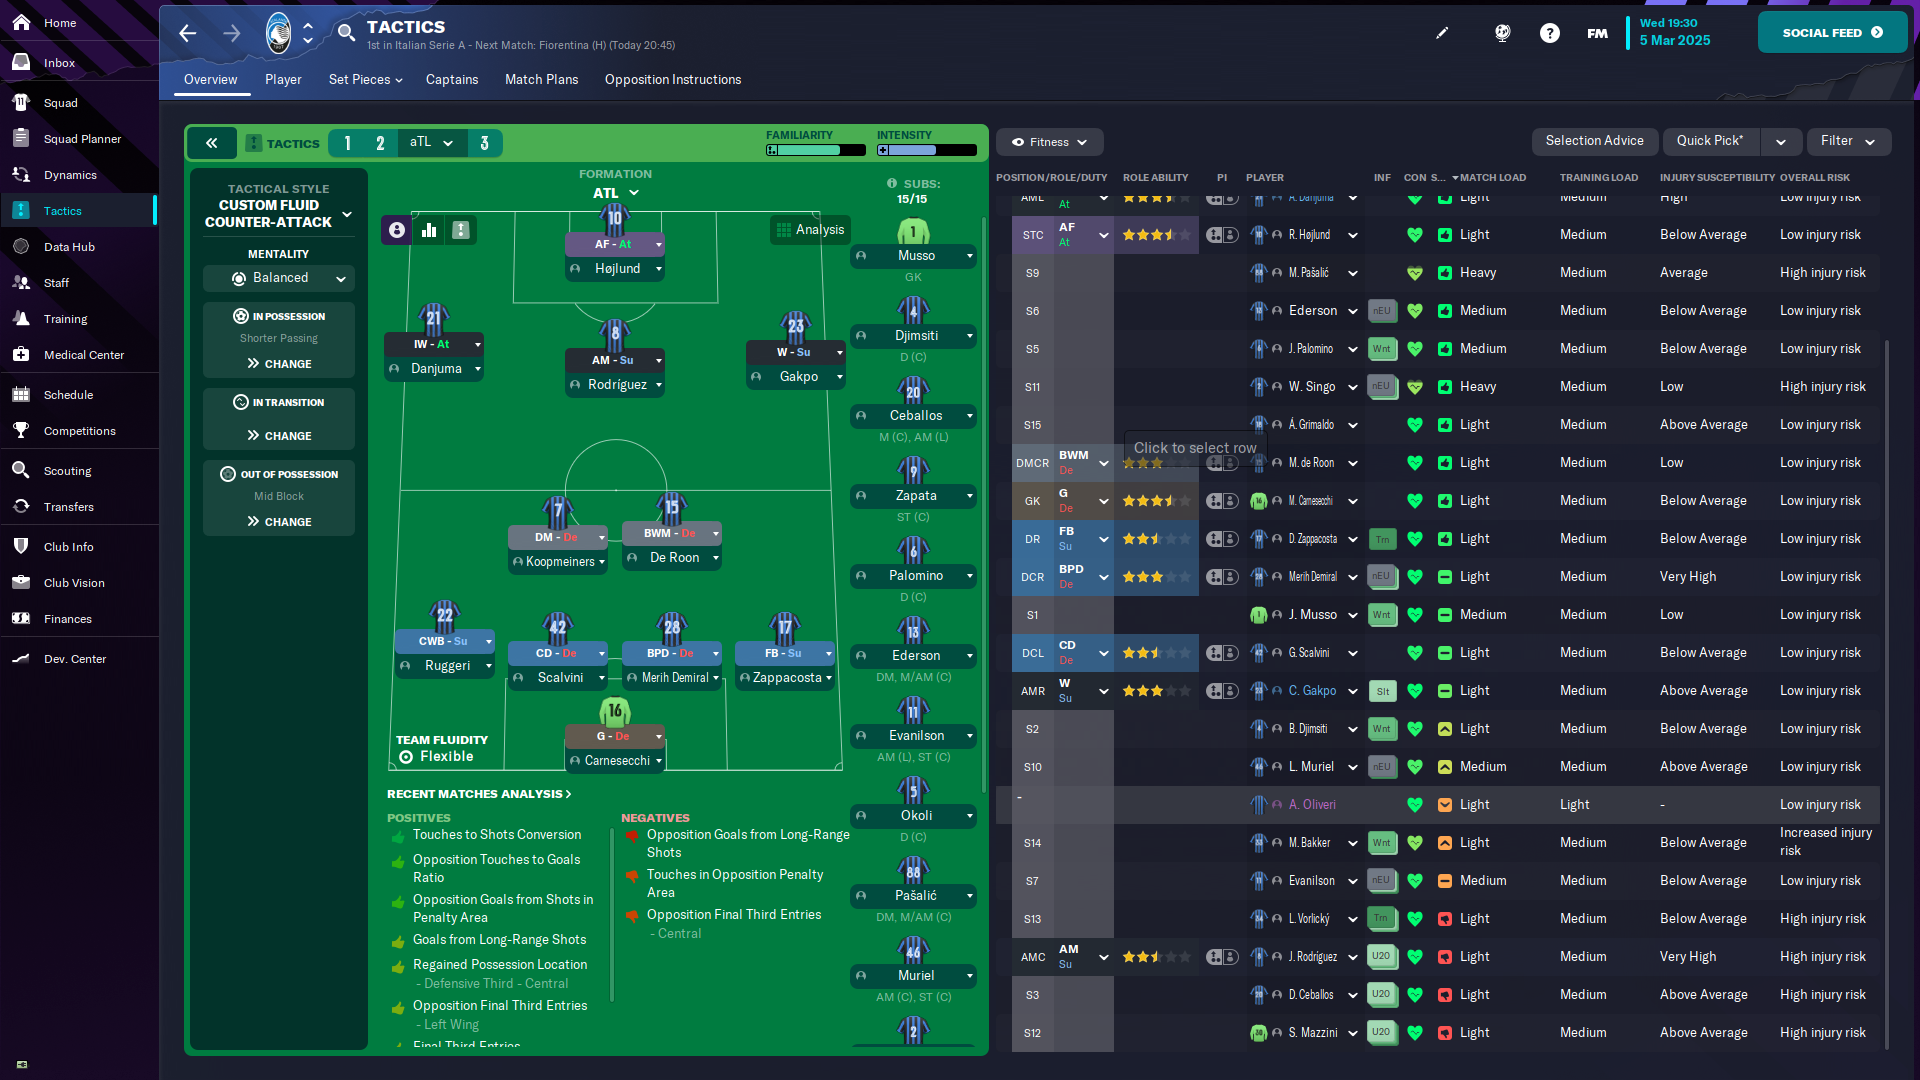
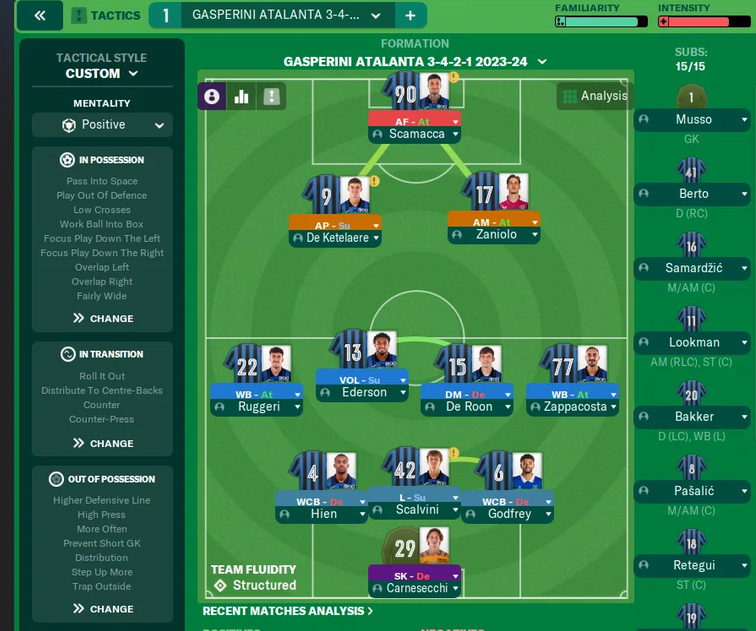
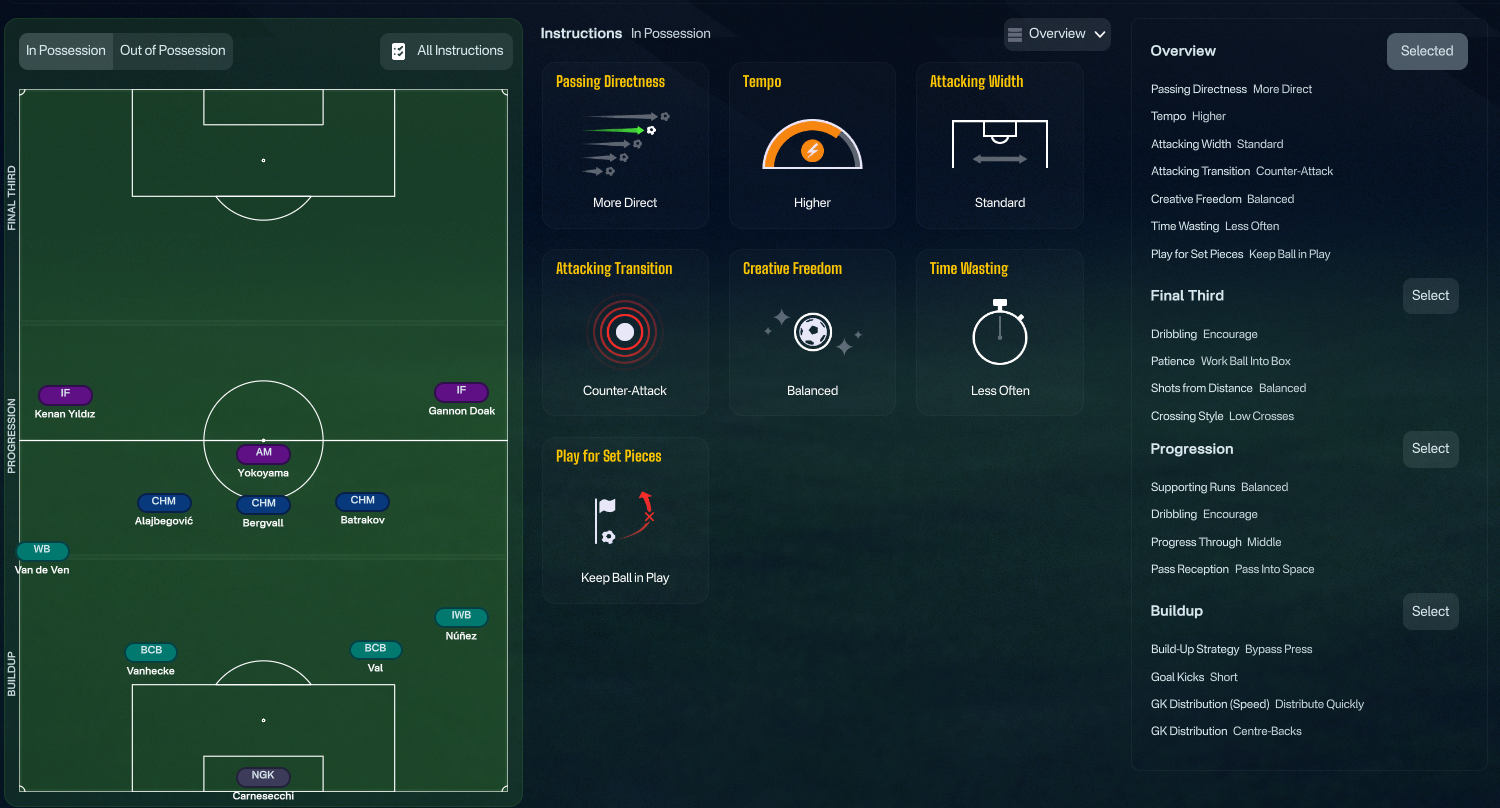
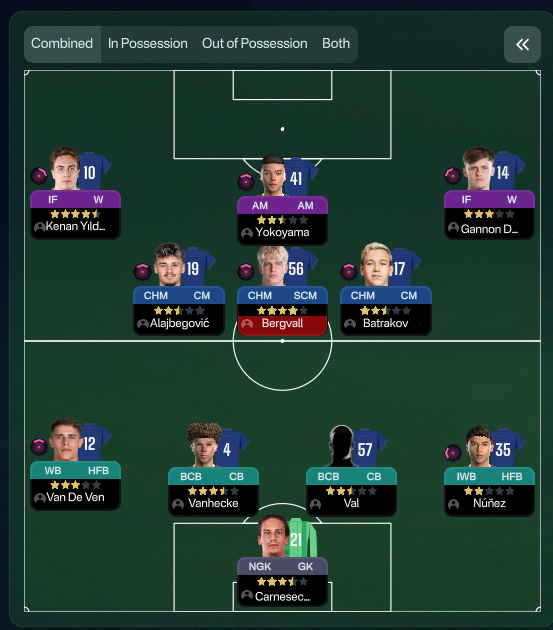
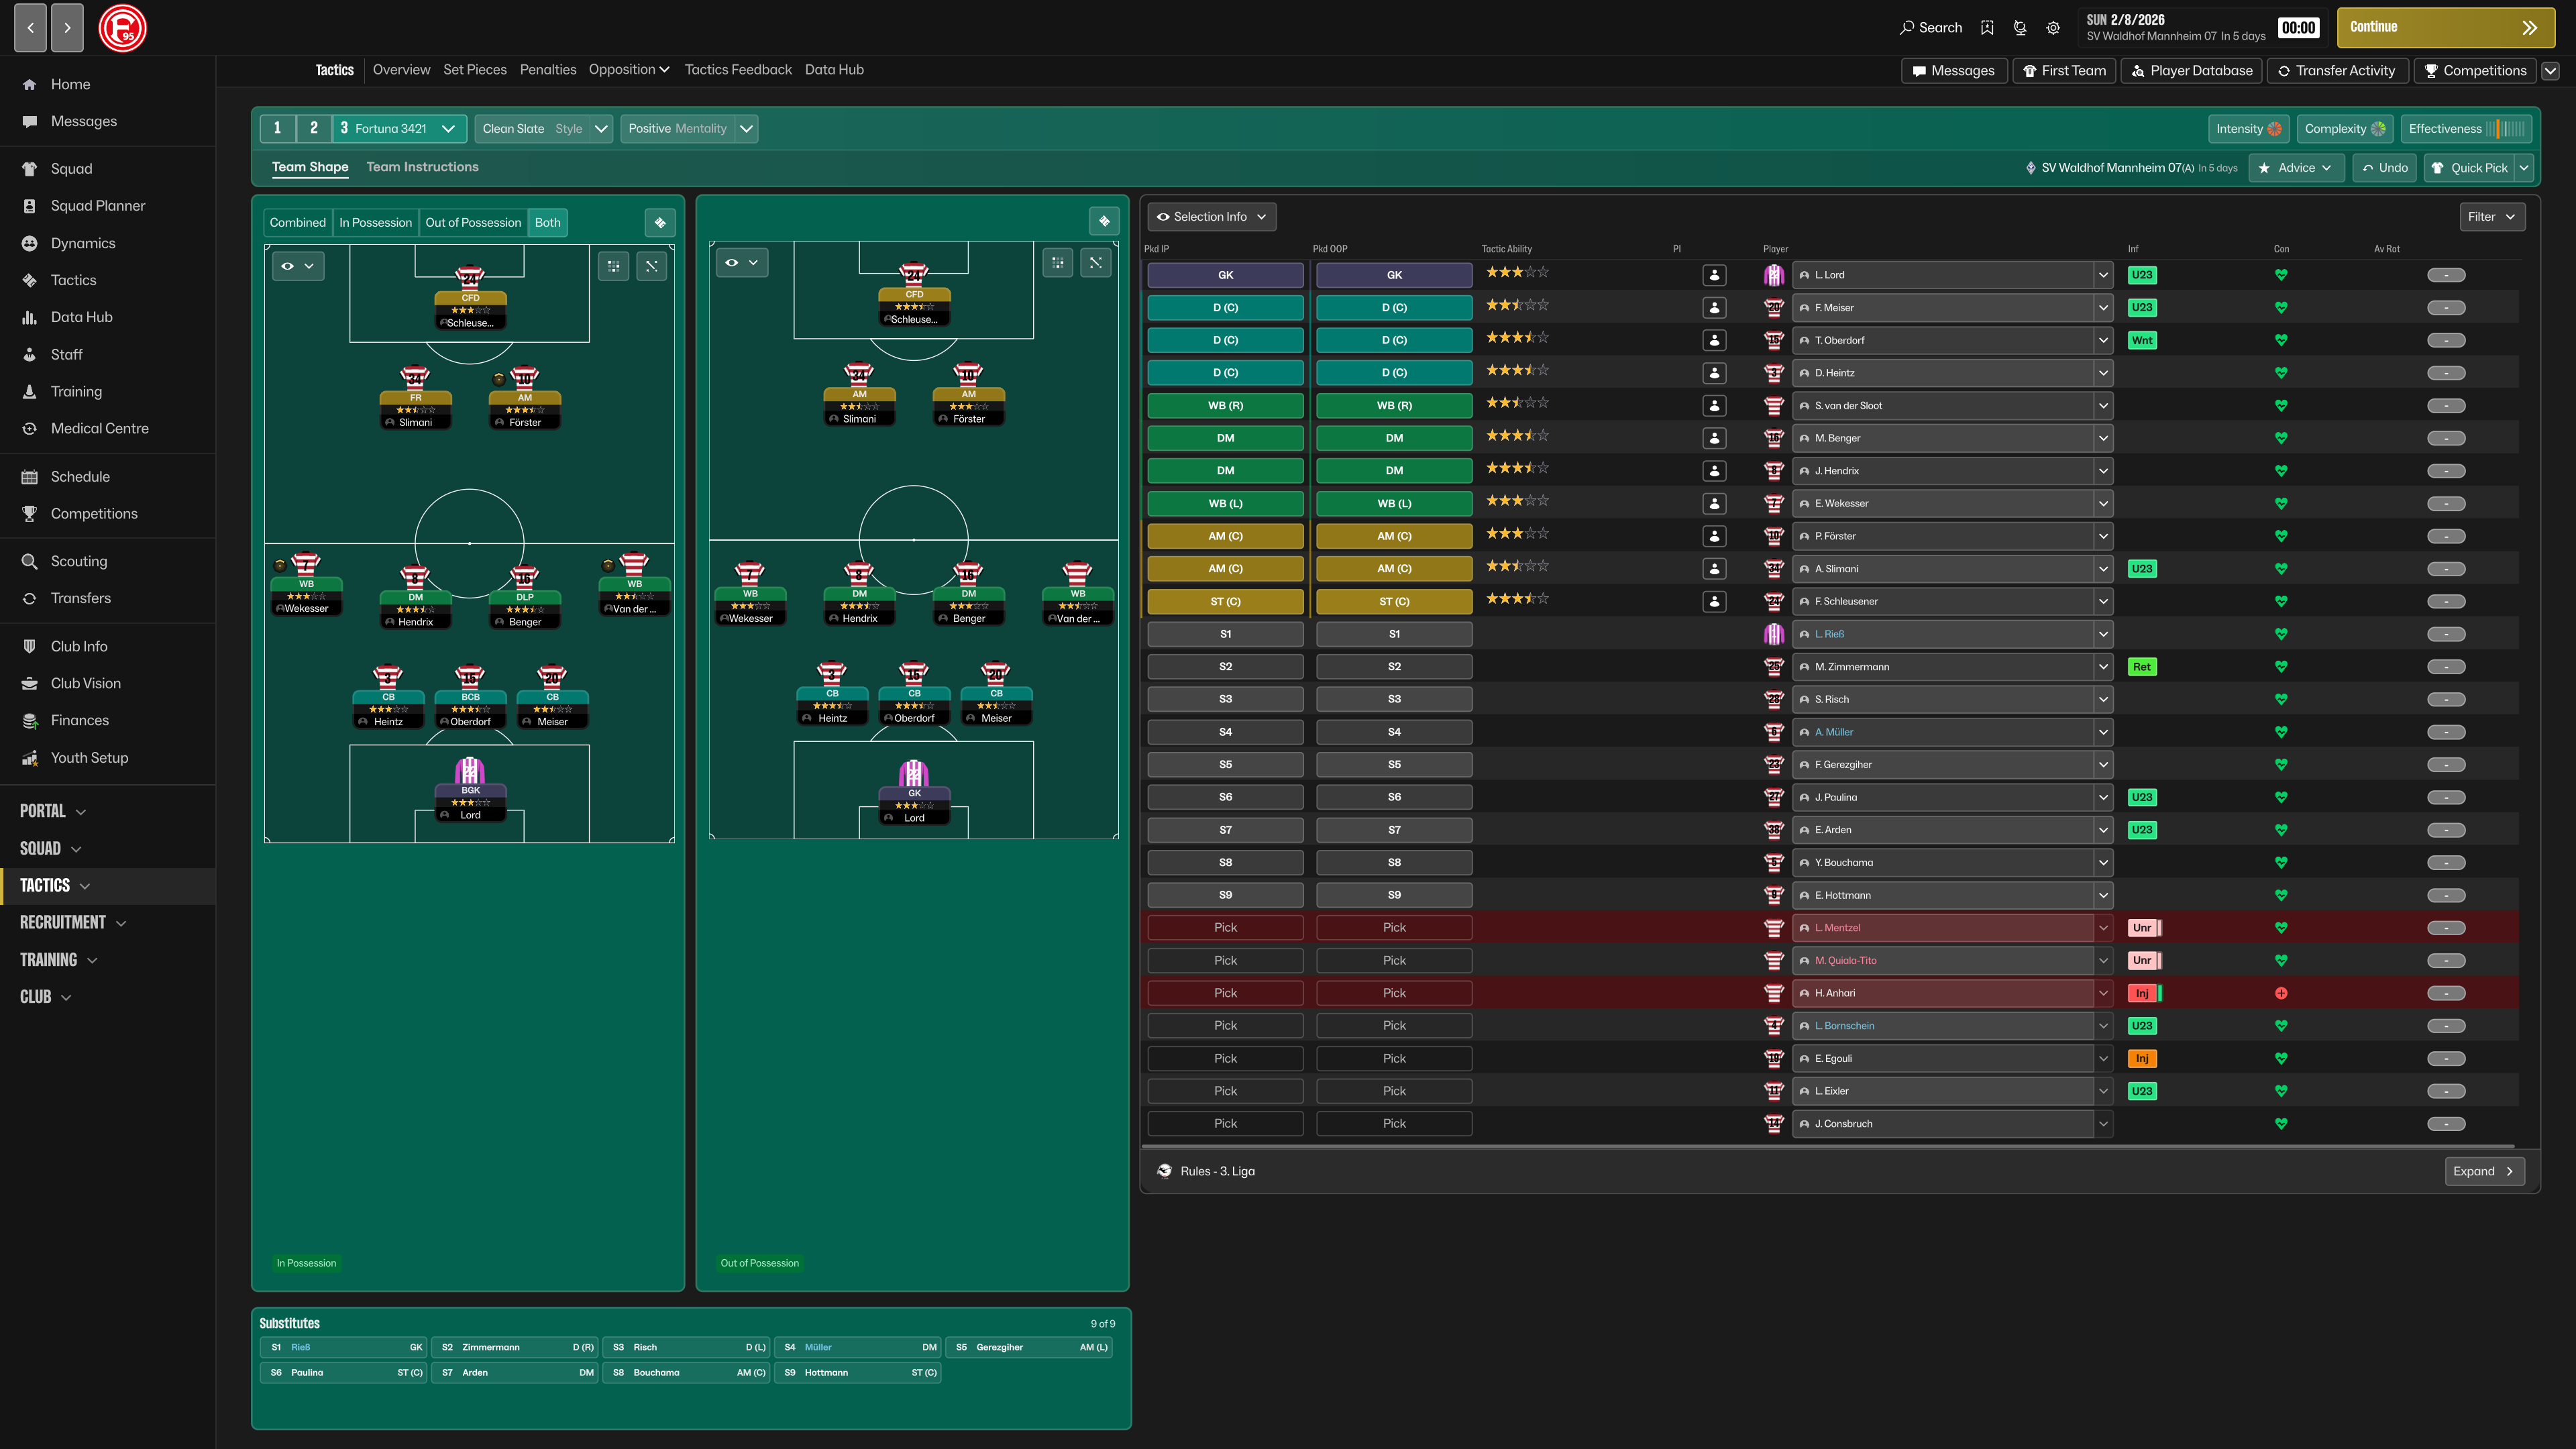
More Gegenpress tactics
Guides for this tactic
The tactical theory behind the 3-4-2-1: roles, instructions, and the trade-offs that decide whether the system holds up.
Foundations
Defensive Transitions
The five seconds after losing the ball decide most matches. Counter-press, drop-and-recover, and how to know which one you should be doing.
Read guide
Match preparation
Set Piece Mastery
Routines, takers, and target picks. How to turn corners and free-kicks into a reliable third of your goal output.
Read guide
Match preparation
Game-State Tactics
Protect a 1-0, chase a 1-0, hold a draw away. How to manage game state in FM through duties and roles, not by lurching to Defensive.
Read guide