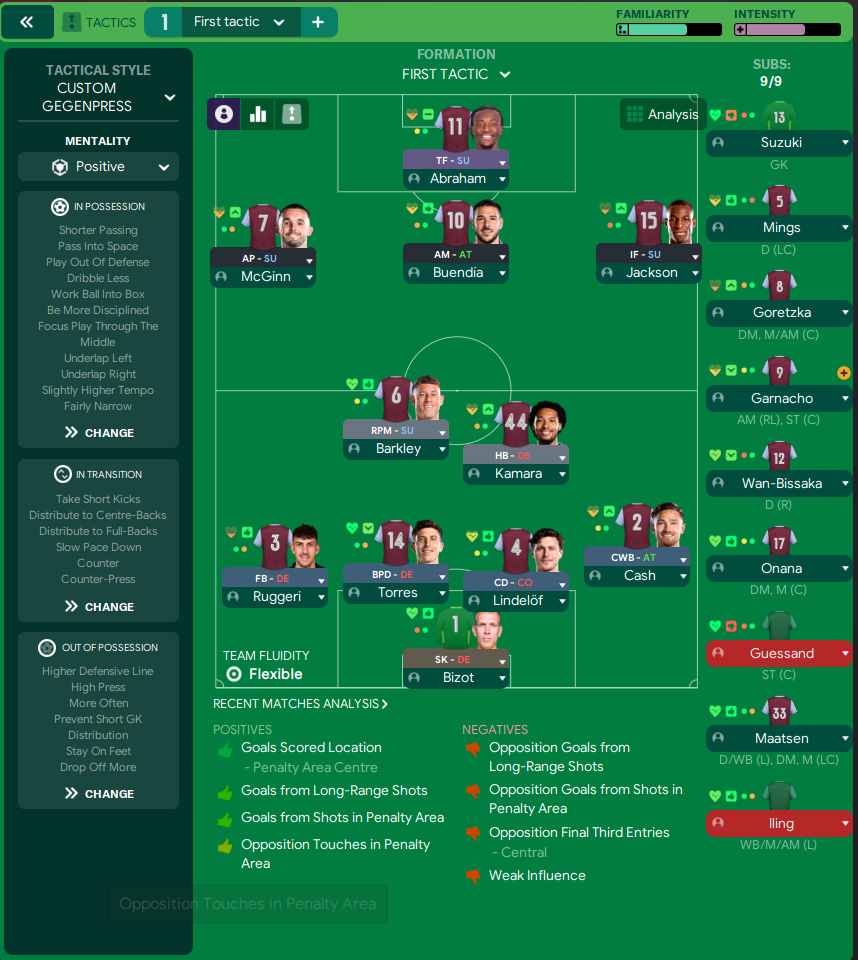
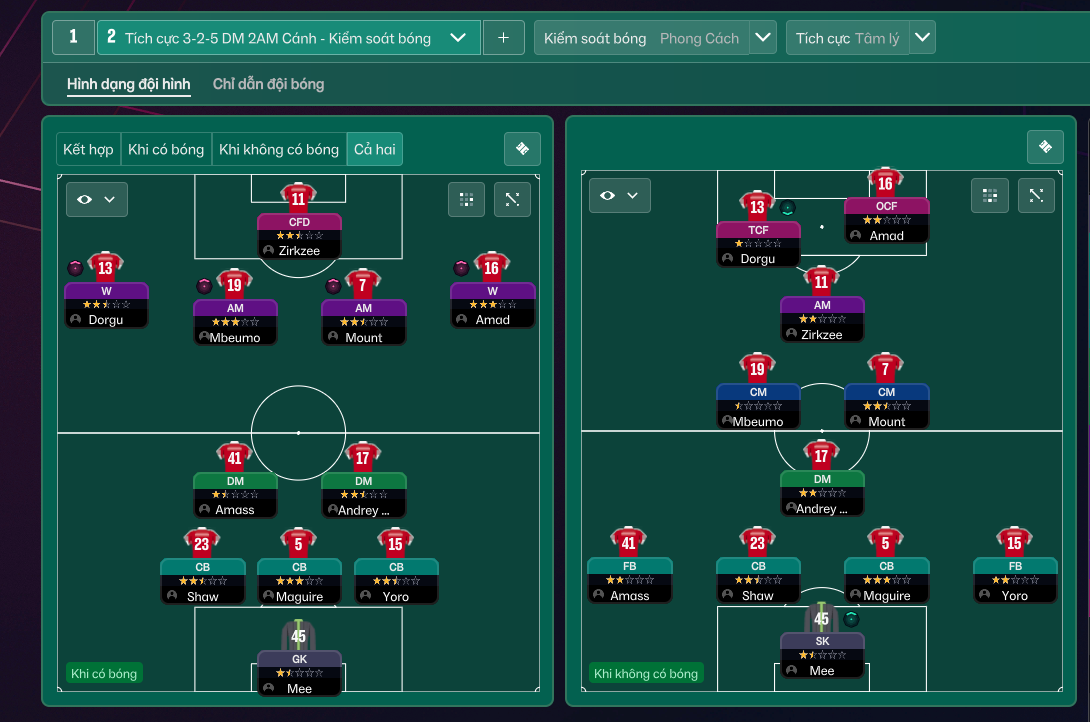
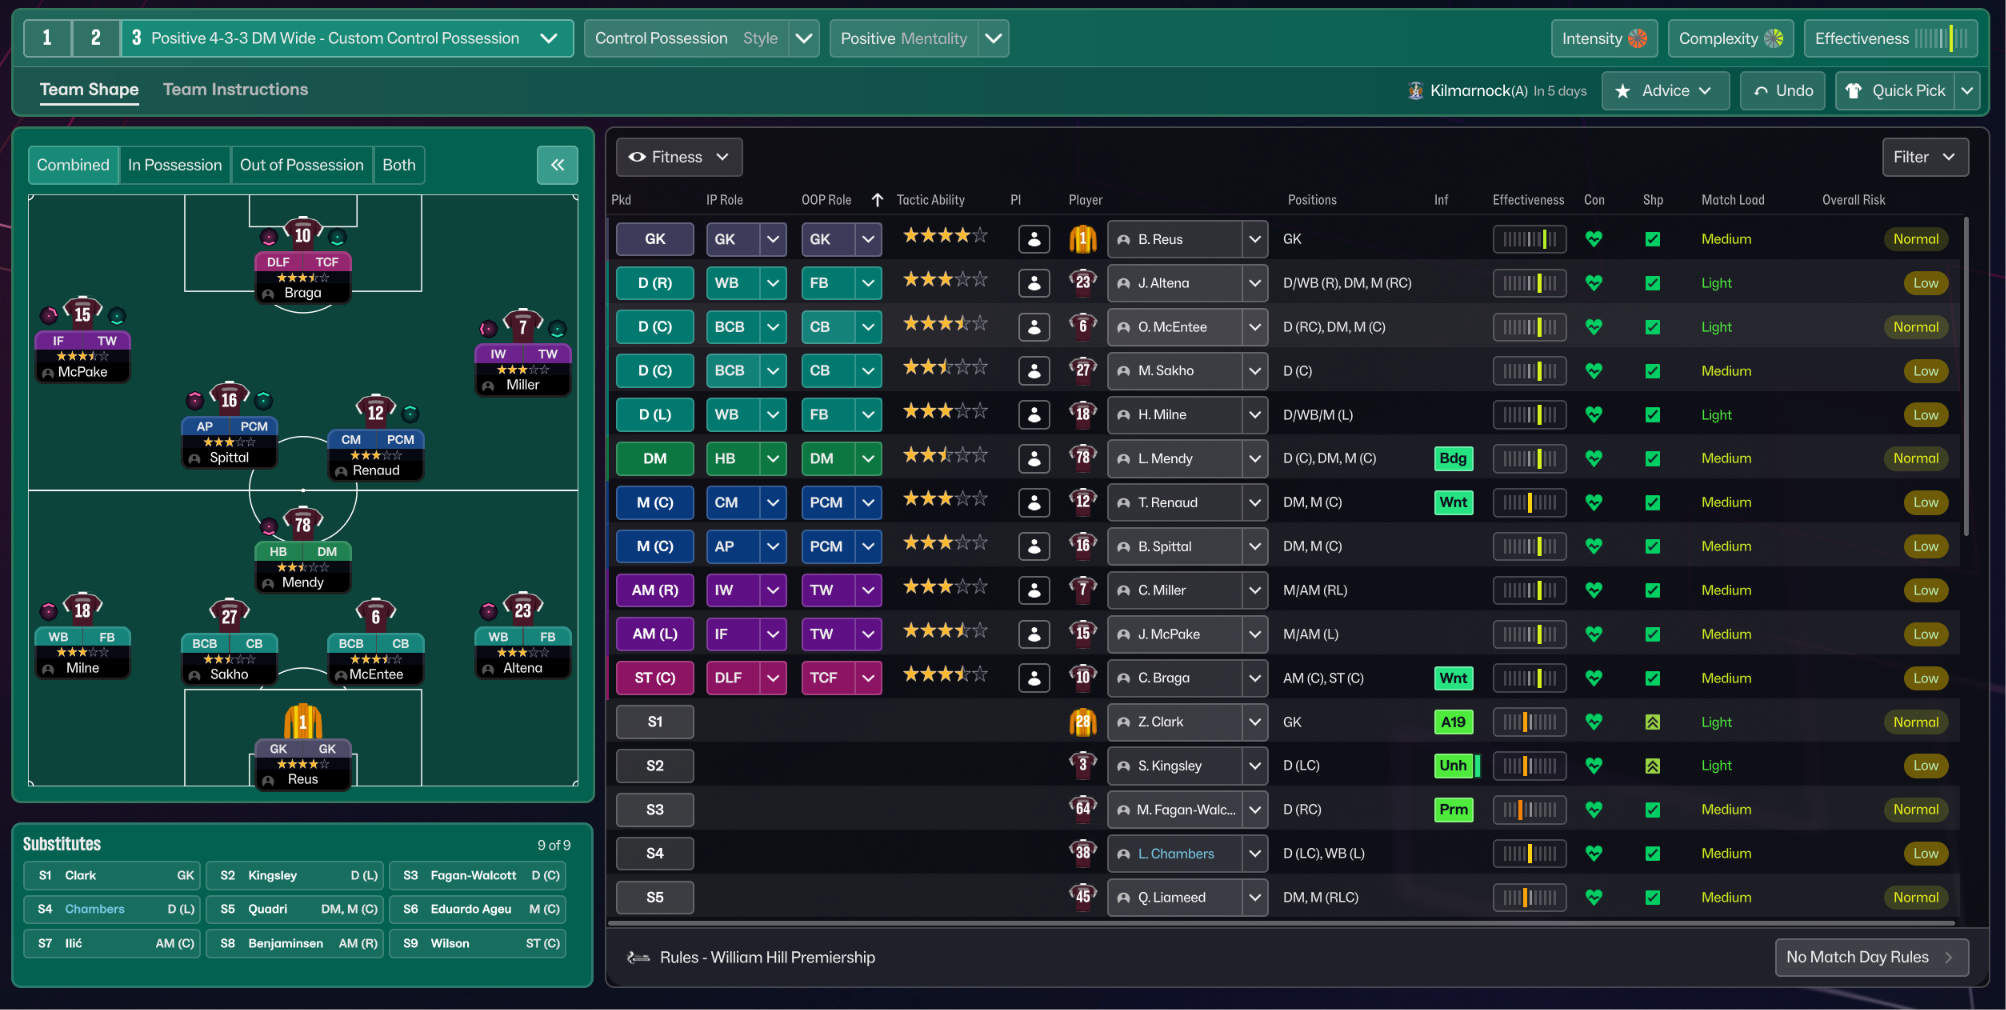
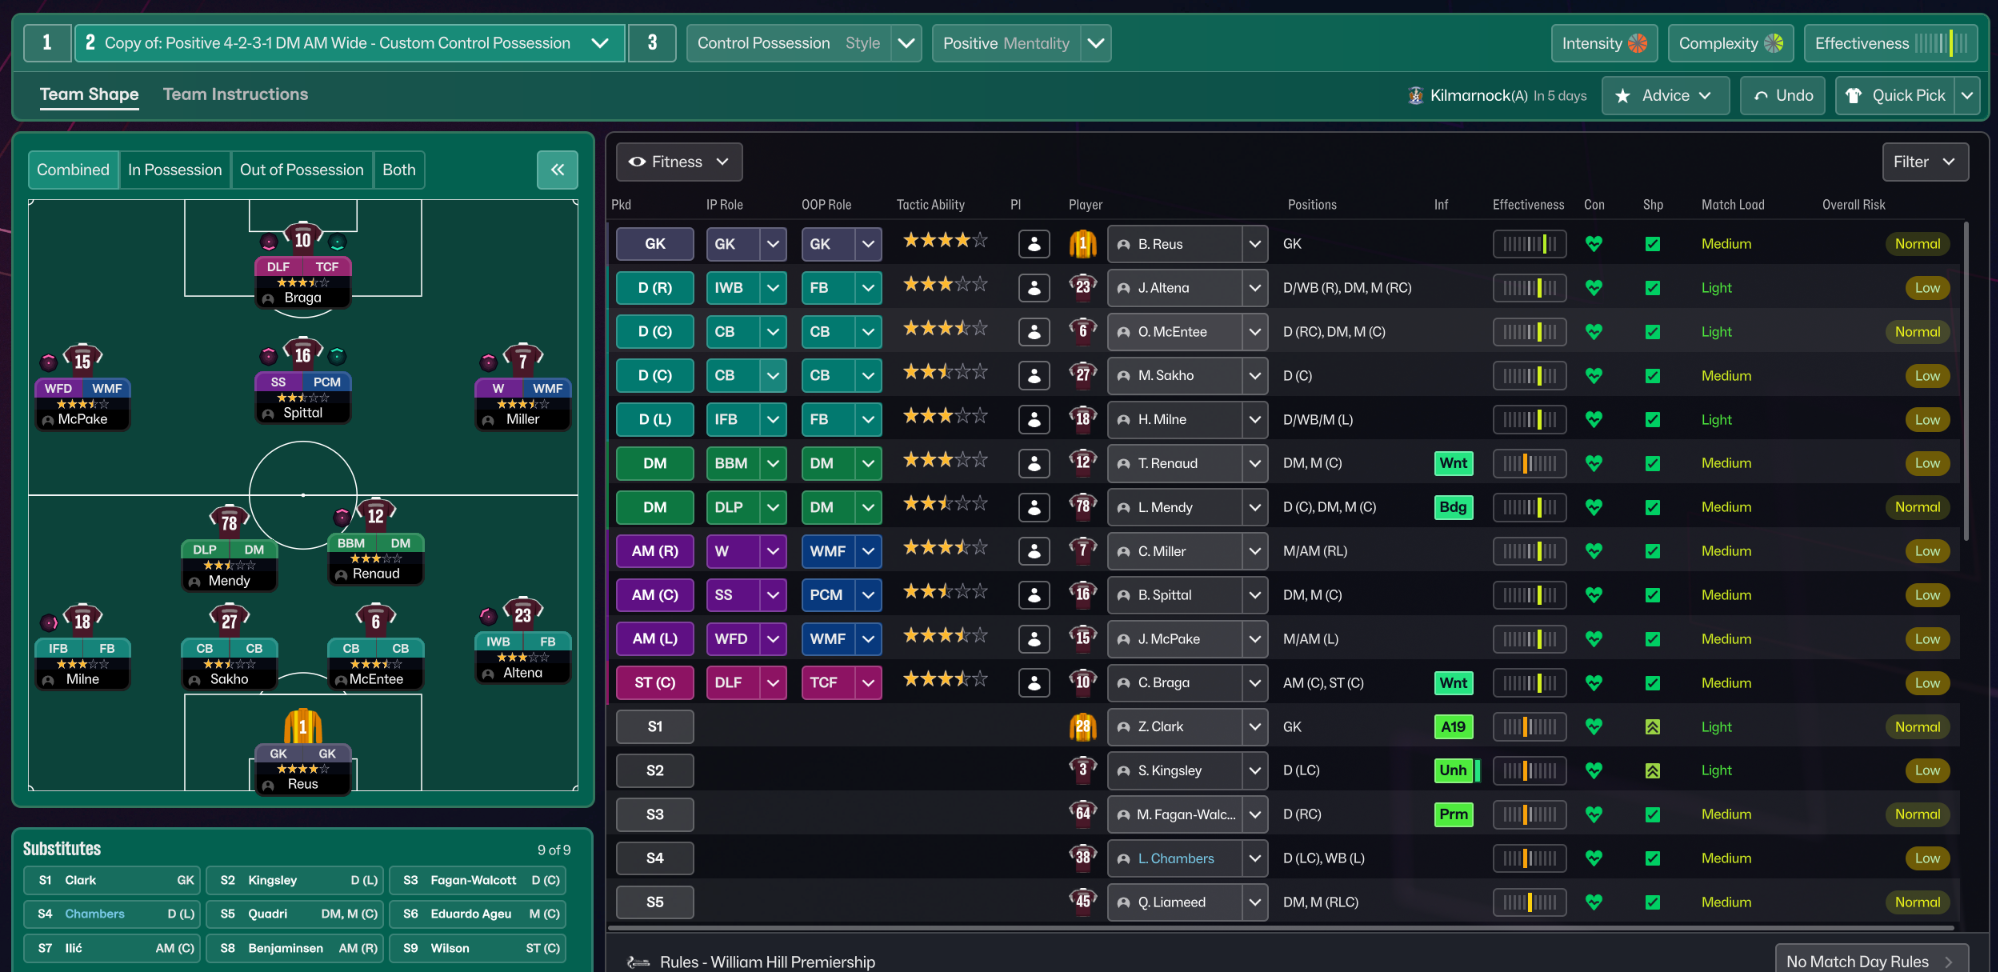
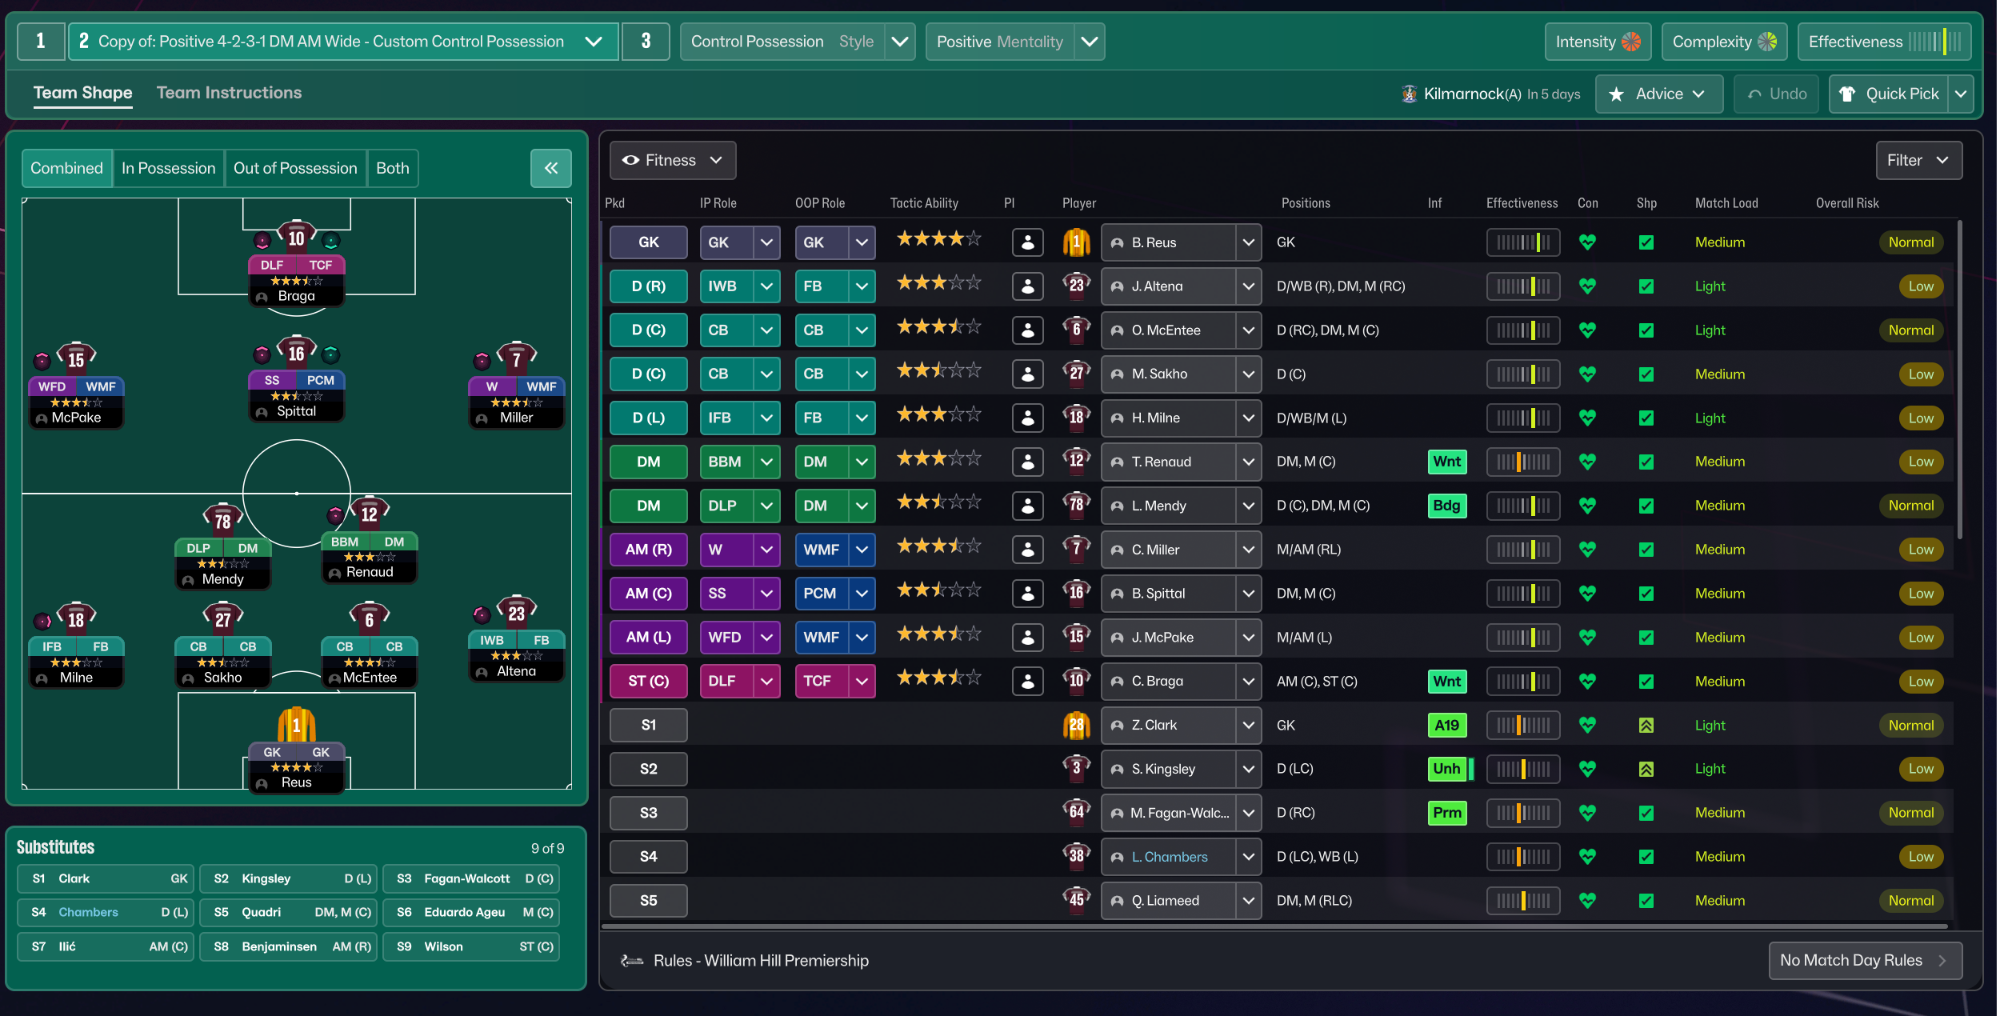
Control Possession 3-4-2-1 (Positive) Tactic
3-4-2-1
Possession-based play aiming to control the game while breaking down opposition defenses. The combination of a Deep-Lying Playmaker and a Box-to-Box…
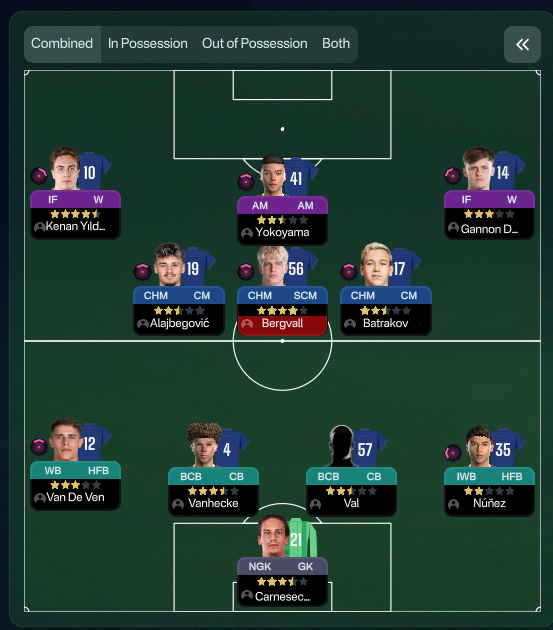
Loading tactical analysis...
Formation and style
Control Possession
Positive
3-4-2-1
Fluid
In possession
Play Out of Defence
Pass Into Space
Work Ball Into Box
In transition
Counter Press
Counter
Out of possession
Higher Defensive Line
Higher Line of Engagement
Prevent Short GK Distribution
Player roles
GK
Goalkeeper
Defend
CB
Ball-Playing Defender
Defend
CB
Ball-Playing Defender
Defend
CB
No-Nonsense Centre-Back
Defend
WB
Wing-Back
Support
HB
Half Back
Defend
CM
Deep-Lying Playmaker
Support
CM
Box-to-Box Midfielder
Support
AM
Attacking Midfielder
Support
AM
Attacking Midfielder
Support
IF
Inside Forward
Attack
Phase description
Focus on quick ball circulation with emphasis on exploiting the flanks through wing-backs.
Quick regrouping to maintain defensive shape and utilize counter-pressing.
Possession-based play aiming to control the game while breaking down opposition defenses.
Team shape defence
Compact and layered
The team maintains a compact shape with a focus on closing down space.
Higher Defensive Line and Higher Line of Engagement create a compact structure.
Team shape attack
Fluid and dynamic
Fluid movement between attacking players and support from wing-backs.
Play Out of Defence combined with Pass Into Space ensures fluid attacking transitions.
Key strengths
Strong Midfield Control
The combination of a Deep-Lying Playmaker and a Box-to-Box Midfielder provides both stability and attacking support.
DLP-S at [4,3] and BBM-S at [4,4] facilitate transitions.
Dynamic Wide Play
The wing-backs provide width and allow inside forwards to cut in, stretching the opposition.
WB-S at [2,1] and IF-A at [6,1] create space down the flanks.
Conflicting tactics
Vulnerability on the Flanks
The reliance on wing-backs leaves space exploitable by opposing wingers.
Wing-Back duty at [2,1] and higher defensive engagement can be countered.
Exposed Central Areas
Playing with a single striker can create numerical disadvantages against teams with three centre-backs.
A lone ST at [6,3] may struggle against stronger defensive shapes.
Risk exposures
Risk Exposures
Items
Defensive Transition
High engagement can leave spaces during defensive transitions.
Counter Press and Higher Line of Engagement expose back line.
Attacking Width
Centre congested with limited width can lead to ineffective attacks.
Heavy reliance on wing-backs might isolate attackers in tight areas.
Role synergies
Role Synergies
Items
DLP-S and BBM-S
DLP provides deeper distribution while BBM supports attacks dynamically.
DLP-S at [4,3] combined with BBM-S at [4,4] creates a balanced midfield.
WB-S and IF-A
WB provides width and overlaps, allowing IF to cut inside.
WB-S at [2,1] and IF-A at [6,1] working in tandem can exploit defensive gaps.
Suggested questions
How does the team cope with rapid counter-attacks?
Could incorporating a Target Forward enhance offensive play?
What adjustments can be made to improve defensive solidity?
Related Tactics
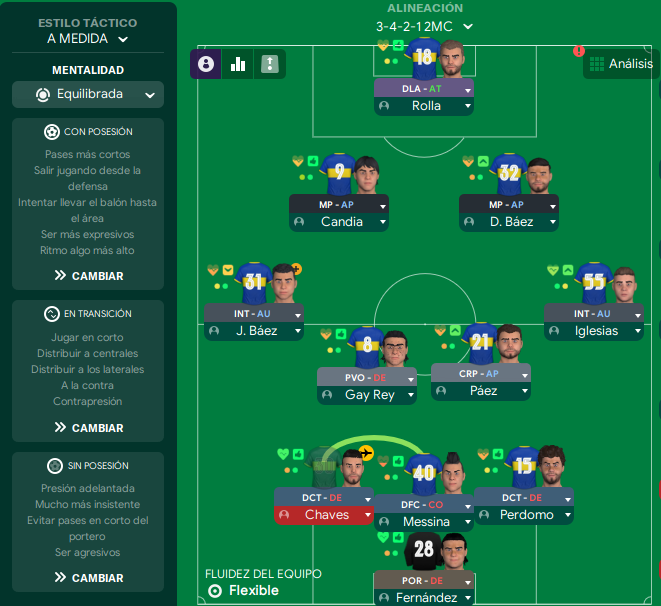
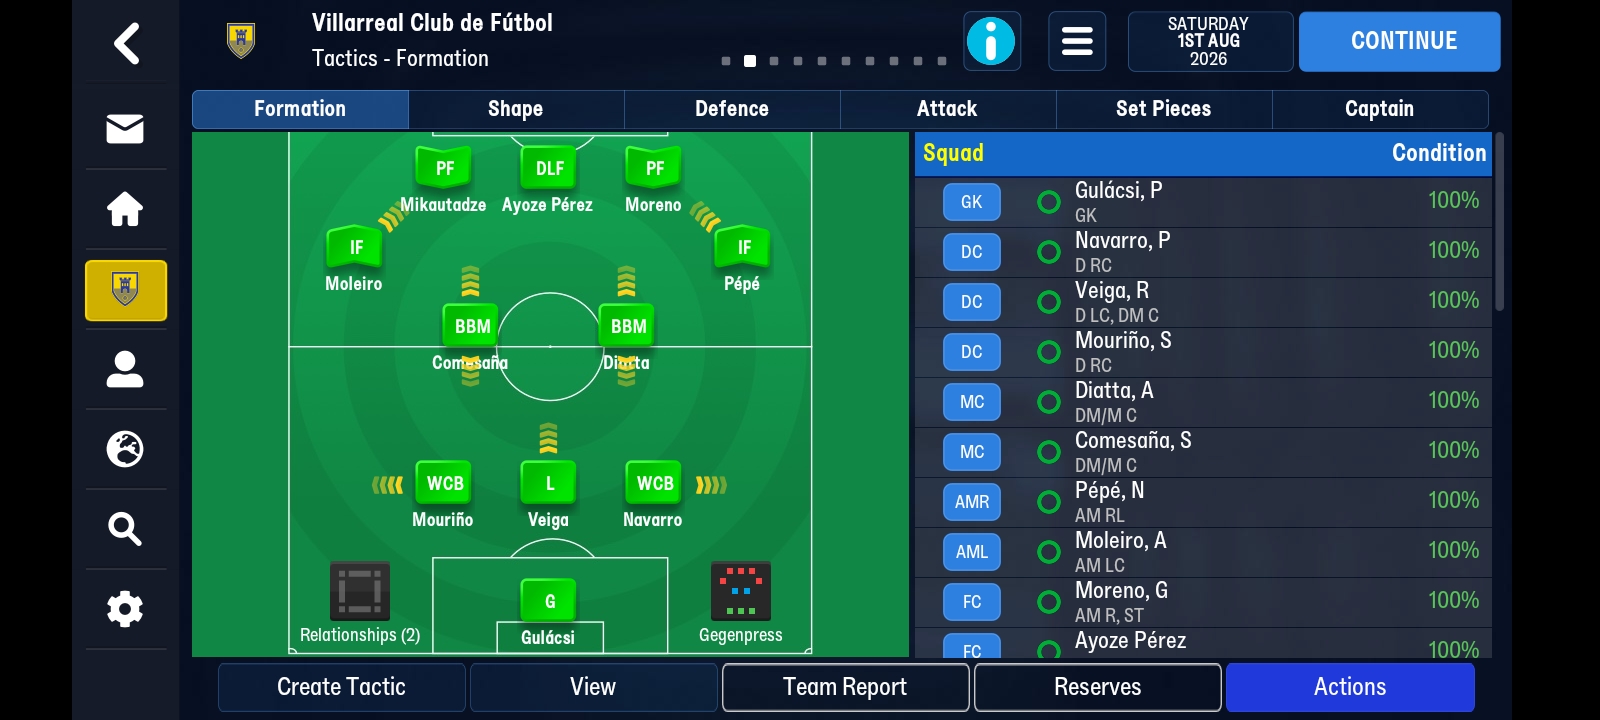
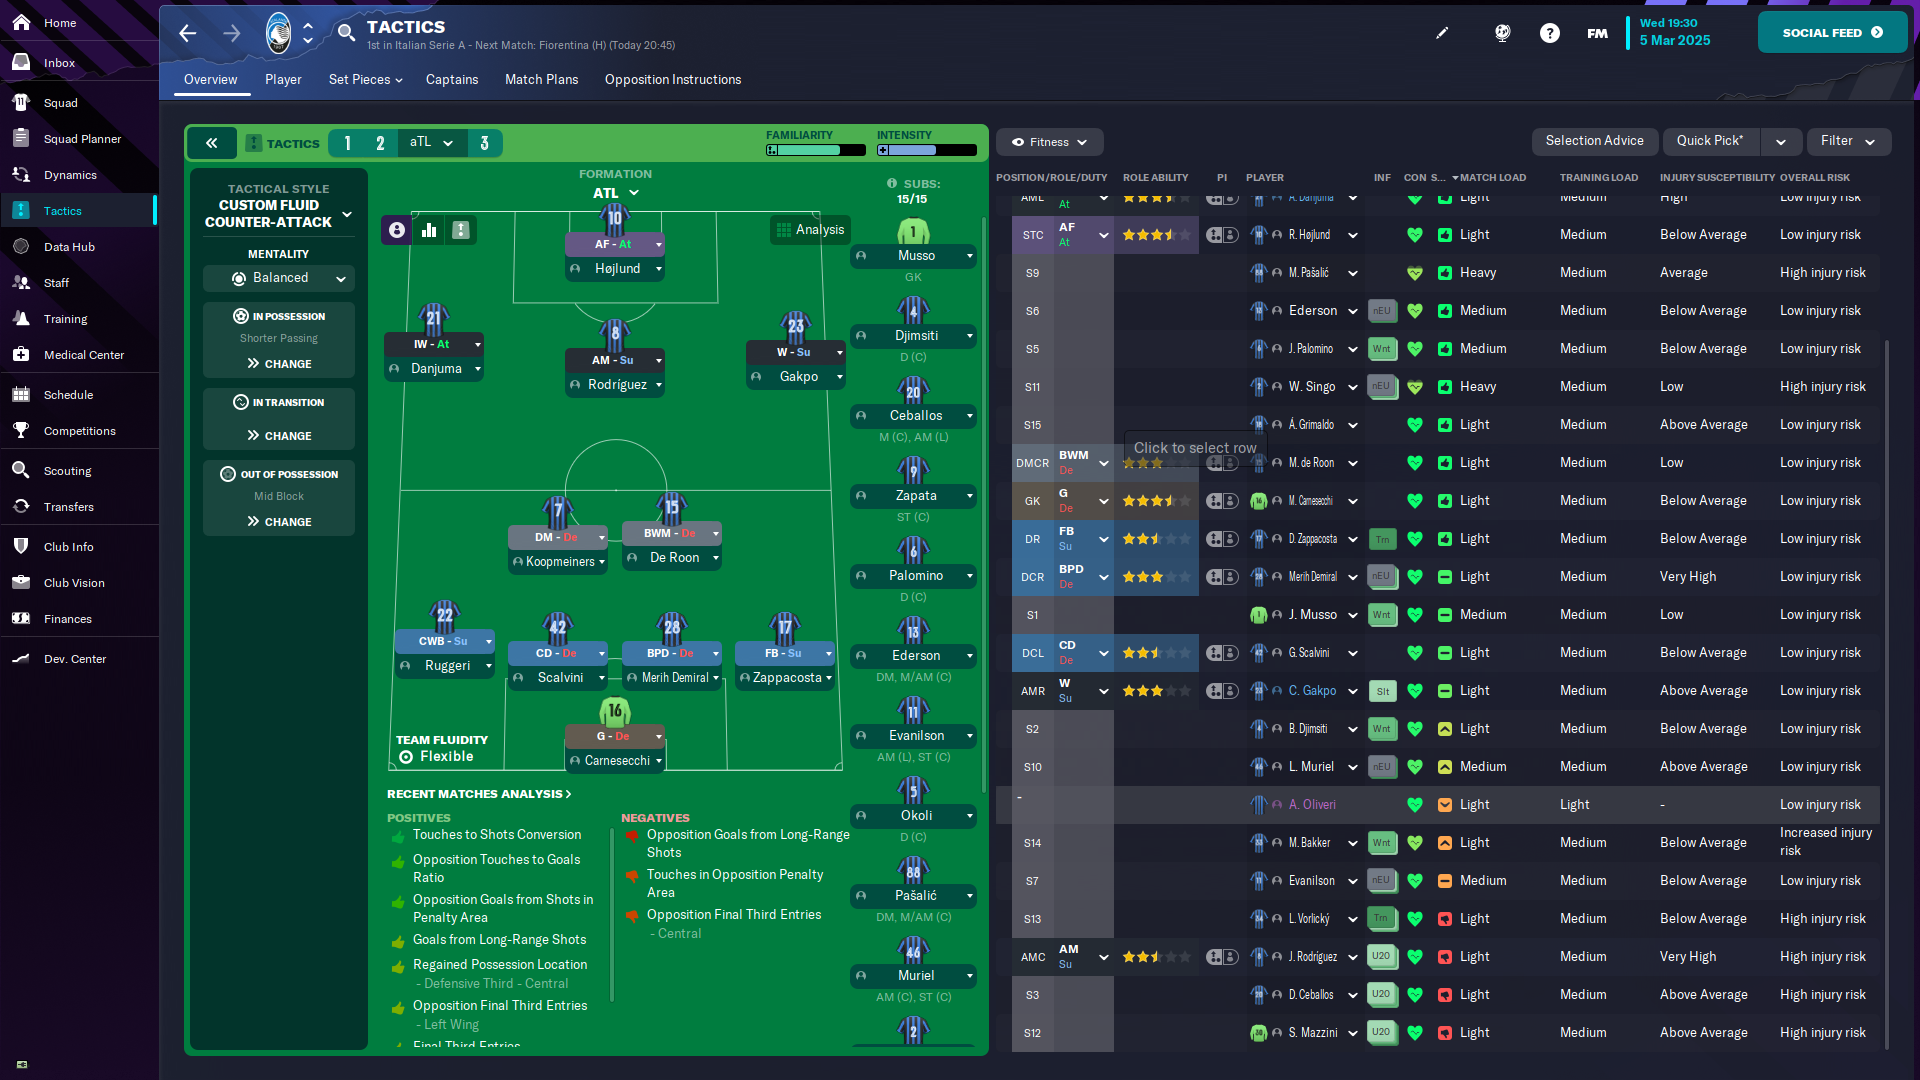
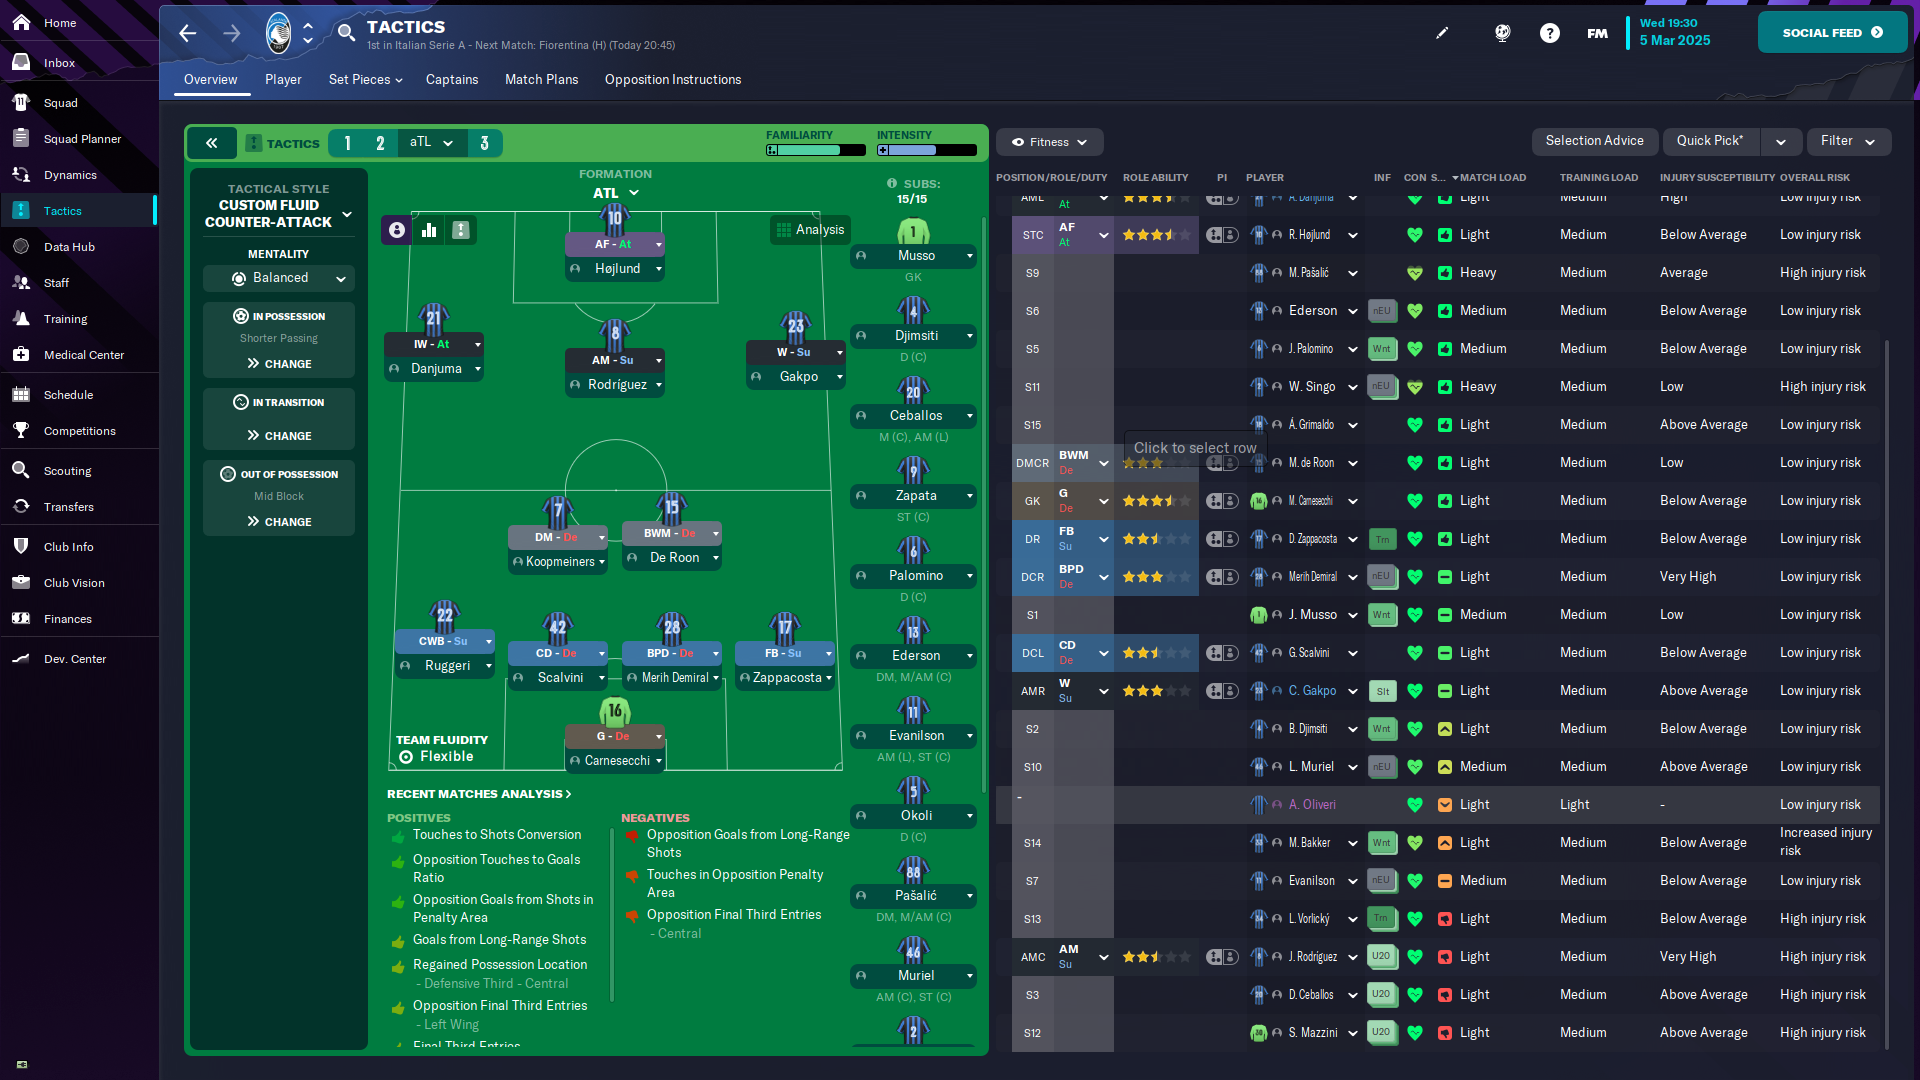
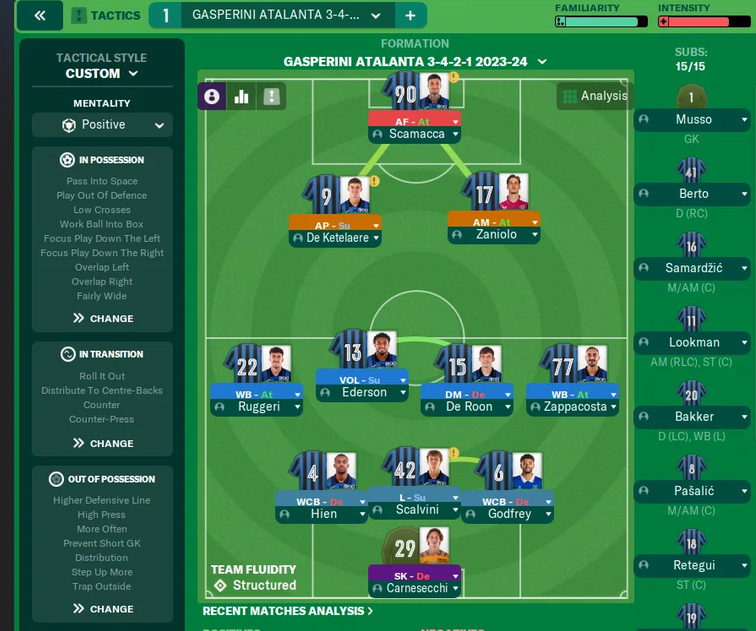
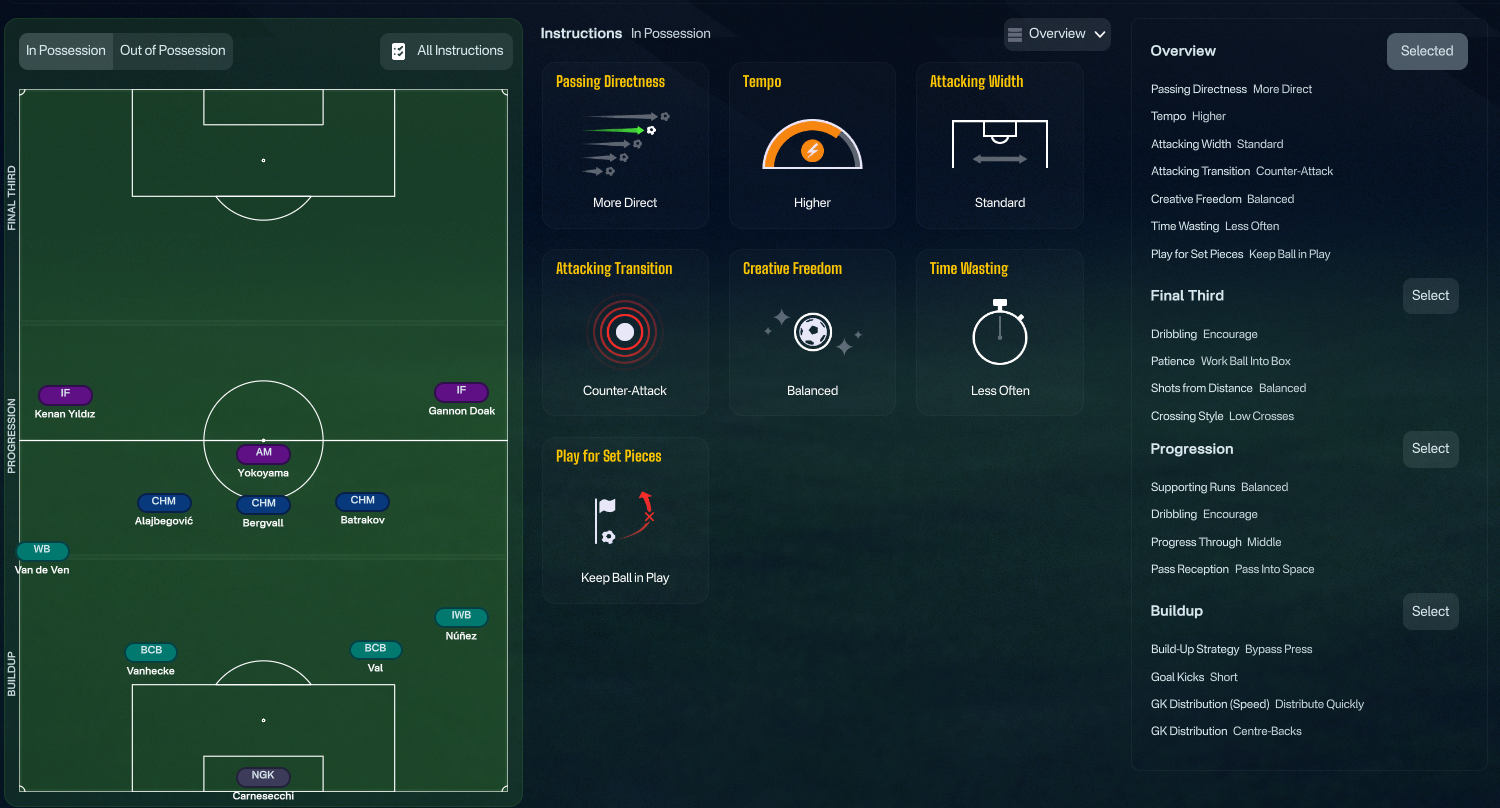
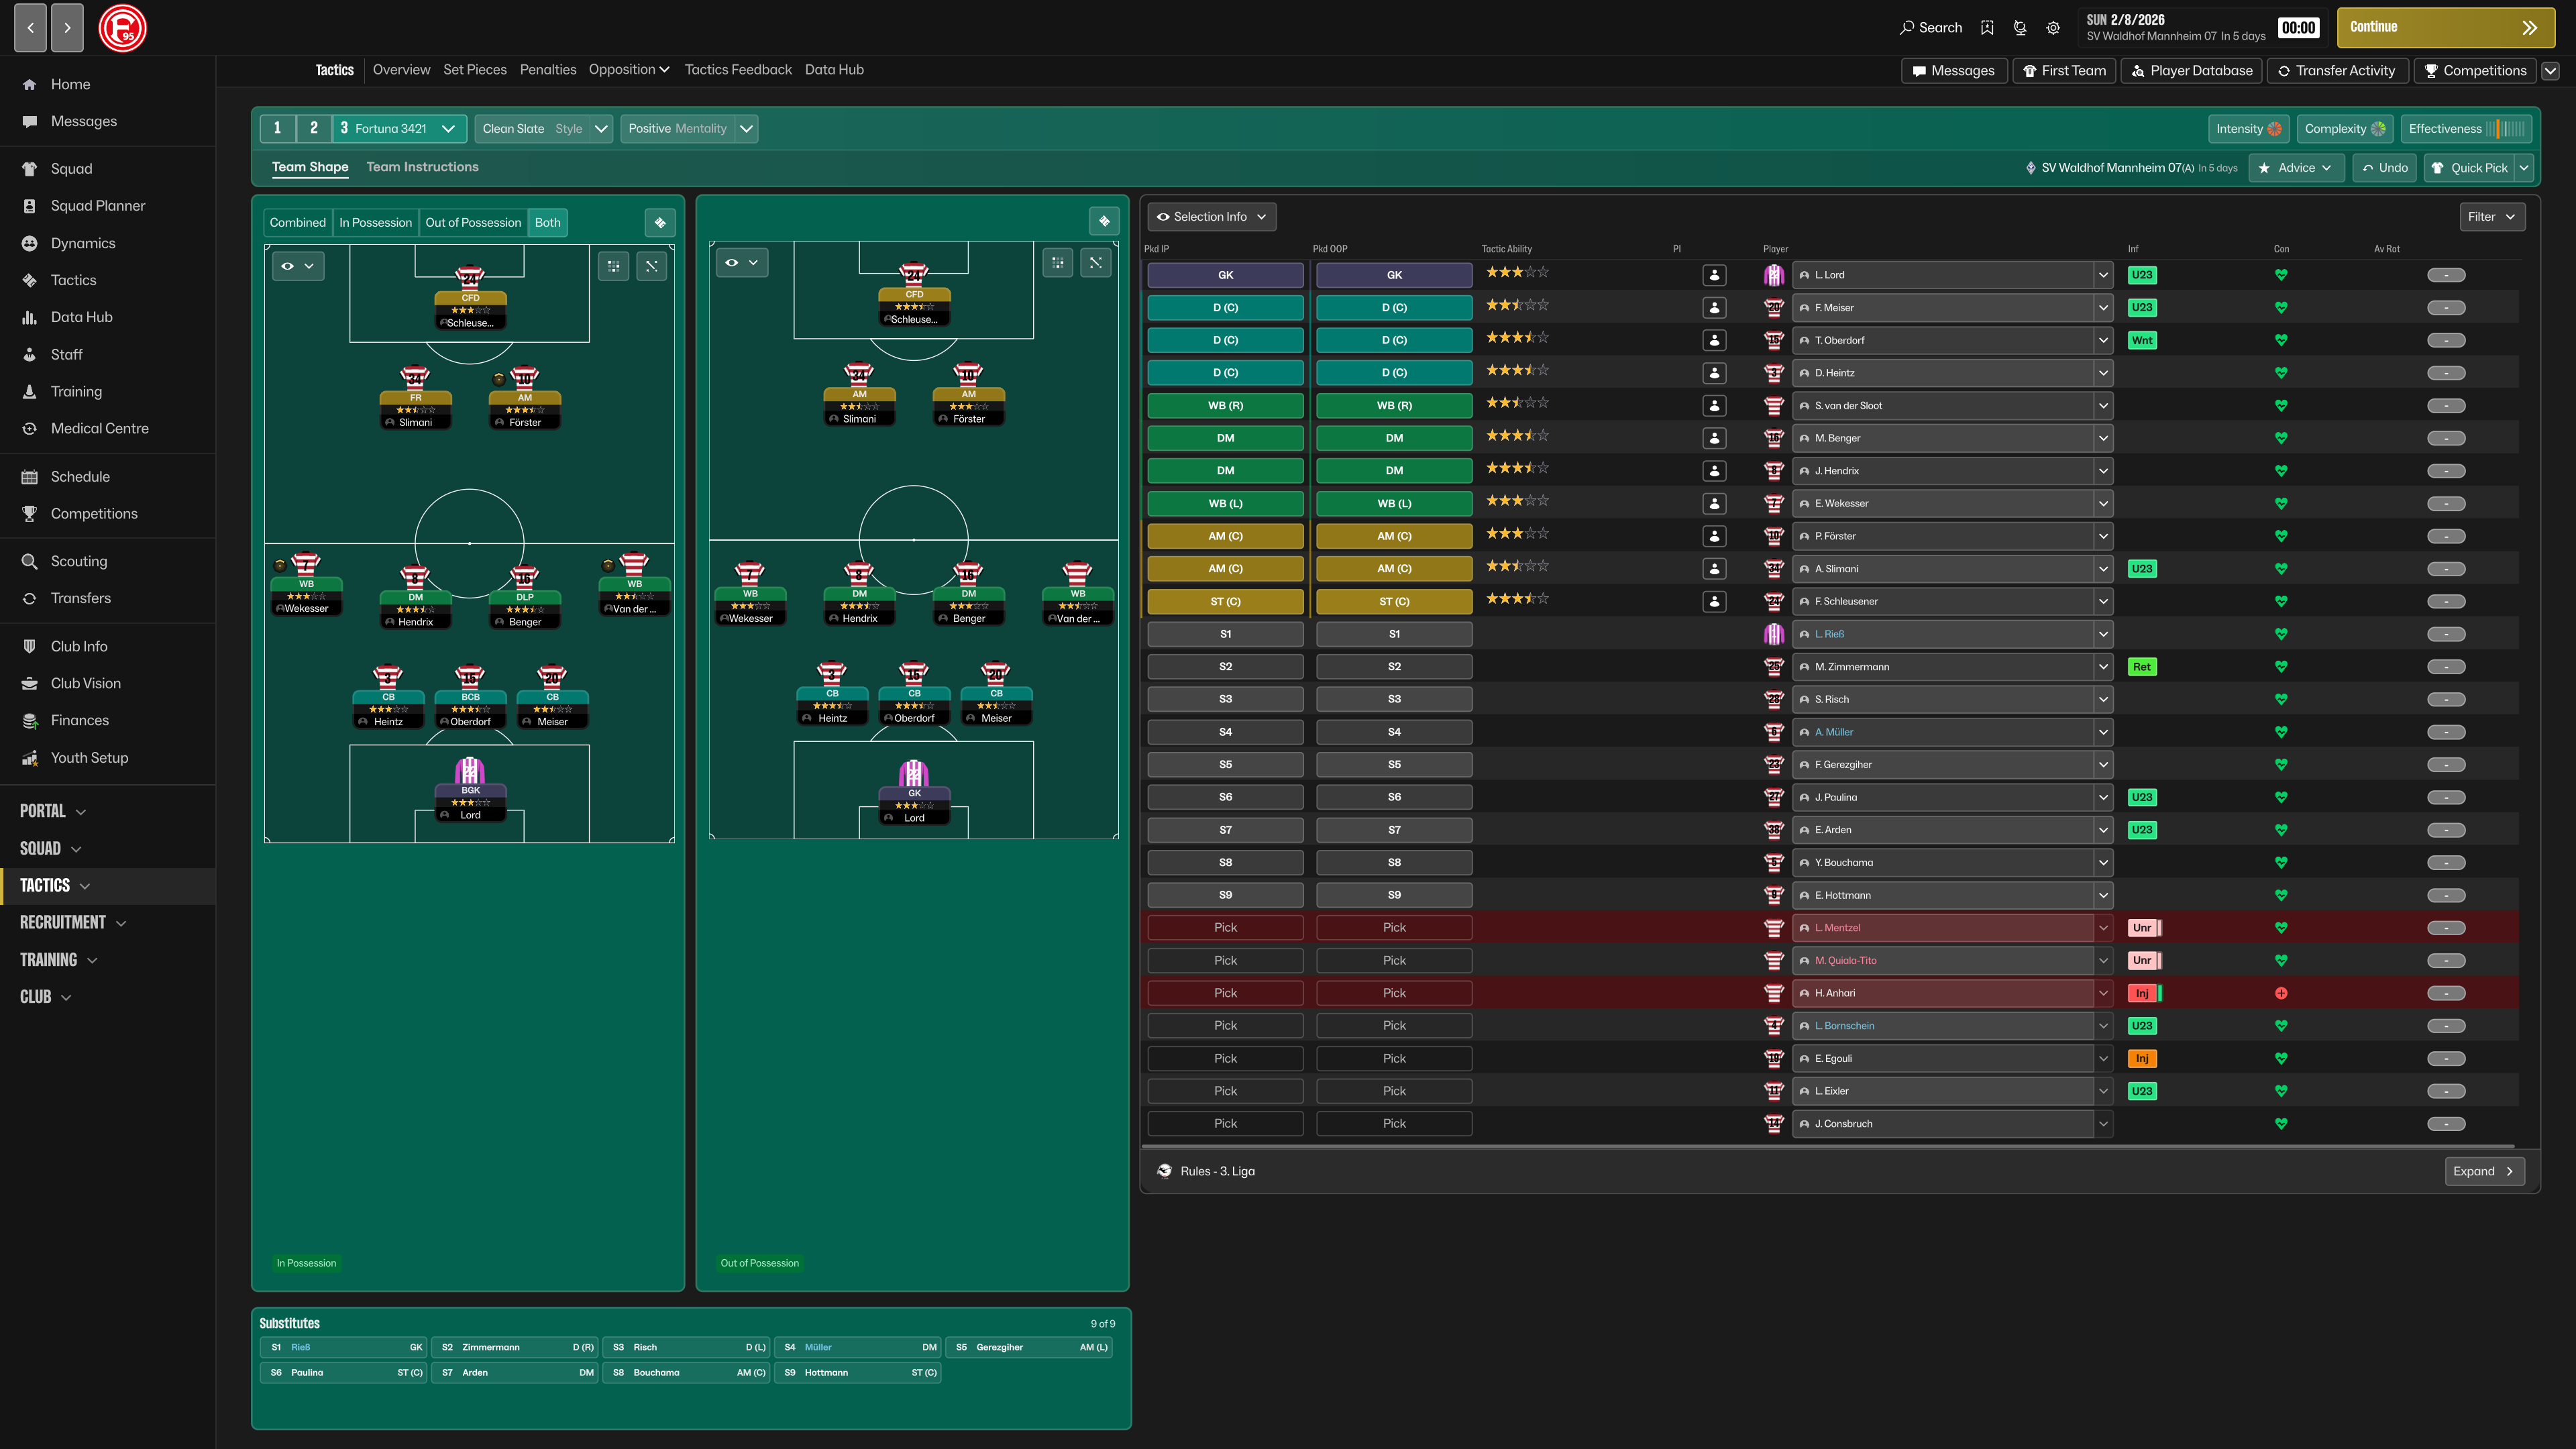
More Control Possession tactics
Guides for this tactic
The tactical theory behind the 3-4-2-1: roles, instructions, and the trade-offs that decide whether the system holds up.
Foundations
Defensive Transitions
The five seconds after losing the ball decide most matches. Counter-press, drop-and-recover, and how to know which one you should be doing.
Read guide
Match preparation
Set Piece Mastery
Routines, takers, and target picks. How to turn corners and free-kicks into a reliable third of your goal output.
Read guide
Match preparation
Game-State Tactics
Protect a 1-0, chase a 1-0, hold a draw away. How to manage game state in FM through duties and roles, not by lurching to Defensive.
Read guide