Fluid Counter-Attack 3-4-2-1 (Balanced) Tactic
3-4-2-1
Utilising speed on the wings to exploit opposition defenses while transitioning quickly. Utilises wingers effectively to stretch the pitch.
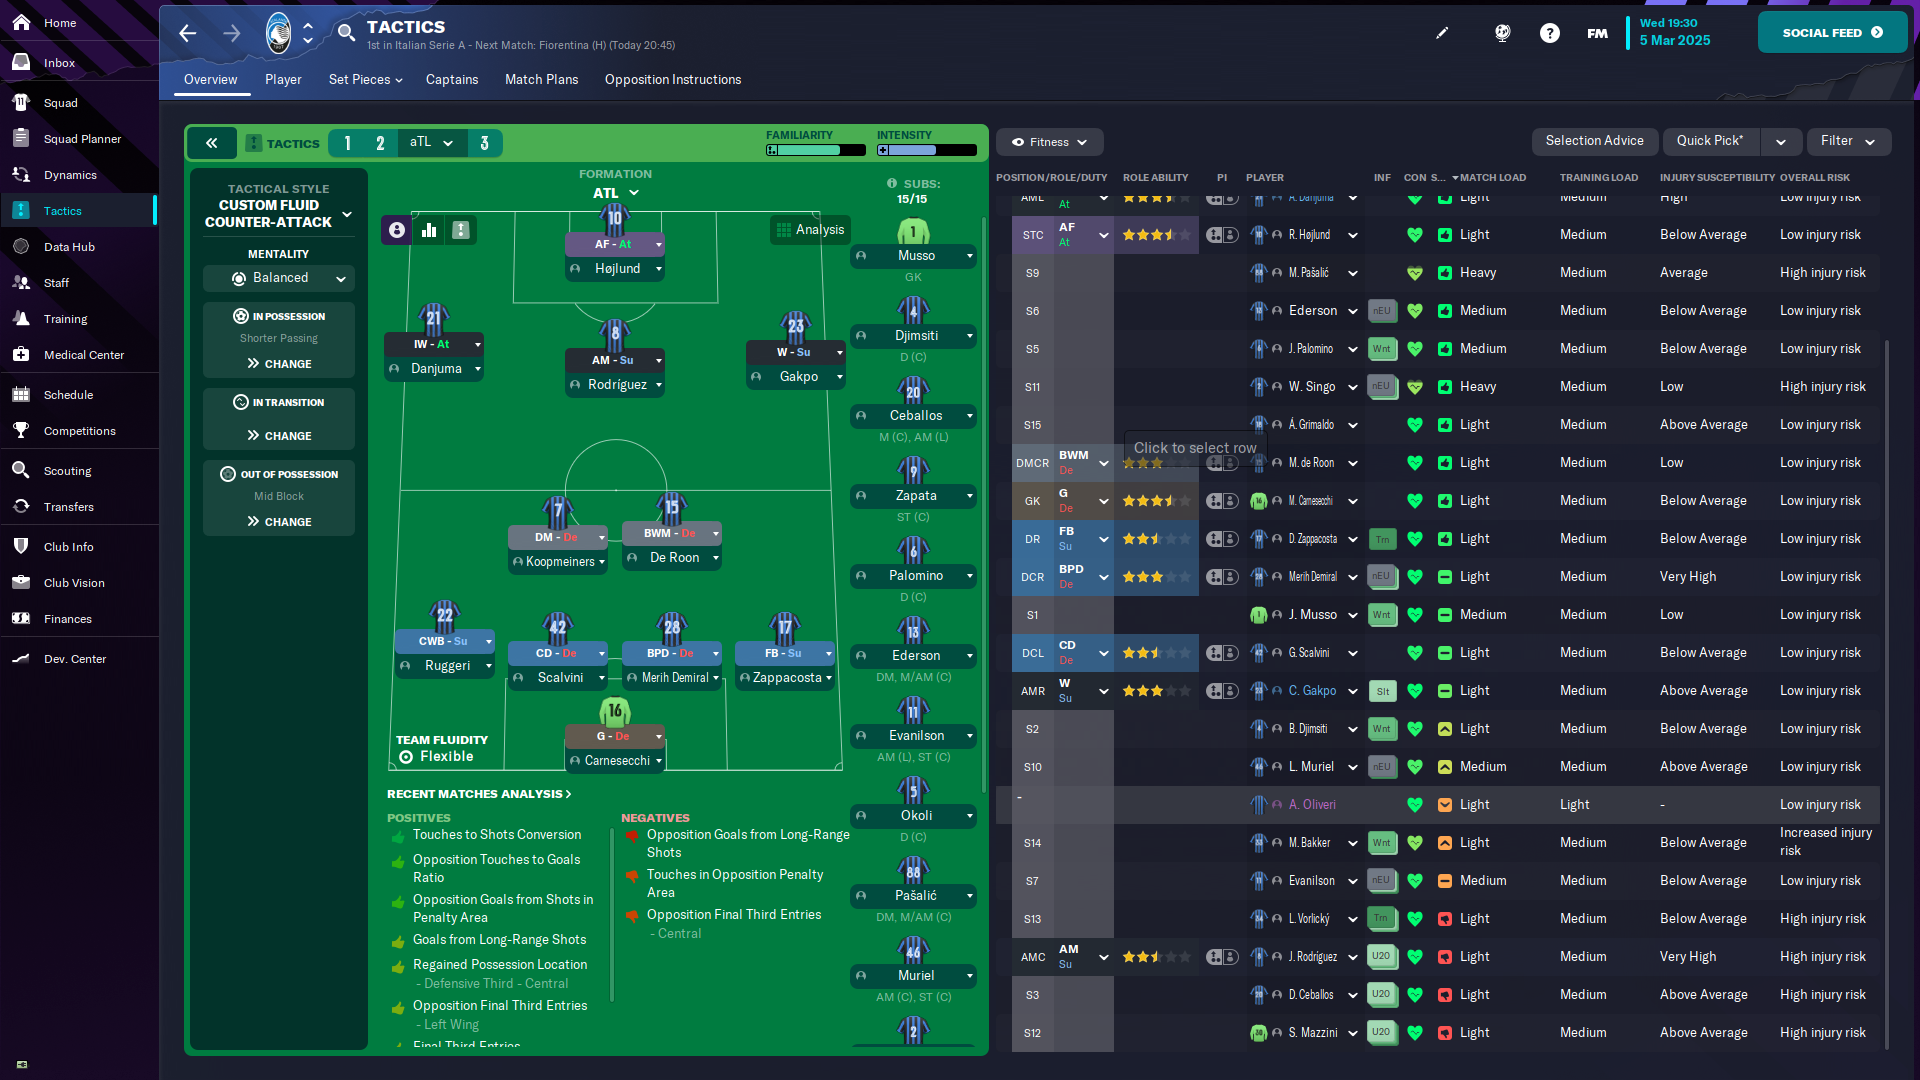
Loading tactical analysis...
Formation and style
Custom Fluid Counter-Attack
Balanced
3-4-2-1
Flexible
In possession
Shorter Passing
Play Out of Defence
Work Ball Into Box
In transition
Counter
Counter-Press
Out of possession
Mid Block
Higher Line of Engagement
Lower Defensive Line
Player roles
GK
Goalkeeper
Defend
CB
Ball-Playing Defender
Defend
CB
Centre-Back
Defend
CB
Centre-Back
Defend
WB
Wing-Back
Support
DM
Defensive Midfielder
Defend
BWM
Ball-Winning Midfielder
Defend
CWL
Inside Forward
Attack
AM
Attacking Midfielder
Support
CW
Winger
Support
ST
Advanced Forward
Attack
Phase description
Primarily uses wingers and an attacking midfielder to create width and space for the striker.
Focuses on quick recovery of possession through counter-pressing.
Utilising speed on the wings to exploit opposition defenses while transitioning quickly.
Team shape defence
3-4-3
Defensive line consisting of three center-backs with wing-backs dropping deep when necessary.
CBs at [2,2] [2,3] [2,4], with WBs at [2,1] [2,5].
Team shape attack
3-4-3
Utilisation of width through three attacking players, two supporting each other and one central striker.
Inside Forward at [5,1], AM at [5,3], and ST at [6,3].
Key strengths
Dynamic Wing Play
Utilises wingers effectively to stretch the pitch.
Winger (WM-S) at [5,2] and Inside Forward (IF-A) at [6,1] providing width.
Solid Central Defense
Three central defenders provide a robust line against opposing attacks.
Three CBs at [2,2], [2,3], [2,4] reinforcing defensive capabilities.
Conflicting tactics
Linear Pressing
If the team pushes too high up the pitch, gaps may appear in defense.
Mid Block implementation can lead to spaces if pressed excessively.
Disjointed Midfield
The two-man midfield may struggle to control central areas against a strong opponent.
BWM (BWM-D) at [3,2] and DM at [4,3] may get overrun.
Risk exposures
Risk Exposures
Items
Counter-attacks
Exposure to quick counter-attacks if the team loses possession in higher areas.
Relying on quick transition could backfire if the initial press fails.
Isolation of Striker
The lone striker may become isolated if wingers are ineffective.
ST (AF-A) at [6,3] may struggle without support from wingers.
Role synergies
Role Synergies
Items
BWM and DM
Complement each other in transitioning from defense to attack.
Both roles ensure defensive solidity while allowing transitions.
Winger and Inside Forward
Create overloads on the flanks, enabling better crossing options.
Coordinated movement helps in stretching the opposition.
Suggested questions
How can we improve our ball retention in midfield?
Should we adjust our pressing intensity based on opponent strength?
Are there specific types of formations that could counter our weaknesses?
Related Tactics
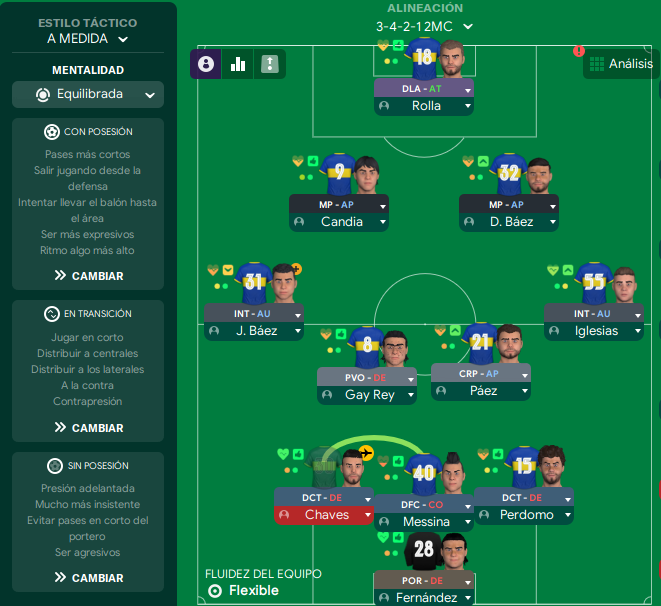
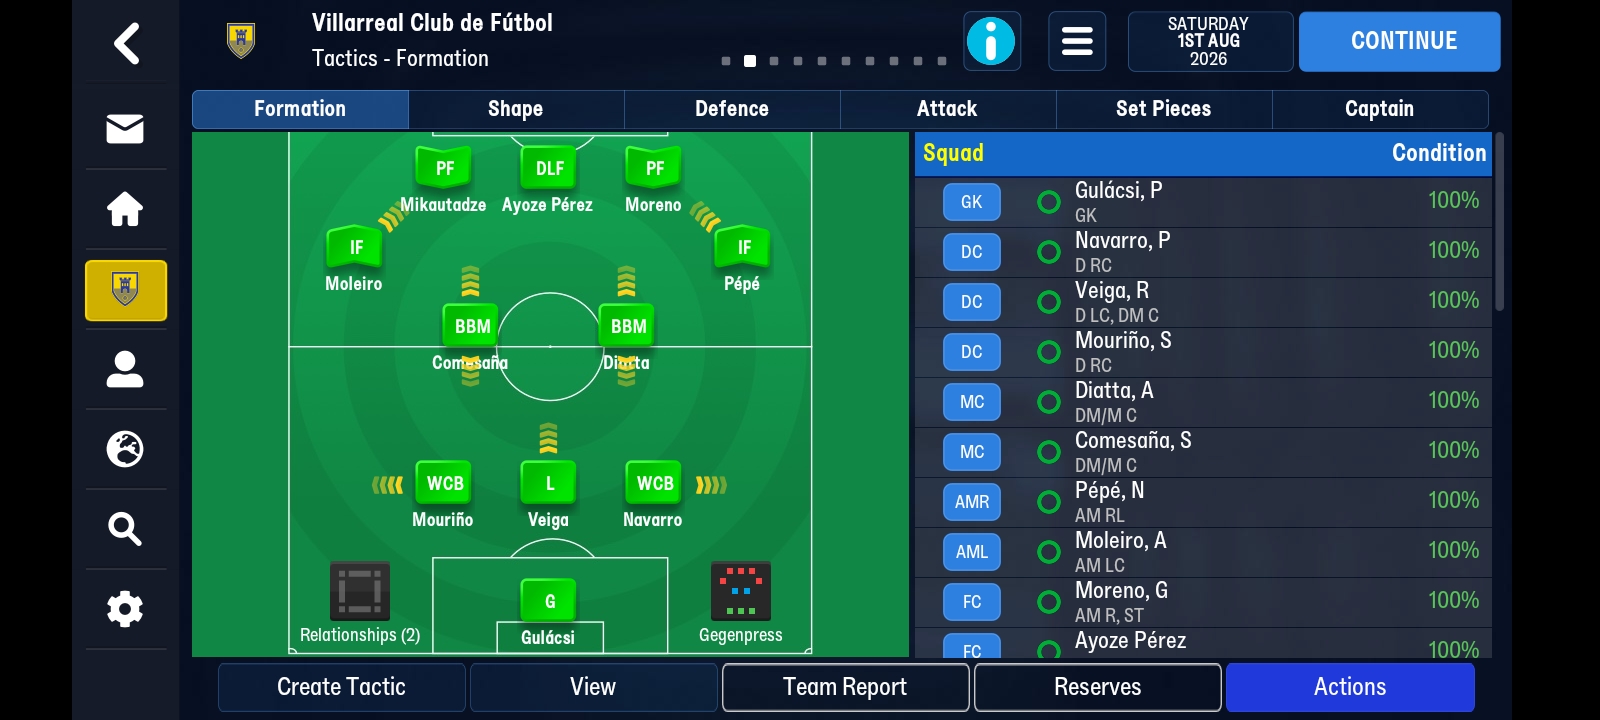
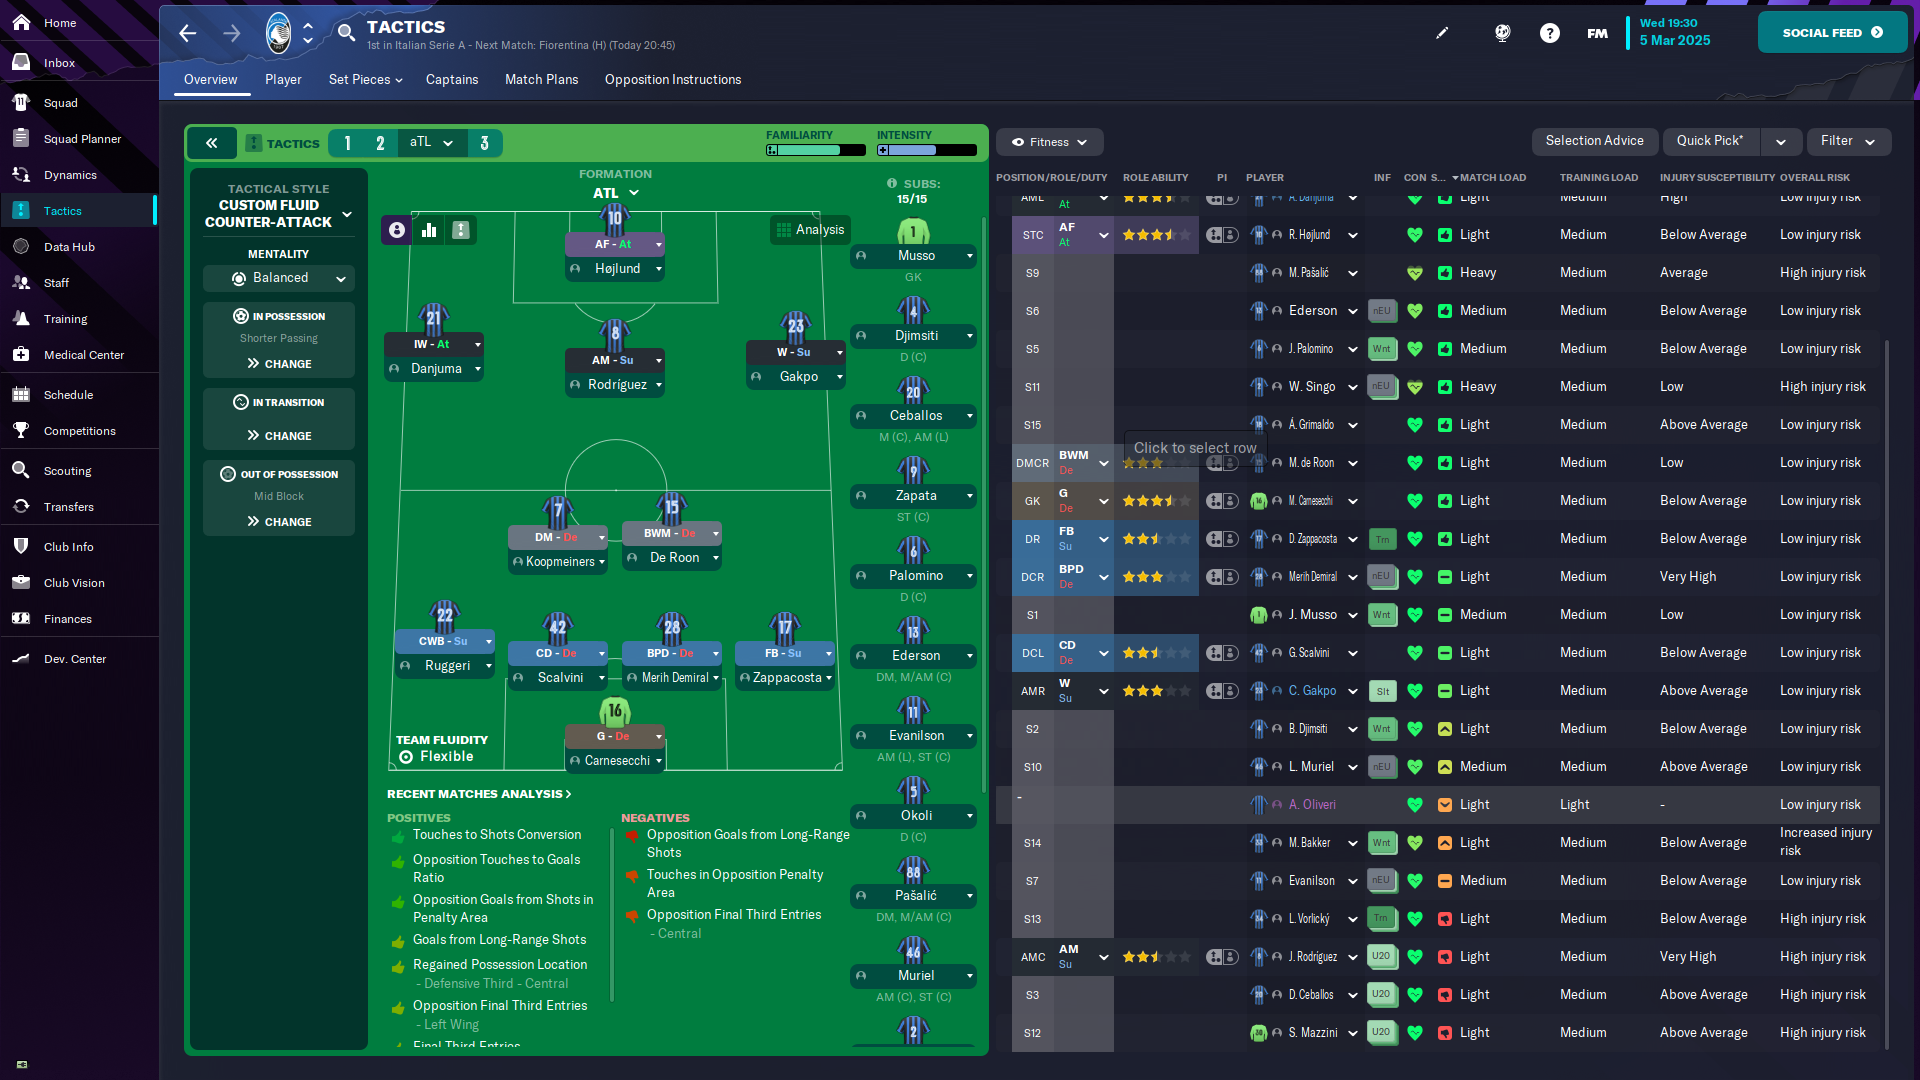
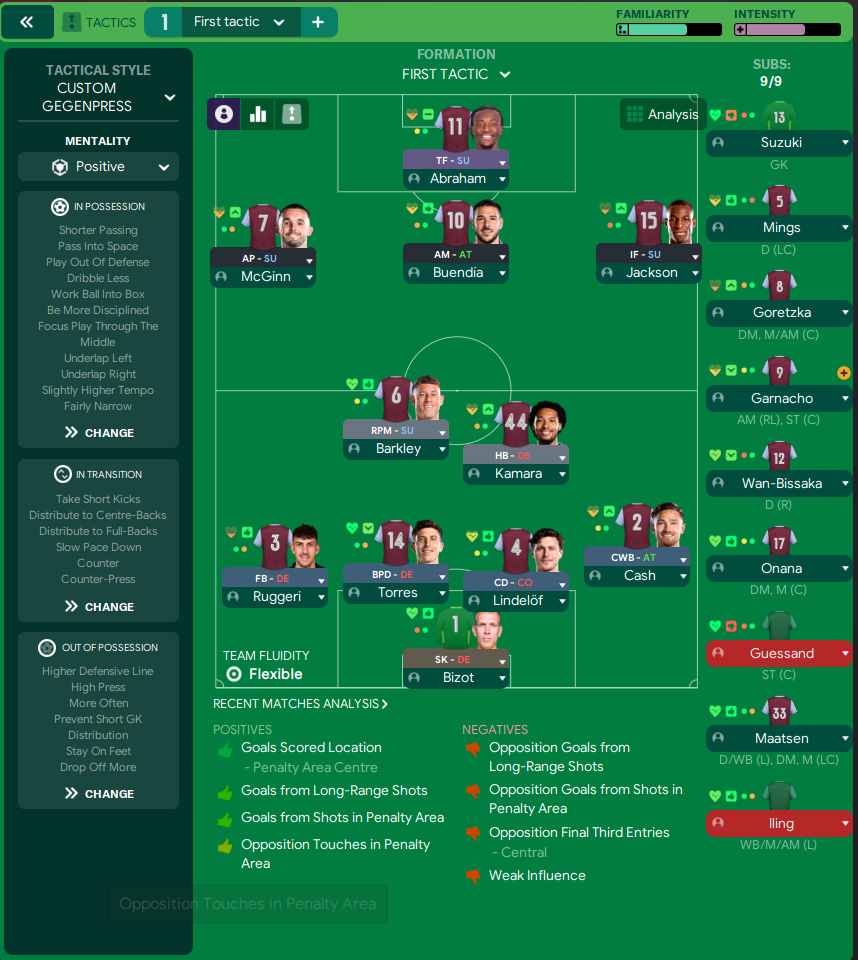
More Custom Fluid Counter-Attack tactics
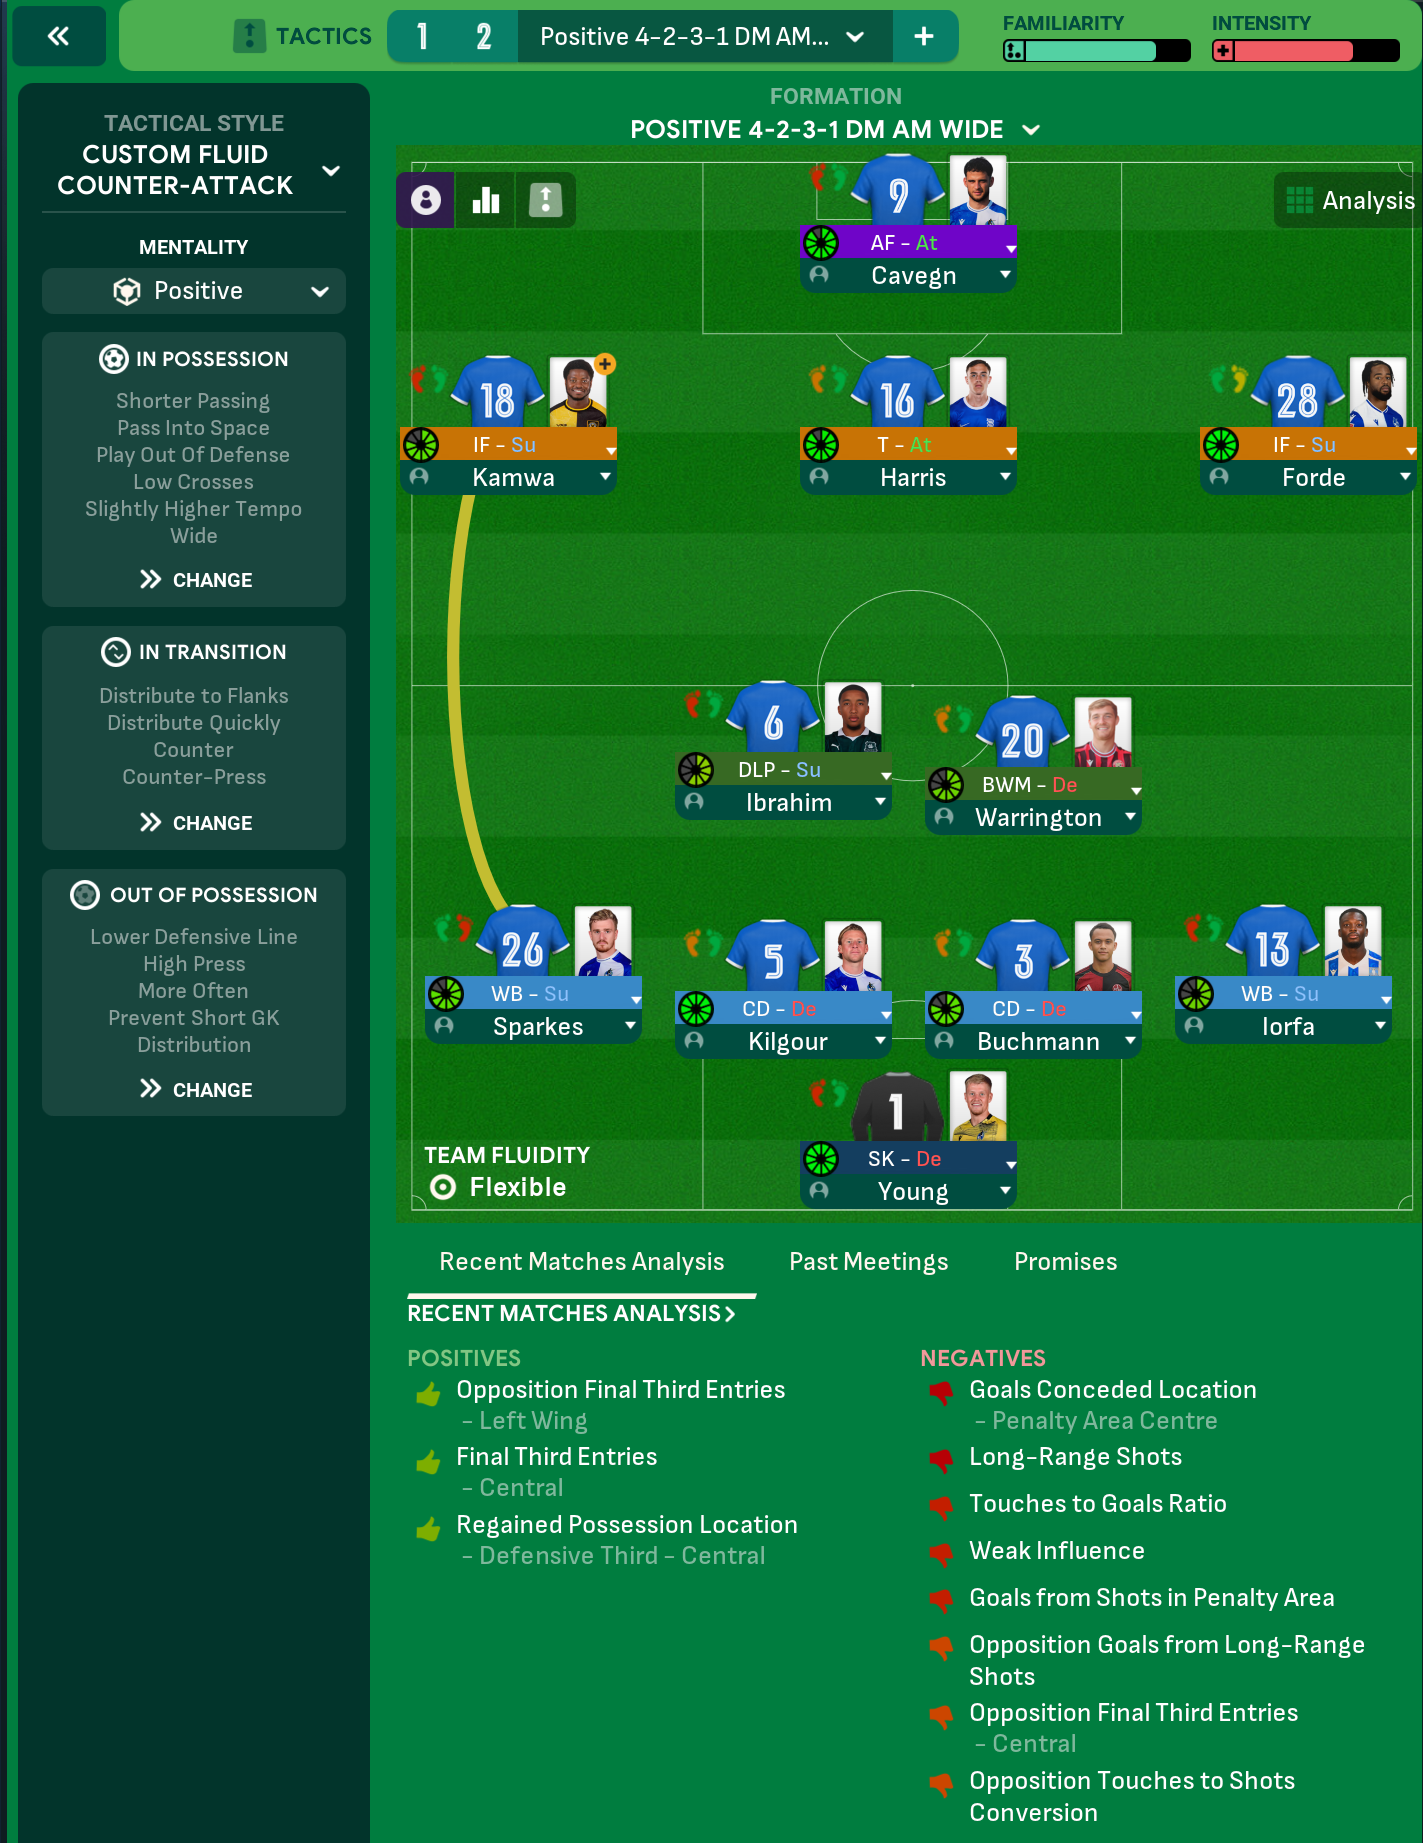
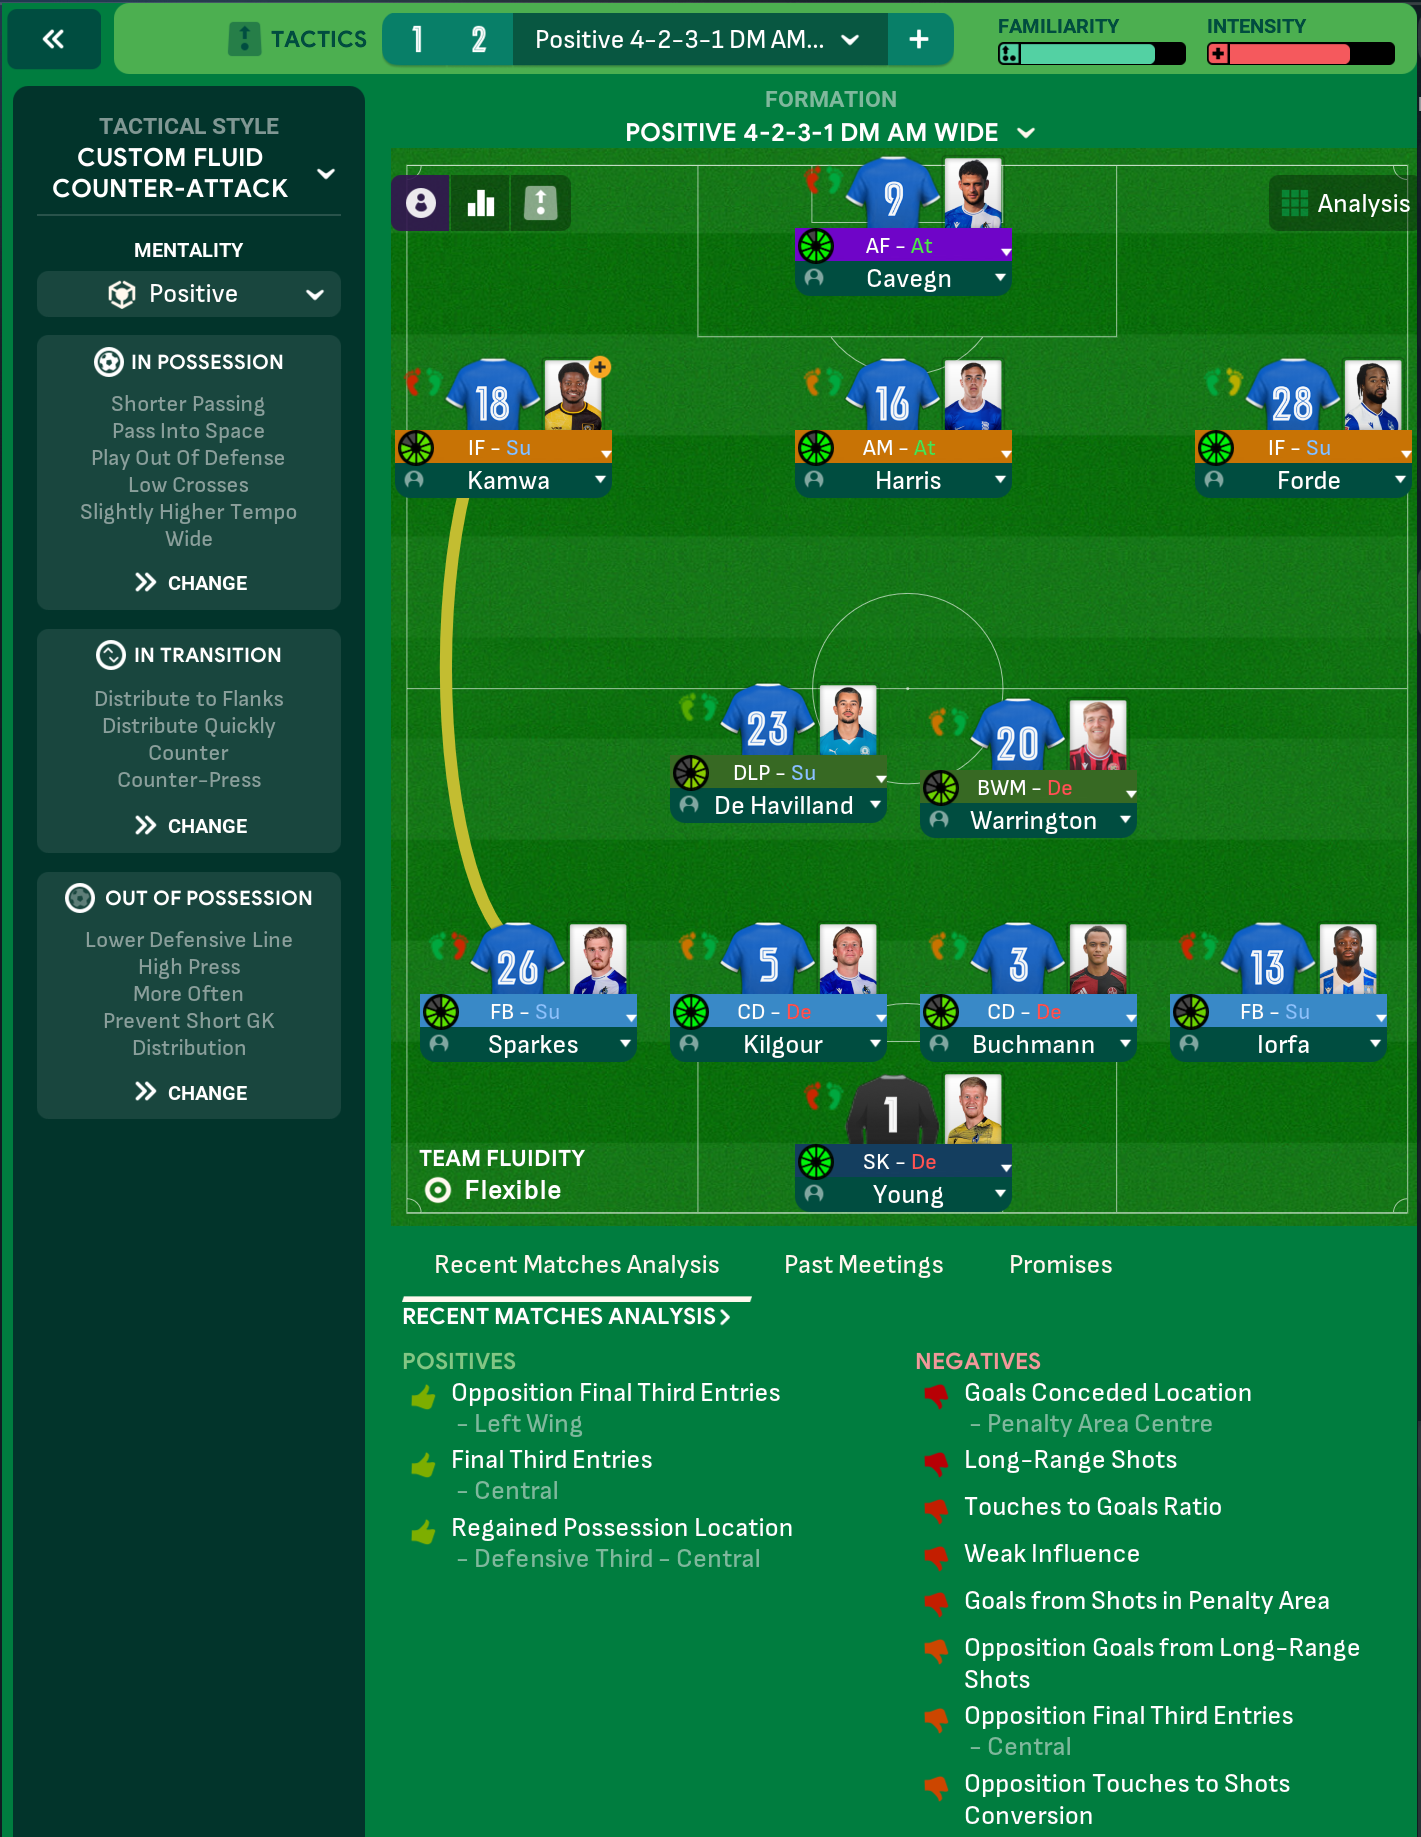
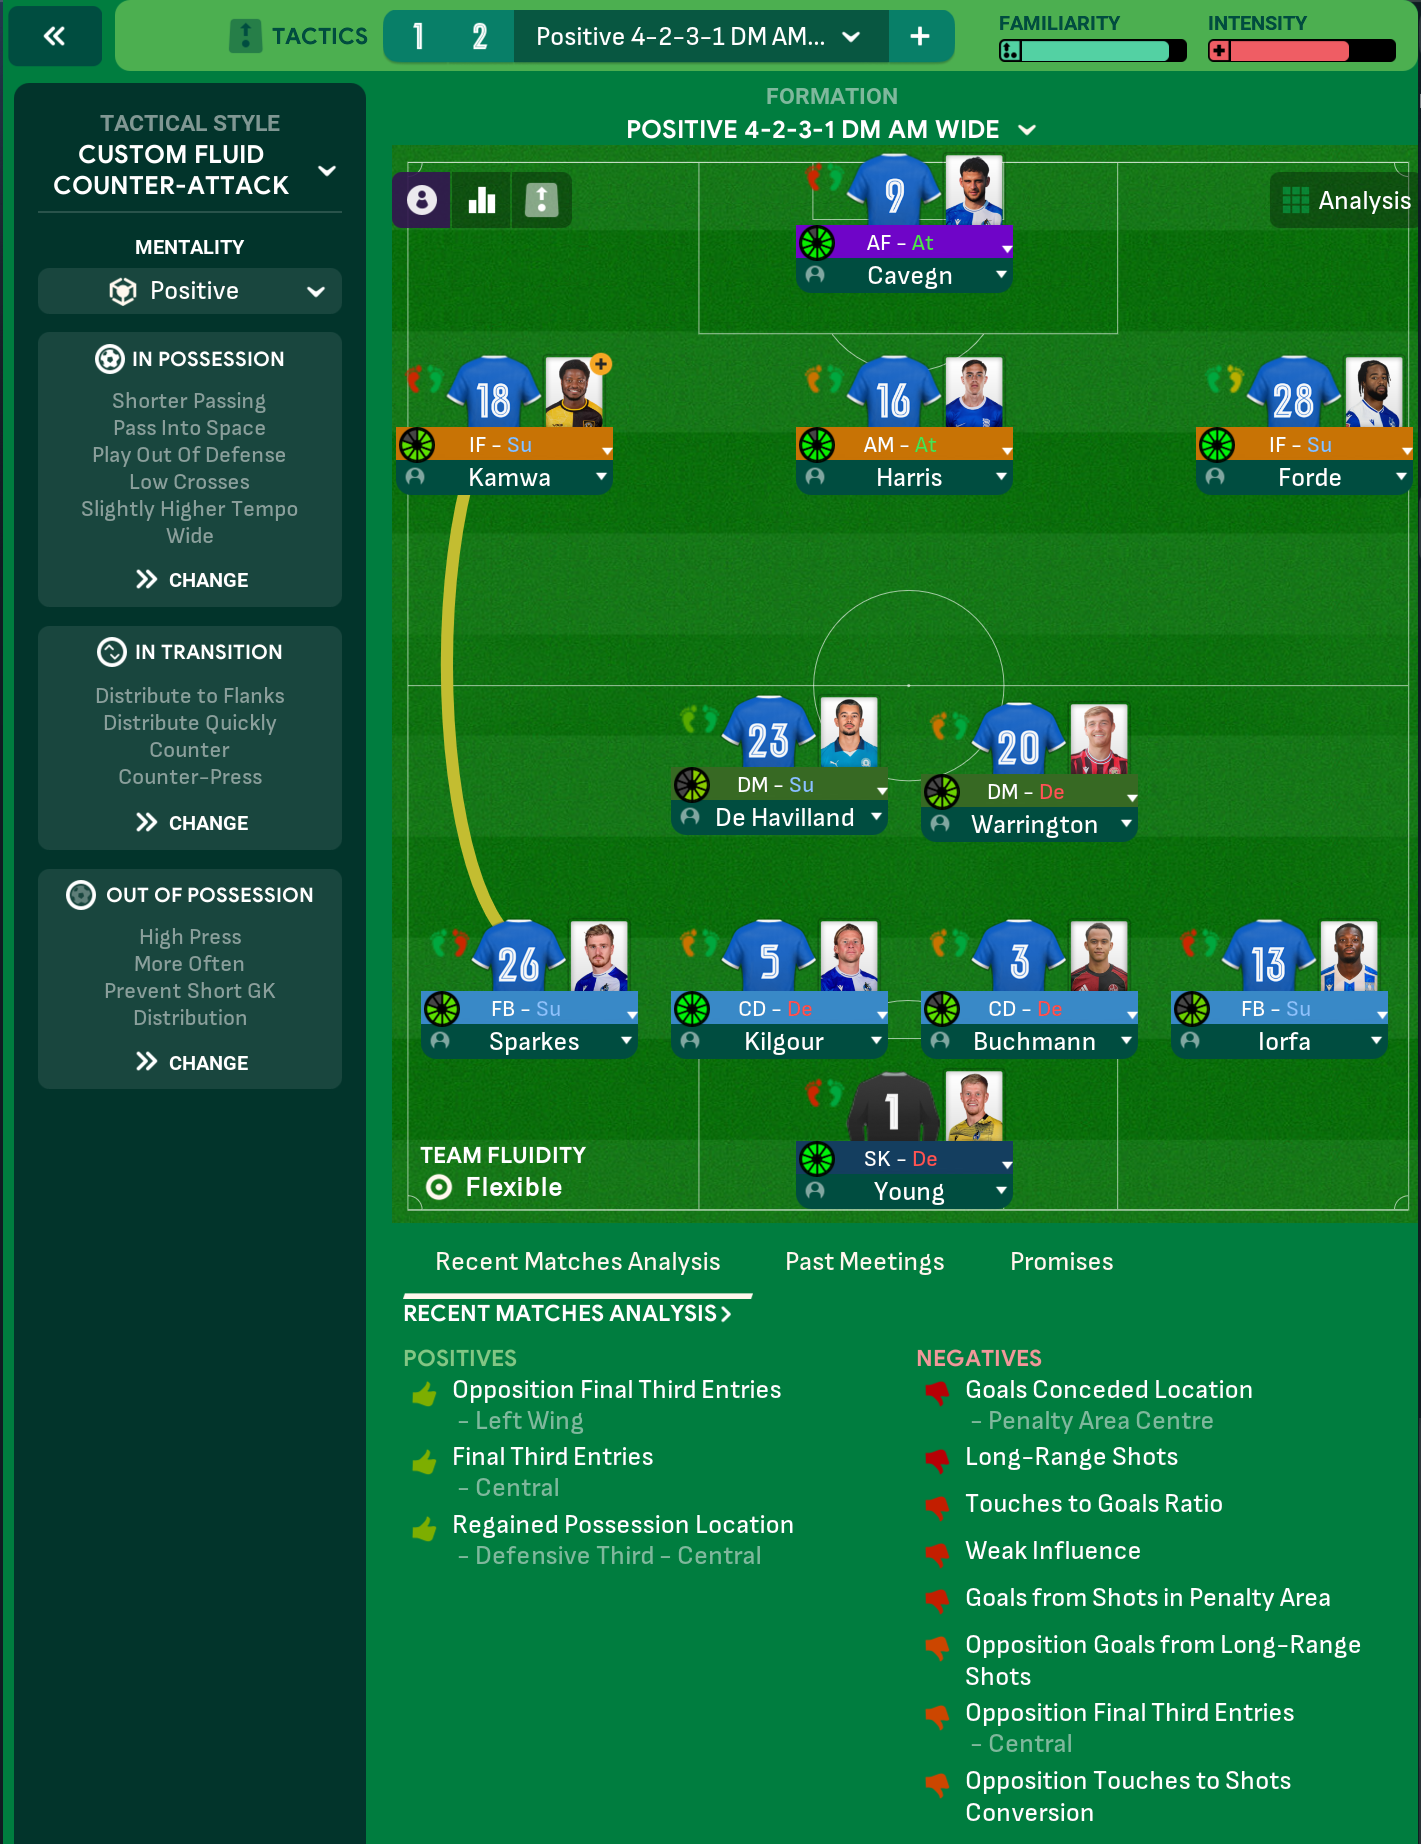
Guides for this tactic
The tactical theory behind the 3-4-2-1: roles, instructions, and the trade-offs that decide whether the system holds up.
Foundations
Pressing Triggers and Intensity
Counter-Press, Regroup, Stand Off, Trigger Press: what each pressing instruction does in FM and how to pair them without contradicting.
Read guide
Foundations
Defensive Line and Line of Engagement
The pairing rule for Defensive Line and Line of Engagement, all 9 combinations, and the gap that costs goals.
Read guide
Foundations
Width, Compactness, and Tempo
What Higher Tempo, Wider, and Narrower actually do in FM, plus the dial contradictions and antipatterns players run into most often.
Read guide