Uploaded Tactic
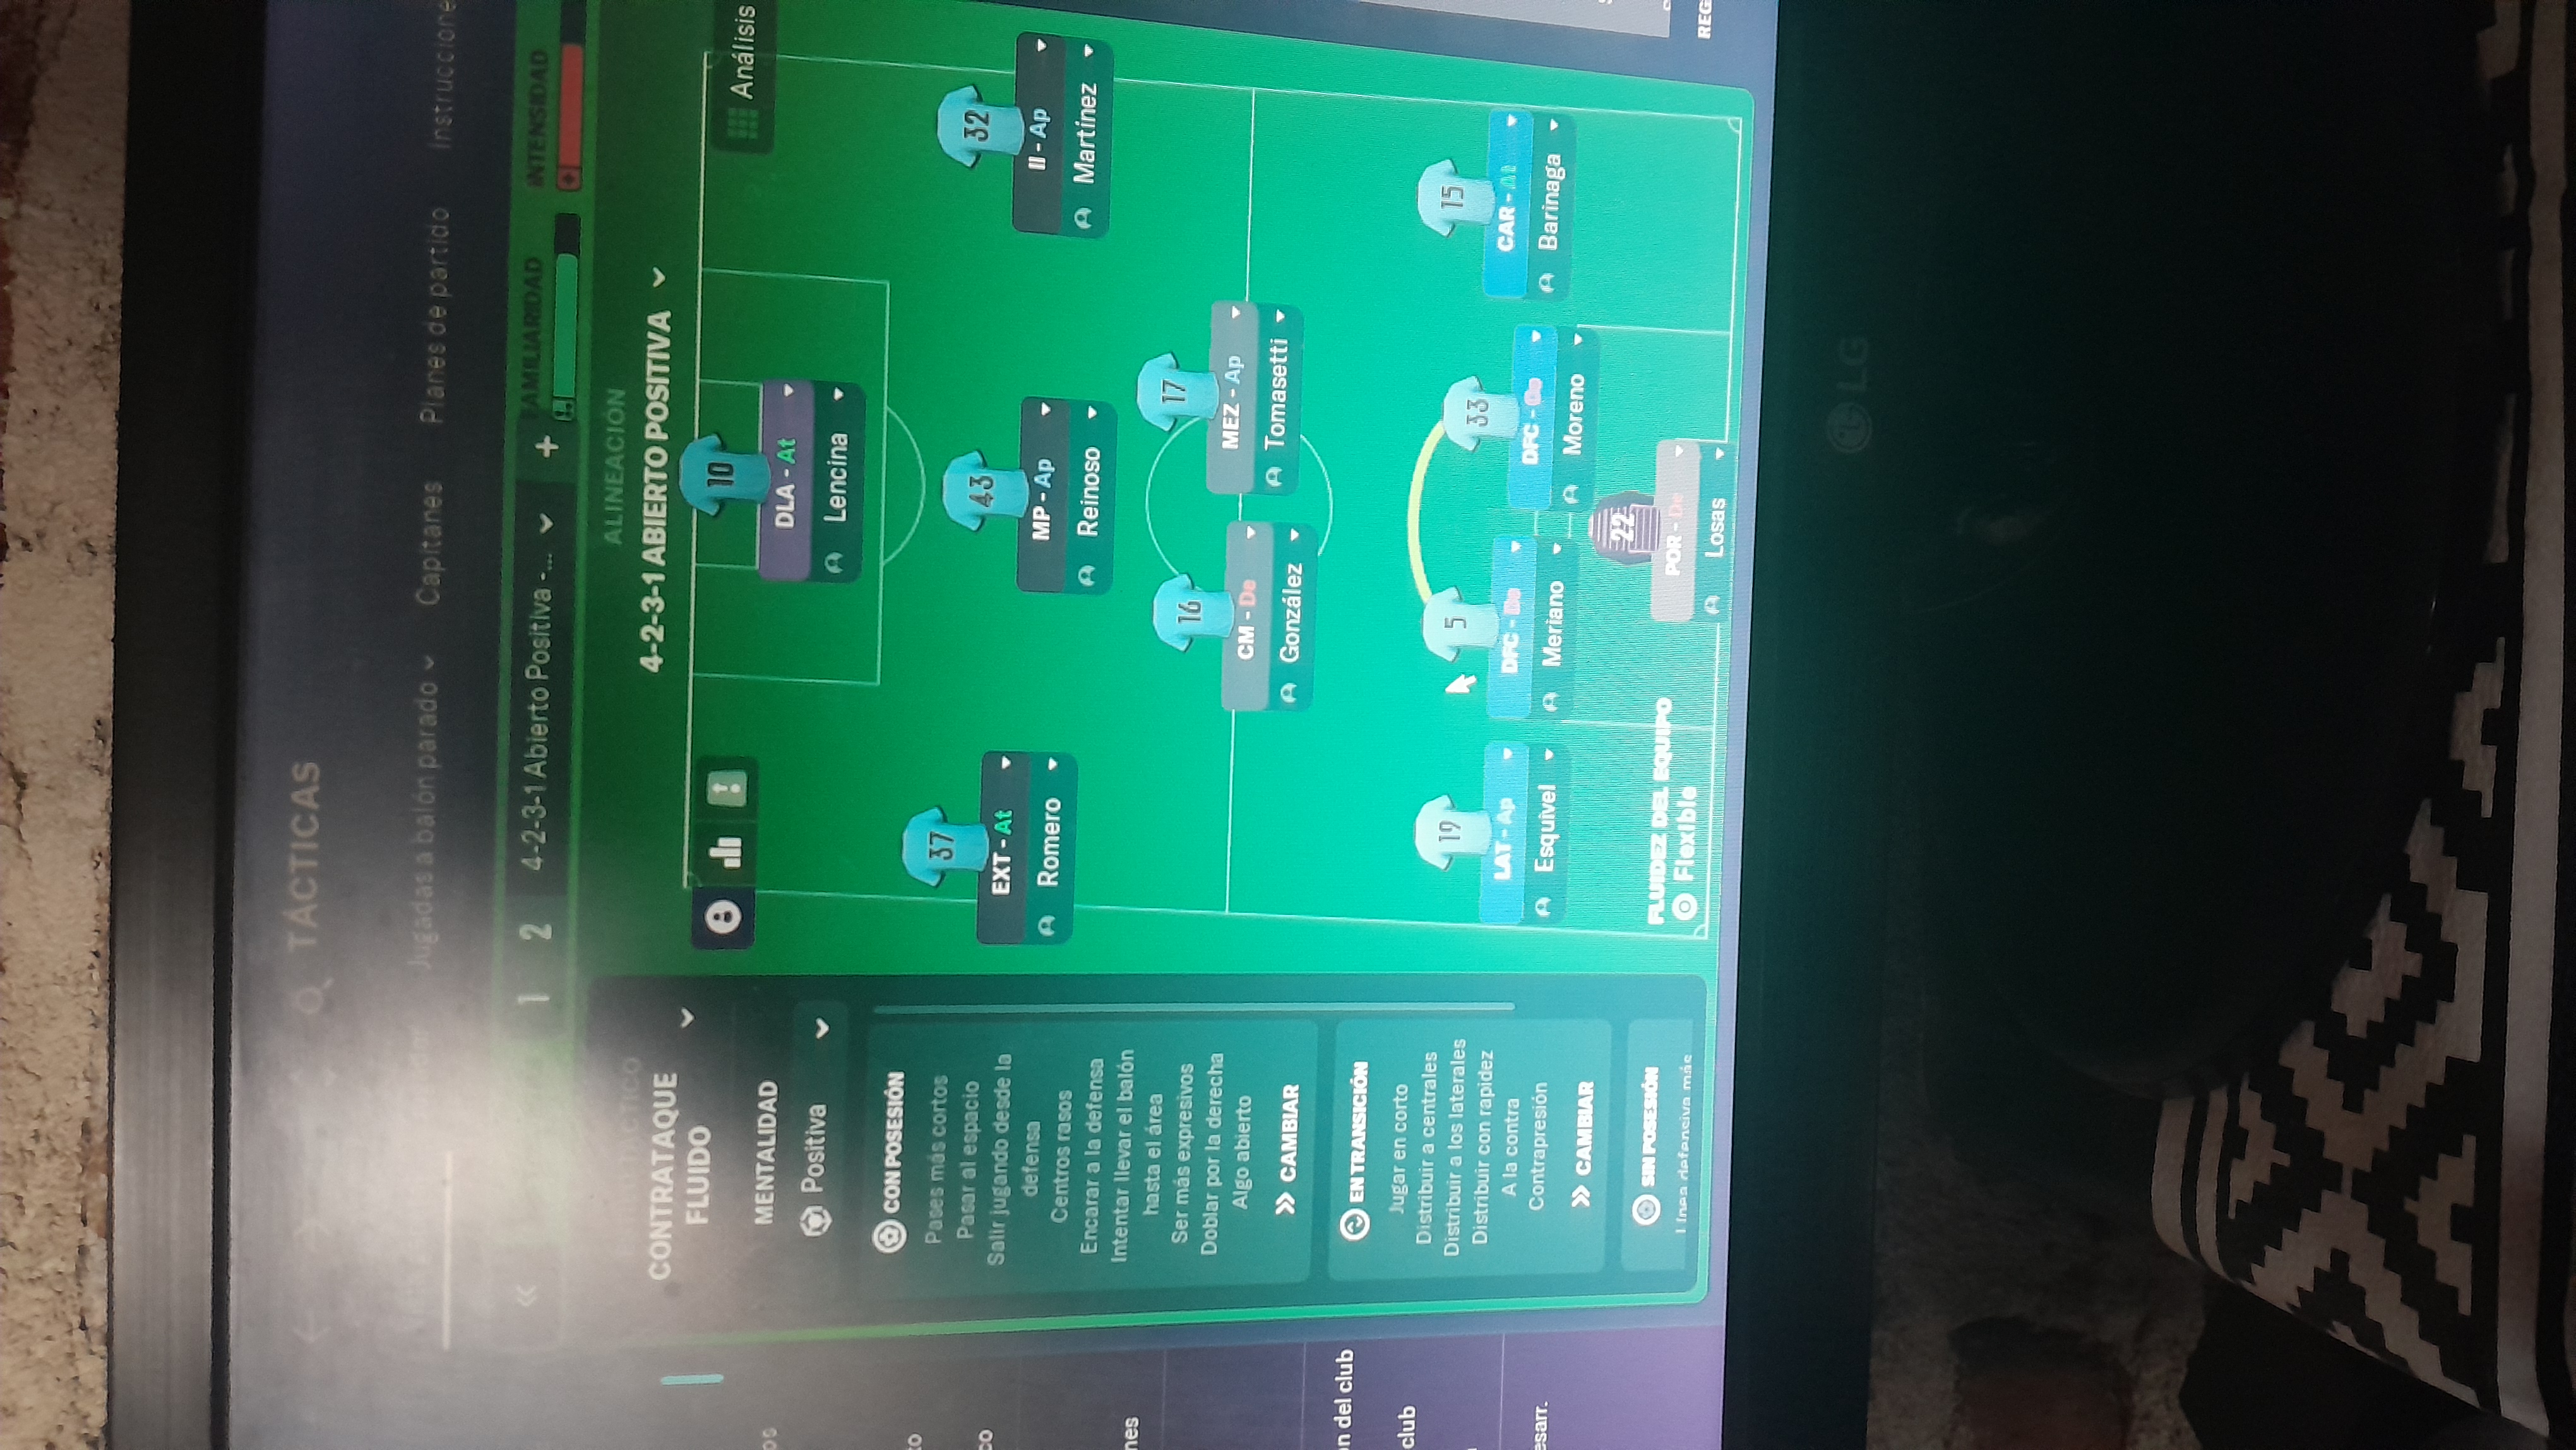
Formation & Style
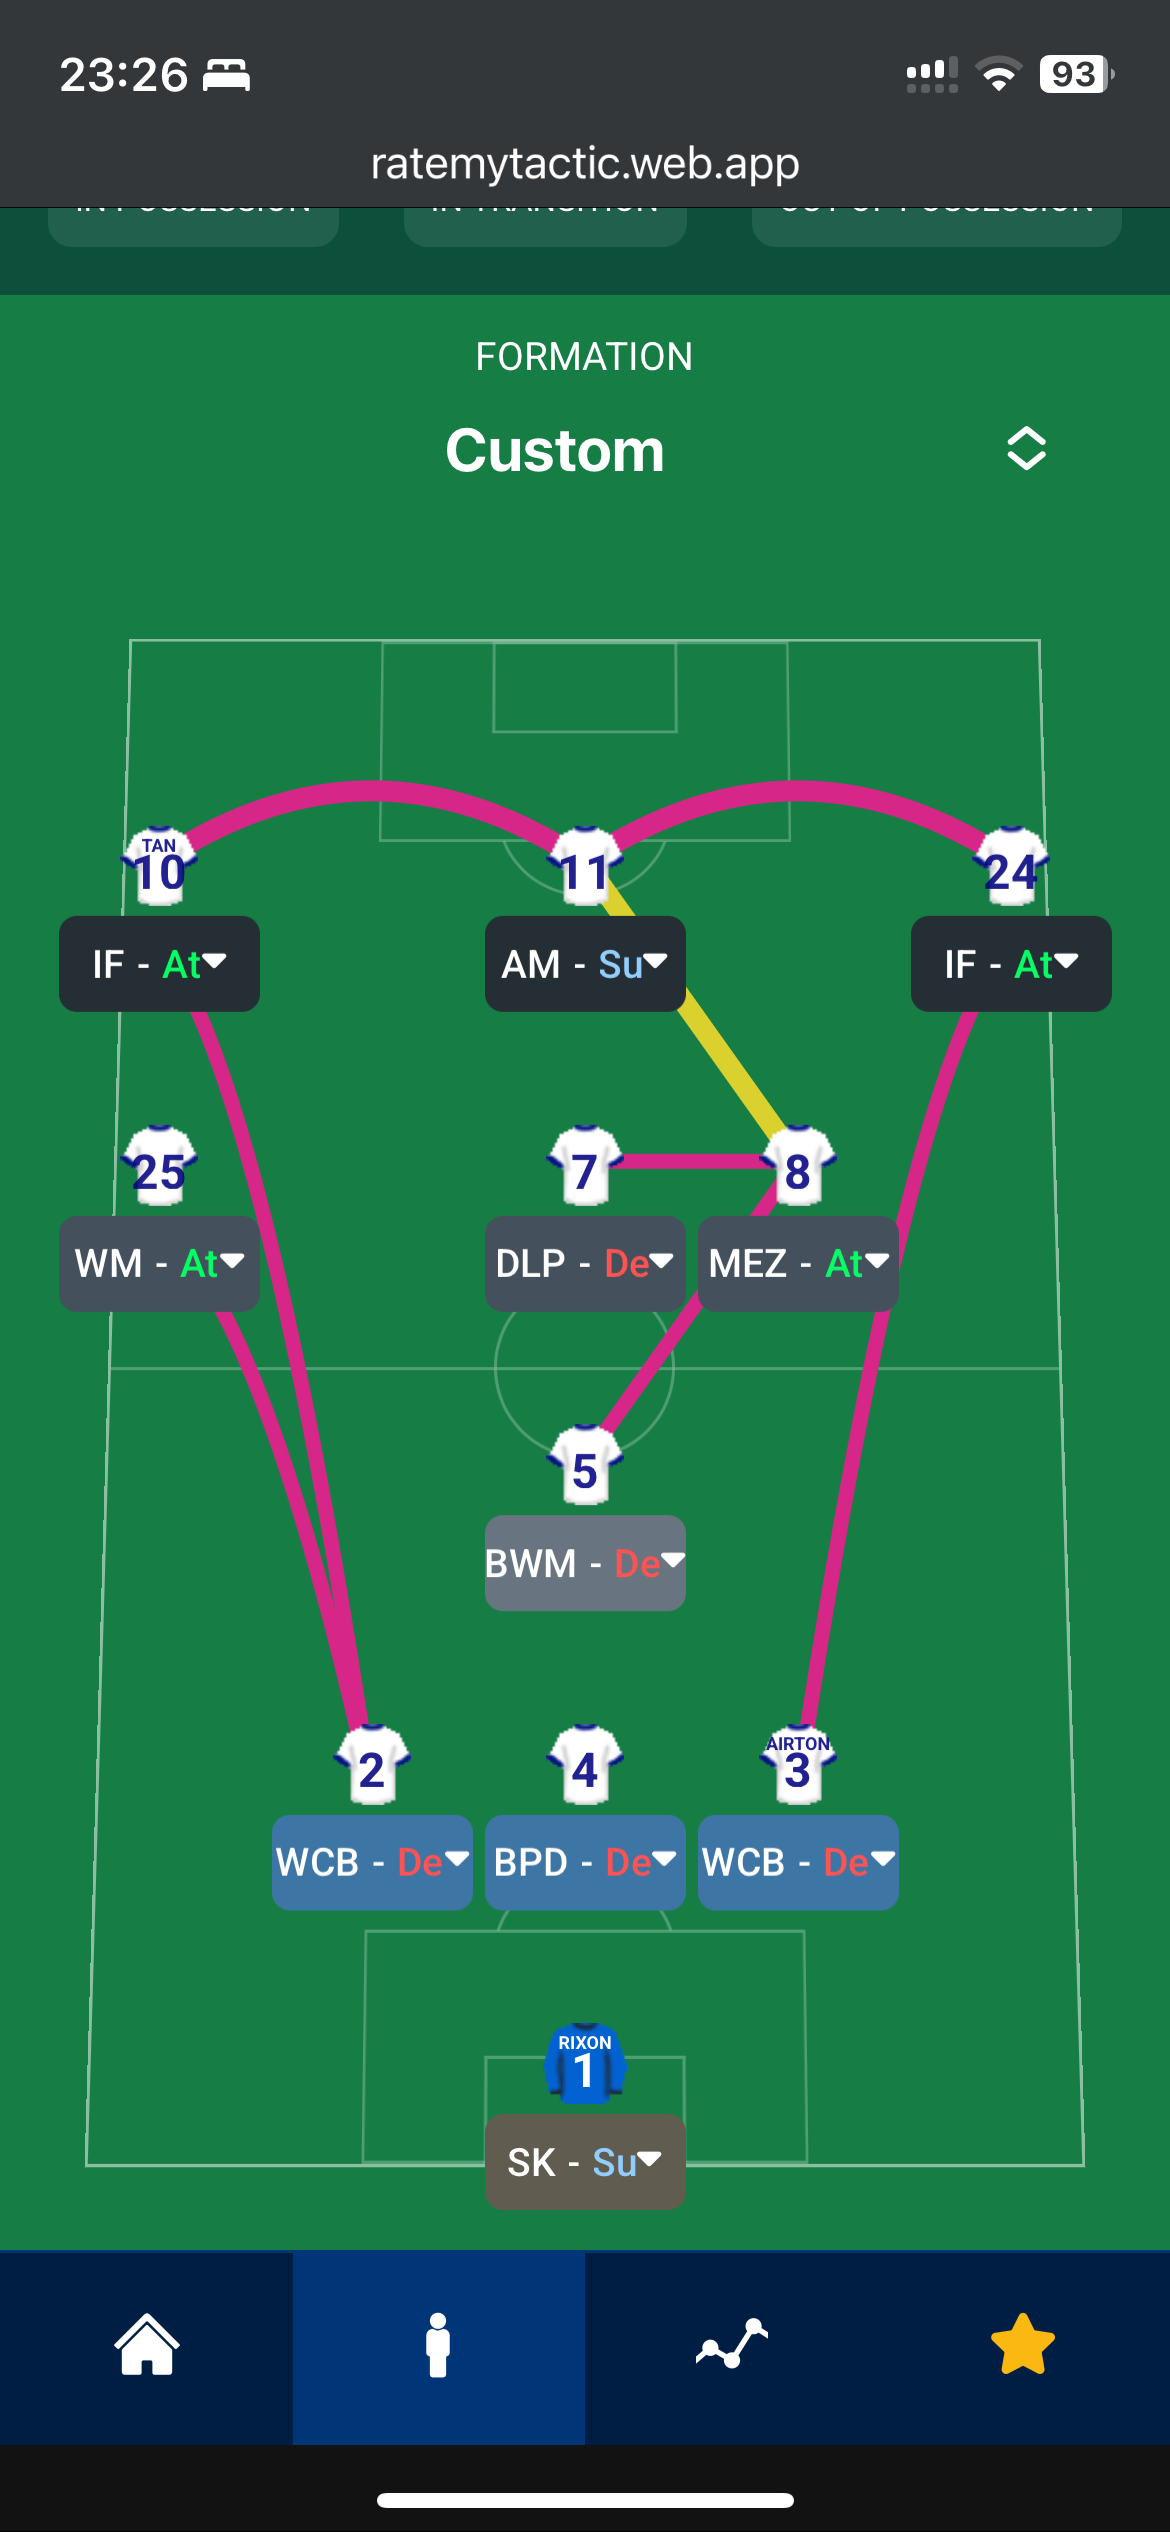
Tactical Style:Custom
Mentality:Positive
Formation:4-2-3-1
Team Fluidity:Structured
In Possession
Keep possession with short passing
Utilize width through Wingers
Exploit through balls into the space behind the defence
In Transition
Counter-attack quickly upon winning the ball
Aim for direct forward passes
Out of Possession
Press high to recover the ball quickly
Maintain a solid defensive shape
Team Shape Without Ball
Shape:4-2
Description:Four defenders with two sitting deep to protect against counters.
Evidence:BWM-D at [3,3] alongside DLP-D at [3,2] paired with a solid back four.
Team Shape With Ball
Shape:4-3-3
Description:Flat midfield allows for three attacking movements, creating flexibility in the final third.
Evidence:Mezzala at [4,3], AM-S at [5,3], paired with two IF-A at [6,1] and [6,5] providing width.
Phase Description
Attacking Play
Utilizes width and overlapping runs, with quick transitions to exploit gaps in the opposition’s defense.
Defensive Transition
Focus on immediate pressing after losing the ball, ensuring a high block to minimize space for counter-attacks.
Main Focus
Create numerical superiority in the midfield to control possession and dictate the pace of the game.
Key Strengths
Wide Play
Utilizes Inside Forwards and a Winger to stretch the play and create spaces.
Defensive Solidity
Strong defensive structure with a mixture of roles offering versatility.
Numerical Advantage in Midfield
Ensures control of the midfield area with three players capable of both defending and attacking.
Conflicting Directions
High Defensive Line
A high defensive line can expose the defence to swift counter-attacks.
Lack of Defensive Width
Wide Centre-Backs could be prone to exploitation if forward movements leave gaps.
Transition Risks
Quick transitions after losing possession may leave the team shaky at the back.
Tactical Suggestions
Adjust Defensive Line
Lower the defensive line to reduce vulnerability to pacey attackers.
Increase Central Support
Consider adding a more defensive player in midfield during tough fixtures.
Balance Pressing Strategy
Introduce a more conservative approach when maintaining possession.
Ask Questions About Your Lineup
Related Tactics
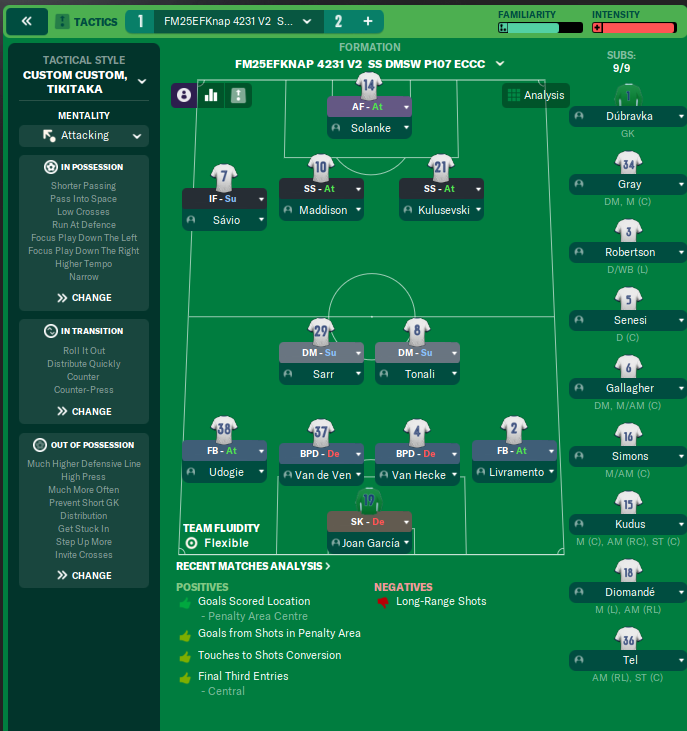
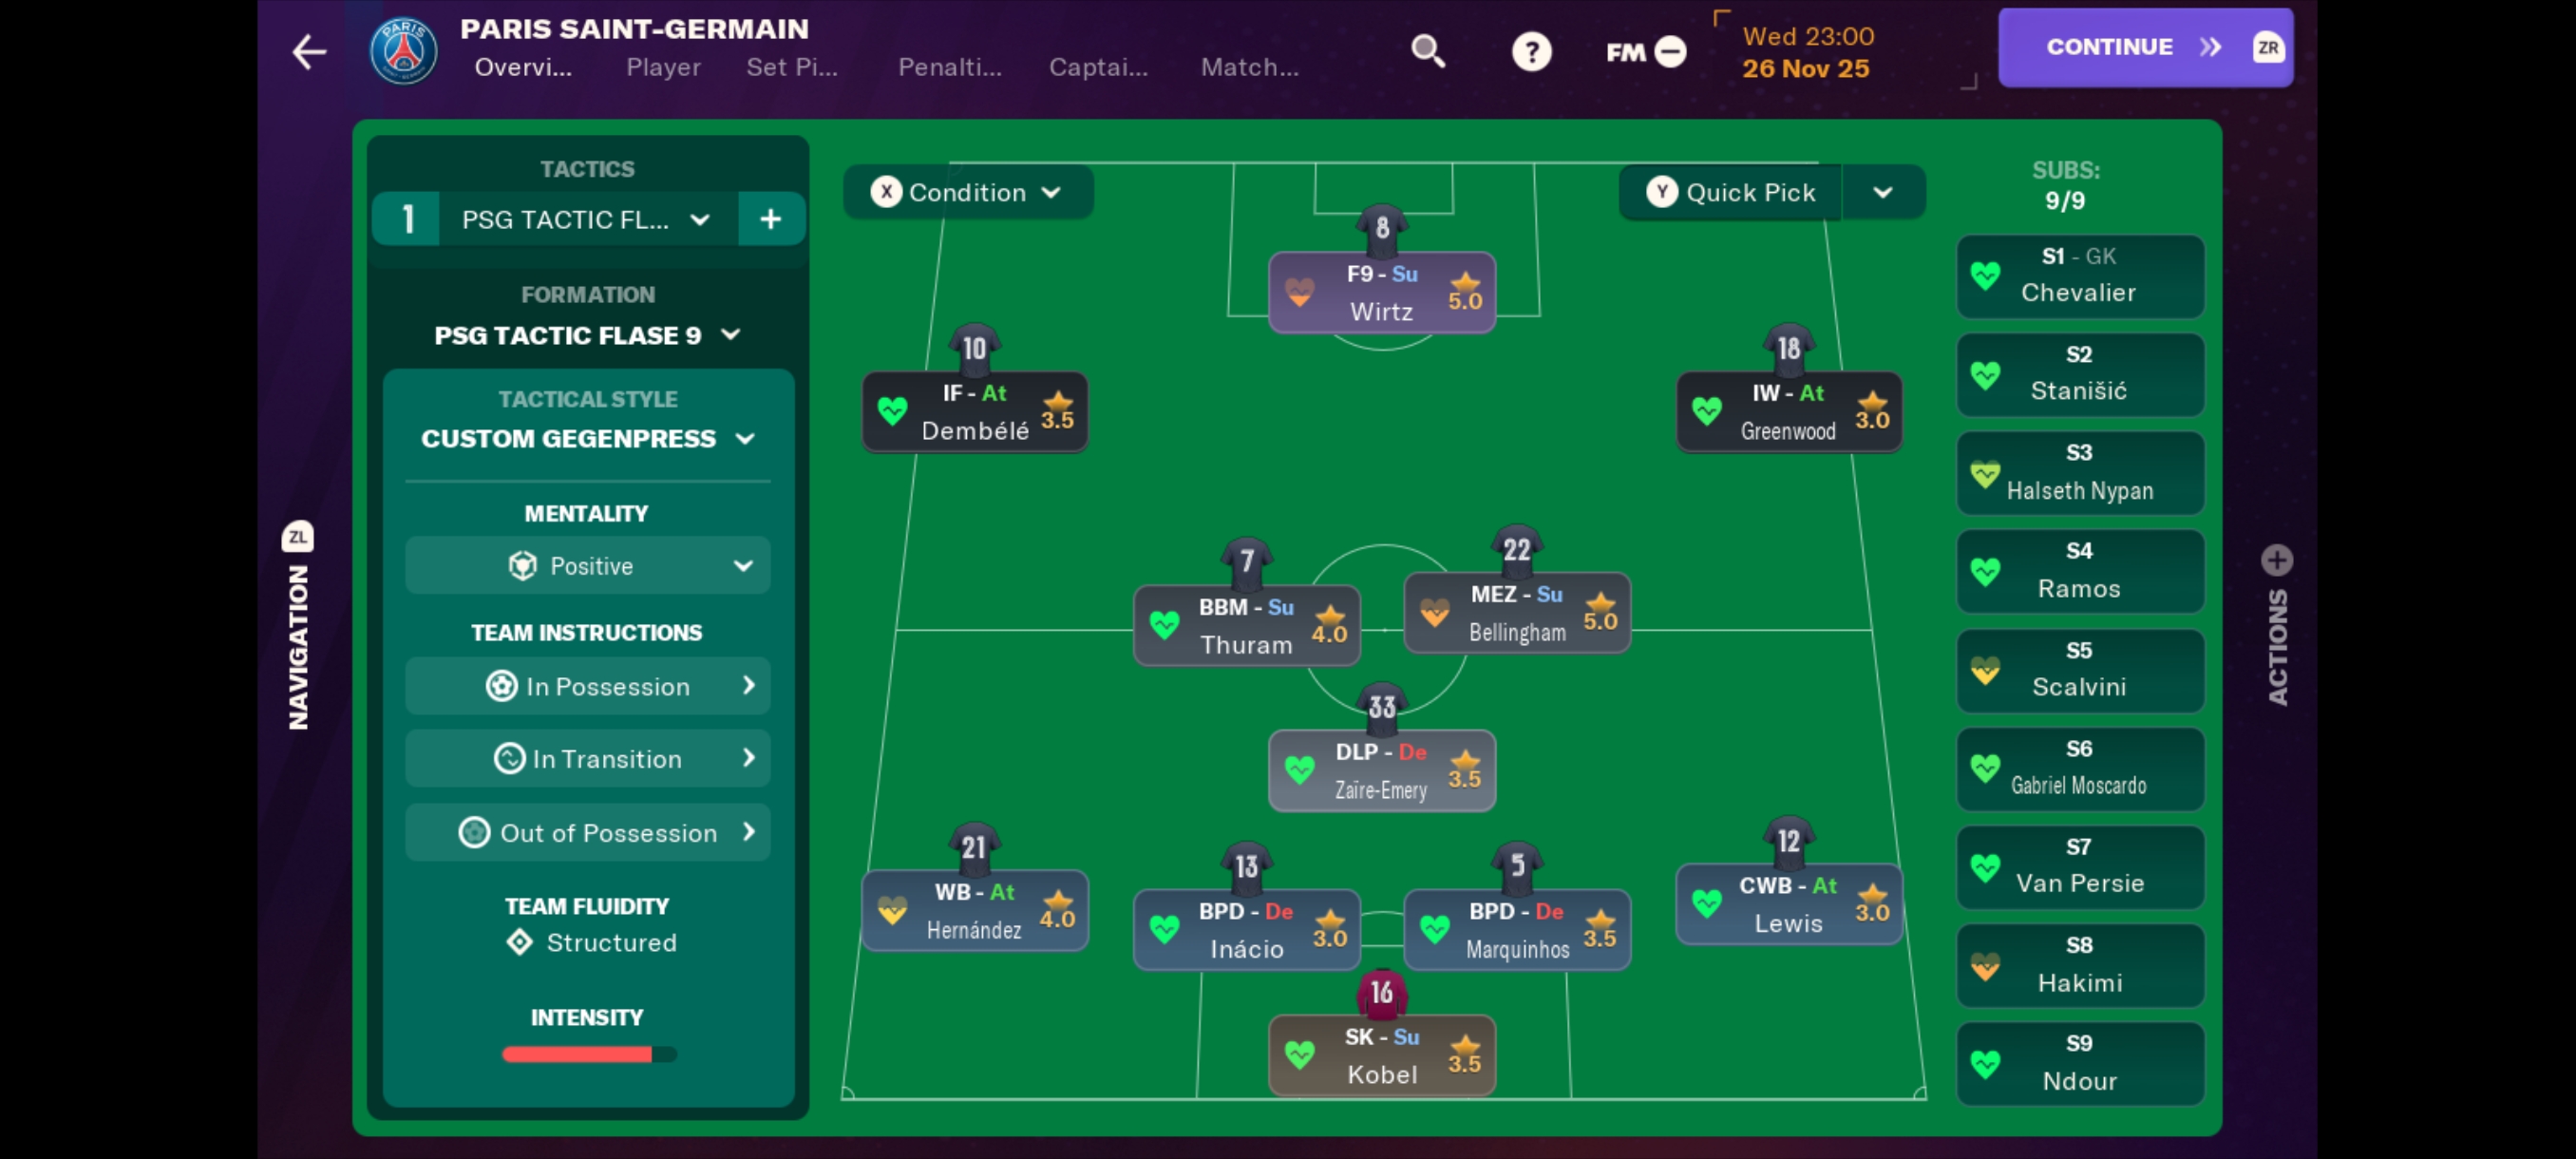
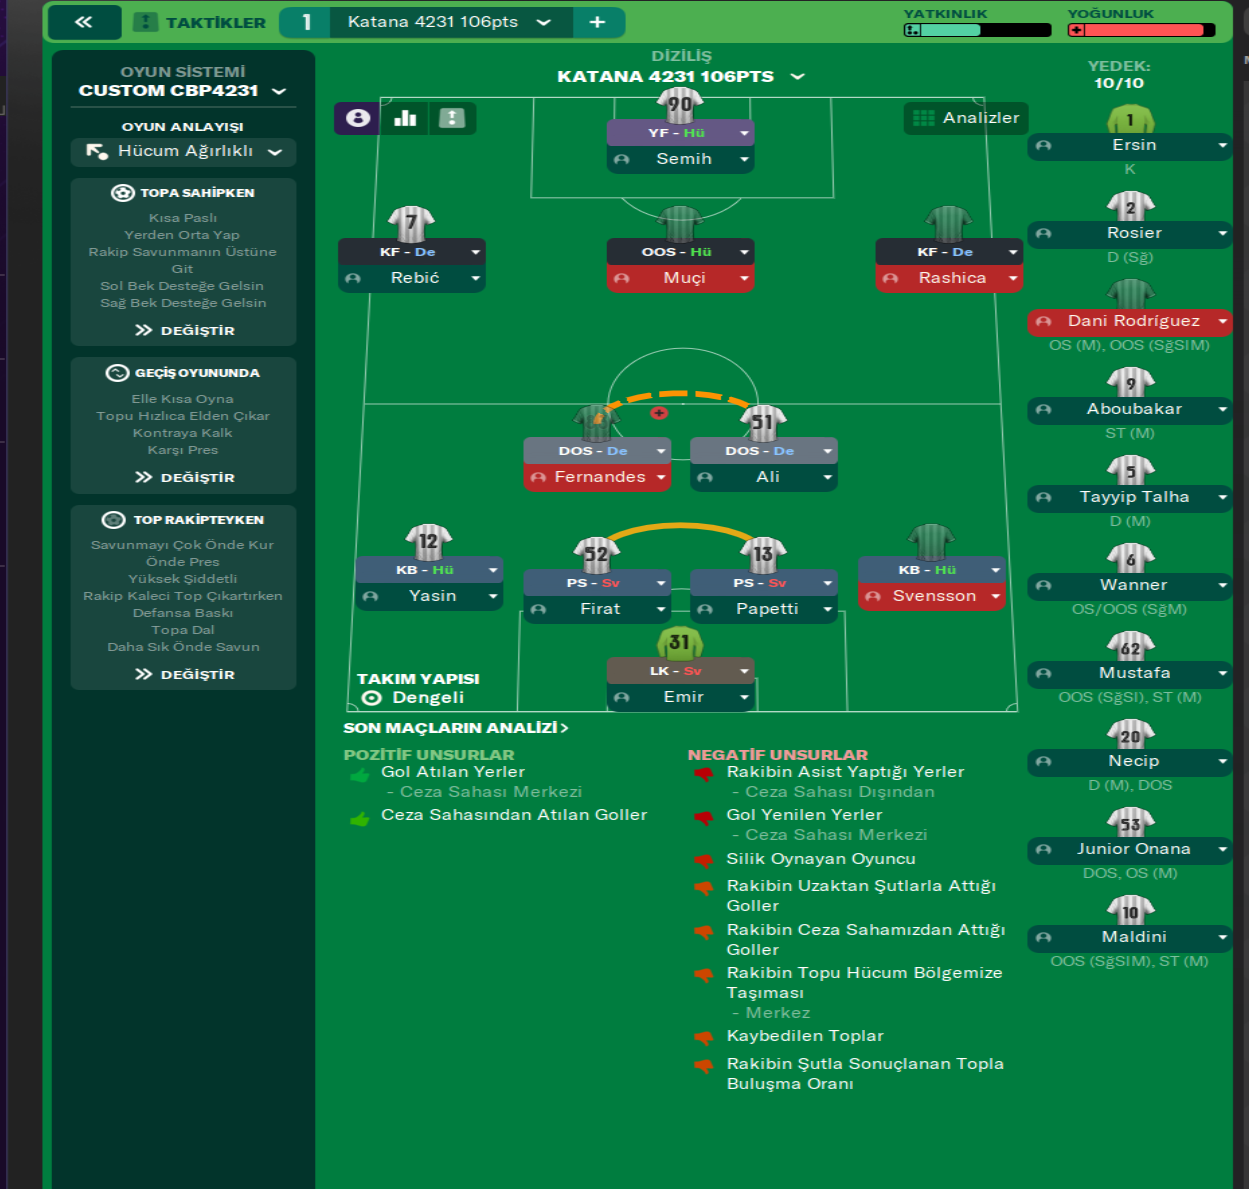
Guides for this formation
The tactical theory behind the 4-2-3-1: roles, instructions, and the trade-offs that decide whether the system holds up.
Player pairings
Midfield Pairs in 4-2-3-1 and 4-4-2
Double pivots and flat pairs in 4-2-3-1 and 4-4-2: when each pairing works, when it collapses, and the AMC unicorn that rescues both.
Read guide
Playing styles
Gegenpressing: A Full Guide
Klopp-style gegenpressing in FM, including squad profile, line-and-press pairing, sustainable workload, and the antipatterns to avoid.
Read guide