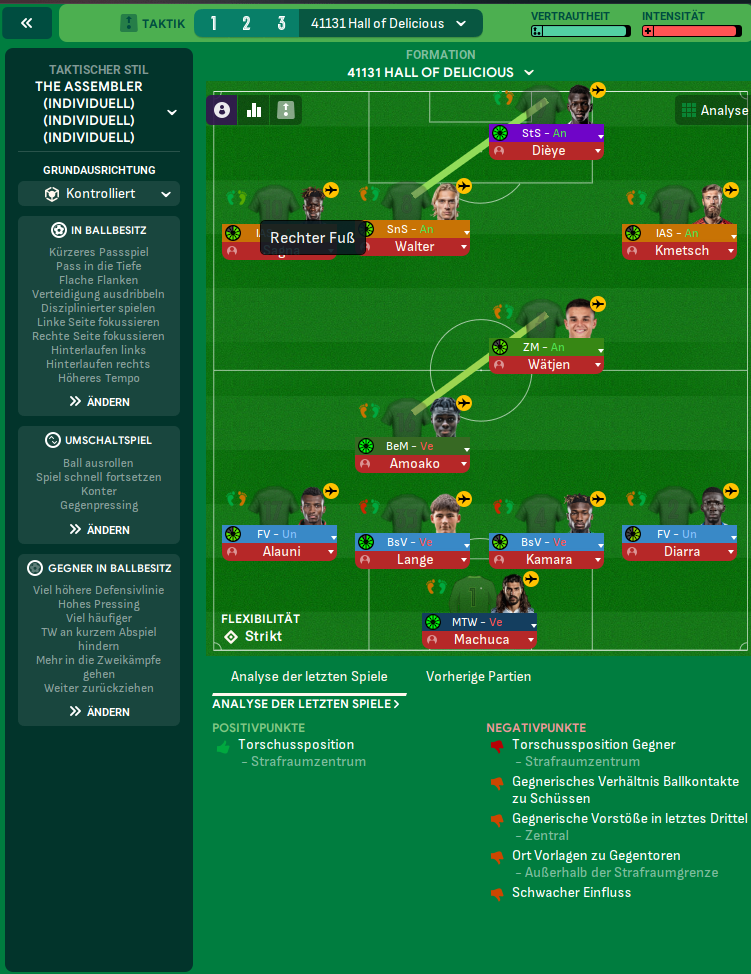
AM 3-1-3-1 (Positive) Tactic
AM 3-1-3-1
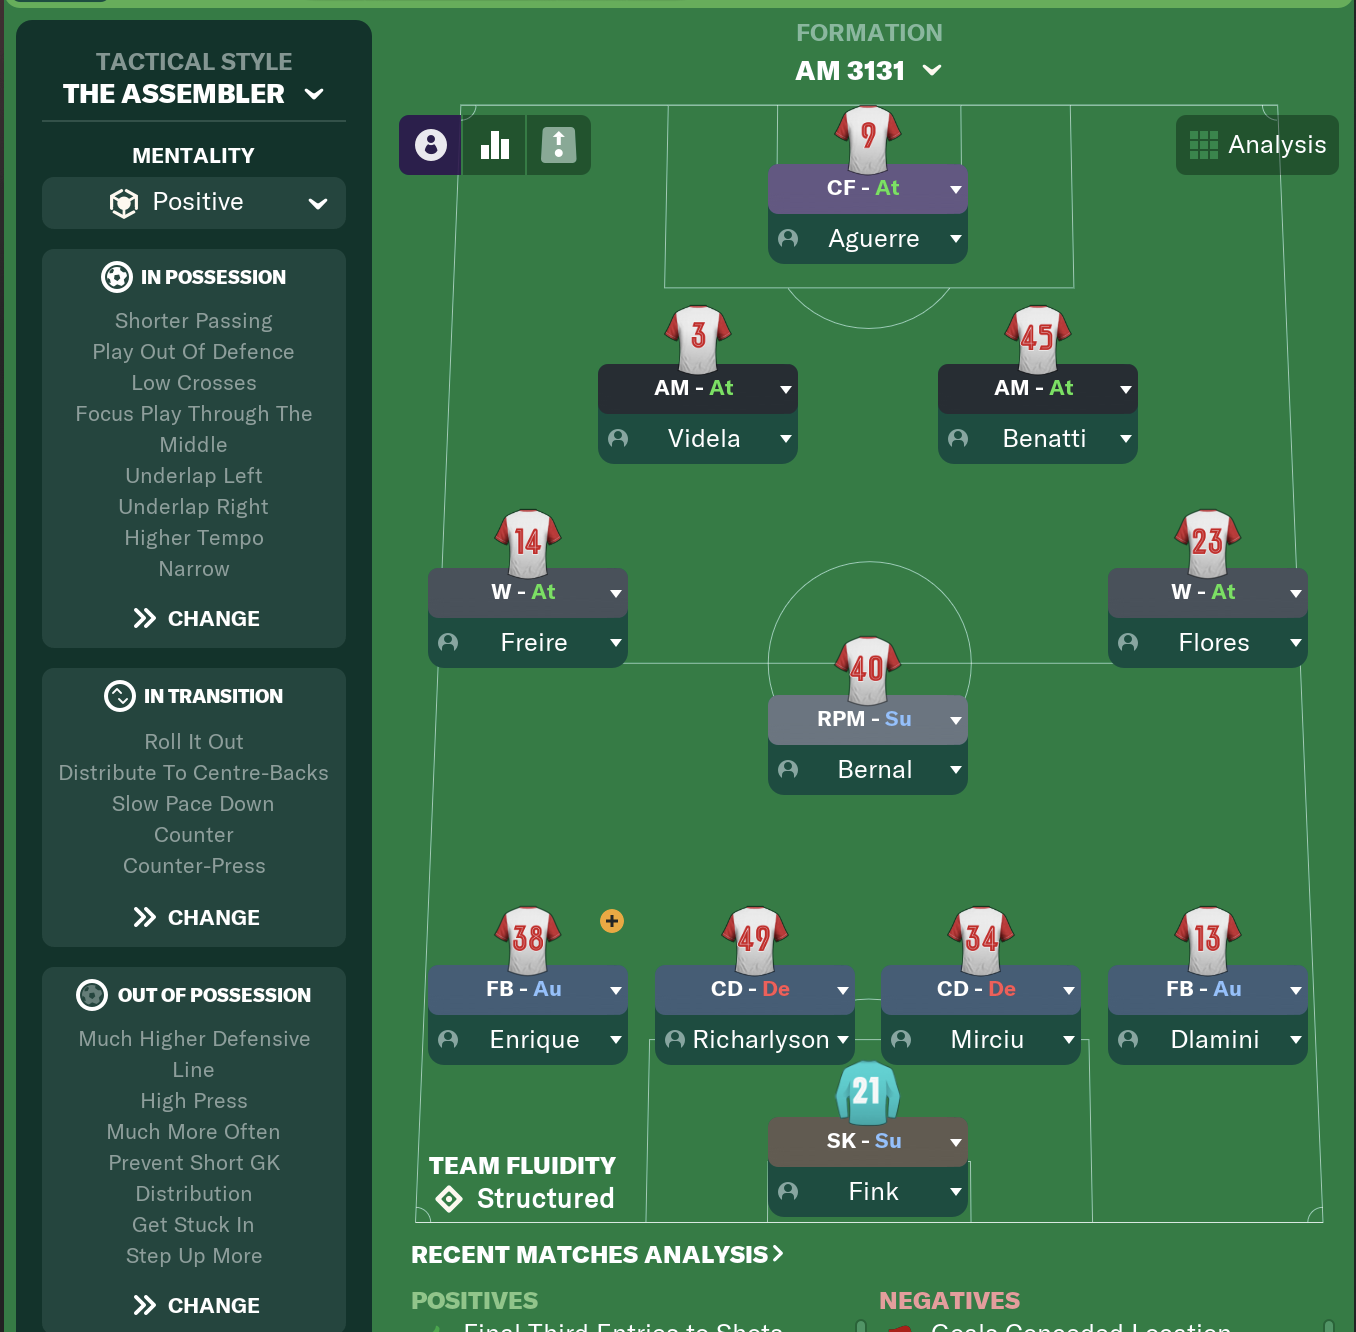
Central overload with flexibility from wide players. Combination of RPM and attacking midfielders allows for fluid attacking patterns.
Loading tactical analysis...
Formation and style
The Assembler
Positive
AM 3-1-3-1
Structured
In possession
Shorter Passing
Play Out Of Defence
Low Crosses
Focus Play Through The Middle
Underlap Left
Underlap Right
Higher Tempo
Narrow
In transition
Roll It Out
Distribute To Centre-Backs
Slow Pace Down
Counter
Counter-Press
Out of possession
Much Higher Defensive Line
High Press
Much More Often
Prevent Short GK Distribution
Get Stuck In
Player roles
GK
Sweeper Keeper
Support
Defence
Full-Back
Attack
Defence
Centre-Back
Defend
Defence
Centre-Back
Defend
Defence
Full-Back
Attack
Defensive Midfield
Roaming Playmaker
Support
Attacking Midfield
Wide Playmaker
Attack
Attacking Midfield
Attacking Midfielder
Attack
Attacking Midfield
Attacking Midfielder
Attack
Striker
Complete Forward
Attack
Phase description
Utilizes central play with underlaps and quick passing, exploiting space.
Focuses on immediate pressure upon losing possession, aiming to regain control.
Central overload with flexibility from wide players.
Team shape defence
Compact shape with a high line
Defensive line holds a much higher position on the pitch, applying pressure.
Much Higher Defensive Line and High Press instructions.
Team shape attack
Narrow central dominance
Attacking players work centrally while full-backs provide width.
Underlap Left and Underlap Right instructions to create overloads.
Key strengths
Fluid Attacking Movement
Combination of RPM and attacking midfielders allows for fluid attacking patterns.
RPM at [3,3] supporting three attacking midfielders.
High Defensive Engagement
The high press will disrupt opposition buildup play.
High Press and Much Higher Defensive Line.
Conflicting tactics
Potential Overexposure on Counters
High defensive line may leave gaps when countered.
Much Higher Defensive Line paired with Counter instruction increases vulnerability.
Risk of Overcommitment
Encouraging full-backs to attack while maintaining high line can disrupt defensive stability.
FB-Au roles and high pressing strategy can lead to gaps.
Risk exposures
Risk Exposures
Items
Defensive Transition
High line may leave defenders exposed to quick counters.
High Defensive Line and Counter press.
Overcommitment from Full-Backs
Full-backs pushing high can leave flanks vulnerable.
FB-Au roles pushing forward while under pressure.
Role synergies
Role Synergies
Items
RPM-Su with AM-A
The RPM can create space and opportunities for attacking midfielders.
RPM-Su at [3,3] aids in fluid ball progression.
Full-Backs with Wingers
Overlap from full-backs supports wingers, creating wide chances.
FB-Au roles at [2,1] and [2,5] provide extra width.
Suggested questions
How can the team adjust defensive tactics against quick counter-attacks?
Would a change in mentalities provide better results in tougher matches?
How can the full-backs be better utilized for overlapping runs?
More The Assembler tactics
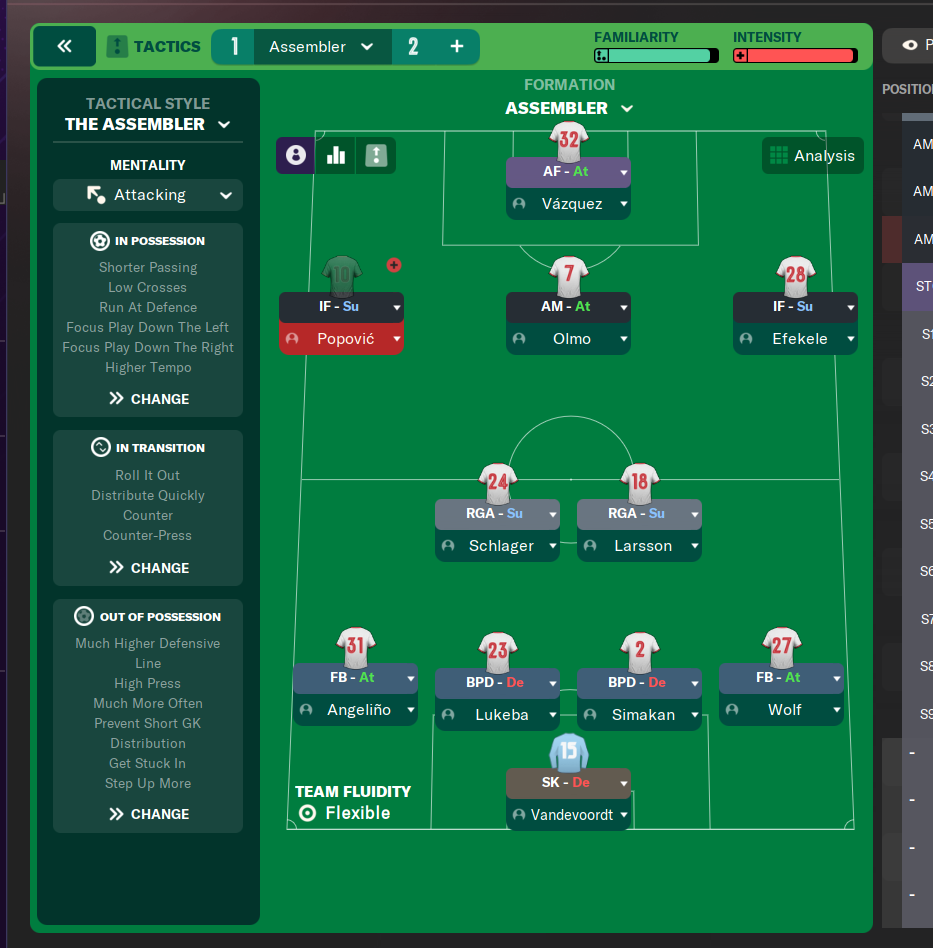
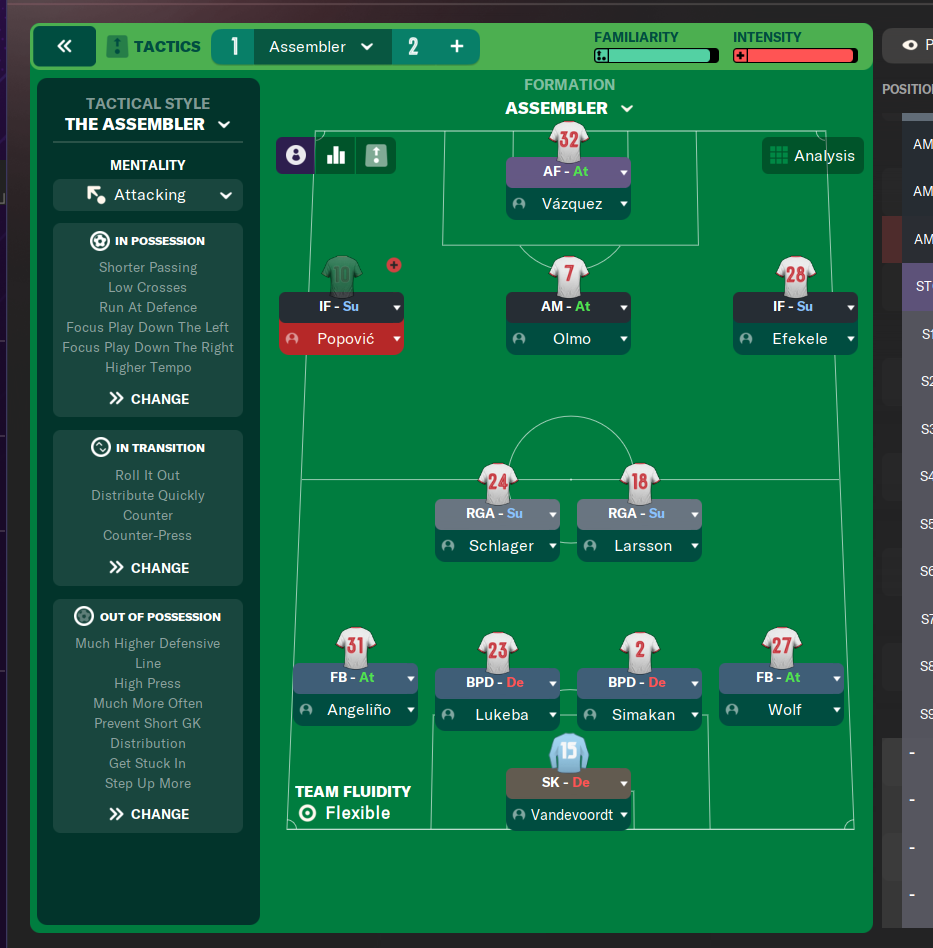
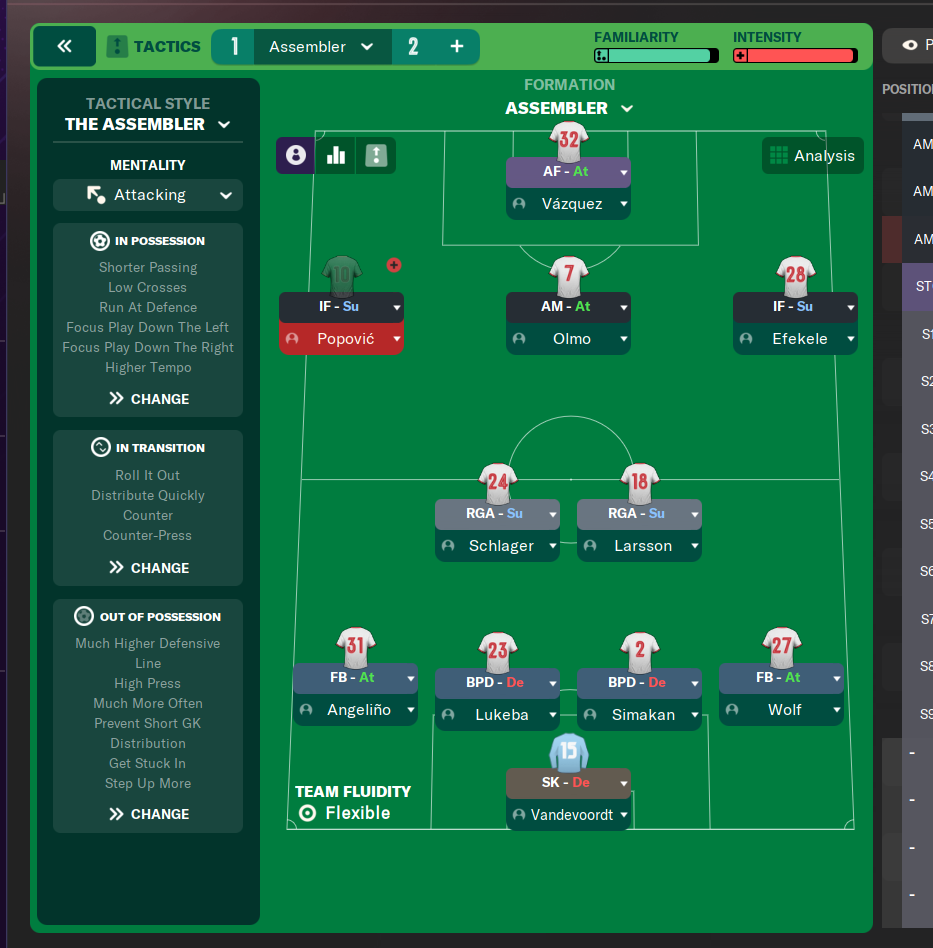
Guides for this tactic
The tactical theory behind the AM 3-1-3-1: roles, instructions, and the trade-offs that decide whether the system holds up.
Foundations
Defensive Line and Line of Engagement
The pairing rule for Defensive Line and Line of Engagement, all 9 combinations, and the gap that costs goals.
Read guide
Foundations
Width, Compactness, and Tempo
What Higher Tempo, Wider, and Narrower actually do in FM, plus the dial contradictions and antipatterns players run into most often.
Read guide
Foundations
Wing Play vs Central Play
Build through the wide areas or through the middle? A working framework for picking the right one for your squad.
Read guide