Attacking 4-2-4 Wide (Positive) Tactic
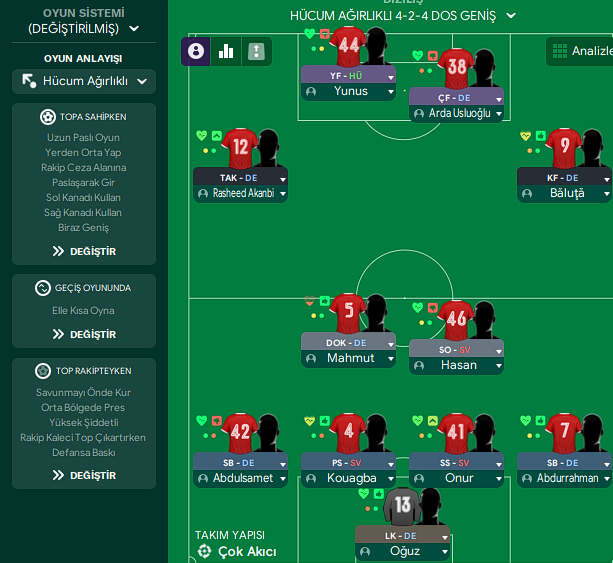
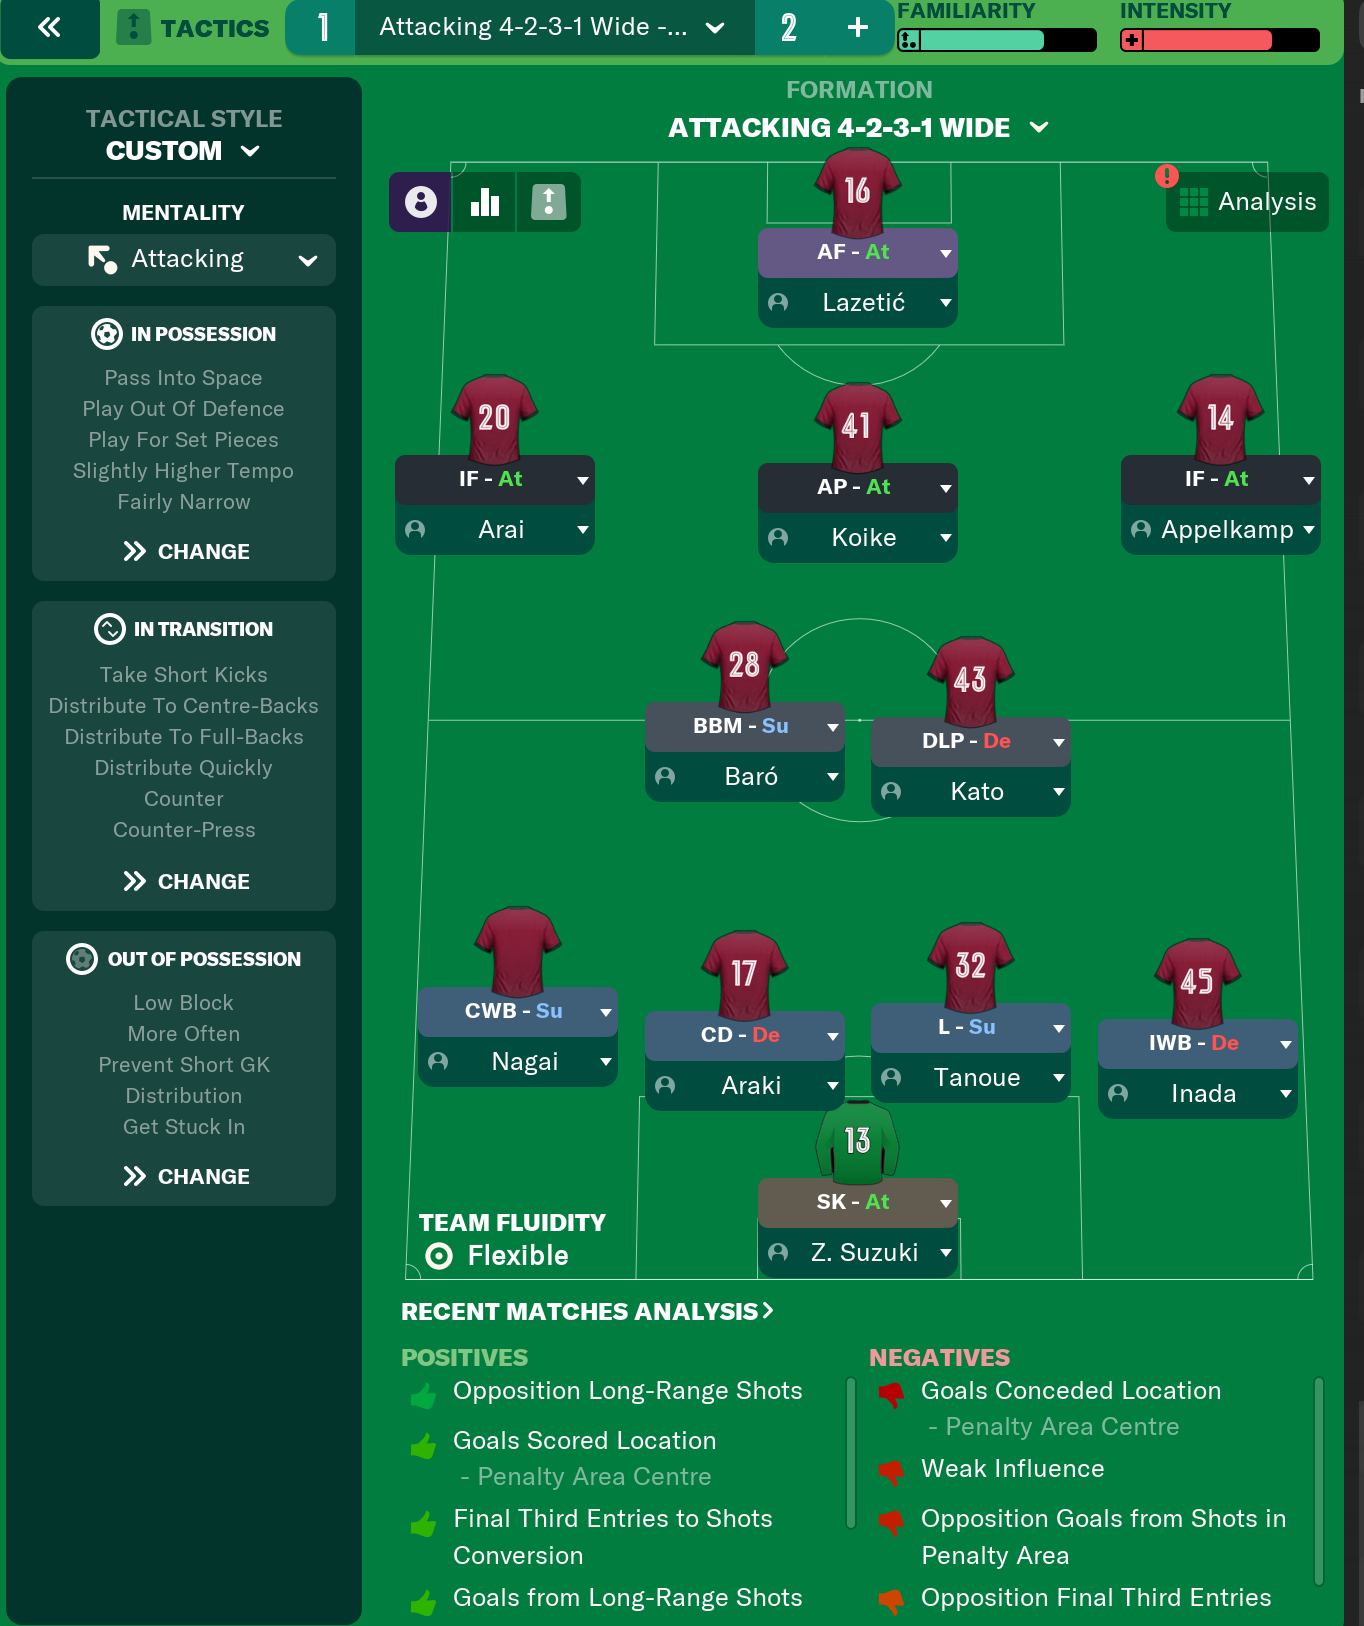
4-2-4 Wide
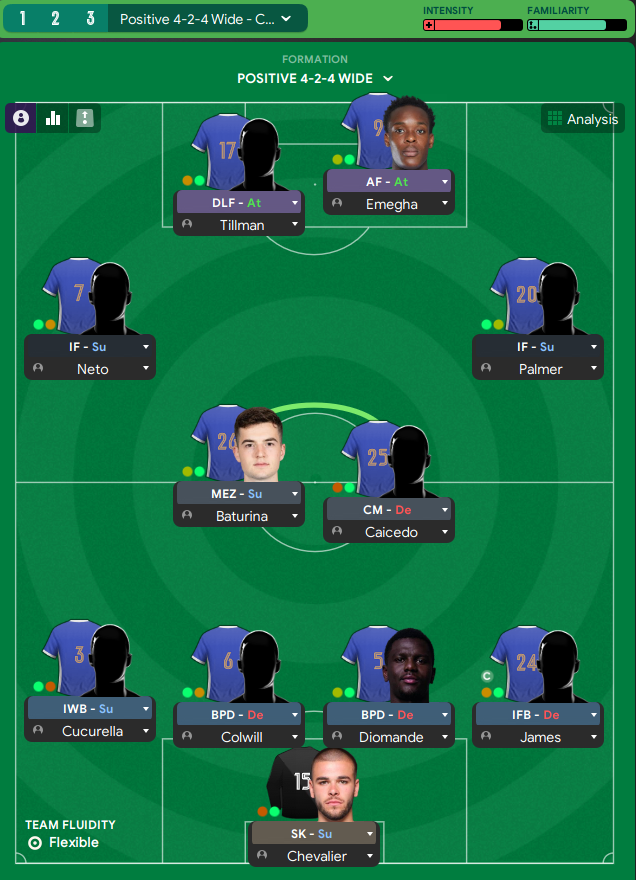
Maximizing width in attack while ensuring defensive solidity. Utilizing wide forwards helps stretch opposition defenses, creating space in the middle.
Loading tactical analysis...
Formation and style
Attacking
Positive
4-2-4 Wide
Structured
In possession
Play Out of Defence
Shorter Passing
Work Ball into Box
In transition
Counter-Press
Counter
Out of possession
Higher Defensive Line
Higher Line of Engagement
Trigger Press More Often
Player roles
GK
Goalkeeper
Defend
LB
Wing-Back
Support
CB
Centre-Back
Defend
CB
Centre-Back
Defend
RB
Wing-Back
Support
CM
Deep-Lying Playmaker
Defend
CM
Box-to-Box Midfielder
Support
LW
Wide Forward
Attack
CF
Complete Forward
Defend
RW
Winger
Support
Phase description
Focus on quick, short passes to progress the ball into the final third while exploiting the wings.
Pressing opponents immediately after losing possession to regain control quickly.
Maximizing width in attack while ensuring defensive solidity.
Team shape defence
Flat Back 4 with Midfield Shield
Four defenders supported by two central midfielders provides balance.
CB at [2,2], [2,3] with DM at [3,2] and BBM at [4,2].
Team shape attack
Variable Width with Central Overload
Utilizes wing-backs and forwards to stretch the opposition's defence.
LW at [5,1], RW at [5,5] supported by a CF at [6,3].
Key strengths
Width in Attack
Utilizing wide forwards helps stretch opposition defenses, creating space in the middle.
LW at [5,1] and RW at [5,5] provide natural width.
Midfield Control
The double pivot allows for greater ball retention and control in the midfield.
BWM at [3,3] and DLP at [4,3] solidify midfield presence.
Conflicting tactics
Static Midfield
The spacing between midfielders can lead to isolation of the pivot.
BWM and DLP positioned at [3,3] and [4,3] may become too rigid.
Defensive Vulnerability
A high defensive line can be exploited by quick counter-attacks.
Higher Defensive Line instruction without suitable pacey defenders.
Risk exposures
Risk Exposures
Items
Defence
Potential for quick breakaway goals against a high line.
Higher Defensive Line instruction without necessary pace.
Midfield
Exposed if the double pivot doesn't cover transitions quickly.
BWM and DLP risk isolation with higher pressing.
Role synergies
Role Synergies
Items
BWM and DLP
Complement each other, allowing for defensive coverage and creative play.
BWM at [3,2] provides protection for DLP at [4,3].
LW and RW
Creates width and can pull defenders out of shape.
LW at [5,1] and RW at [5,5] maintaining distance for central attacks.
Suggested questions
How can I adjust the defensive line to suit my available defenders?
What additional roles can I implement to enhance midfield control?
How effective are my wingers in creating goal-scoring opportunities?
Related Tactics
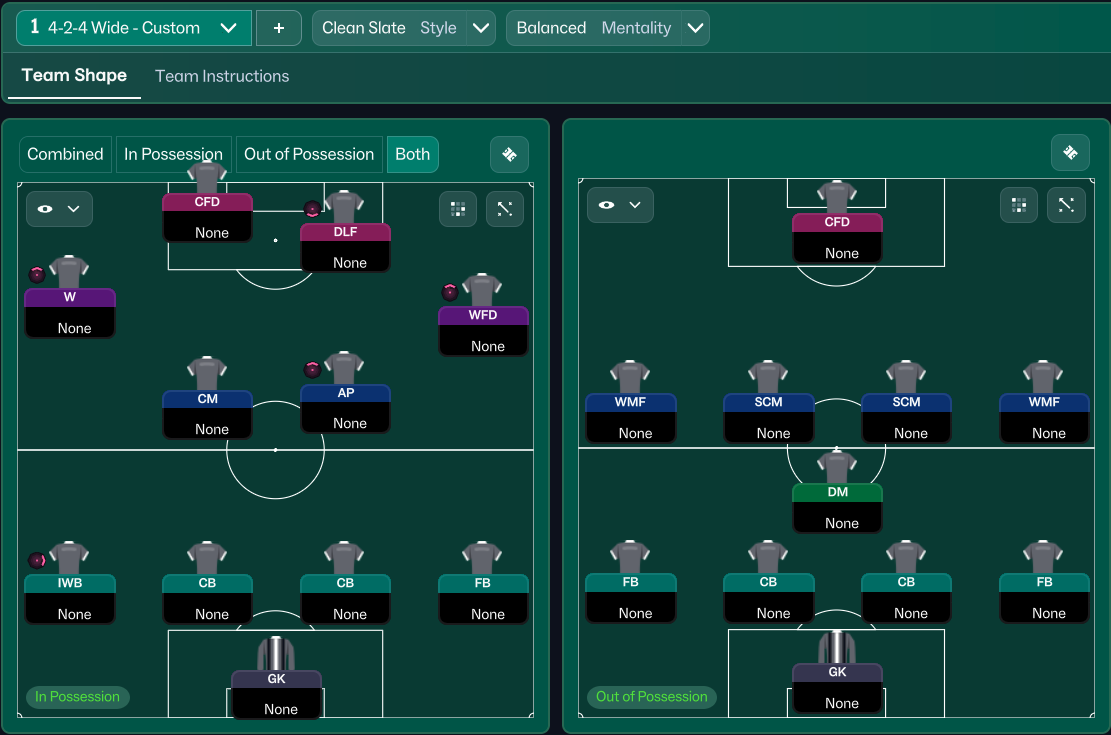
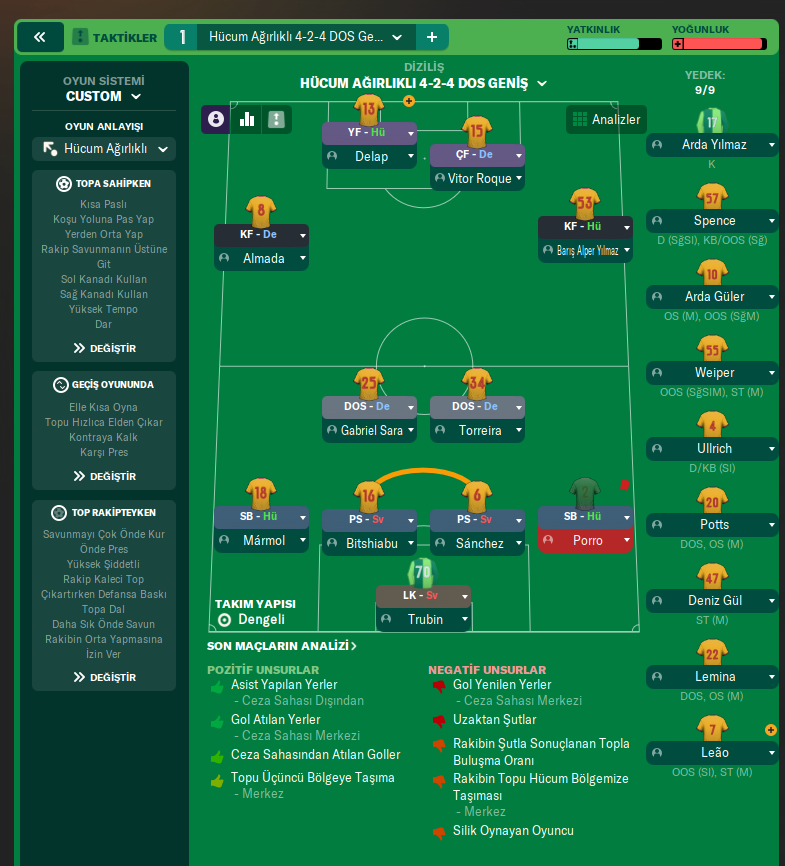
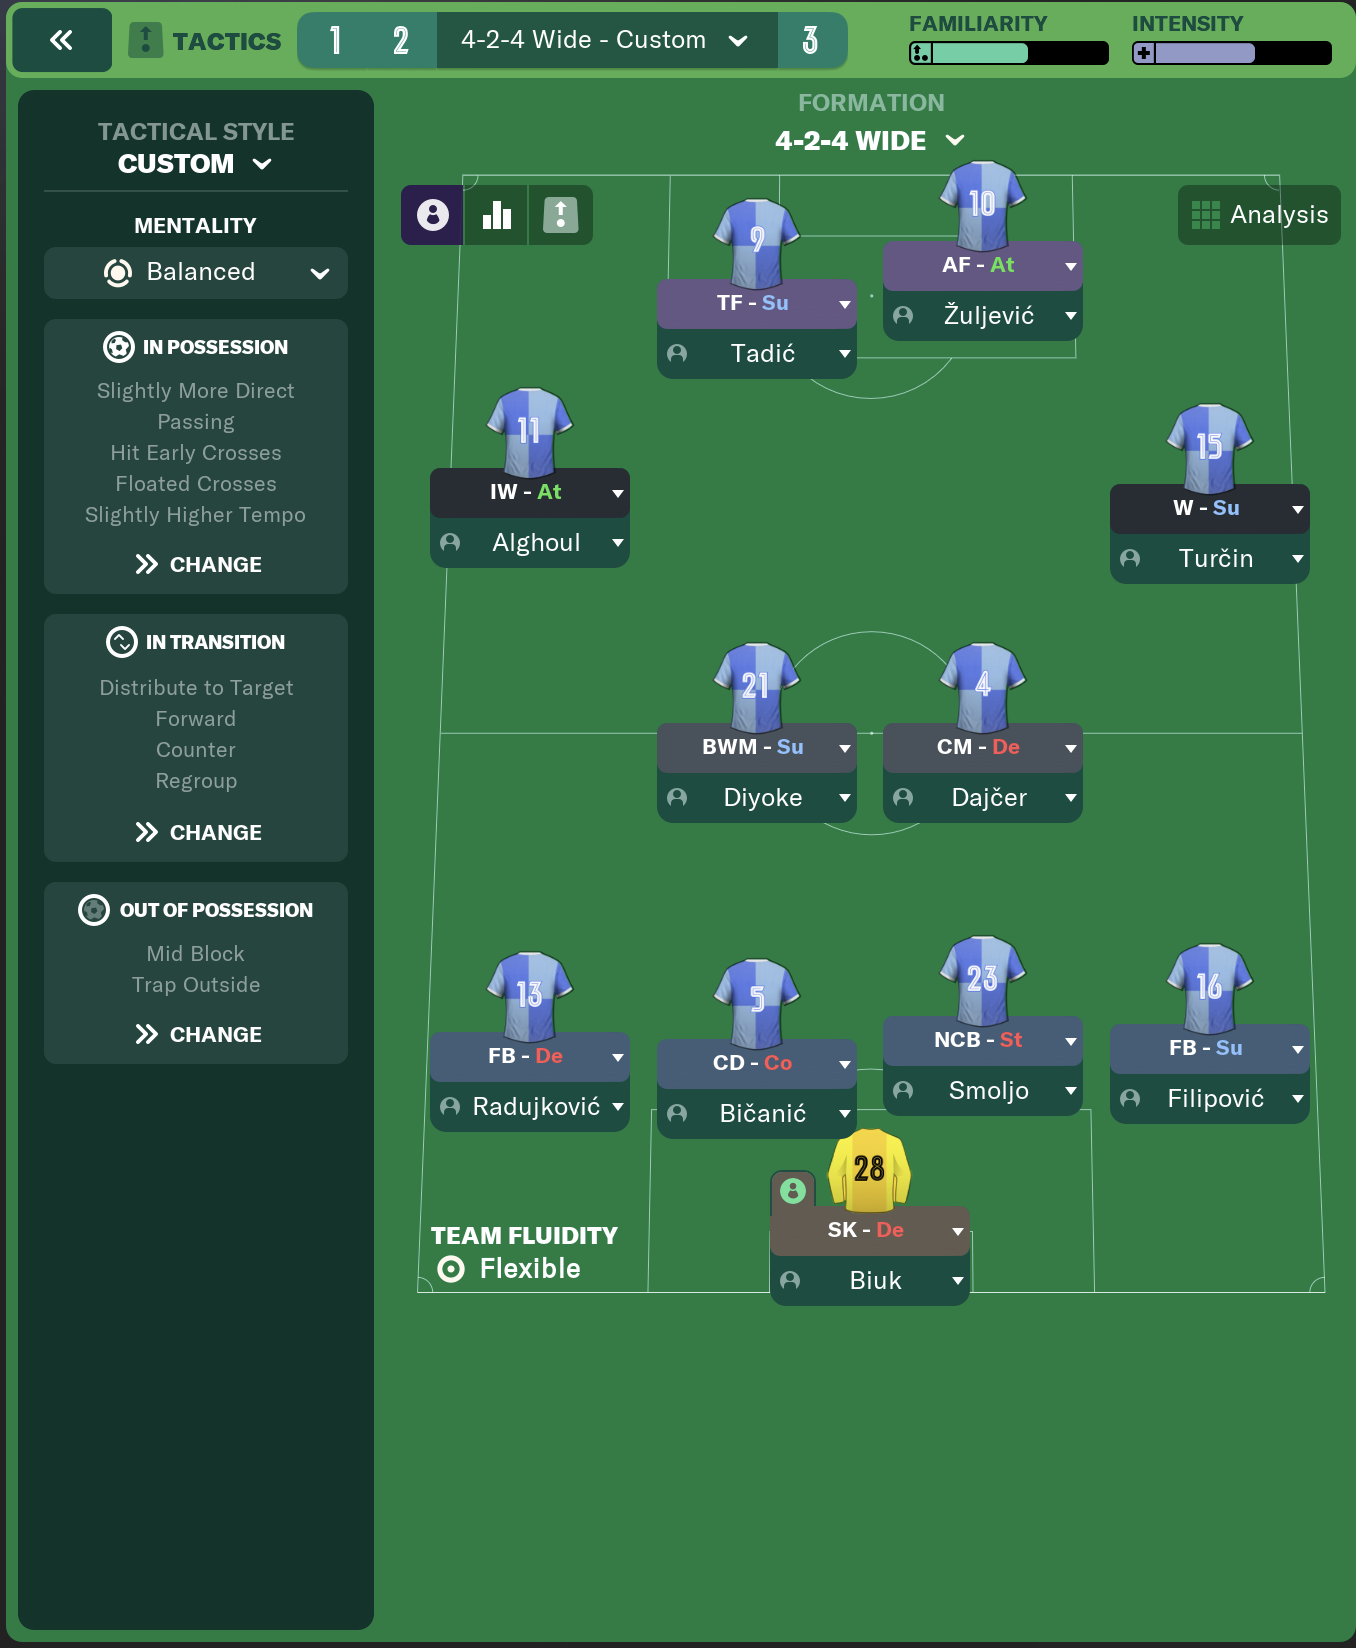
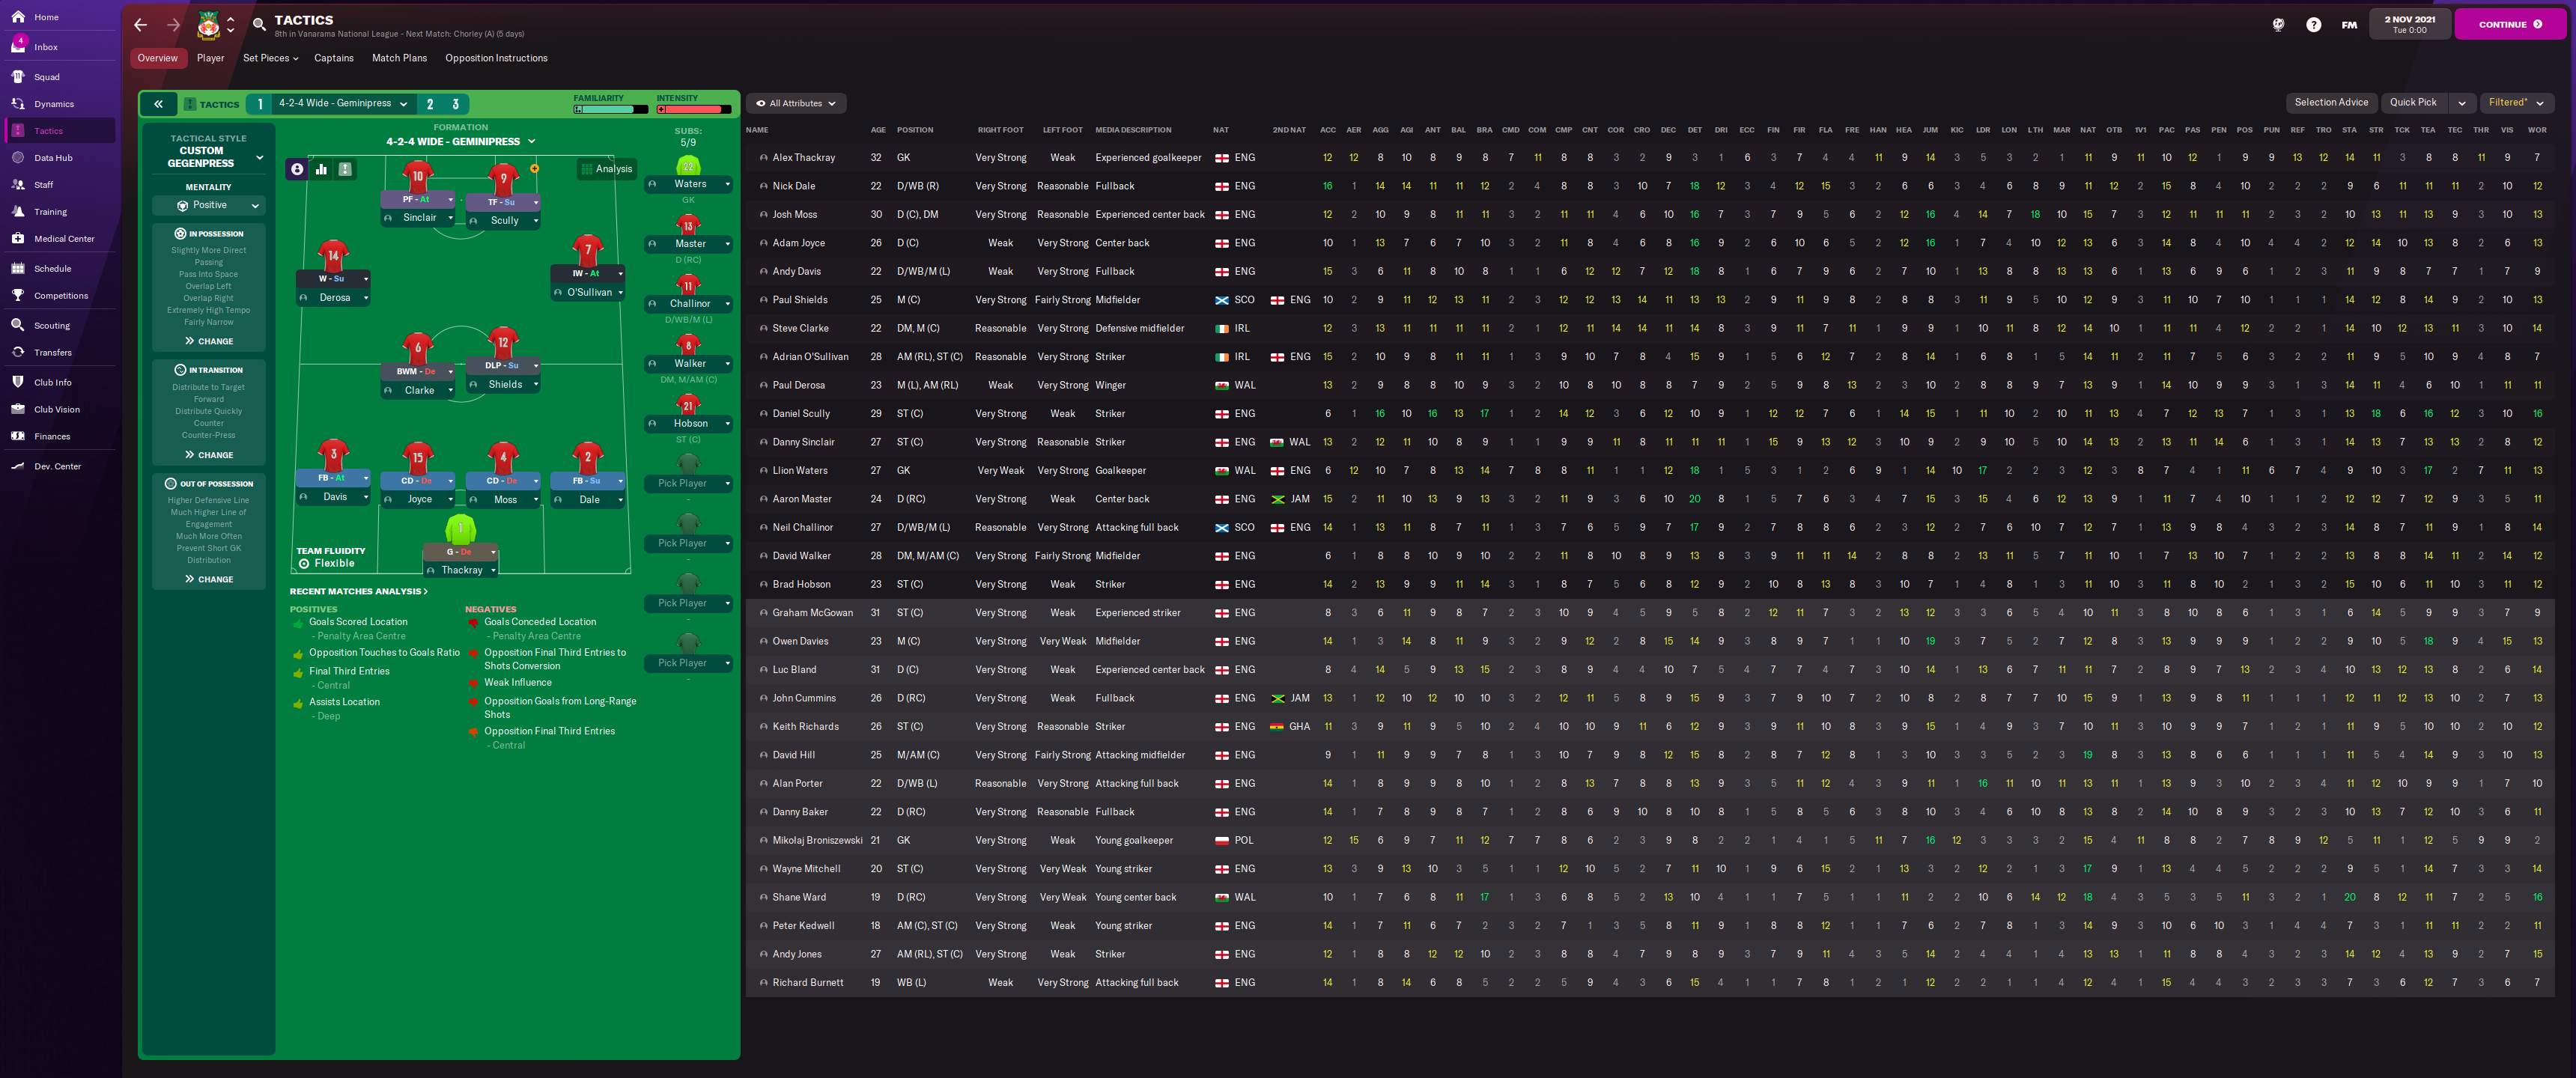
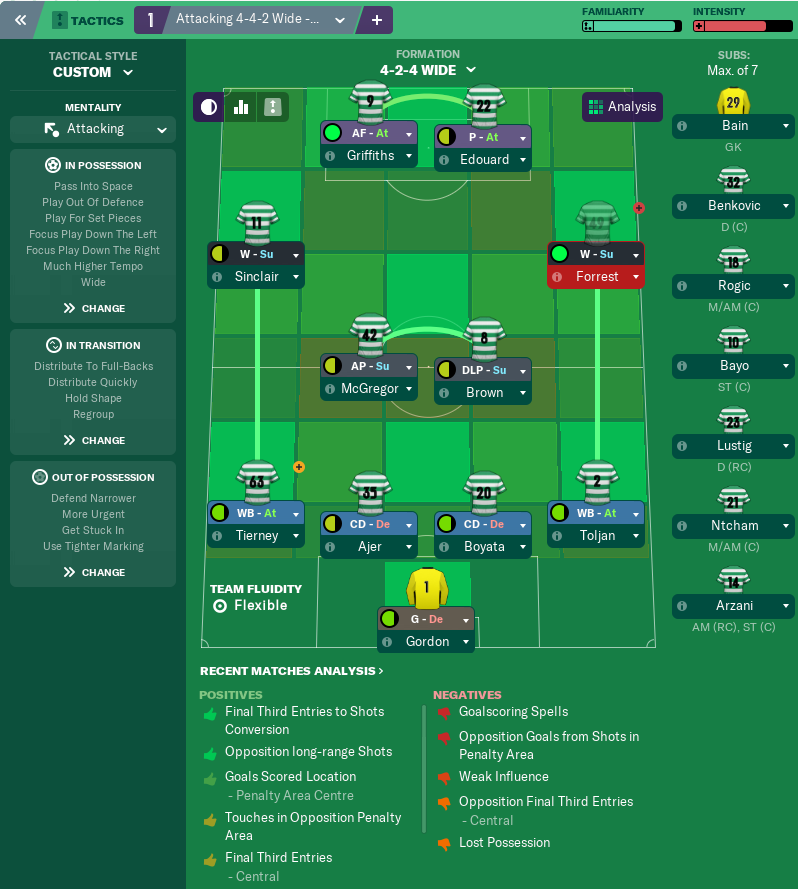
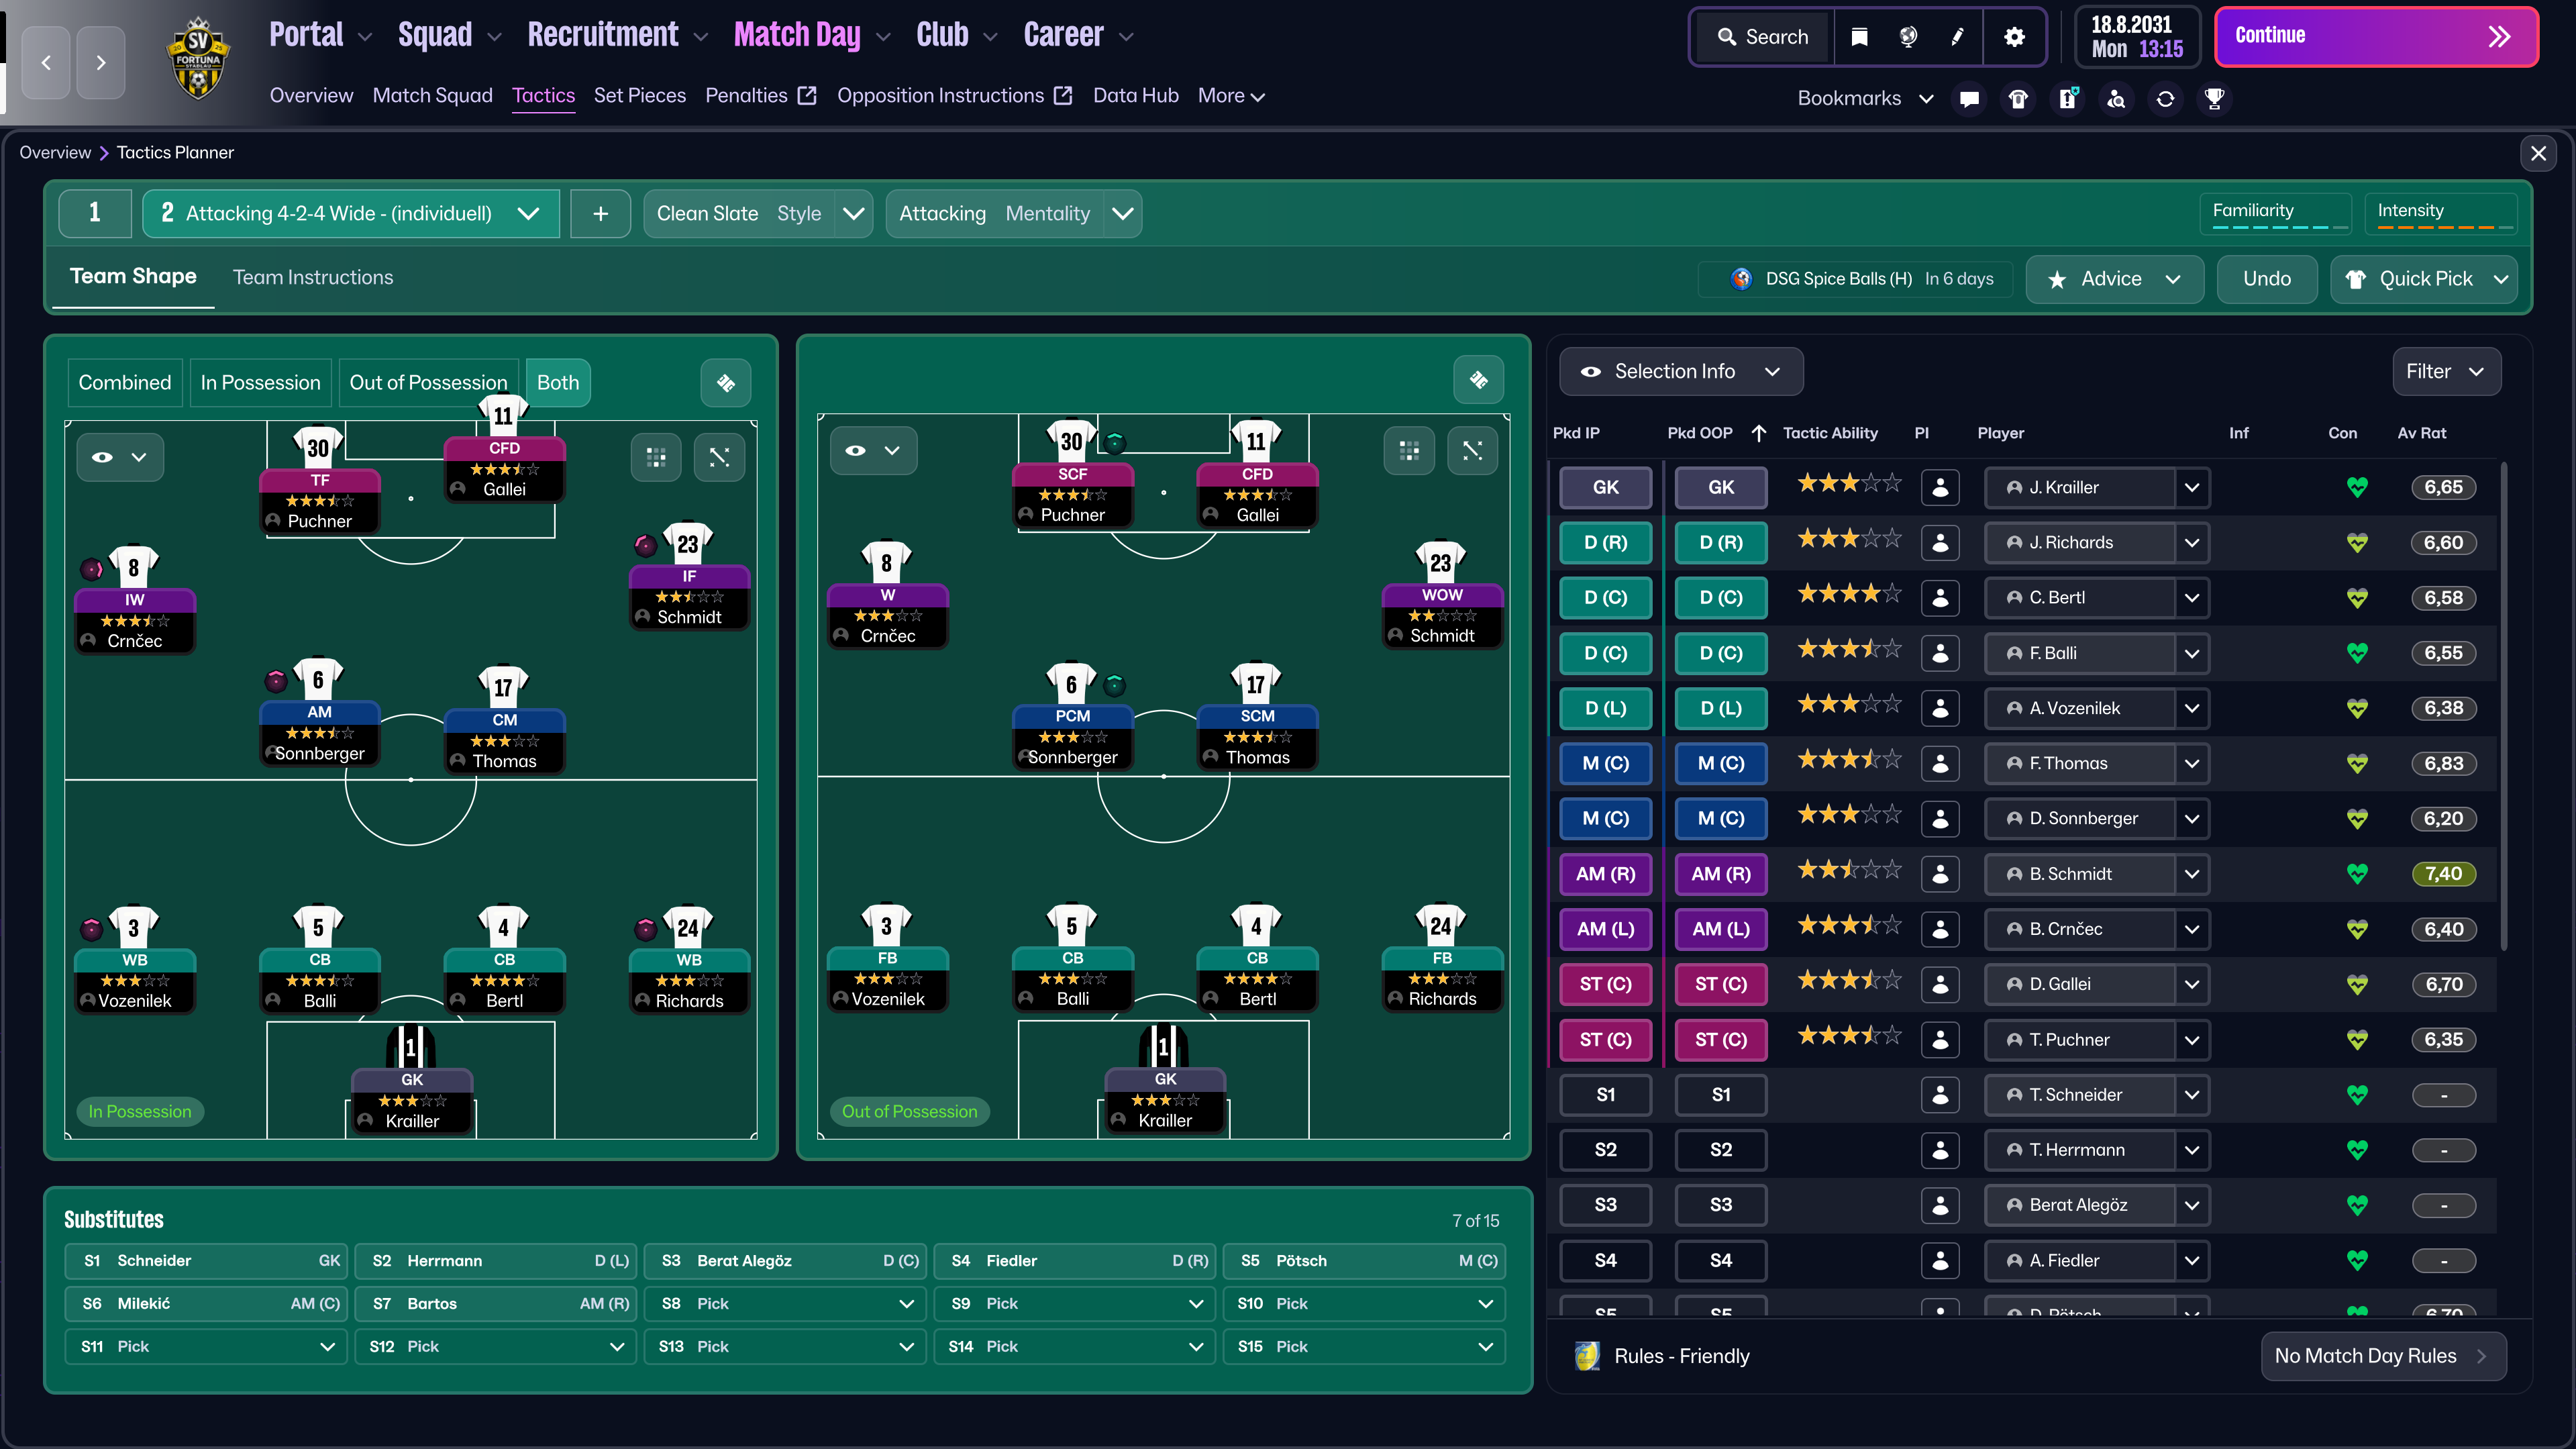
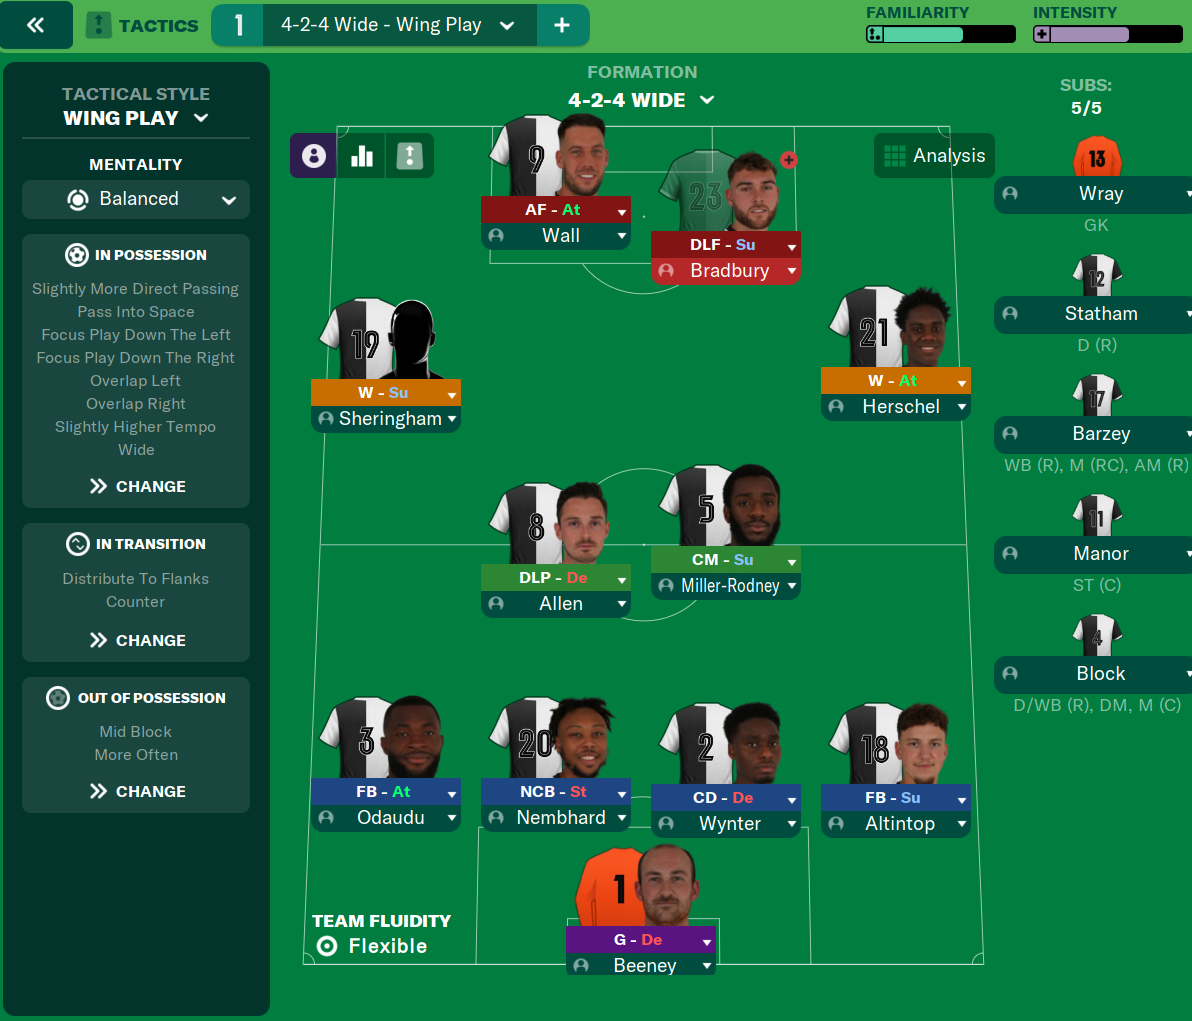
More Attacking tactics
Guides for this tactic
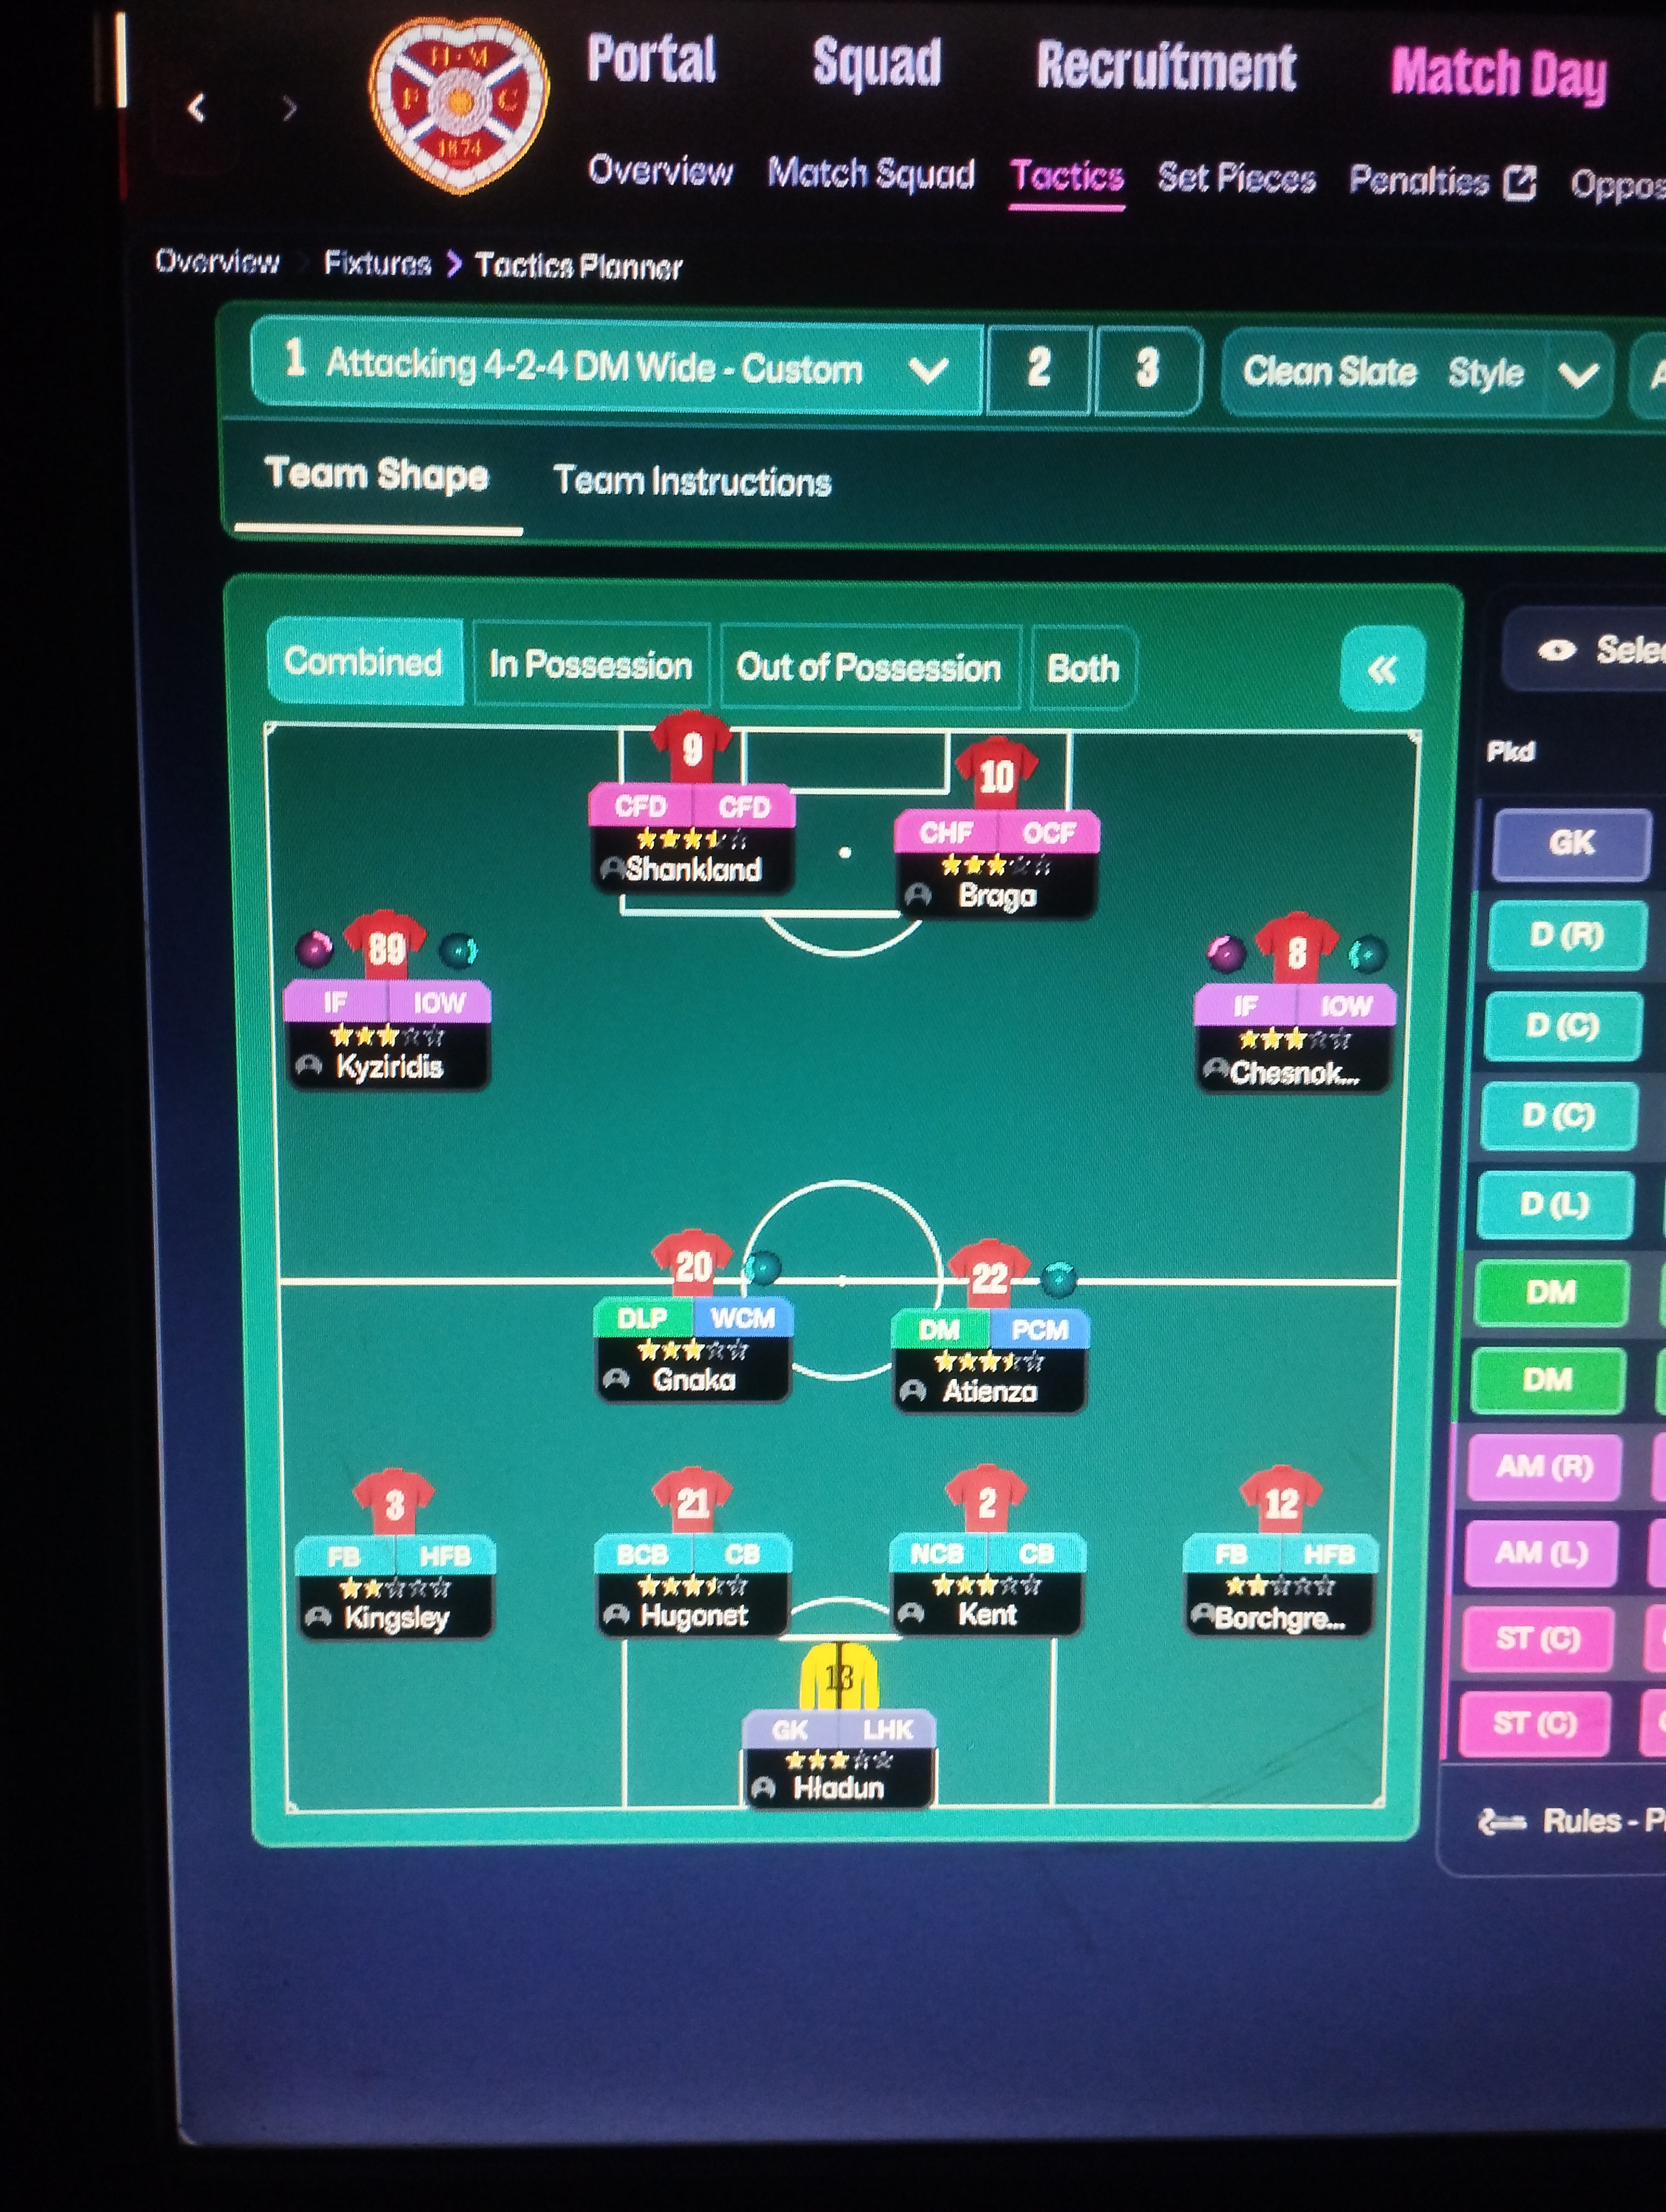
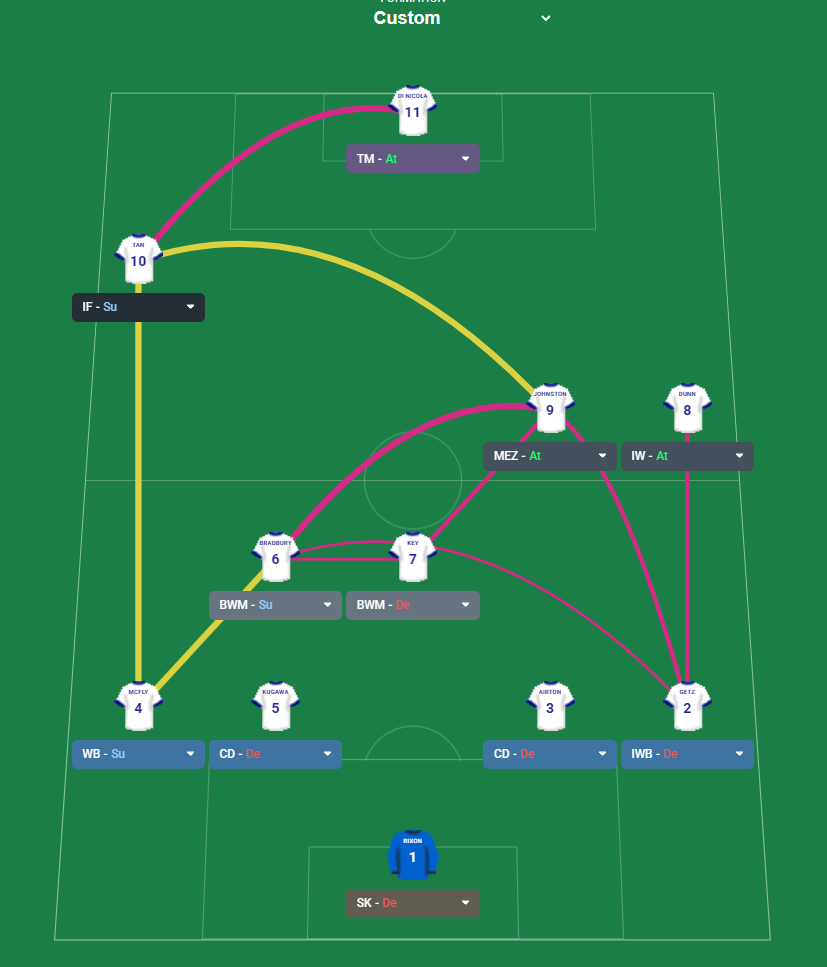
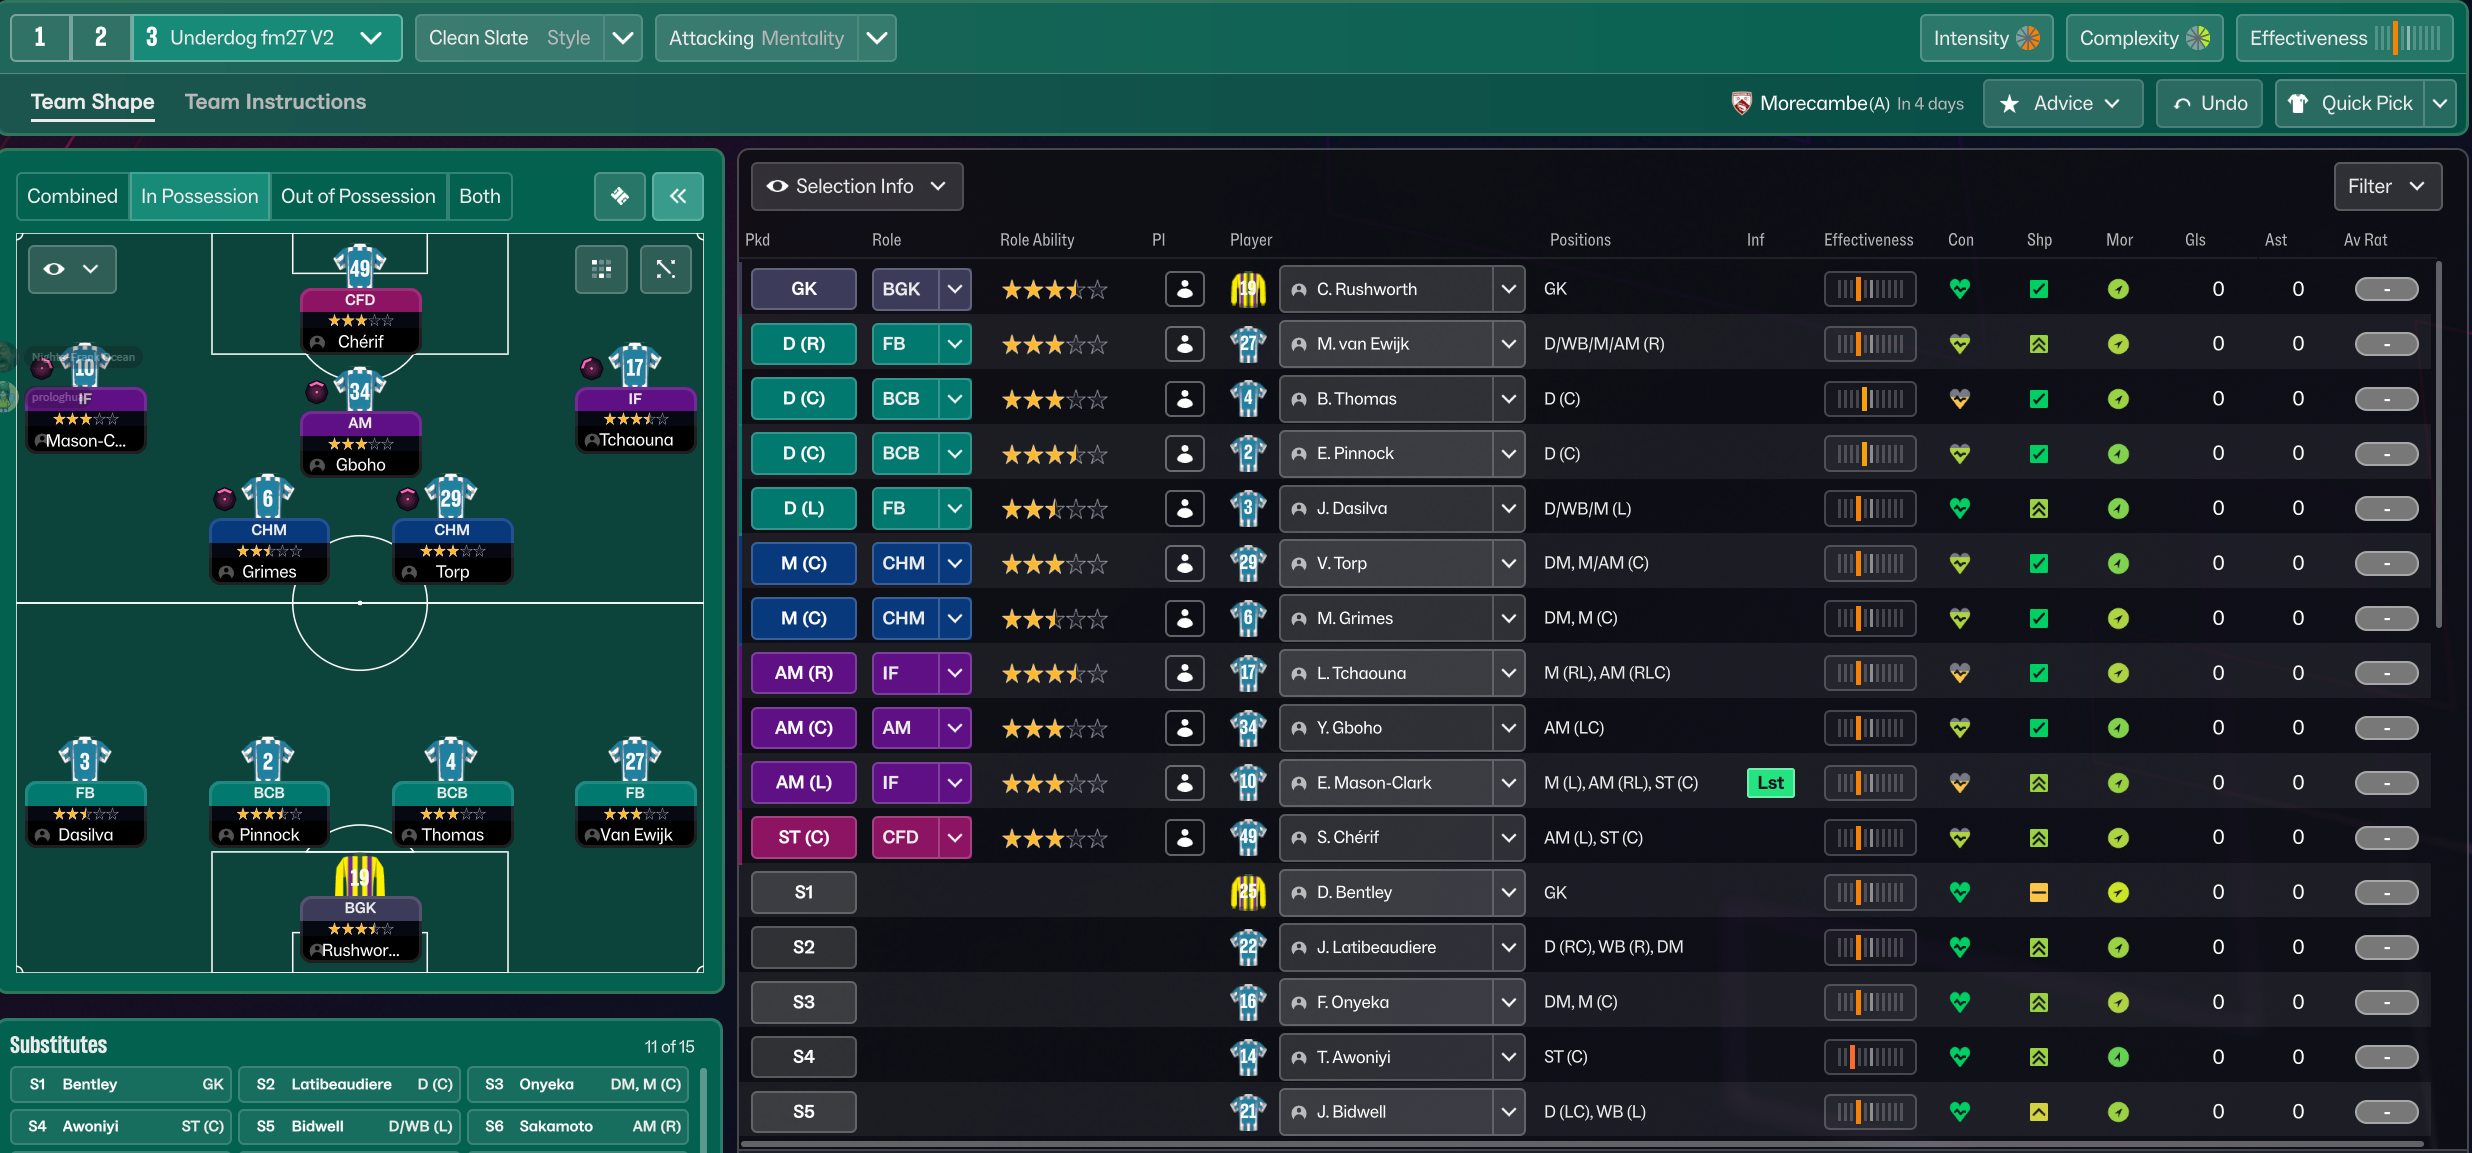
The tactical theory behind the 4-2-4 Wide: roles, instructions, and the trade-offs that decide whether the system holds up.
Playing styles
Direct, Vertical Football
Long-ball football done well in FM. When direct, vertical play is the right choice, and what the Direct Passing TI actually changes.
Read guide
Foundations
Wing Play vs Central Play
Build through the wide areas or through the middle? A working framework for picking the right one for your squad.
Read guide
Foundations
Defensive Transitions
The five seconds after losing the ball decide most matches. Counter-press, drop-and-recover, and how to know which one you should be doing.
Read guide