Attacking 4-2-3-1 (Positive) Tactic
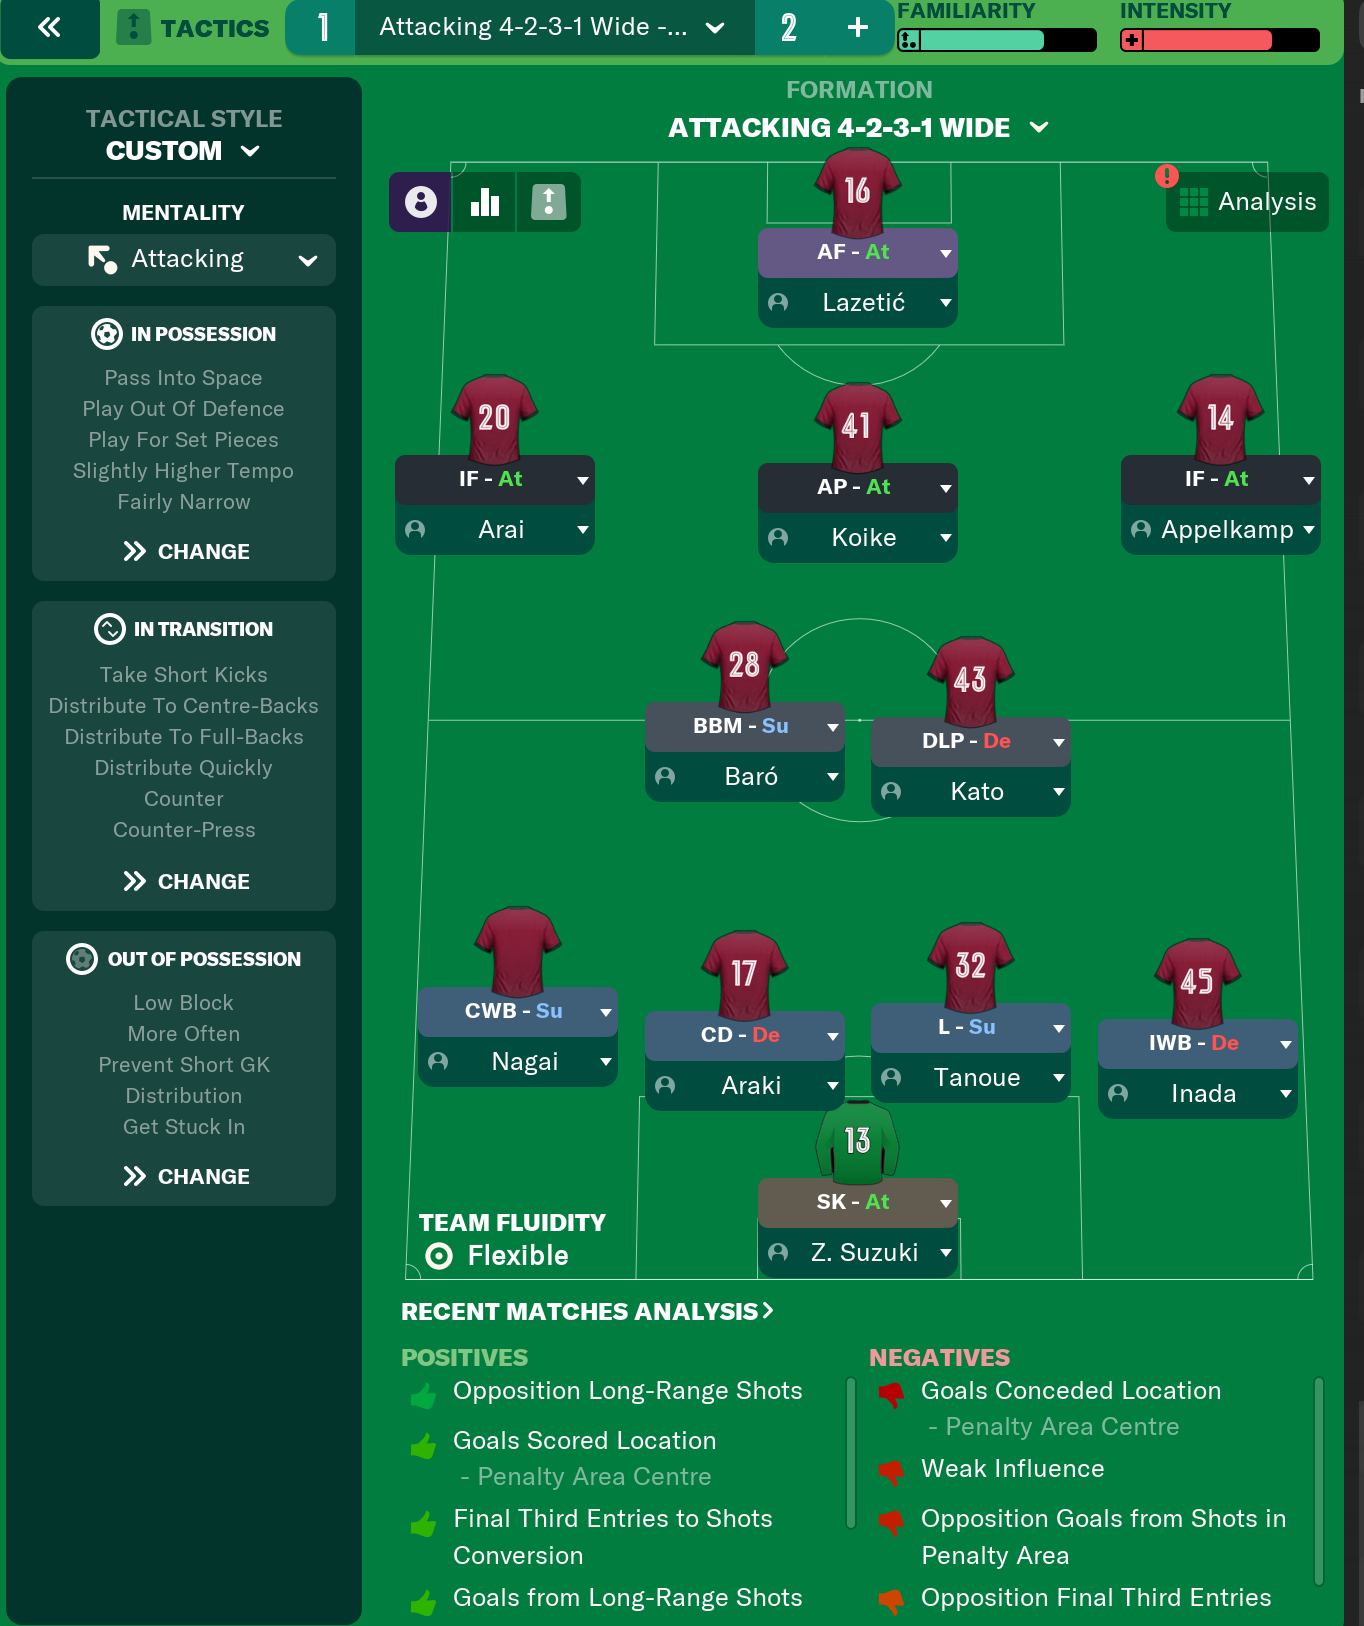
4-2-3-1
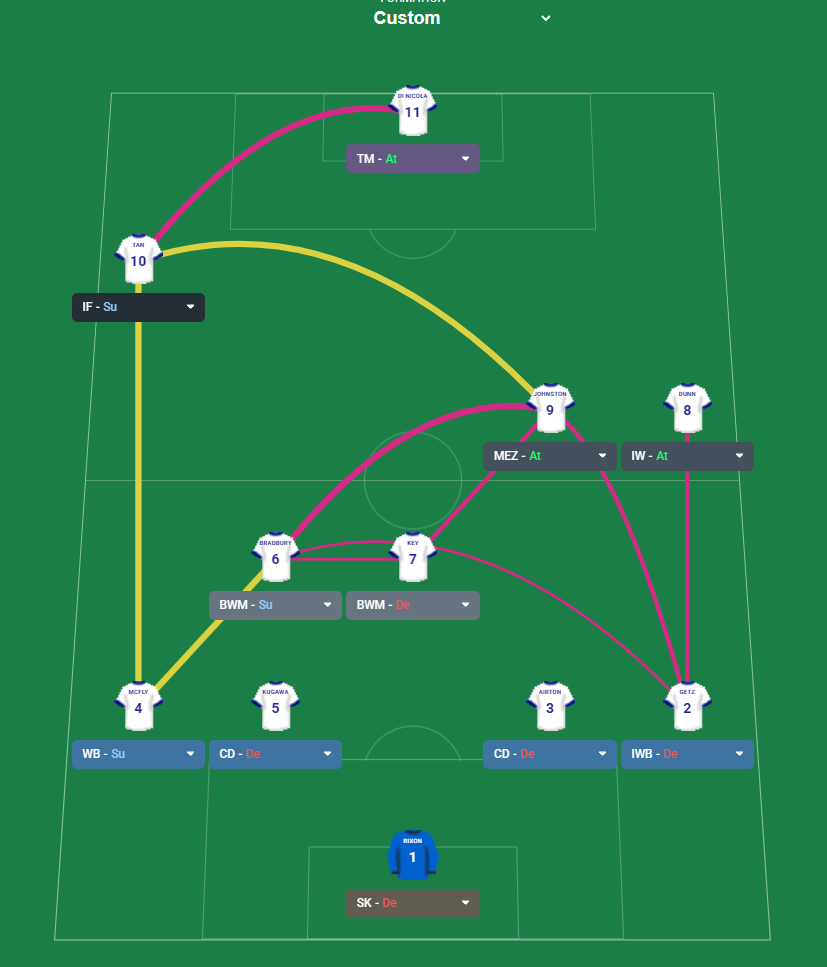
Exploitation of flanks and central spaces through outside-inside interplay. Effective utilization of wing positions with overlapping runs from wing backs.
Loading tactical analysis...
Formation and style
Attacking
Positive
4-2-3-1
In possession
Push Higher Up
Play Out of Defence
Exploit the Flanks
Run at Defence
In transition
Counter
Counter Press
Out of possession
Higher Defensive Line
Higher Line of Engagement
Prevent Short GK Distribution
Player roles
GK
Sweeper Keeper
Defend
RB
Wing Back
Support
CB
Centre-Back
Defend
CB
Centre-Back
Defend
LB
Inverted Wing-Back
Defend
DM
Ball-Winning Midfielder
Support
CM
Ball-Winning Midfielder
Defend
RM
Inside Forward
Support
OM
Mezzala
Attack
LM
Inverted Winger
Attack
ST
Target Man
Attack
Phase description
Focus on overlapping runs from the wing backs combined with the Mezzala's movements to create space for the forwards.
Quick recovery through immediate counter presses from the midfielders.
Exploitation of flanks and central spaces through outside-inside interplay.
Team shape defence
4-2
Compact defensive shape with two central midfielders supporting the back line.
BWM-De at [3,3] and BWM-Su at [4,2] provide necessary cover.
Team shape attack
4-3
Fluid transition into attack positioning with wingers cutting inside.
IF-Su at [6,2], IW-A at [5,4], and Mezzala-A at [6,3] interchanging effectively.
Key strengths
Width
Effective utilization of wing positions with overlapping runs from wing backs.
WB-Su at [2,1] and IW-A at [5,4] providing threat from the sides.
Dynamic Attack
A fluid attacking front with varying roles creating unpredictability.
TM-A at [6,3], IF-Su at [6,2], and MEZ-A at [5,3].
Conflicting tactics
Overcommitting Full-Backs
Despite their support role, full-backs might leave gaps defensively if advanced too often.
WB-Su at [2,1] may create vulnerabilities if not tracked back.
Lack of Central Defensive Support
Limited defensive cover in central midfield may expose weaknesses against counters.
BWM-De at [4,3] and BWM-Su at [3,2] could be bypassed.
Risk exposures
Risk Exposures
Items
Wide Areas
Overcommitted wing-backs may leave the flanks vulnerable to counter-attacks.
WB-Su at [2,1] and IWB-De at [2,5].
Central Midfield
Potential lack of cover in the middle can lead to quick transitions from opponents.
The BWM roles may not provide enough defensive depth against quick counters.
Role synergies
Role Synergies
Items
TM-A and Mezzala-A
Target man attracts defenders, creating space for Mezzala to exploit.
TM at [6,3] drawing attention away from MEZ at [5,3].
Wing Back and Inside Forward
Wing back's support allows for increased options when attacking with inside forward.
WB-Su at [2,1] enables IF-Su at [6,2].
Suggested questions
How can the front three better complement one another?
Are there additional instructions needed to solidify midfield during defensive transitions?
What adjustments can enhance central attacking options?
Related Tactics
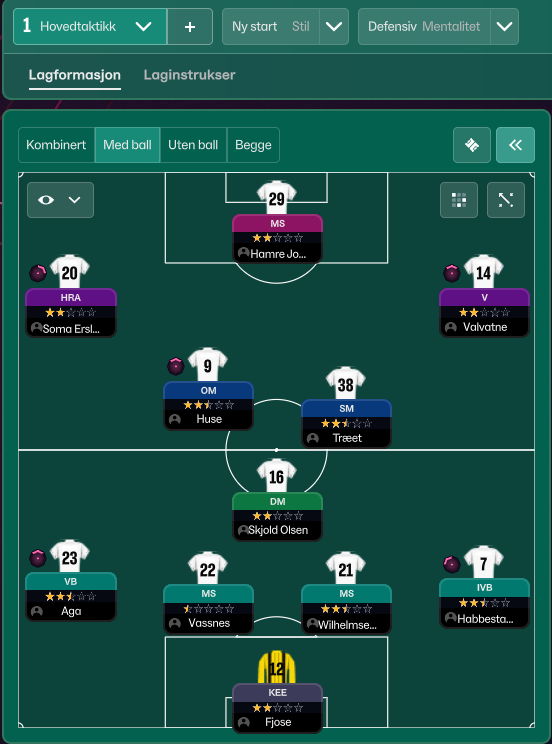
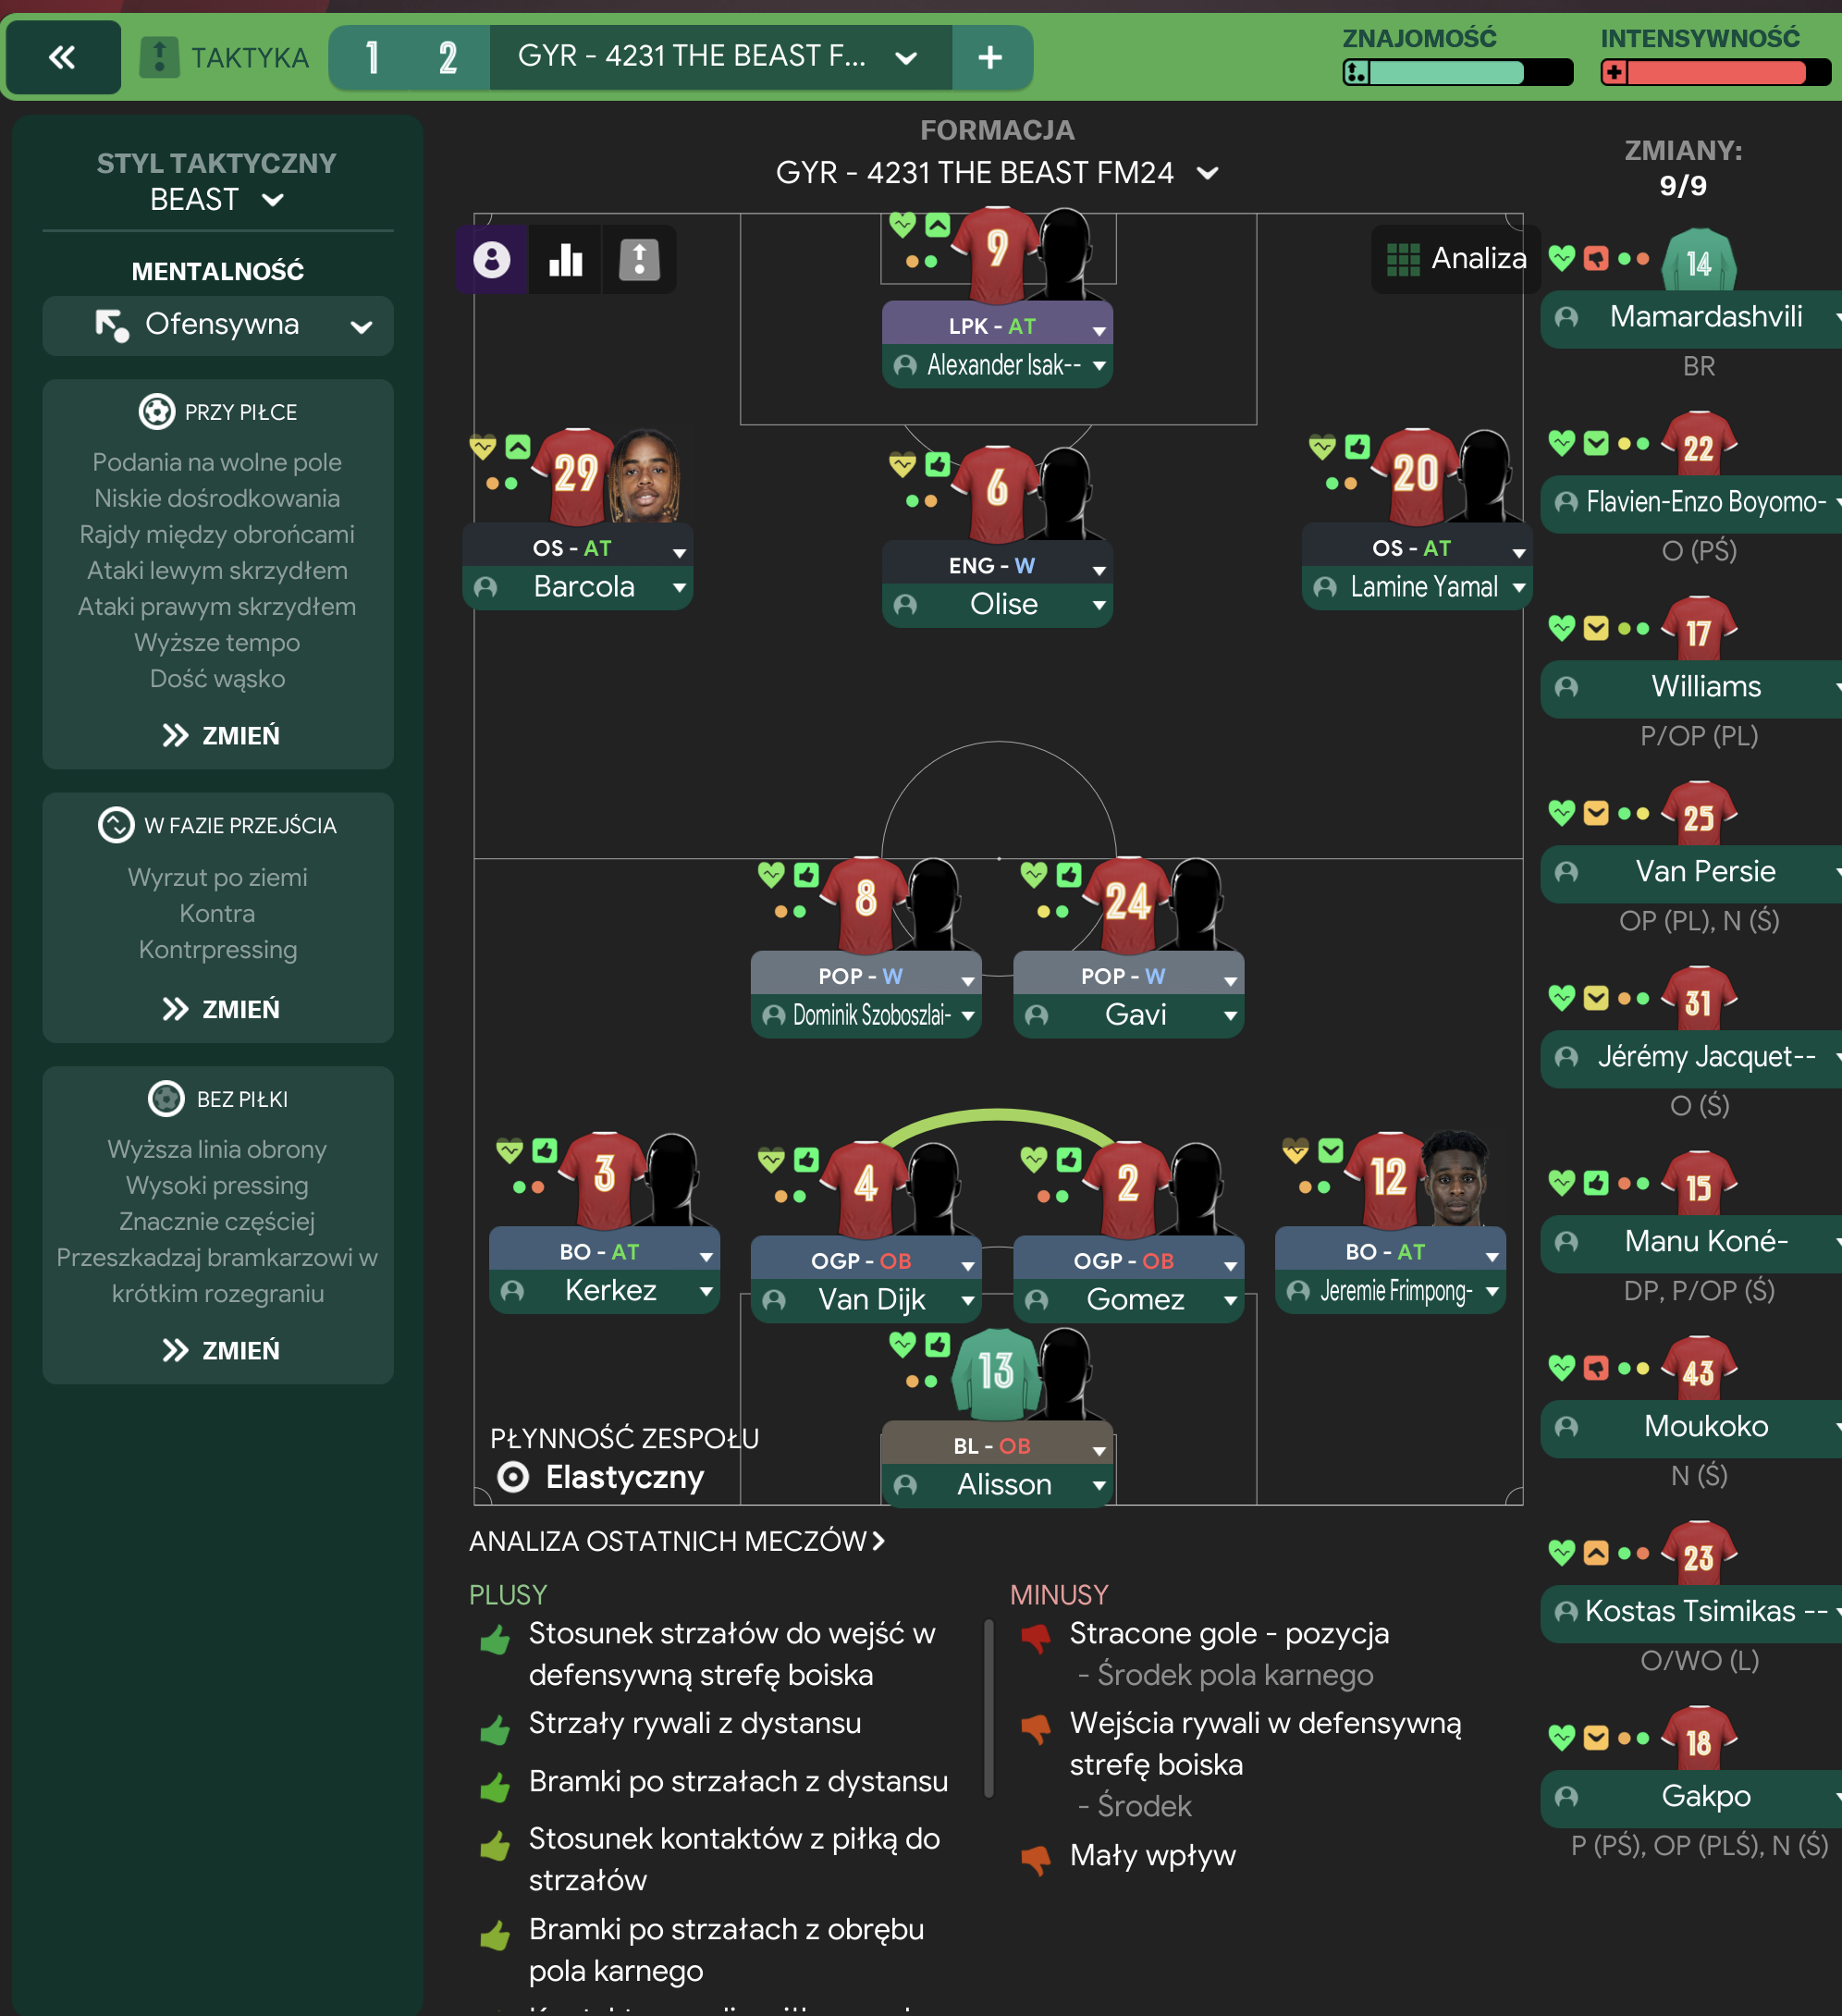
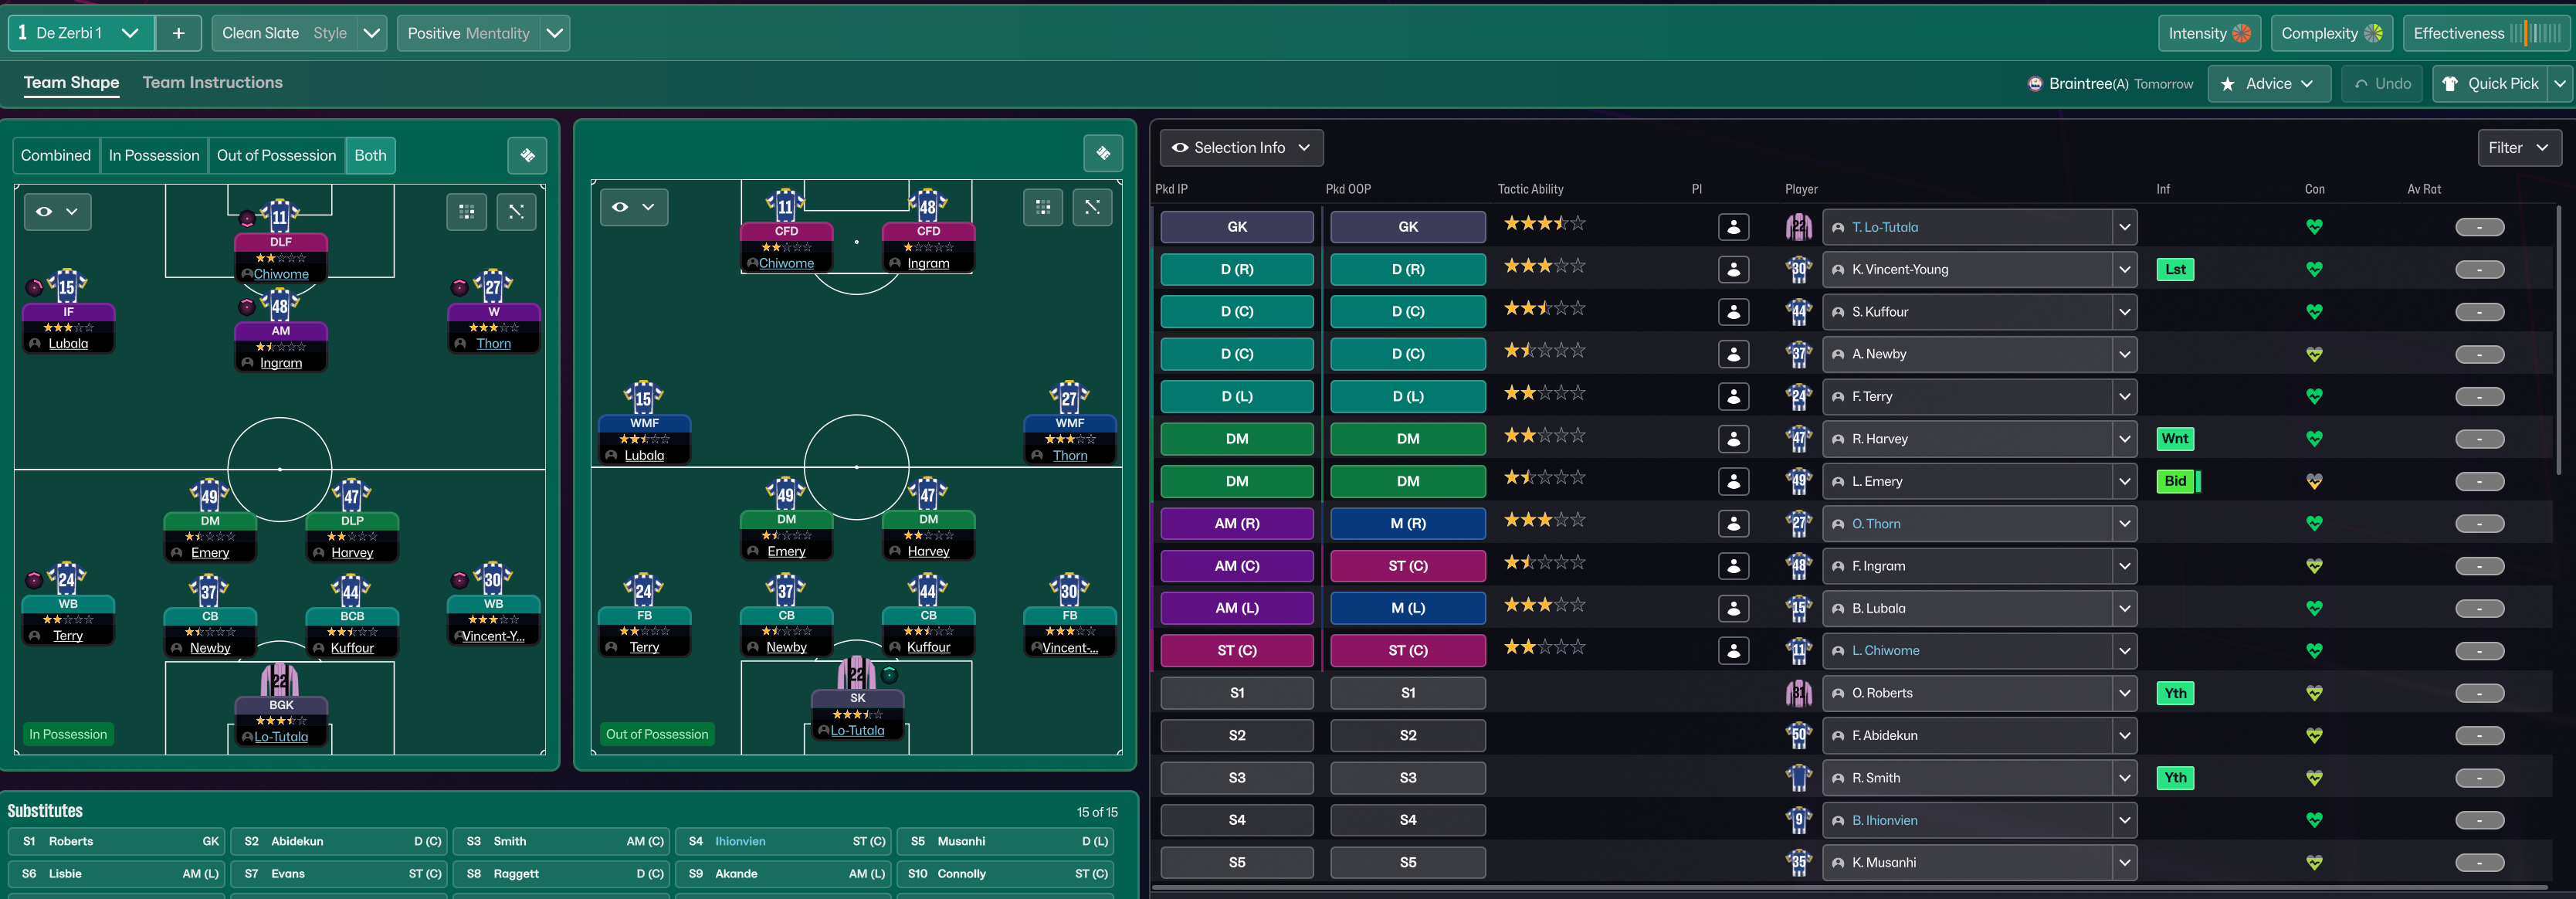
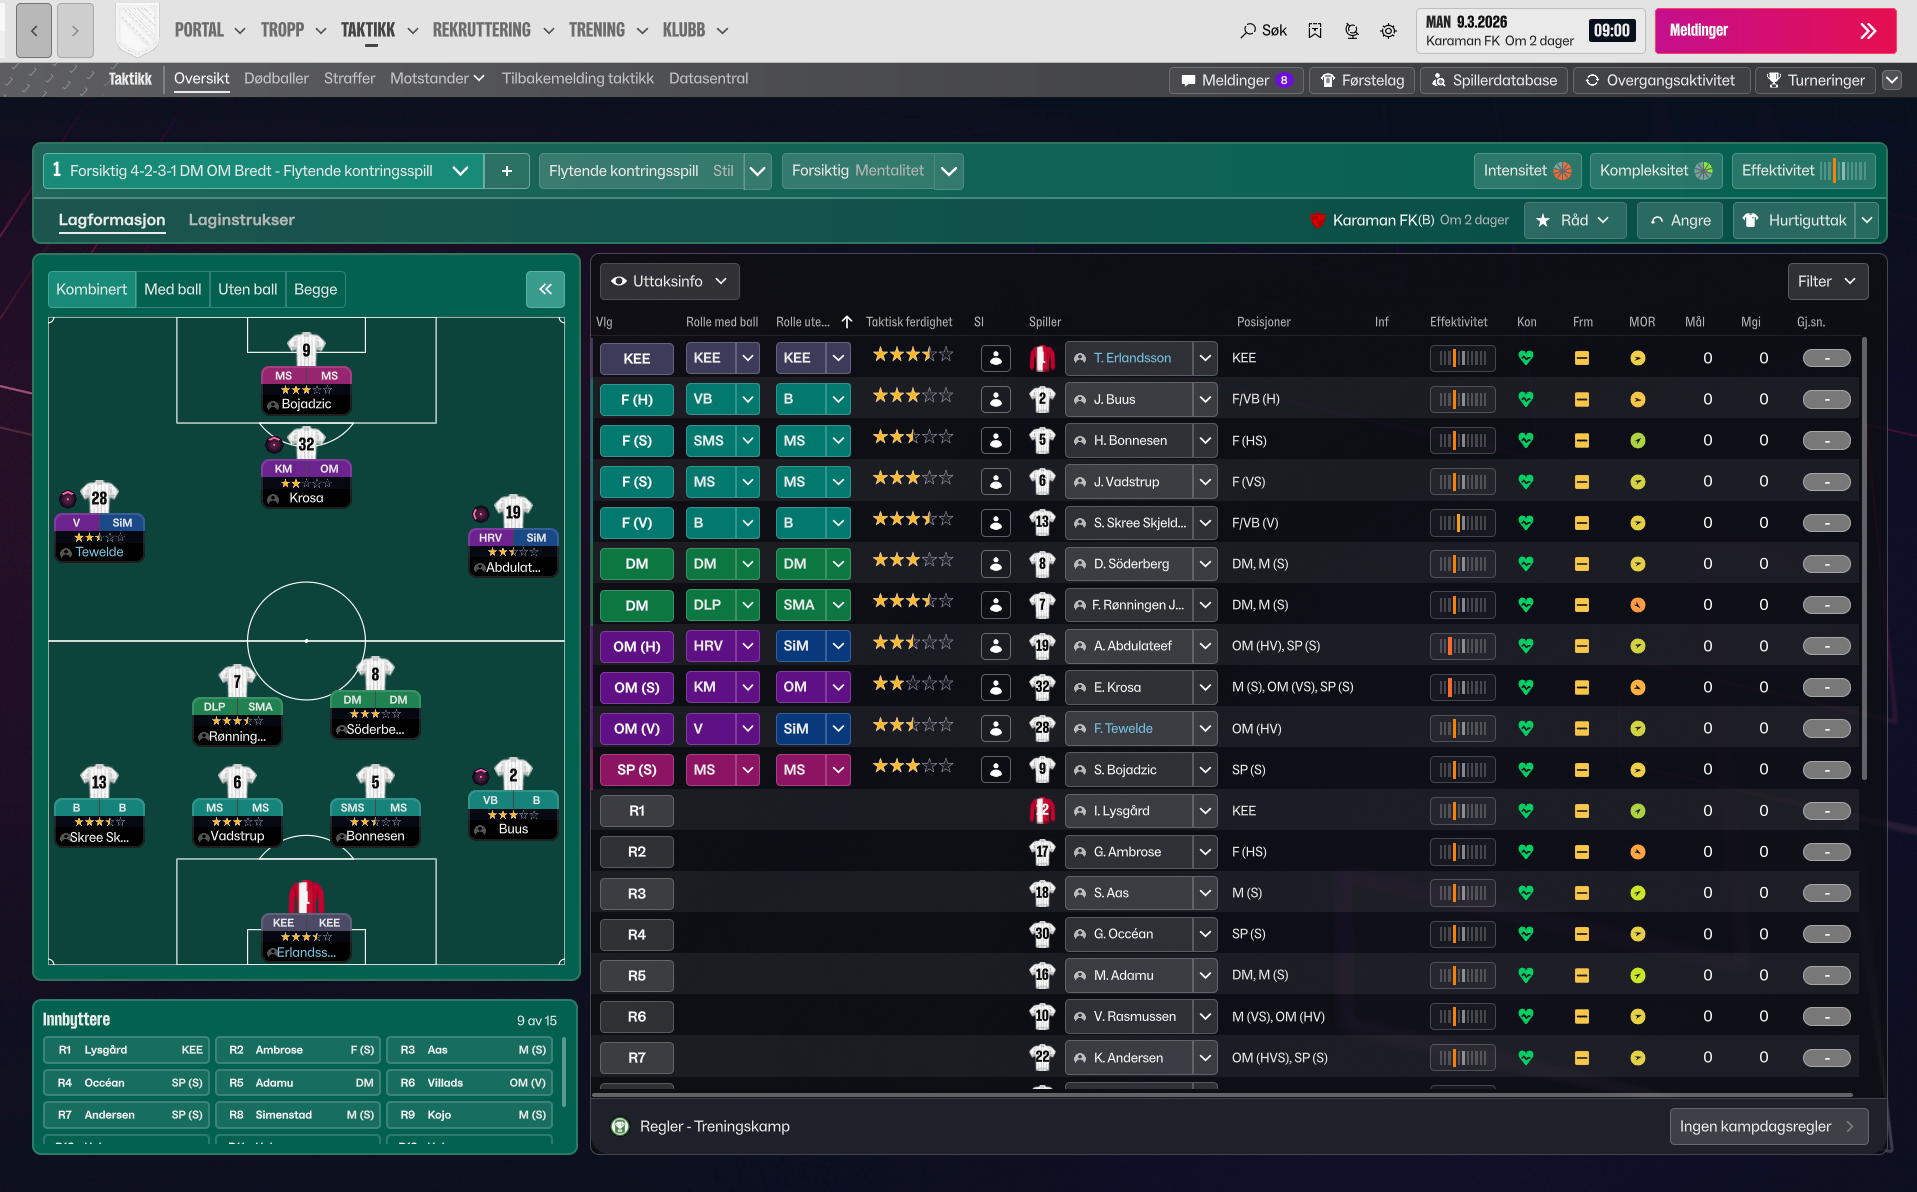
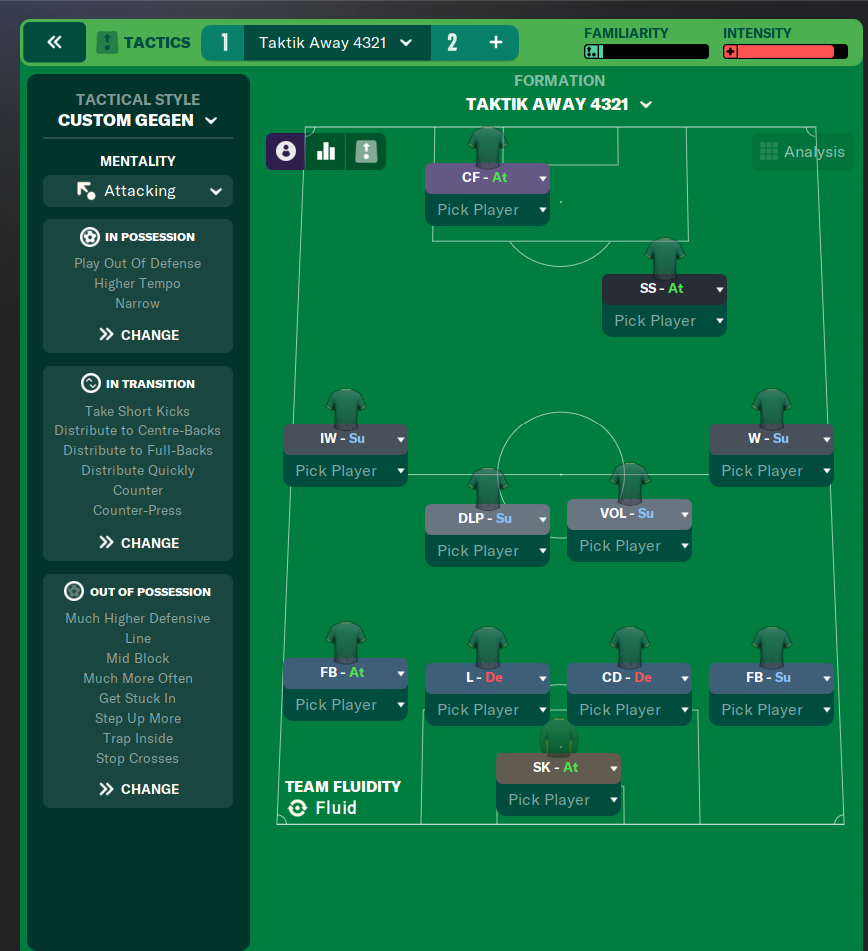
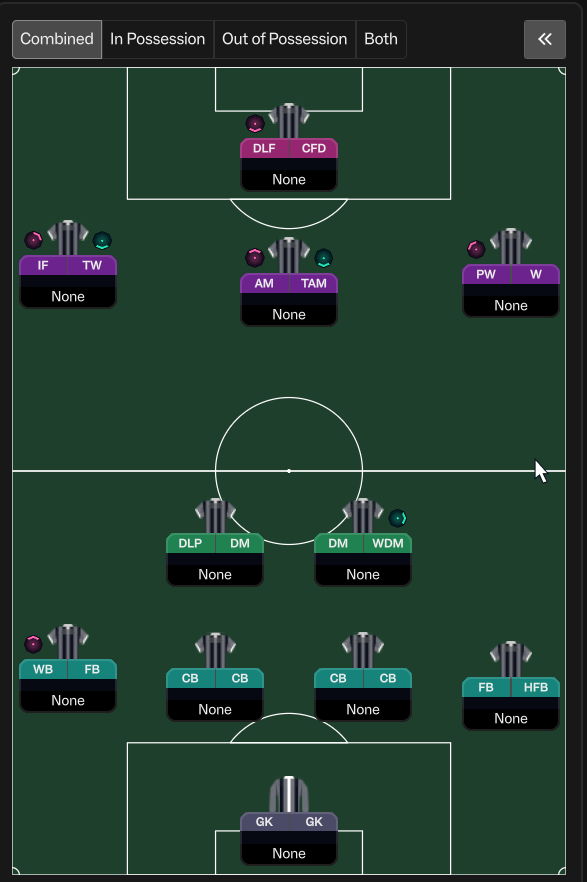
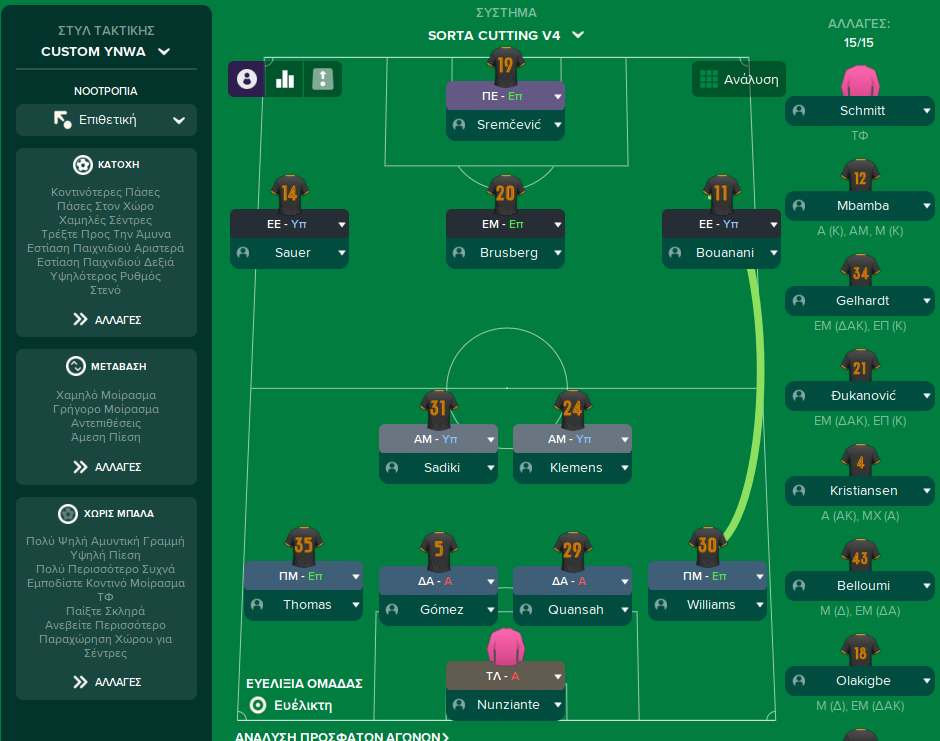
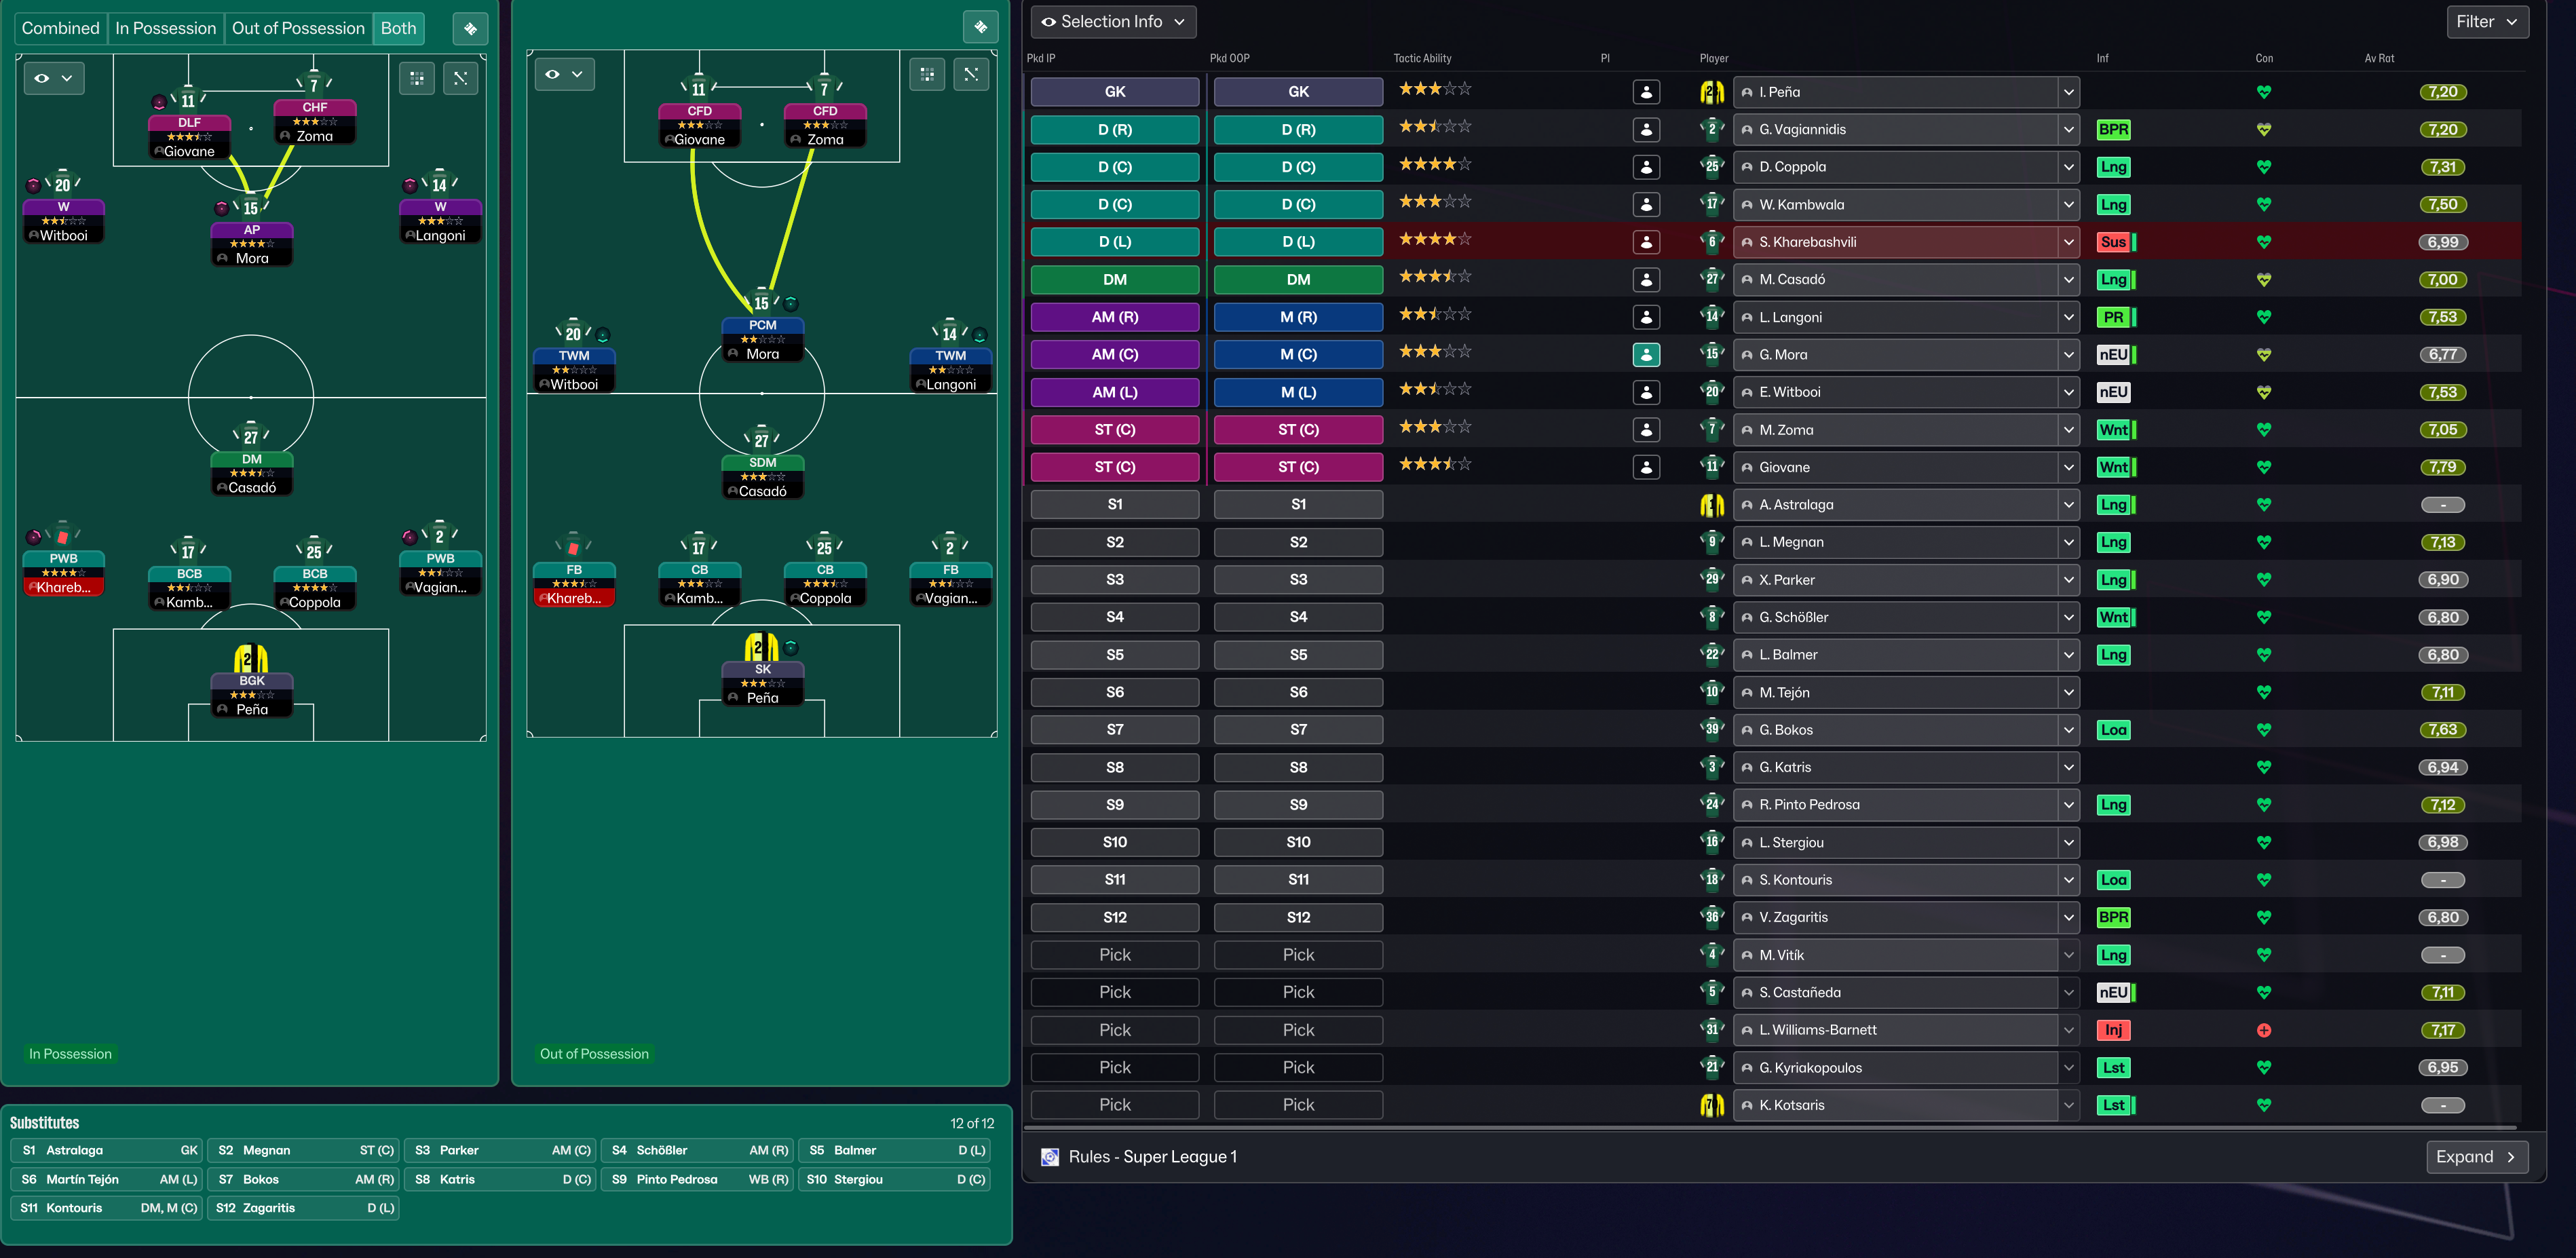
More Attacking tactics
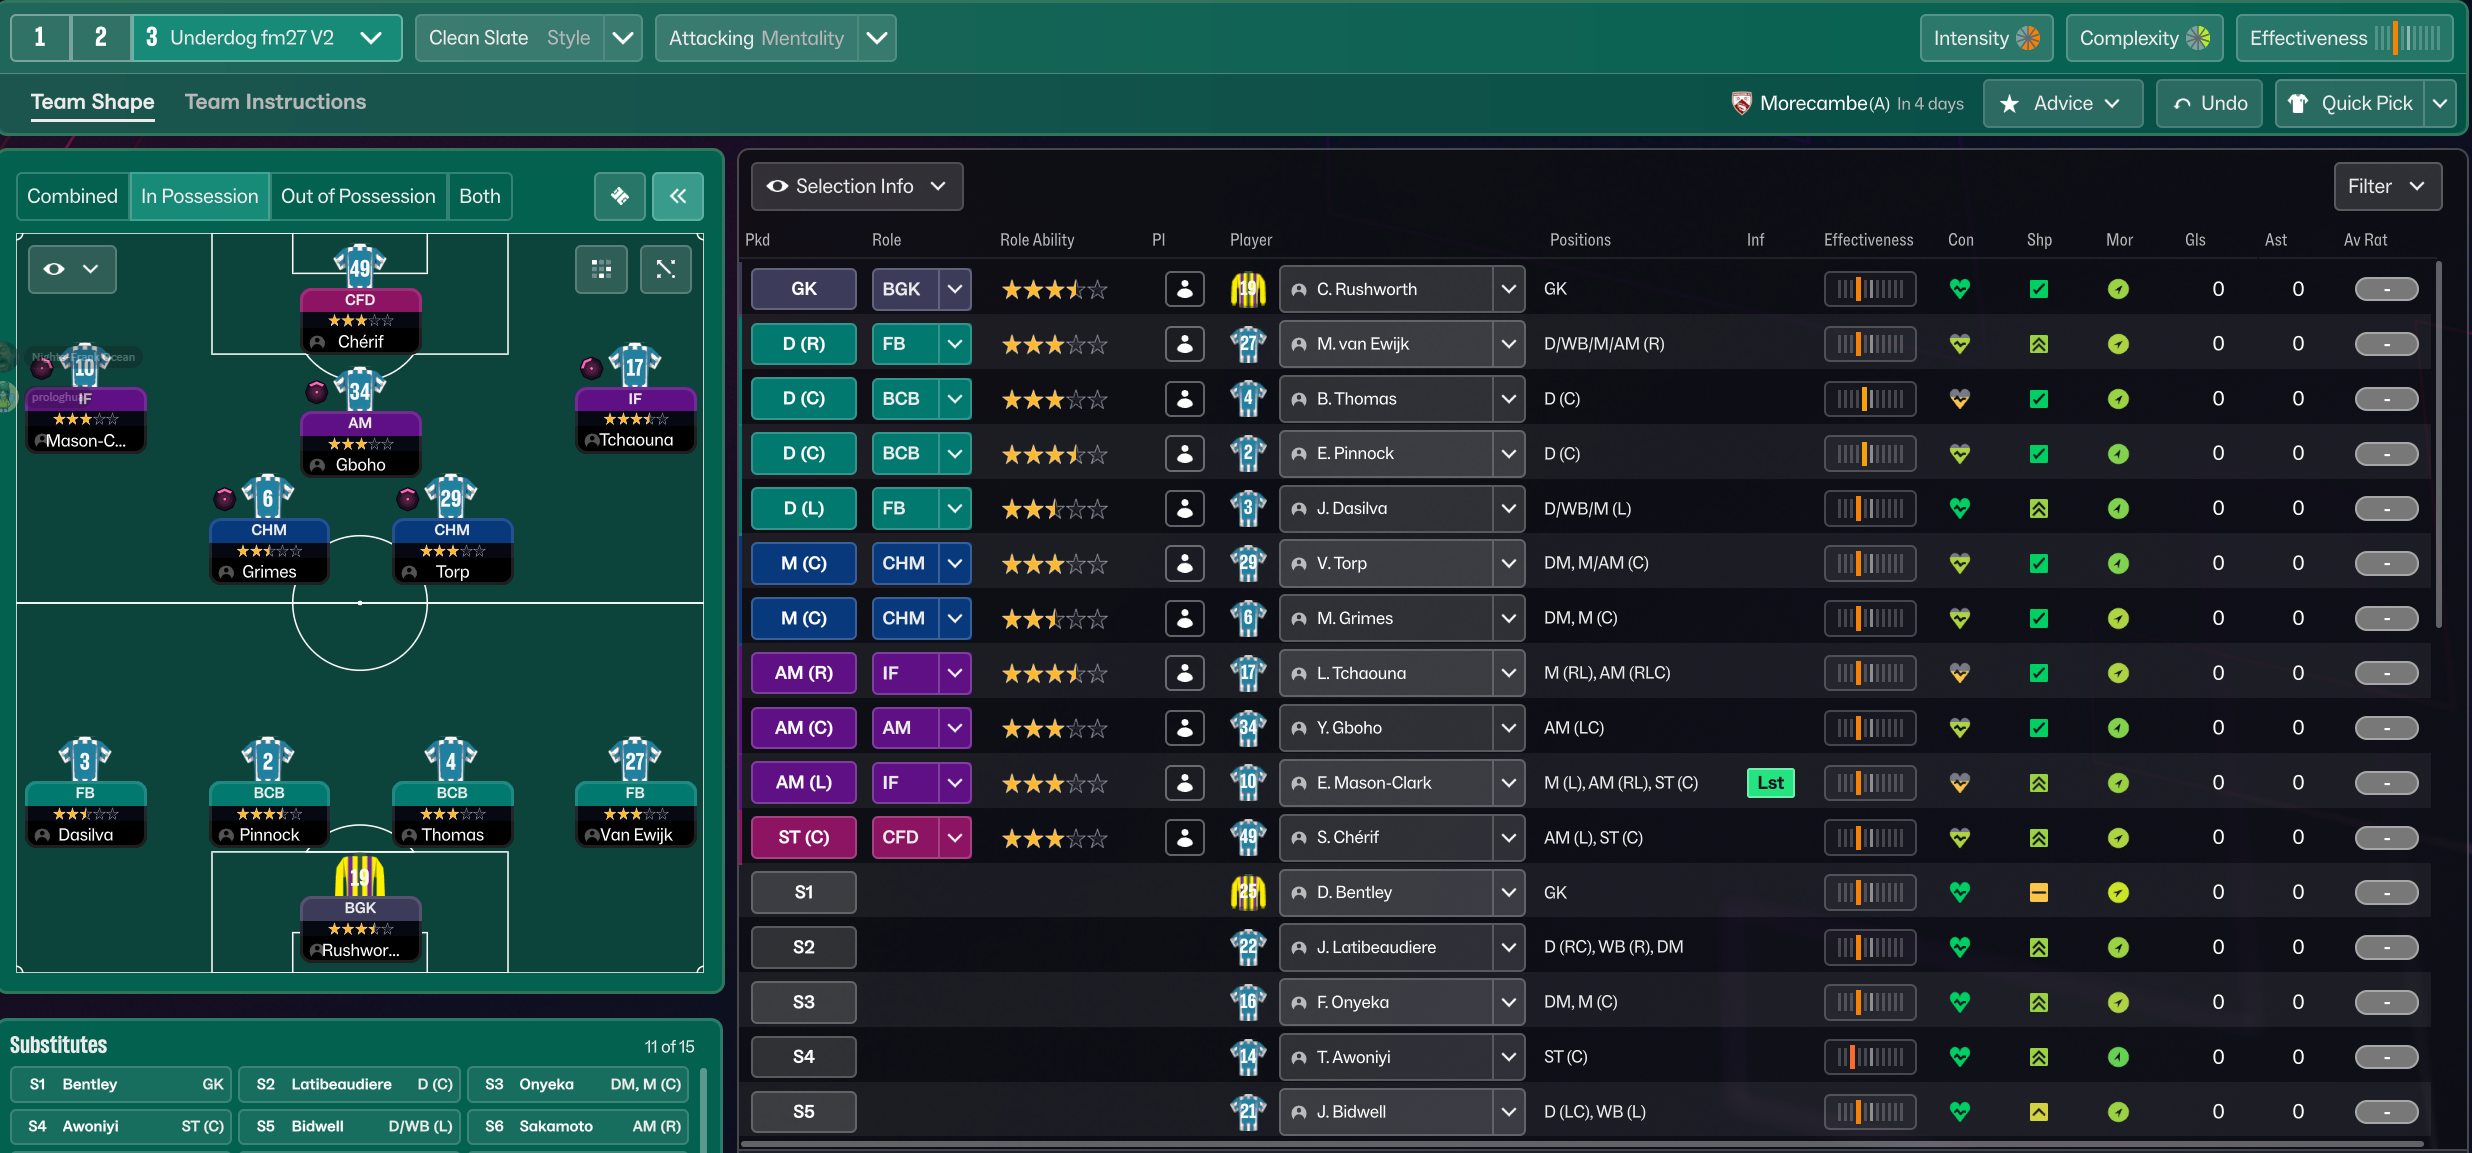
Guides for this tactic
The tactical theory behind the 4-2-3-1: roles, instructions, and the trade-offs that decide whether the system holds up.
Player pairings
Midfield Pairs in 4-2-3-1 and 4-4-2
Double pivots and flat pairs in 4-2-3-1 and 4-4-2: when each pairing works, when it collapses, and the AMC unicorn that rescues both.
Read guide
Playing styles
Gegenpressing: A Full Guide
Klopp-style gegenpressing in FM, including squad profile, line-and-press pairing, sustainable workload, and the antipatterns to avoid.
Read guide
Match preparation
Reading the Match Tablet
Pass map, average position, xG, possession by zone: what each tablet panel tells you in FM and the tactical change it should trigger.
Read guide