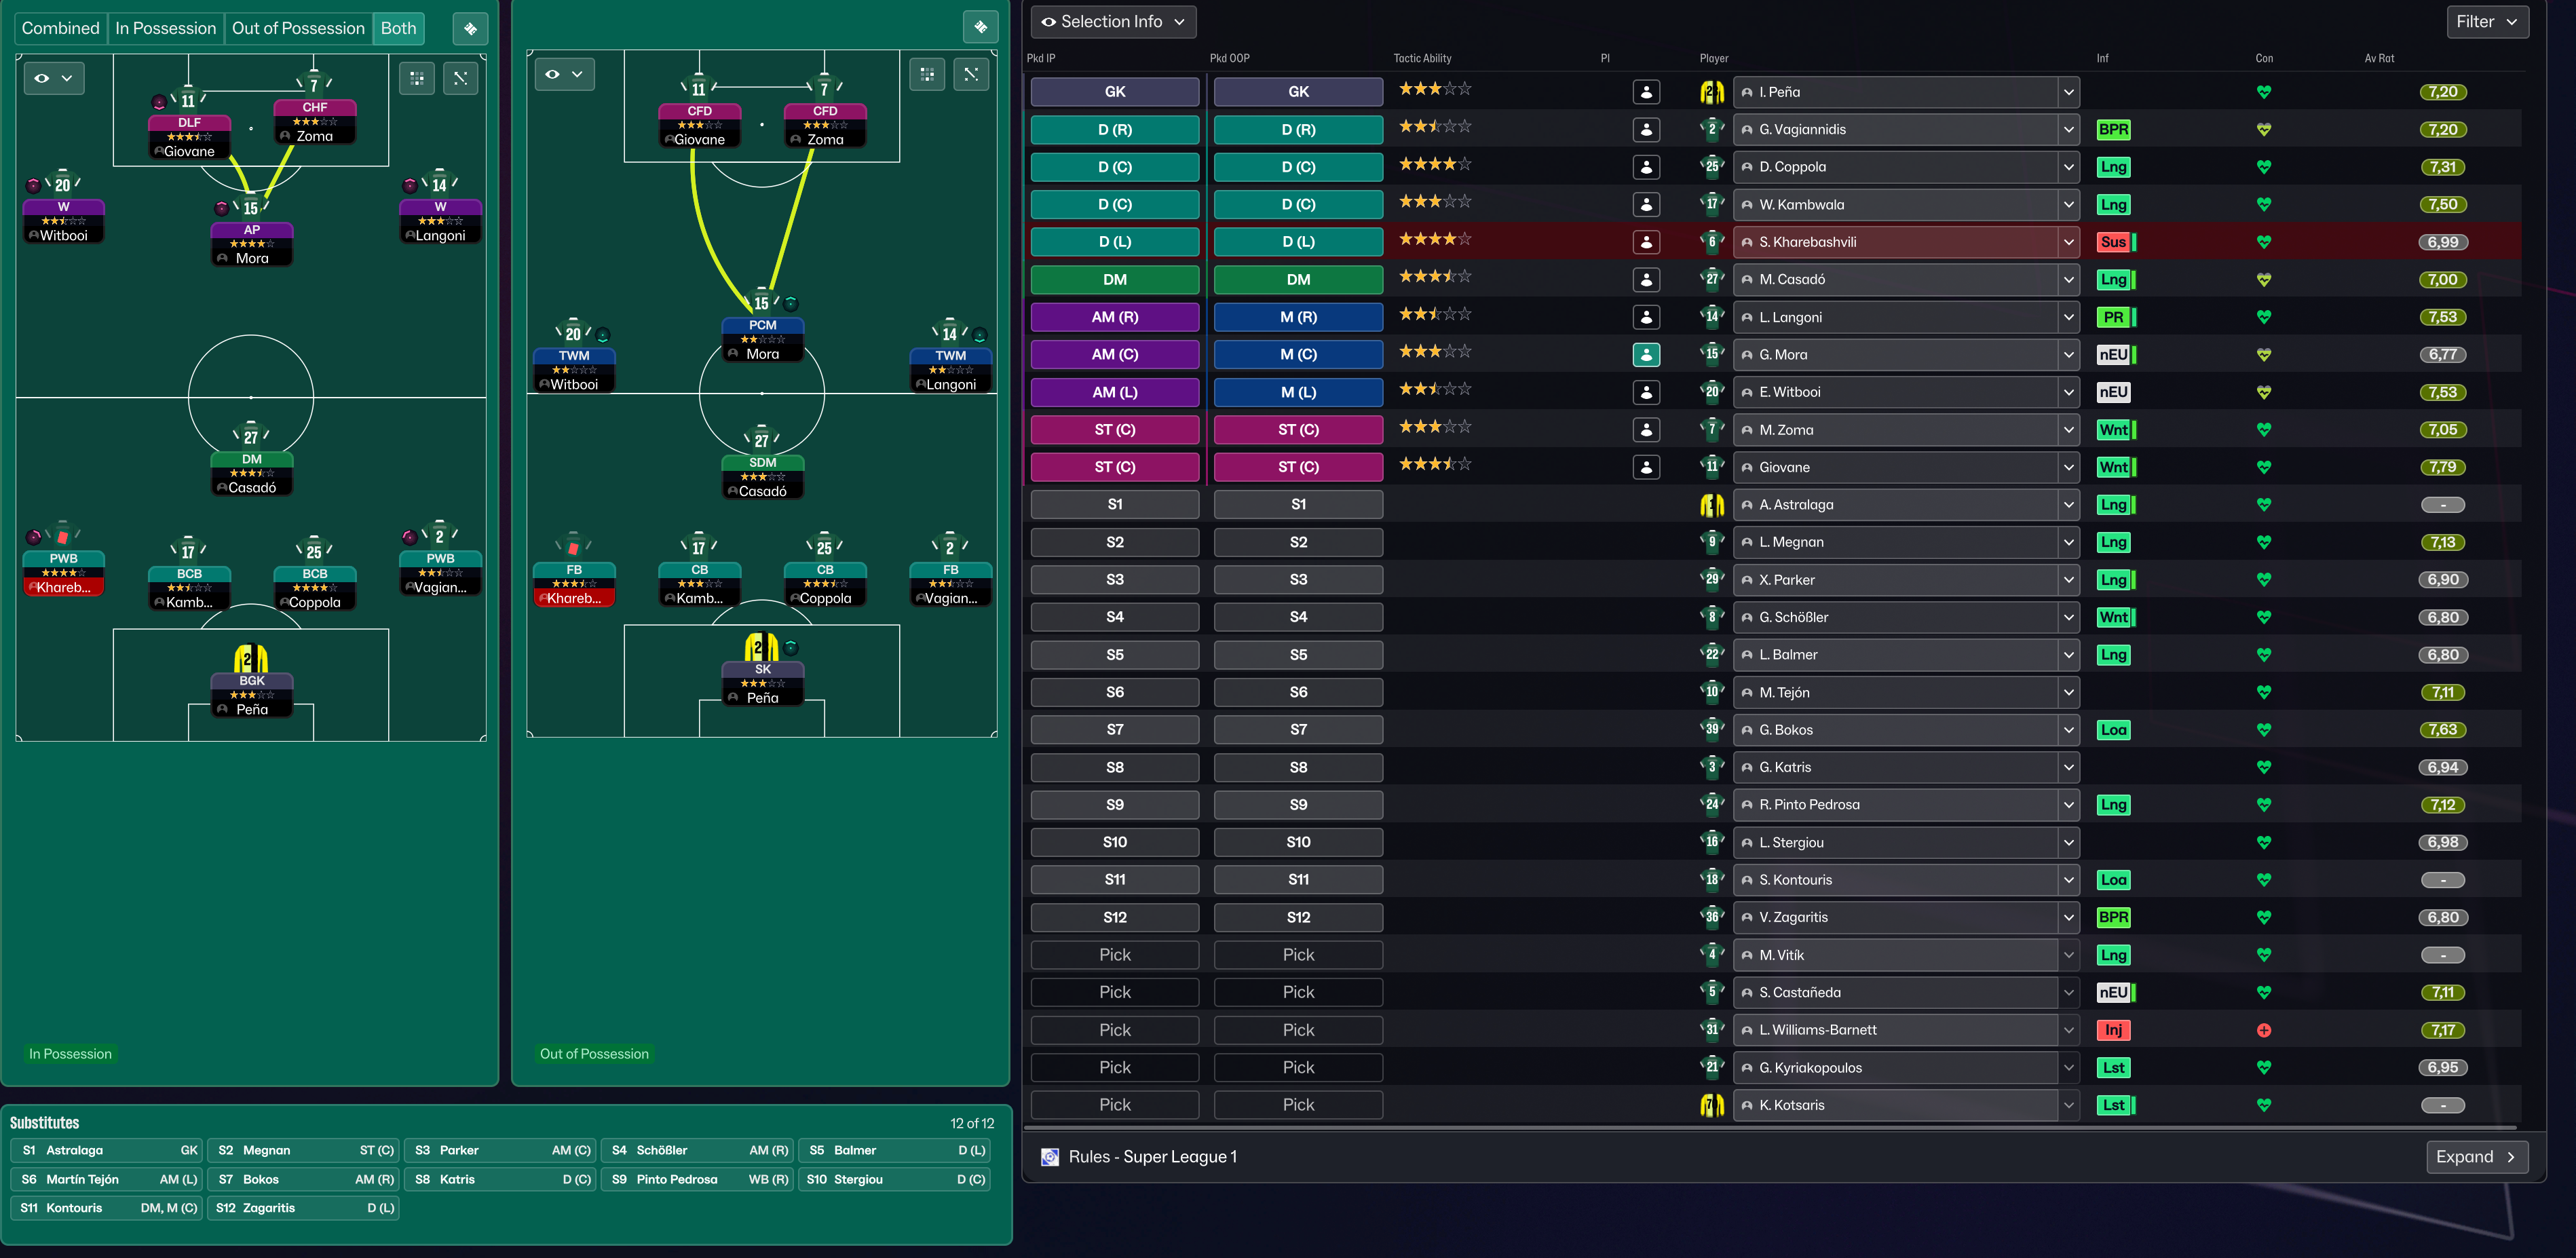
4-2-3-1 (Attacking) Tactic
4-2-3-1
Exploit flanks while maintaining fluidity through the middle. The midfield combination of a Deep-Lying Playmaker and Central Midfielder promotes quick…
Loading tactical analysis...
Formation and style
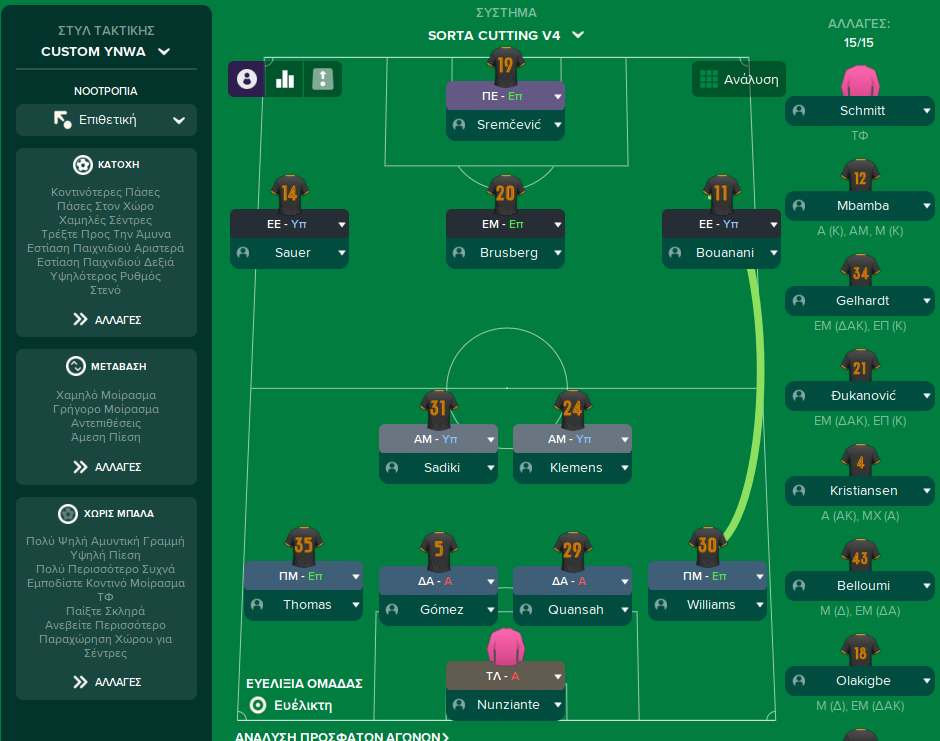
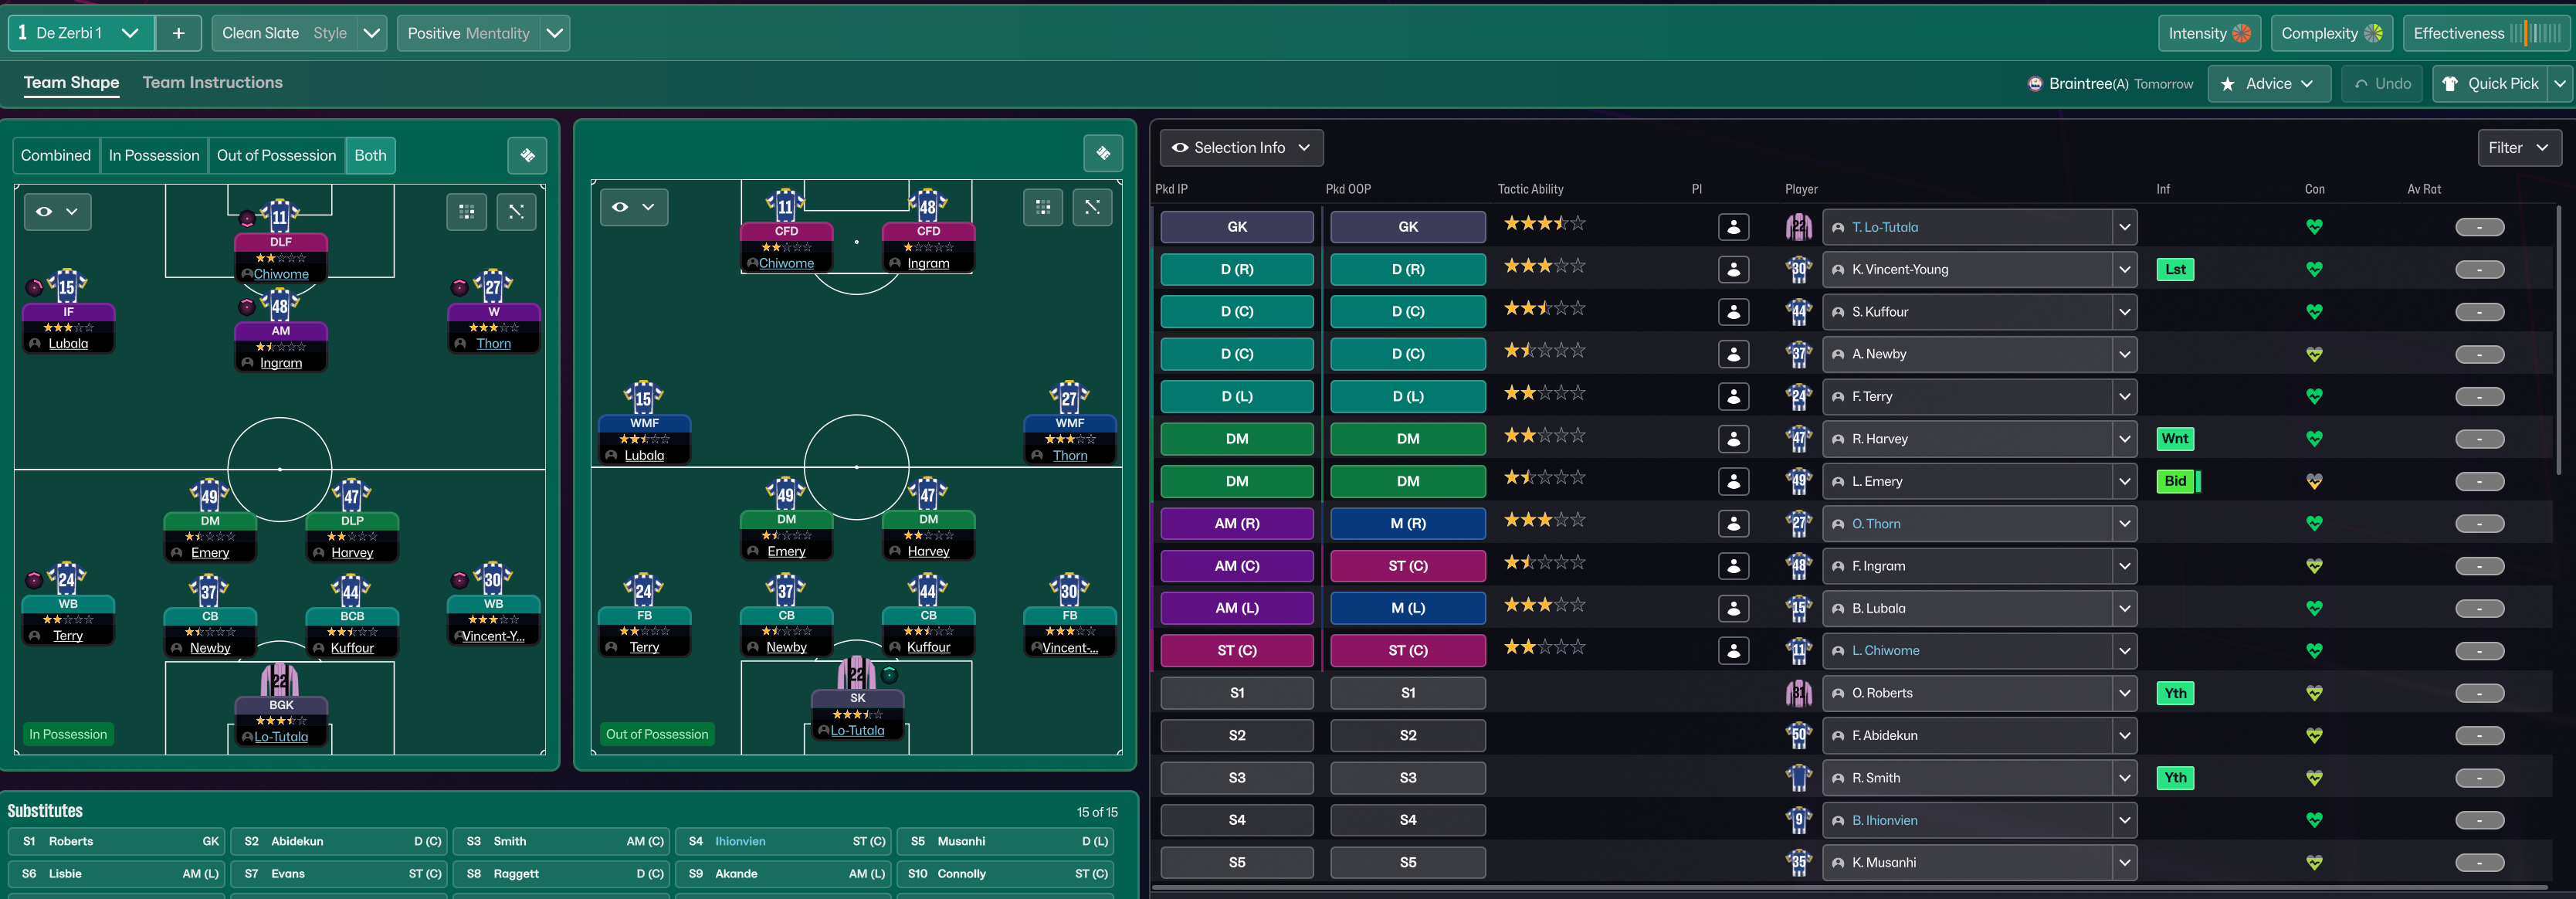
Custom
Attacking
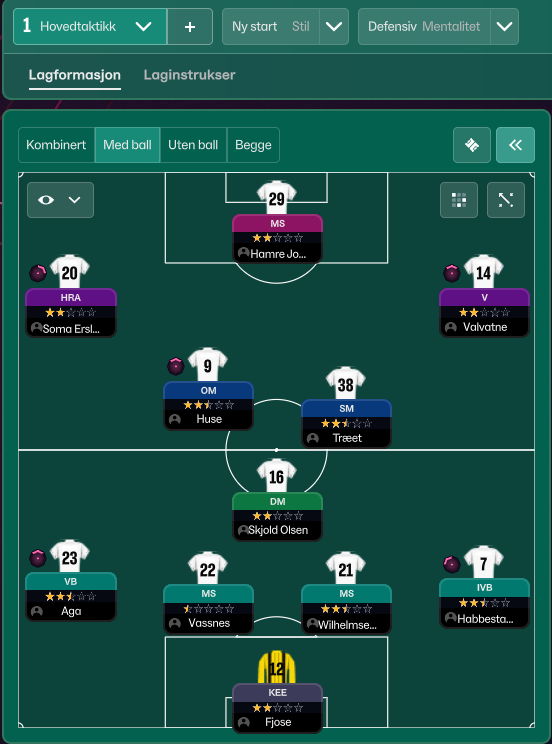
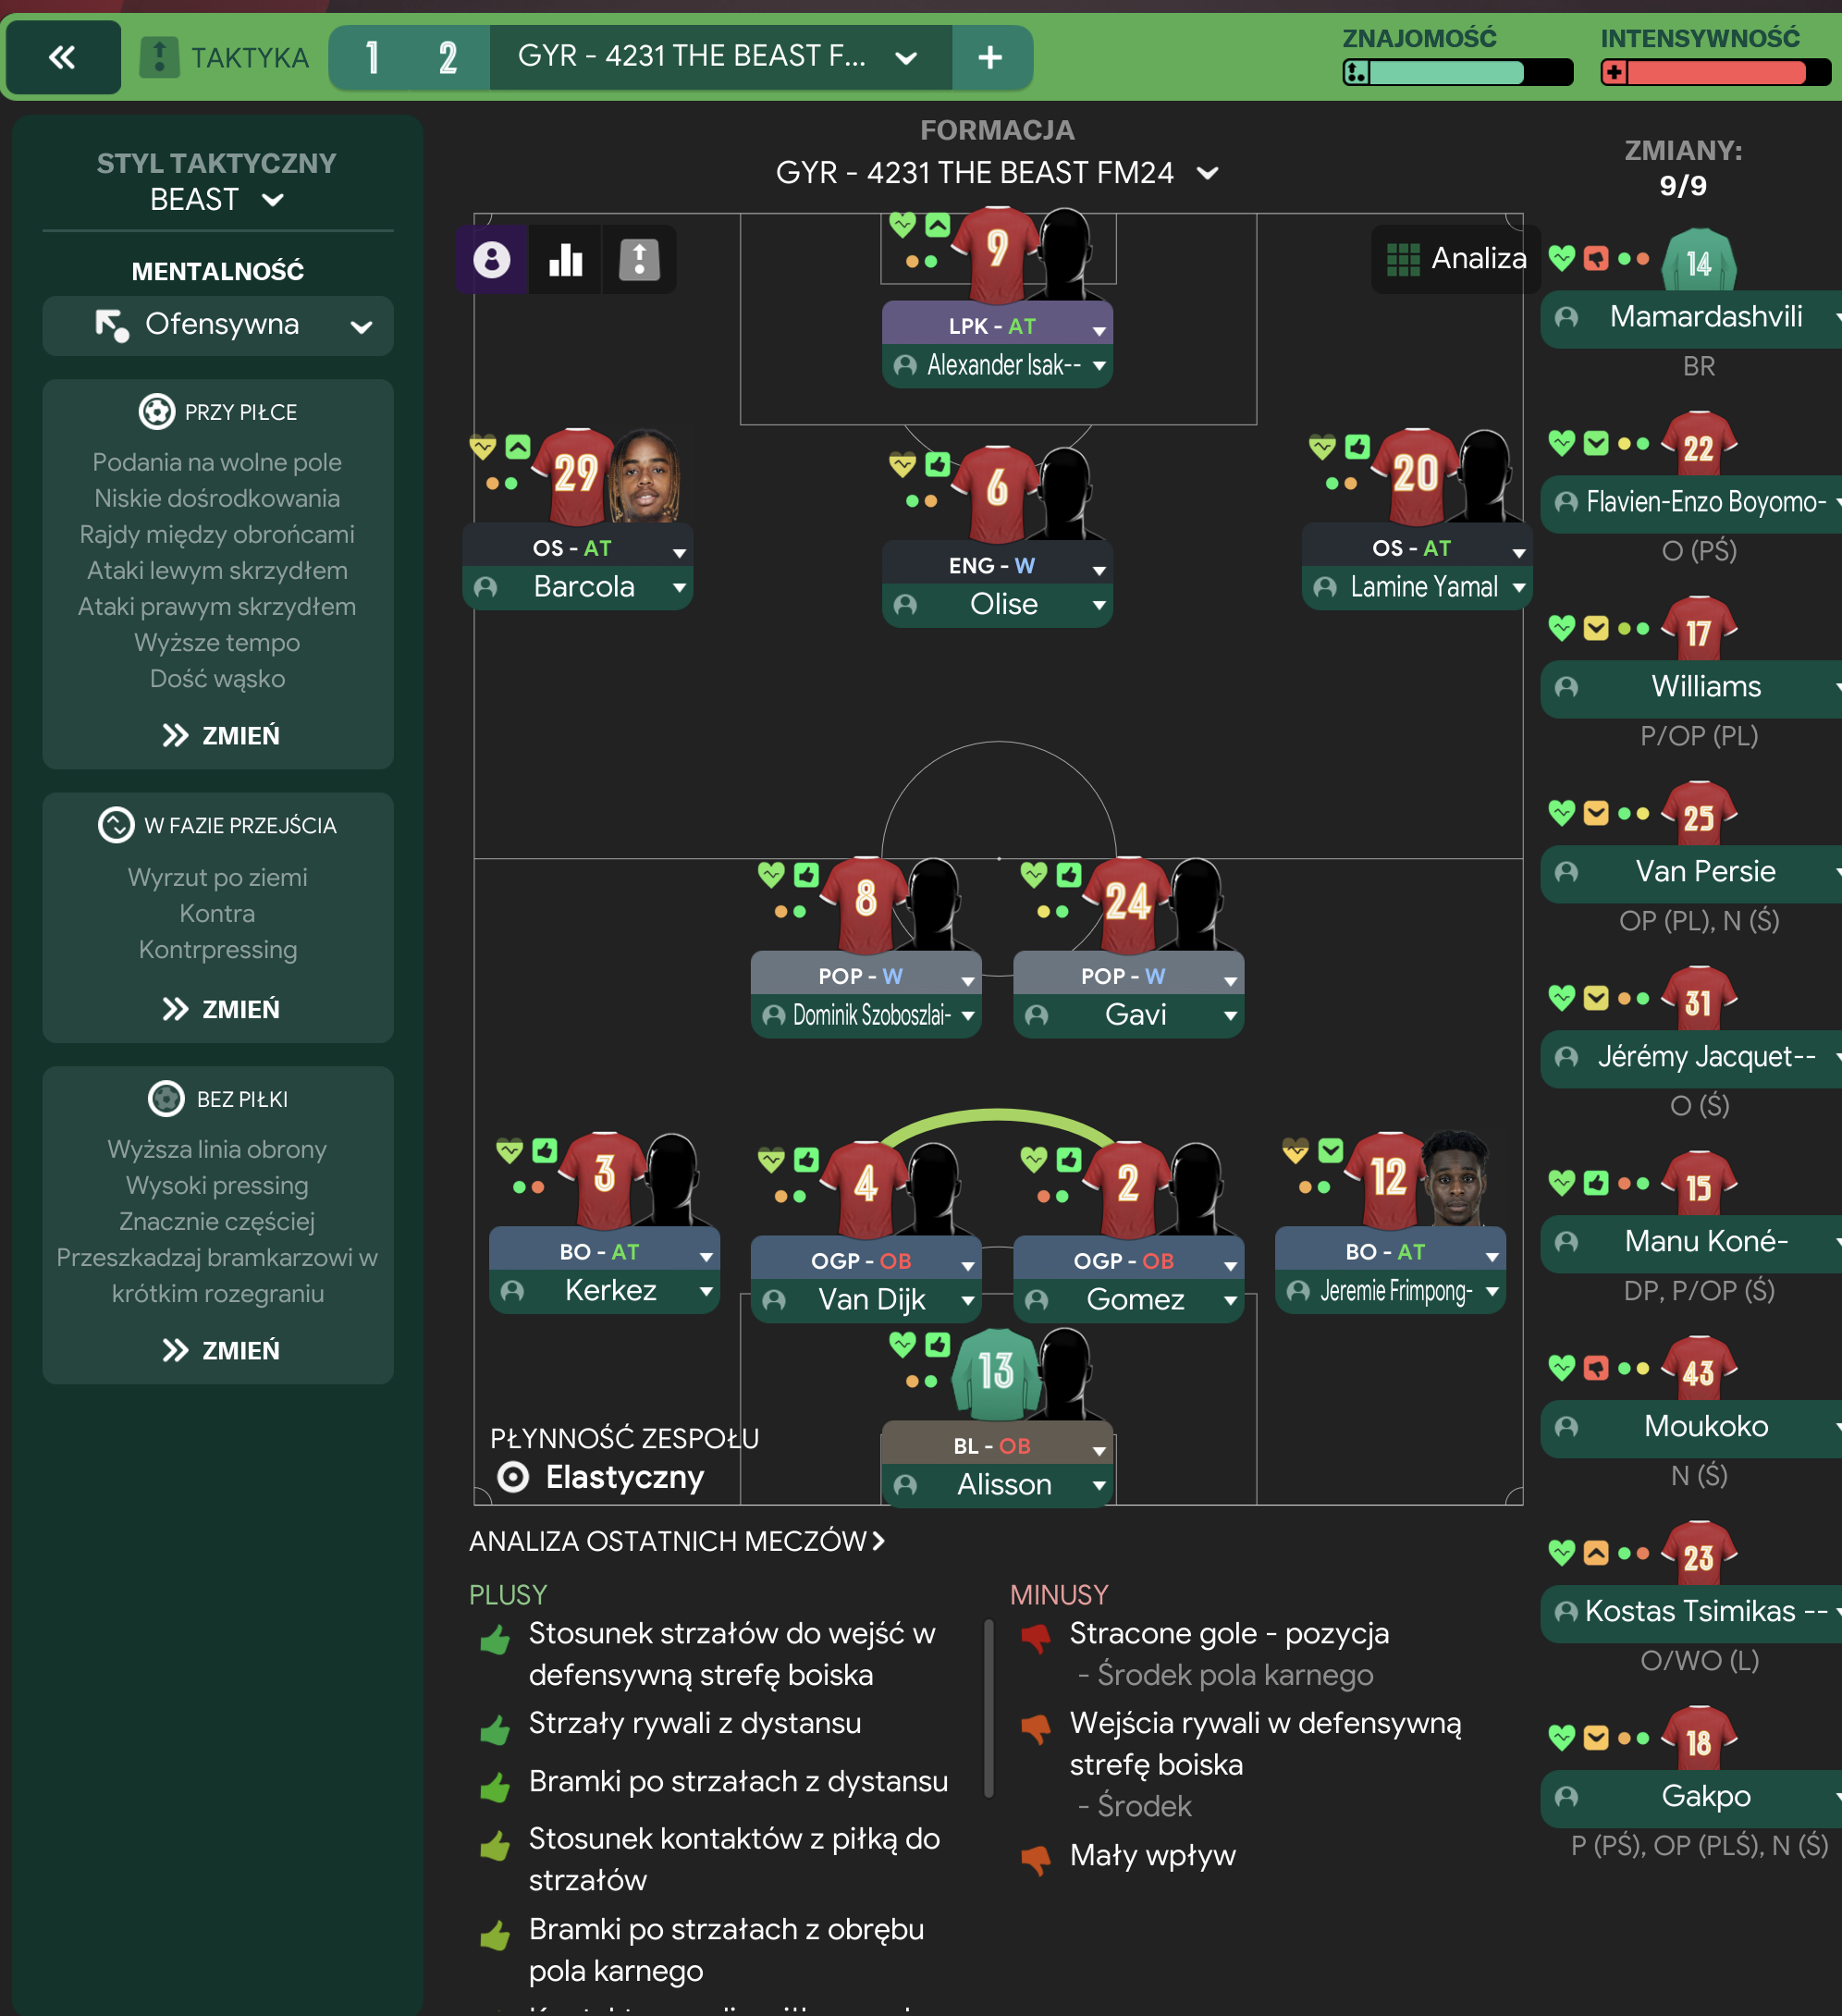
4-2-3-1
Flexible
In possession
Shorter Passing
Play Out of Defence
Exploit the Flanks
Higher Tempo
In transition
Counter-Press
Counter
Out of possession
Higher Defensive Line
Higher Line of Engagement
Prevent Short GK Distribution
Player roles
GK
Goalkeeper
Defend
CB
Ball-Playing Defender
Defend
CB
No-Nonsense Centre-Back
Defend
FB
Wing-Back
Attack
FB
Wing-Back
Support
DM
Deep-Lying Playmaker
Support
CM
Central Midfielder
Attack
AM
Attacking Midfielder
Support
AM
Inside Forward
Attack
ST
Pressing Forward
Attack
Phase description
Focus on quick passing and using the width of the pitch to stretch the opposition.
Quick recovery with immediate pressing on losing possession.
Exploit flanks while maintaining fluidity through the middle.
Team shape defence
4-2-3-1
Compact defensive shape with a strong dual pivot in midfield.
DM (DLP-S) at [3,3] provides a link between defense and attack.
Team shape attack
4-2-3-1
Fluid attacking structure with players interchanging positions.
Inside Forward (IF-A) at [5,2] allows diagonal runs into the box.
Key strengths
Dynamic Midfield
The midfield combination of a Deep-Lying Playmaker and Central Midfielder promotes quick transitions and creativity.
DLP-S at [3,3] and CM-A at [4,3] allows fluid ball movement.
Width in Attack
Utilizing two Wing-Backs provides width, stretching the opposition and creating spaces for central players.
WB (A) at [2,1] and WB (S) at [2,5] enhance flank play.
Conflicting tactics
Vulnerability to Counter-Attacks
High defensive line may be susceptible to counter-attacks if the ball is lost in advanced positions.
Higher Defensive Line with AM-A in [5,2] can leave gaps behind.
Midfield Overload
Lack of a natural ball-winning midfielder could lead to being outnumbered in midfield battles.
DLP-S at [3,3] units may struggle against aggressive pressing.
Risk exposures
Risk Exposures
Items
Defensive Vulnerability
High line can expose defenders to fast attackers.
Higher Defensive Line puts pressure on CBs to recover quickly.
Midfield Gaps
Potential gaps in midfield if not adequately supported.
CM-A at [4,3] may not provide sufficient coverage.
Role synergies
Role Synergies
Items
DLP-S and CM-A
DLP can provide deep support while CM adds attacking thrust.
DLP at [3,3] connects defense with attacks efficiently.
WB and IF
Wing-Backs overlapping creates space for inside forwards.
WB-A at [2,1] and IF-A at [5,2] work well together.
Suggested questions
How can we adapt our pressing strategy against teams that play direct football?
What alternatives do we have for midfield if we face a more physical opponent?
Should we consider tactical variations based on our opponent's strengths?
Related Tactics
Guides for this tactic
The tactical theory behind the 4-2-3-1: roles, instructions, and the trade-offs that decide whether the system holds up.
Playing styles
Gegenpressing: A Full Guide
Klopp-style gegenpressing in FM, including squad profile, line-and-press pairing, sustainable workload, and the antipatterns to avoid.
Read guide
Player pairings
Midfield Pairs in 4-2-3-1 and 4-4-2
Double pivots and flat pairs in 4-2-3-1 and 4-4-2: when each pairing works, when it collapses, and the AMC unicorn that rescues both.
Read guide
Match preparation
In-Match Tactical Changes
Mentality, duty, role, instruction, sub. The change hierarchy from lightest to heaviest intervention, and 60th-minute patterns by game state.
Read guide