4-2-3-1 Tactic
4-2-3-1
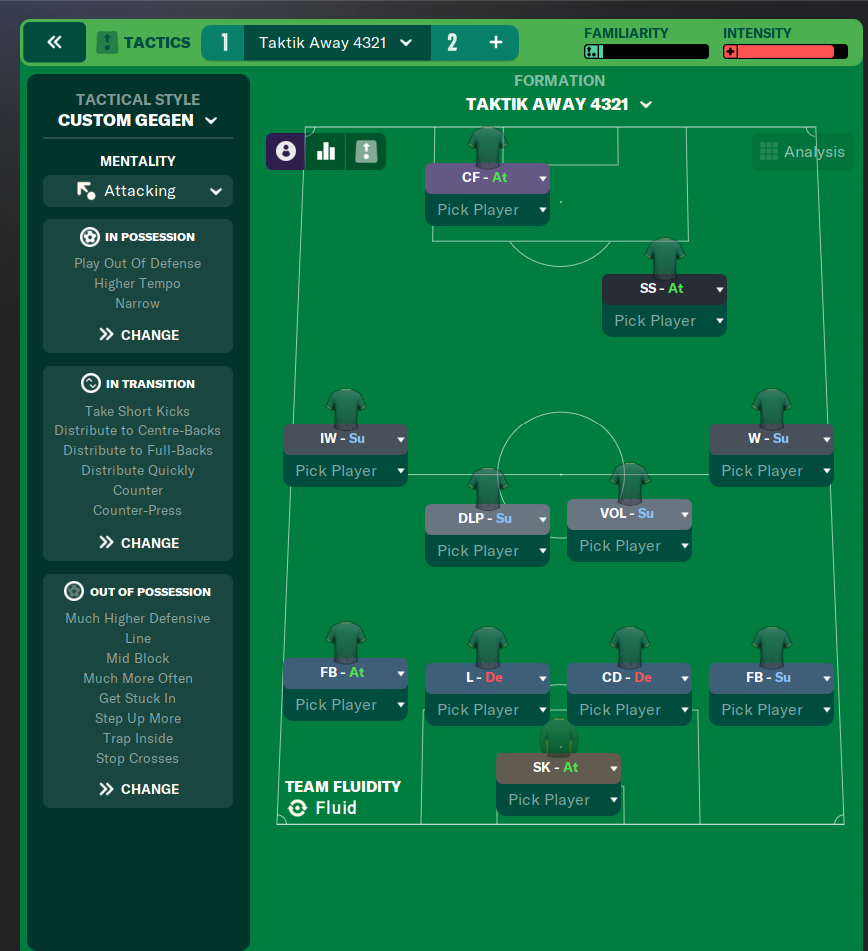
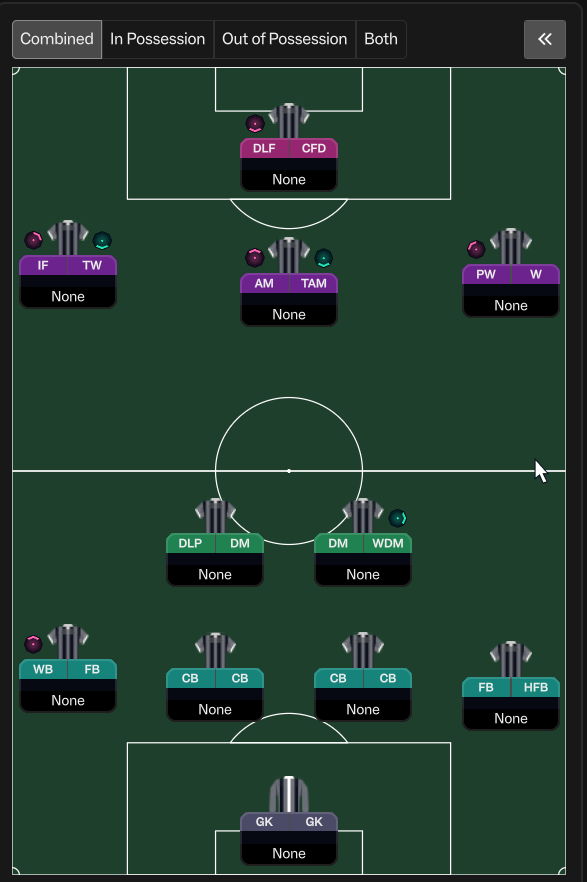
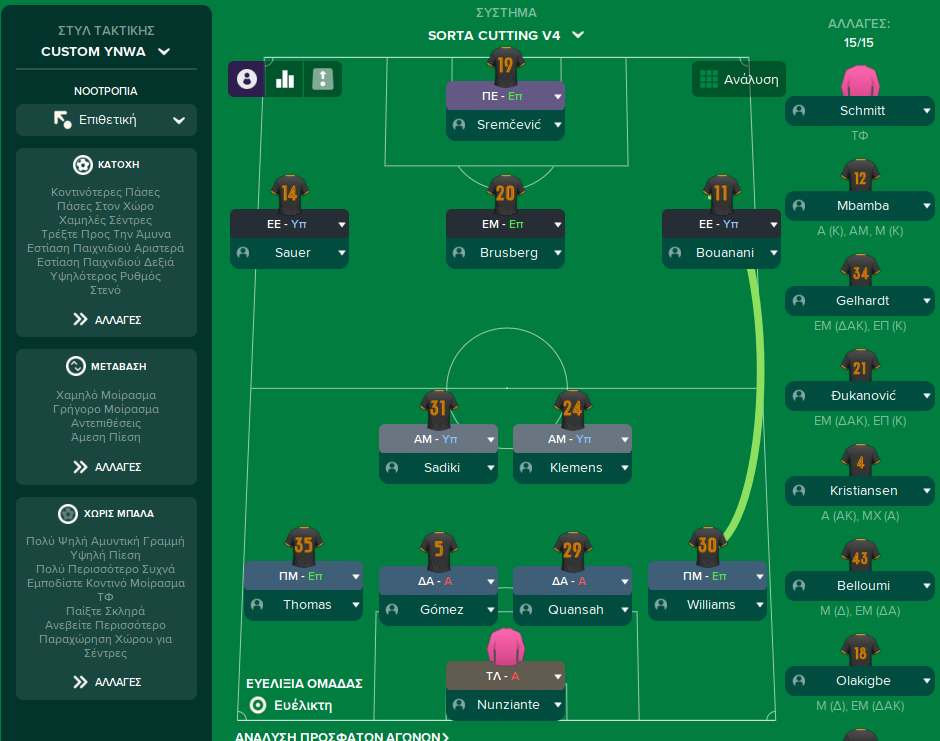
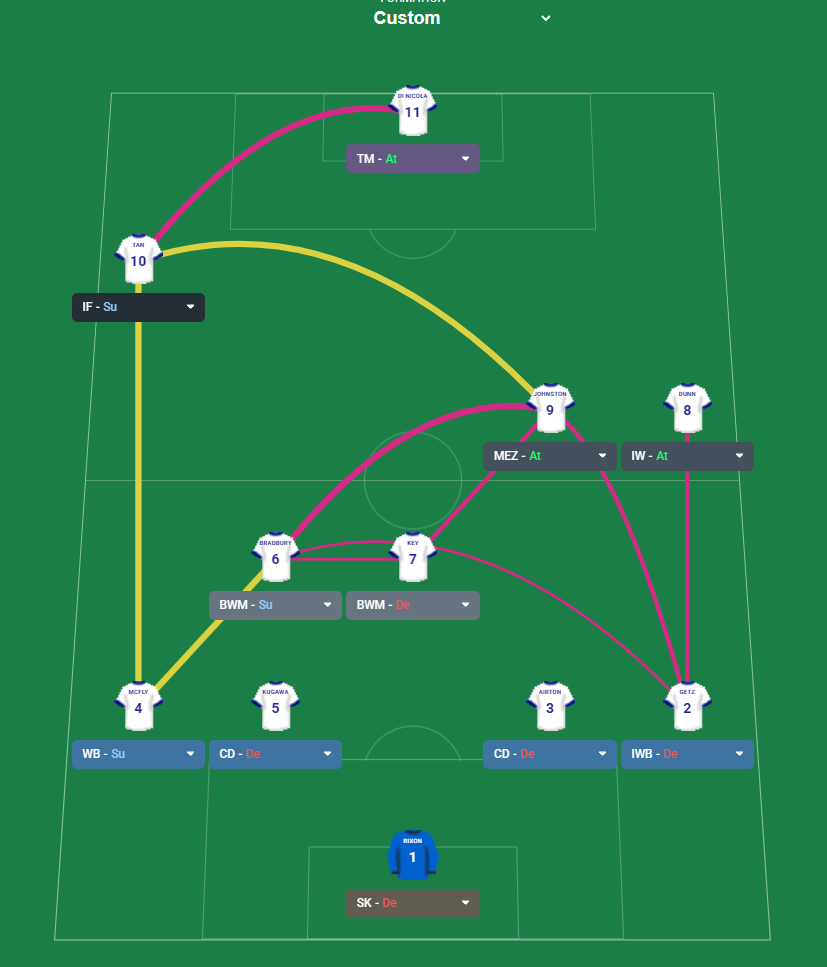
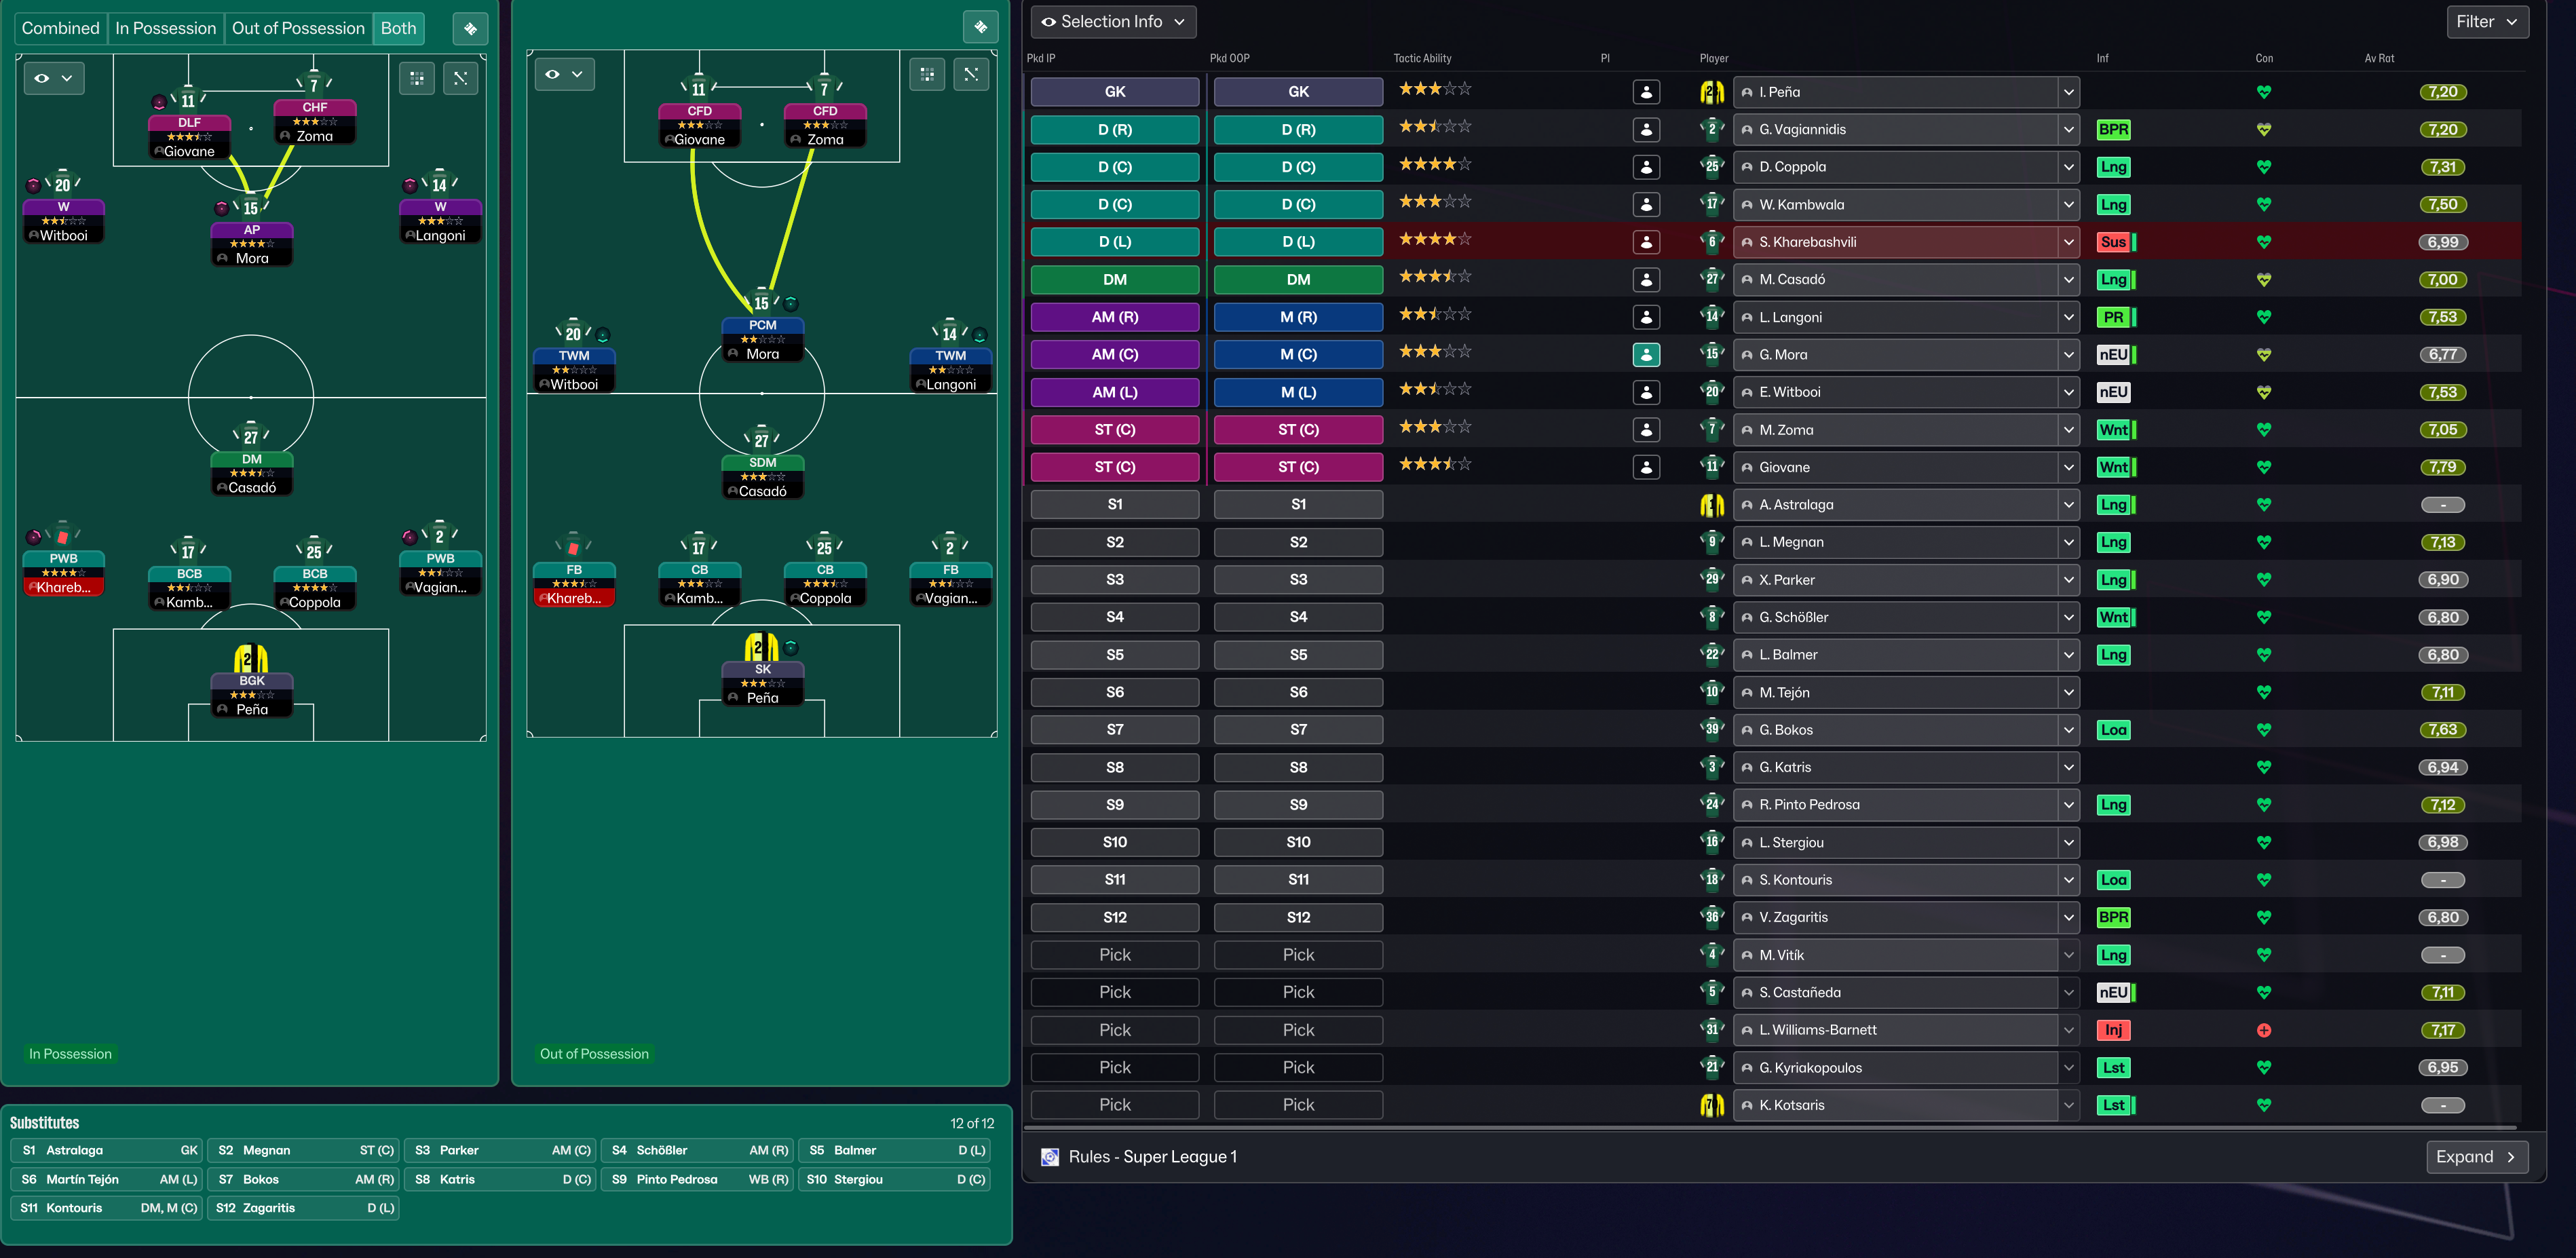
Quick transitional play and exploiting the wings. The combination of Shadow Striker and Inside Forward offers unpredictable attacking options.
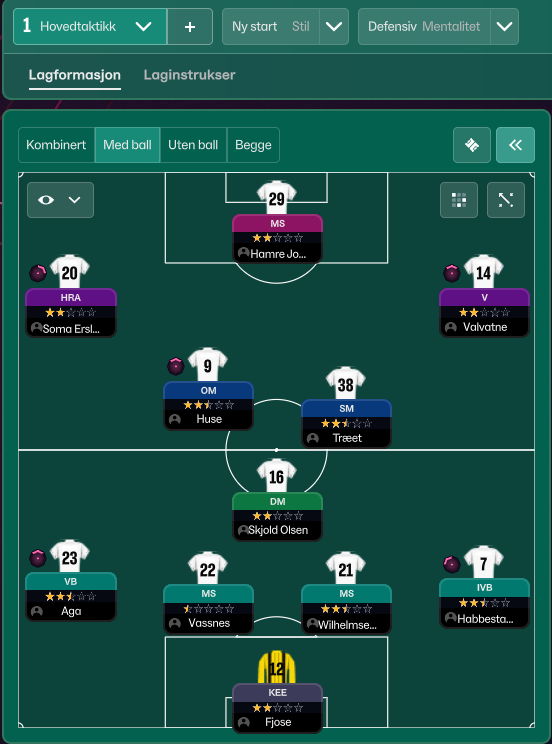
Loading tactical analysis...
Formation and style
4-2-3-1
In possession
Play Out of Defence
Be More Expressive
Overlap Left
Overlap Right
In transition
Counter-Press
Counter
Out of possession
Higher Defensive Line
Higher Line of Engagement
Player roles
GK
Goalkeeper
Defend
Right Back
Wing-Back
Support
Left Back
Wing-Back
Support
Centre Back
Centre-Back
Defend
Centre Back
Centre-Back
Defend
Defensive Midfield
Deep-Lying Playmaker
Defend
Central Midfield
Box-to-Box Midfielder
Support
Attacking Midfield
Shadow Striker
Attack
Right Wing
Inside Forward
Attack
Left Wing
Wide Midfielder
Support
Striker
Complete Forward
Attack
Phase description
Utilizes width through the wing-backs and inside forwards, aiming to create space for the shadow striker.
Focuses on quick recovery and counter-pressing to win back possession.
Quick transitional play and exploiting the wings.
Team shape defence
4-4-2
Defends in a compact shape, with two lines of four when out of possession.
Defensive Midfielder (DM-D) at [3,3] adds stability in front of the defense.
Team shape attack
4-2-3-1
Attacking shape focuses on width and vertical runs, creating multiple attacking avenues.
Inside Forward (IF-A) at [5,4] and Shadow Striker (SS-A) at [5,3] facilitate attacking combinations.
Key strengths
Dynamic Attack
The combination of Shadow Striker and Inside Forward offers unpredictable attacking options.
SS at [5,3] and IF at [5,4] create flexibility in attack.
Solid Midfield Control
A Deep-Lying Playmaker alongside a Box-to-Box Midfielder ensures control in the midfield.
DLP-D at [3,3] coupled with BBM-S at [4,3] provides balance in play.
Conflicting tactics
Defensive Vulnerability
Higher Defensive Line may expose the backline to pacey counter-attacks.
Higher Defensive Line and Higher Line of Engagement increase risk against quick opponents.
Limited Central Attacking Options
Focus on width may neglect potential through-the-middle attacks.
Attacking Midfielder's role may be limited if the inside forwards cannot draw defenders.
Risk exposures
Risk Exposures
Items
Counter Attacks
Higher lines may lead to players being caught out against quick transitions.
GHigher Defensive Line and Higher Line of Engagement increase susceptibility.
Flank Exploitation
Overreliance on wing-backs could leave central areas vulnerable.
Positions taken by WBs at [2,2] and [2,4] may lack tactical coverage.
Role synergies
Role Synergies
Items
Inside Forward & Shadow Striker
Creates space and opportunities as they interchange during attacking moves.
IF-A at [5,4] and SS-A at [5,3] can exploit defensive gaps.
Wing-Backs & Wide Midfielder
Ensures consistent width and support, allowing for more overlapping runs.
WB-S at [2,2] and WM-S at [5,2] create effective width.
Suggested questions
How can I improve my central attacking options?
What adjustments can I make to reduce vulnerability against counter-attacks?
Are there specific midfield roles that can enhance balance in the team?
Related Tactics
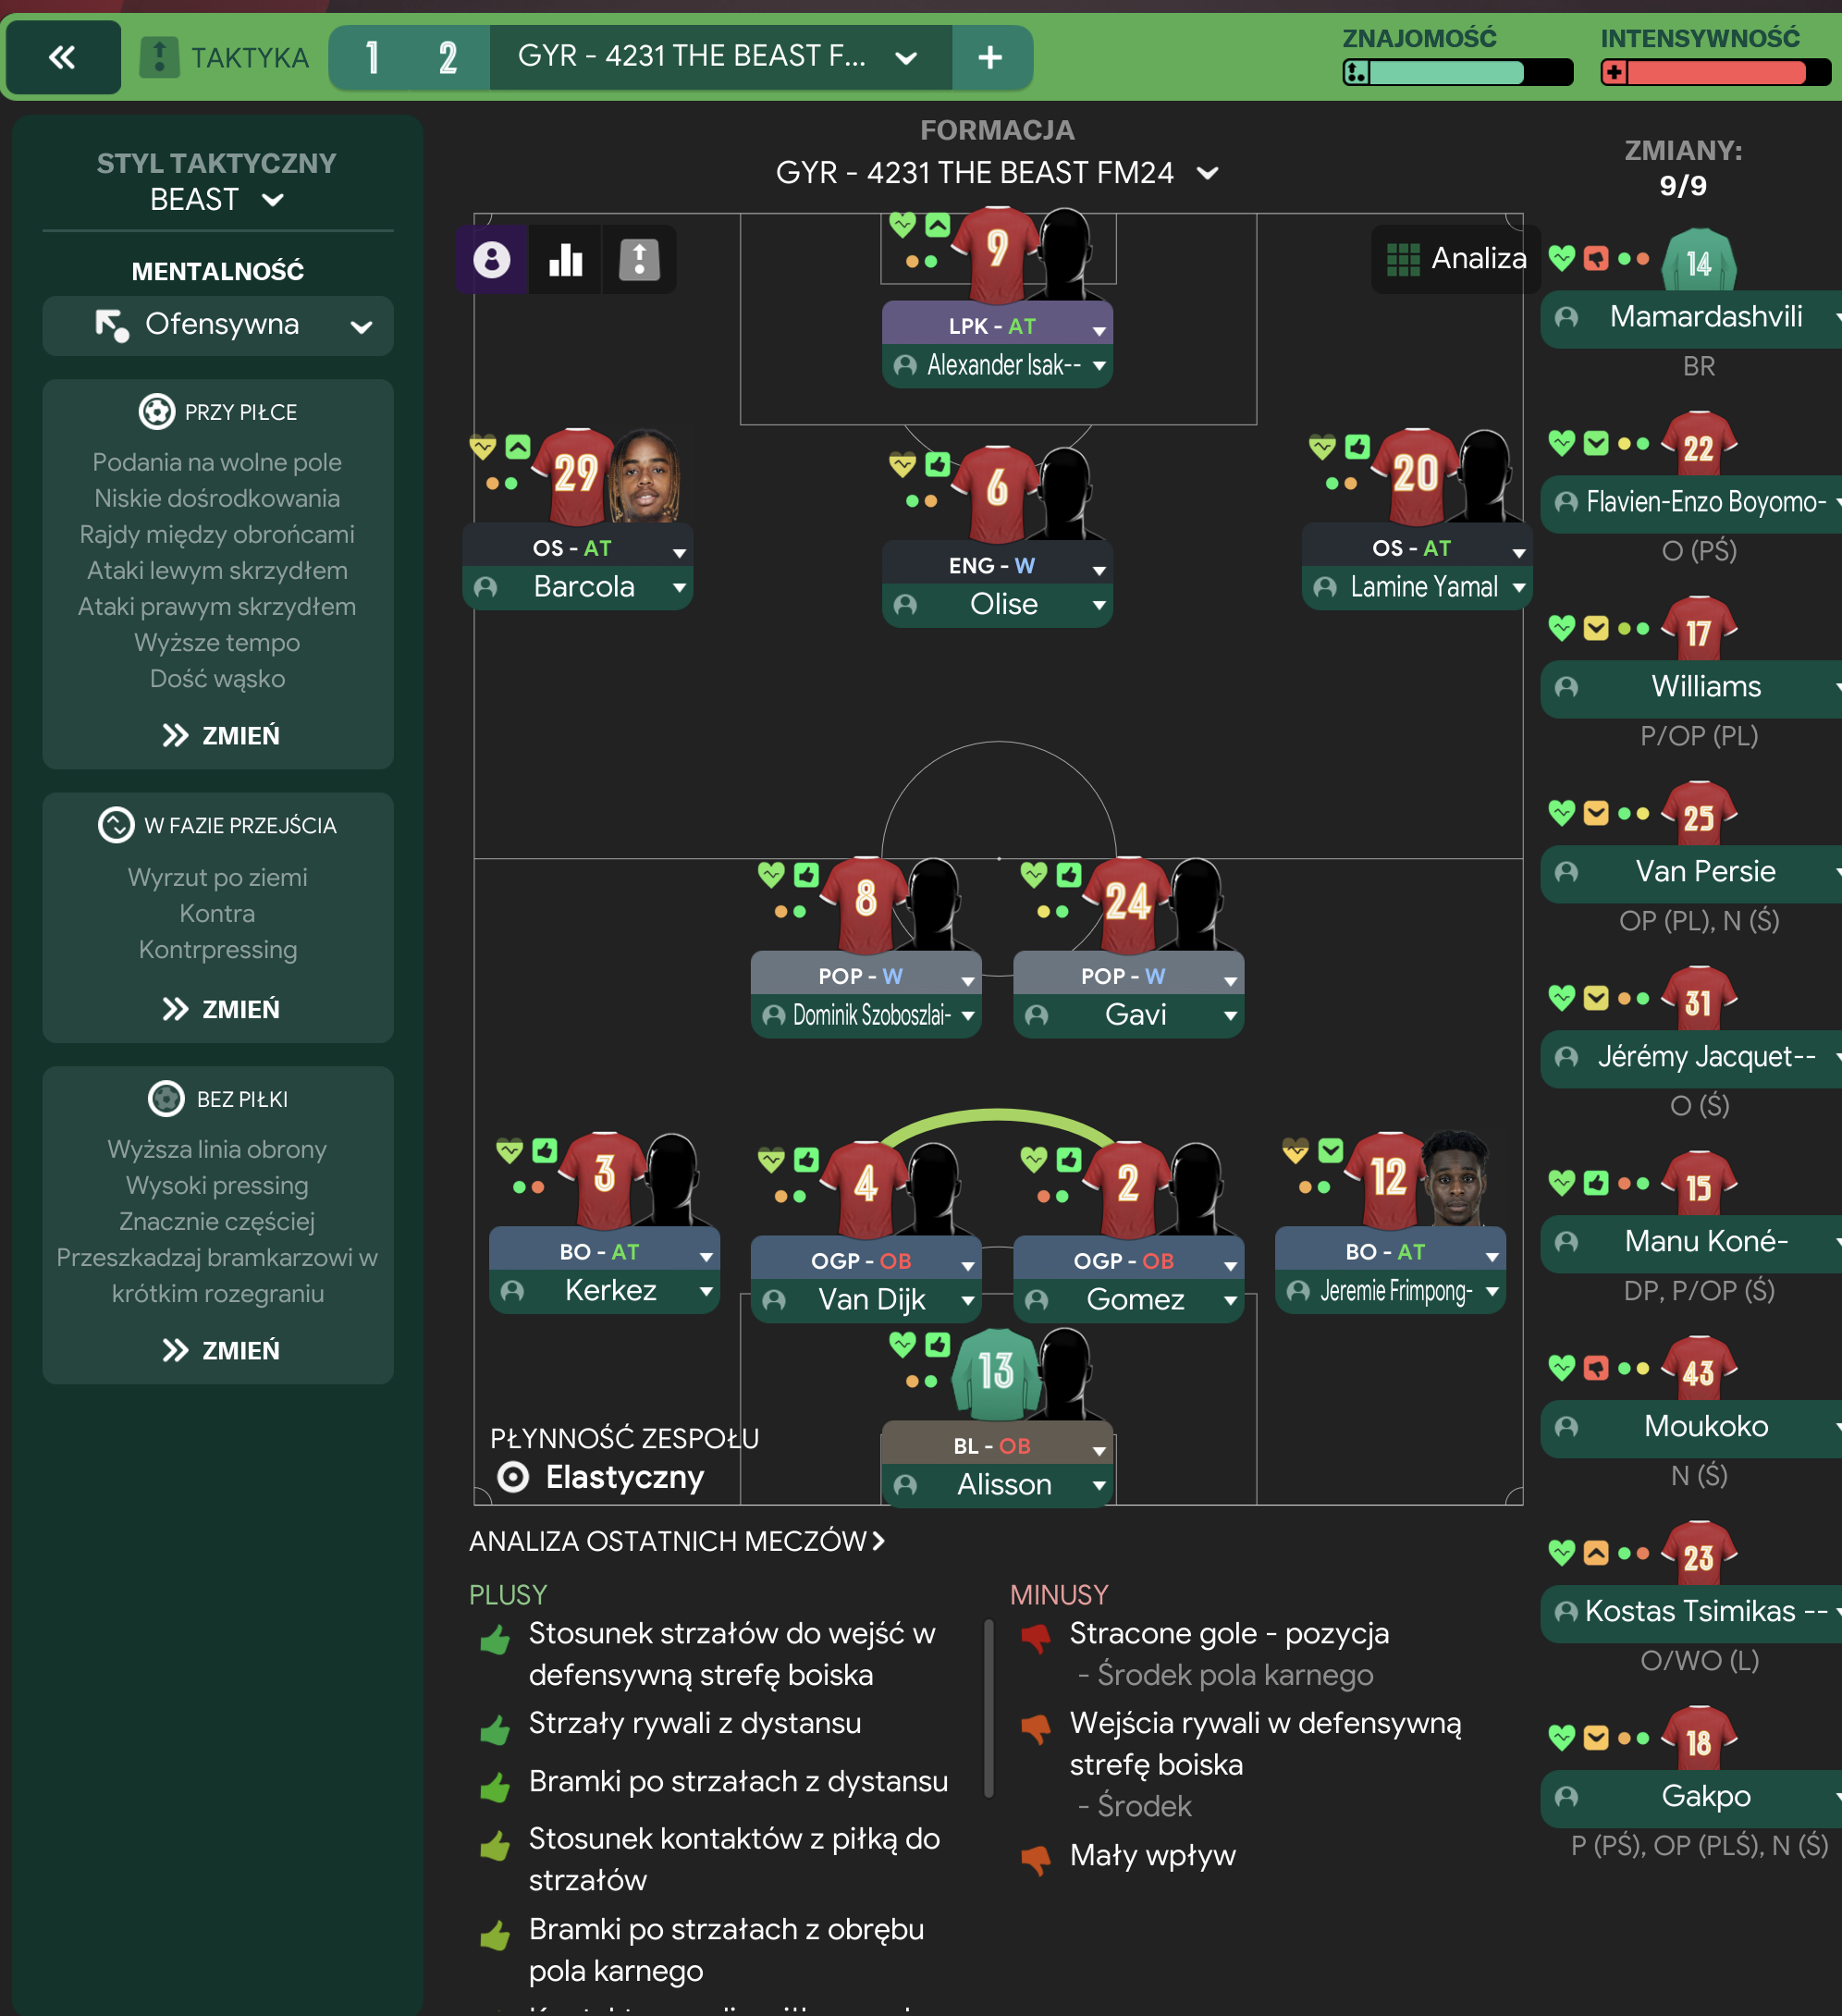
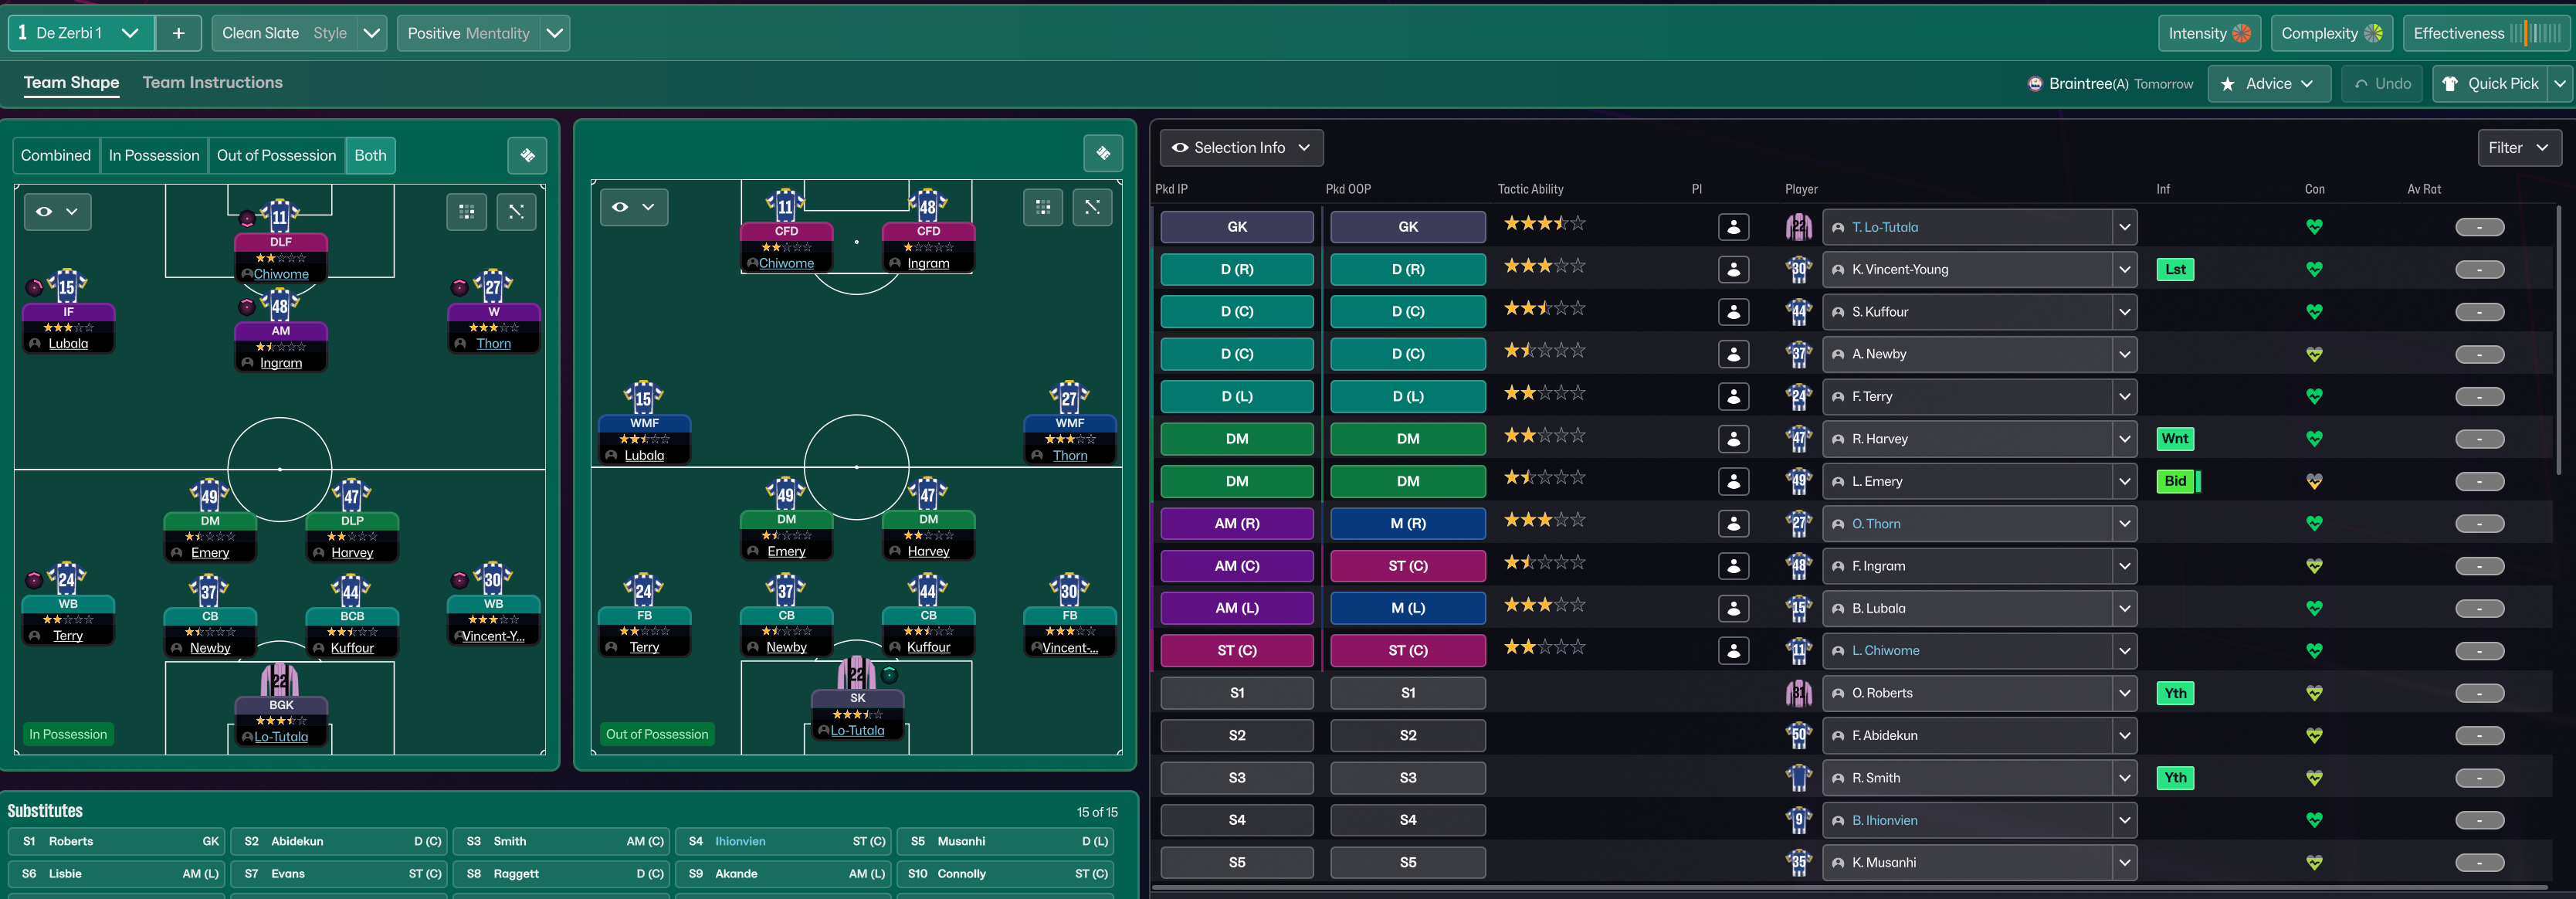
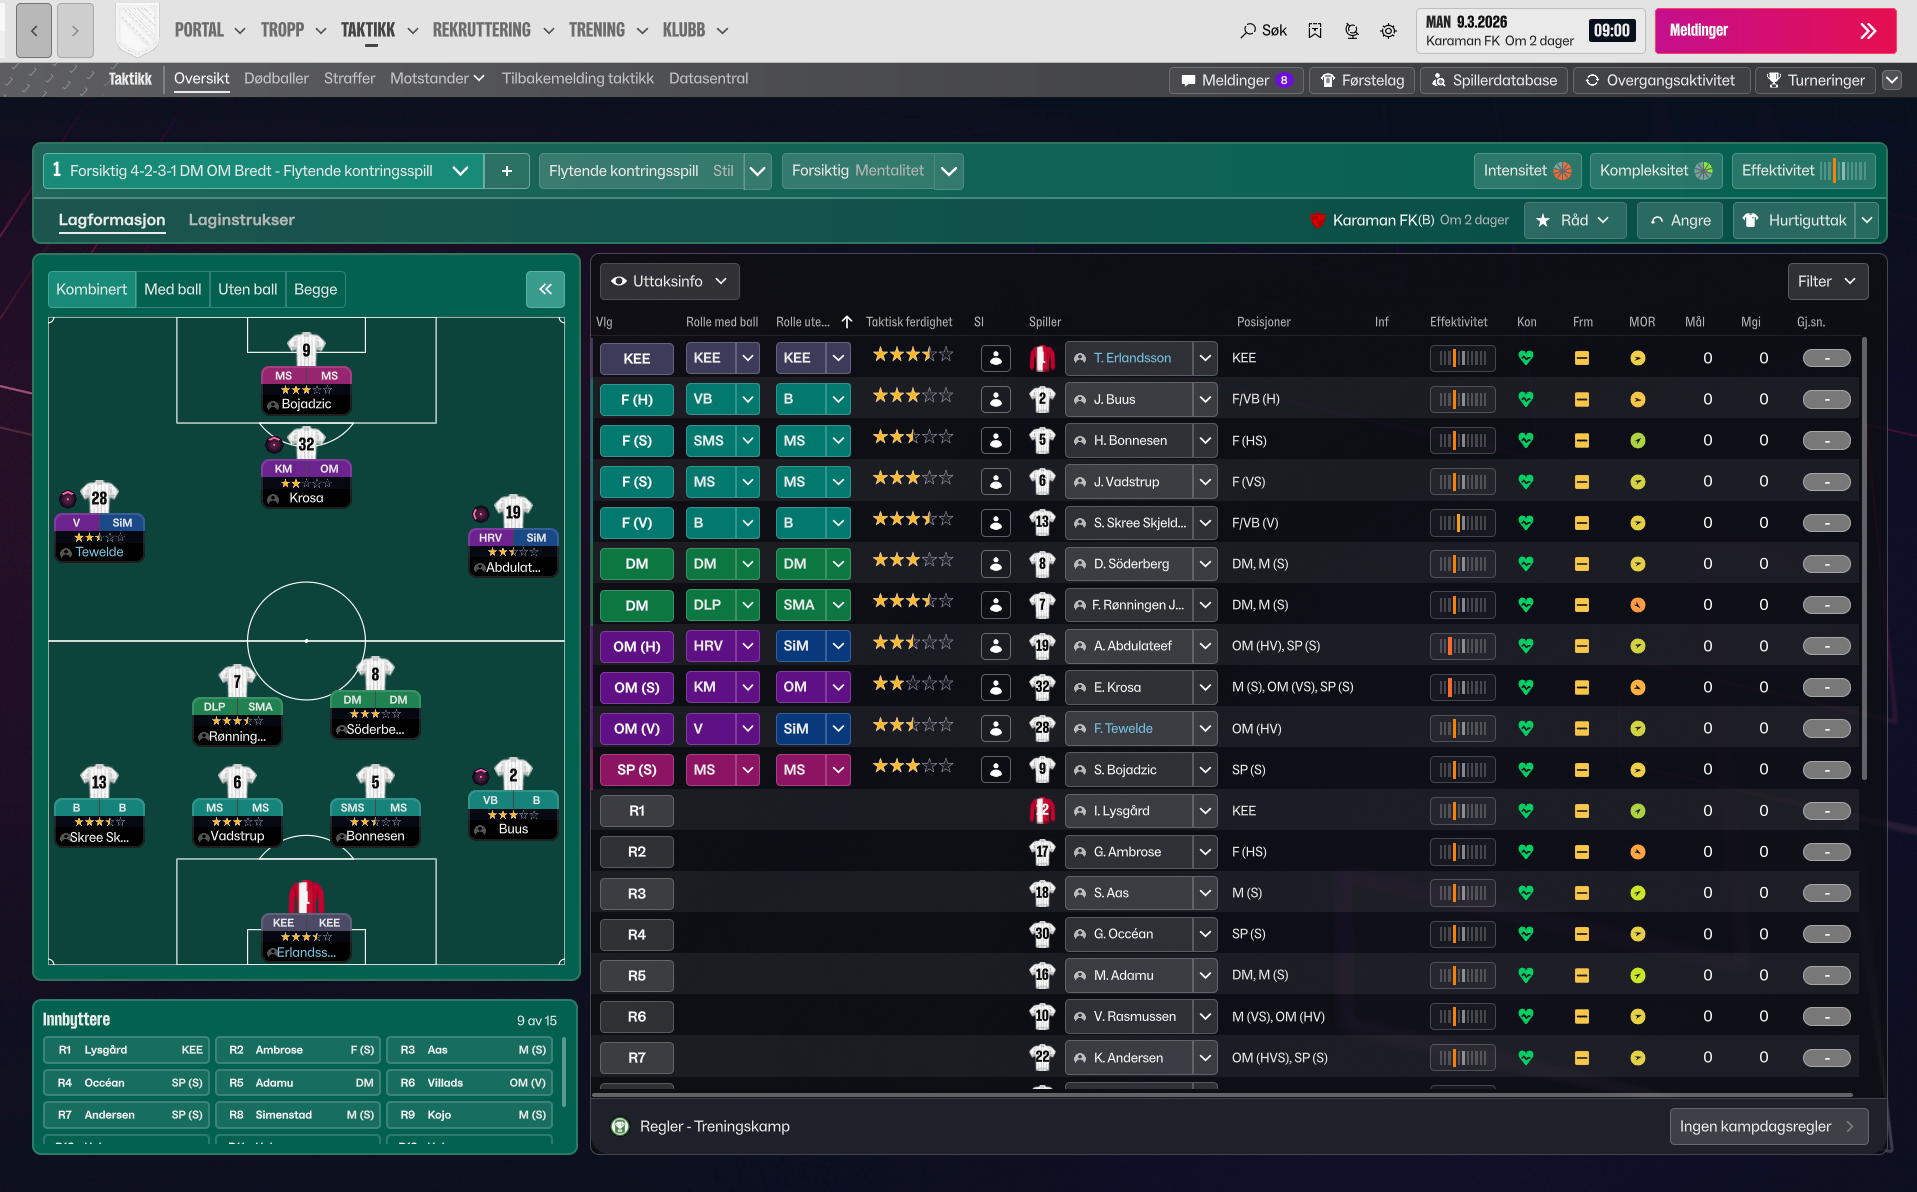
Guides for this tactic
The tactical theory behind the 4-2-3-1: roles, instructions, and the trade-offs that decide whether the system holds up.
Playing styles
Gegenpressing: A Full Guide
Klopp-style gegenpressing in FM, including squad profile, line-and-press pairing, sustainable workload, and the antipatterns to avoid.
Read guide
Player pairings
Midfield Pairs in 4-2-3-1 and 4-4-2
Double pivots and flat pairs in 4-2-3-1 and 4-4-2: when each pairing works, when it collapses, and the AMC unicorn that rescues both.
Read guide
Foundations
Defensive Line and Line of Engagement
The pairing rule for Defensive Line and Line of Engagement, all 9 combinations, and the gap that costs goals.
Read guide