4-2-3-1 Tactic
4-2-3-1
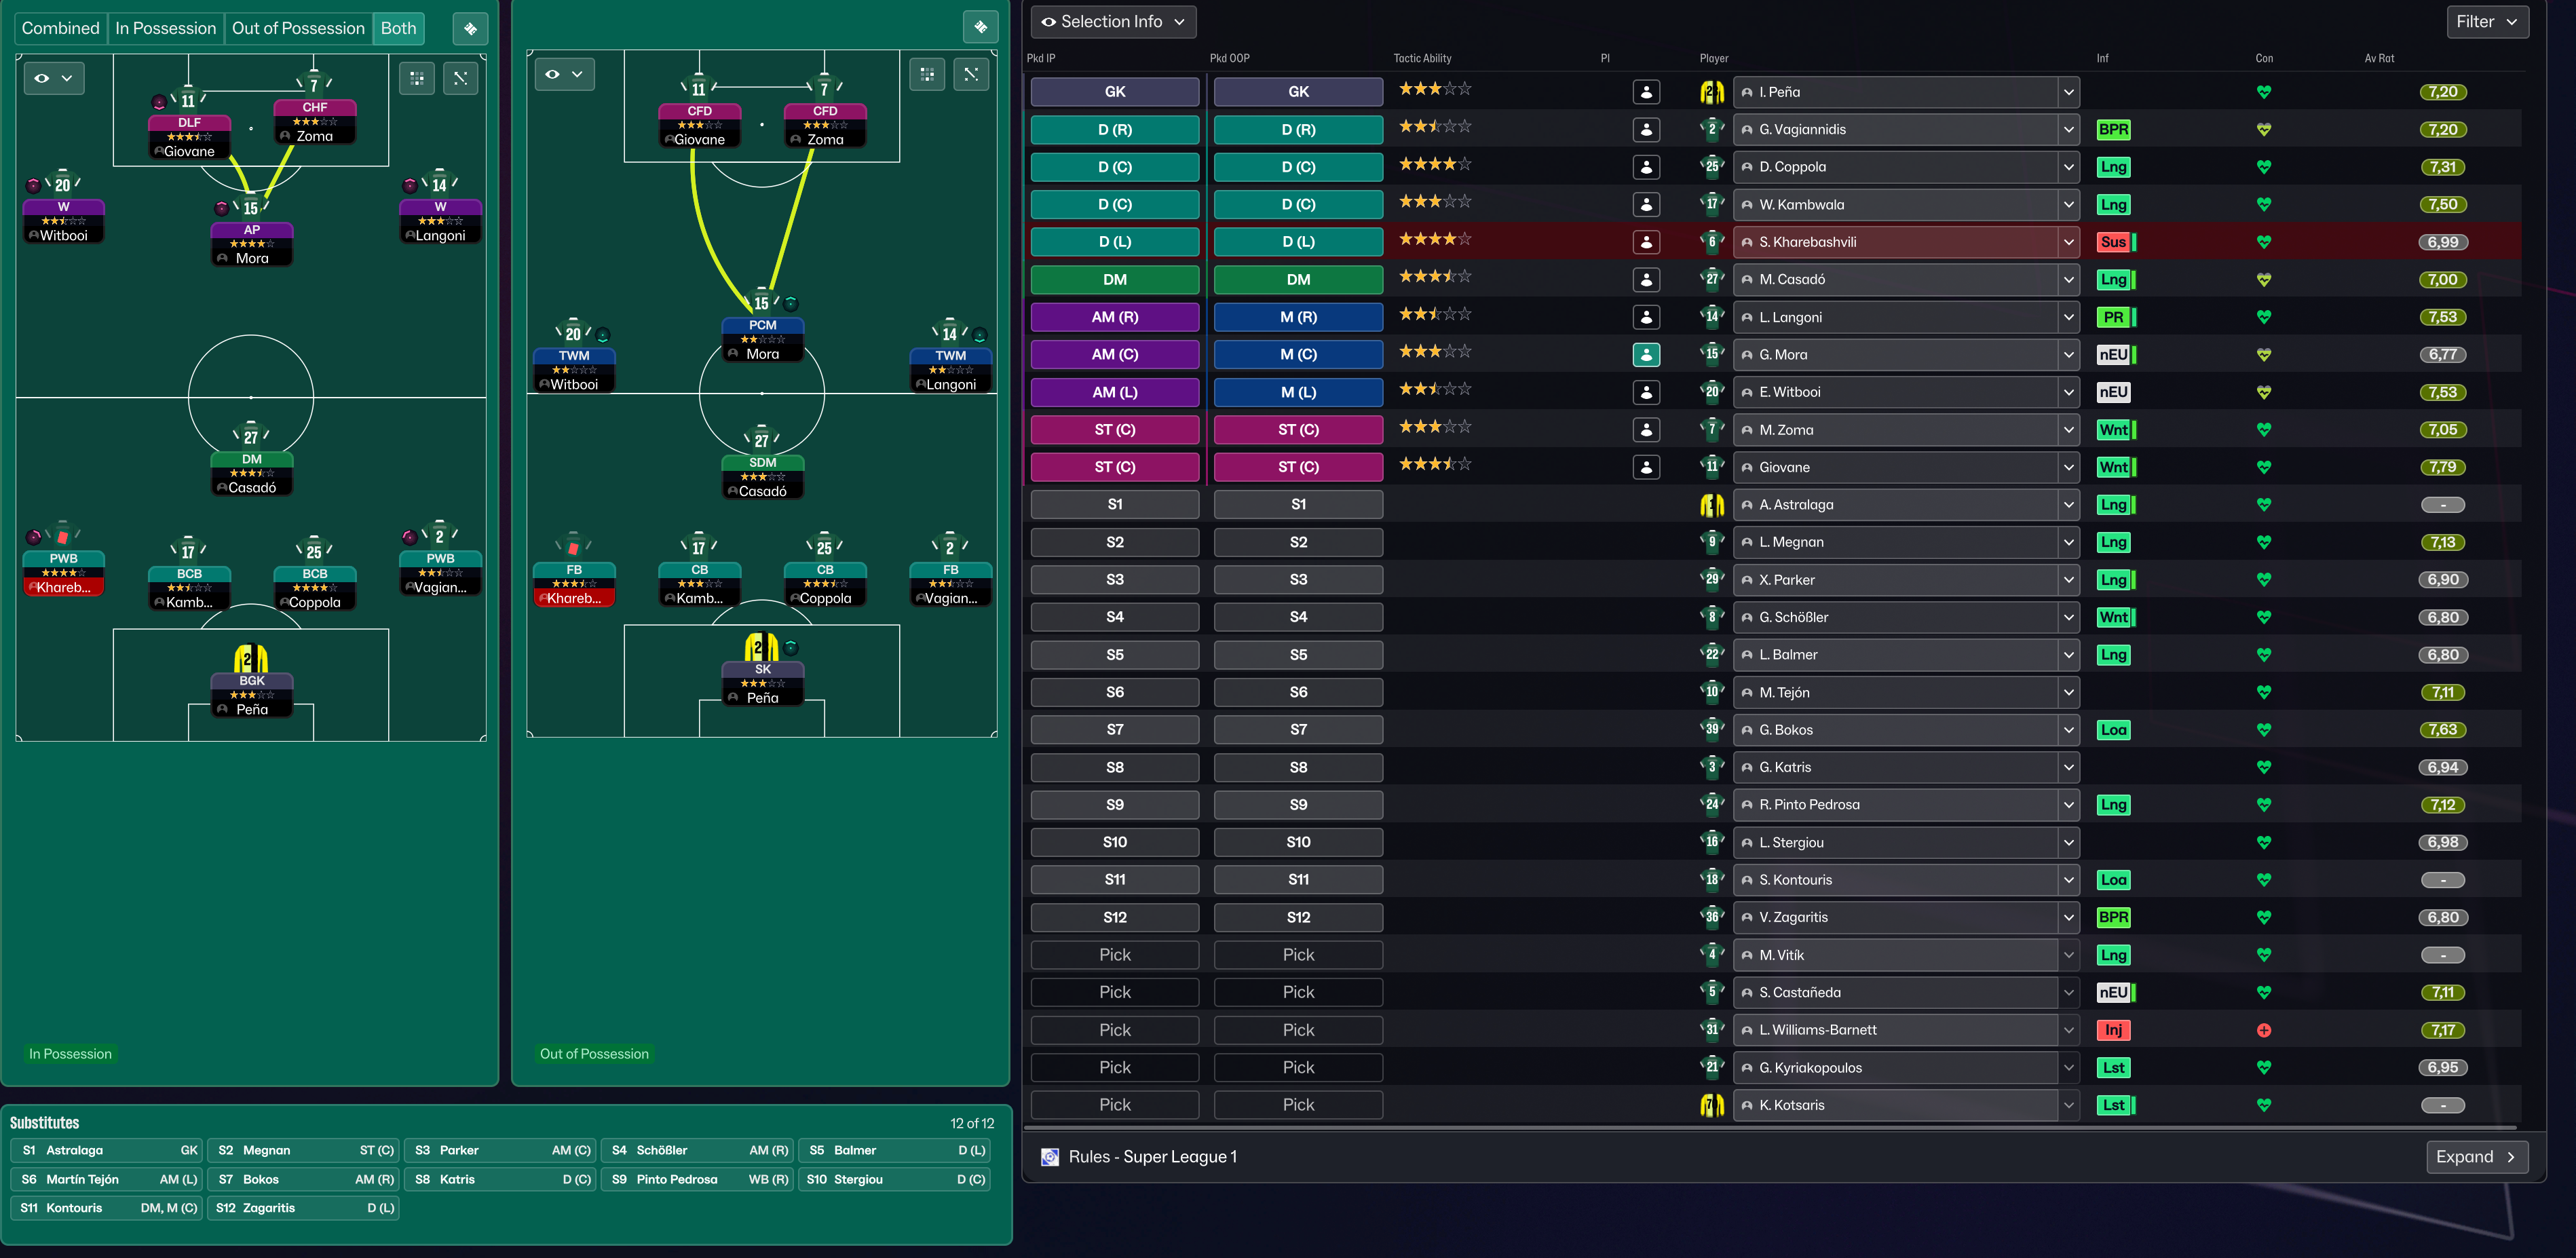
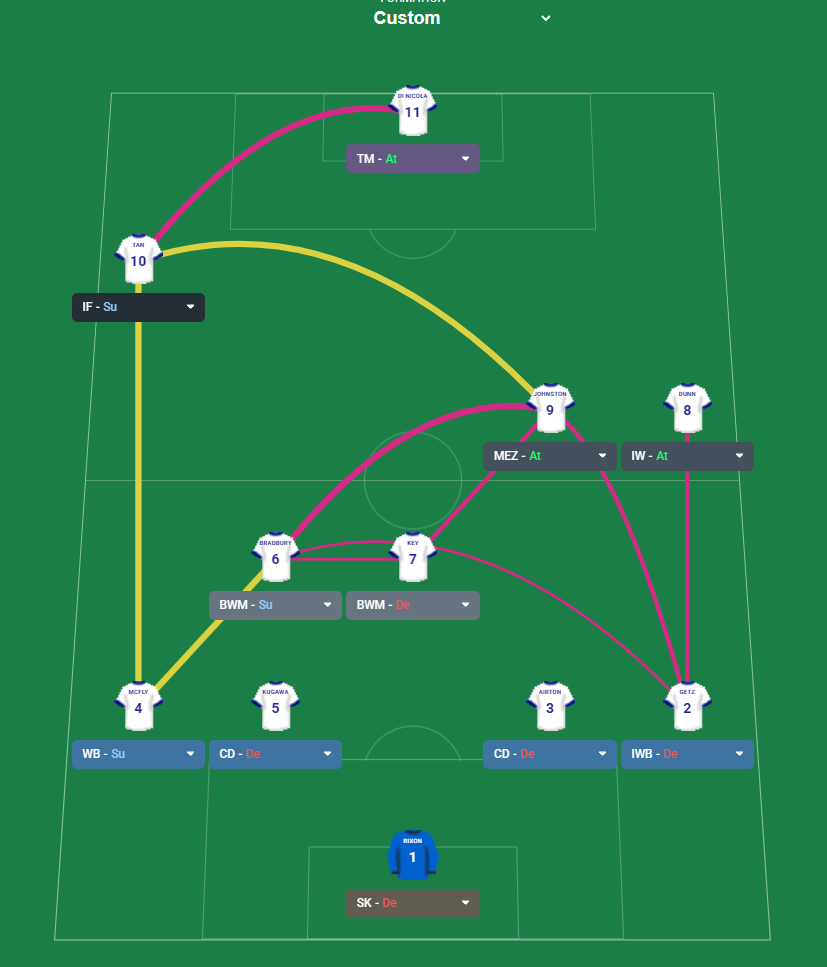
Ball retention and attacking down the left flank. The setup provides multiple attacking options, leveraging the combination of the wide target man and the…
Loading tactical analysis...
Formation and style
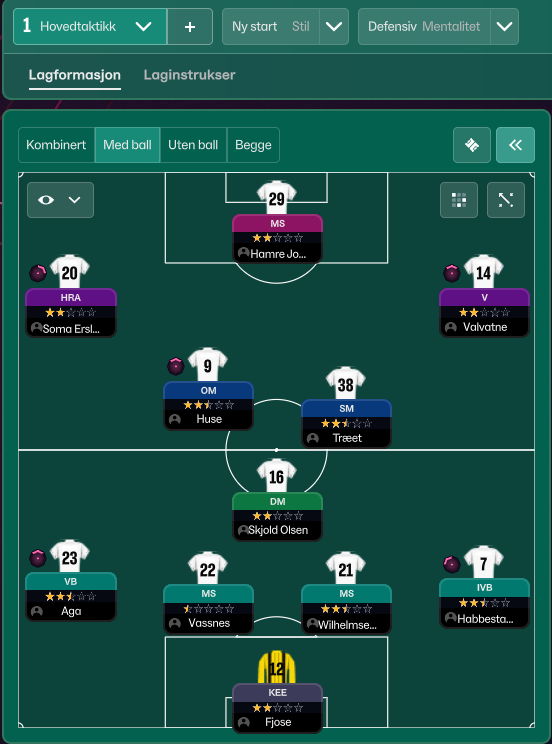
4-2-3-1
In possession
Play Out of Defence
Focus Play Down Left
Shorter Passing
In transition
Counter-Press
Counter
Out of possession
Higher Defensive Line
Higher Line of Engagement
Prevent Short GK Distribution
Player roles
GK
Sweeper Keeper
Support
CB
Ball-Playing Defender
Defend
CB
Ball-Playing Defender
Defend
FB
Wing-Back
Attack
FB
Wing-Back
Support
DM
Defensive Midfielder
Defend
CM
Advanced Playmaker
Support
TWM
Wide Target Man
Attack
AM
Complete Forward
Attack
ST
Deep-Lying Forward
Support
Phase description
Emphasis on short, patient build-up play utilizing the wing-backs and wide target man to stretch the opposition.
Quick recovery of possession with a focus on countering if possession is lost.
Ball retention and attacking down the left flank.
Team shape defence
4-2
Compact shape with emphasis on closing down the space.
DM at [3,3] and two CBs at [2,2] and [2,4].
Team shape attack
4-3
Flexible attack with wings and a central target through the advanced playmaker.
TWM at [6,1] and AM at [6,3], creating width.
Key strengths
Dynamic Attack
The setup provides multiple attacking options, leveraging the combination of the wide target man and the complete forward.
TWM at [6,1] and AM at [6,3] support a fluid attacking style.
Solid Midfield Control
The advanced playmaker combined with the defensive midfielder allows for effective ball distribution and recovery.
AP at [4,3] and DM at [3,3] ensure stability.
Conflicting tactics
Overreliance on Left Flank
The tactic focuses on left flank play, potentially making it predictable.
Focus Play Down Left instruction limits the options available.
Risk of Overextension
Aggressive wing-back roles may leave the defense exposed if possession is lost.
WB at [2,2] and [2,4] may push up too high.
Risk exposures
Risk Exposures
Items
Defensive Line
Higher line exposes the defense to fast attackers.
Higher Defensive Line heightens vulnerability.
Wing-Back Positioning
FB roles can leave gaps if they push too high.
Attack duty at [2,2] risks getting out of position.
Role synergies
Role Synergies
Items
Advanced Playmaker and Wide Target Man
The AP can supply the TWM with creative passes and crosses.
AP at [4,3] supports TWM at [6,1].
Wing-Backs and Wide Forward
Wing-backs can create overlaps with the wide forward to stretch defenses.
WB at [2,2] supports W at [6,2].
Suggested questions
How can we mitigate vulnerabilities when transitioning to defense?
Should any player roles be adjusted to increase defensive stability?
What tactics could better utilize the right flank?
Related Tactics
Guides for this tactic
The tactical theory behind the 4-2-3-1: roles, instructions, and the trade-offs that decide whether the system holds up.
Player pairings
Midfield Pairs in 4-2-3-1 and 4-4-2
Double pivots and flat pairs in 4-2-3-1 and 4-4-2: when each pairing works, when it collapses, and the AMC unicorn that rescues both.
Read guide
Playing styles
Gegenpressing: A Full Guide
Klopp-style gegenpressing in FM, including squad profile, line-and-press pairing, sustainable workload, and the antipatterns to avoid.
Read guide
Foundations
Wing Play vs Central Play
Build through the wide areas or through the middle? A working framework for picking the right one for your squad.
Read guide