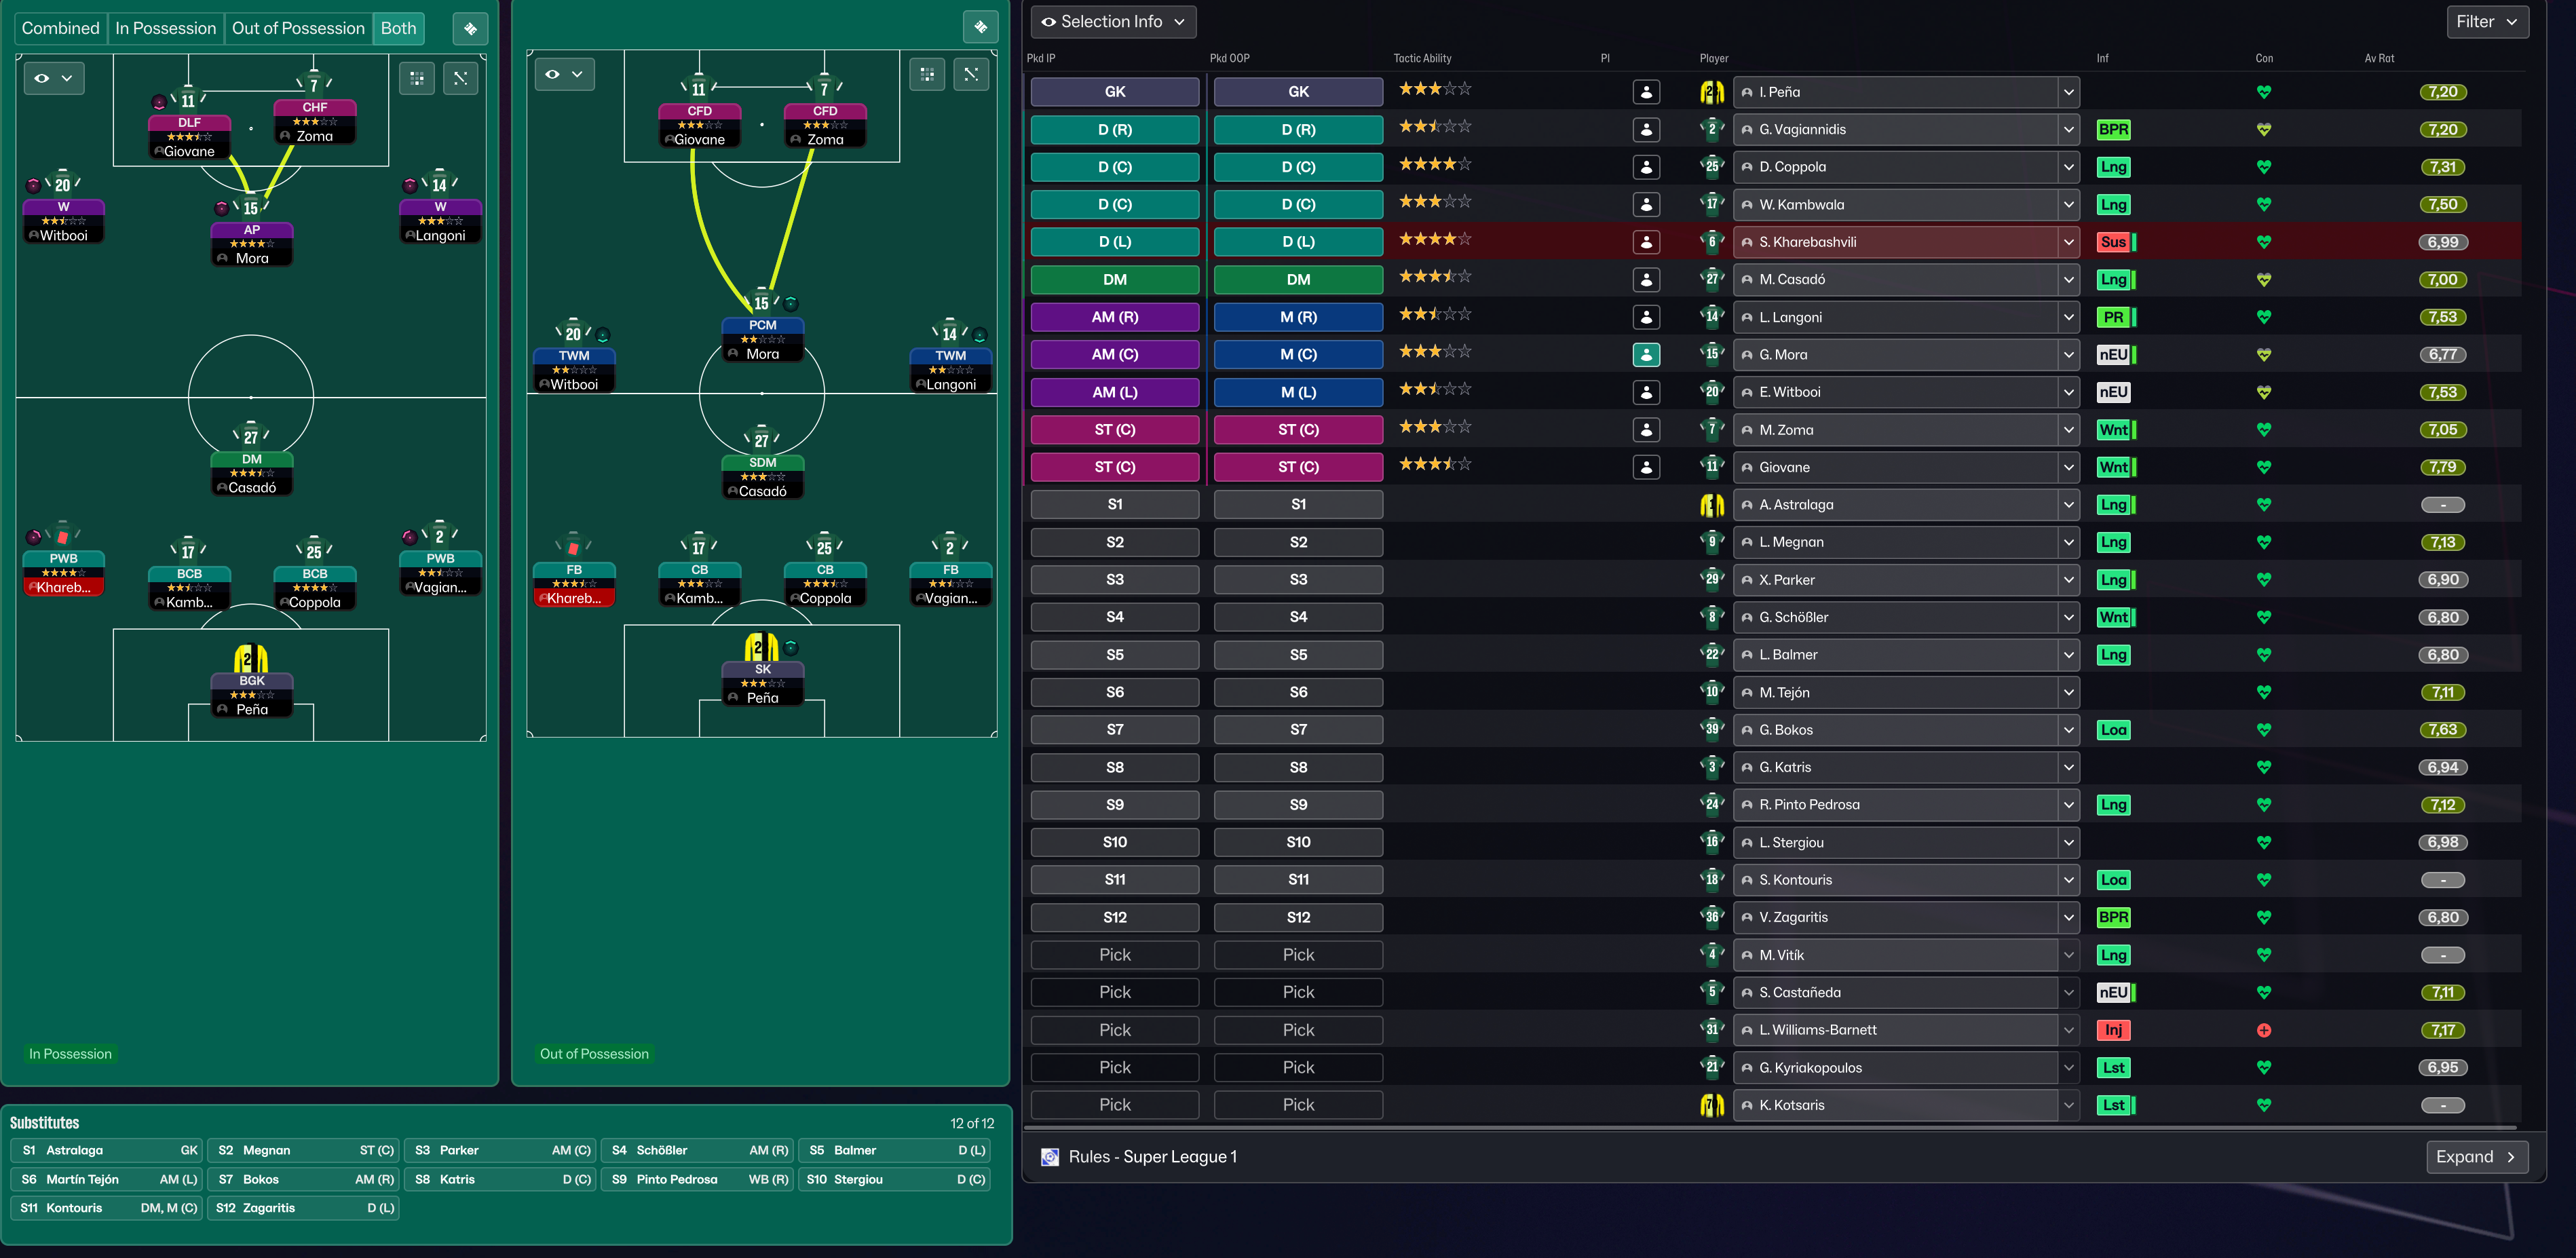
4-2-3-1 (Offensive) Tactic
4-2-3-1
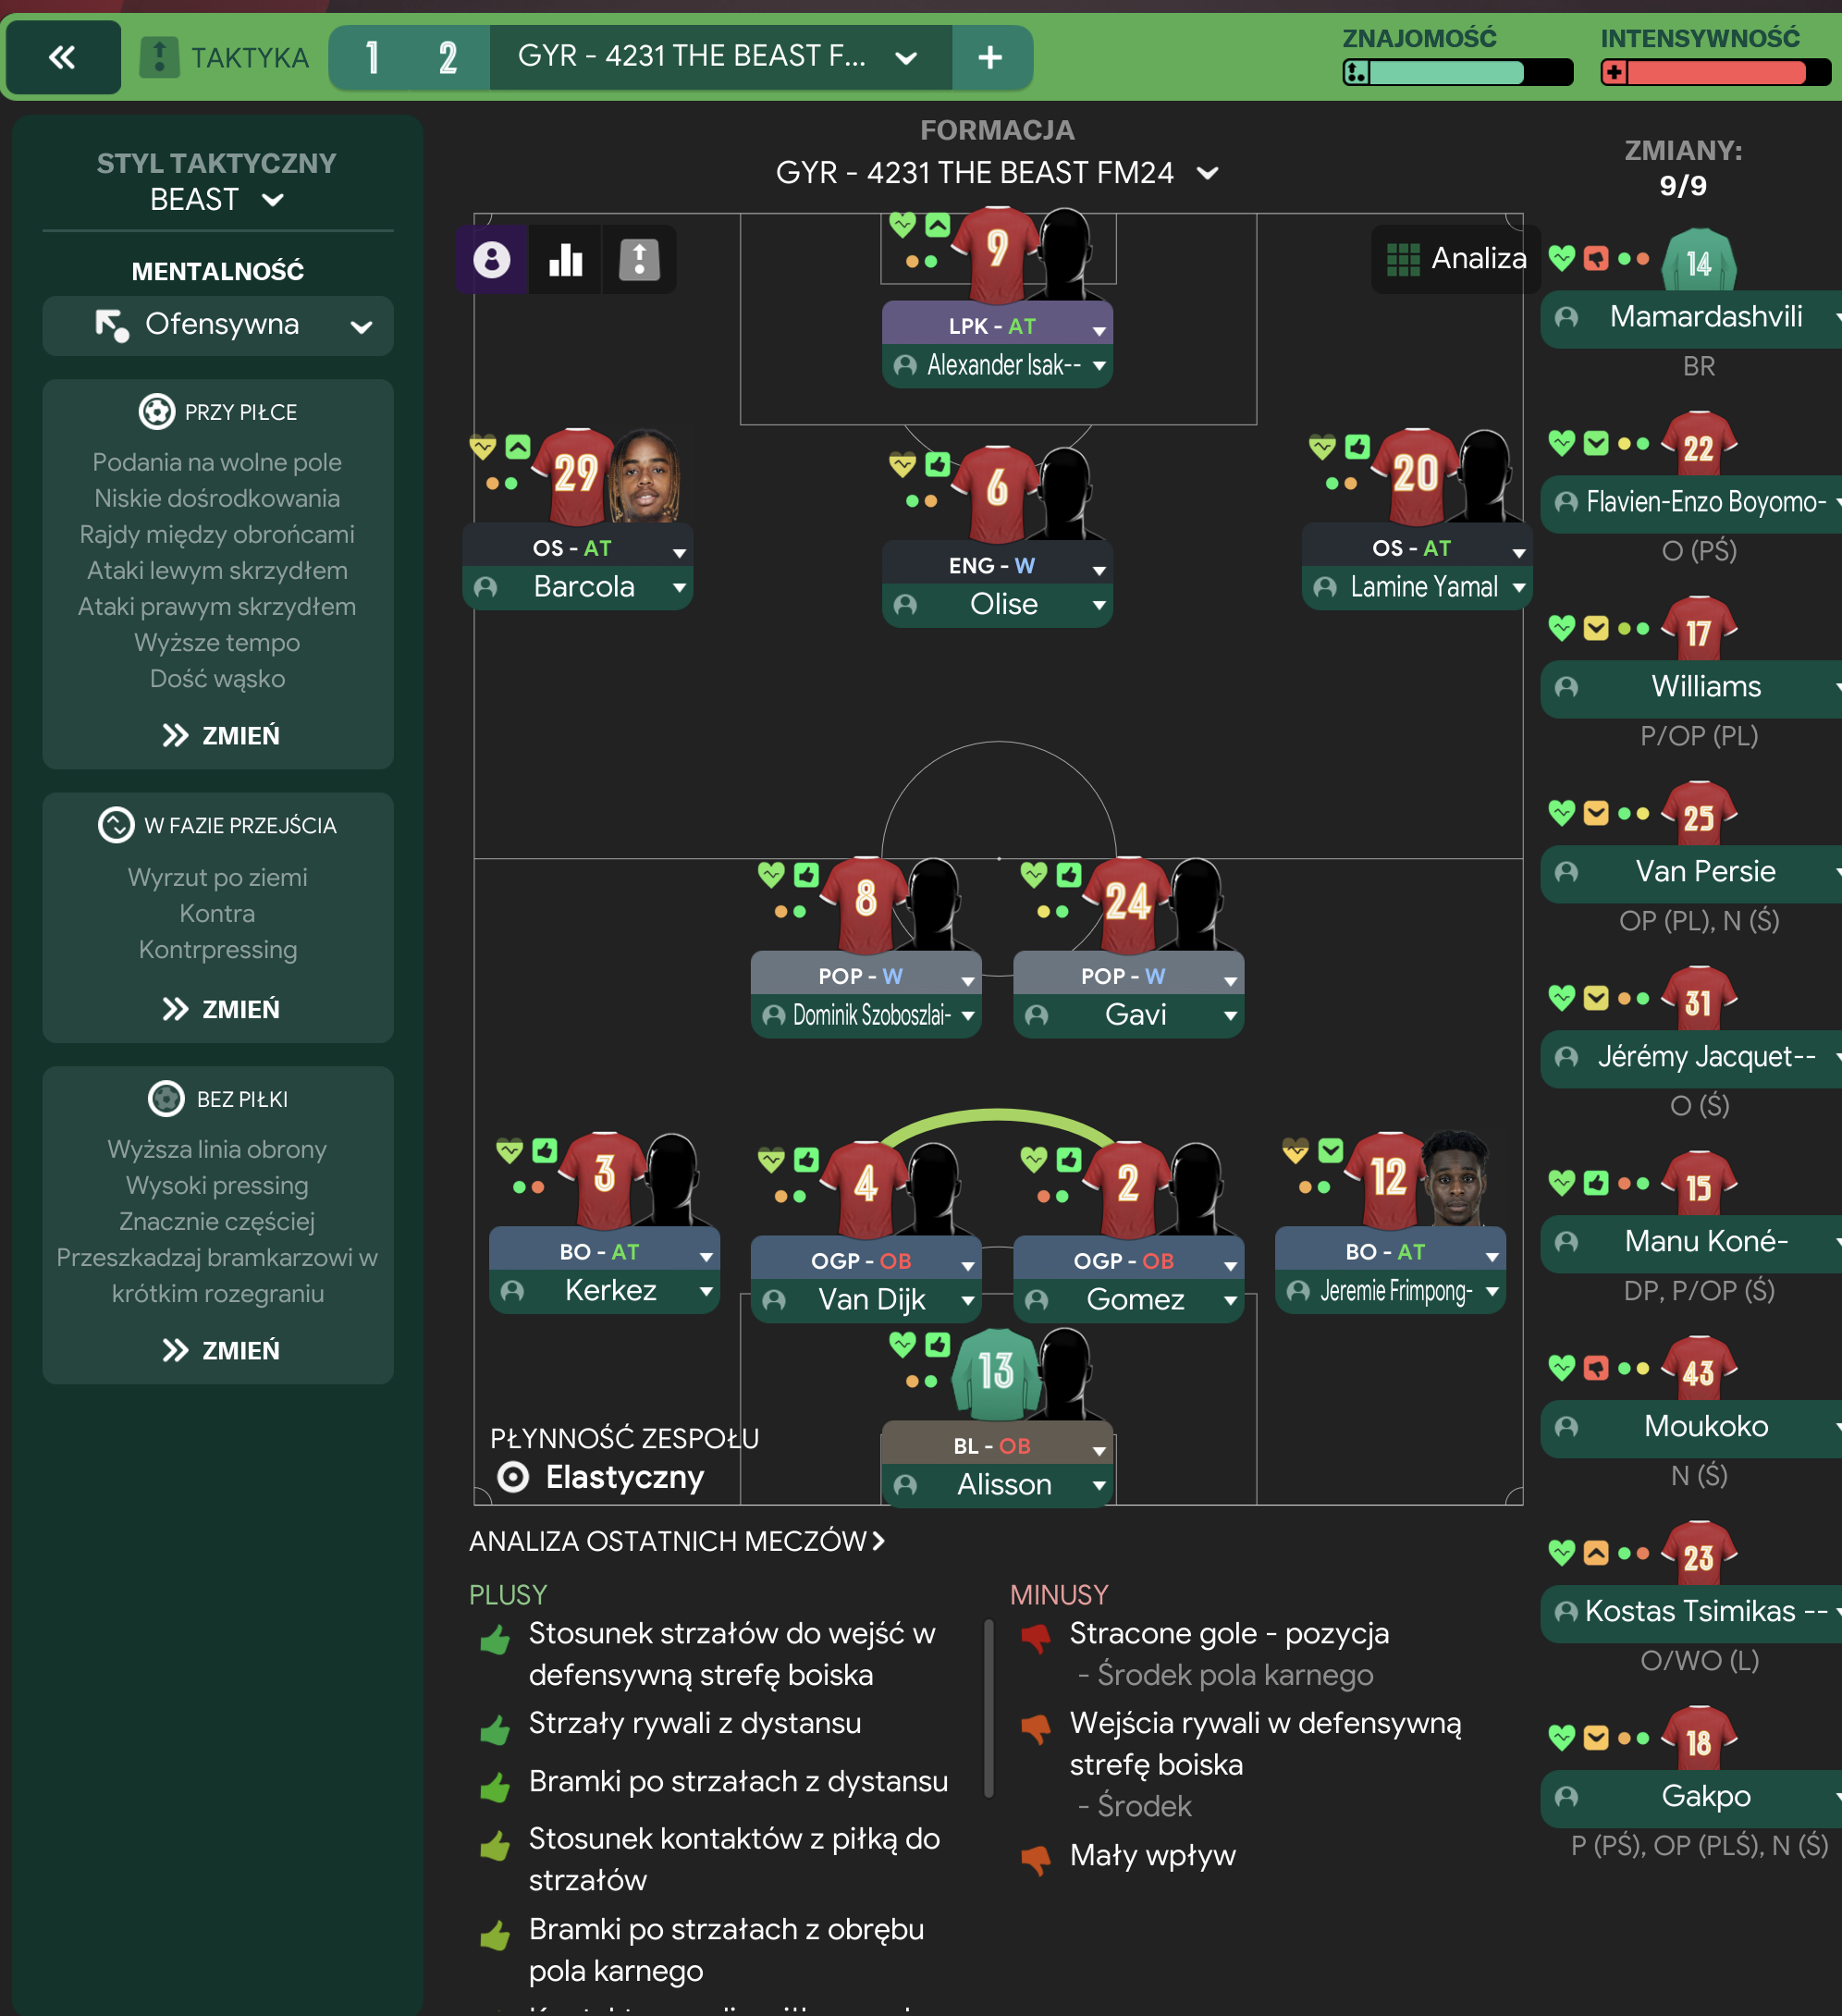
High tempo and quick ball movement to create goal-scoring opportunities. Wingers and an advanced forward create varied attacking options.
Loading tactical analysis...
Formation and style
BEAST
Offensive
4-2-3-1
Elastic
In possession
Work Ball Into Box
Attack Left
Attack Right
In transition
Counter
Counter-Press
Out of possession
Higher Defensive Line
Higher Line of Engagement
Much Higher Defensive Line
Press Much More Often
Player roles
GK
Goalkeeper
defend
RB
Full-Back
attack
CB
Ball-Playing Defender
defend
CB
Ball-Playing Defender
defend
LB
Full-Back
attack
DM
Deep-Lying Playmaker
support
CM
Box-to-Box Midfielder
support
RAM
Winger
attack
LAM
Winger
attack
ST
Advanced Forward
attack
Phase description
Utilizing width through wingers while maintaining a central presence.
Quick transitions to press opponents immediately upon losing possession.
High tempo and quick ball movement to create goal-scoring opportunities.
Team shape defence
4-2-3-1
Compact formation with emphasis on organized pressing.
High pressing through a compact shape, evidenced by the higher defensive line.
Team shape attack
4-2-3-1
Fluid and dynamic attack utilizing wingers and creativity from the midfield.
Full-backs providing width, with wingers attacking the flanks and an advanced forward central.
Key strengths
Dynamic Attack
Wingers and an advanced forward create varied attacking options.
Winger (Gavi, Szoboszlai) at [6,2] and [6,4] combined with ST (Isak) at [6,3].
High Pressing
Increased chances of regaining possession quickly.
Press Much More Often instruction with a Higher Line of Engagement.
Conflicting tactics
Vulnerability on Counter
High defensive line can be exposed to quick counter-attacks.
Higher Defensive Line combined with high pressing can stretch the defense.
Lack of Central Control
Midfield setup may lead to porousness against teams with strong central play.
Two-man pivot (DM and Box-to-Box) might not secure enough central dominance.
Risk exposures
Risk Exposures
Items
Defensive Transition
Vulnerabilities due to high pressing and defensive high line.
Counter risks noted with 'Higher Defensive Line' and 'Press Much More Often'.
Midfield Control
Possibly weak central midfield against stronger opponents.
2-man midfield may struggle against teams with a strong central presence.
Role synergies
Role Synergies
Items
Wingers and Full-Backs
Increased attacking width and fluidity in the final third.
Winger (Gavi) at [6,2] with Full-Back (Kerkez) at [2,1] automatically overlaps.
Box-to-Box and Deep-Lying Playmaker
Constructive midfield linking to attack while maintaining defensive balance.
BWM (Szoboszlai at [4,3]) supports transitions from DM (with support duty).
Suggested questions
How can adjustments to striker roles influence goal-scoring efficiency?
What formation variations might benefit my current player roster?
How can I further optimize the midfield roles for better control?
Related Tactics
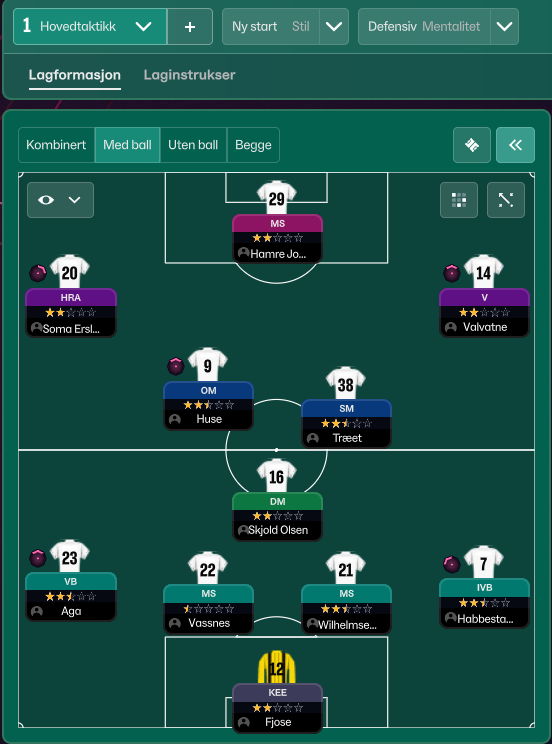
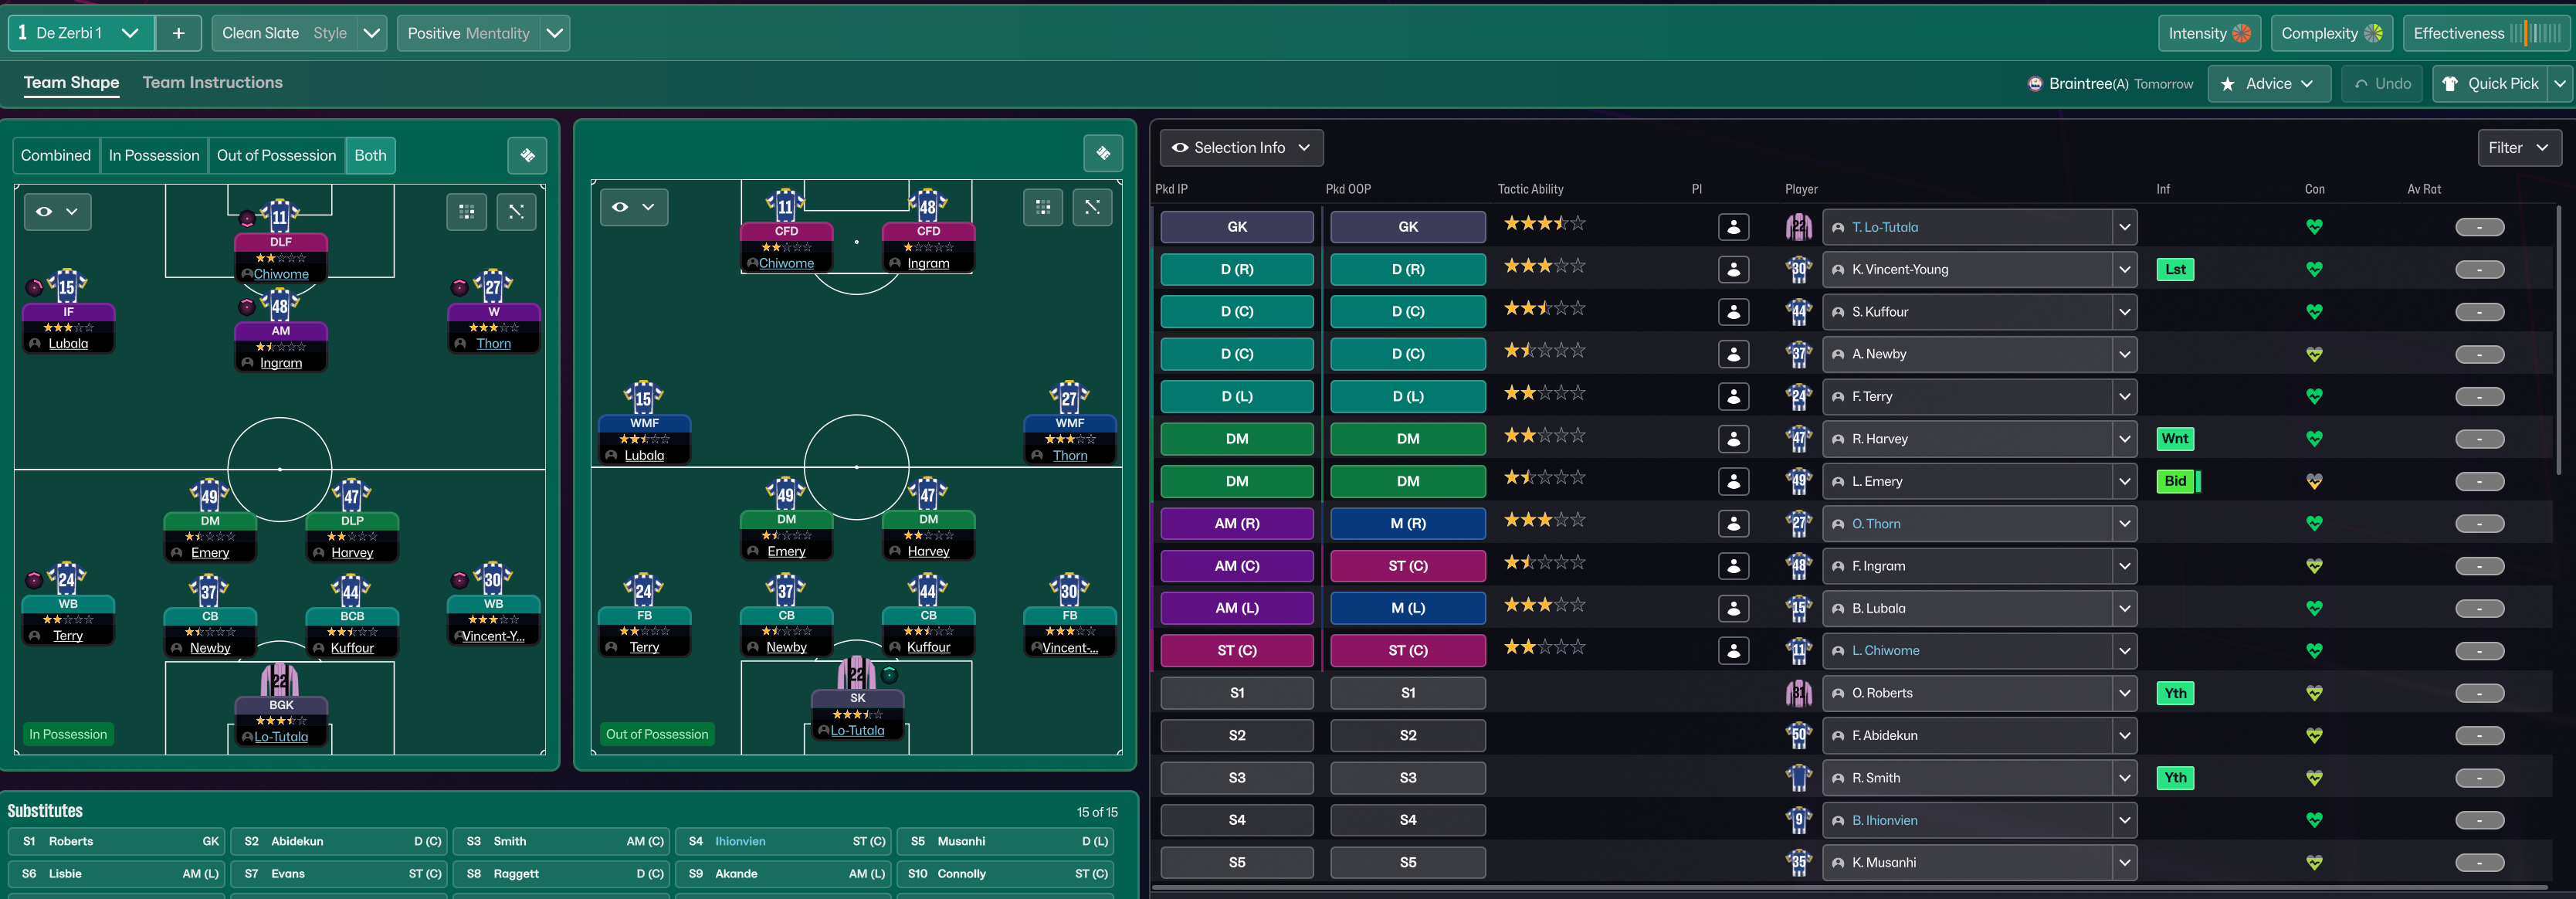
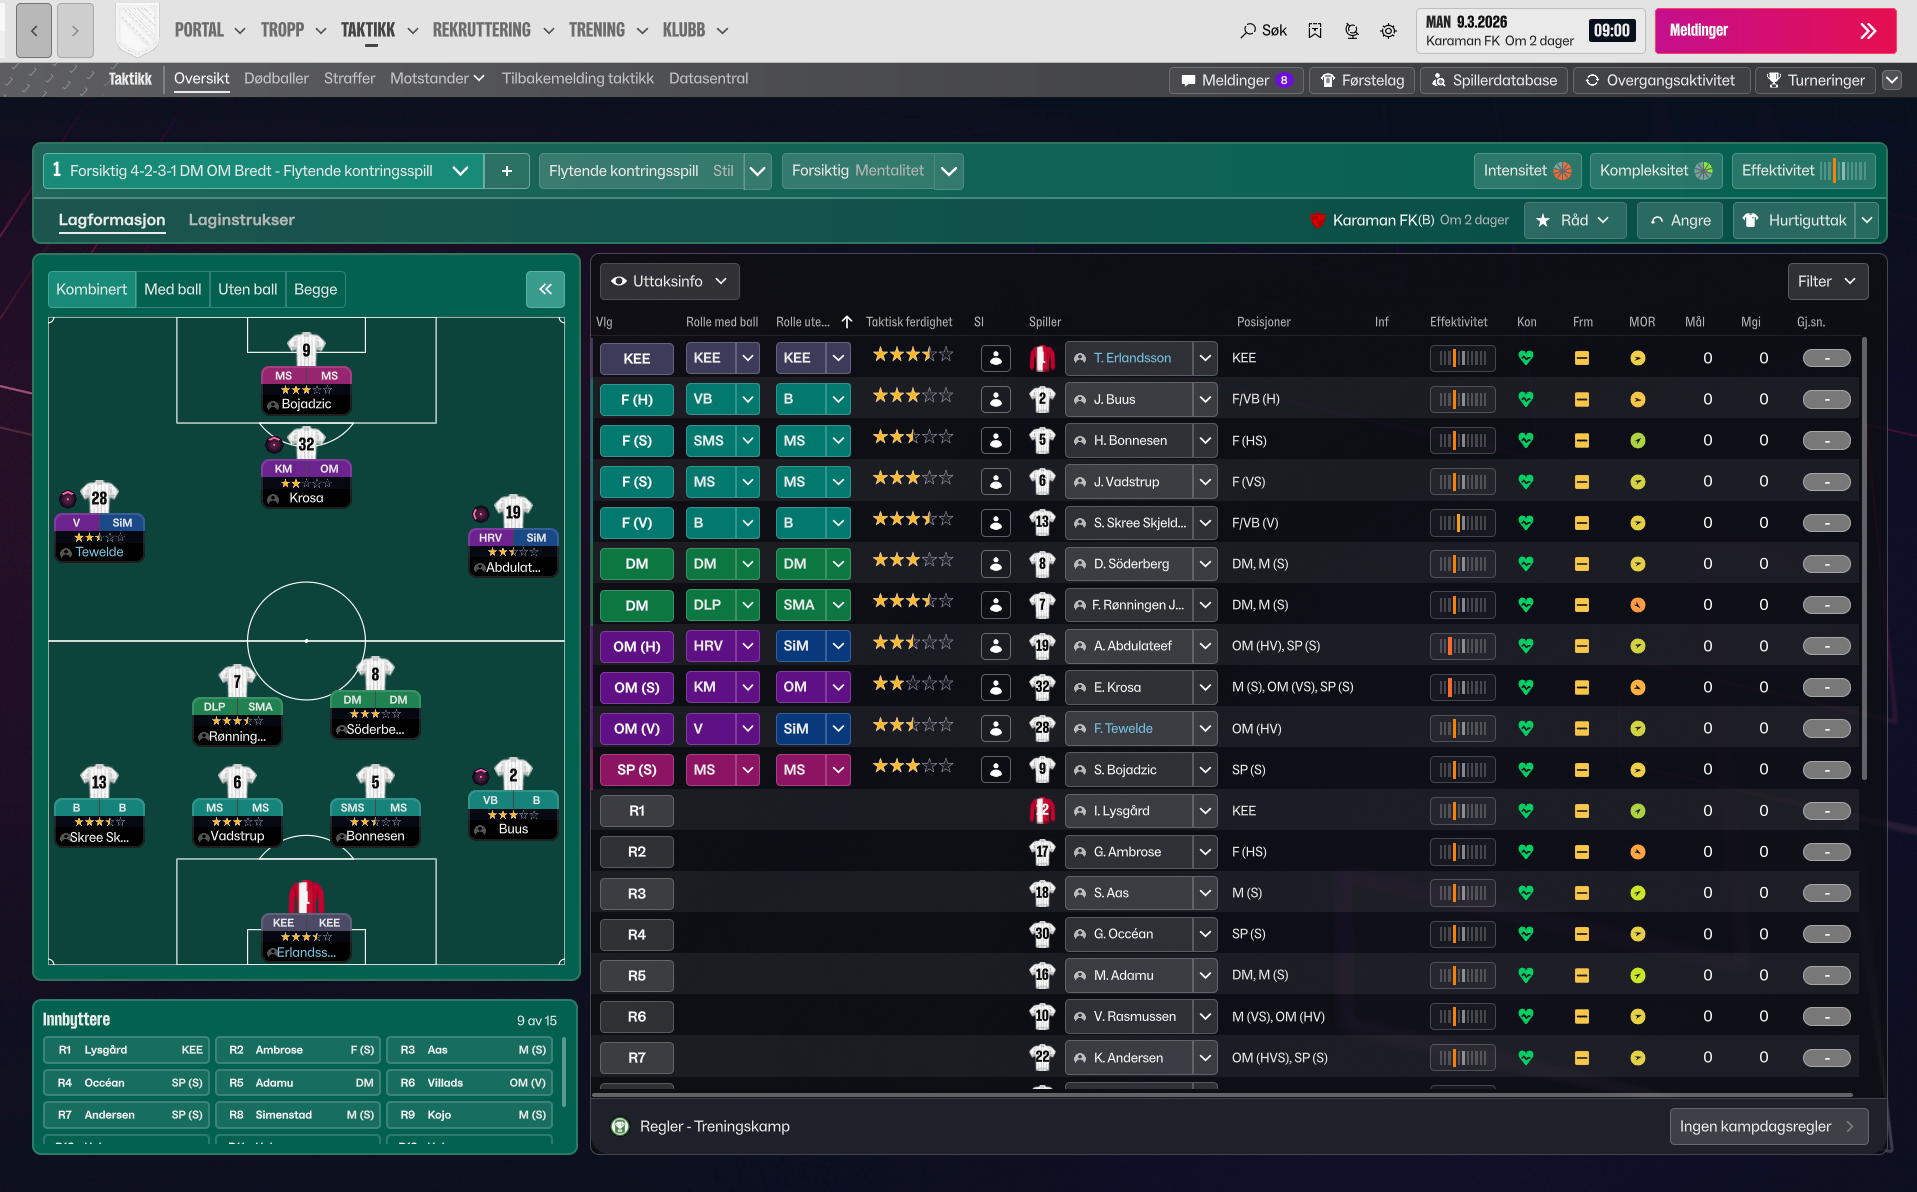
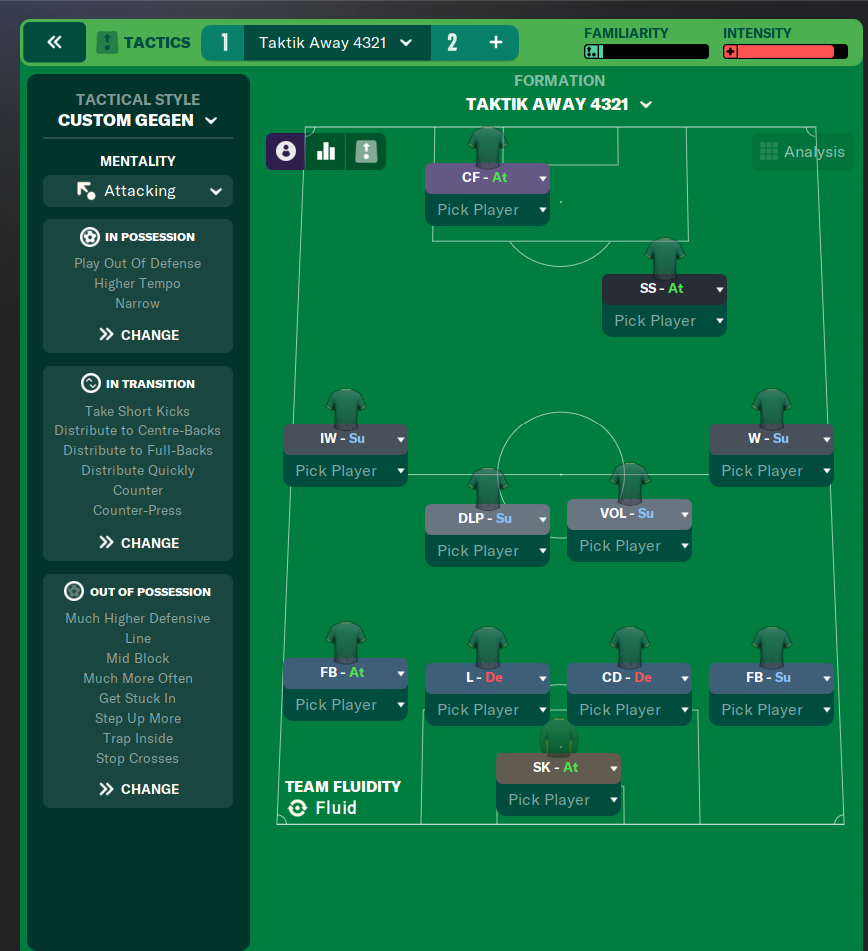
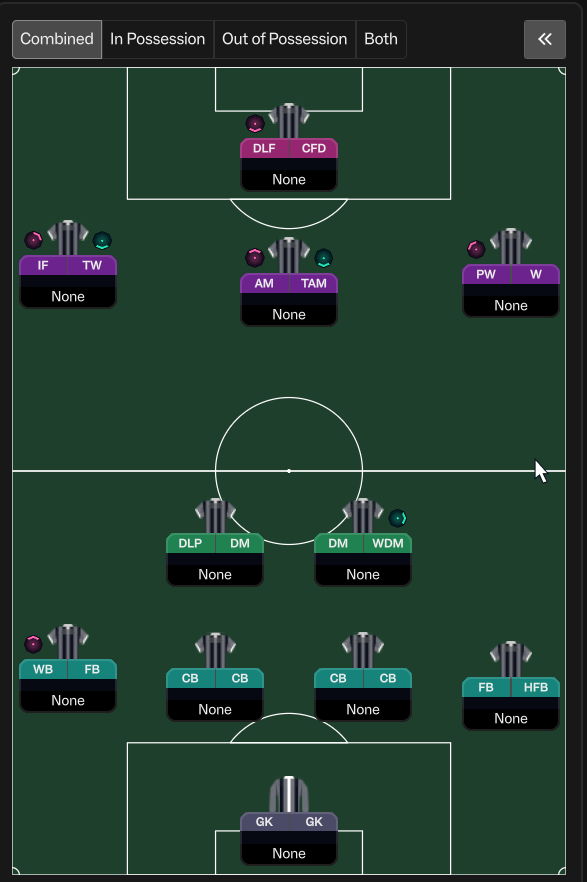
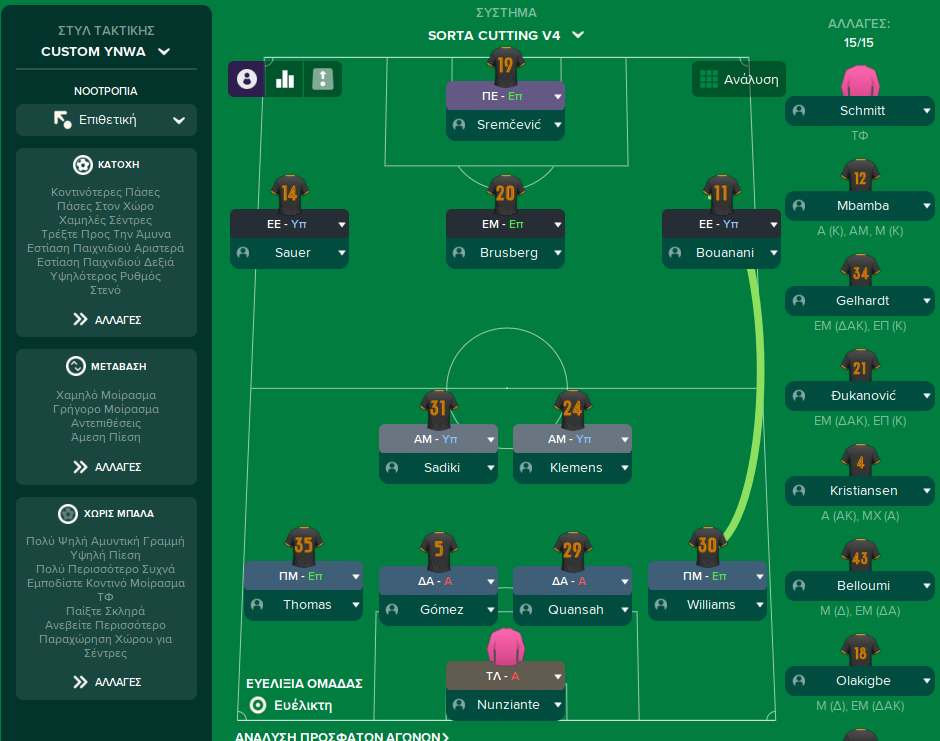
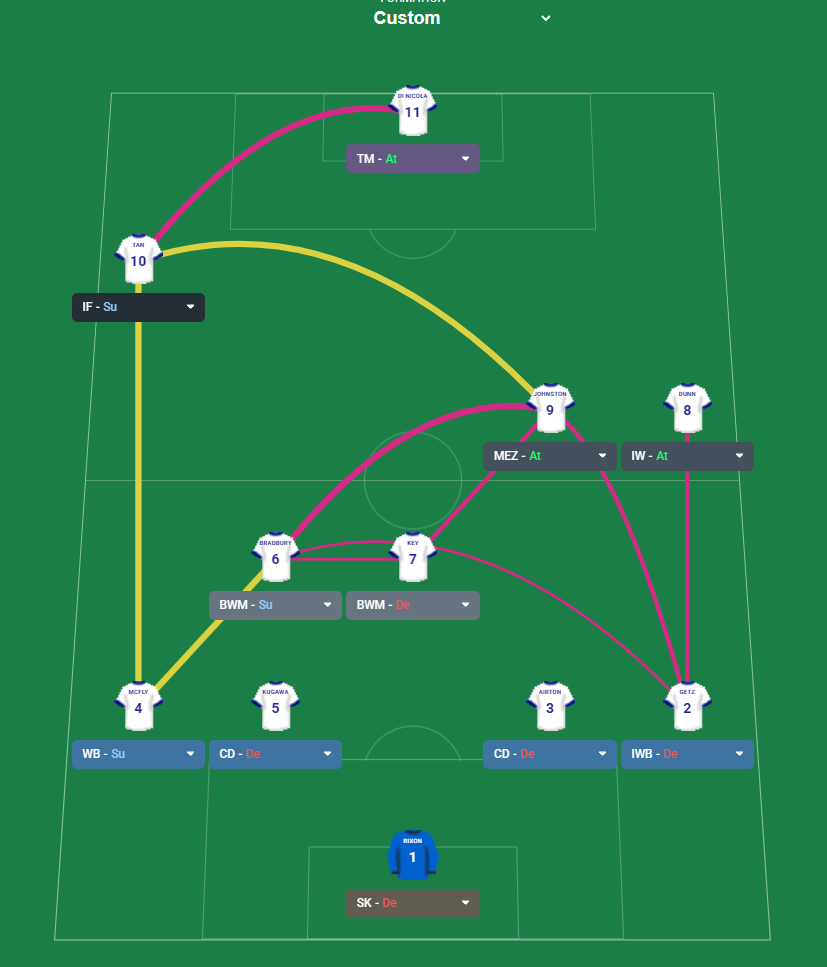
More BEAST tactics

Guides for this tactic
The tactical theory behind the 4-2-3-1: roles, instructions, and the trade-offs that decide whether the system holds up.
Player pairings
Midfield Pairs in 4-2-3-1 and 4-4-2
Double pivots and flat pairs in 4-2-3-1 and 4-4-2: when each pairing works, when it collapses, and the AMC unicorn that rescues both.
Read guide
Playing styles
Gegenpressing: A Full Guide
Klopp-style gegenpressing in FM, including squad profile, line-and-press pairing, sustainable workload, and the antipatterns to avoid.
Read guide
Foundations
Width, Compactness, and Tempo
What Higher Tempo, Wider, and Narrower actually do in FM, plus the dial contradictions and antipatterns players run into most often.
Read guide