Control 3-2-5-0 (Positive) Tactic
3-2-5-0
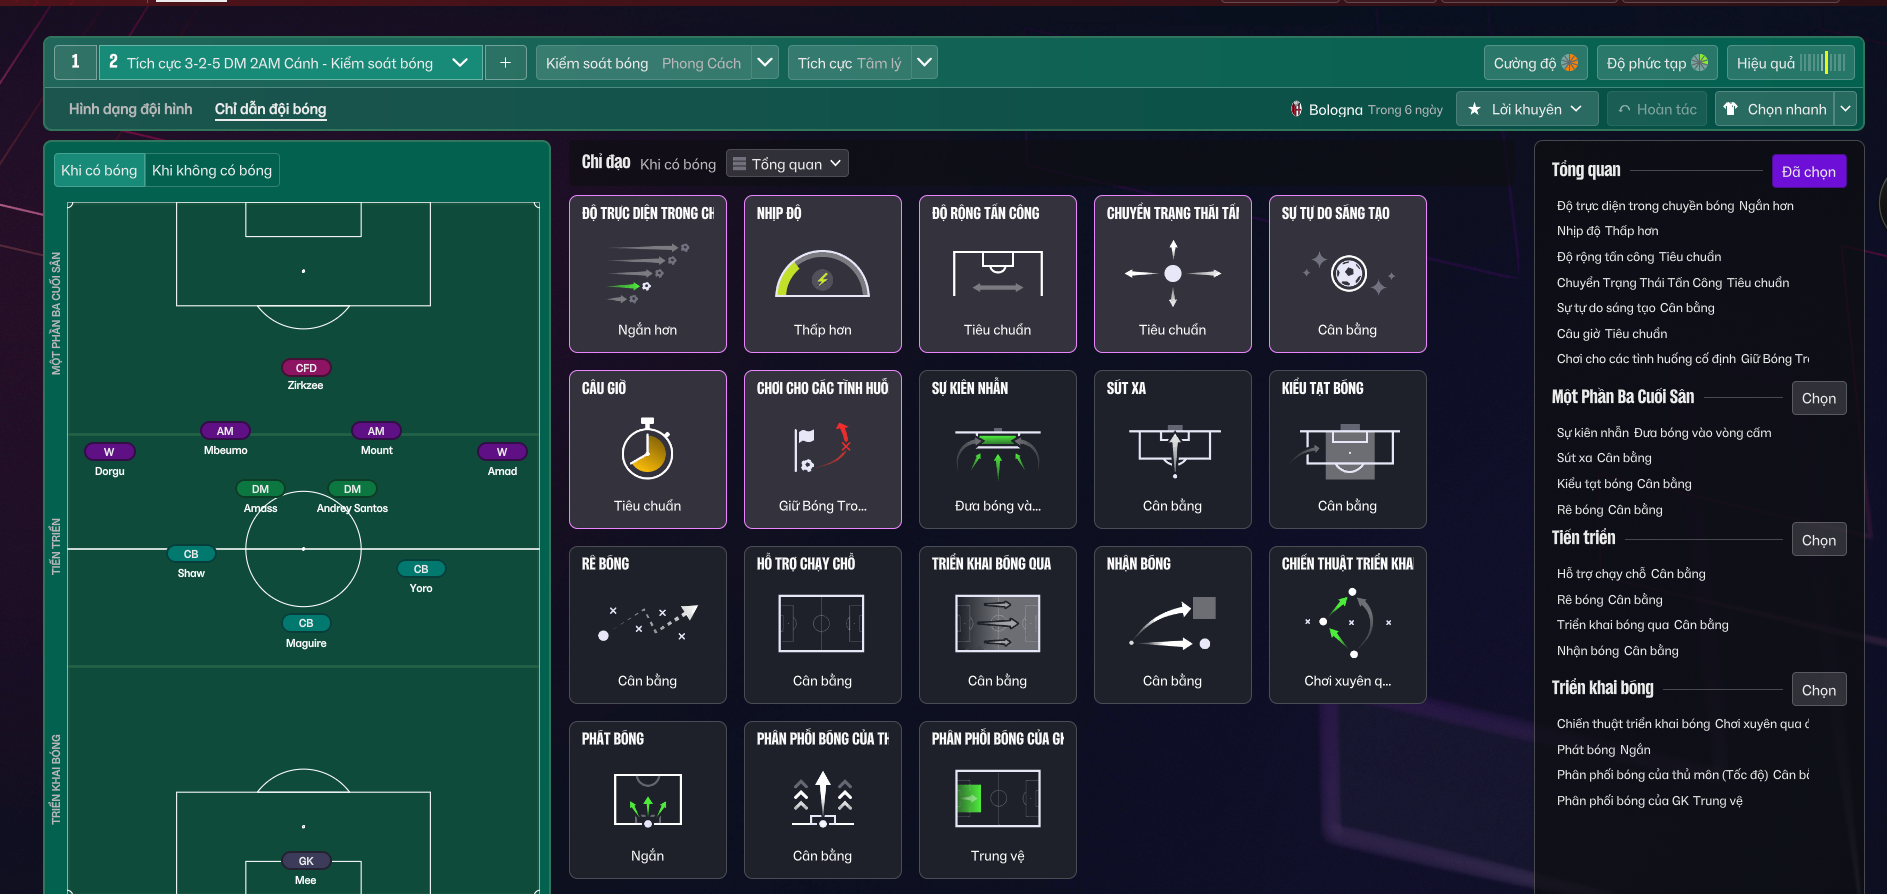
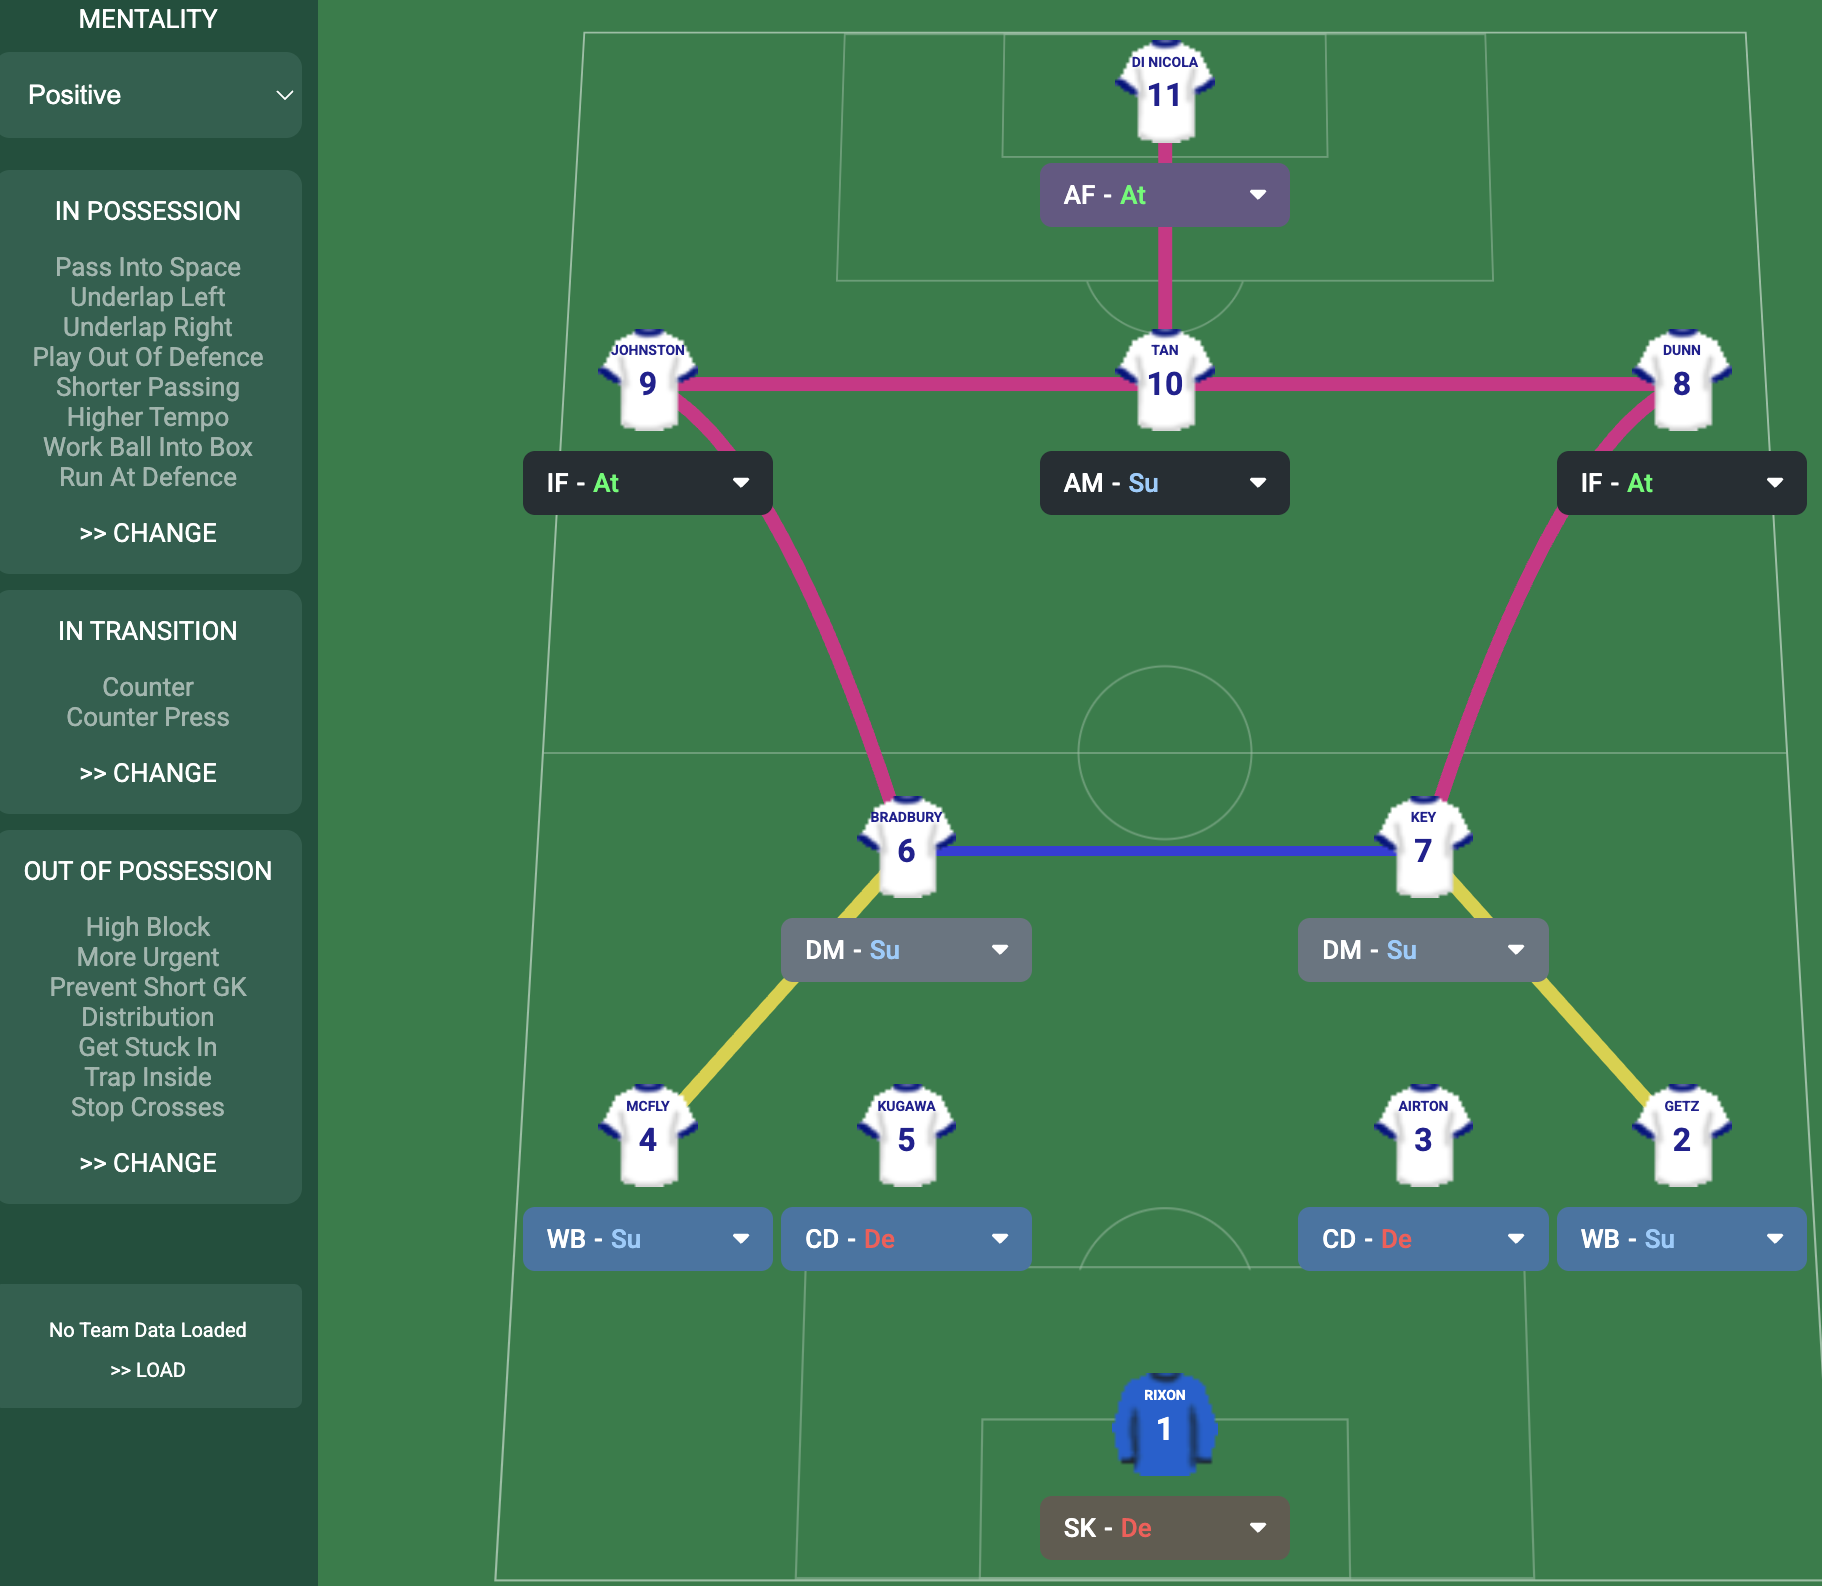
Dominating the midfield and creating goal-scoring opportunities. The presence of three solid CBs ensures defensive resilience.
Loading tactical analysis...
Formation and style
Control
Positive
3-2-5-0
Fluid
In possession
Shorter Passing
Higher Tempo
Standard Width
Play Out of Defence
Work Ball Into Box
Mixed Crosses
In transition
Counter-Press
Counter
Out of possession
Higher Defensive Line
Higher Line of Engagement
Prevent Short GK Distribution
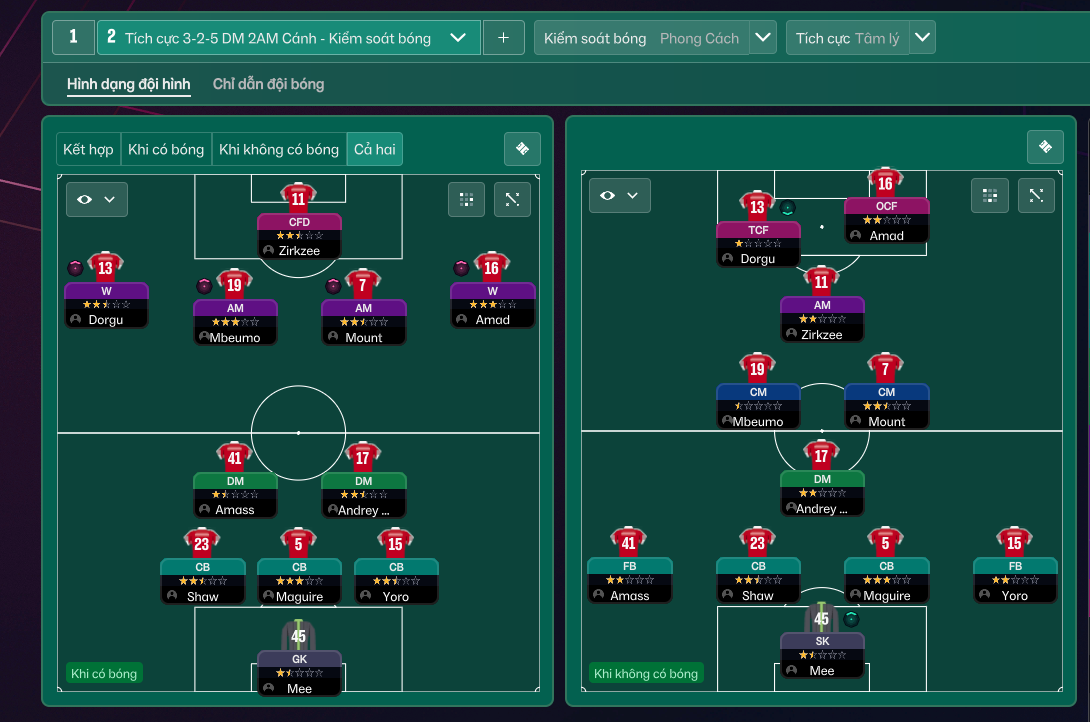
Player roles
GK
Goalkeeper
Defend
CB
Ball-Playing Defender
Defend
CB
No-Nonsense Centre-Back
Defend
CB
Ball-Playing Defender
Defend
DM
Deep-Lying Playmaker
Support
DM
Ball-Winning Midfielder
Defend
AM
Advanced Playmaker
Support
AM
Attacking Midfielder
Attack
W
Winger
Attack
W
Winger
Attack
CFD
Complete Forward
Attack
Phase description
Utilizing fluid passing and wide play to break through defenses.
Immediate pressure on the ball to recover possession quickly.
Dominating the midfield and creating goal-scoring opportunities.
Team shape defence
Compact
A solid structure with three defenders and two midfielders providing cover.
Three CBs positioned at [2,1], [2,3], [2,5] with support from two DMs.
Team shape attack
Fluid 5-man attack
Wide players stretch the pitch while advanced midfielders provide links to the striker.
Wingers at [6,1] and [6,5] support the CF at [6,3].
Key strengths
Solid Defensive Framework
The presence of three solid CBs ensures defensive resilience.
CBs placed at [2,1], [2,3], [2,5] contribute to a sturdy back line.
Creative Midfield Duo
A mix of a deep-lying playmaker and a ball-winning midfielder allows for both control and transition.
DLP-S at [3,3] combined with BWM-D at [3,4].
Conflicting tactics
Over-Reliance on Wingers
Excessive dependency on wide players may lead to predictable play.
Wingers at [6,1] and [6,5] might become isolated if not properly supported.
Midfield Aerial Deficiencies
Lack of height in midfield may result in losing aerial duels.
Using two DMs without significant height can be exploited.
Risk exposures
Risk Exposures
Items
Winger Isolation
Wingers could find themselves outnumbered in wide areas.
Dependence on [6,1] and [6,5] with limited support.
Central Vulnerability
Central areas may be exposed if DMs are pulled wide.
DLP-S at [3,3] might be isolated against counter-attacks.
Role synergies
Role Synergies
Items
DLP-S + BWM-D
Strong partnership allows for creative play and ball recovery.
DLP-S at [3,3] dictating play while BWM-D at [3,4] breaks up opposition attacks.
Winger + AM
Wingers can assist the attacking midfielders with overlaps.
W at [6,1] and AM at [5,2].
Suggested questions
How can I adjust the width of my attack?
What additional roles can I consider for my full-backs?
Are there changes you would recommend for set-piece tactics?
Related Tactics
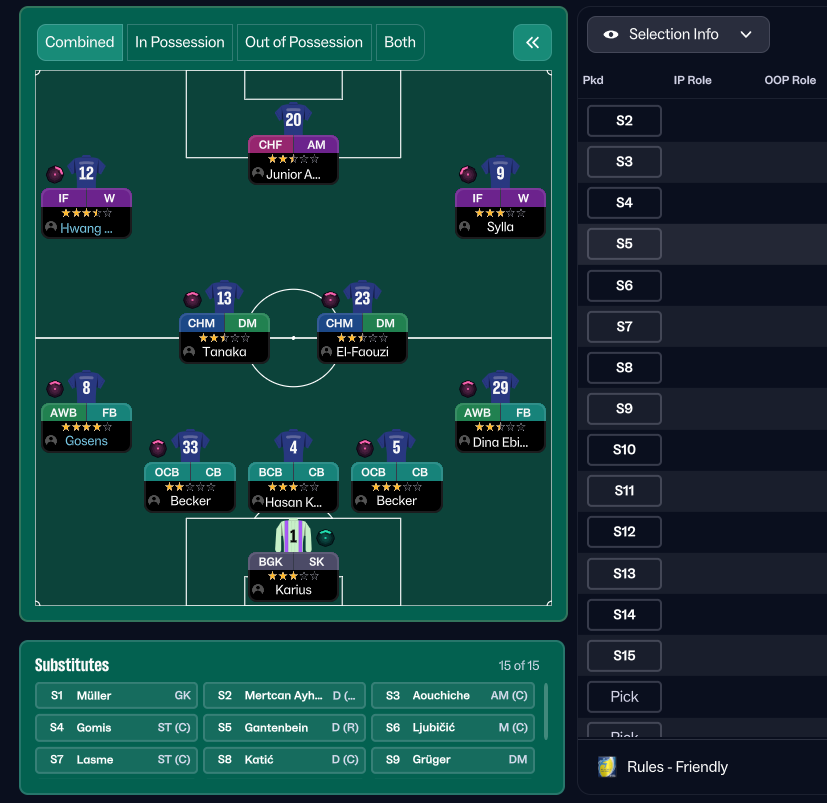
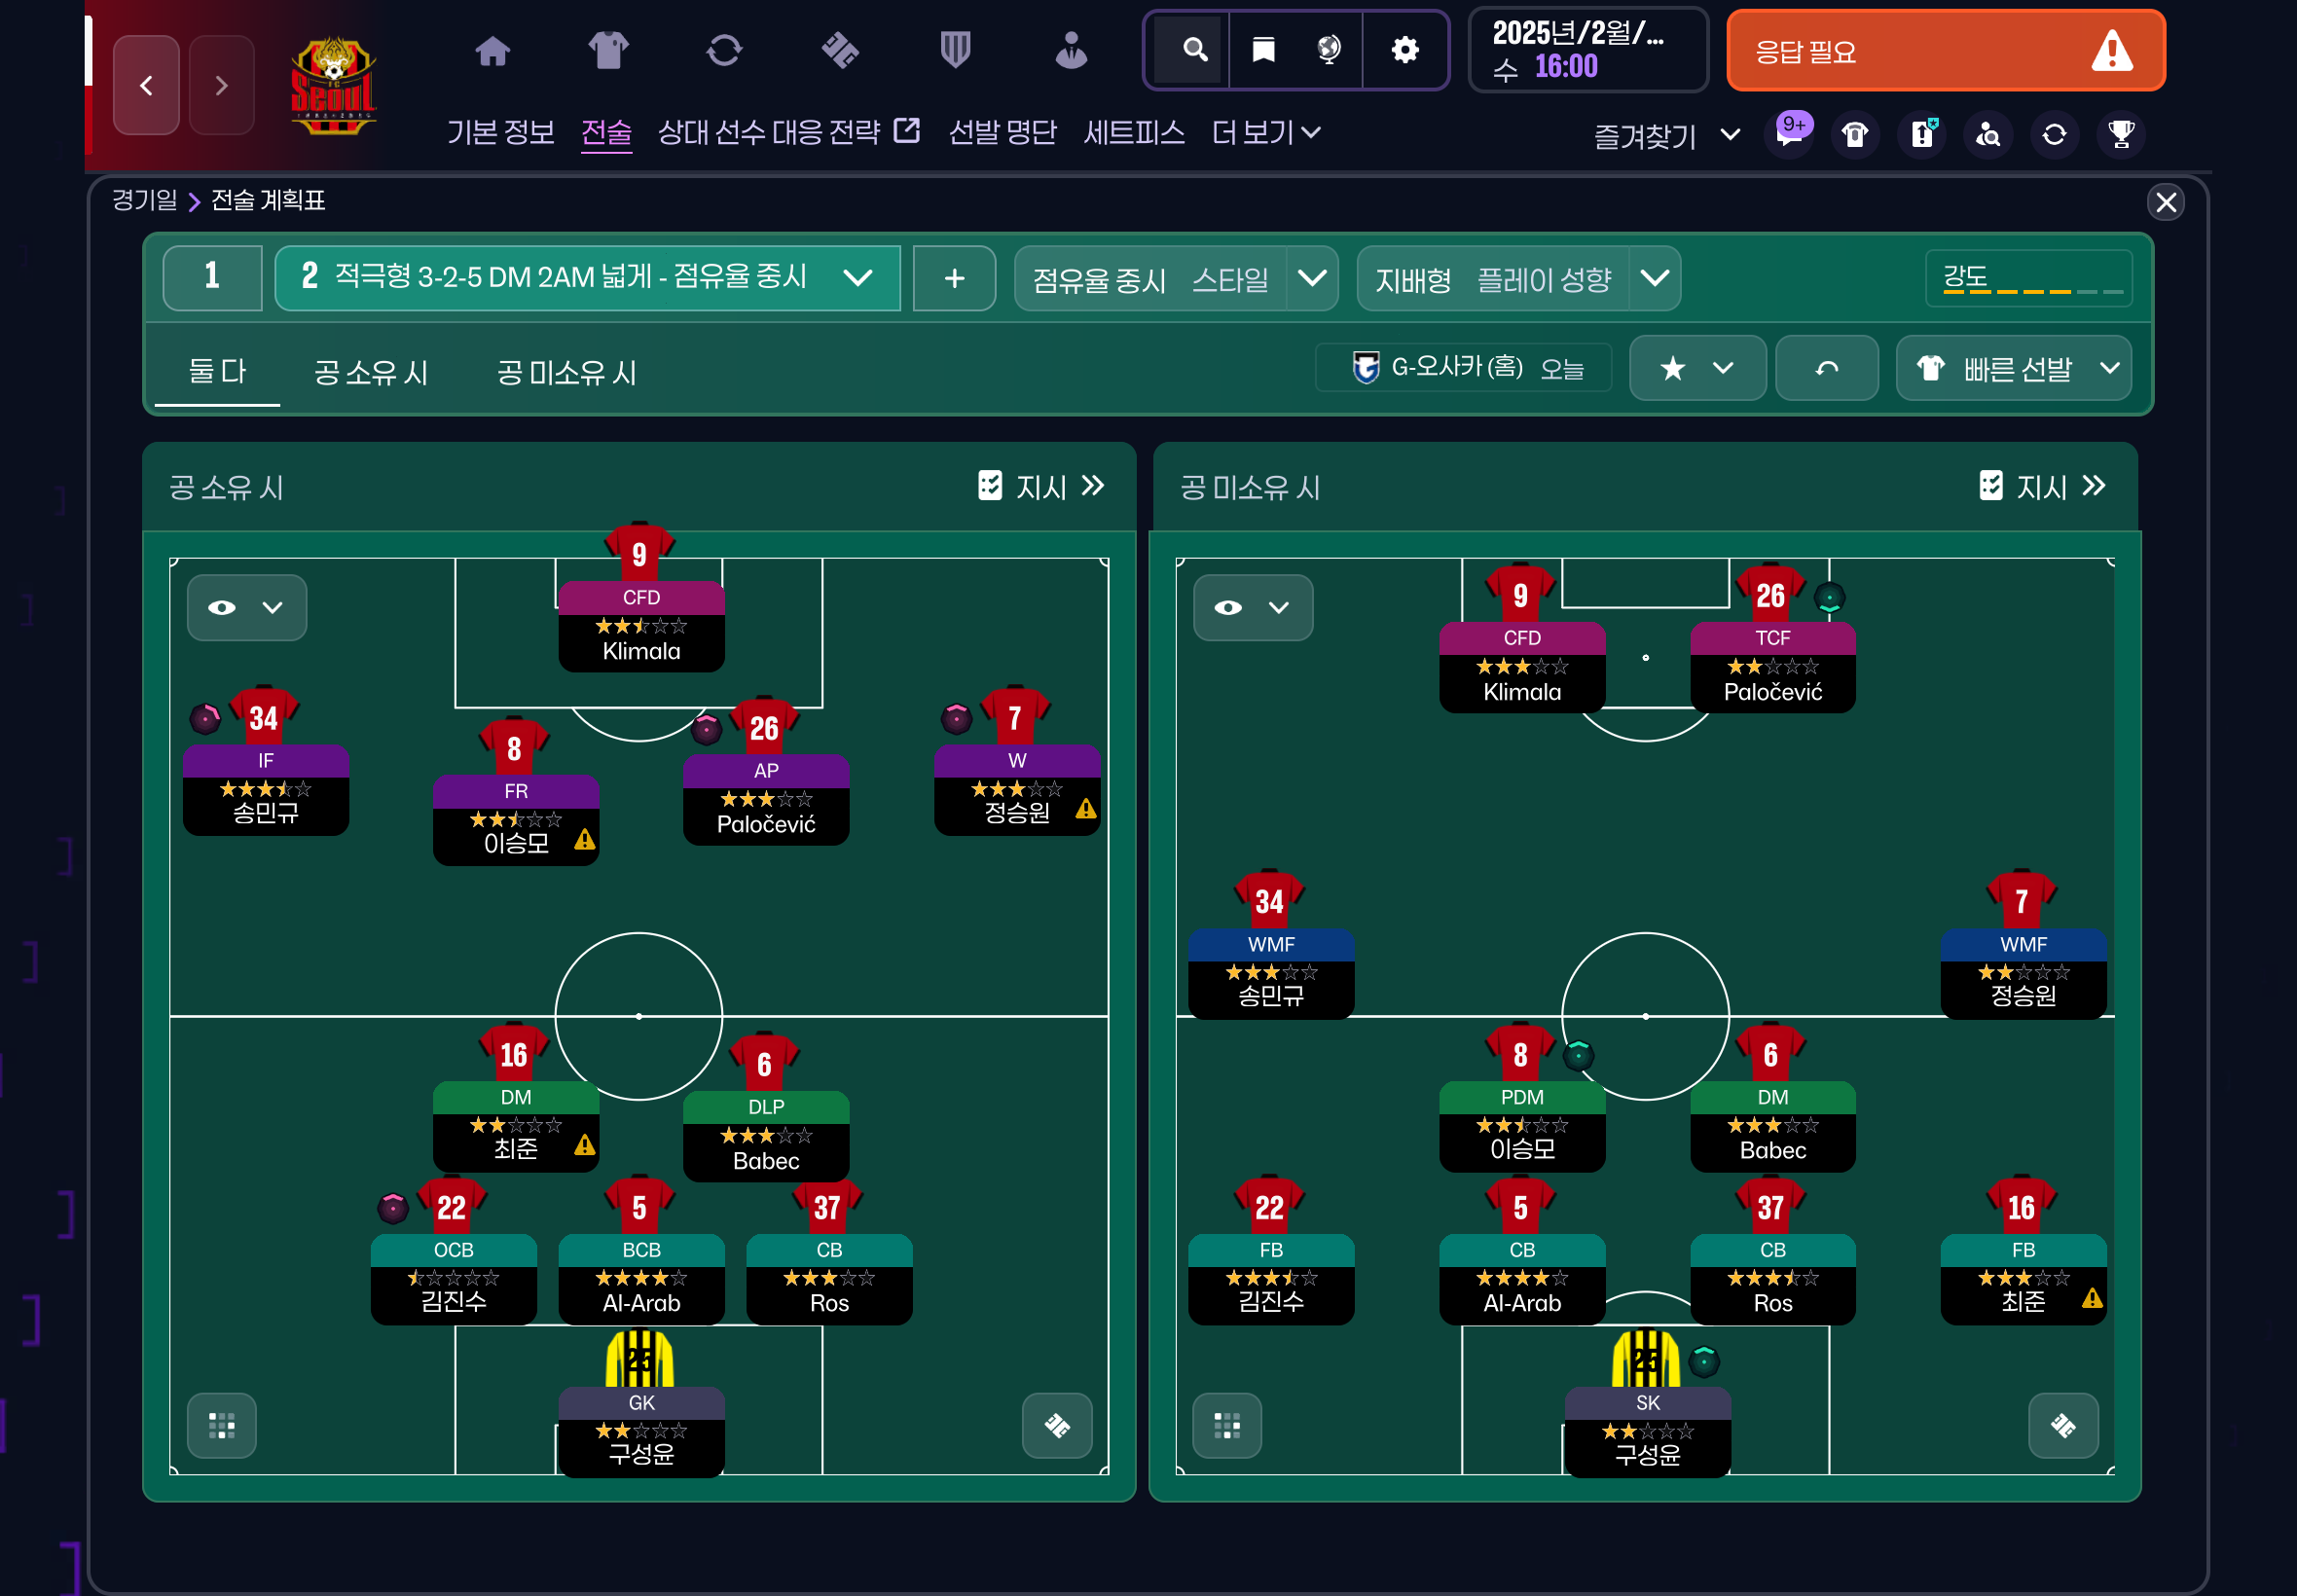
More Control tactics
Guides for this tactic
The tactical theory behind the 3-2-5-0: roles, instructions, and the trade-offs that decide whether the system holds up.
Playing styles
Tiki-Taka vs Positional Play
Why circulation density and zonal occupation aren't the same thing in FM, and the half-space occupation rule that decides build-up.
Read guide
Foundations
Defensive Line and Line of Engagement
The pairing rule for Defensive Line and Line of Engagement, all 9 combinations, and the gap that costs goals.
Read guide
Foundations
Width, Compactness, and Tempo
What Higher Tempo, Wider, and Narrower actually do in FM, plus the dial contradictions and antipatterns players run into most often.
Read guide