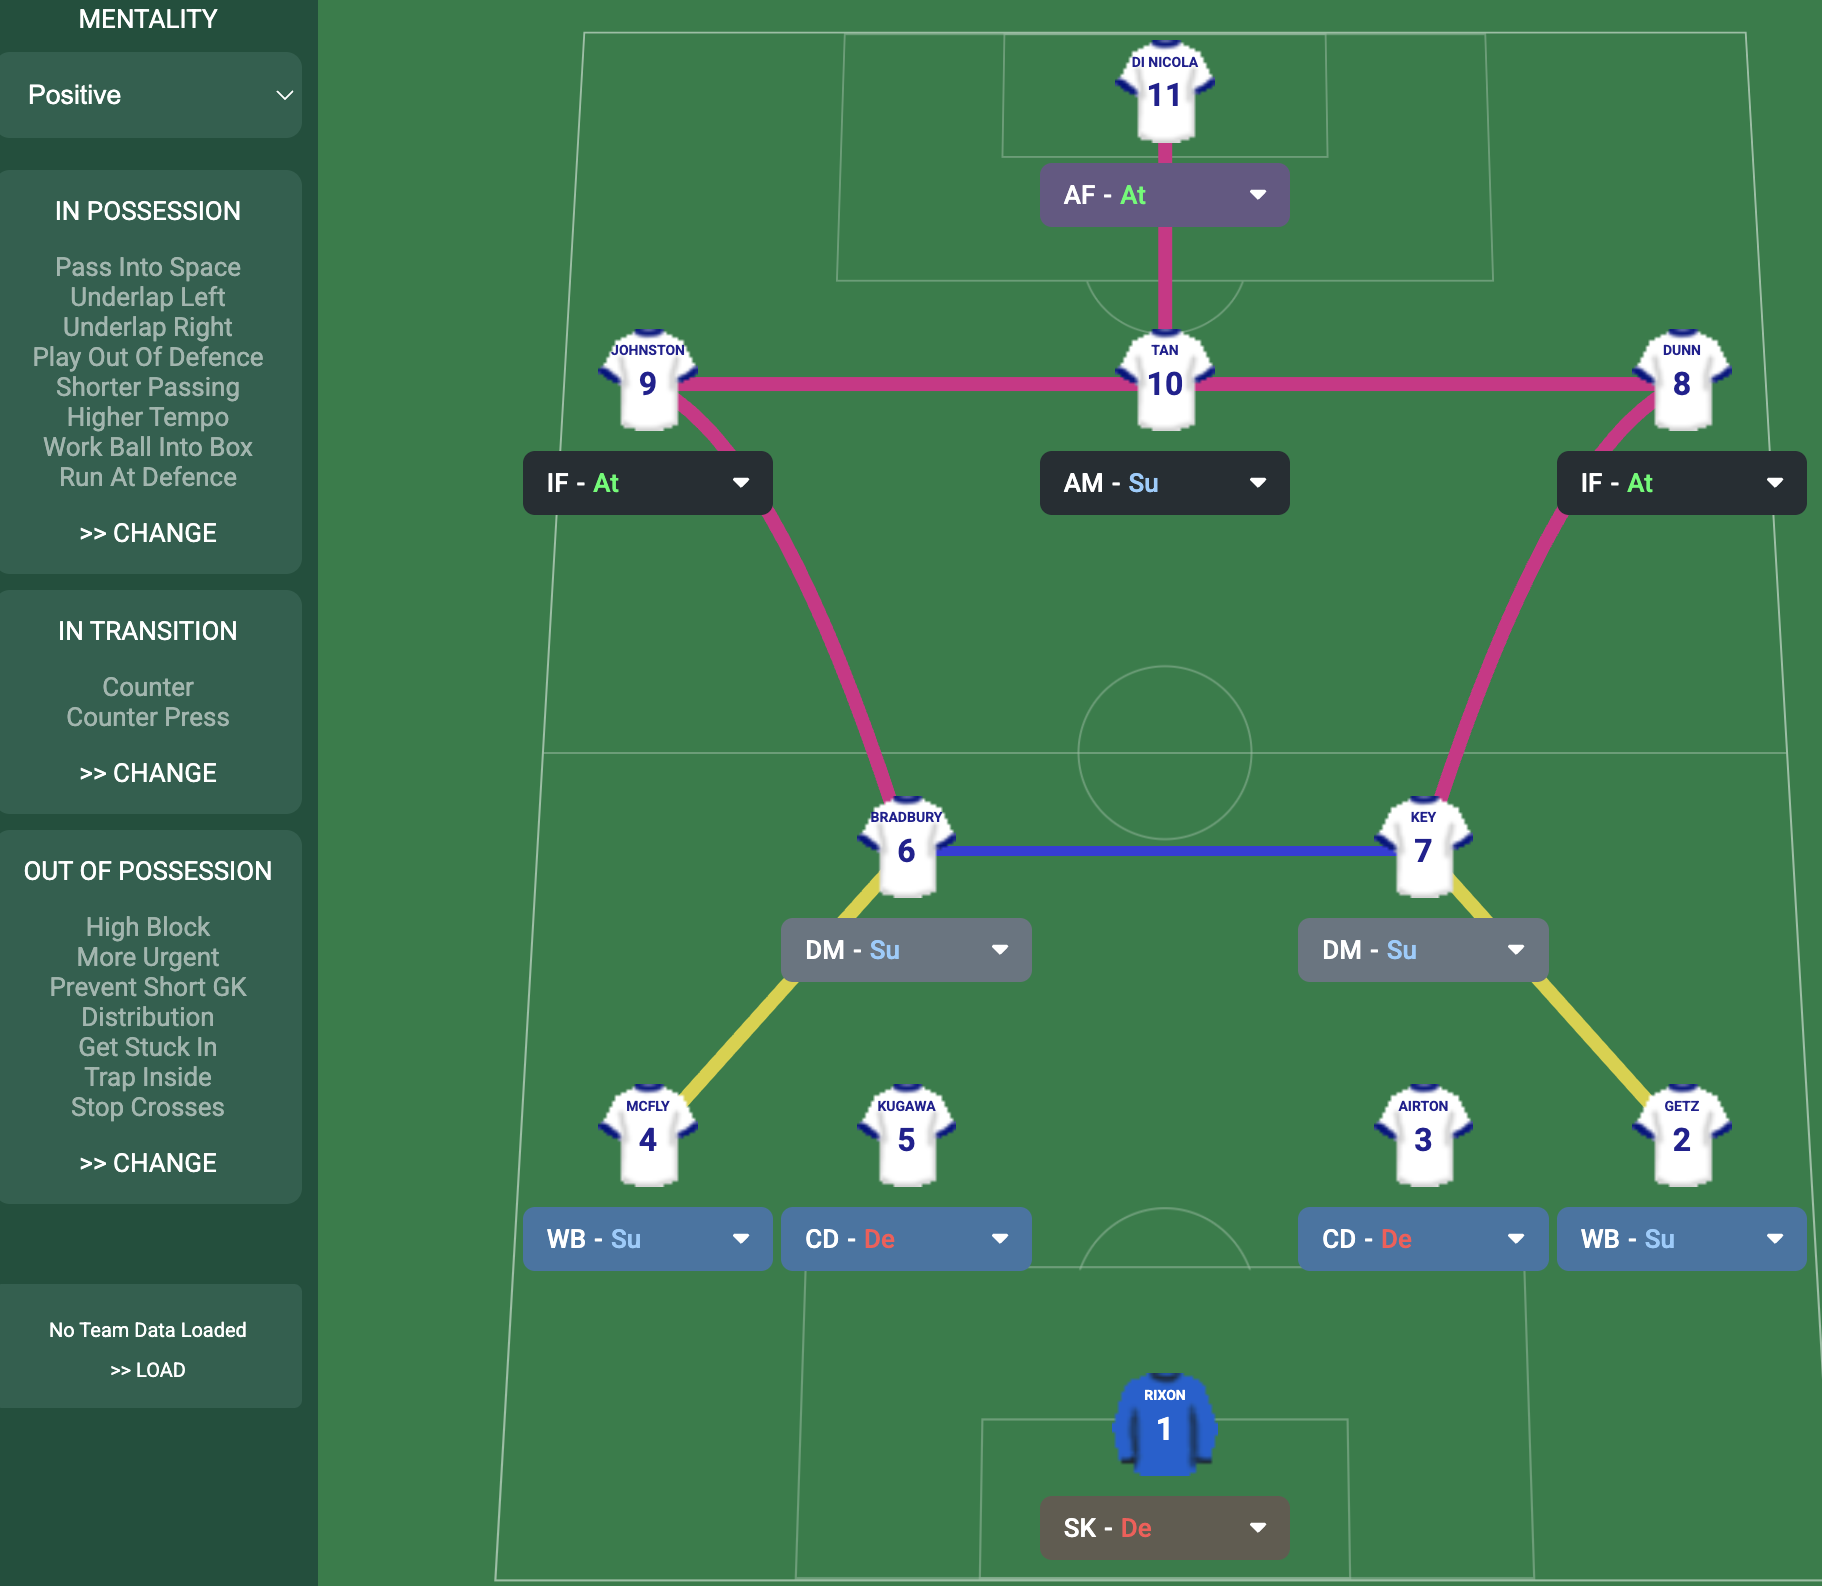
Control 4-2-2-2 (Positive) Tactic
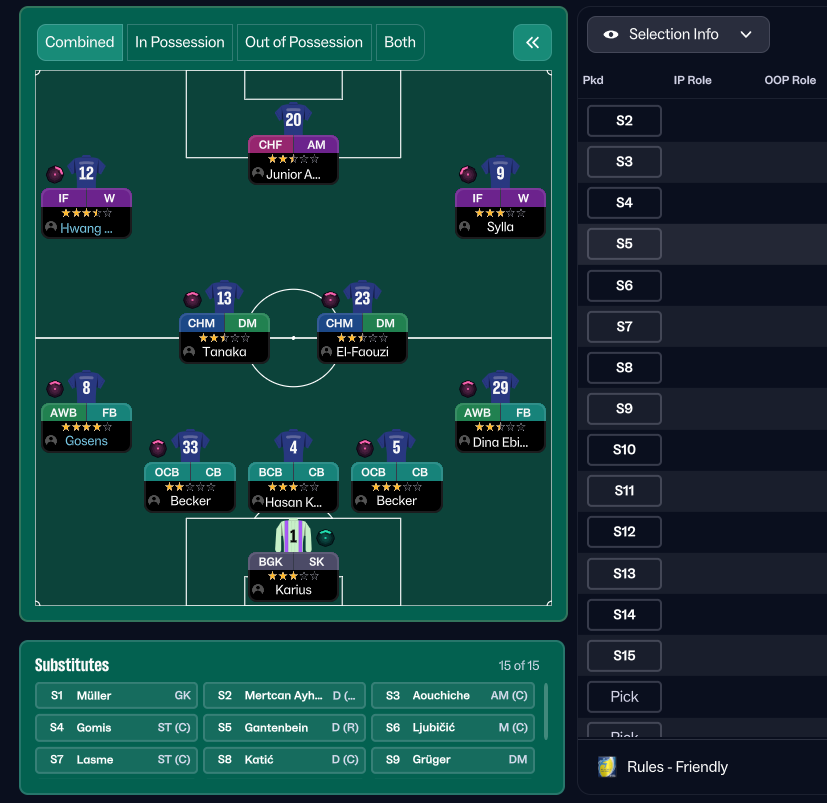
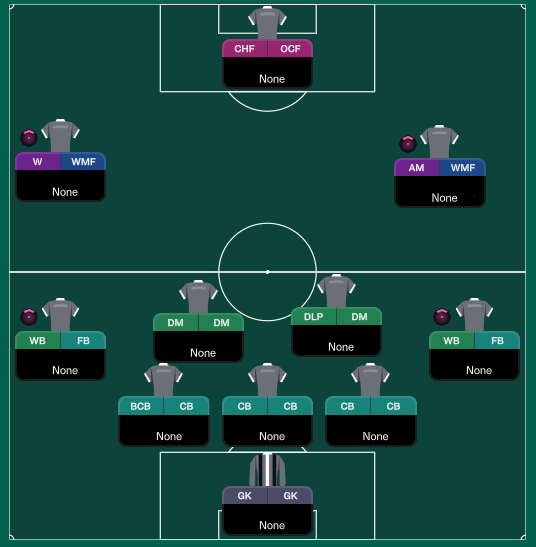
4-2-2-2
Create goal-scoring opportunities via central and wide penetrative play. The presence of two defensive midfielders provides stability and facilitates ball…
Loading tactical analysis...
Formation and style
Control
Positive
4-2-2-2
Balanced
In possession
Play Out of Defence
Pass Into Space
Work Ball Into Box
In transition
Counter-Press
Counter
Out of possession
Higher Defensive Line
Higher Line of Engagement
Use Offside Trap
Player roles
GK
Sweeper Keeper
Support
CB
Ball-Playing Defender
Defend
CB
No-Nonsense Centre-Back
Defend
CB
Ball-Playing Defender
Defend
RB
Wing-Back
Attack
LB
Wing-Back
Attack
DM
Defensive Midfielder
Support
CM
Central Midfielder
Support
AM
Attacking Midfielder
Attack
IF
Inside Forward
Attack
CF
Complete Forward
Support
Phase description
Utilizes width with overlapping wing-backs and aims for quick transitions through midfield.
Focuses on regaining possession quickly with counter-press tactics.
Create goal-scoring opportunities via central and wide penetrative play.
Team shape defence
4-2-2-2
A balanced defensive formation with a compact midfield that helps cover the back four.
DM at [3,3] supports the back line, while CBs ensure solid defensive coverage.
Team shape attack
Fluid Transition
Dynamic attacking shape with wing-backs pushing high and forwards interchanging positions.
Wing-backs at [2, 2] and [2, 4] provide width while two forwards occupy central positions.
Key strengths
Strong Midfield Control
The presence of two defensive midfielders provides stability and facilitates ball retention.
DM at [3,3] with support duty allows for better distribution.
Attacking Width
The wing-backs provide depth and width, stretching opposition defenses.
WB roles at [2,2] and [2,4] actively support attacks.
Conflicting tactics
Vulnerability to Counter-Attacks
High line leaves space behind for quick breaks from the opposition.
Higher Defensive Line and Higher Line of Engagement may expose CBs at [2,3] and [2,4].
Dependence on Wing-Backs
If wing-backs are marked out of the game, width is lost.
Heavy reliance on WB roles at [2,2] and [2,4] for buildup.
Risk exposures
Risk Exposures
Items
Defensive Transition
High defensive engagement can lead to vulnerability during transitions if possession is lost.
Counter-Pressing requires quick recovery before opposition counters.
Tactical Predictability
Reliance on wide play may become predictable, reducing effectiveness.
Opposing teams can prepare by overloading flanks.
Role synergies
Role Synergies
Items
Wing-Back and Inside Forward
Overlap creates space for inside forwards to attack goals.
WB at [2,2] combines with IF at [6,1] for effective wing play.
Double Pivot and Attacking Midfielder
Allows for quick transitions between holding and attacking play.
DM at [3,3] supports progression to AM at [4,3].
Suggested questions
How can I optimize my attacking play through midfield?
Should I consider altering my pressing intensity based on opponent strengths?
What alternatives do I have for wing play if my wide players are contained?
Related Tactics
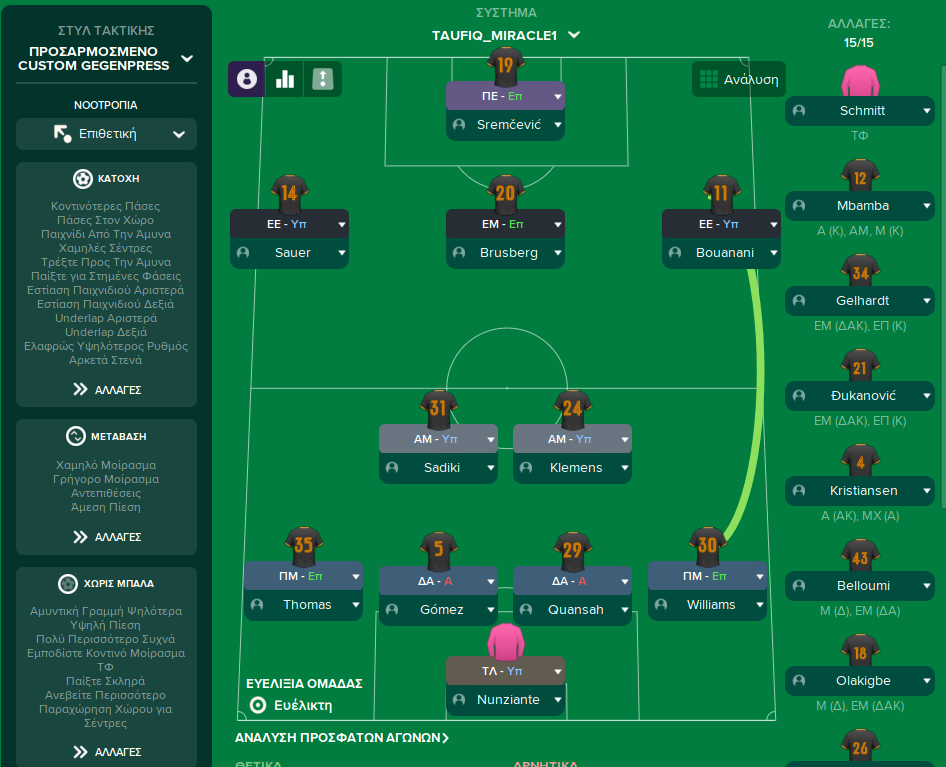
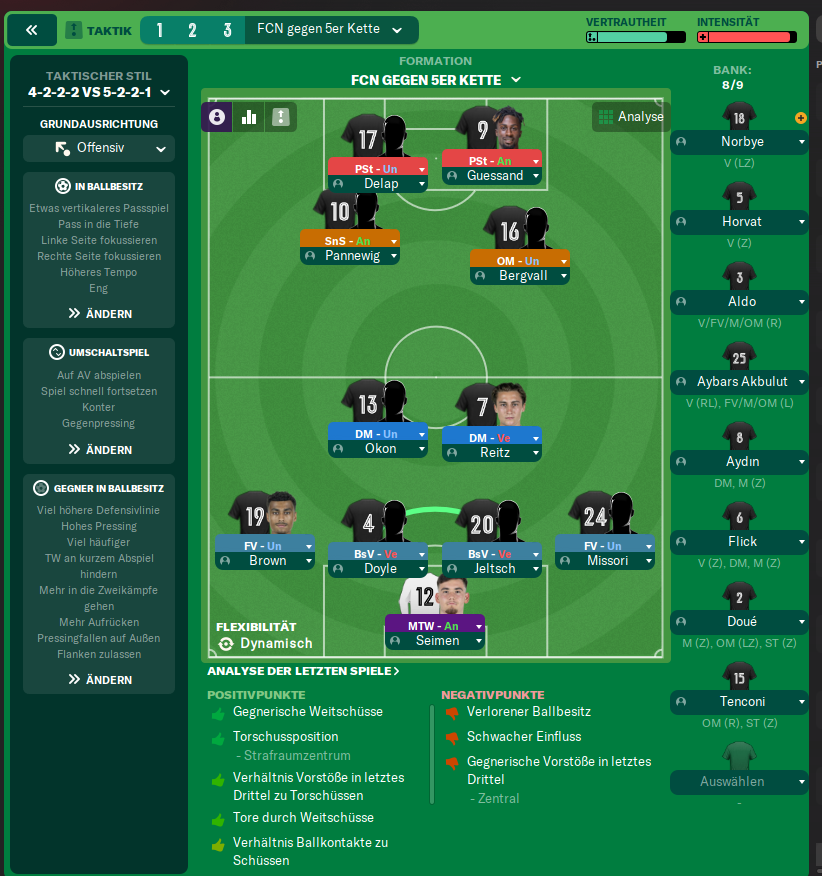
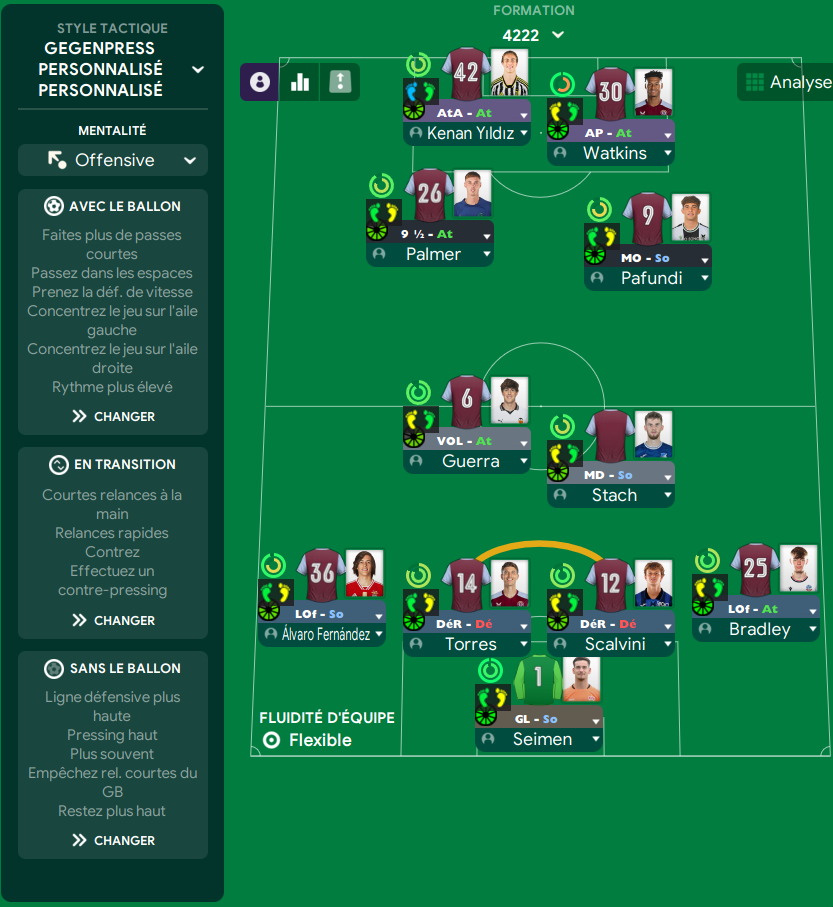
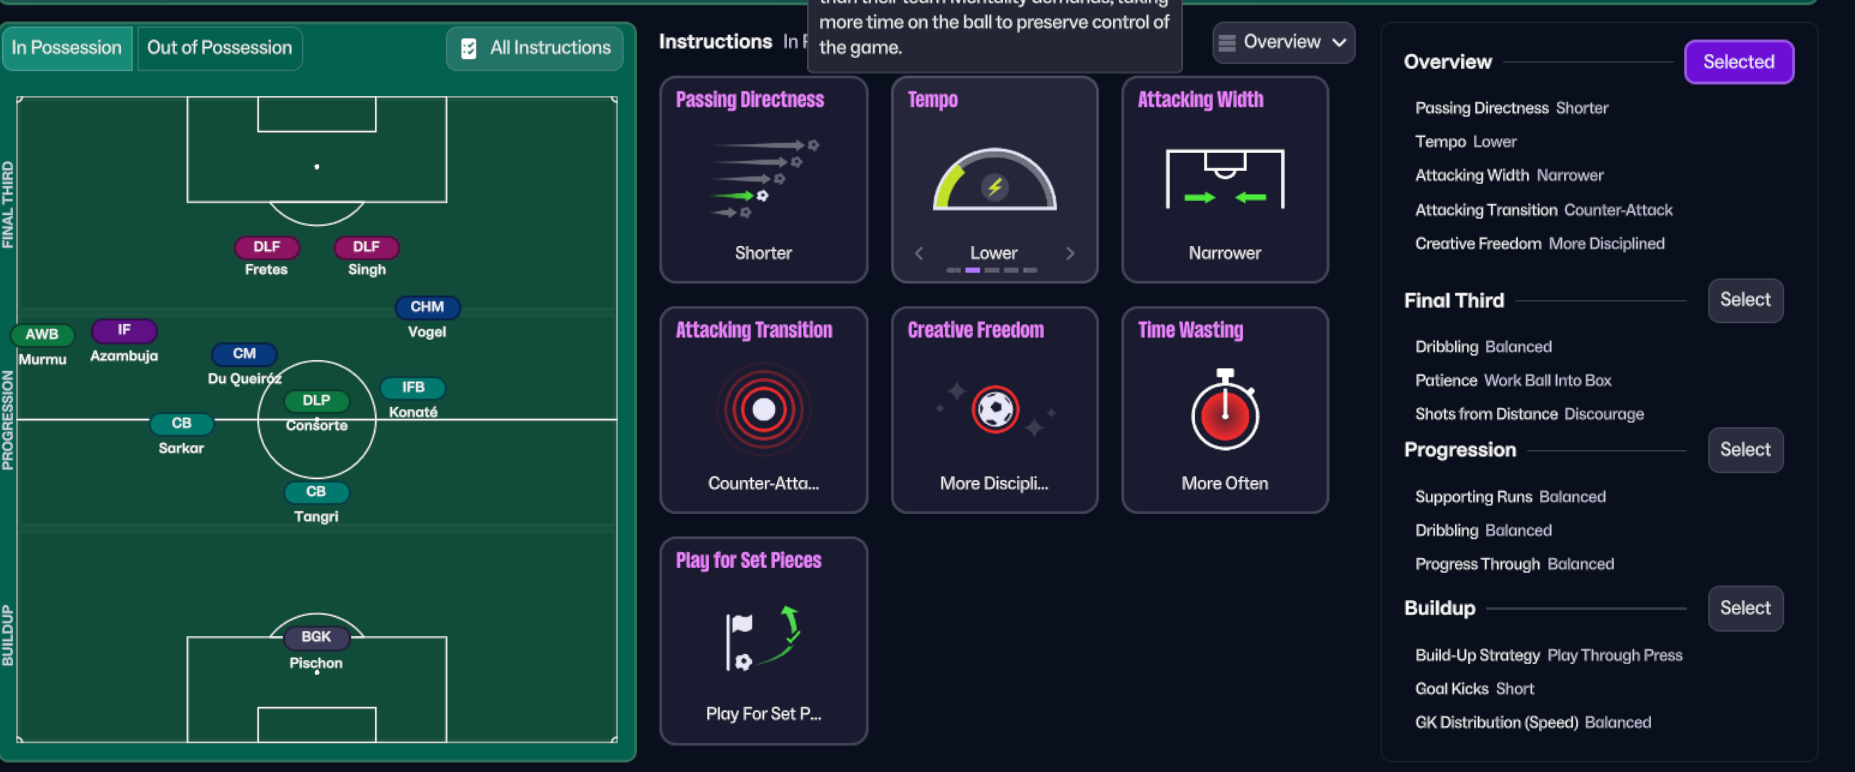
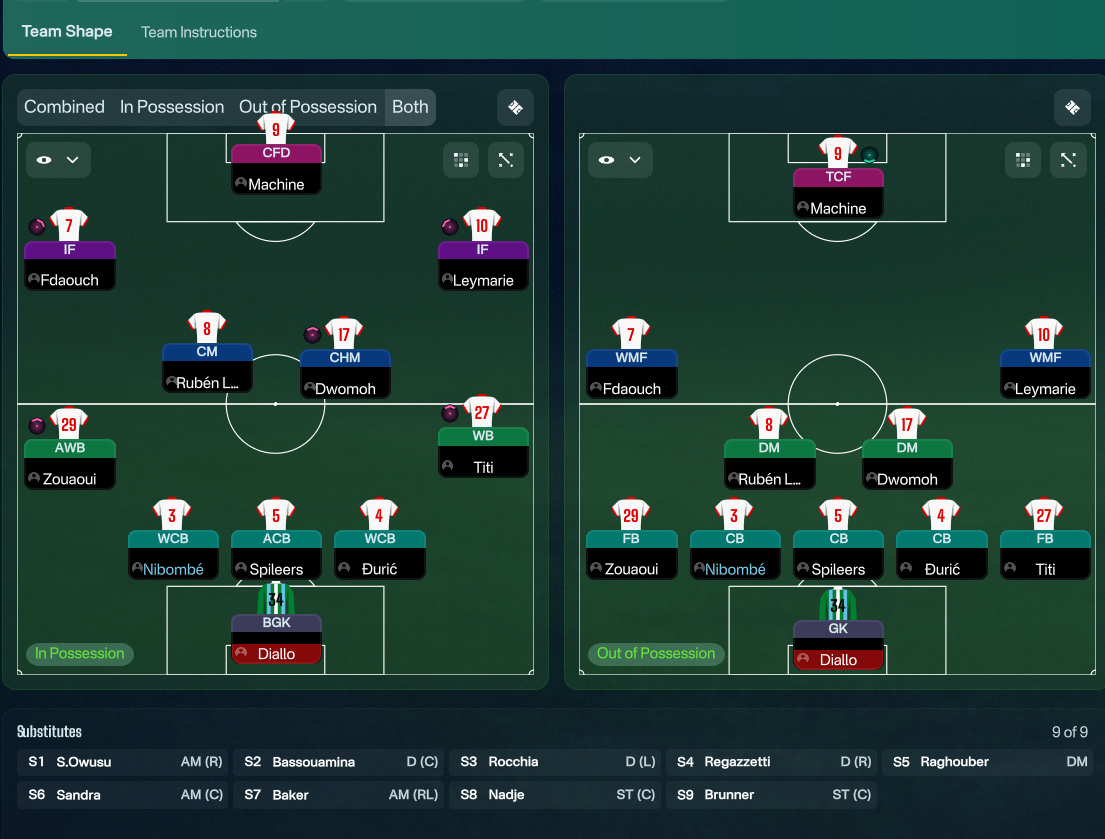

More Control tactics
Guides for this tactic
The tactical theory behind the 4-2-2-2: roles, instructions, and the trade-offs that decide whether the system holds up.
Foundations
Mentality, Duty & Roles
How Mentality, Duty, and Role interact in FM, why duty trumps mentality every time, and the role-on-top-of-duty composition rules.
Read guide
Foundations
Pressing Triggers and Intensity
Counter-Press, Regroup, Stand Off, Trigger Press: what each pressing instruction does in FM and how to pair them without contradicting.
Read guide
Foundations
Defensive Line and Line of Engagement
The pairing rule for Defensive Line and Line of Engagement, all 9 combinations, and the gap that costs goals.
Read guide