Gegenpress 4-2-2-2 (Positive) Tactic
4-2-2-2
Utilizing a high-tempo pressing game to disrupt opponents and quickly transition from defence to attack. Effective at regaining possession quickly due to…
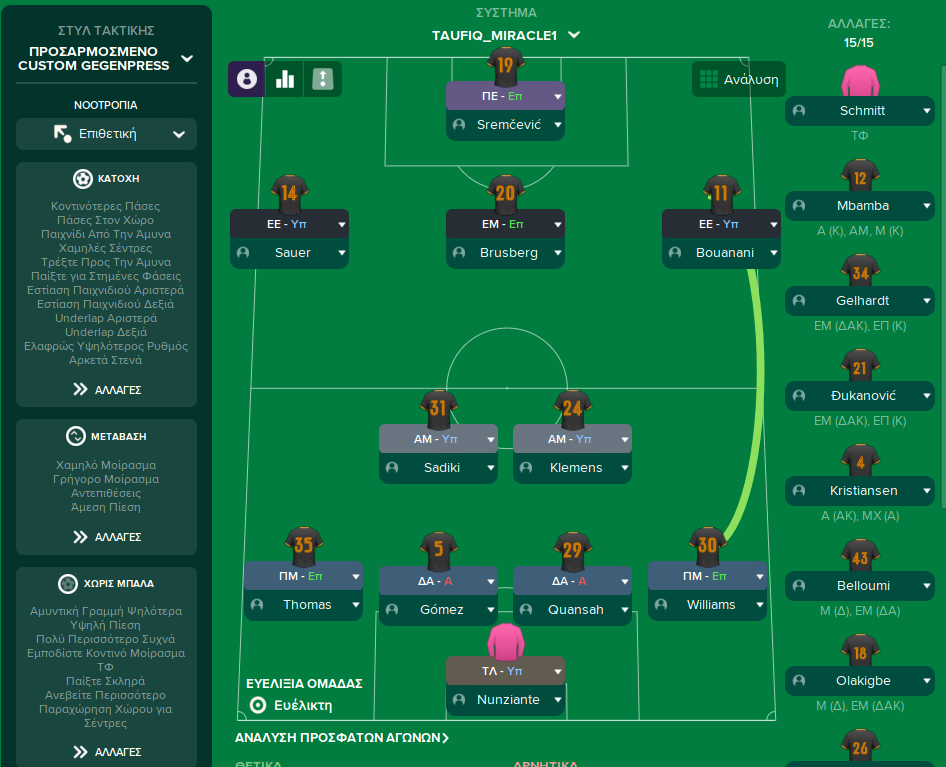
Loading tactical analysis...
Formation and style
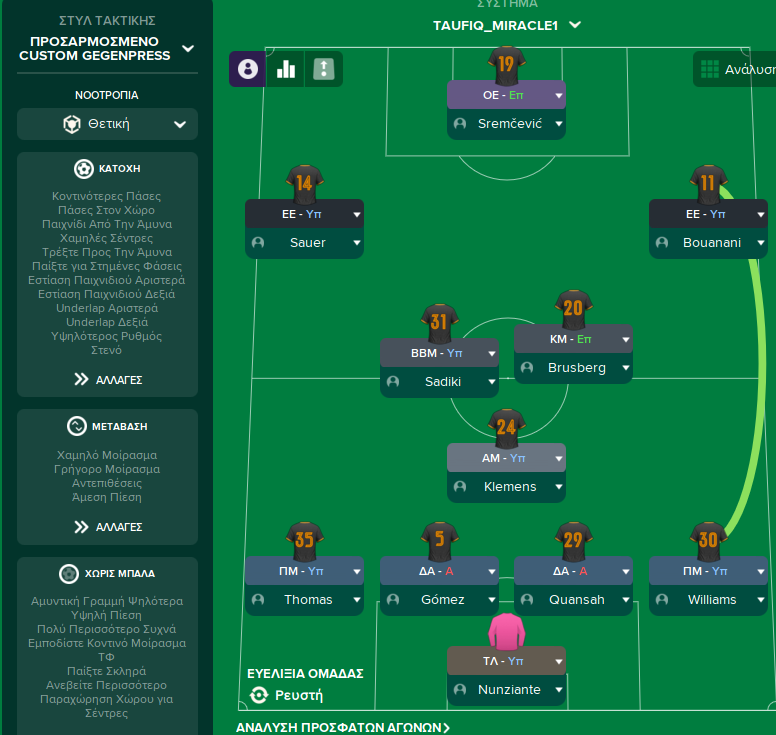
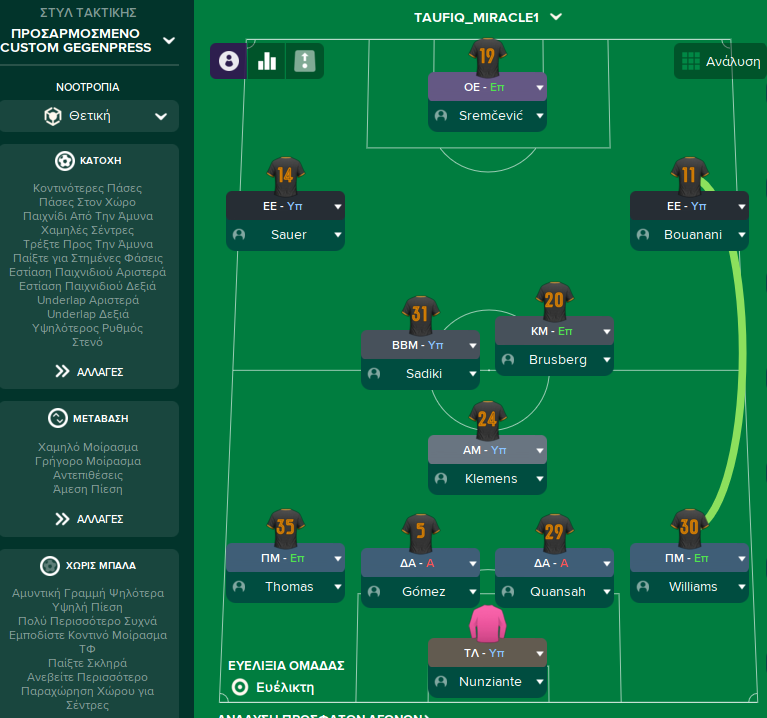
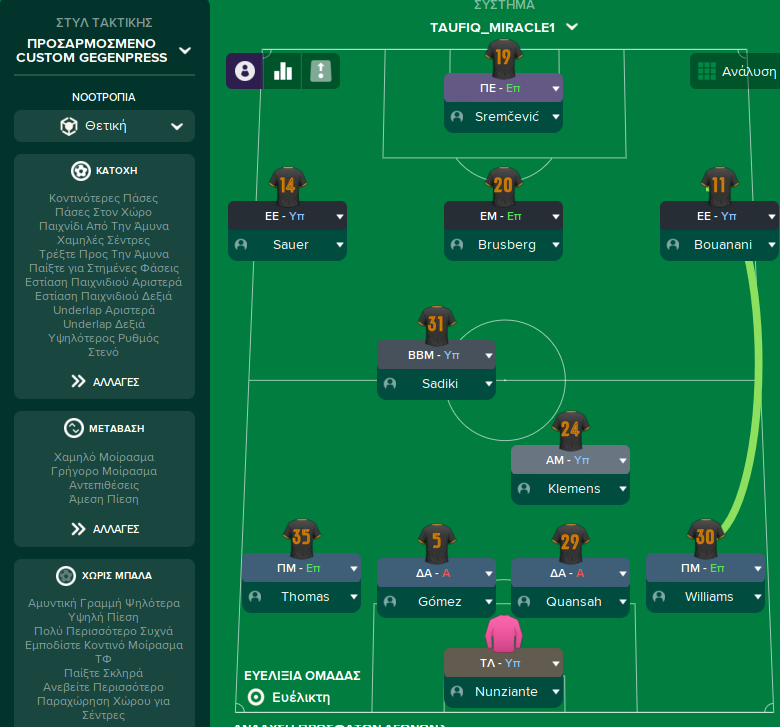
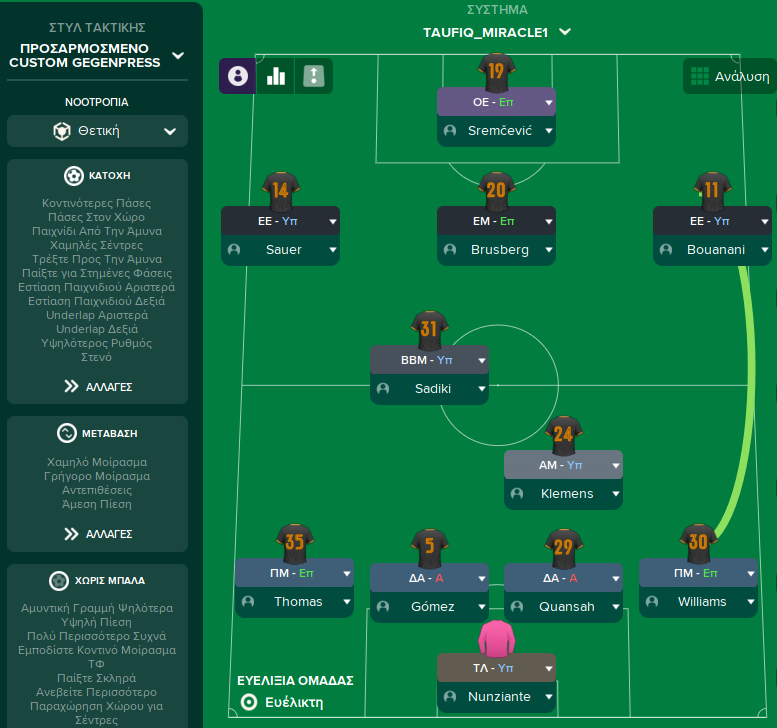
Custom Gegenpress
Positive
4-2-2-2
Fluid
In possession
Play Out of Defence
Higher Tempo
Run At Defence
Work Ball Into Box
In transition
Counter-Press
Counter
Out of possession
Higher Defensive Line
Higher Line of Engagement
Prevent Short GK Distribution
Trigger Press More Often
Player roles
GK
Goalkeeper
Support
RB
Complete Wing-Back
Attack
CB
Ball-Playing Defender
Defend
CB
No-Nonsense Centre-Back
Defend
LB
Complete Wing-Back
Attack
DM
Deep-Lying Playmaker
Support
CM
Advanced Playmaker
Support
AM
Attacking Midfielder
Support
AM
Inside Forward
Attack
ST
Advanced Forward
Attack
ST
Pressing Forward
Attack
Phase description
The team looks to maintain possession while utilizing width from wing-backs and creating overloads in central positions.
Quickly regain possession through aggressive pressing and counter-pressing to exploit opposition vulnerabilities.
Utilizing a high-tempo pressing game to disrupt opponents and quickly transition from defence to attack.
Team shape defence
4-2-2-2
Defensive line organized with two solid centre backs and active wing-backs ready to defend and support.
CB at [2,2], [2,4] (BPD & NCB) and WB at [2,1], [2,5] (CWB-A)
Team shape attack
4-2-2-2
Dynamic attacking structure with the ability to stretch the play through wide areas and cause confusion in the final third.
AM at [5,2], [5,4] (AM-S) and ST at [6,2], [6,3] (AF & PF)
Key strengths
High Pressing Ability
Effective at regaining possession quickly due to the high pressing setup.
Pressing Forward at [6,2] and Trigger Press More Often instruction.
Attacking Width
Wing-backs push high and wide, creating spaces for midfielders and forwards.
Complete Wing-Backs at [2,1] and [2,5] with attacking duties.
Conflicting tactics
Inverted Formation Risks
The central areas may become congested if not managed properly, limiting width.
Inside Forward at [5,4] may clash with AM-S at [5,2].
Defensive Vulnerabilities
Overcommitment in attack could expose the back line to counter-attacks.
CWB-A and AM-A both pushing forward.
Risk exposures
Risk Exposures
Items
Defensive Transition
Vulnerable to counter-attacks if possession is lost quickly.
High offensive duties of wing-backs and advanced midfielders.
Midfield Gaps
Potential gaps in midfield due to high attacking duties of both AMs.
AM-S and IF-A causing congestion and defensive lapses.
Role synergies
Role Synergies
Items
DLP-S and AM-S
Creates a strong link between defence and attack, allowing for effective build-up play.
DLP at [3,3] and AM at [4,3] working together.
CWB-A and IF-A
Dual threat on the flanks, opening up spaces for combination plays.
CWB-A at [2,1] and IF-A at [5,4] combining on the left flank.
Suggested questions
How can we further enhance midfield control?
What changes can be made to improve defensive stability?
Are there any specific teams to emulate with this tactical setup?
Related Tactics
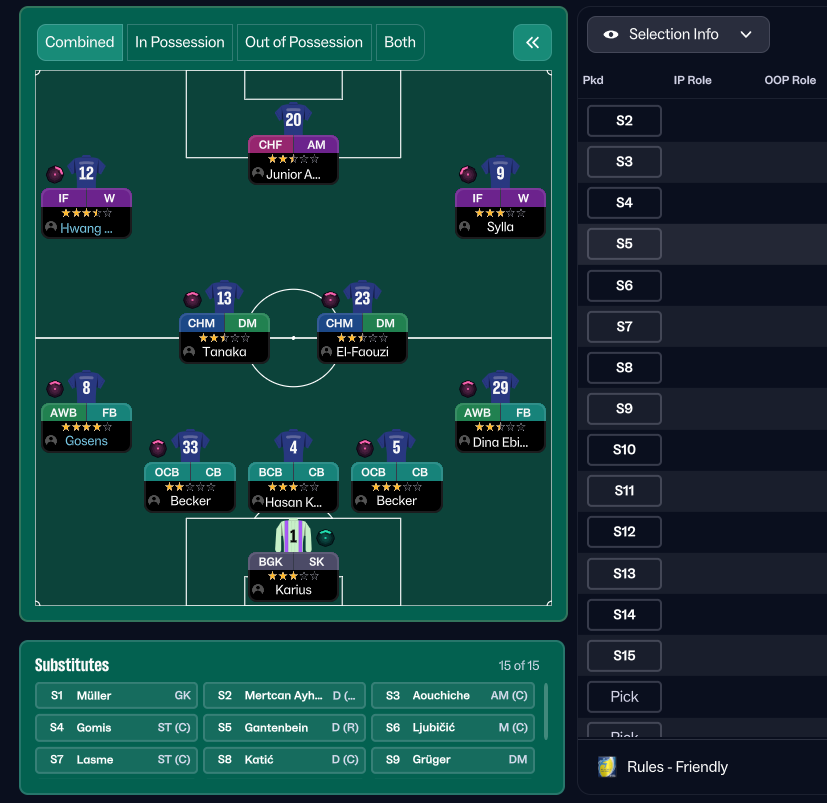
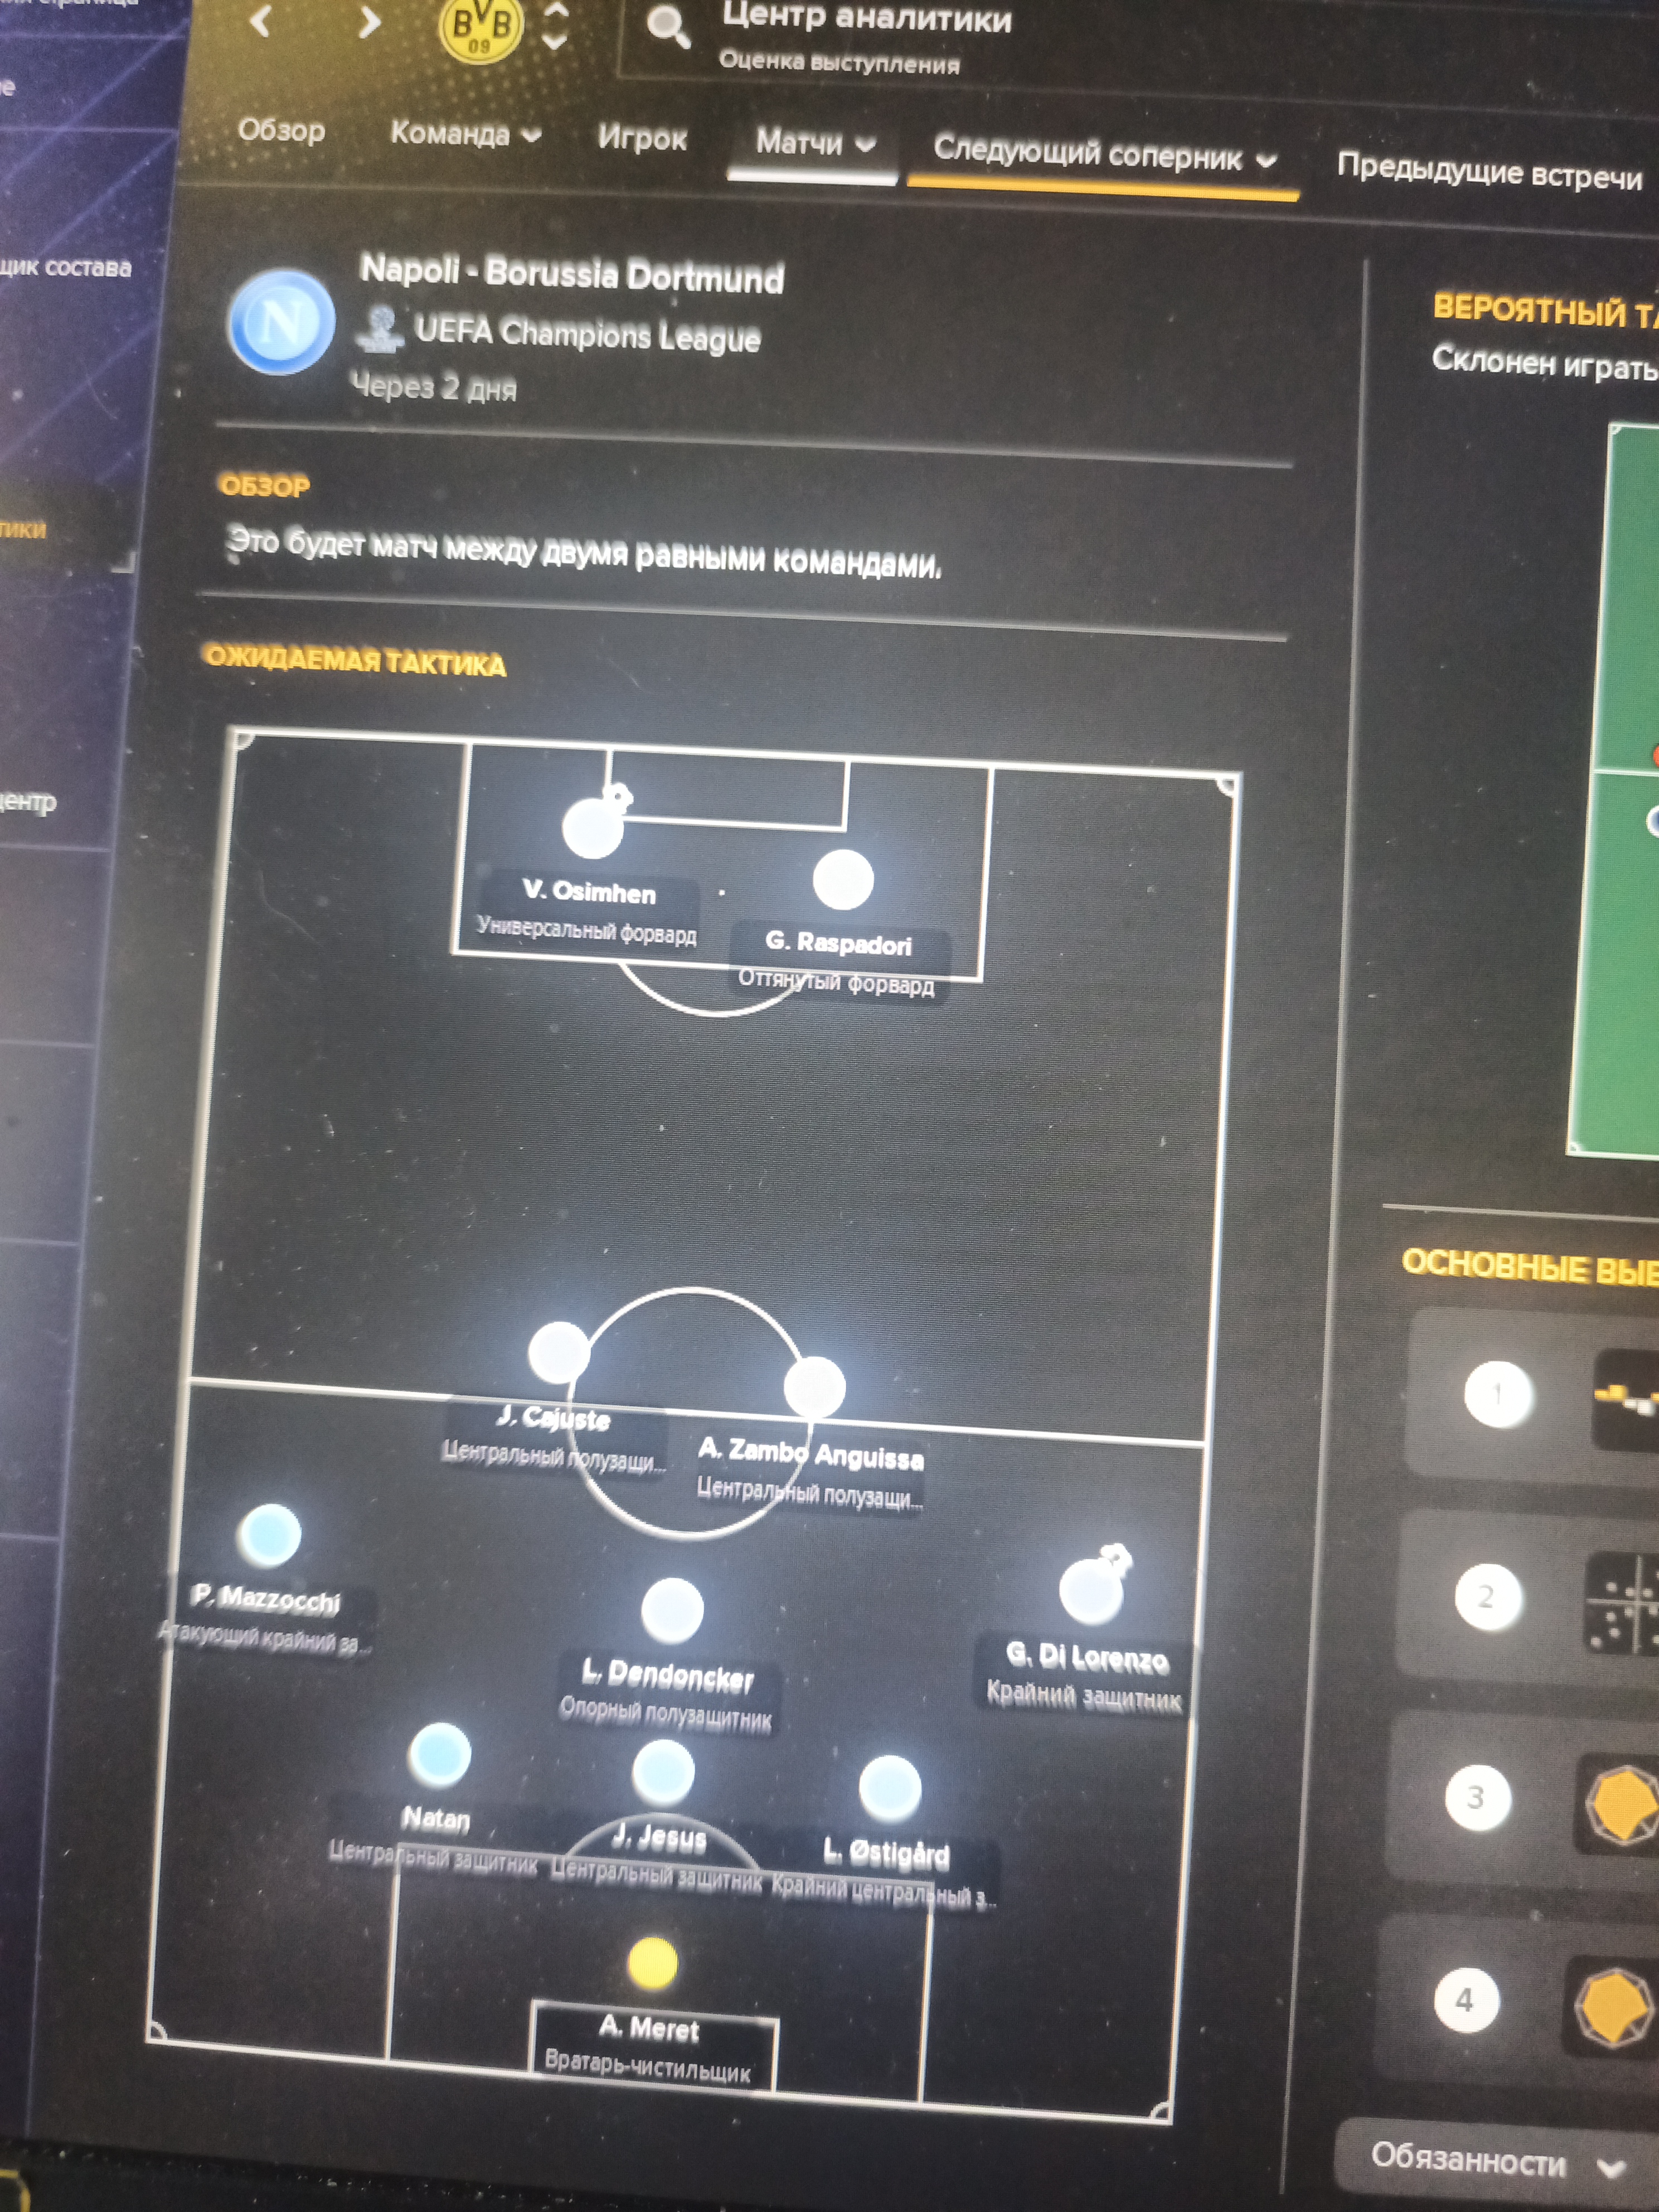
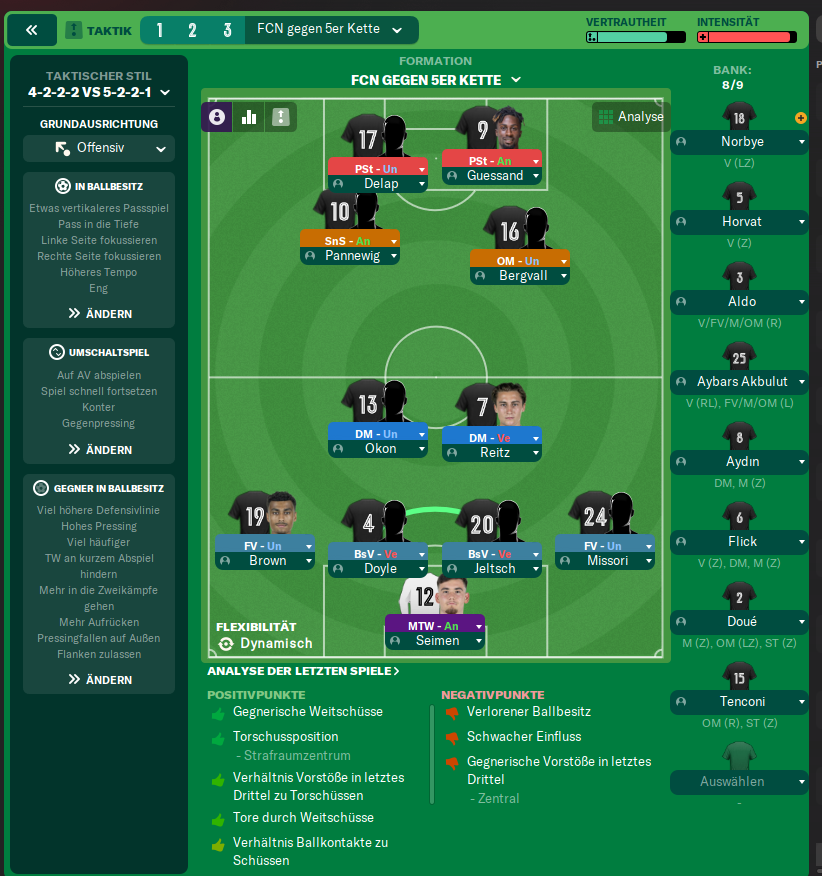
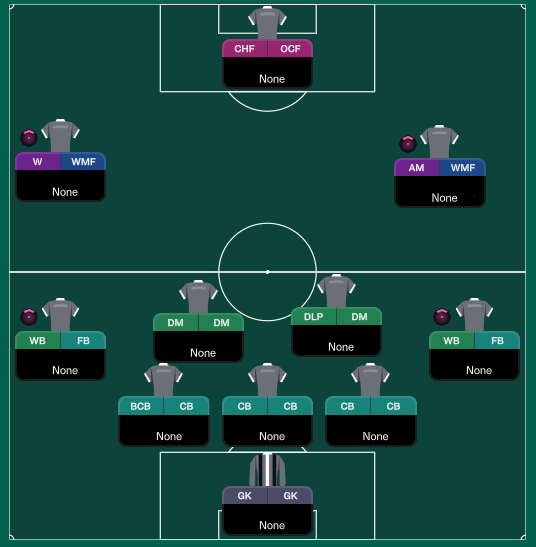
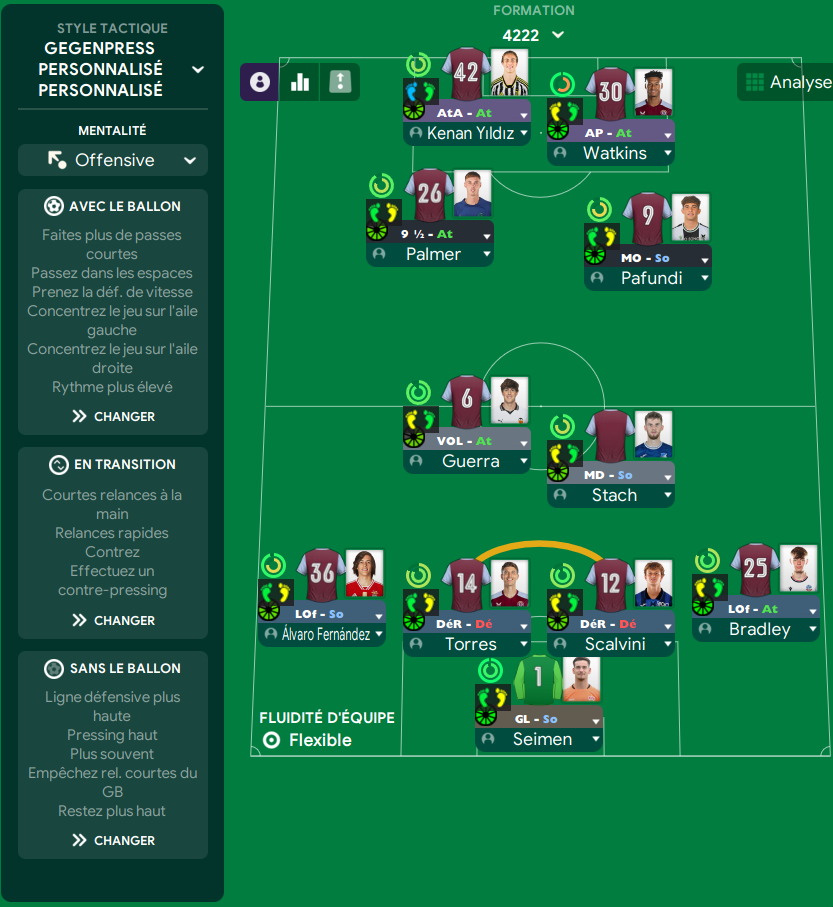
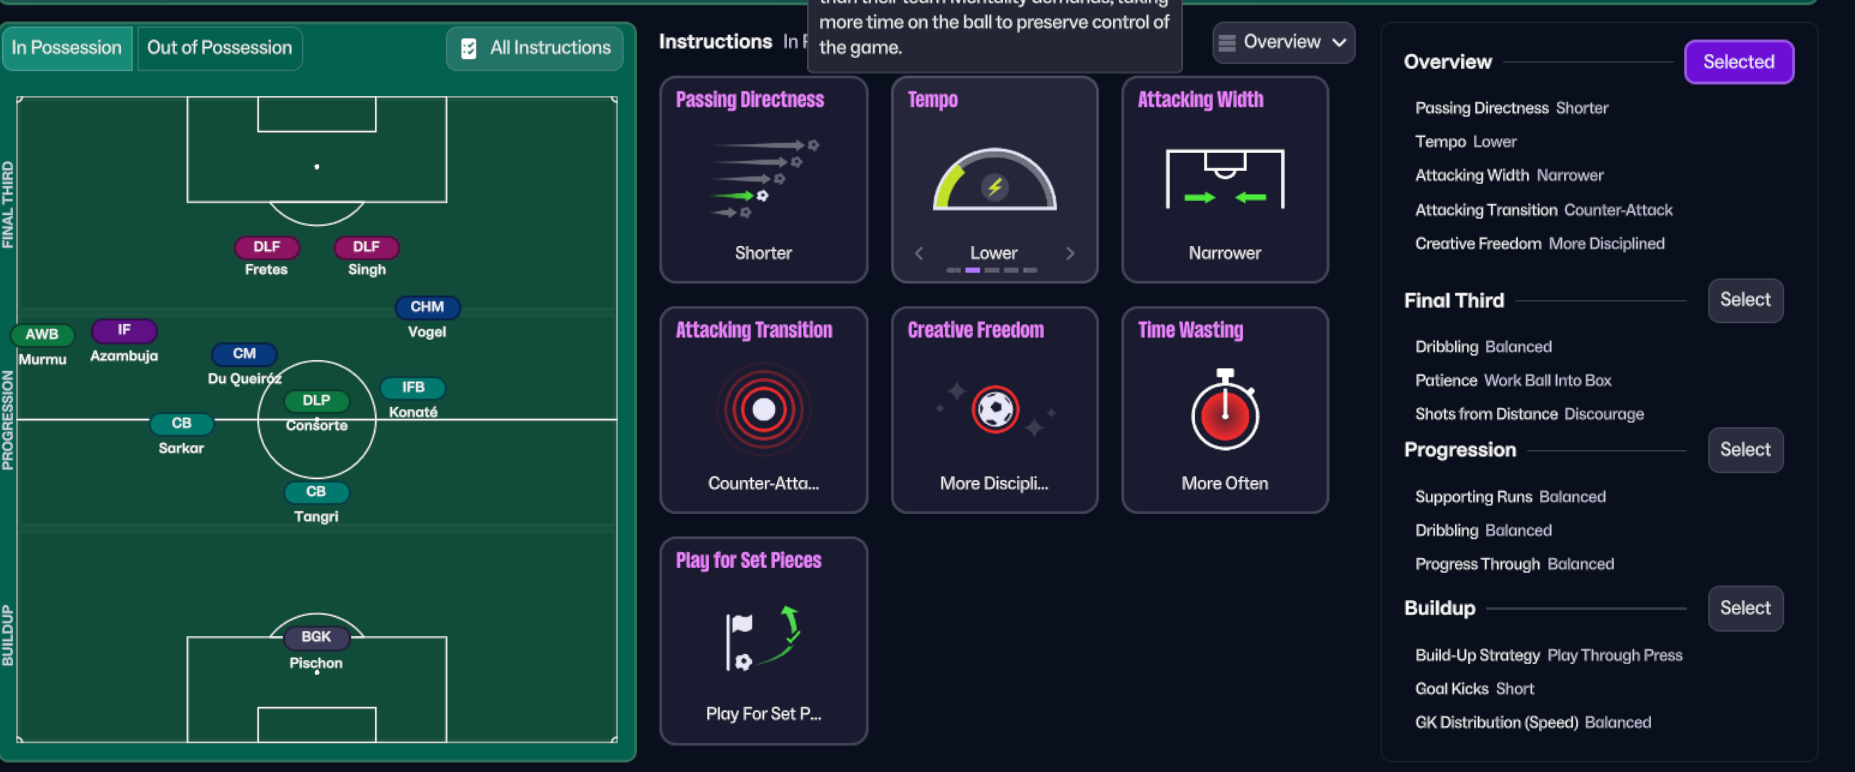
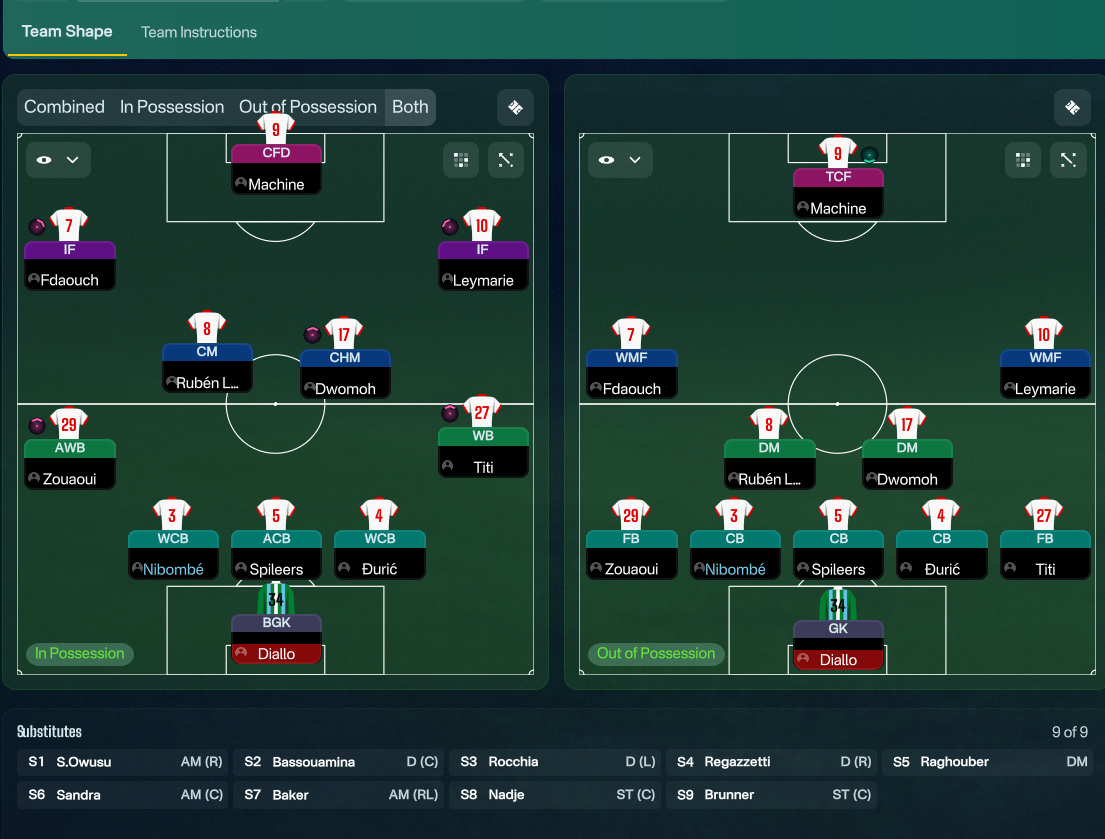

More Custom Gegenpress tactics
Guides for this tactic
The tactical theory behind the 4-2-2-2: roles, instructions, and the trade-offs that decide whether the system holds up.
Foundations
FM27 Tactics: What Changed from FM26
FM27 keeps FM26's tactic system. Here is what stays the same, the small changes that can catch you out, and what the new Tactical Effectiveness system asks of you.
Read guide
Foundations
Mentality, Duty & Roles
How Mentality, Duty, and Role interact in FM, why duty trumps mentality every time, and the role-on-top-of-duty composition rules.
Read guide
Foundations
Pressing Triggers and Intensity
Counter-Press, Regroup, Stand Off, Trigger Press: what each pressing instruction does in FM and how to pair them without contradicting.
Read guide