The Assembler 4-2-4 (Balanced) Tactic
4-2-4
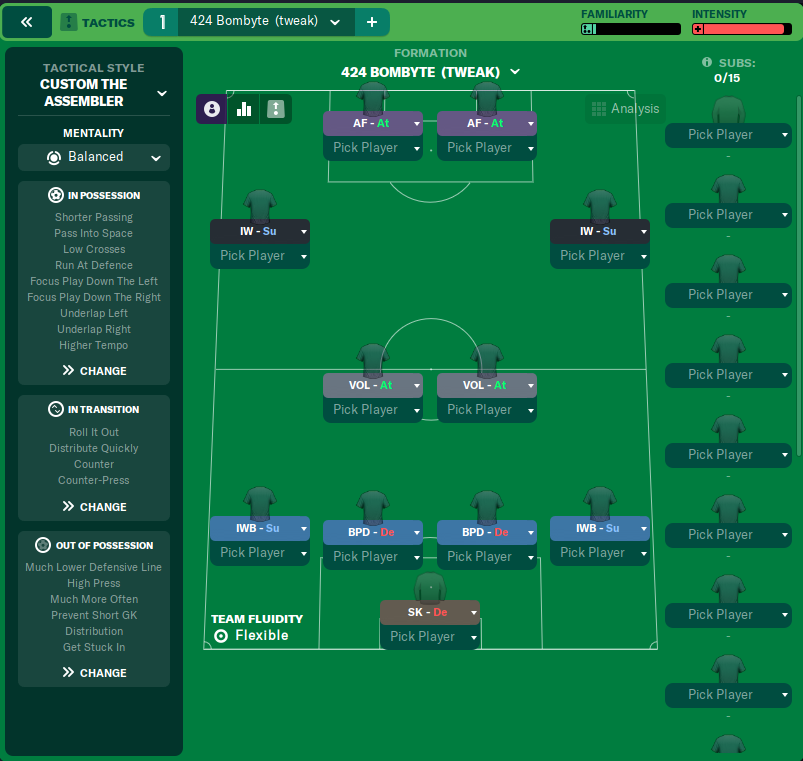
Exploiting width and attacking through the flanks. The use of two advanced forwards in conjunction with inside wingers creates a flexible attacking front.
Loading tactical analysis...
Formation and style
Custom the Assembler
Balanced
4-2-4
Flexible
In possession
Shorter Passing
Pass Into Space
Low Crosses
Run At Defence
Focus Play Down The Left
Focus Play Down The Right
Underlap Left
Underlap Right
Higher Tempo
In transition
Roll It Out
Distribute Quickly
Counter
Counter-Press
Out of possession
Much Lower Defensive Line
High Press
Much More Often
Prevent Short GK Distribution
Get Stuck In
Player roles
GK
Sweeper Keeper
Defend
CB
Ball-Playing Defender
Defend
CB
Ball-Playing Defender
Defend
IWB
Inverted Wing-Back
Support
CM
Volante
Attack
CM
Volante
Attack
IW
Inside Winger
Support
AF
Advanced Forward
Attack
AF
Advanced Forward
Attack
Phase description
Quick transitions with direct attacking intent, utilizing wingers and forwards.
Immediate counter-pressing when possession is lost.
Exploiting width and attacking through the flanks.
Team shape defence
Compact Block
A compact formation with inverted wing-backs supports central defence.
Inverted Wing-Backs (IWB-Su at [2,1] and [2,5]) push forward for support while maintaining defensive shape.
Team shape attack
Fluid Width
Utilizes wingers and forwards to stretch opposition and create space.
Inside Winger (IW-Su at [5,1]) and Advanced Forwards (AF-At at [6,2] and [6,3]) apply pressure to back line.
Key strengths
Dynamic Attack
The use of two advanced forwards in conjunction with inside wingers creates a flexible attacking front.
AF-At at [6,2] and AF-At at [6,3] supported by IW-Su at [5,1].
Ball-Playing Defence
Utilizing Ball-Playing Defenders facilitates smoother transitions from defence to attack.
BPD-De at [2,2] and BPD-De at [2,4] can initiate play quickly.
Conflicting tactics
Defensive Vulnerability
The high press coupled with a much lower defensive line may create inconsistencies.
Much Lower Defensive Line with High Press creates a mismatch.
Counter-Press Risks
Effective counter-pressing may be hindered if defenders are deep.
Counter-Press with BPD-De at both defensive positions risks breaking the pressing chain.
Risk exposures
Risk Exposures
Items
Defensive Line Height
A low defensive line risks quick counter-attacks by the opposition.
Lower Defensive Line height could leave space behind for attackers.
Pressing Gaps
High pressing without solid defensive support can be exploited by the opposition.
High Press with defenders deep may create unstructured moments.
Role synergies
Role Synergies
Items
IWB with VOL
IWB-Su provides width while Volantes contribute in attacking support.
IWB-Su at [2,1] combines effectively with VOL-At at [3,3] for attacking play.
AF with IW
The combination allows for smart runs and overloads in the final third.
AF-At at [6,2] working with IW-Su at [5,1] creates channels.
Suggested questions
How can the team better utilize the width provided by the inside wingers?
What adjustments can be made to improve defensive coherence?
How can the midfield roles be better defined to avoid overlap?
Related Tactics
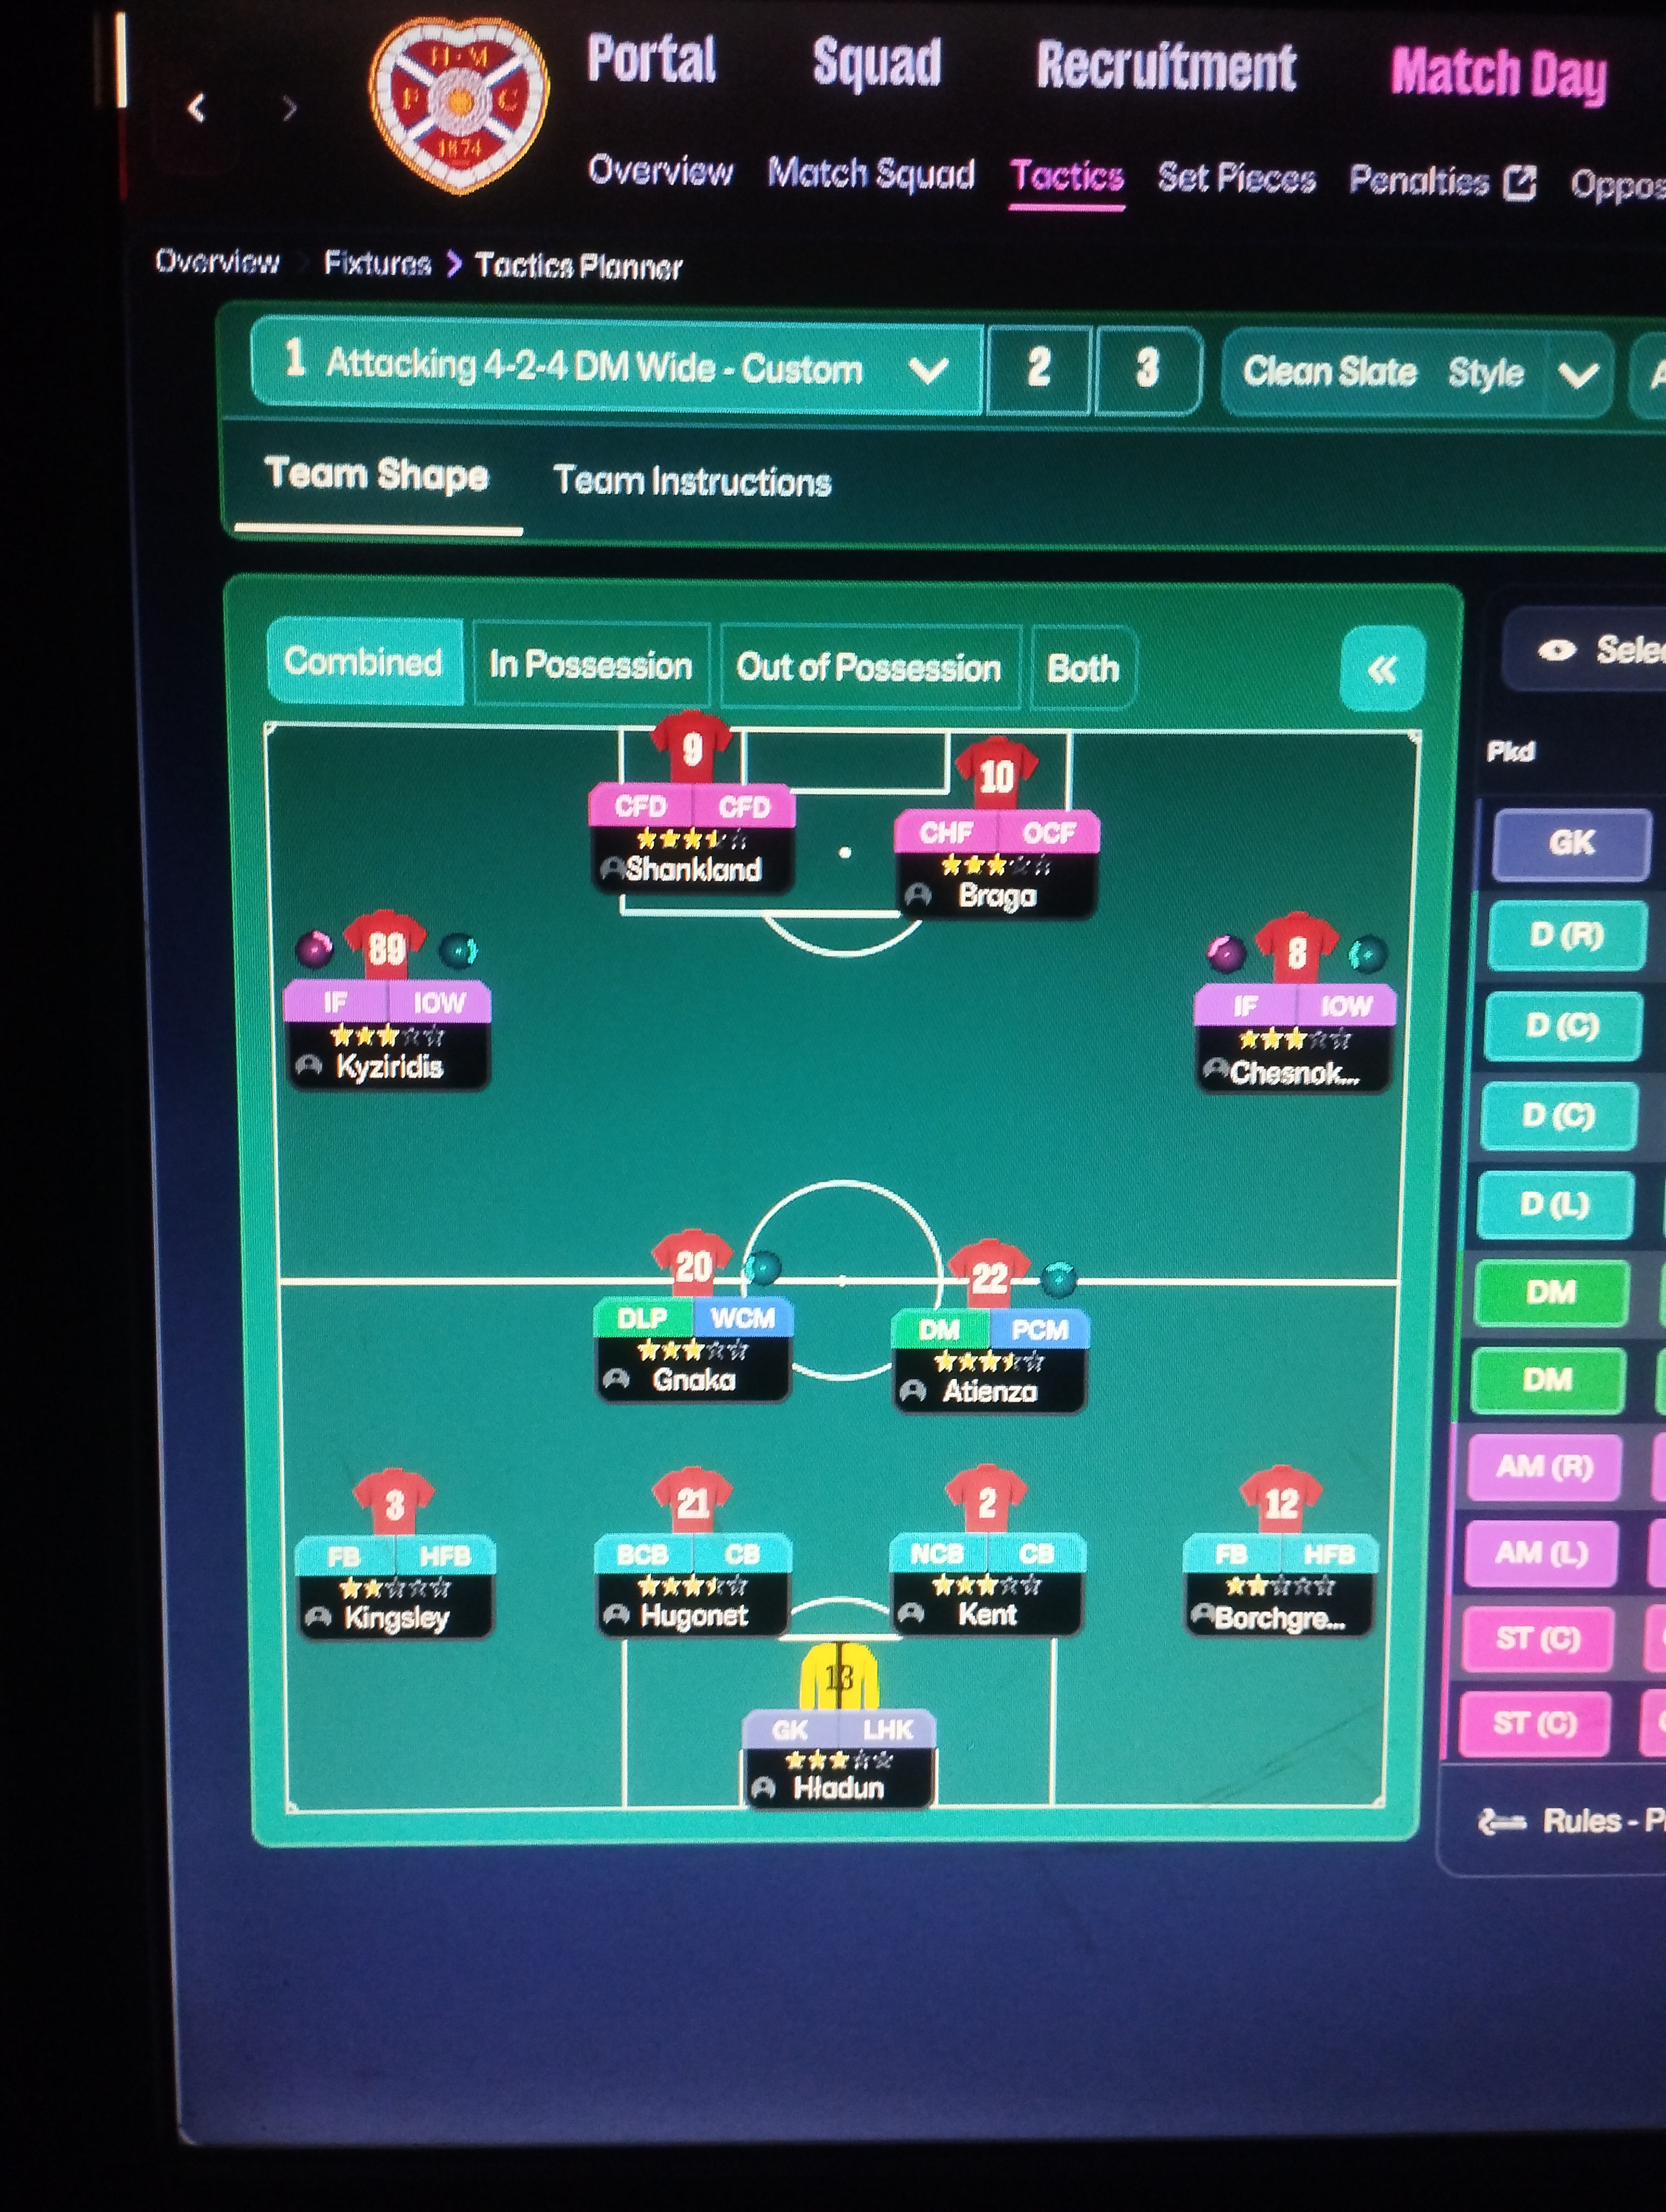
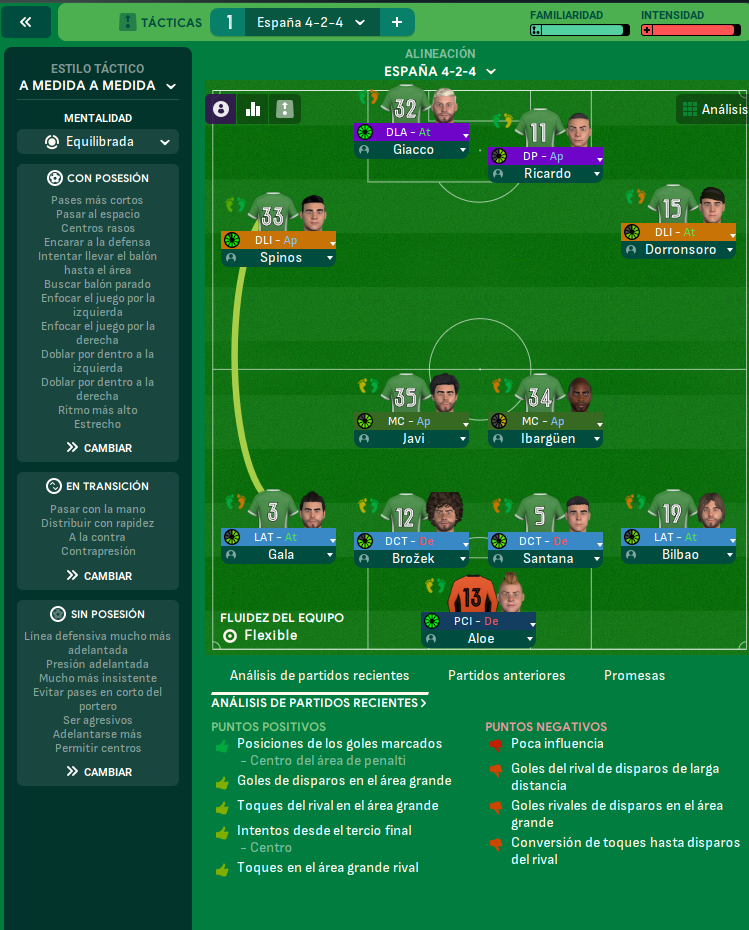
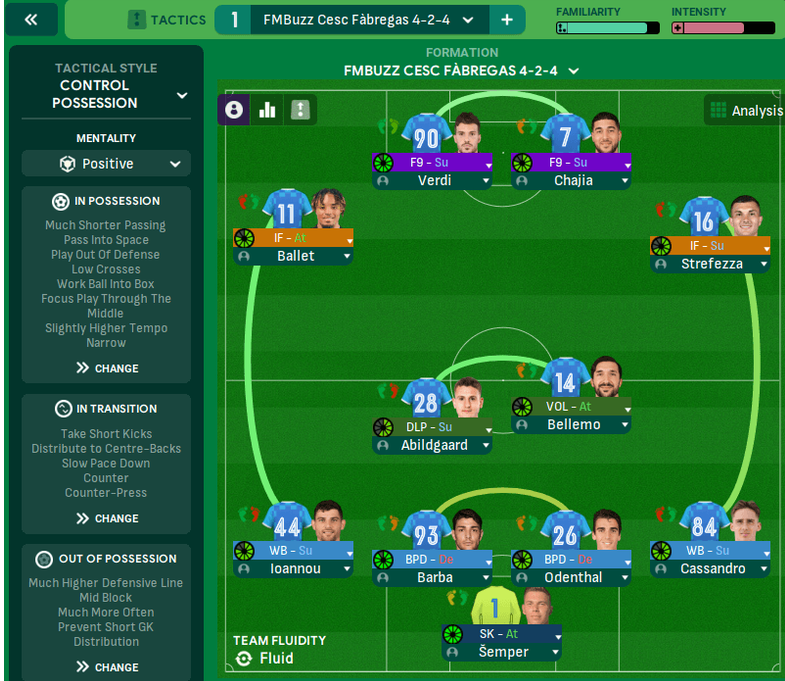
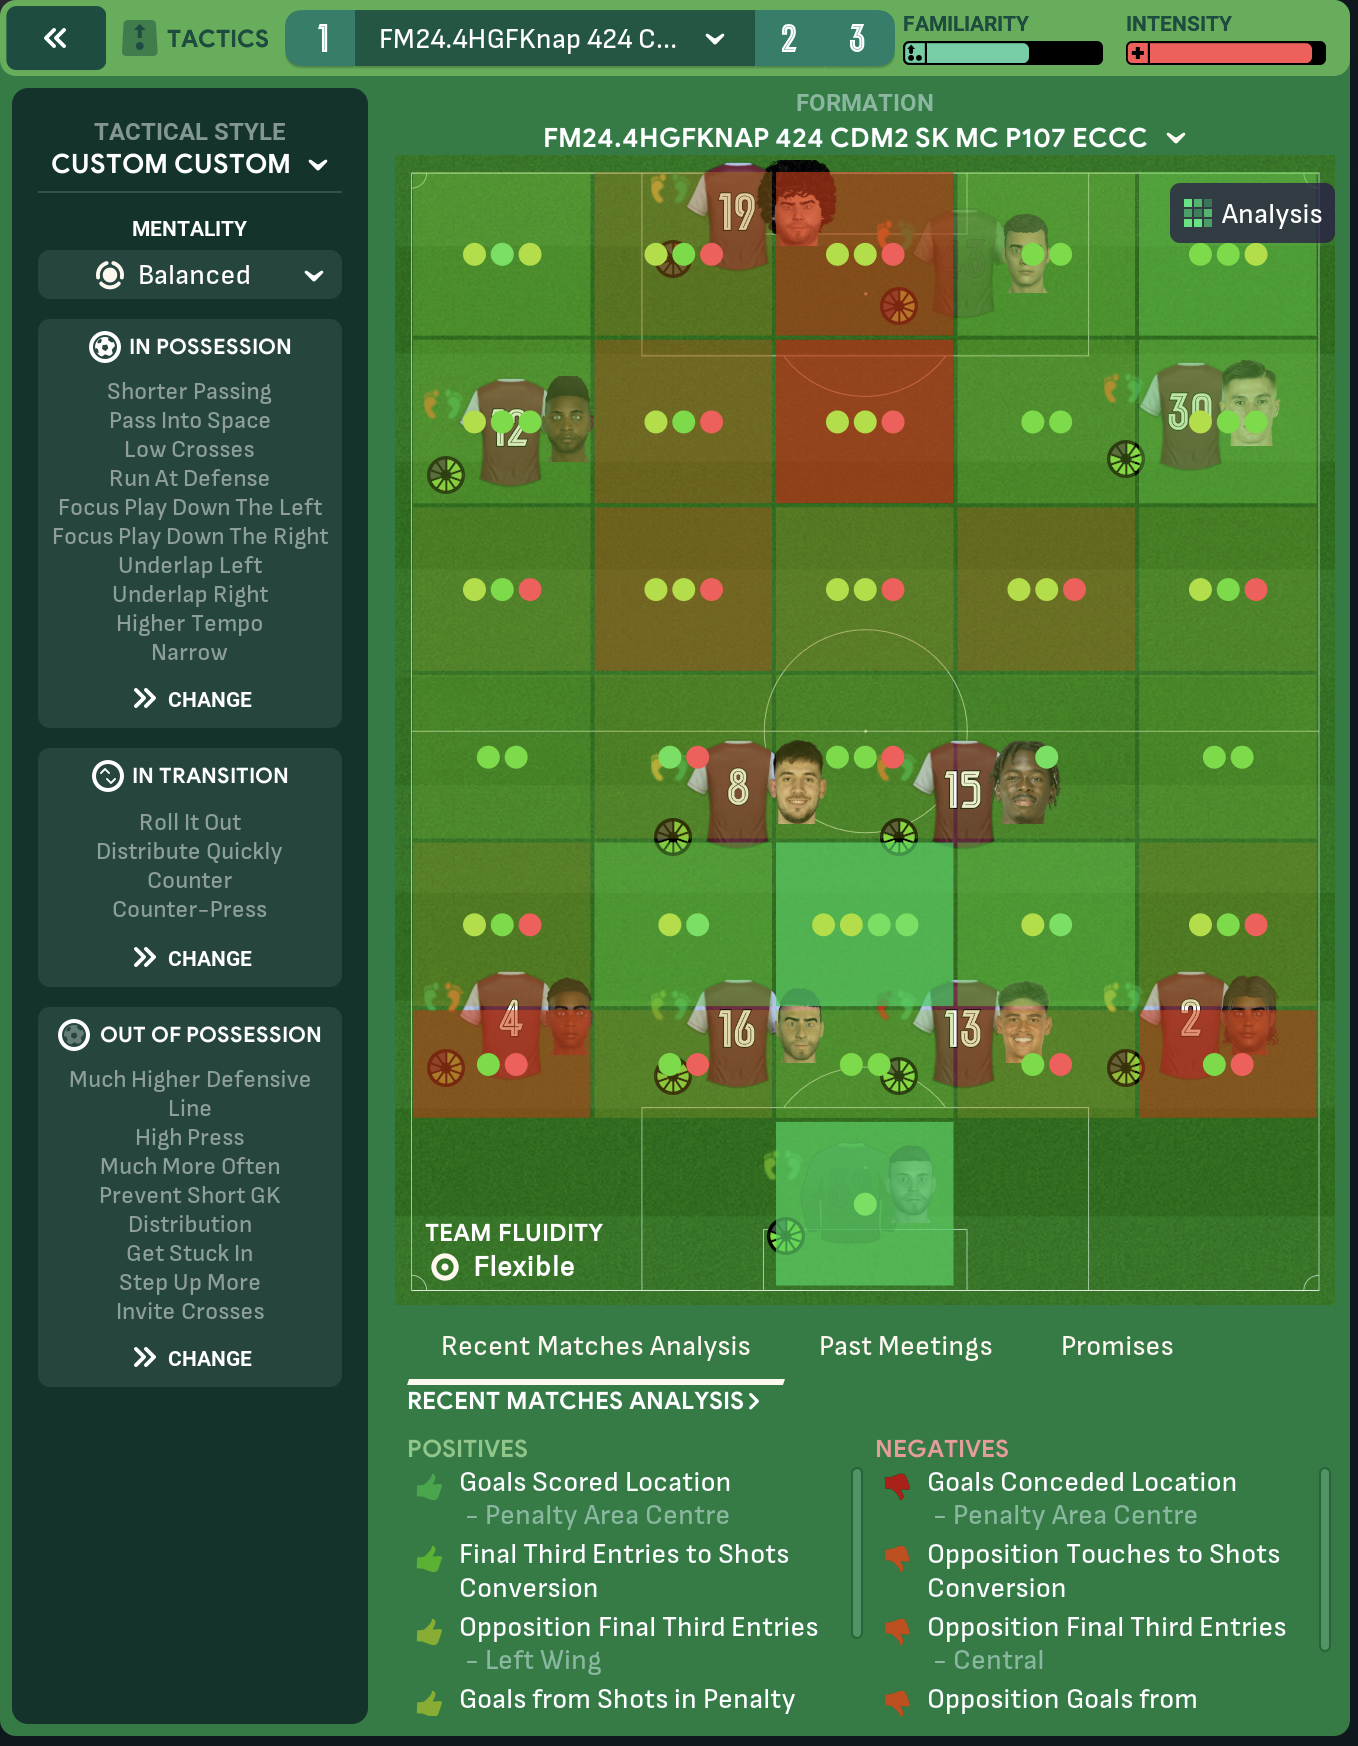
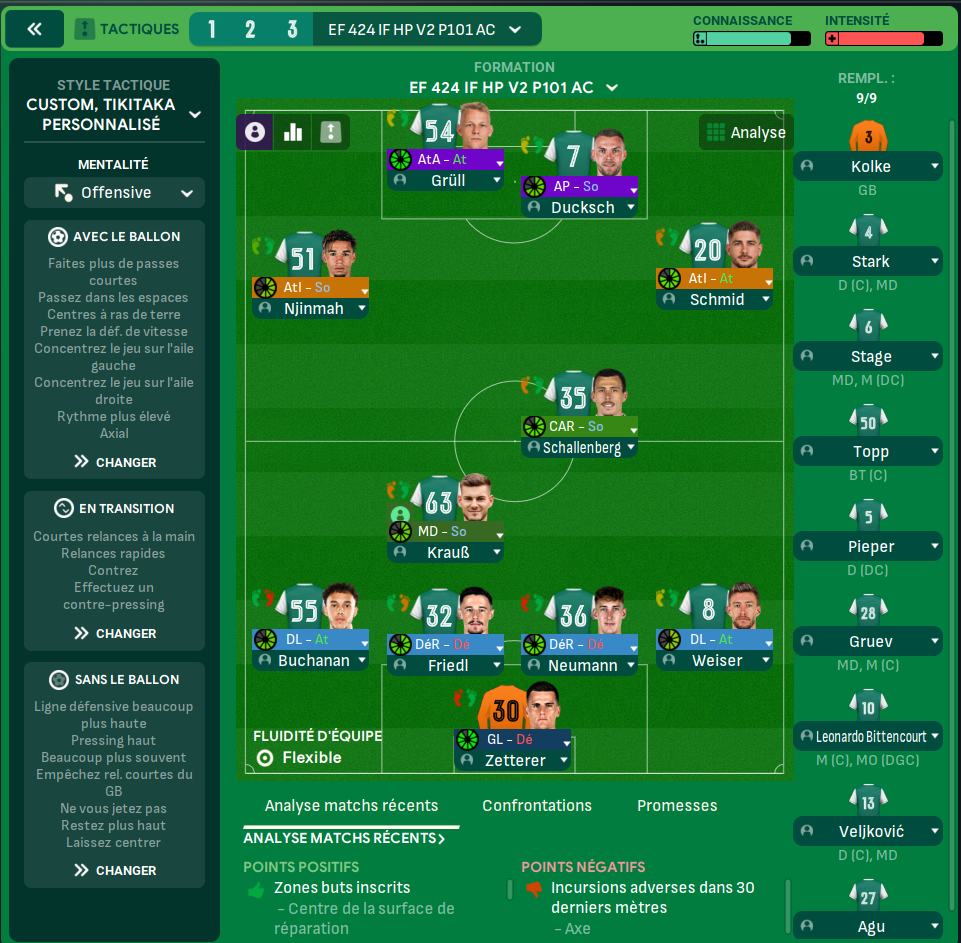
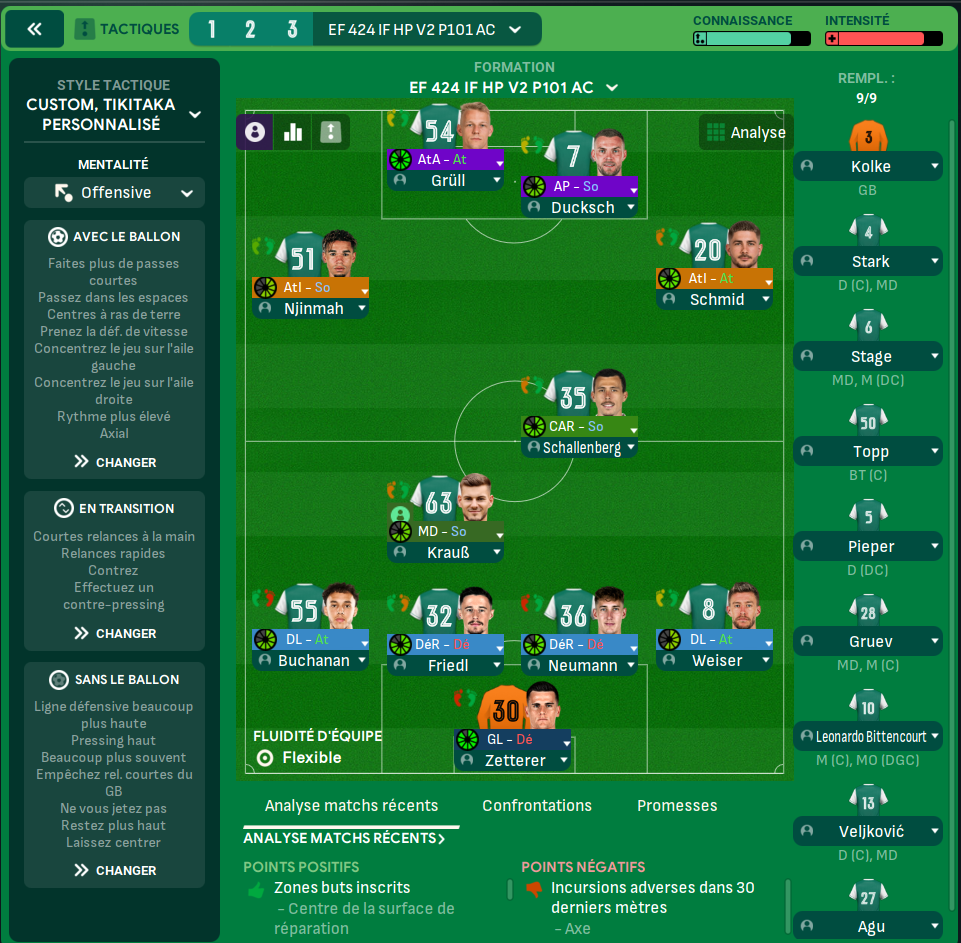
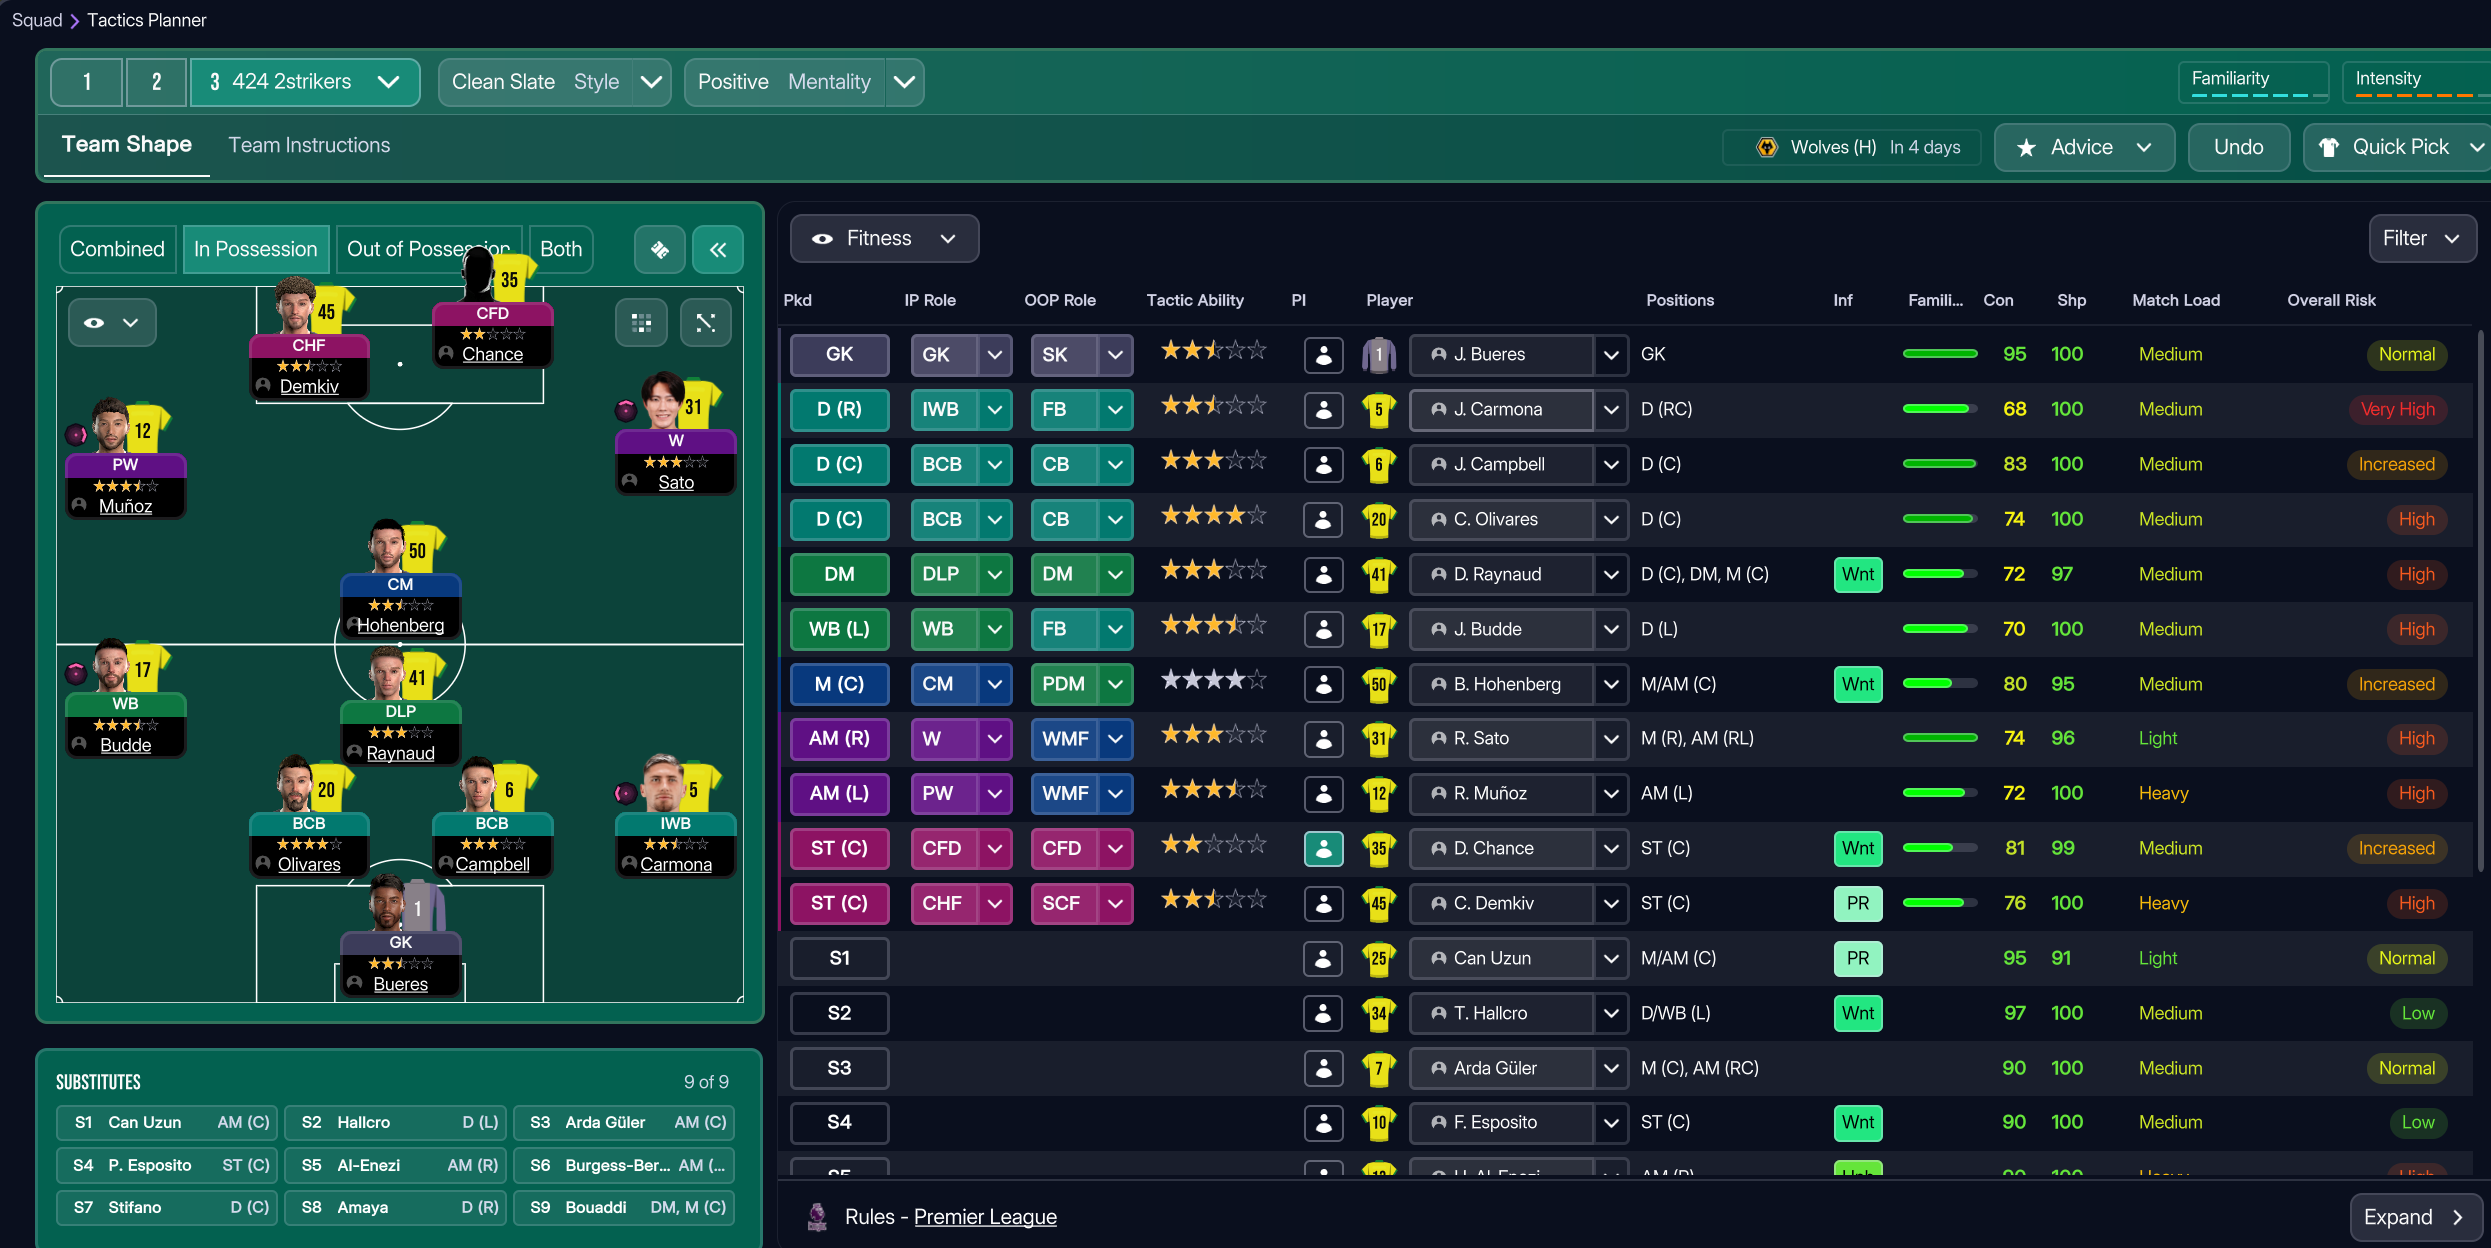
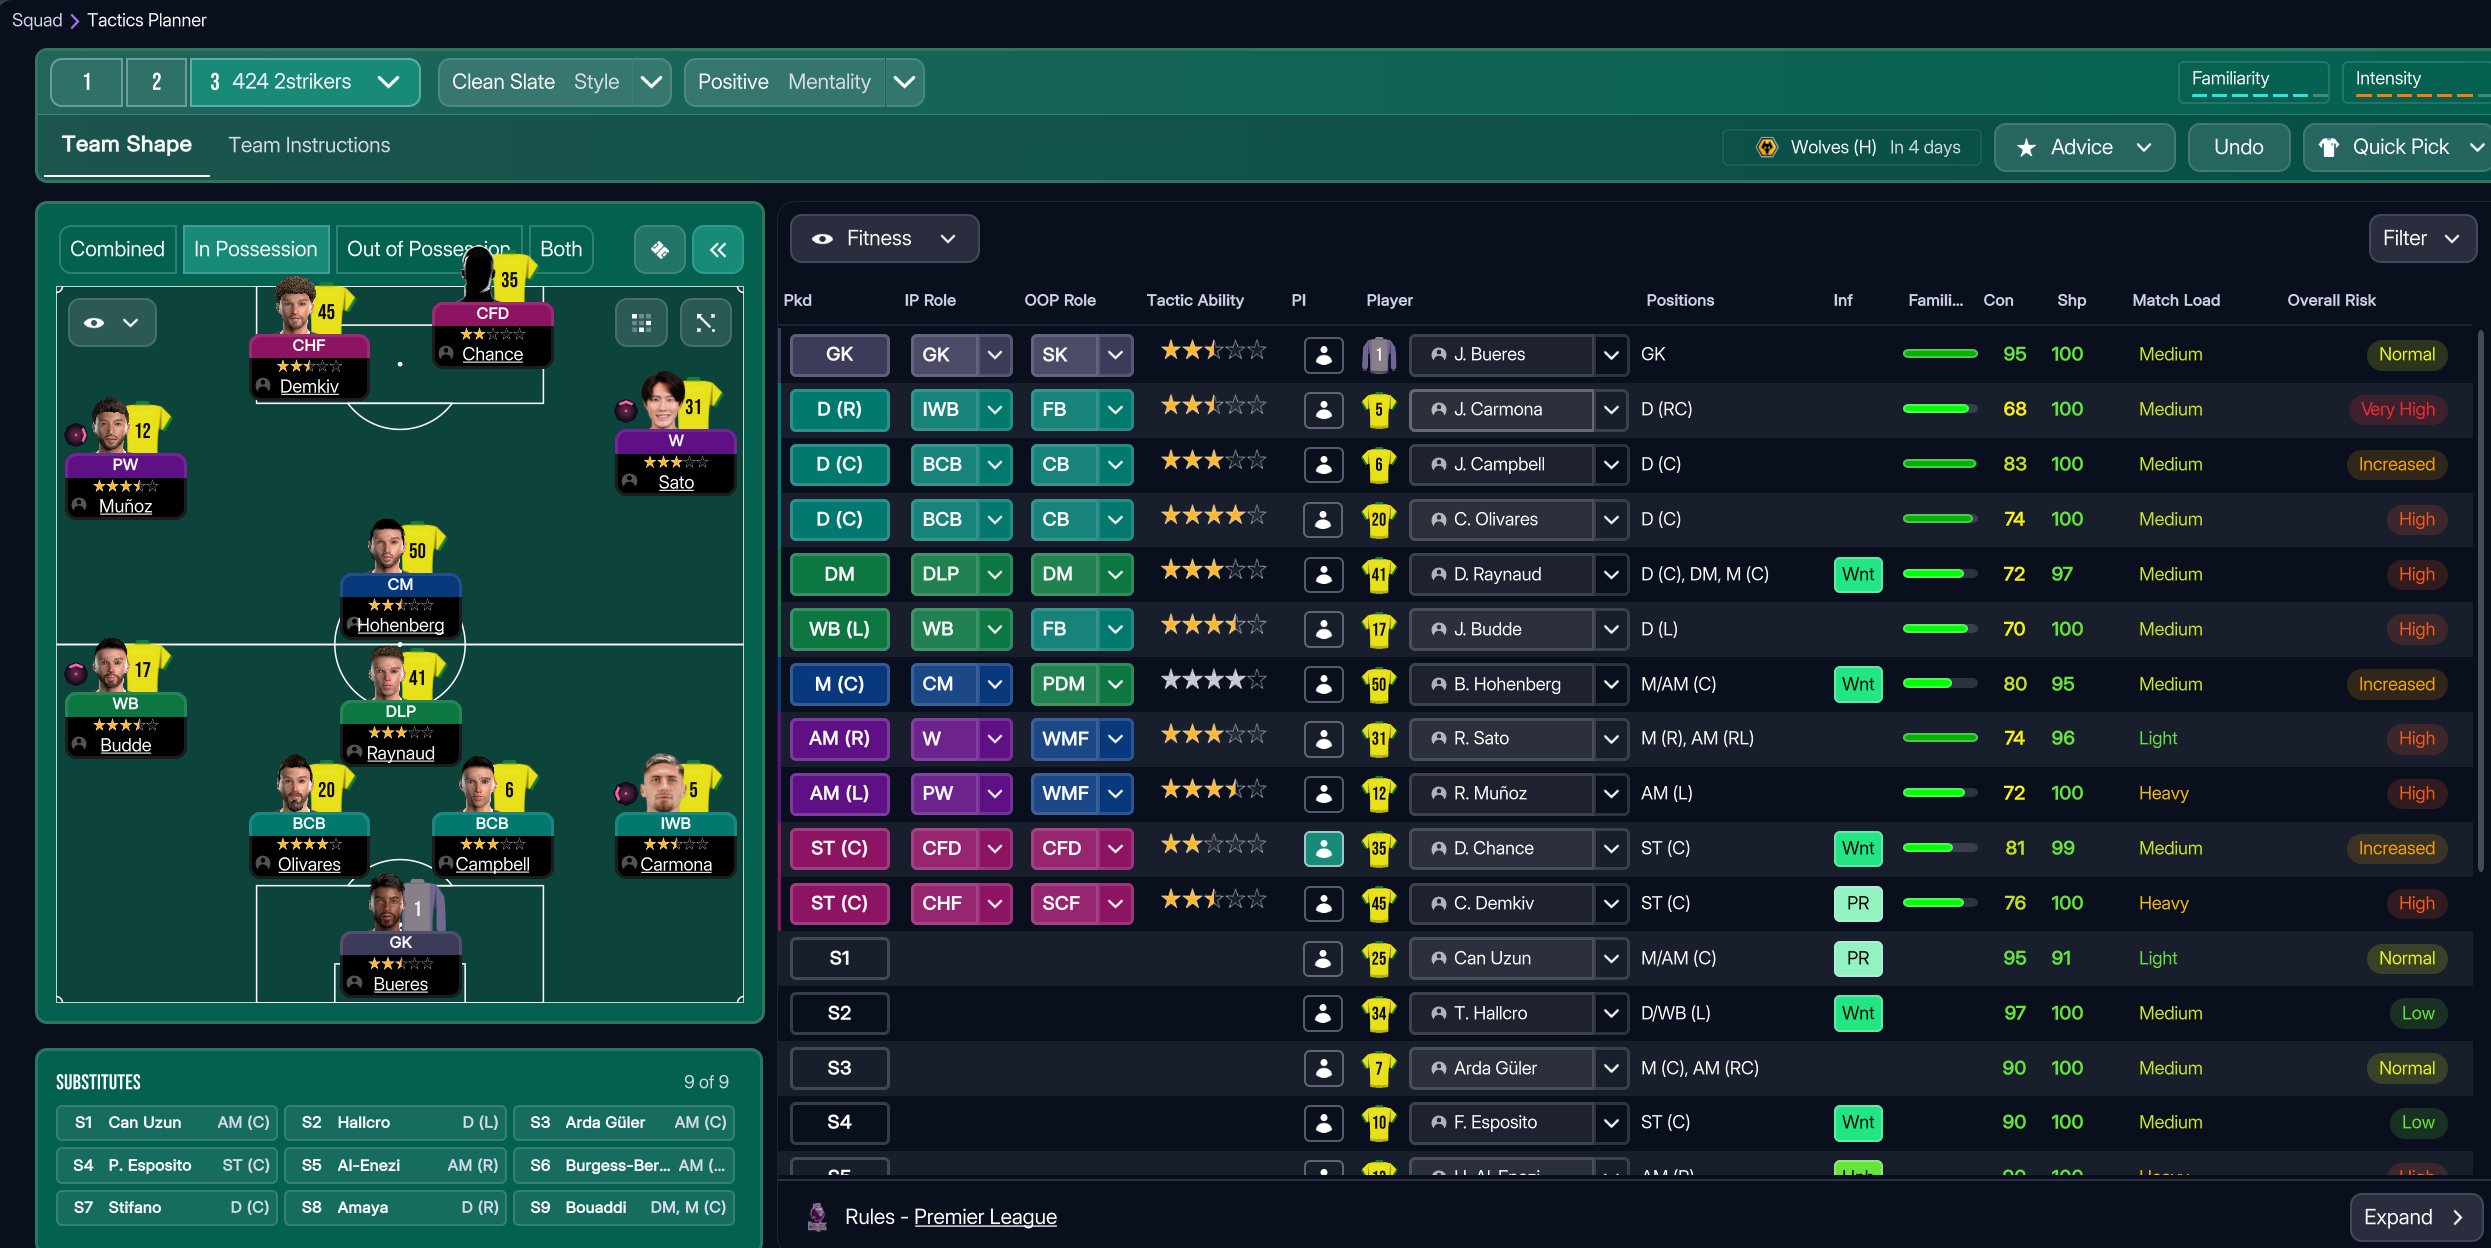
More Custom the Assembler tactics
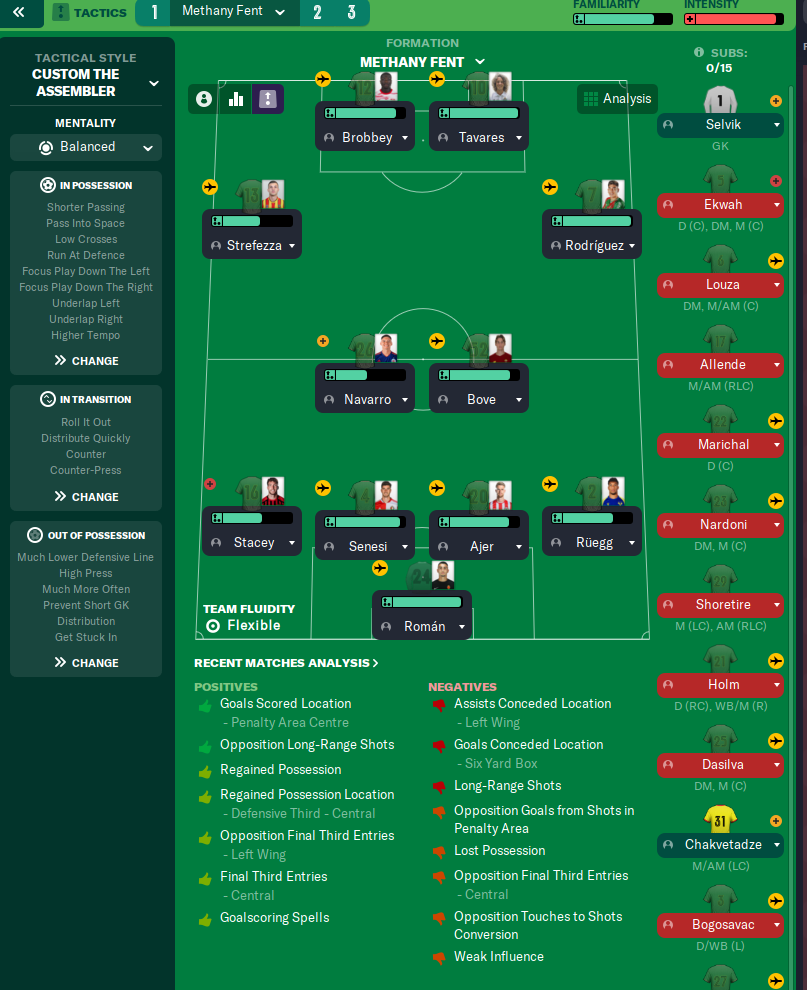
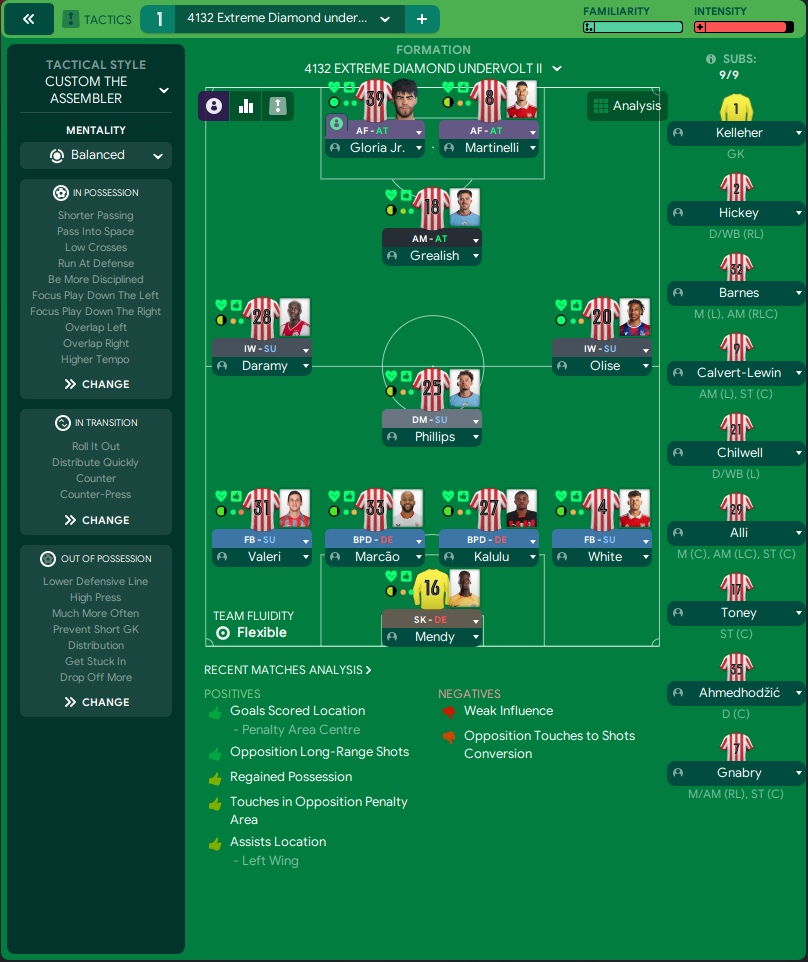
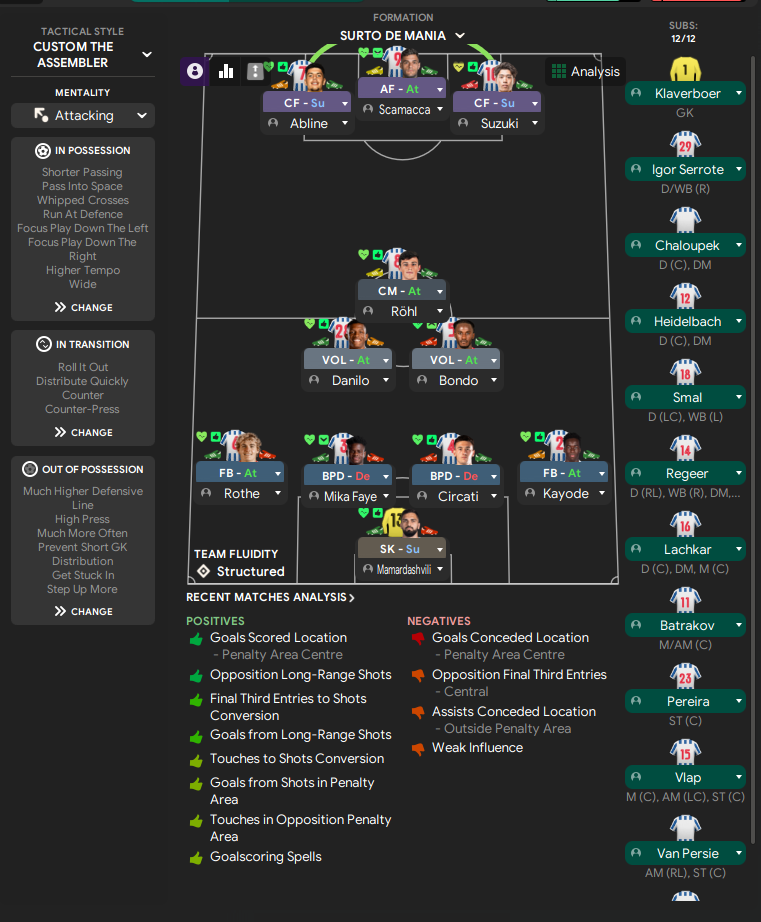
Guides for this tactic
The tactical theory behind the 4-2-4: roles, instructions, and the trade-offs that decide whether the system holds up.
Playing styles
Direct, Vertical Football
Long-ball football done well in FM. When direct, vertical play is the right choice, and what the Direct Passing TI actually changes.
Read guide
Foundations
Defensive Line and Line of Engagement
The pairing rule for Defensive Line and Line of Engagement, all 9 combinations, and the gap that costs goals.
Read guide
Foundations
Width, Compactness, and Tempo
What Higher Tempo, Wider, and Narrower actually do in FM, plus the dial contradictions and antipatterns players run into most often.
Read guide