Uploaded Tactic
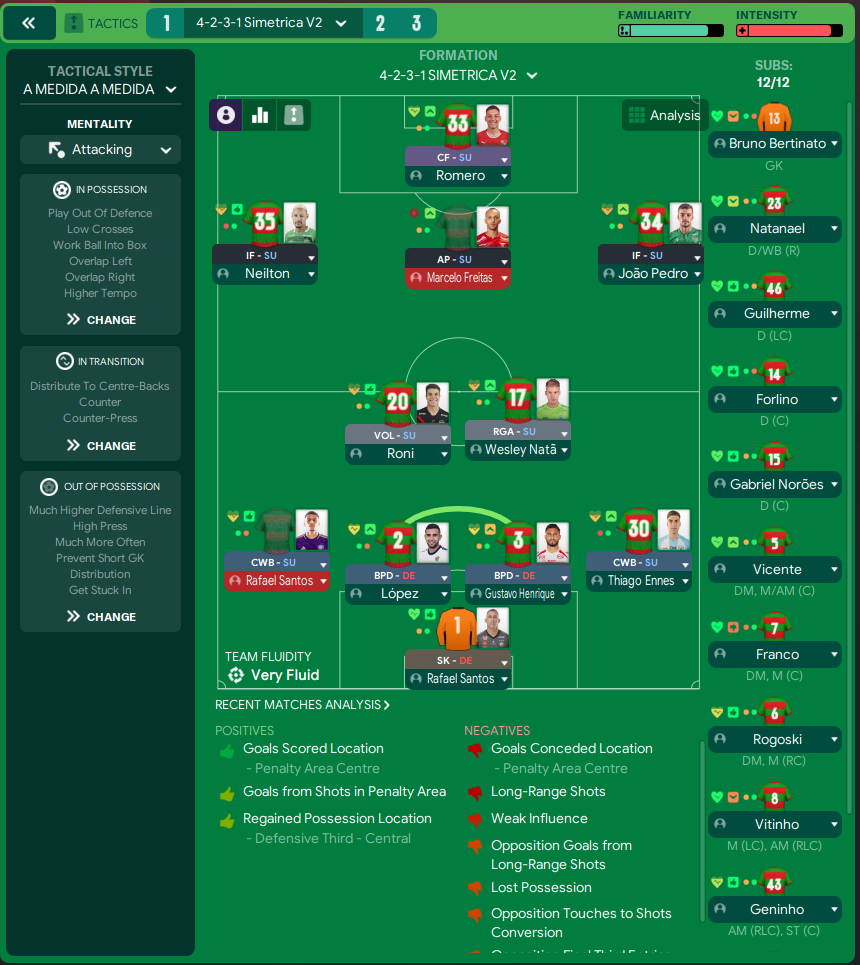
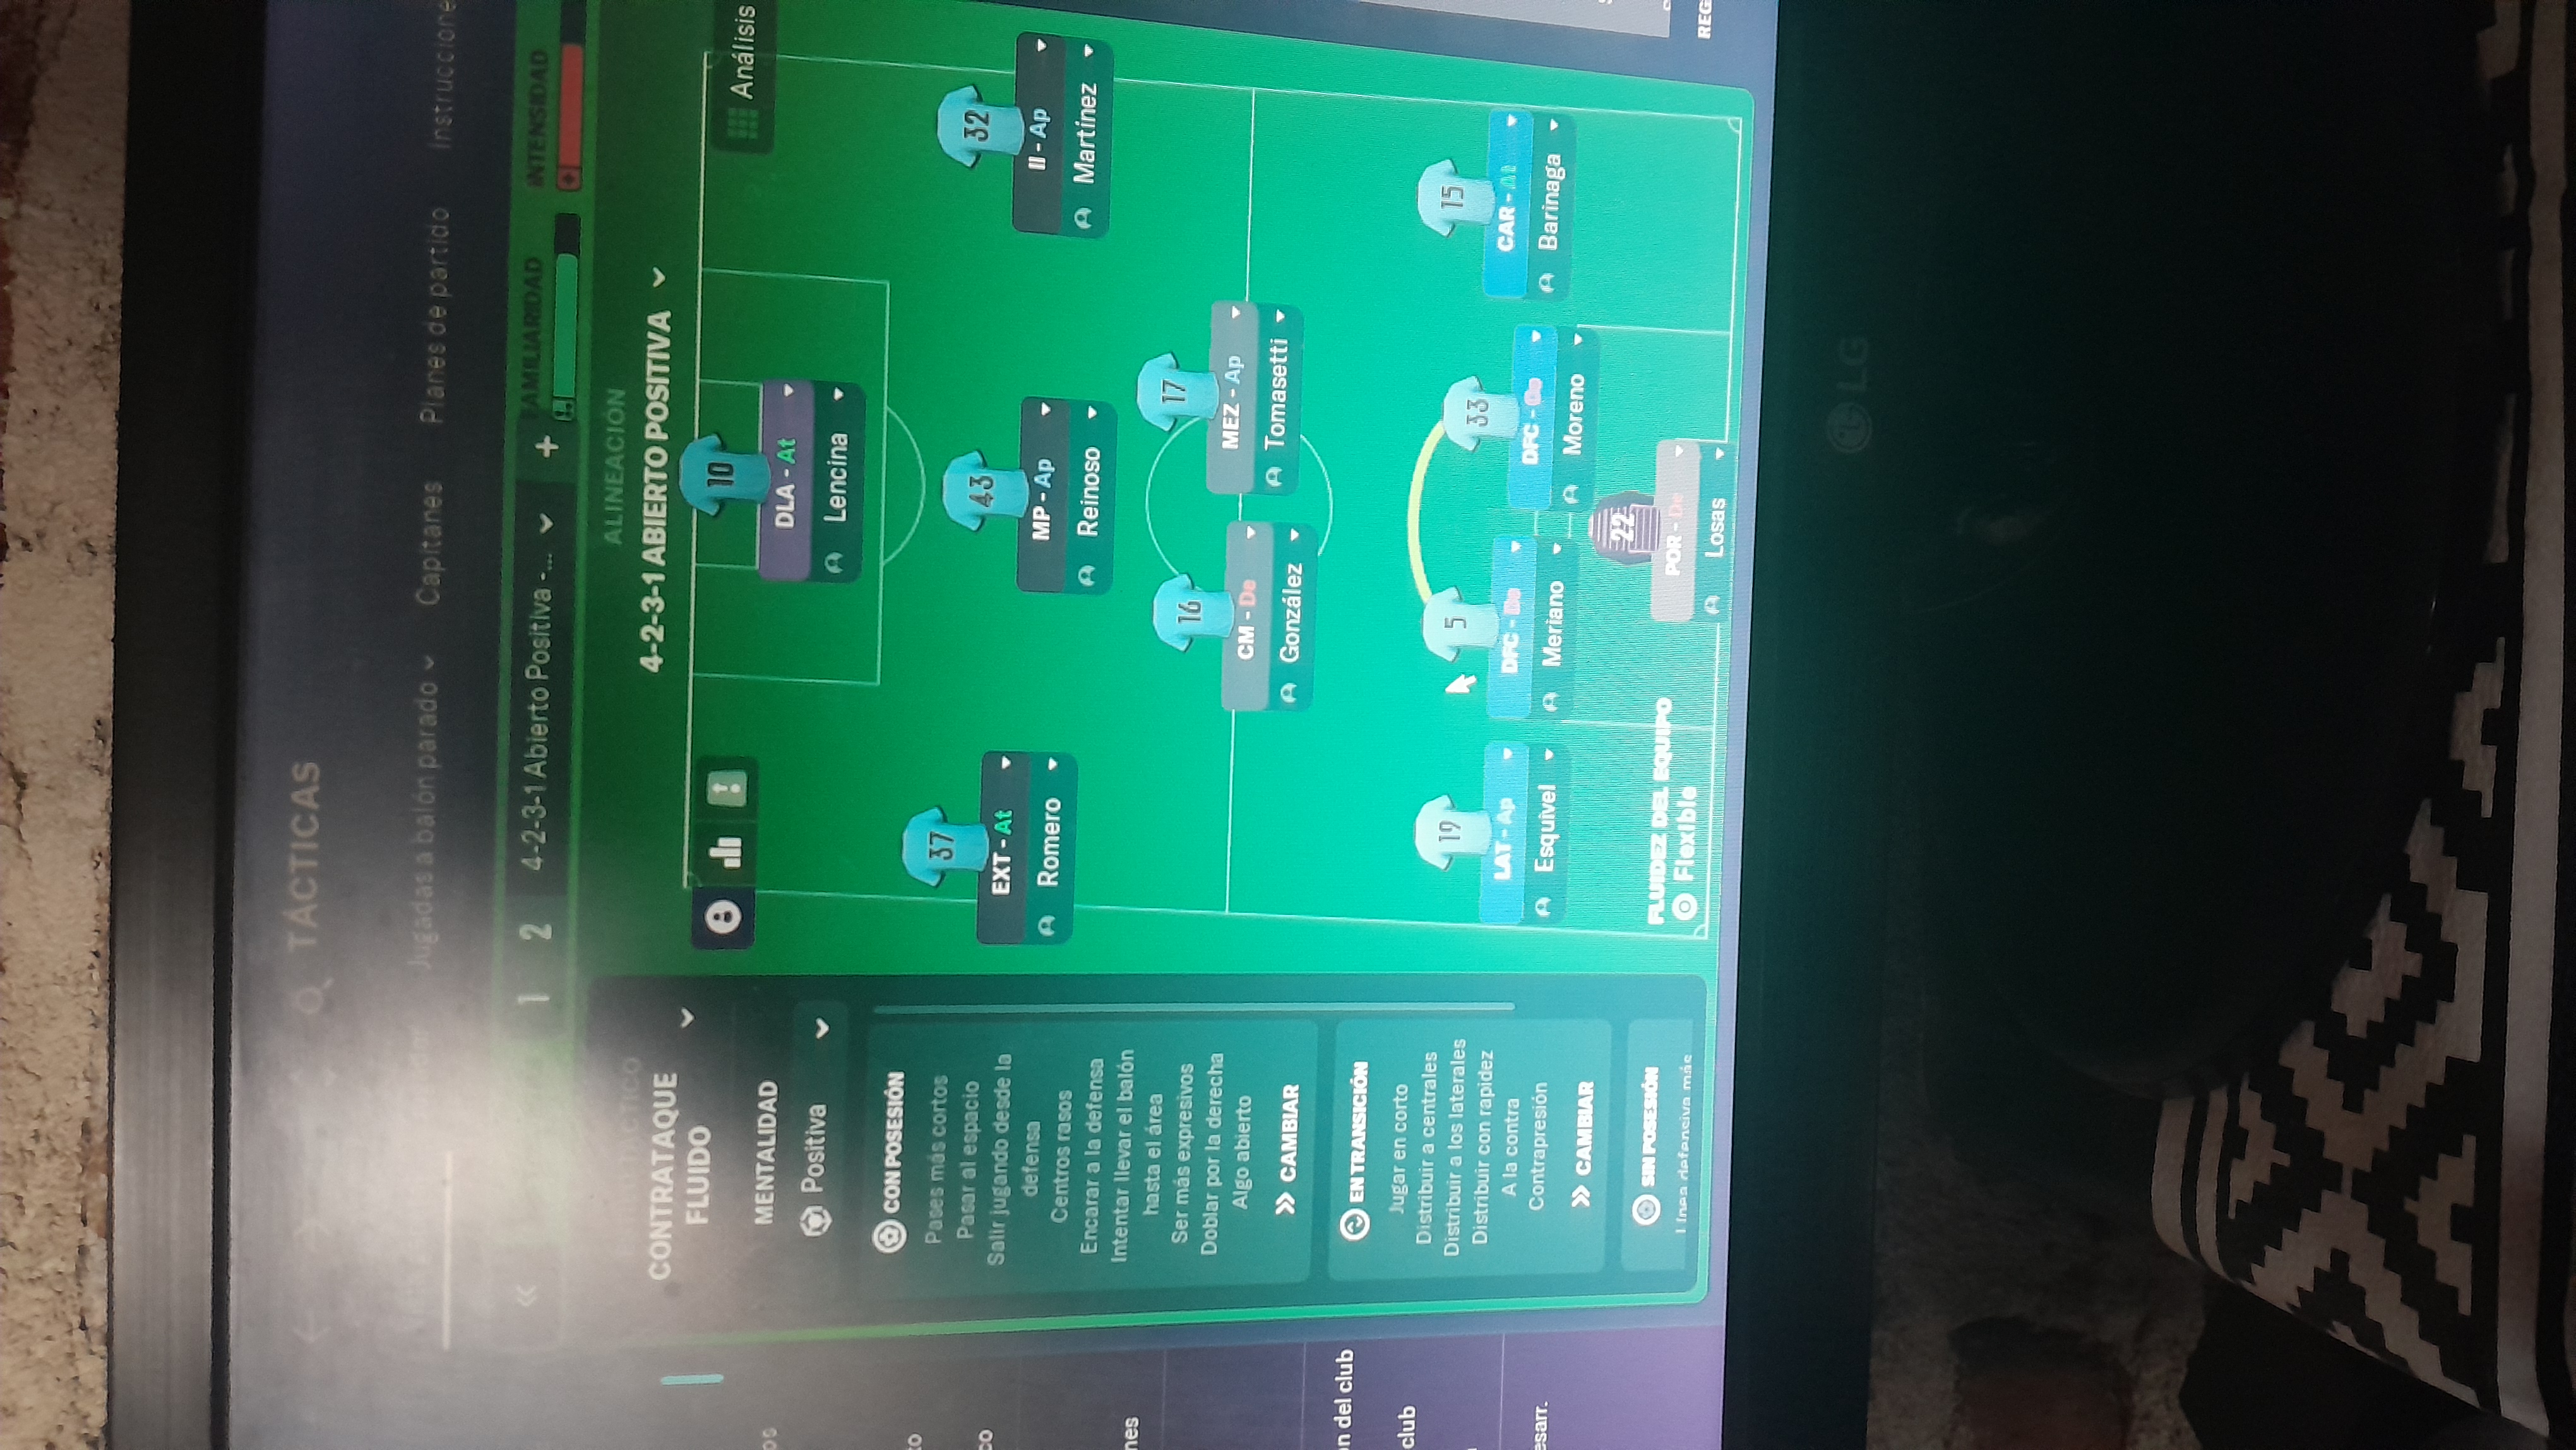
Formation & Style
Tactical Style:A Medida A Medida
Mentality:Attacking
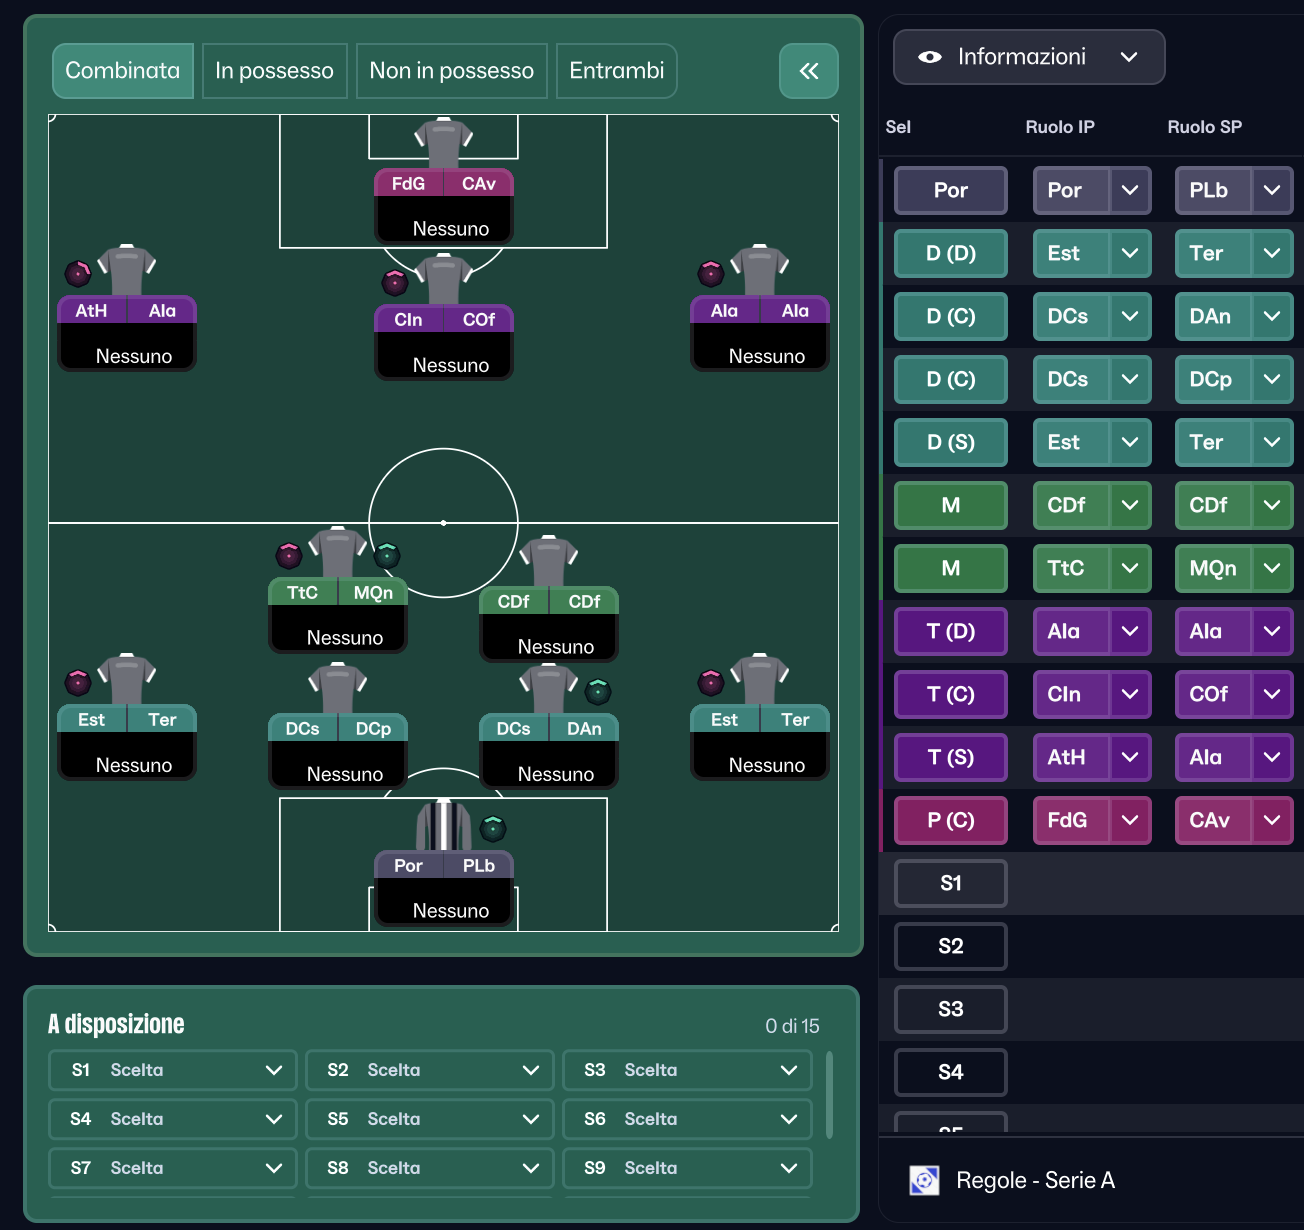
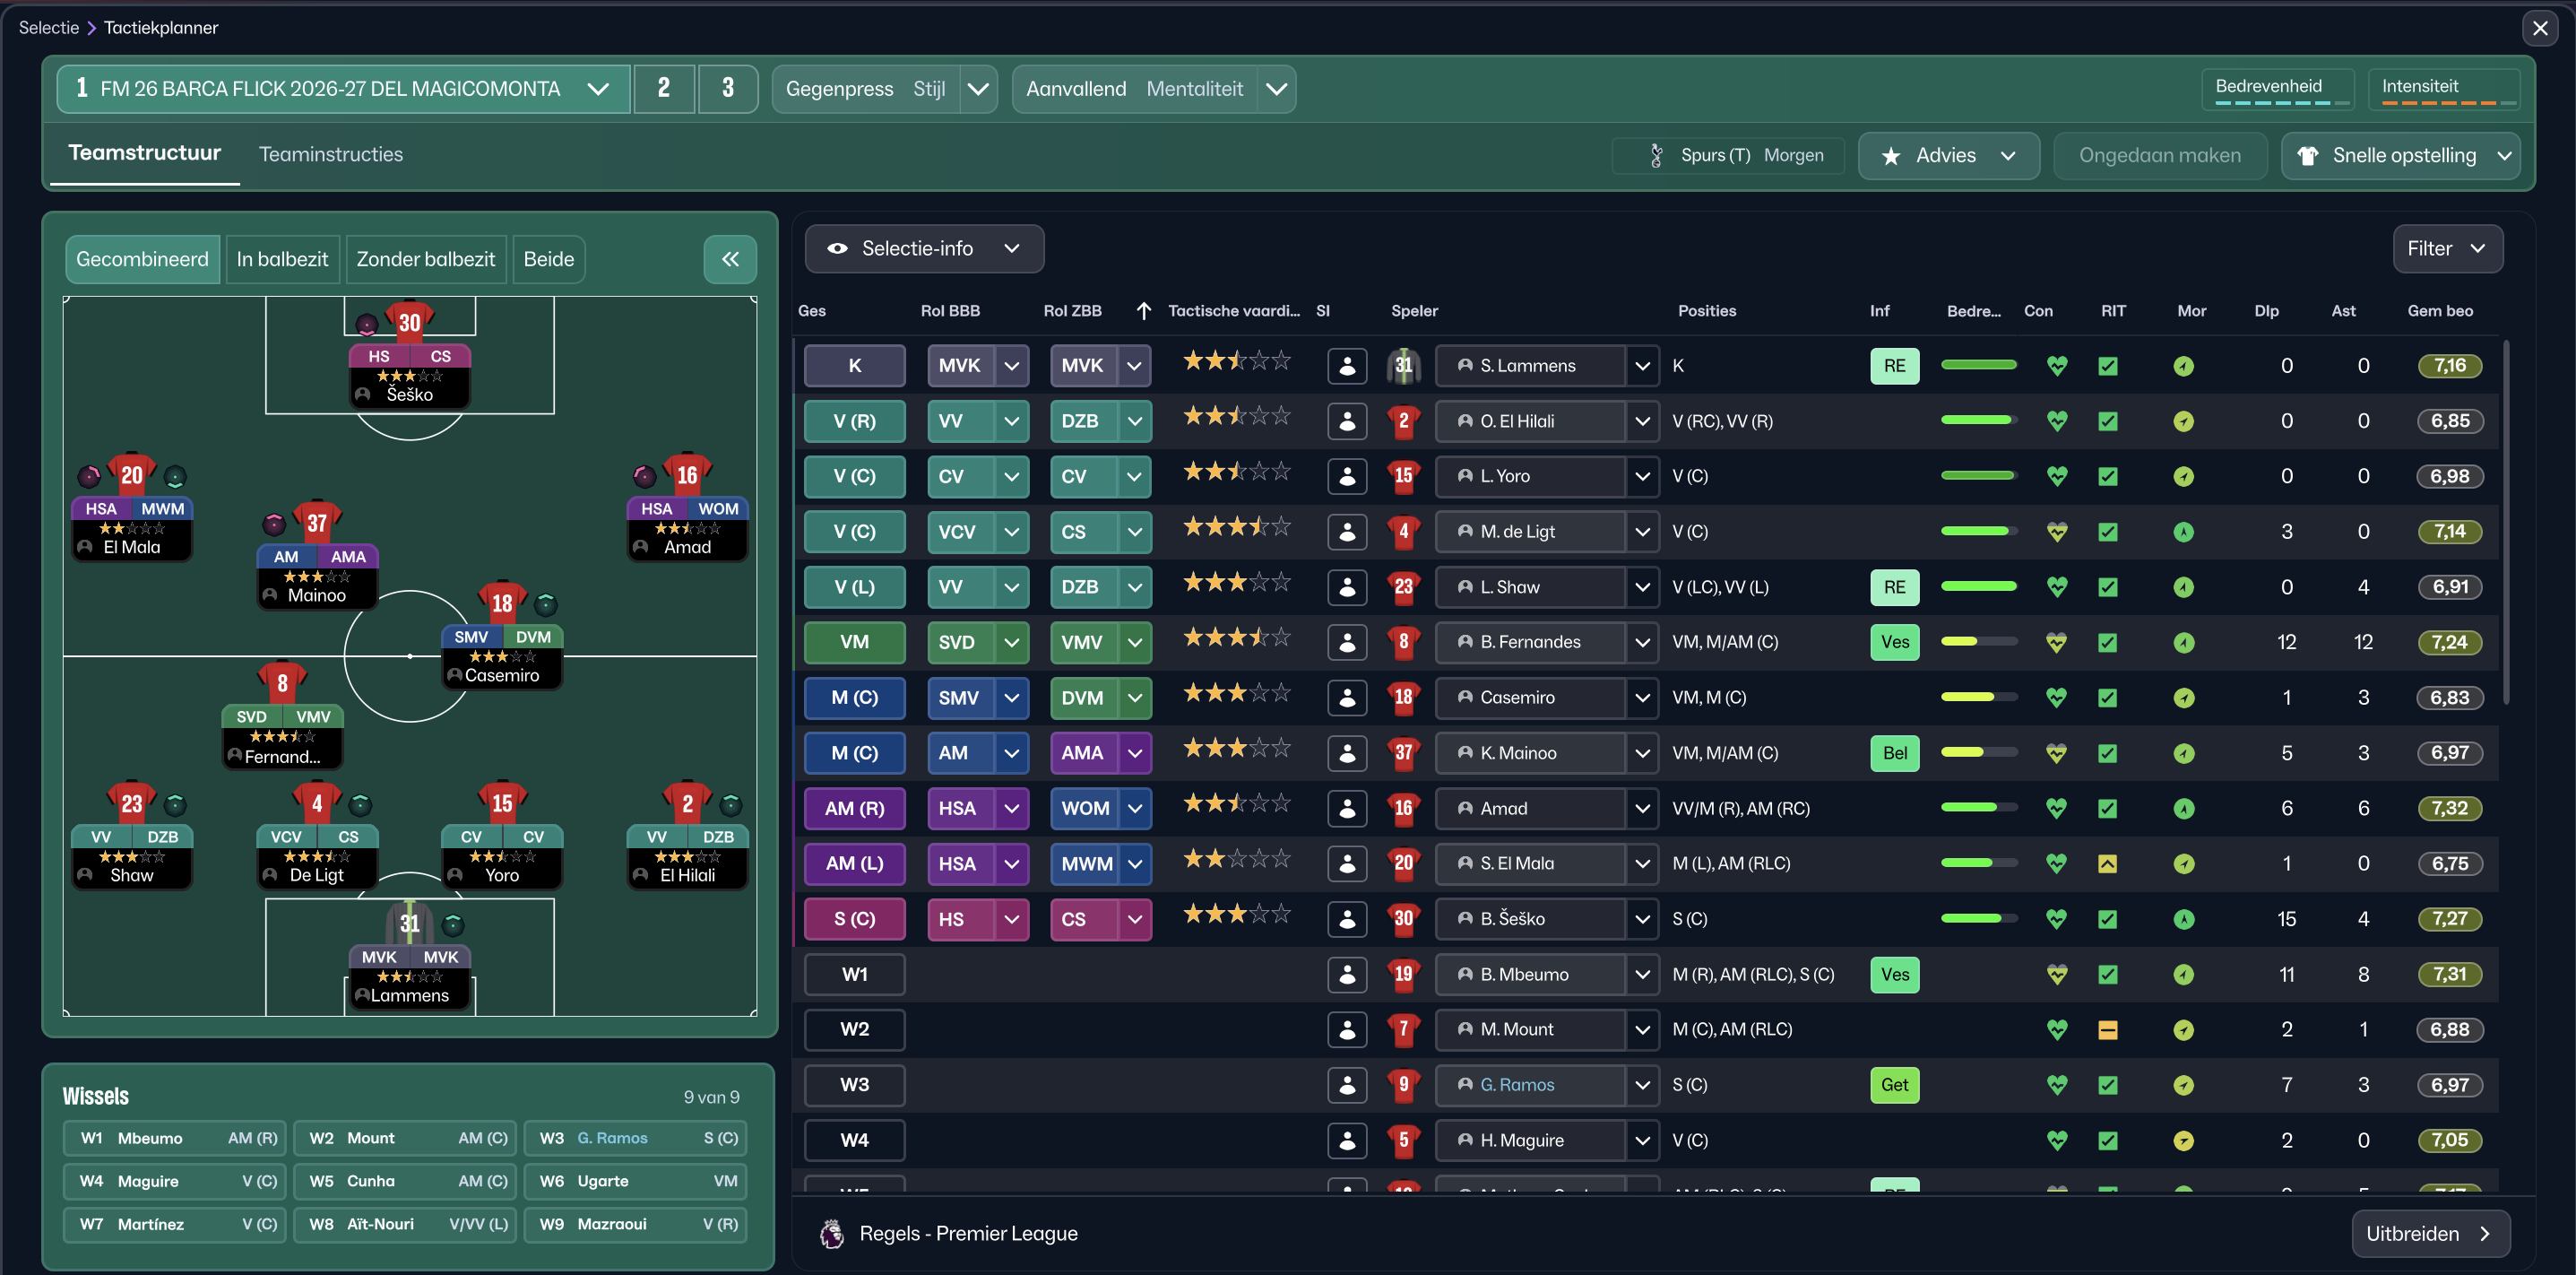
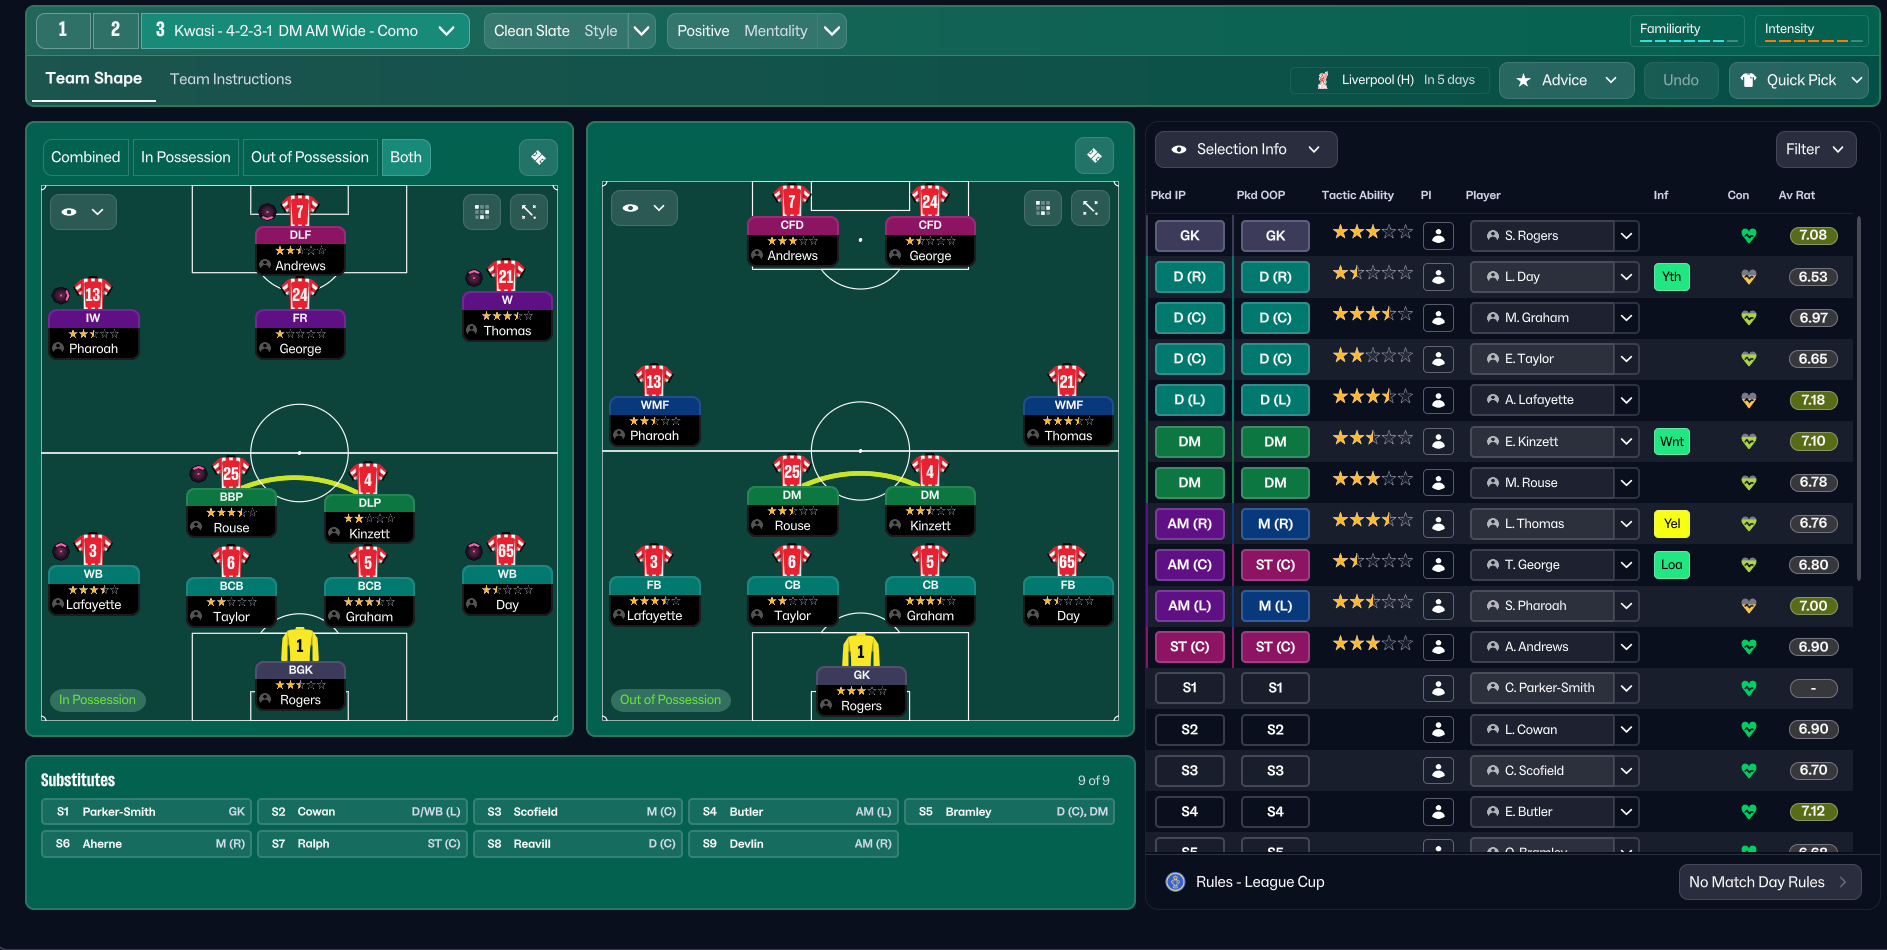
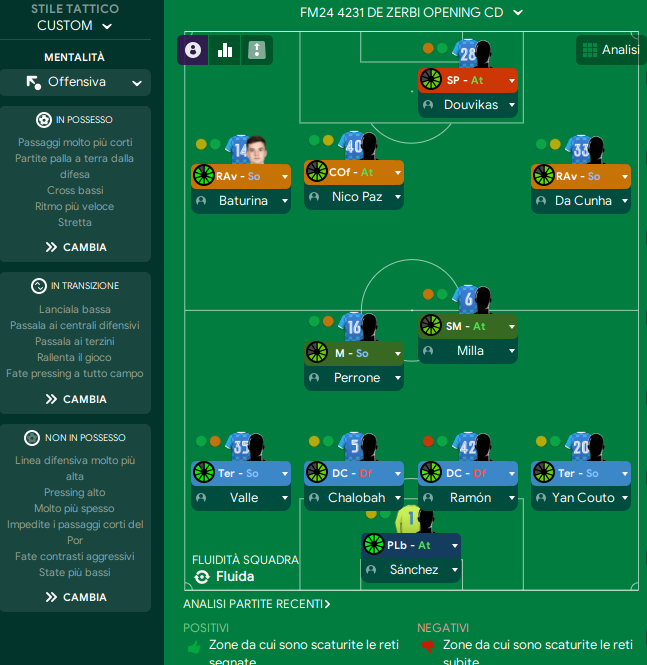
Formation:4-2-3-1
Team Fluidity:Very Fluid
In Possession
Play Out Of Defence
Low Crosses
Work Ball Into Box
Overlap Left
Higher Tempo
In Transition
Distribute To Centre-Backs
Counter
Counter-Press
Out of Possession
Much Higher Defensive Line
High Press
Much More Often Prevent Short GK Distribution
Get Stuck In
Team Shape Without Ball
Shape:4-2
Description:Four defenders with two deeper midfielders providing defensive support.
Evidence:BPD-D roles at [2,2] and [2,3]; DM roles at [3,2] and [3,3].
Team Shape With Ball
Shape:3-3-1
Description:Three attackers with wing-backs pushing high and midfielders supporting from behind.
Evidence:AM-S at [4,3] supporting two IF-S at [5,2] and [5,4] and CF-S at [6,3].
Phase Description
Attacking Play
Utilizes width through wing-backs and overlap, aiming for low crosses and quick one-two plays in the final third.
Defensive Transition
Focuses on immediate pressing after losing the ball and quick recovery to counter.
Main Focus
Create goal-scoring opportunities through teamwork and quick ball movement.
Key Strengths
Effective Midfield Control
The combination of a Roaming Playmaker and Deep-Lying Playmaker allows for fluid transitions and ball retention.
Attacking Width
Complete Wing-Backs provide width, allowing inside forwards to cut in or overlap.
High Pressing Game
With a much higher defensive line and a high press, the team can win the ball back quickly.
Conflicting Directions
Vulnerability To Counter-Attacks
The high defensive line exposes the team to swift counter-attacks, especially from speedy opponents.
Inconsistent Defensive Shape
The fluidity in midfield can sometimes leave gaps in defense if the wing-backs are caught upfield.
Overlapping Risks
While overlaps create attacking opportunities, they can also overload defenses on the opposite flank.
Tactical Suggestions
Consider Balanced Mentality
Switching to a balanced mentality can provide more defensive solidity while still maintaining attacking prowess.
Adjust Defensive Line
Lowering the defensive line could reduce the risk of counter-attacks and maintain shape.
Use of Defensive Midfielder
Consider adopting a more defensive role for one of the central midfielders to shield the backline.
Ask Questions About Your Lineup
Related Tactics
Guides for this formation
The tactical theory behind the 4-2-3-1: roles, instructions, and the trade-offs that decide whether the system holds up.
Player pairings
Midfield Pairs in 4-2-3-1 and 4-4-2
Double pivots and flat pairs in 4-2-3-1 and 4-4-2: when each pairing works, when it collapses, and the AMC unicorn that rescues both.
Read guide
Playing styles
Gegenpressing: A Full Guide
Klopp-style gegenpressing in FM, including squad profile, line-and-press pairing, sustainable workload, and the antipatterns to avoid.
Read guide