4-4-2 (Equilibrada) Tactic
4-4-2
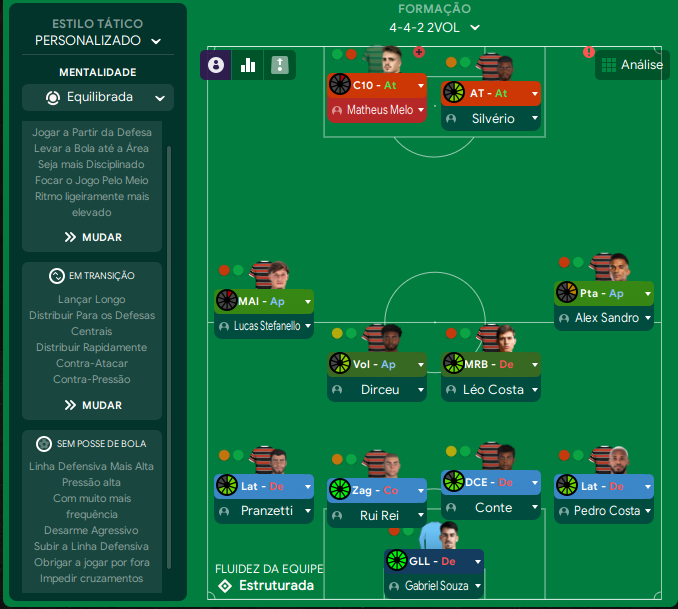
Creating opportunities through a balanced approach, ensuring stability and support throughout the pitch. The presence of a Ball-Winning Midfielder and two…
Loading tactical analysis...
Formation and style
Equilibrada
Equilibrada
4-4-2
Estruturada
In possession
Jogar a Partir da Defesa
Levar a Bola até à Área
Focar o Jogo Pelo Meio
Ritmo ligeiramente mais elevado
In transition
Lançar Longo
Distribuir Para as Defesas Centrais
Distribuir Rapidamente Contra-Ataque
Out of possession
Linha Defensiva Mais Alta
Desarme Agressivo
Player roles
ST
Complete Forward
Attack
ST
Advanced Forward
Attack
AMC
Trequartista
Attack
MC
Ball-Winning Midfielder
Support
MC
Segundo Volante
Support
MR
Wide Playmaker
Support
ML
Advanced Playmaker
Attack
DL
Full-Back
Defend
DC
Central Defender
Defend
DC
No-Nonsense Centre-Back
Defend
DR
Full-Back
Defend
GK
Goalkeeper
Defend
Phase description
A focus on building from the back with long passes into the attacking areas, exploiting width when possible.
Utilizing a high defensive line to compress space and initiate pressure quickly after losing possession.
Creating opportunities through a balanced approach, ensuring stability and support throughout the pitch.
Team shape defence
4-4-2
Compact defensive structure with a two-line defence and midfield.
DCs at [2,3] and [2,4] paired with full-backs ensuring coverage.
Team shape attack
4-2-2
Fluid attacking setup with two forwards supported by an advanced playmaker and wide playmakers.
AM at [5,3], STs at [6,3] and [6,4].
Key strengths
Midfield Control
The presence of a Ball-Winning Midfielder and two support roles ensures superior midfield stability.
BWM-S at [4,3] and Segundo Volante at [4,4].
Dynamic Attack
Two forwards and support from midfield players can create varied attacking options.
Complete Forward and Advanced Forward at [6,3] and [6,4].
Conflicting tactics
Long Ball Conflicts with Positional Play
Using long passes may disrupt the fluidity intended with a structured team.
Long Pass strategy present in transition phase.
High Line Risks
A high defensive line could be vulnerable to fast counterattacks, especially without cover.
High defensive line and aggressive pressing can create space behind.
Risk exposures
Risk Exposures
Items
Counter-Attacks
A high line may expose the team to quick counters, especially without cover.
High Defensive Line at [2,3] and pressing instructions.
Transition Moments
Transitioning from attack to defense may leave gaps if not managed correctly.
Fast-paced play could exploit slow turnarounds in defense.
Role synergies
Role Synergies
Items
BWM-S & Segundo Volante
Combined presence strengthens midfield defensively while allowing for breakouts.
Roles at [4,3] and [4,4] providing tactical flexibility.
Winger & C10
Creating overlap opportunities leads to better crossing chances.
Wide Playmaker at [5,2] supports playmaker at [5,3].
Suggested questions
How does the team manage transitions effectively with the current setup?
What adjustments are necessary to maximize the potential of wide players?
How can defensive vulnerabilities be minimized against fast counterattacks?
Related Tactics
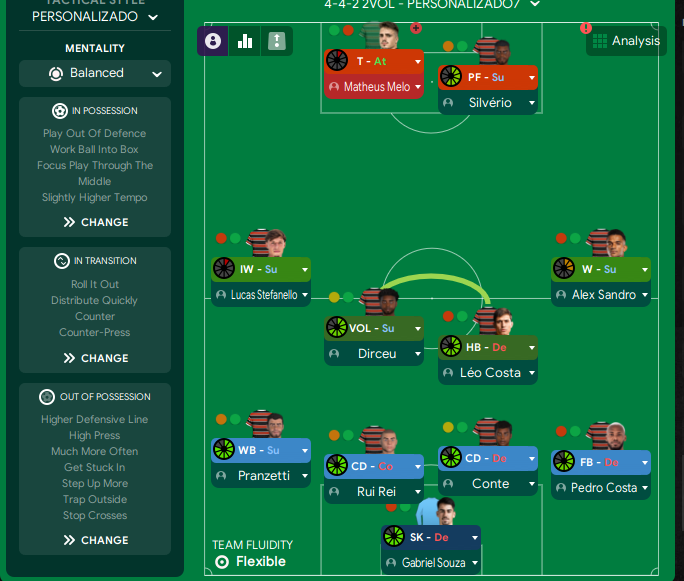
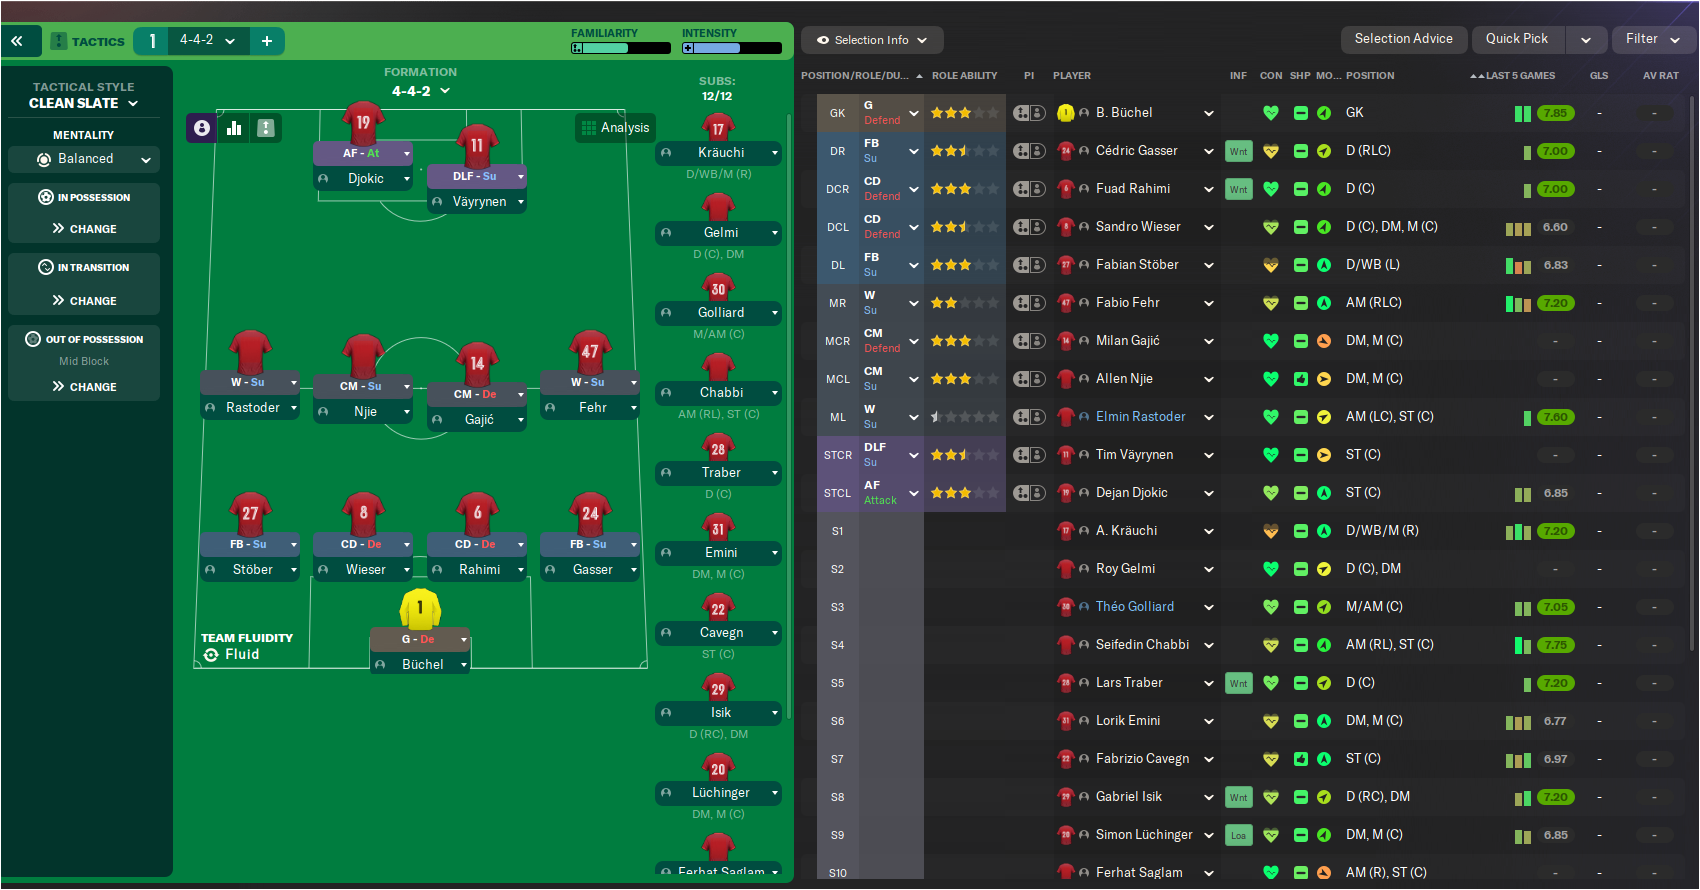
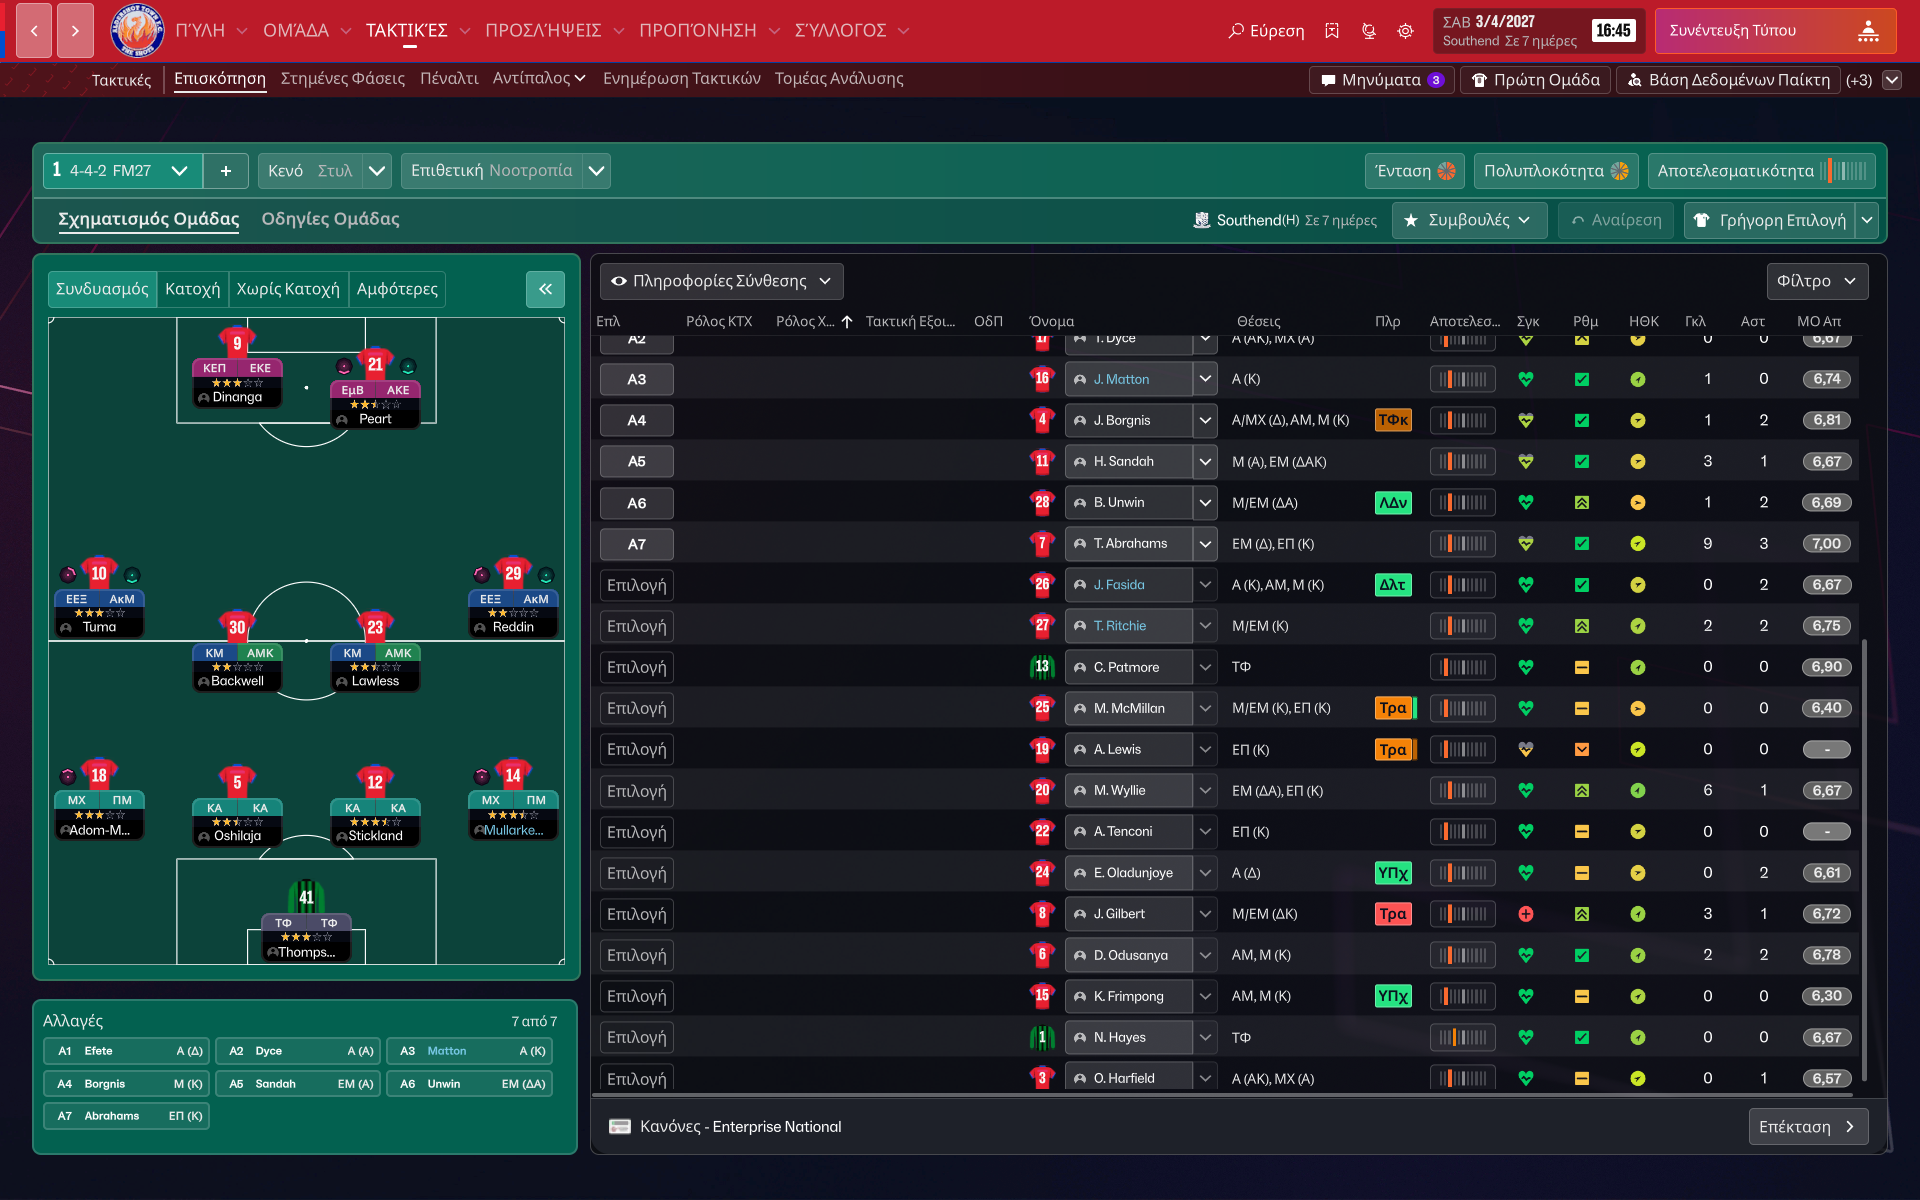
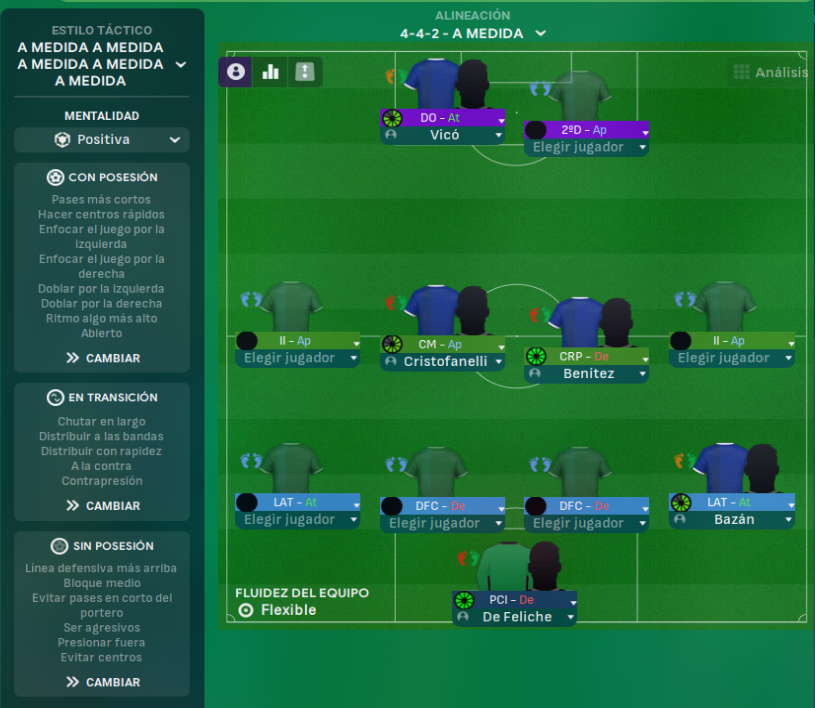
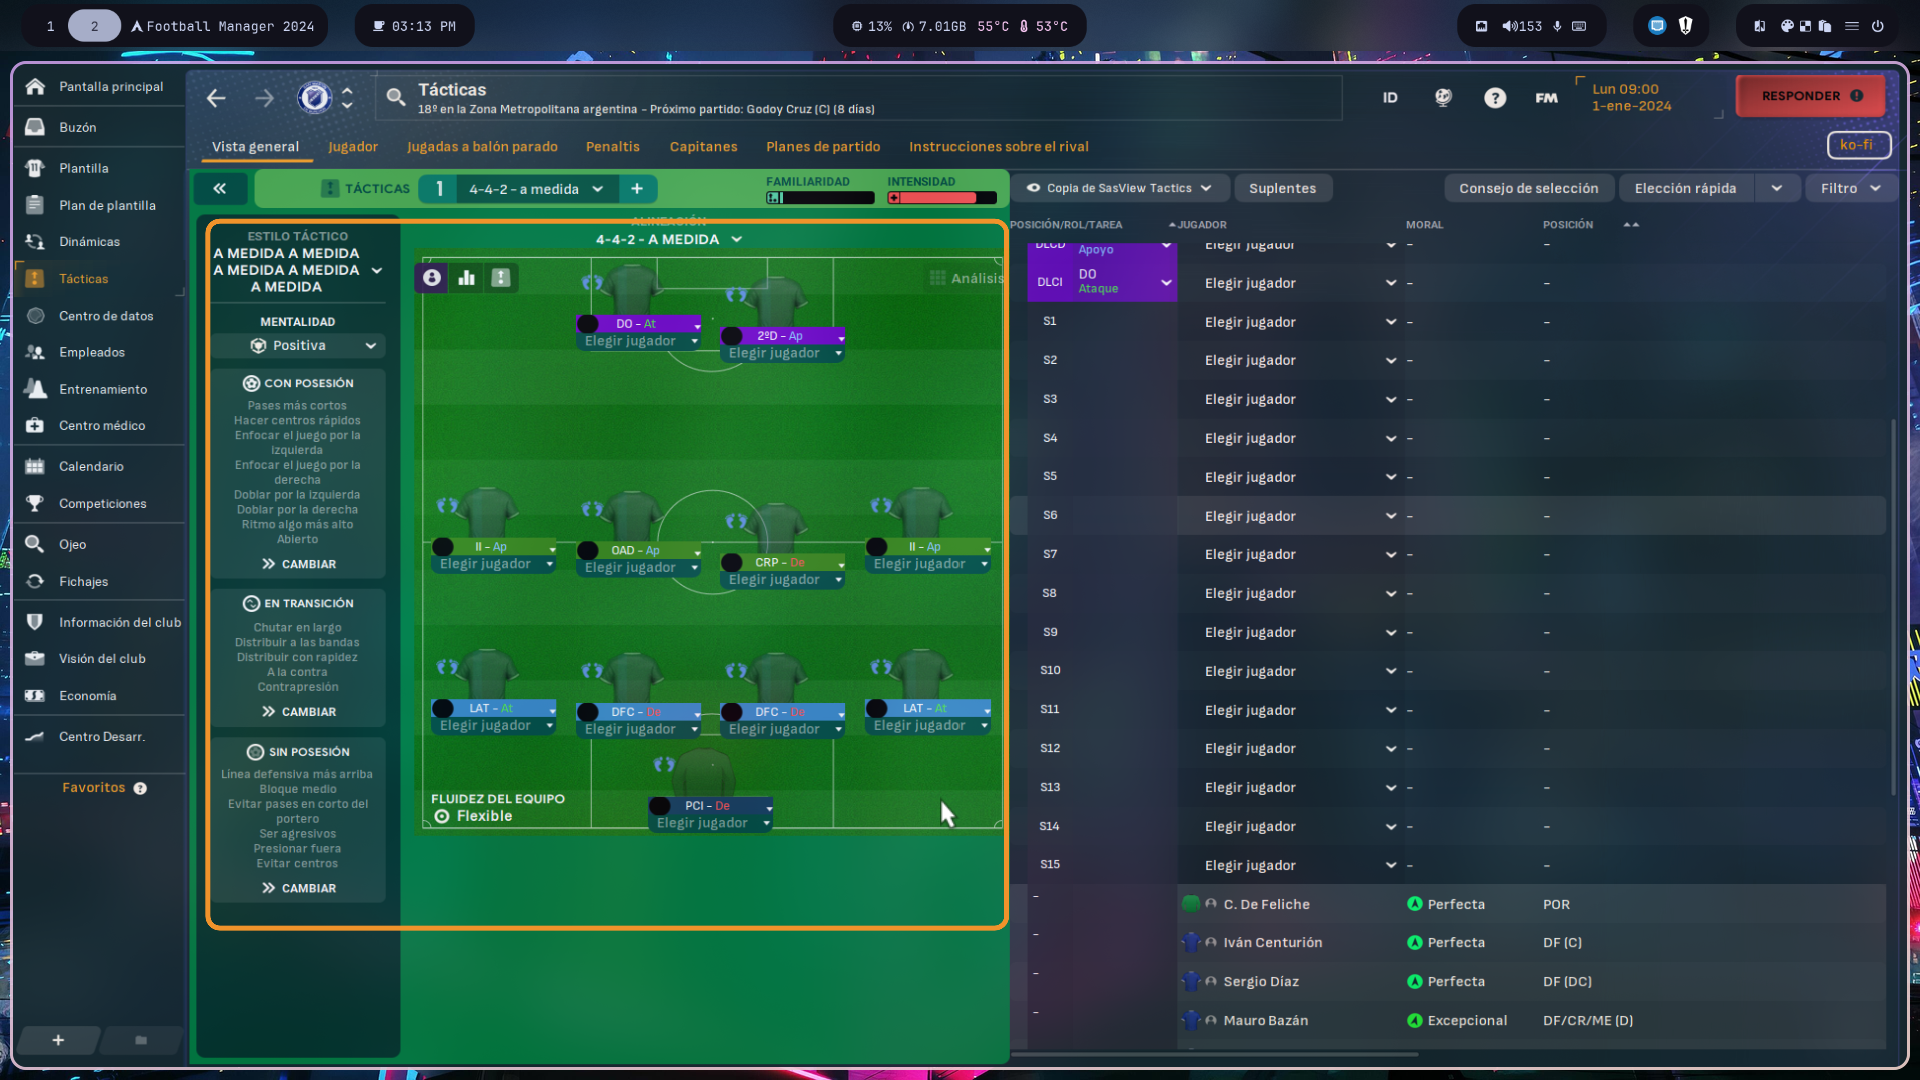
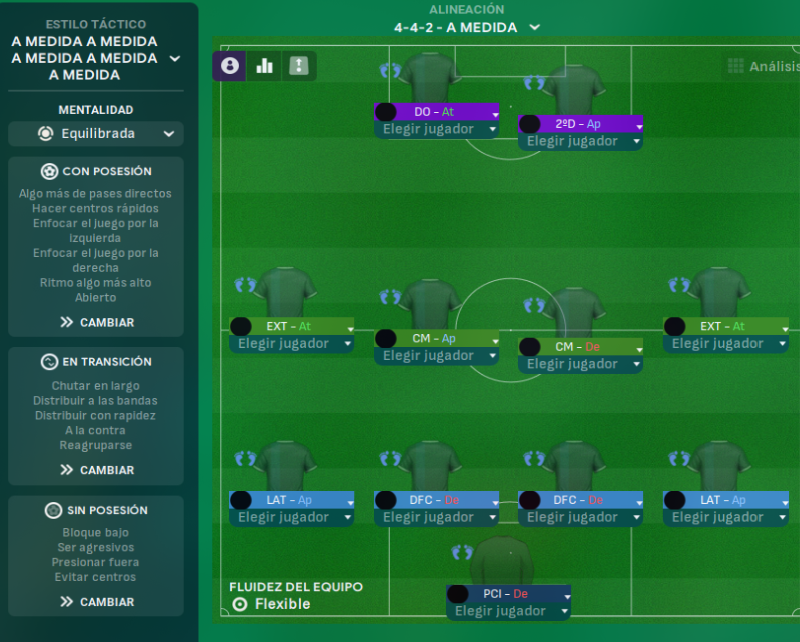
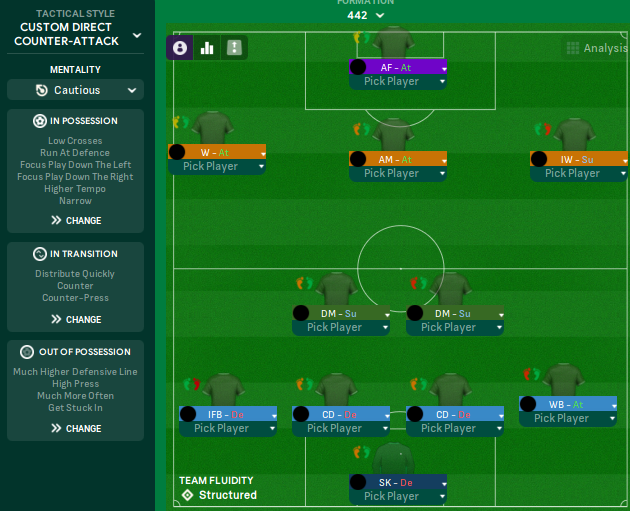
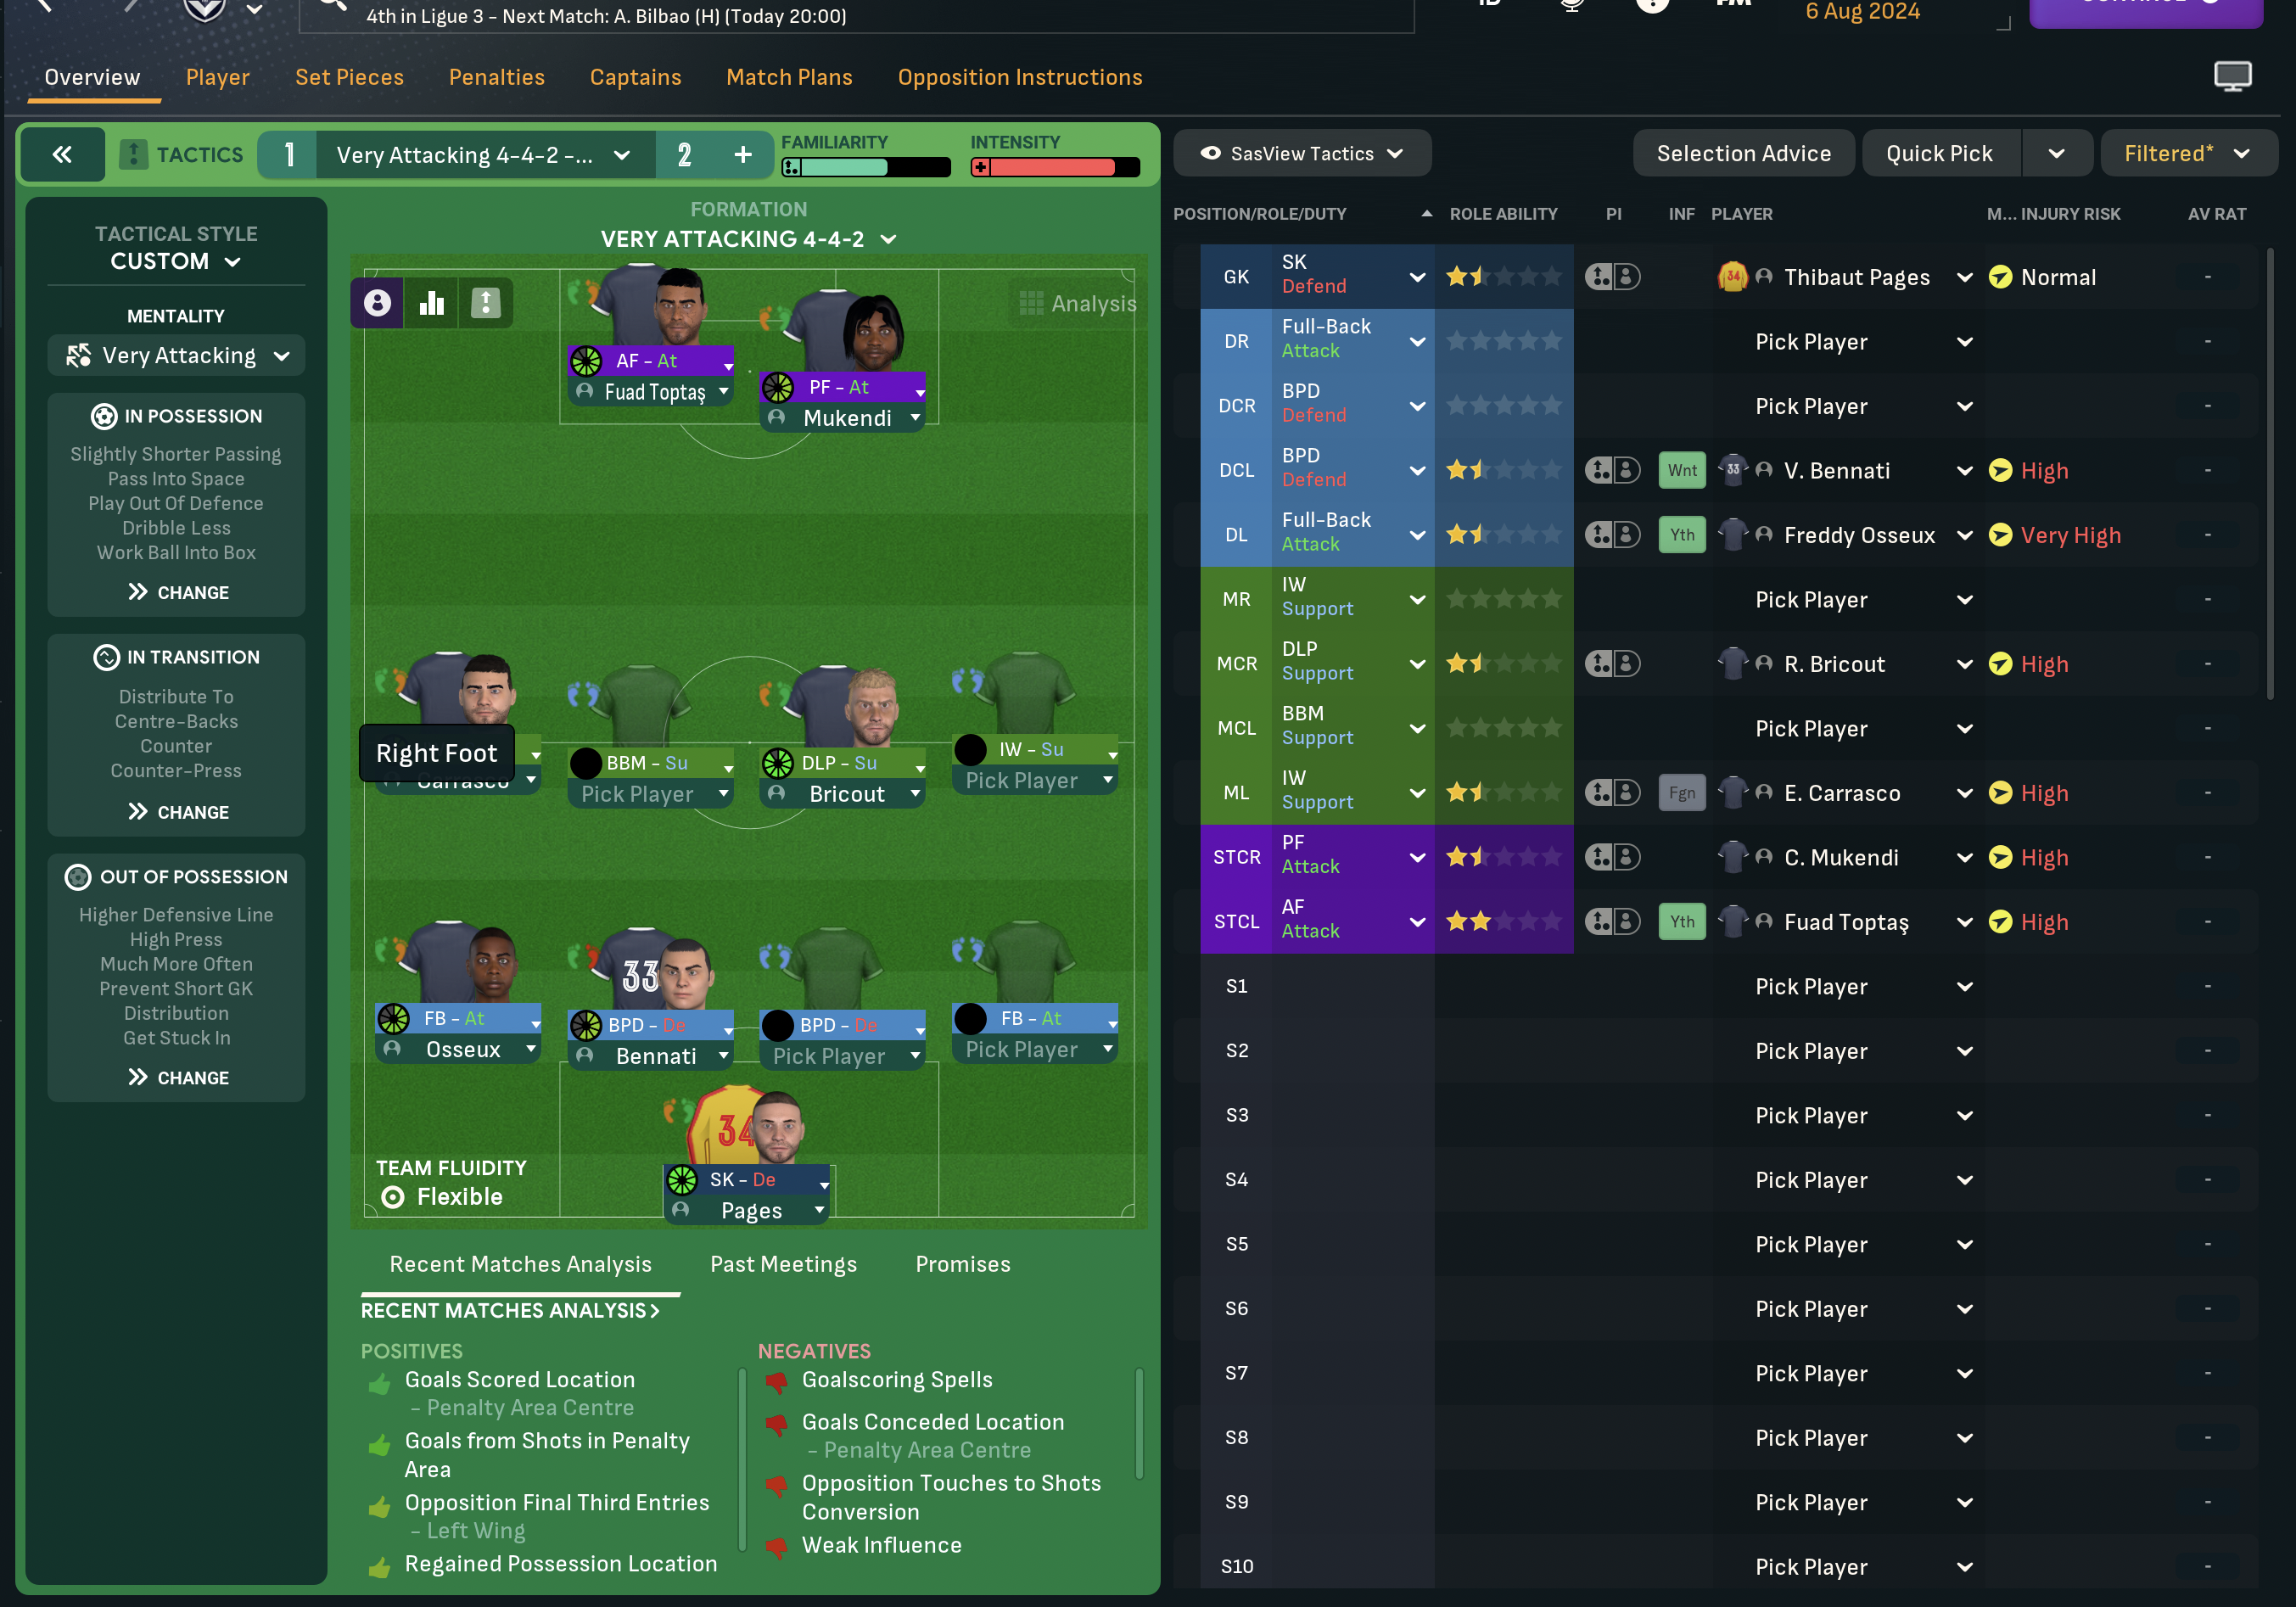
More Equilibrada tactics
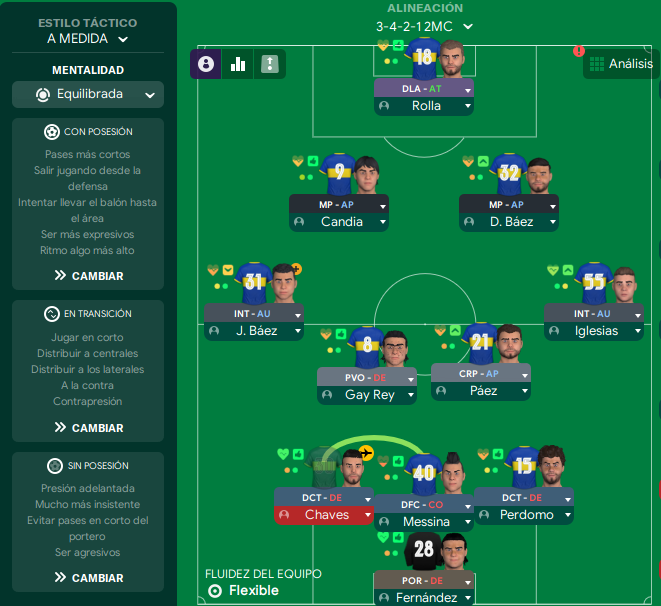
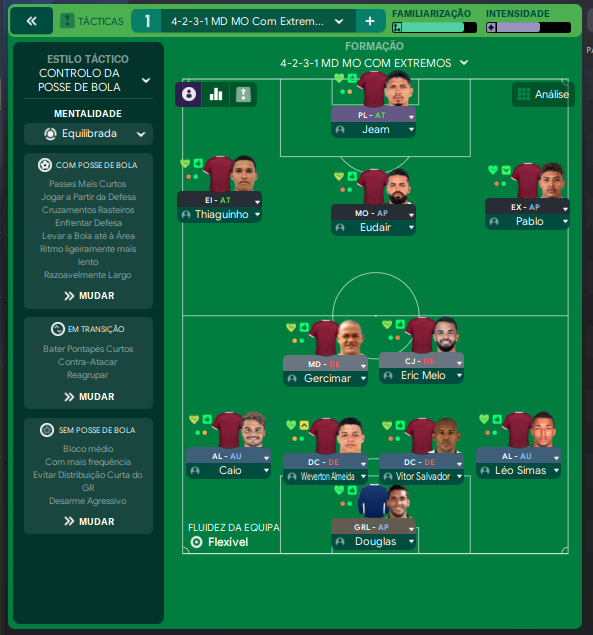
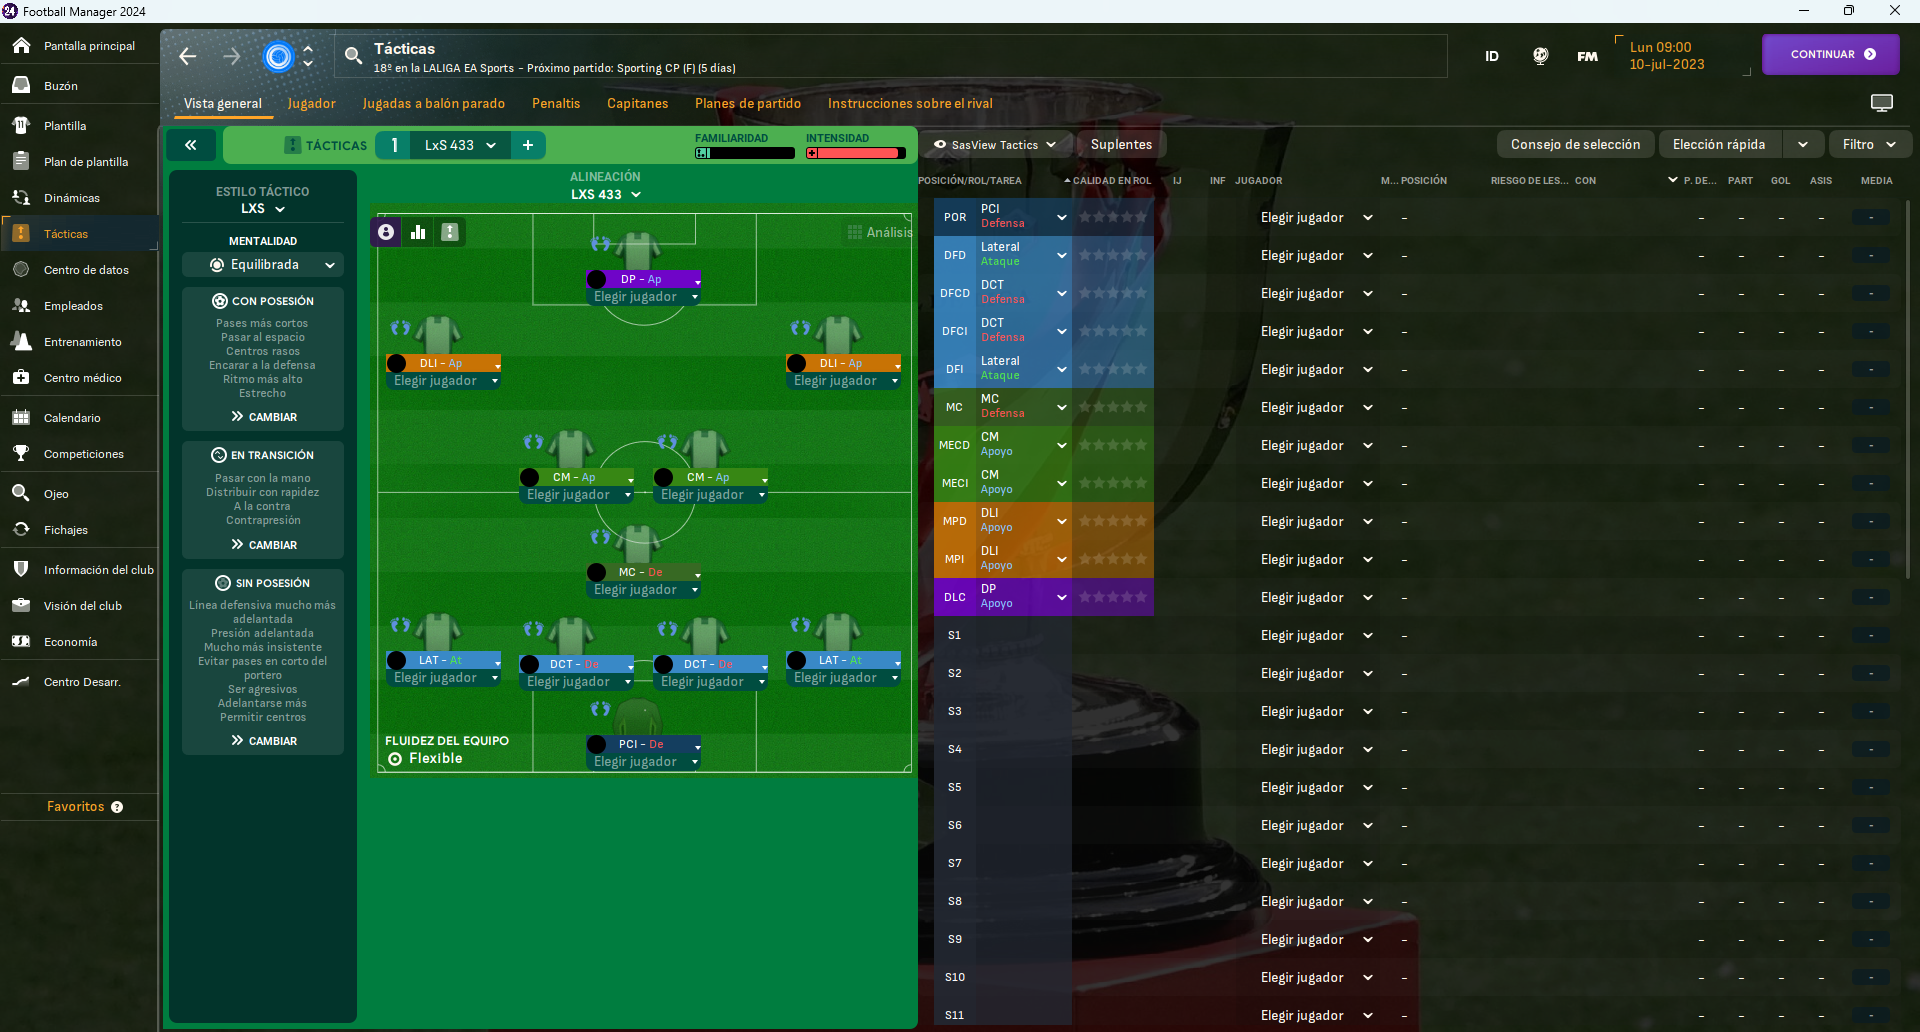
Guides for this tactic
The tactical theory behind the 4-4-2: roles, instructions, and the trade-offs that decide whether the system holds up.
Playing styles
Counter-Attacking Excellence
Sit deep, win the ball, and break in three passes. The roles, instructions, and squad profile that make it work.
Read guide
Player pairings
Midfield Pairs in 4-2-3-1 and 4-4-2
Double pivots and flat pairs in 4-2-3-1 and 4-4-2: when each pairing works, when it collapses, and the AMC unicorn that rescues both.
Read guide
Foundations
Width, Compactness, and Tempo
What Higher Tempo, Wider, and Narrower actually do in FM, plus the dial contradictions and antipatterns players run into most often.
Read guide