Direct 4-4-2 (Positive) Tactic
4-4-2
Enhancing ball progression while retaining defensive solidity. Two solid centre-backs provide stability, reducing opponents' chances.
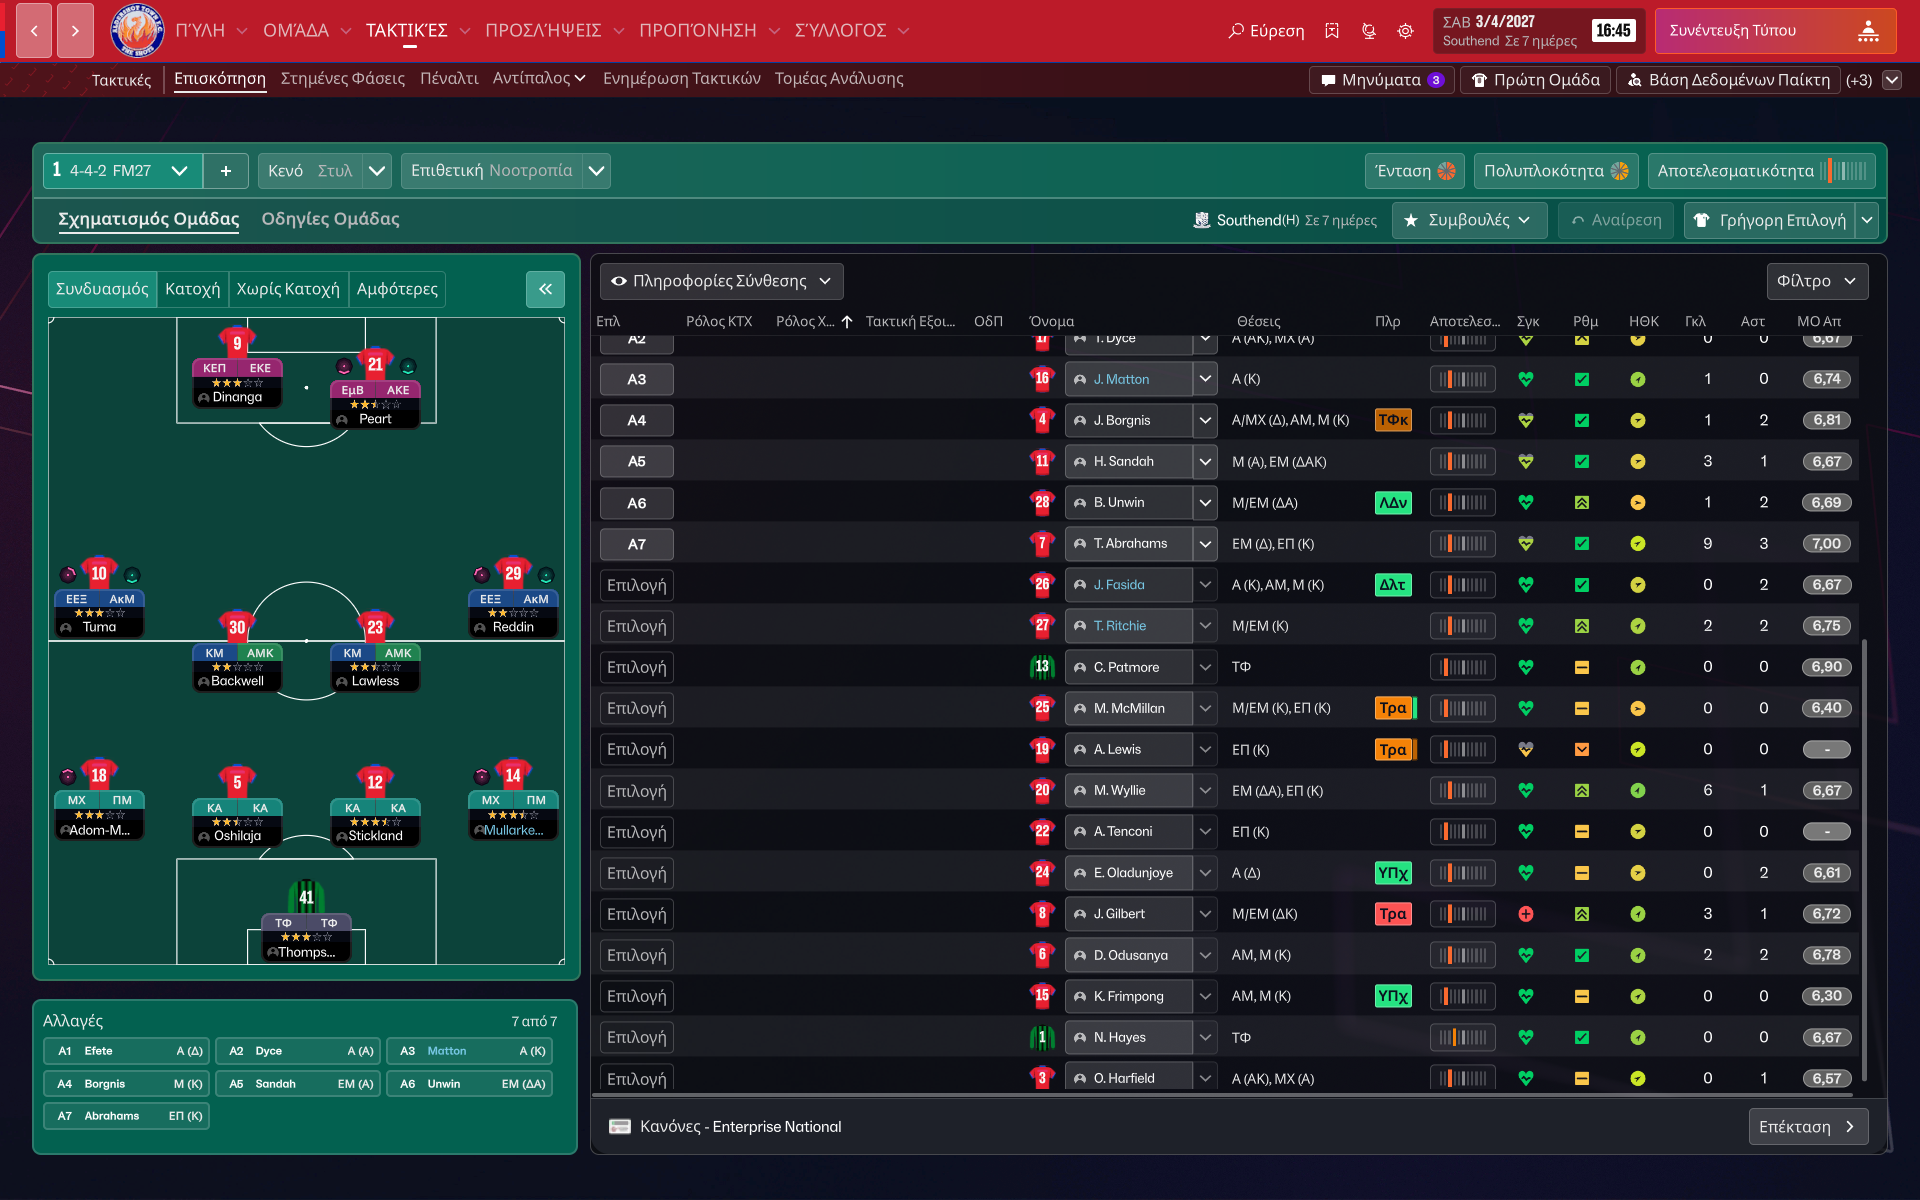
Loading tactical analysis...
Formation and style
Direct
Positive
4-4-2
Flexible
In possession
Play Out of Defence
Passing Into Space
Focus Play Through the Middle
In transition
Counter
Counter-Press
Out of possession
Higher Defensive Line
Higher Line of Engagement
Prevent Short GK Distribution
Player roles
GK
Goalkeeper
Defend
CB
Ball-Playing Defender
Defend
CB
No-Nonsense Centre-Back
Defend
FB
Wing-Back
Attack
FB
Wing-Back
Attack
CM
Box-to-Box Midfielder
Support
CM
Ball-Winning Midfielder
Defend
RM
Winger
Support
LM
Winger
Support
ST
Advanced Forward
Attack
ST
Poacher
Attack
Phase description
Utilizes width from wingers and dynamic movements by the strikers to penetrate the opposition's defense.
Quickly shifts into a compact formation to regain possession while maintaining counter-pressing.
Enhancing ball progression while retaining defensive solidity.
Team shape defence
Compact
Defensive phase focuses on maintaining a compact shape, minimizing space between lines.
Use of higher defensive line and no-nonsense centre-back at [2,2],[2,3] for stiffness.
Team shape attack
Expansive
Attacking phase promotes width through overlapping full-backs and wingers, creating spaces for central attackers.
Wingers at [6,1] and [6,5] supporting advanced forward and poacher.
Key strengths
Strong Central Defense
Two solid centre-backs provide stability, reducing opponents' chances.
CB and NCB roles at [2,2] and [2,3].
Dynamic Attack
Combination of roles in attack maximizes scoring opportunities.
Advanced Forward and Poacher at [6,3] and [6,4].
Conflicting tactics
Potential Overexposure on Wings
Heavy reliance on wingers may lead to weak central defense.
RM and LM roles with attacking duties could leave wide gaps.
Midfield Imbalance
Box-to-Box and Ball-Winning Midfielder may clash in responsibilities.
Both central midfield roles at [3,3] and [3,4] could cause confusion in transitions.
Risk exposures
Risk Exposures
Items
Wide Areas
Wingers could be overrun defensively if full-backs push too high.
FB roles at [2,1] and [2,5] with attack duties may stretch defense.
Transition Vulnerability
Team could struggle to recover if possession is lost high up the pitch.
High pressing without a solid transitional plan can leave gaps.
Role synergies
Role Synergies
Items
Winger (Support) + Full-Back (Attack)
Creates a system of overlapping runs, maximizing width and space.
Roles at [6,1] and [2,1] facilitate attacking options.
Midfield Duo (Box-to-Box + Ball-Winner)
Both roles complement each other in attacking and defensive transitions.
Roles at [3,3] and [3,4] ensure both support attacks and reclaim possession.
Suggested questions
How can I balance my attack without compromising midfield stability?
What adjustments can be made to improve defensive solidity?
Are my wingers impactful enough in both attacking and defensive duties?
Related Tactics
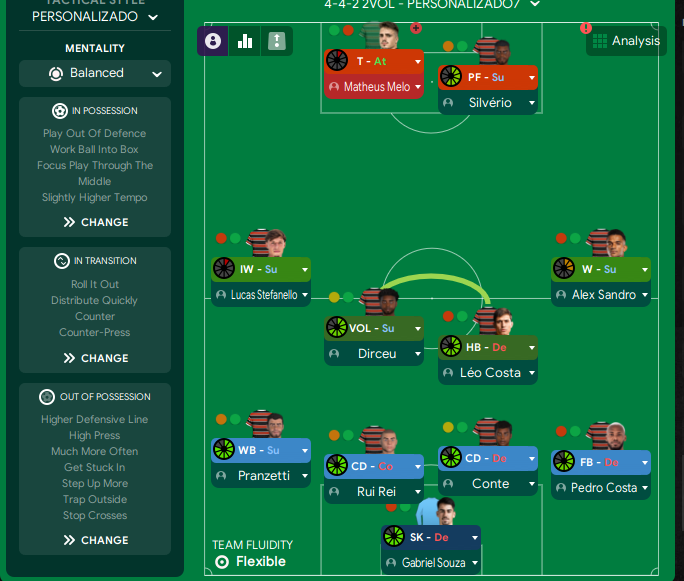
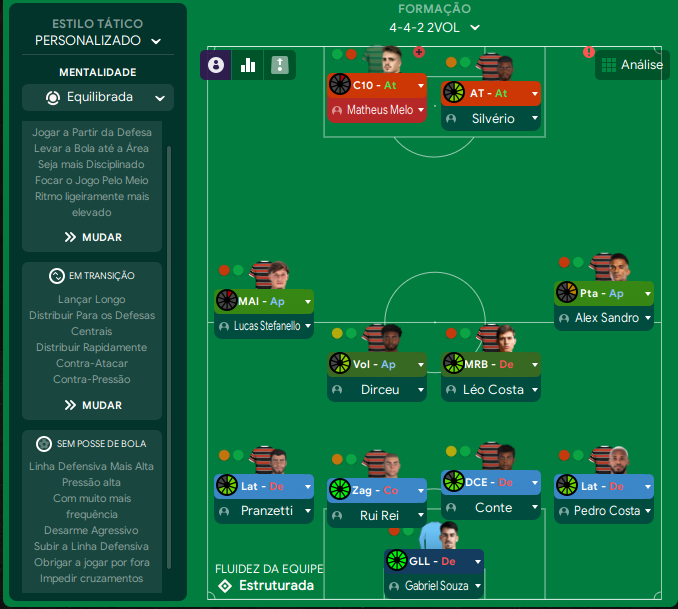
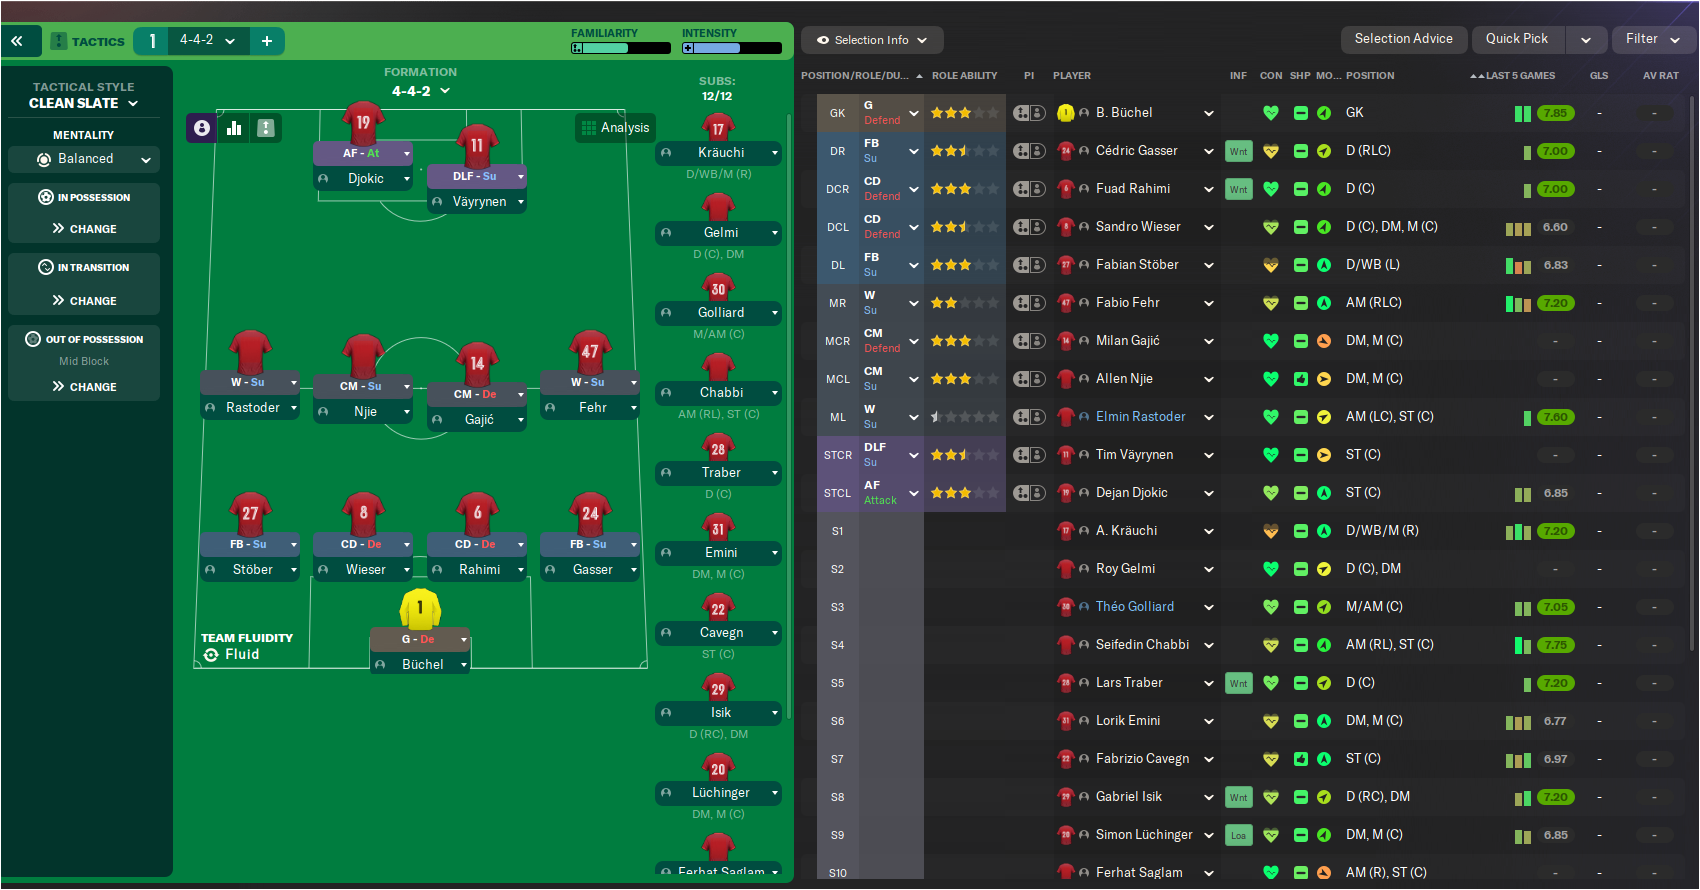
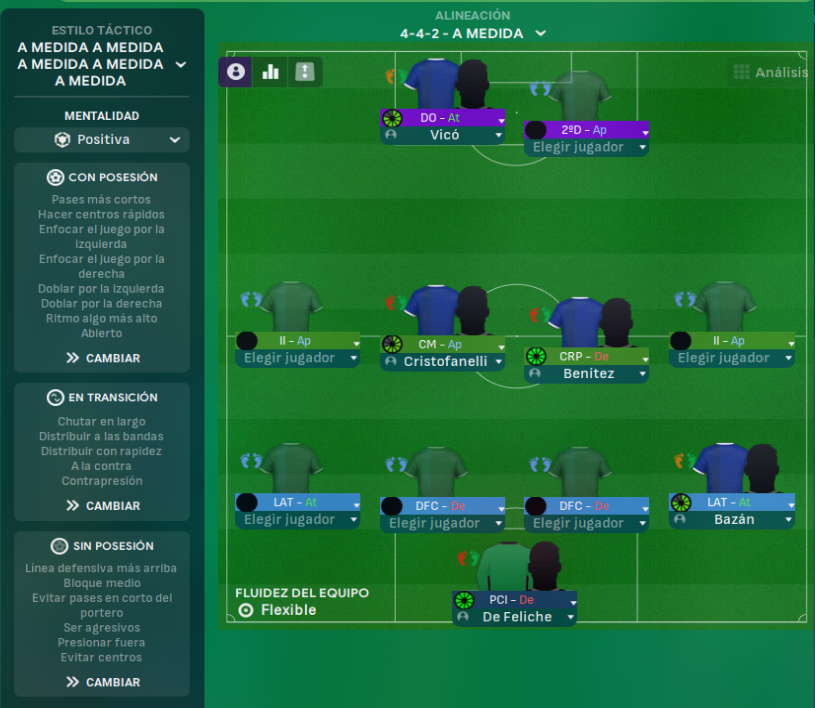
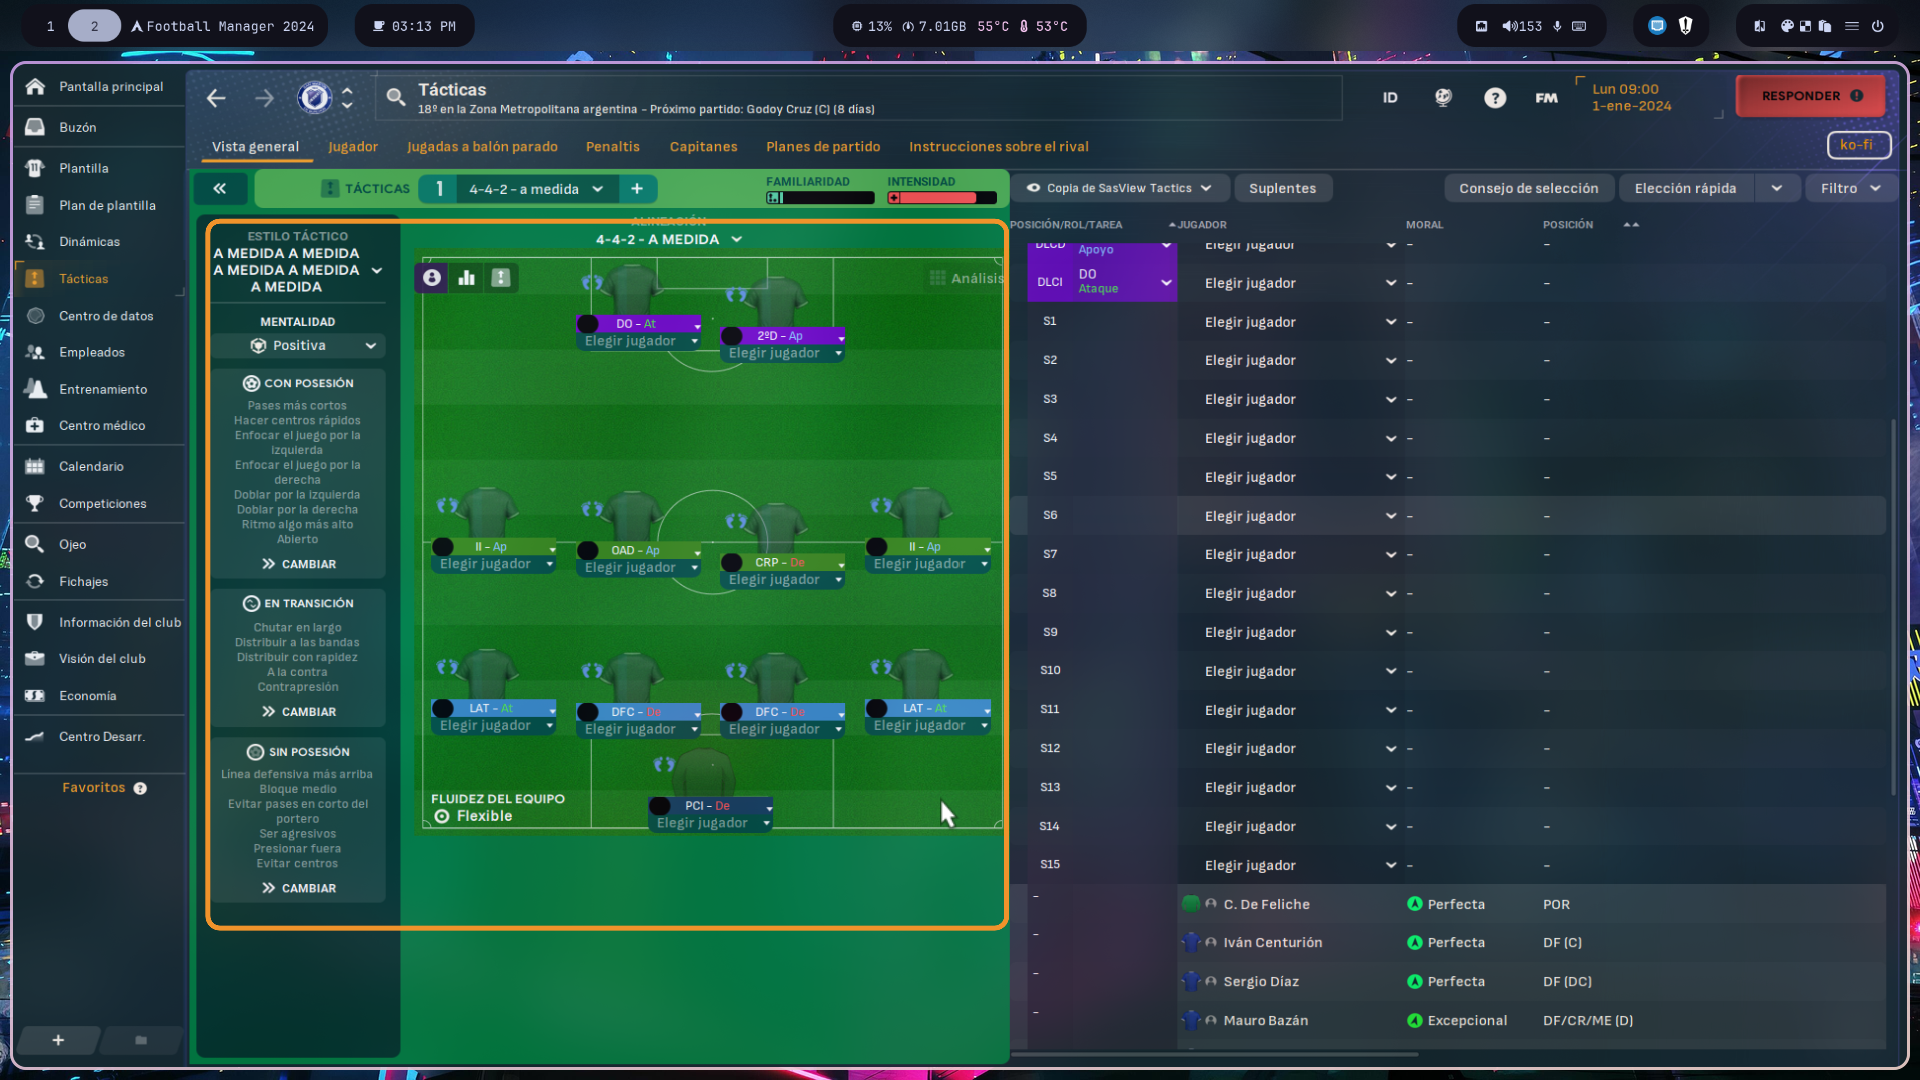
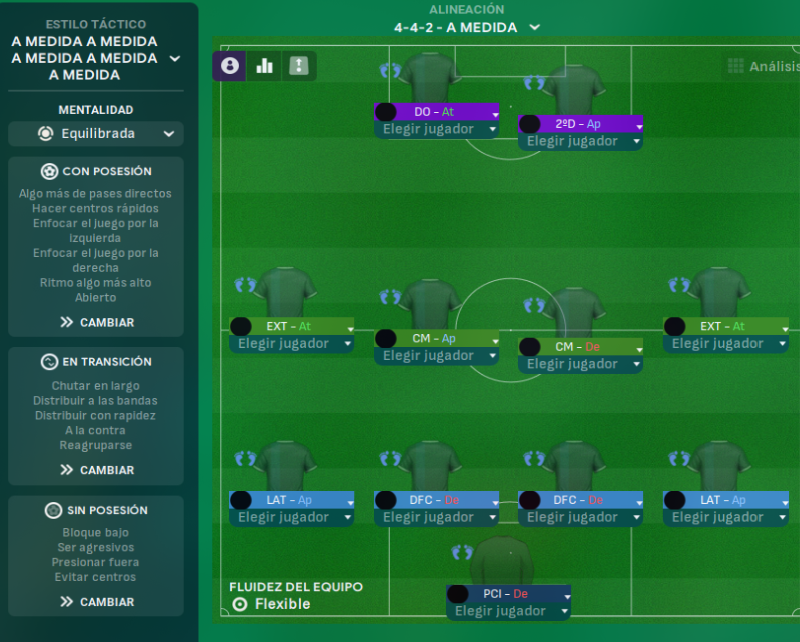
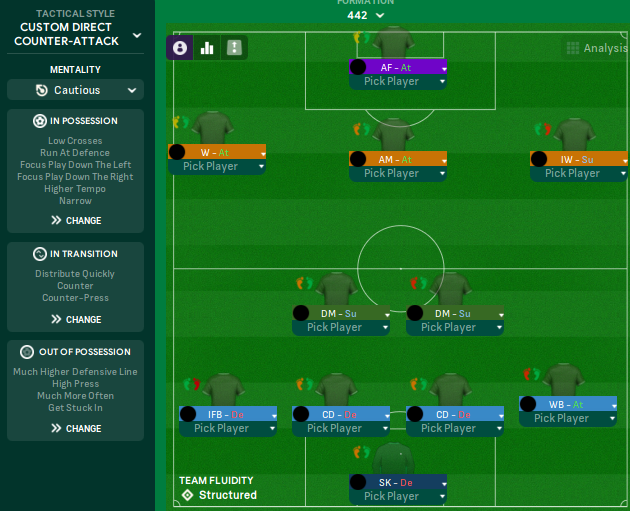
More Direct tactics
Guides for this tactic
The tactical theory behind the 4-4-2: roles, instructions, and the trade-offs that decide whether the system holds up.
Playing styles
Direct, Vertical Football
Long-ball football done well in FM. When direct, vertical play is the right choice, and what the Direct Passing TI actually changes.
Read guide
Playing styles
Counter-Attacking Excellence
Sit deep, win the ball, and break in three passes. The roles, instructions, and squad profile that make it work.
Read guide
Foundations
Defensive Transitions
The five seconds after losing the ball decide most matches. Counter-press, drop-and-recover, and how to know which one you should be doing.
Read guide