Direct 3-1-4-2 (Positive) Tactic
3-1-4-2
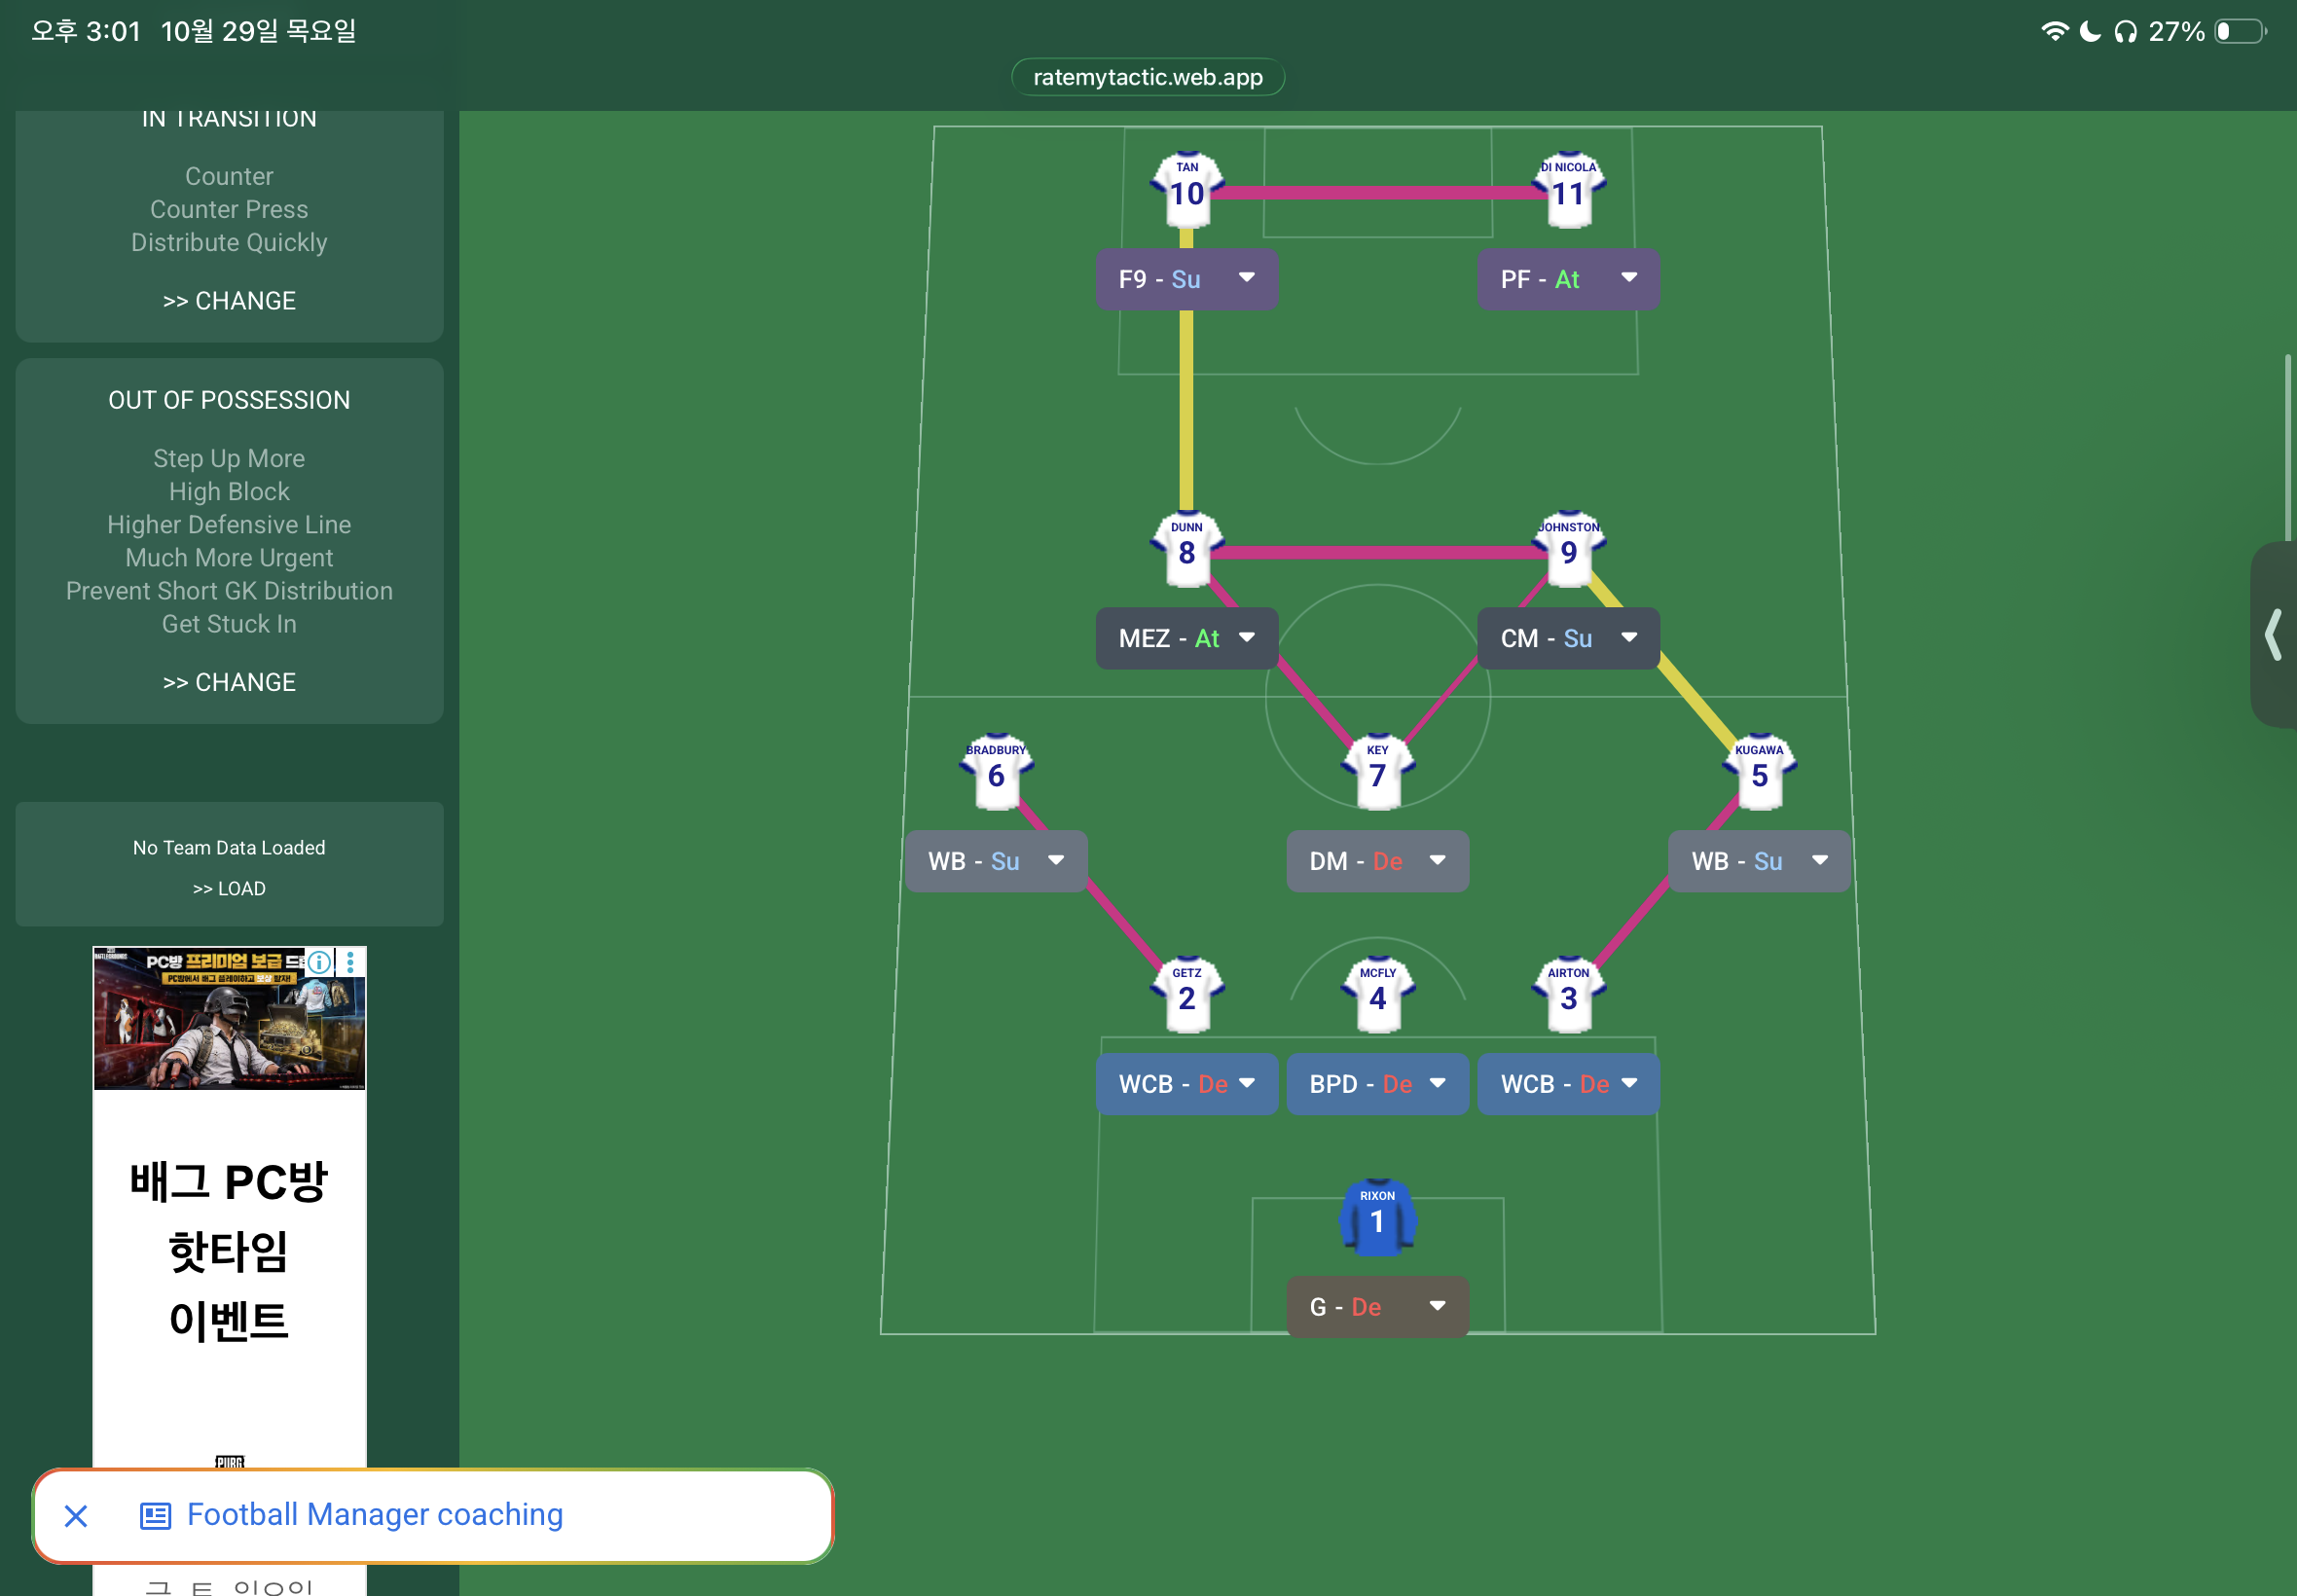
Create scoring opportunities through central play and wide overlaps. The combination of a MEZ and a CM allows for fluid transitions and creativity.
Loading tactical analysis...
Formation and style
Direct
Positive
3-1-4-2
Structured
In possession
Play Out of Defence
Run At Defence
Overlap Left
Overlap Right
In transition
Counter
Counter Press
Distribute Quickly
Out of possession
Step Up More
High Block
Higher Defensive Line
Much More Urgent
Prevent Short GK Distribution
Get Stuck In
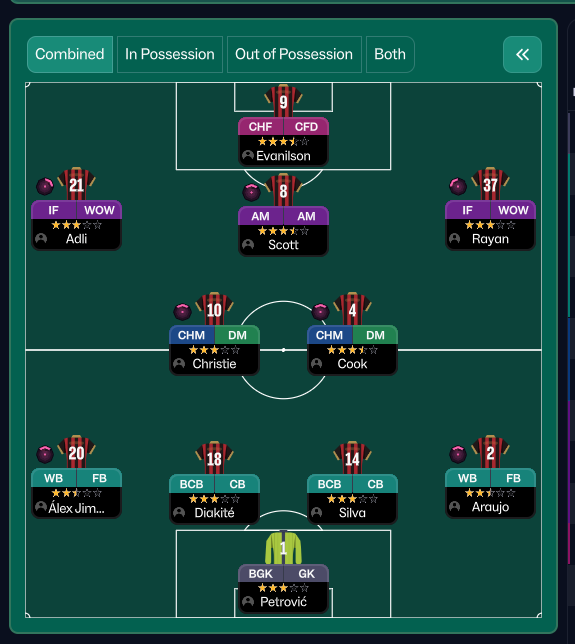
Player roles
GK
G
De
WCB
WCB
De
BPD
BPD
De
WCB
WCB
De
DM
DM
De
CM
CM
Su
MEZ
MEZ
At
WB
WB
Su
WB
WB
Su
PF
PF
At
F9
F9
Su
Phase description
Quick transitions and advancing play through the wings, utilizing overlapping runs.
Immediate pressure applied with counter-pressing upon losing possession.
Create scoring opportunities through central play and wide overlaps.
Team shape defence
Compact
Maintains a compact shape to limit spaces in the defensive third.
High block with 'Step Up More' and 'Higher Defensive Line'.
Team shape attack
Fluid
Utilizes width and verticality to create goal-scoring chances.
Overlap instructions on both wings and the F9's role.
Key strengths
Dynamic Midfield Play
The combination of a MEZ and a CM allows for fluid transitions and creativity.
MEZ - At at [4,3] with CM - Su at [4,2].
Strong Defensive Line
A solid back three with BPD allows for effective ball play from the back.
BPD - De at [2,3] facilitates 'Play Out of Defence'.
Conflicting tactics
Defensive Vulnerability on Breaks
High defensive line may lead to vulnerability to fast counter-attacks.
High block with 'Step Up More' could be exploited by quick opposing forwards.
Inverted Structure Issues
Potential imbalance if midfielders don't adjust defensively.
Wide play could leave gaps in the central midfield due to roles assigned.
Risk exposures
Risk Exposures
Items
Counter-Attacks
High commitment forward leaves gaps at the back.
High block and defensive line height creates space for opposition.
Wide Areas
Dependence on wing-backs can be exploited if they are out of position.
WB - Su instructions may lead to gaps in defence.
Role synergies
Role Synergies
Items
MEZ - At and PF - At
MEZ can exploit the space created by PF's movement.
MEZ at [4,2] with PF at [6,3] effectively creates opportunities.
WB - Su and WCB - De
WB provides width while WCB maintains defensive solidity.
WB - Su at [2,1] supports forward play while WCB - De ensures coverage.
Suggested questions
How can the midfielders adapt their roles to provide better support?
What adjustments can enhance defensive resilience without losing attacking potency?
Is there a need to change the mentalities based on the opponent's strengths?
Related Tactics
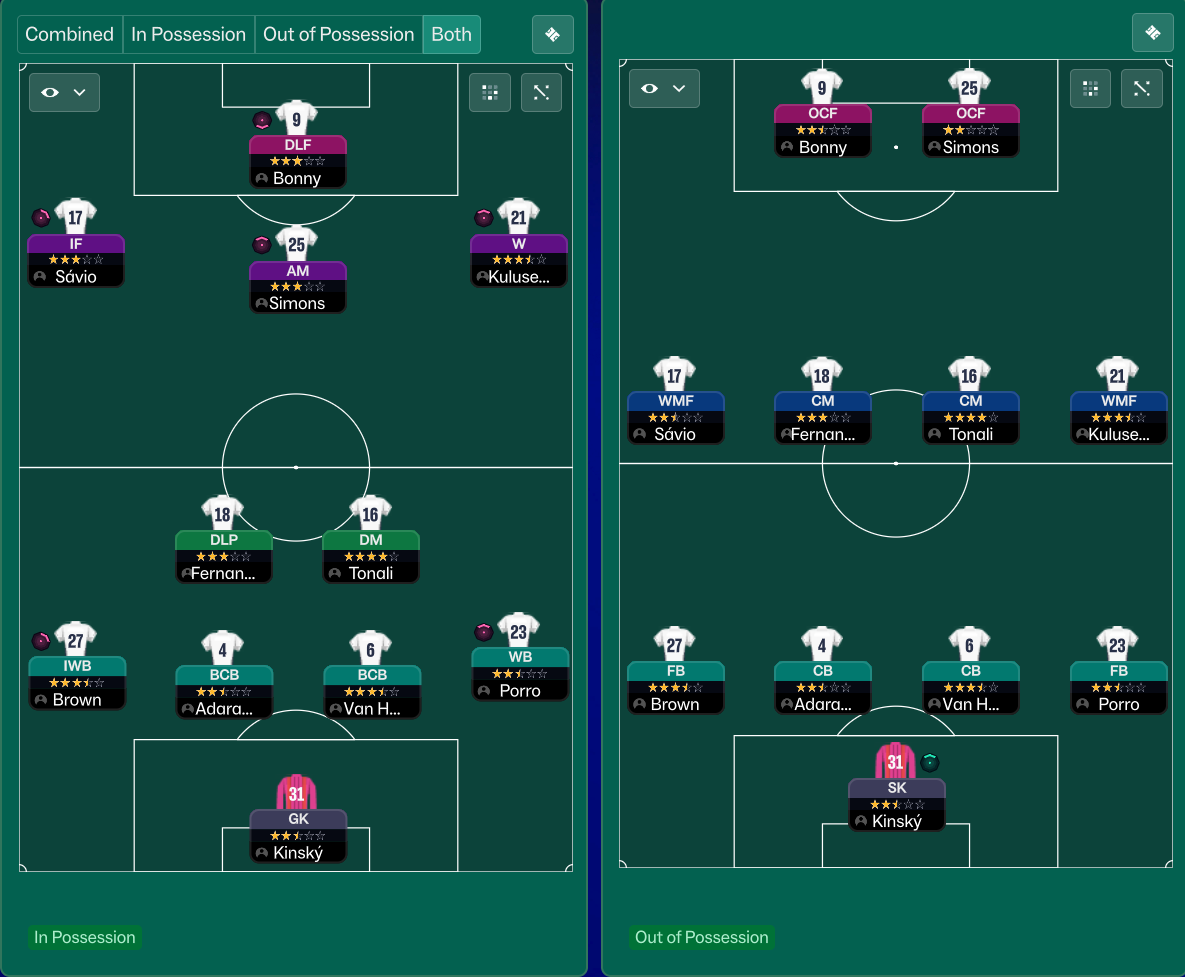
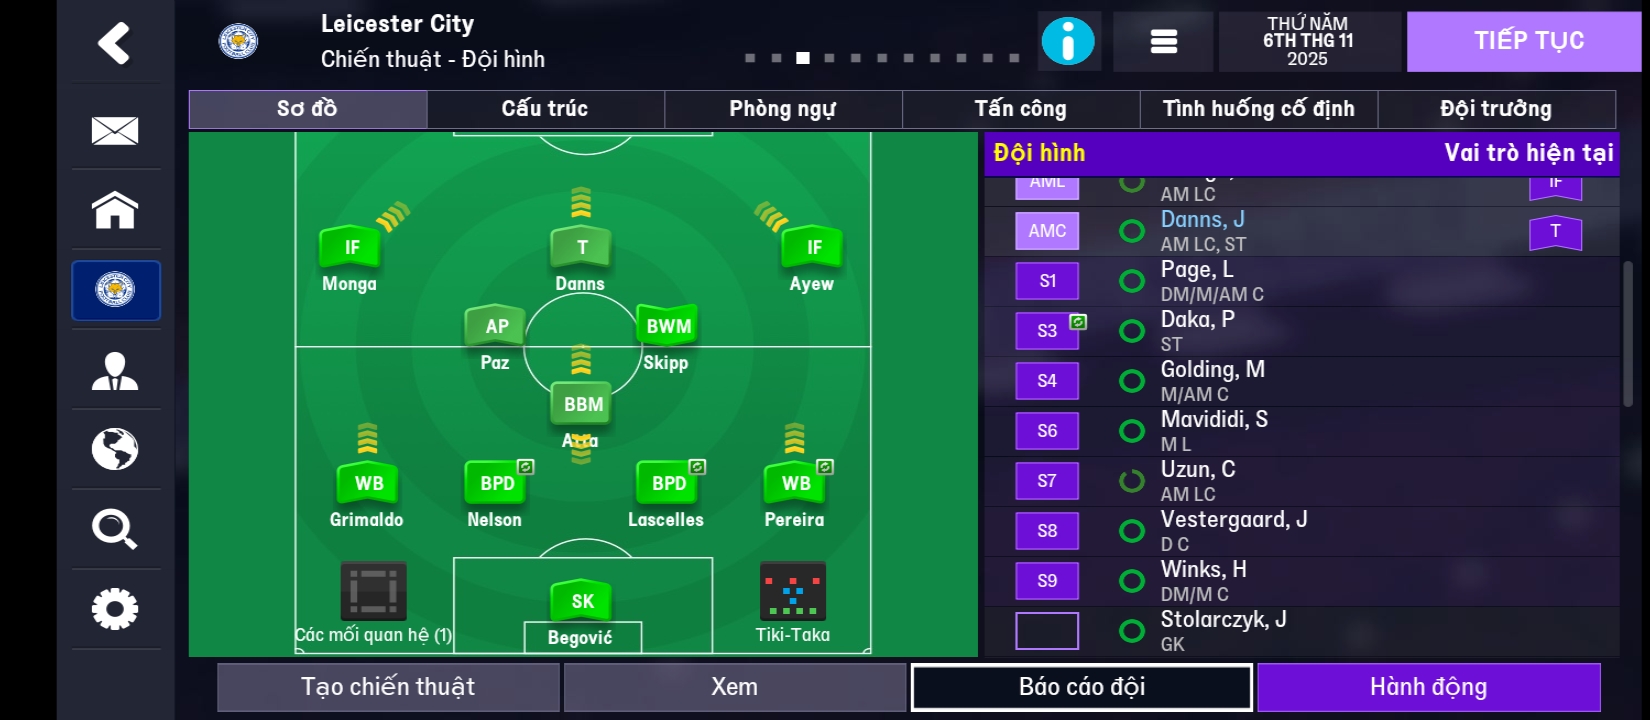
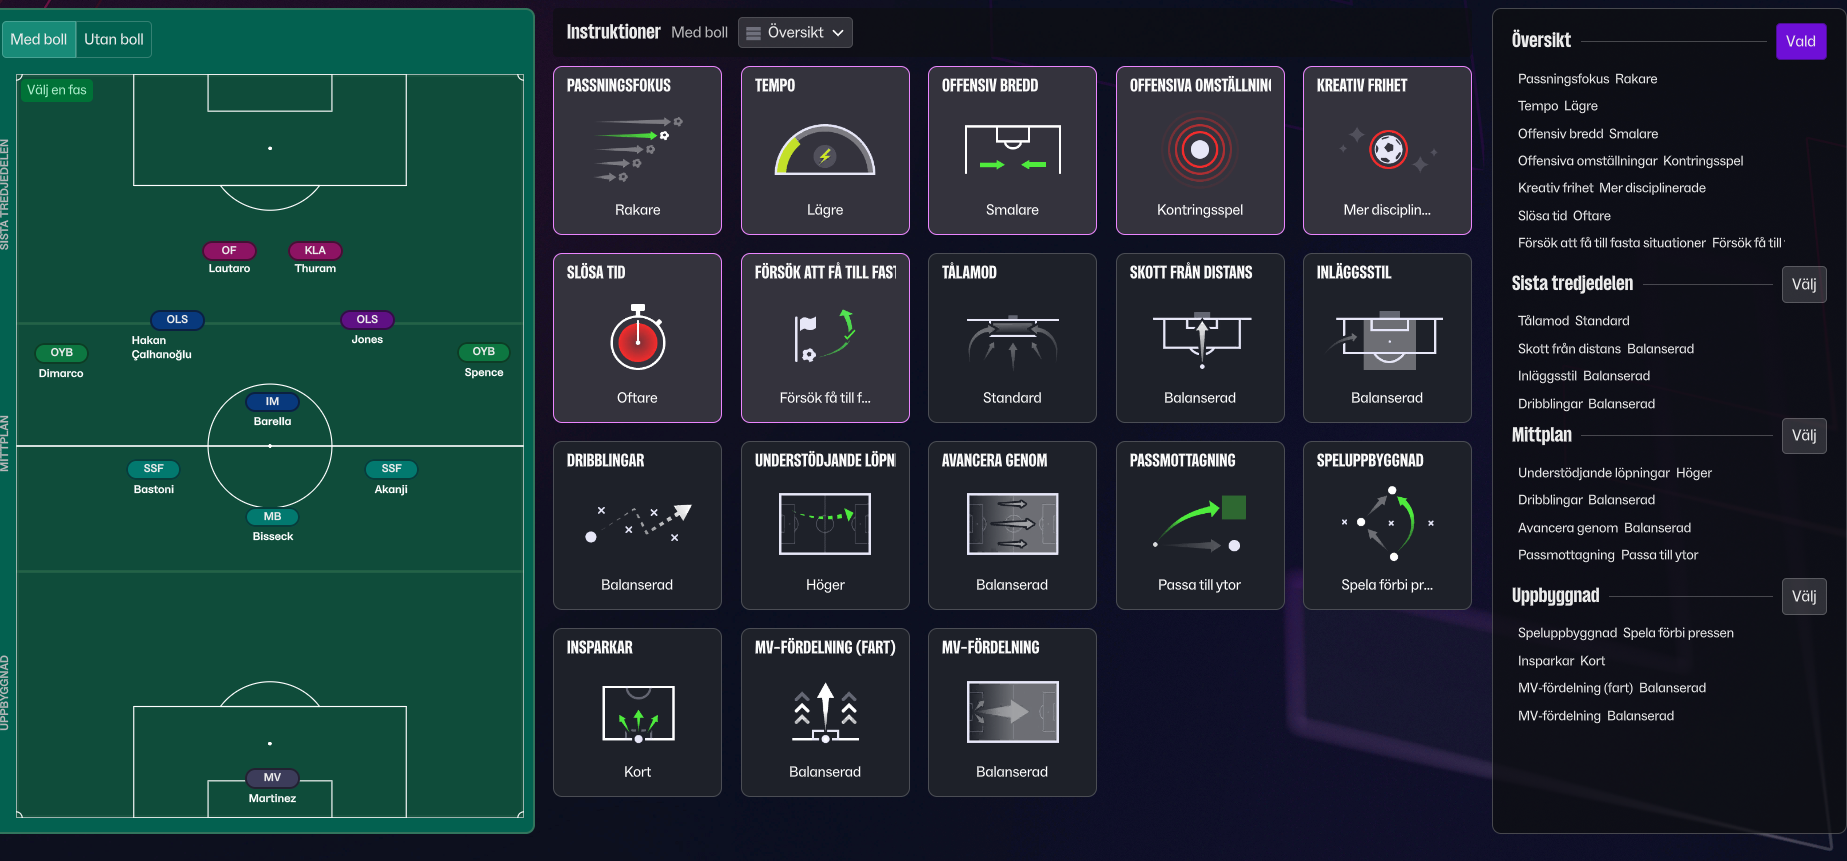
More Direct tactics
Guides for this tactic
The tactical theory behind the 3-1-4-2: roles, instructions, and the trade-offs that decide whether the system holds up.
Foundations
Width, Compactness, and Tempo
What Higher Tempo, Wider, and Narrower actually do in FM, plus the dial contradictions and antipatterns players run into most often.
Read guide
Foundations
Wing Play vs Central Play
Build through the wide areas or through the middle? A working framework for picking the right one for your squad.
Read guide
Foundations
Defensive Transitions
The five seconds after losing the ball decide most matches. Counter-press, drop-and-recover, and how to know which one you should be doing.
Read guide