Tiki-Taka 3-1-4-2 Tactic
3-1-4-2
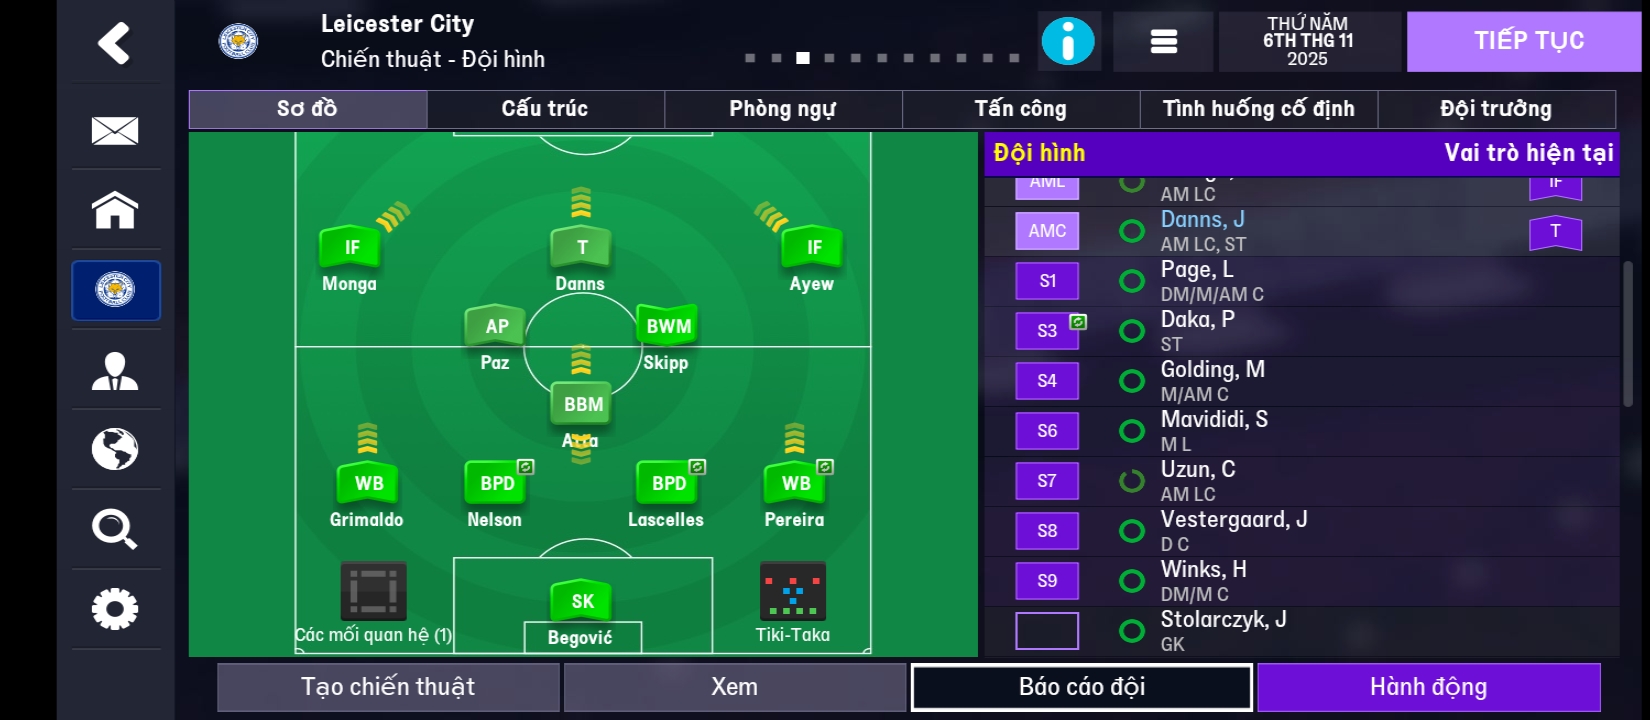
Retaining possession and creating high-quality chances through the center and flanks. The combination of BWM, BBM, and AP ensures domination in midfield.
Loading tactical analysis...
Formation and style
Tiki-Taka
3-1-4-2
In possession
Shorter Passes
Work Ball Into Box
Play Out of Defence
In transition
Counter-Press
Counter
Out of possession
Higher Line of Engagement
Higher Defensive Line
Prevent Short GK Distribution
Player roles
GK
Sweeper Keeper
Support
CB
Ball-Playing Defender
Defend
CB
Ball-Playing Defender
Defend
CB
Ball-Playing Defender
Defend
WB
Wing-Back
Attack
CM
Box-to-Box Midfielder
Support
CM
Ball-Winning Midfielder
Support
CM
Advanced Playmaker
Support
IF
Inside Forward
Attack
T
Target Forward
Attack
IF
Inside Forward
Attack
Phase description
The team focuses on short, intricate passes while looking to penetrate the defense with the target forward and supporting inside forwards.
Immediately applies pressure high up the pitch through counter-pressing to win back possession quickly.
Retaining possession and creating high-quality chances through the center and flanks.
Team shape defence
Compact
Maintains a compact shape with three center-backs while the wing-backs provide width.
3 BPDs at [2,1], [2,2], [2,3] inhibit central penetration.
Team shape attack
Fluid
The attacking setup offers versatility with inside forwards and a target striker creating multiple scoring routes.
IFs at [6,1] and [6,5] support the T at [6,3].
Key strengths
Strong Midfield Control
The combination of BWM, BBM, and AP ensures domination in midfield.
BWM at [4,2], BBM at [4,3], AP at [4,4] provide balance.
Dynamic Wing Play
Wing-backs provide width and attacking options which can stretch defenses.
WB at [2,1] and WB at [2,5] facilitate wide play.
Conflicting tactics
Direct Counter-Attacking
The Tiki-Taka style may struggle if opponents exploit quick transitions against a high defensive line.
High Defensive Line combined with Counter-Press may lead to vulnerabilities.
Defensive Focusing on Width
Teams utilizing wide formations might isolate the narrow midfield and challenge the wing-backs.
Three central defenders may lack support against wide formations.
Risk exposures
Risk Exposures
Items
Defensive Transition
High pressing to win back possession could lead to gaps during transitions if bypassed.
Counter-Press combined with High Line can lead to quick counter opportunities against BPDs.
Set-Piece Situations
The team may lack aerial presence which can be crucial during set-pieces.
Height considerations among BPDs may not be sufficient for defending corners.
Role synergies
Role Synergies
Items
BWM and BBM
BWM's defensive efforts complement BBM's drive forward into attacking positions.
BWM at [4,2] supporting BBM at [4,3] ensures intensity and balance.
Wing-Backs and Inside Forwards
The high position of wing-backs opens space for inside forwards to cut inside effectively.
WB at [2,1] allows IF at [6,1] to attack centrally.
Suggested questions
How can I improve my team's defensive organization during transitions?
Would changing the duties of my wing-backs enhance my attacking options?
What adjustments can I make to optimize my set-piece strategies?
Related Tactics
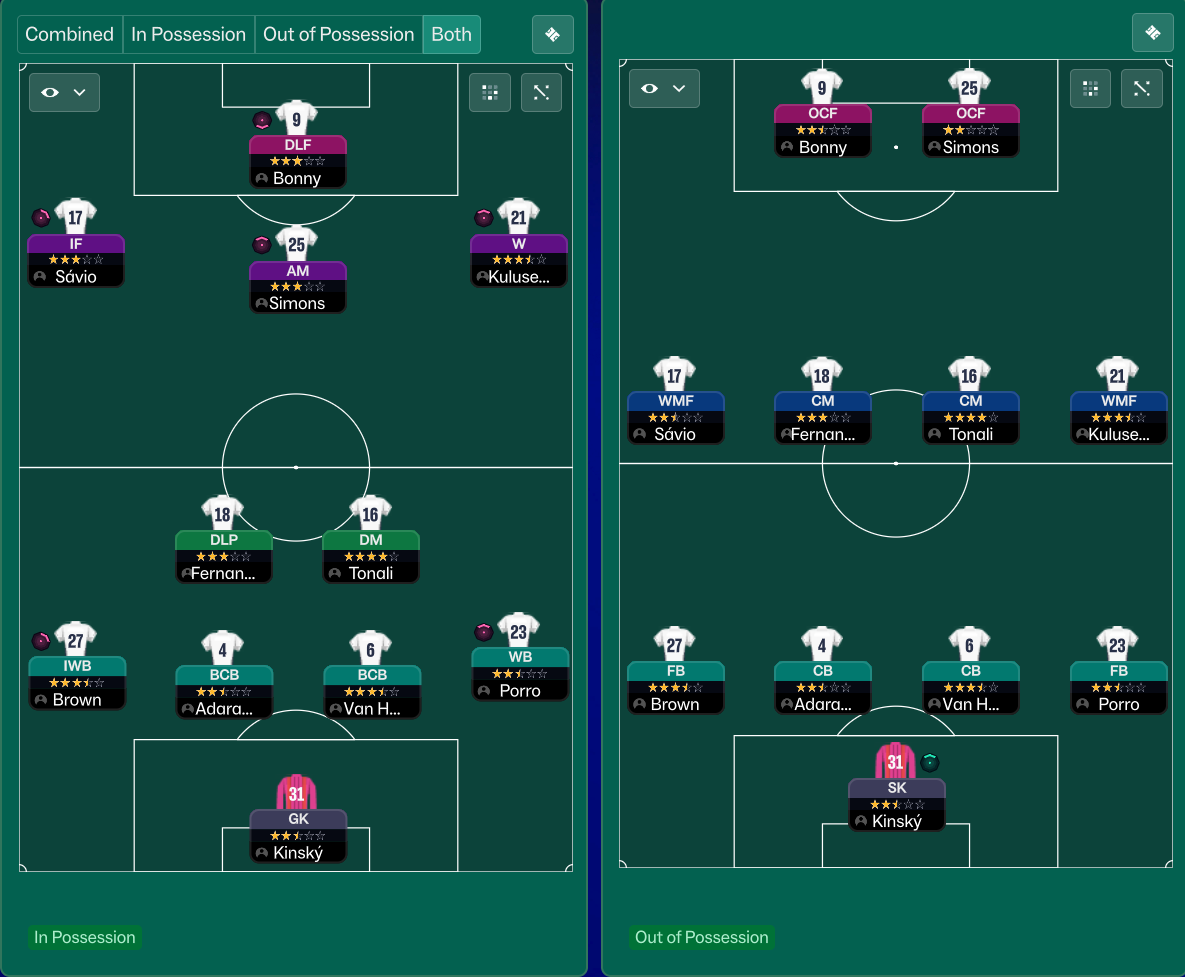
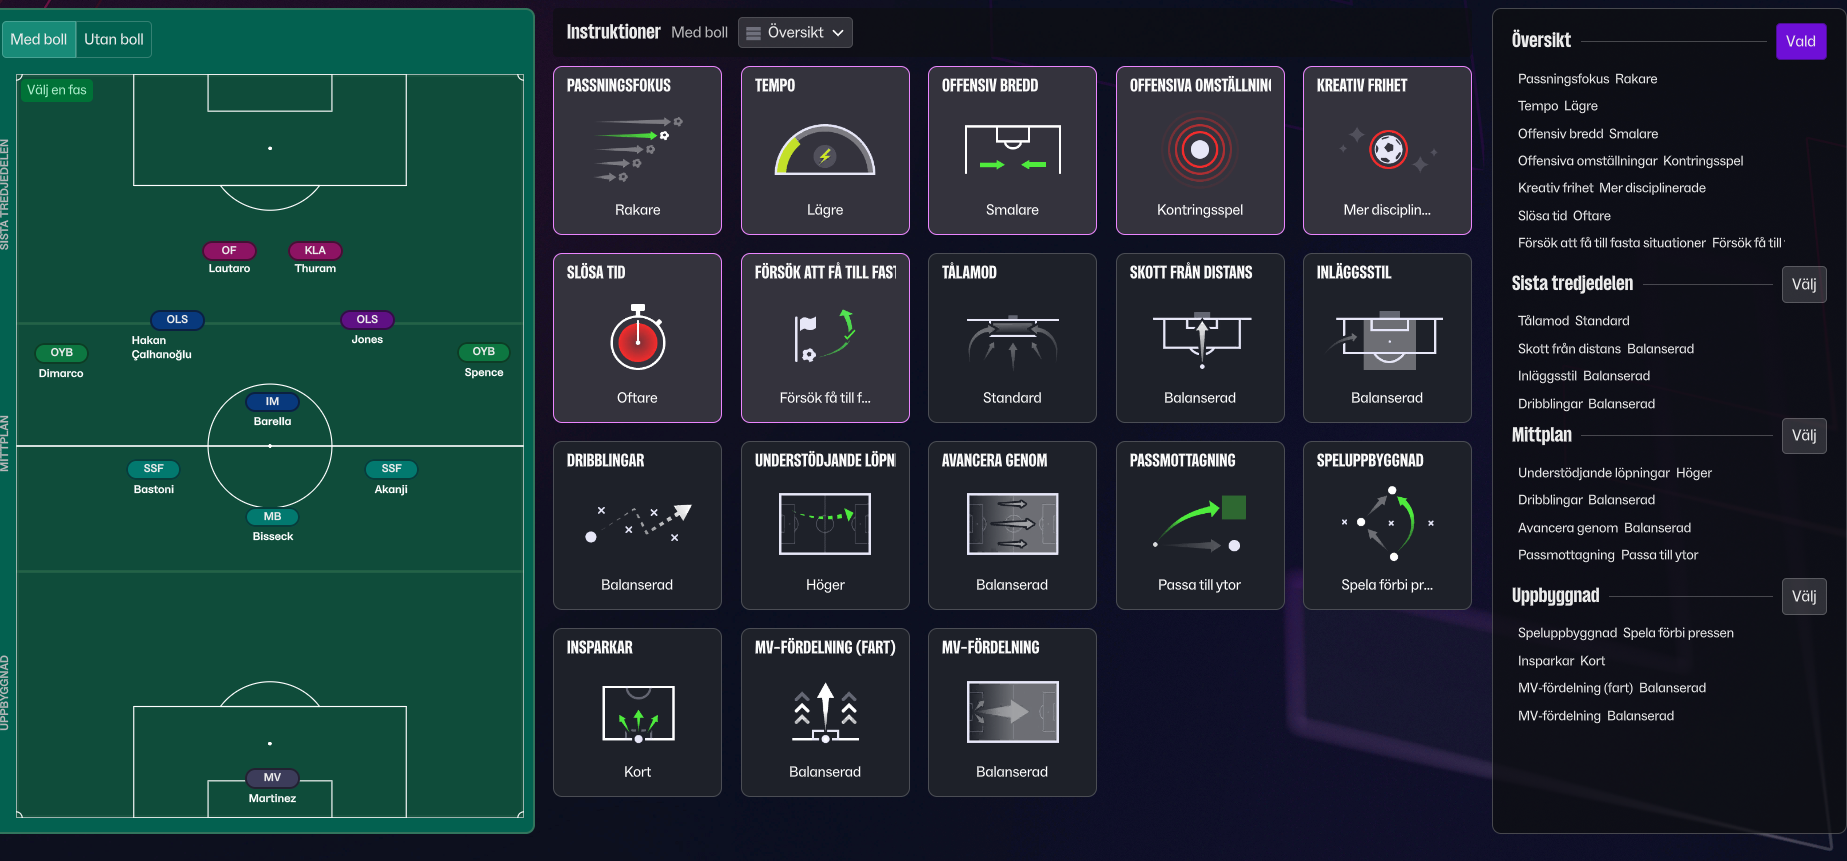
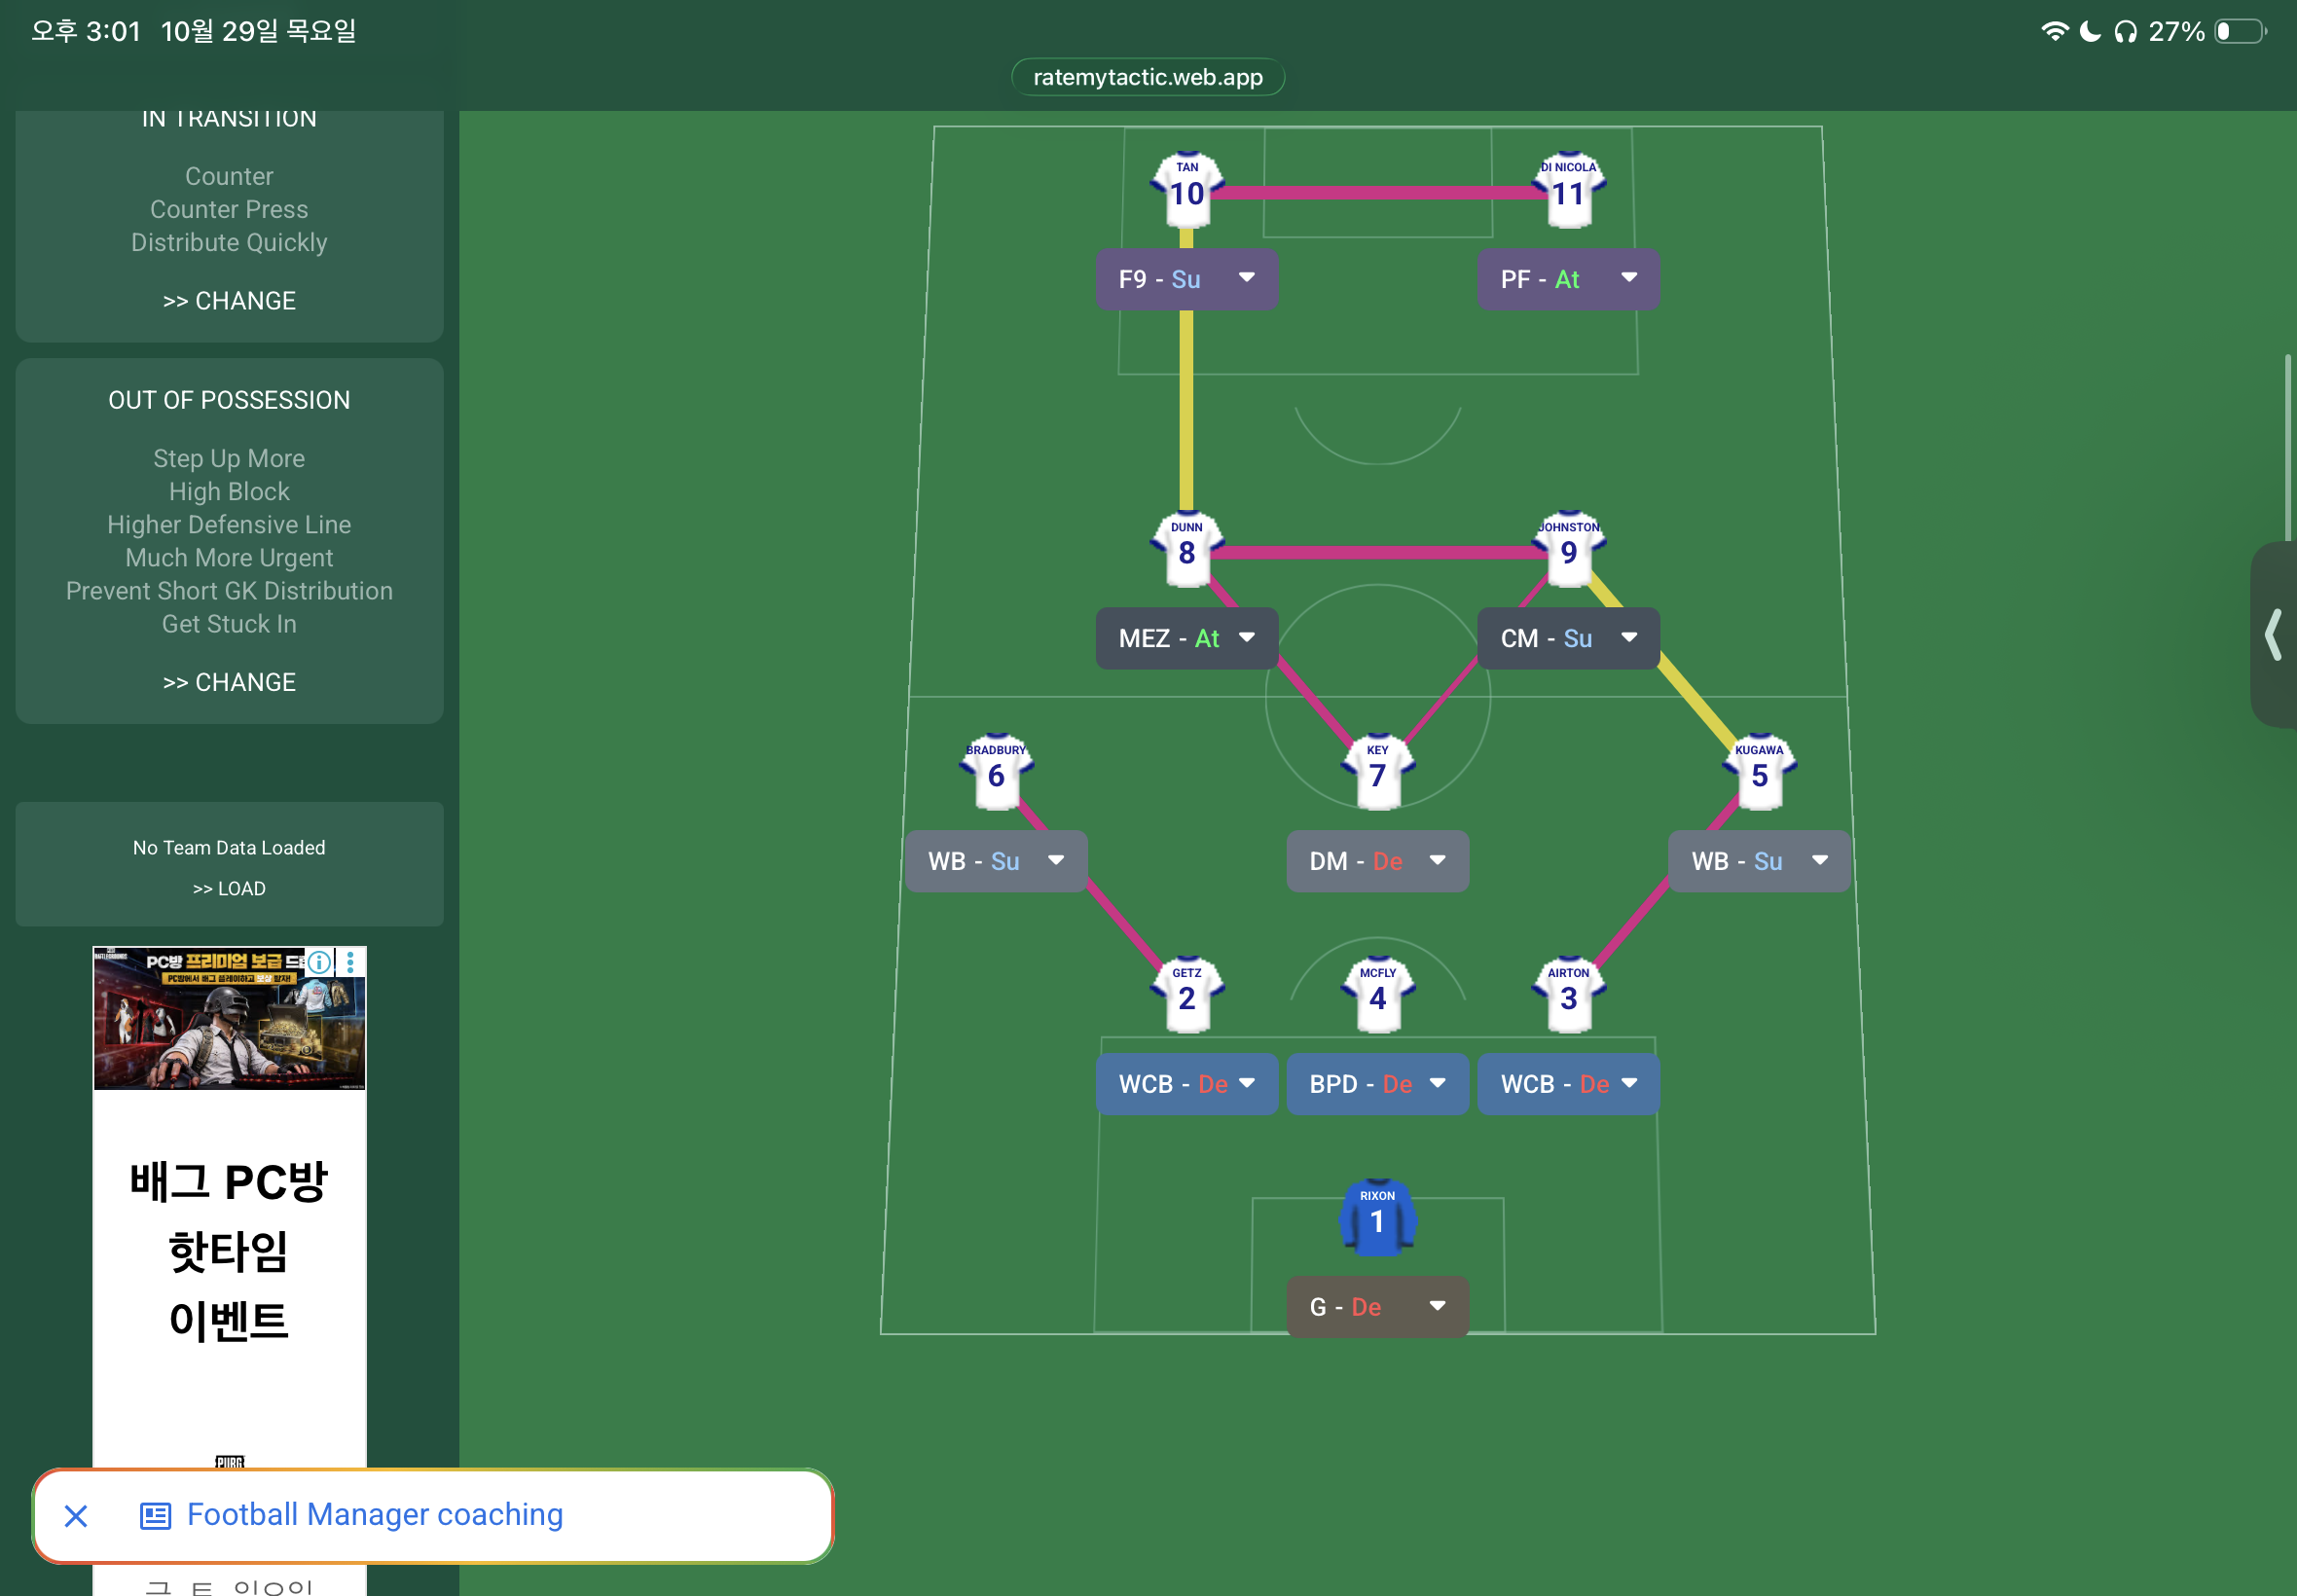
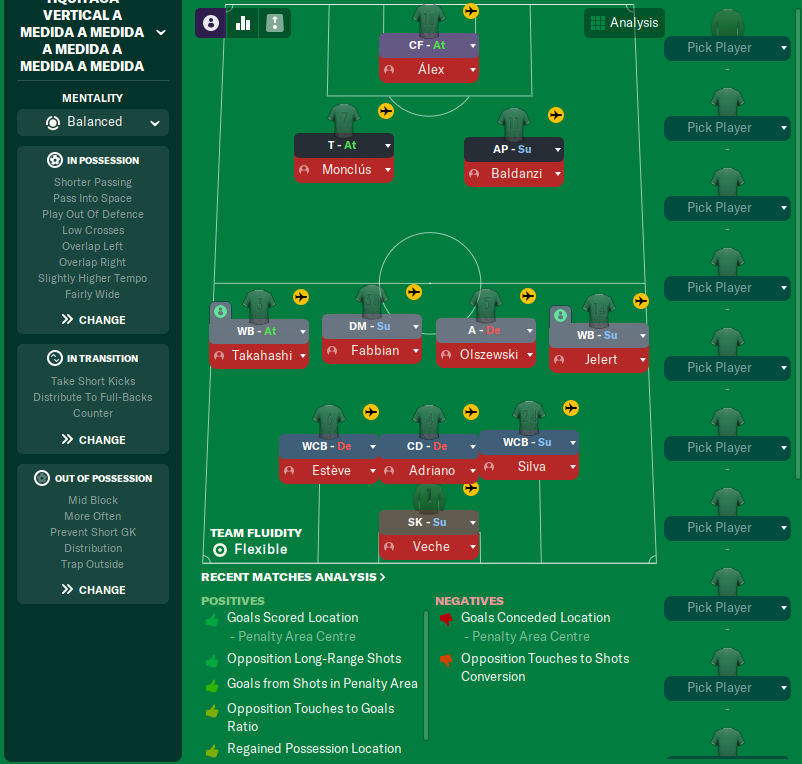
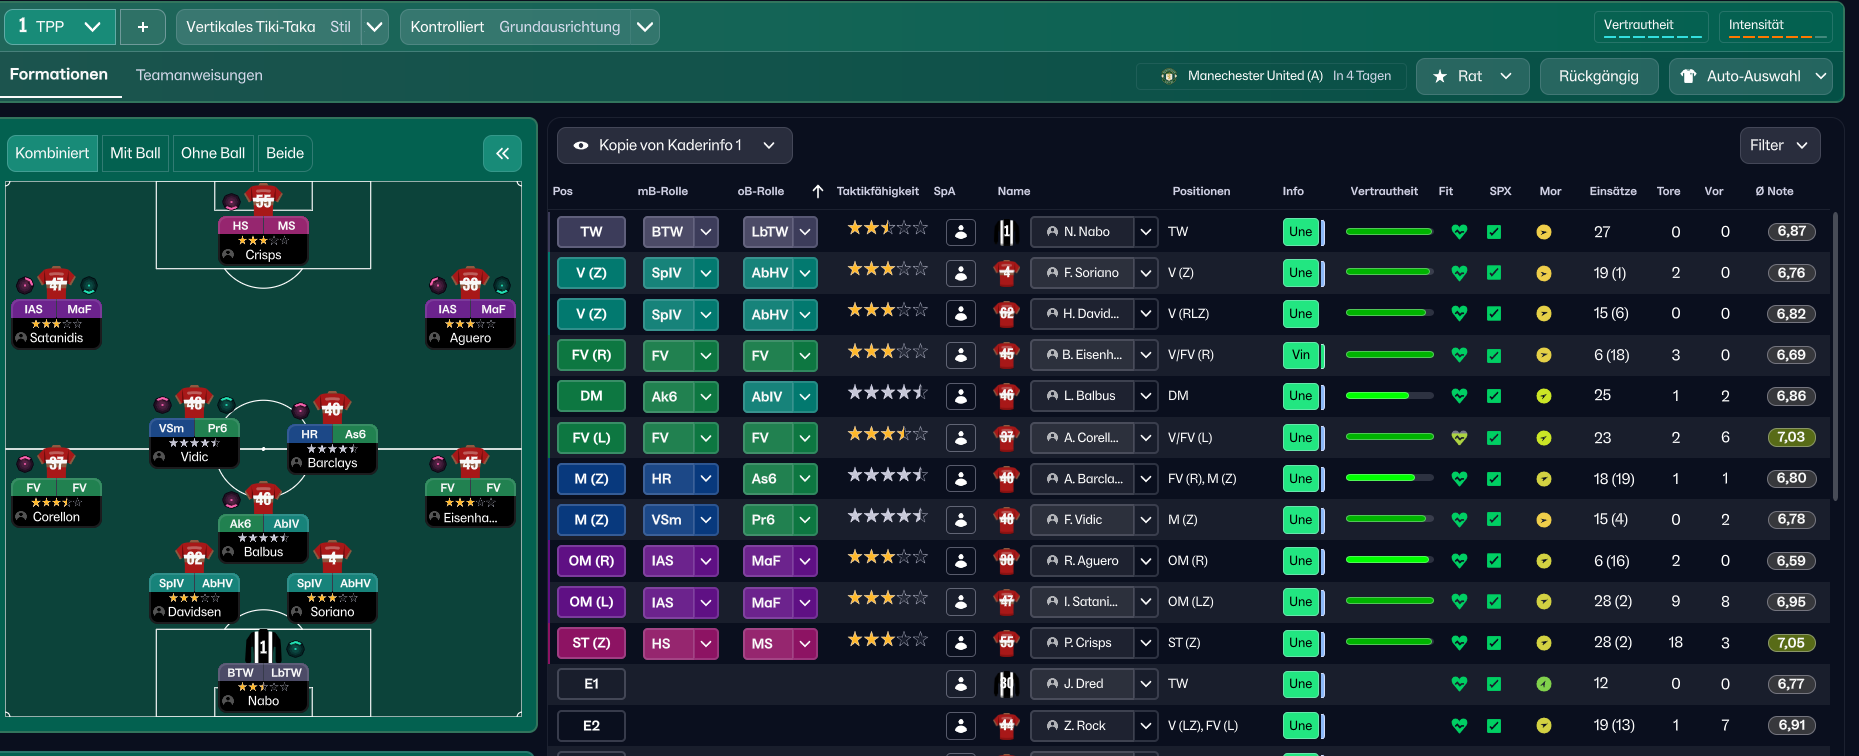
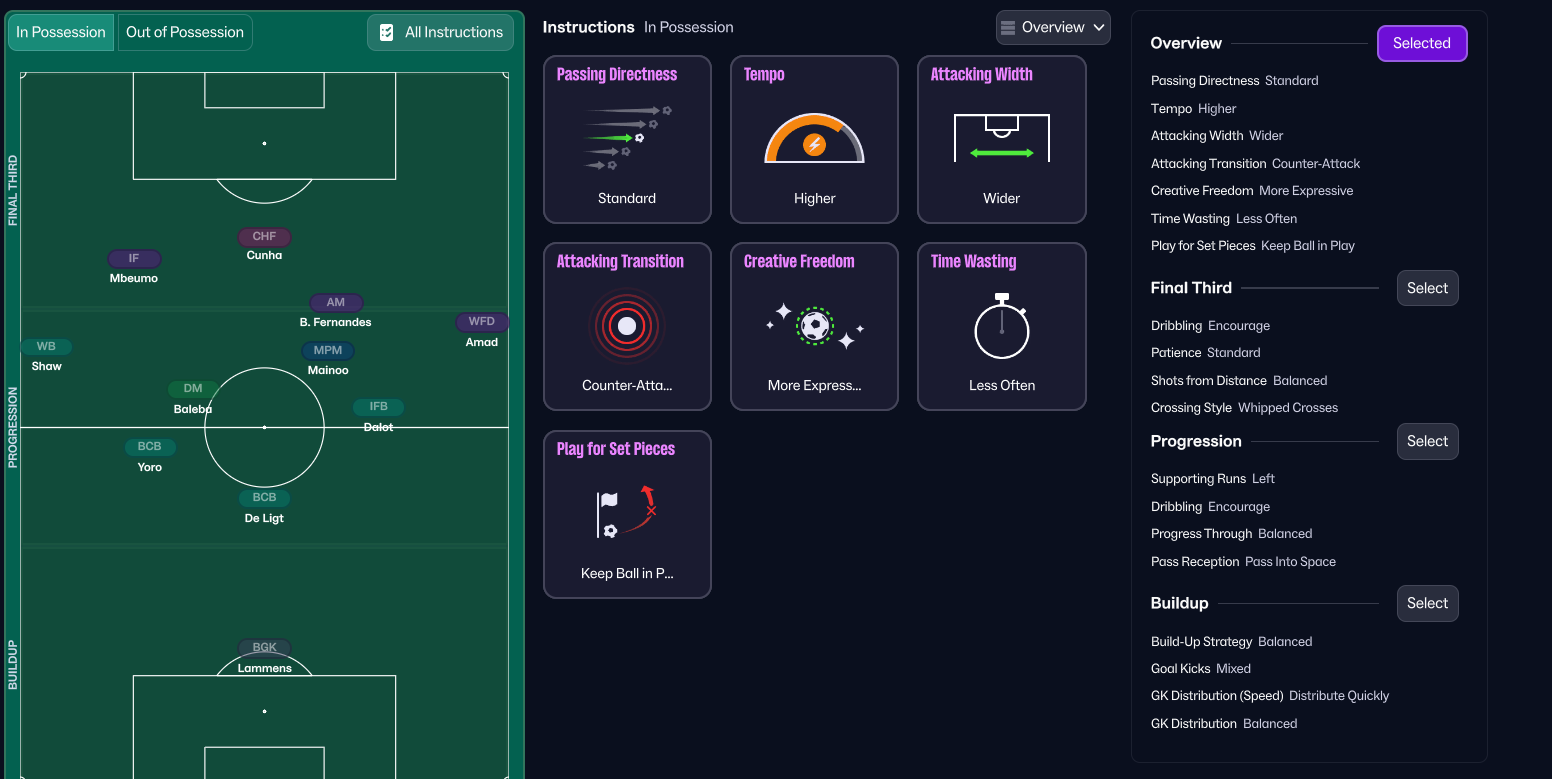
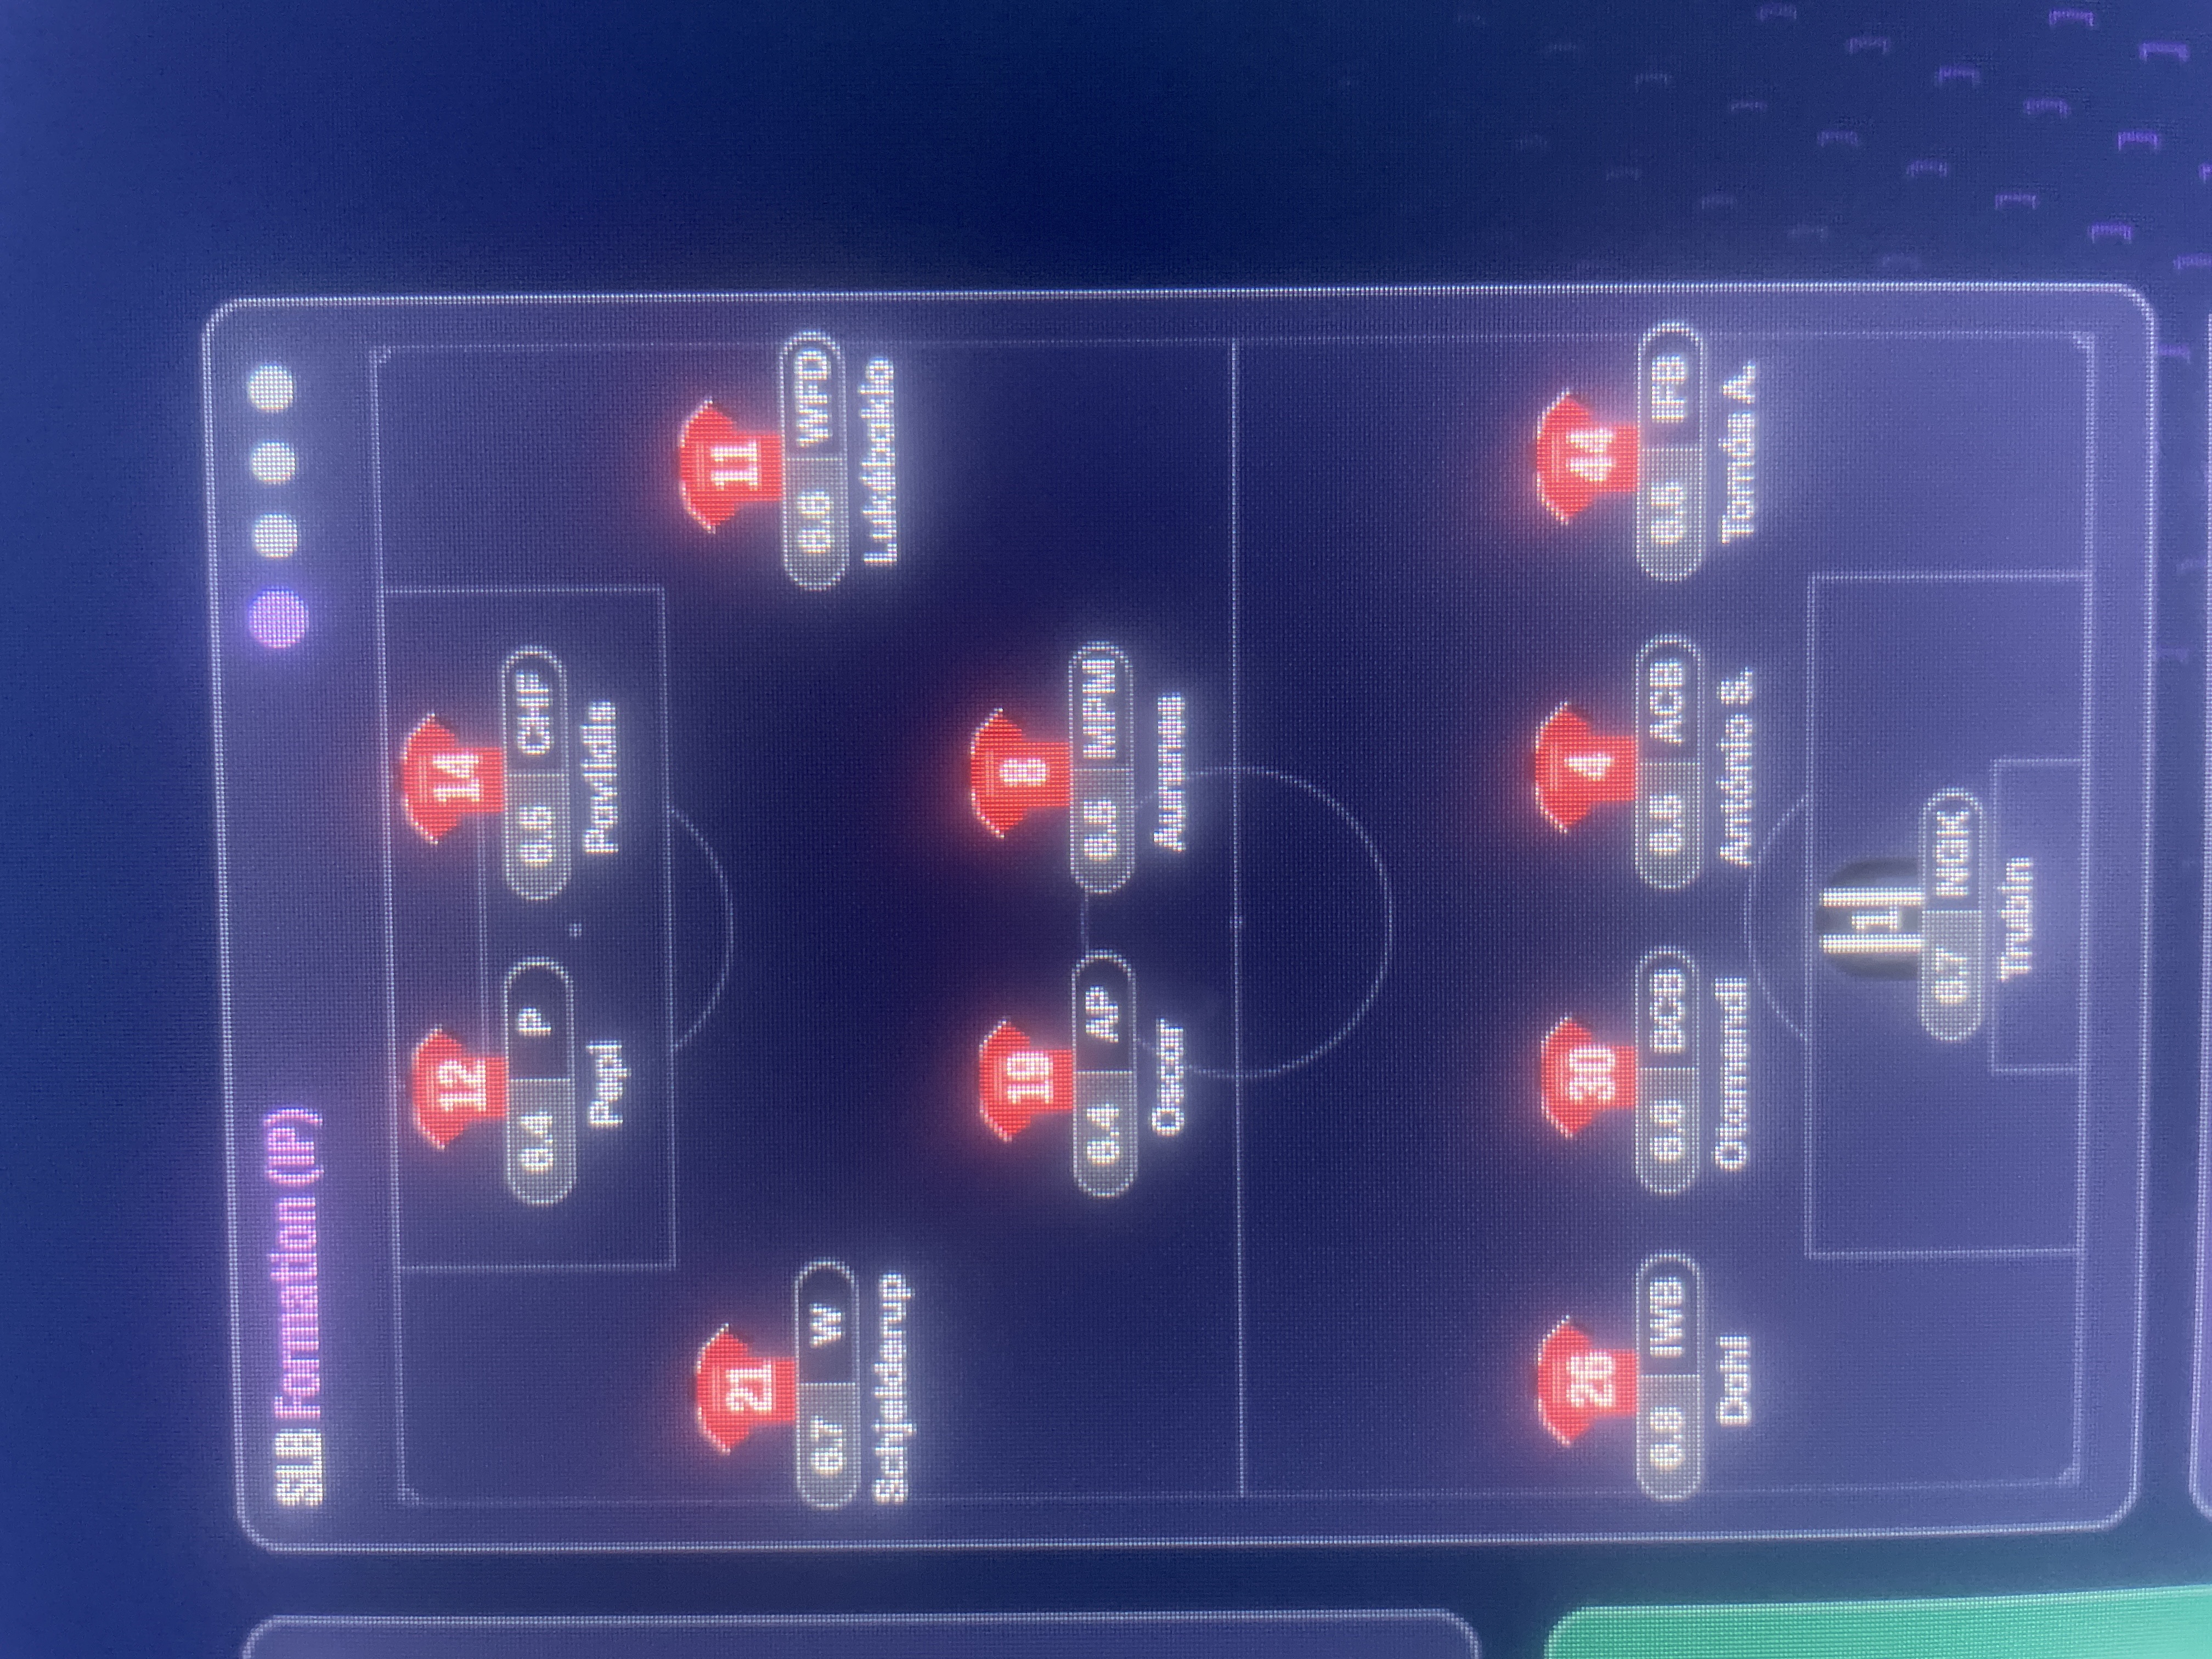
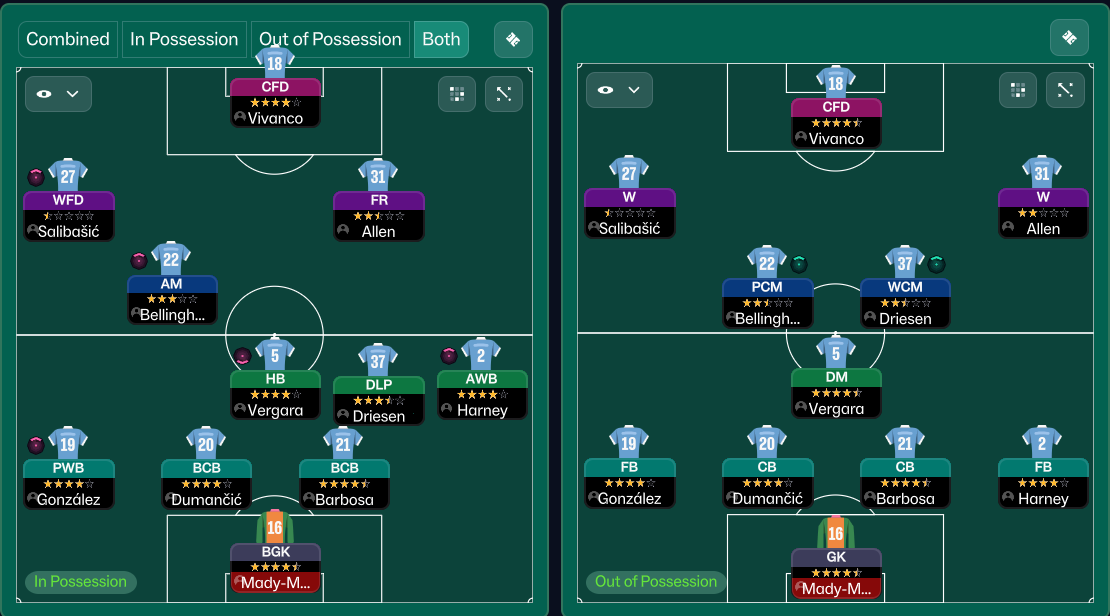
More Tiki-Taka tactics
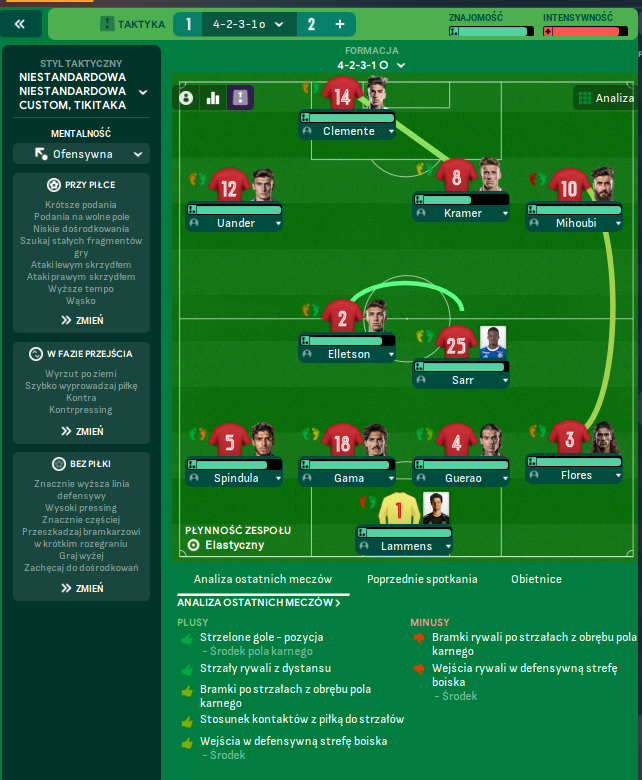
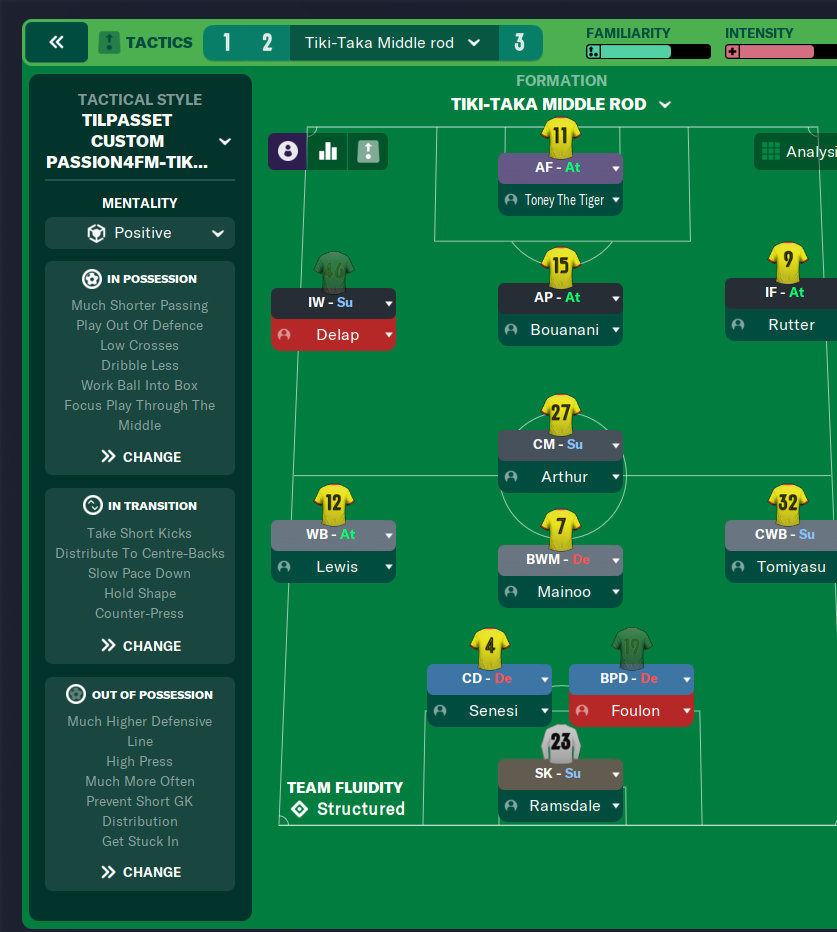
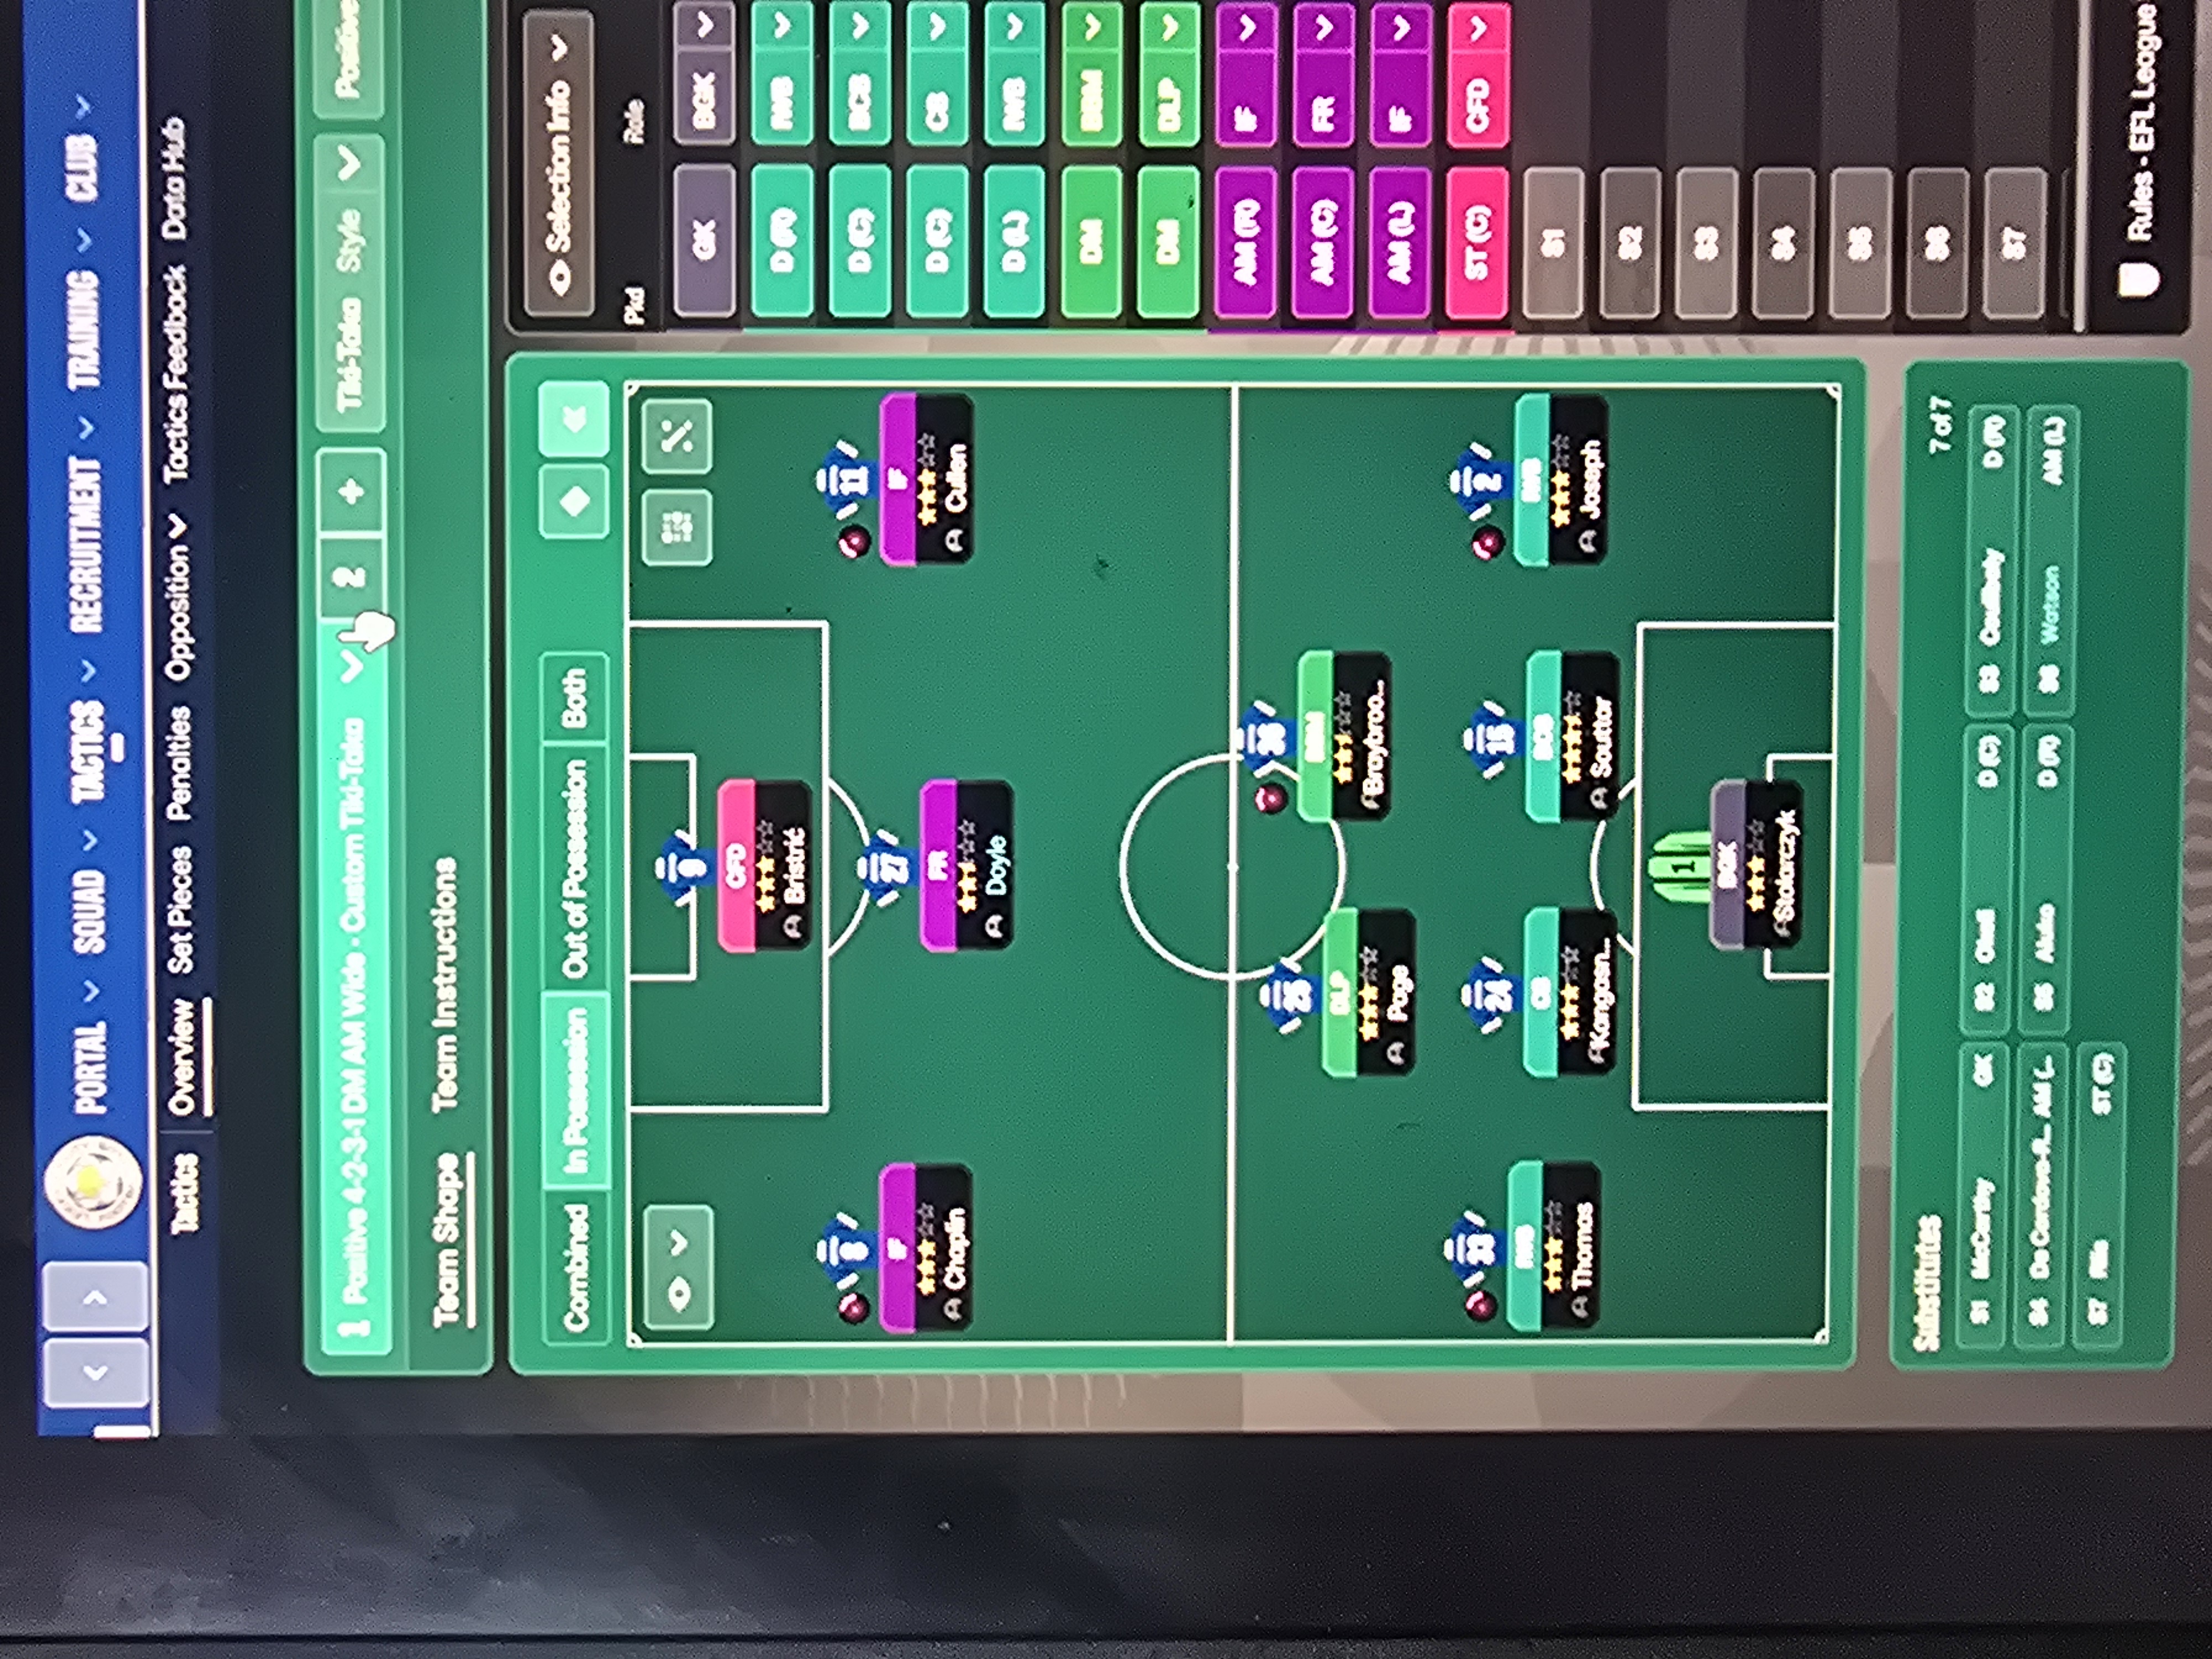
Guides for this tactic
The tactical theory behind the 3-1-4-2: roles, instructions, and the trade-offs that decide whether the system holds up.
Match preparation
In-Match Tactical Changes
Mentality, duty, role, instruction, sub. The change hierarchy from lightest to heaviest intervention, and 60th-minute patterns by game state.
Read guide
Match preparation
Reading the Match Tablet
Pass map, average position, xG, possession by zone: what each tablet panel tells you in FM and the tactical change it should trigger.
Read guide
Foundations
FM27 Tactics: What Changed from FM26
FM27 keeps FM26's tactic system. Here is what stays the same, the small changes that can catch you out, and what the new Tactical Effectiveness system asks of you.
Read guide