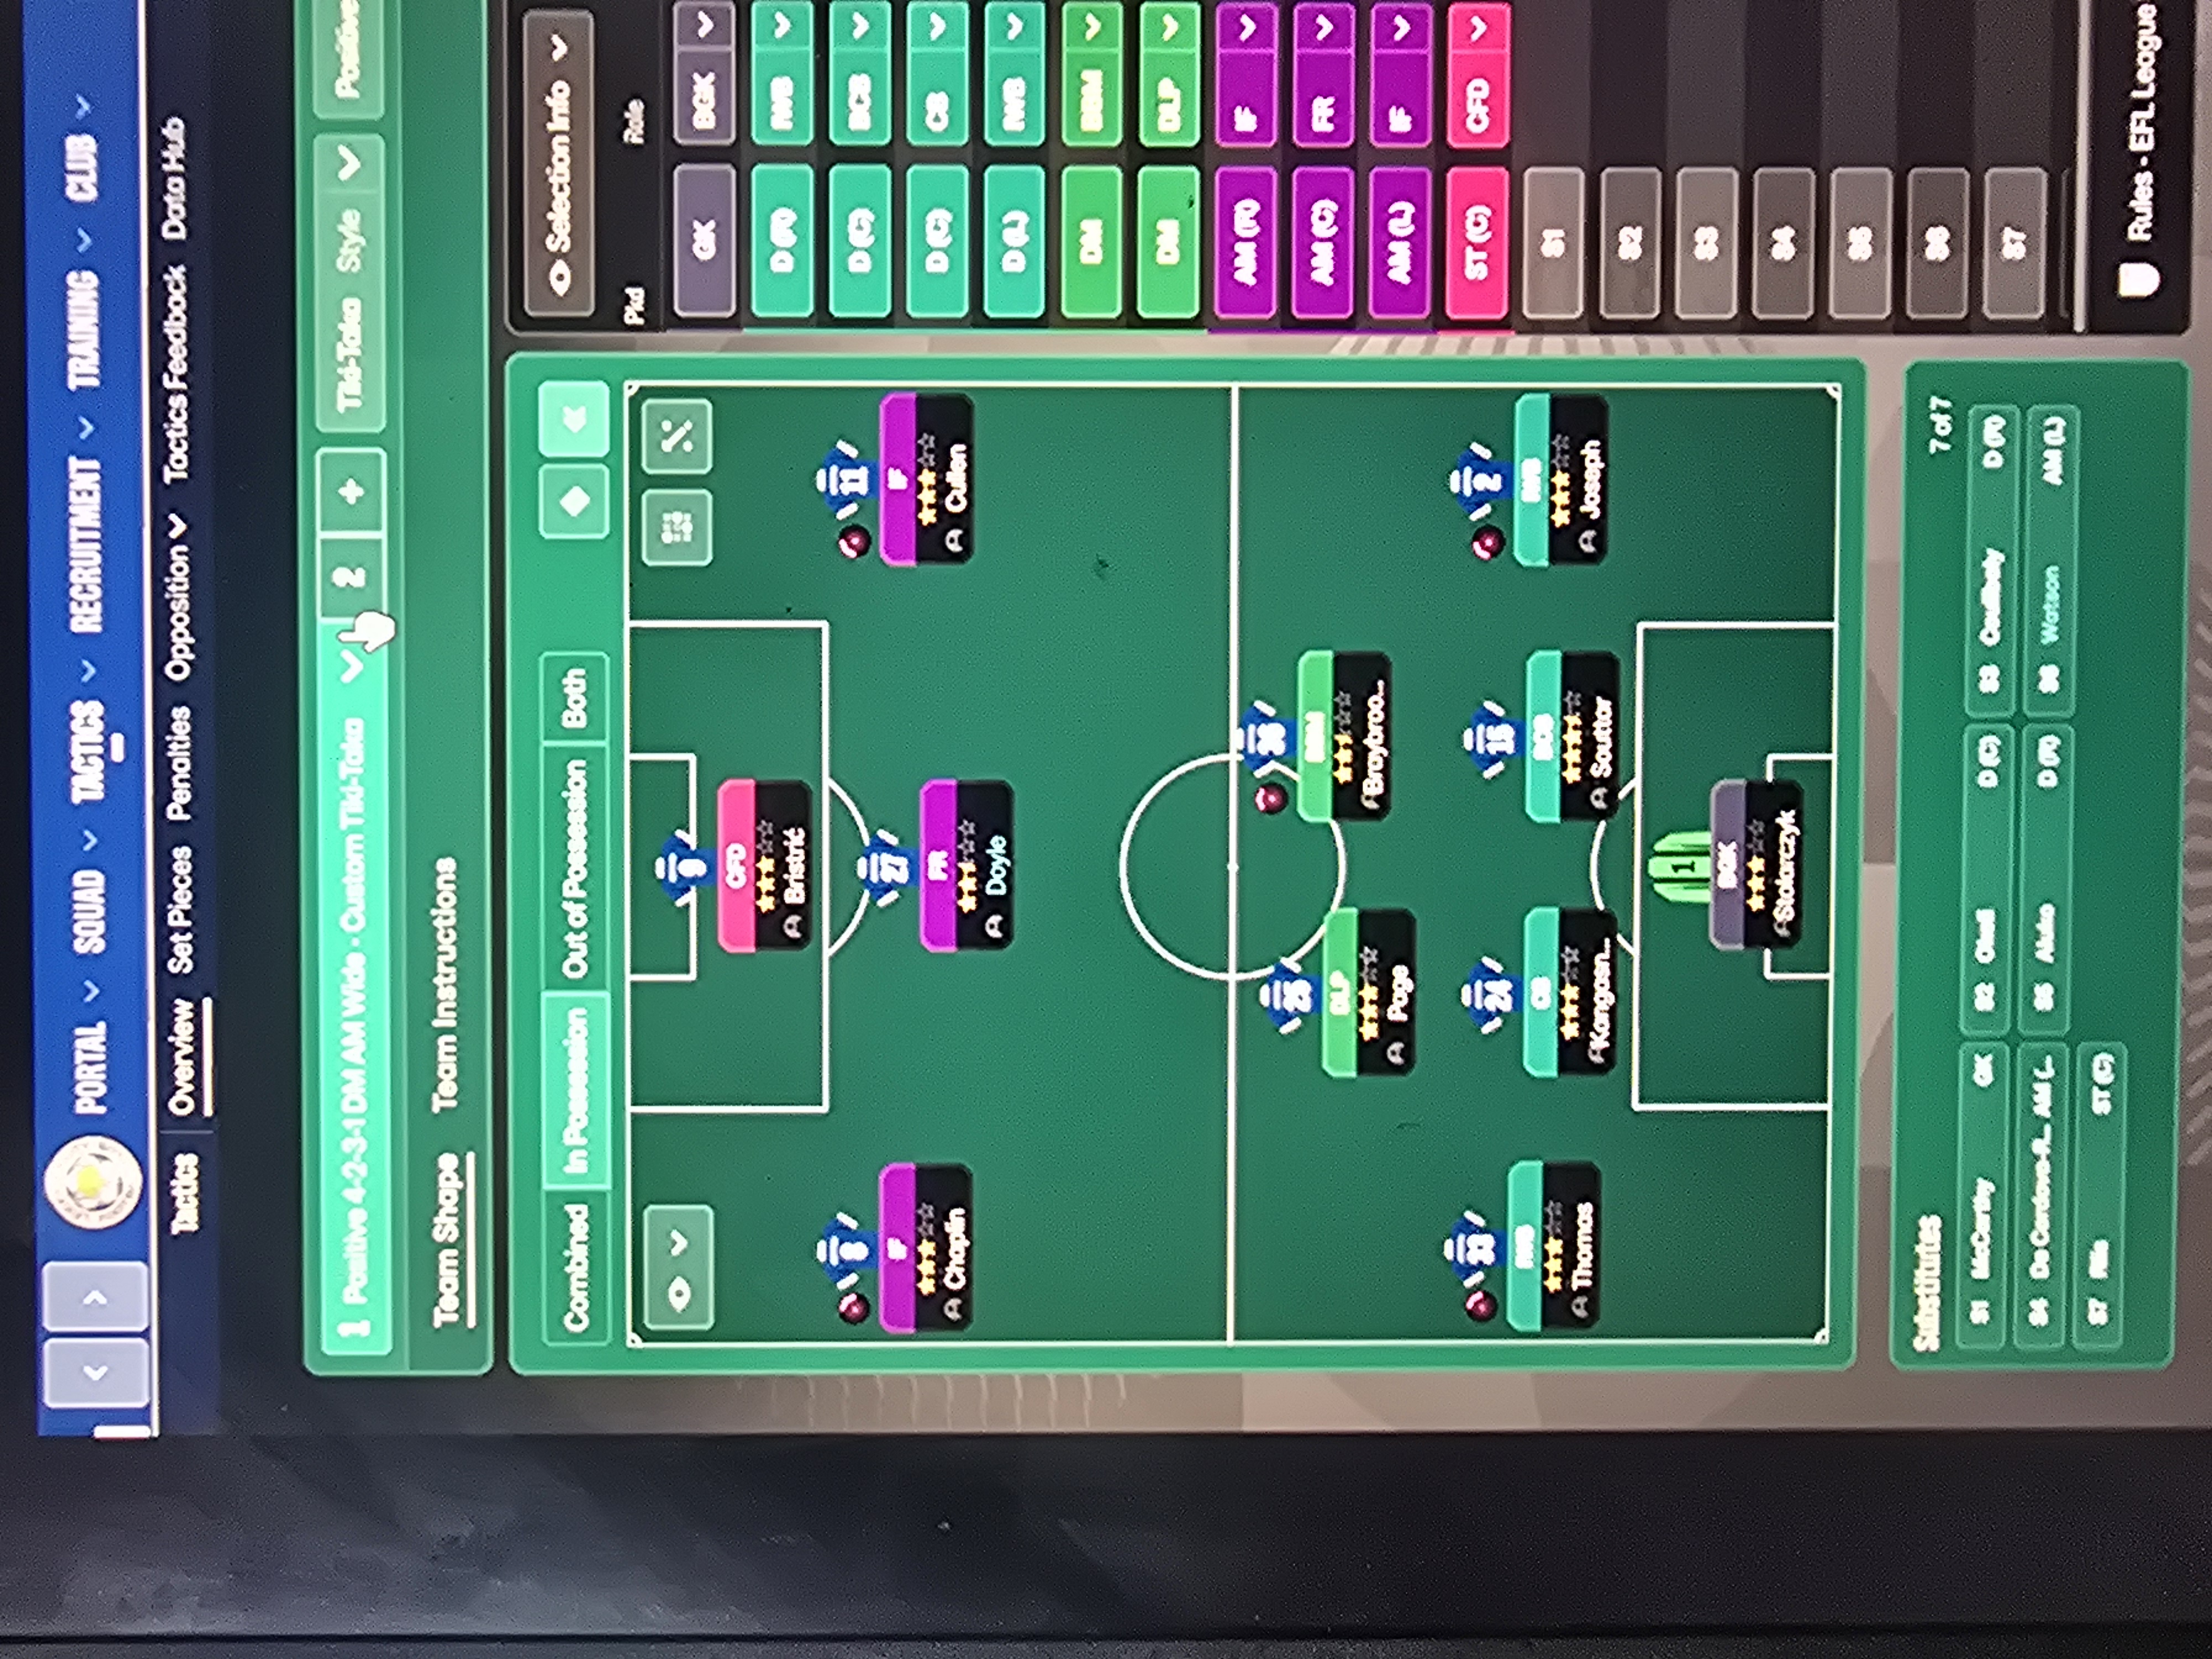
Tiki-Taka 4-2-3-1 DM Wide (Positive) Tactic
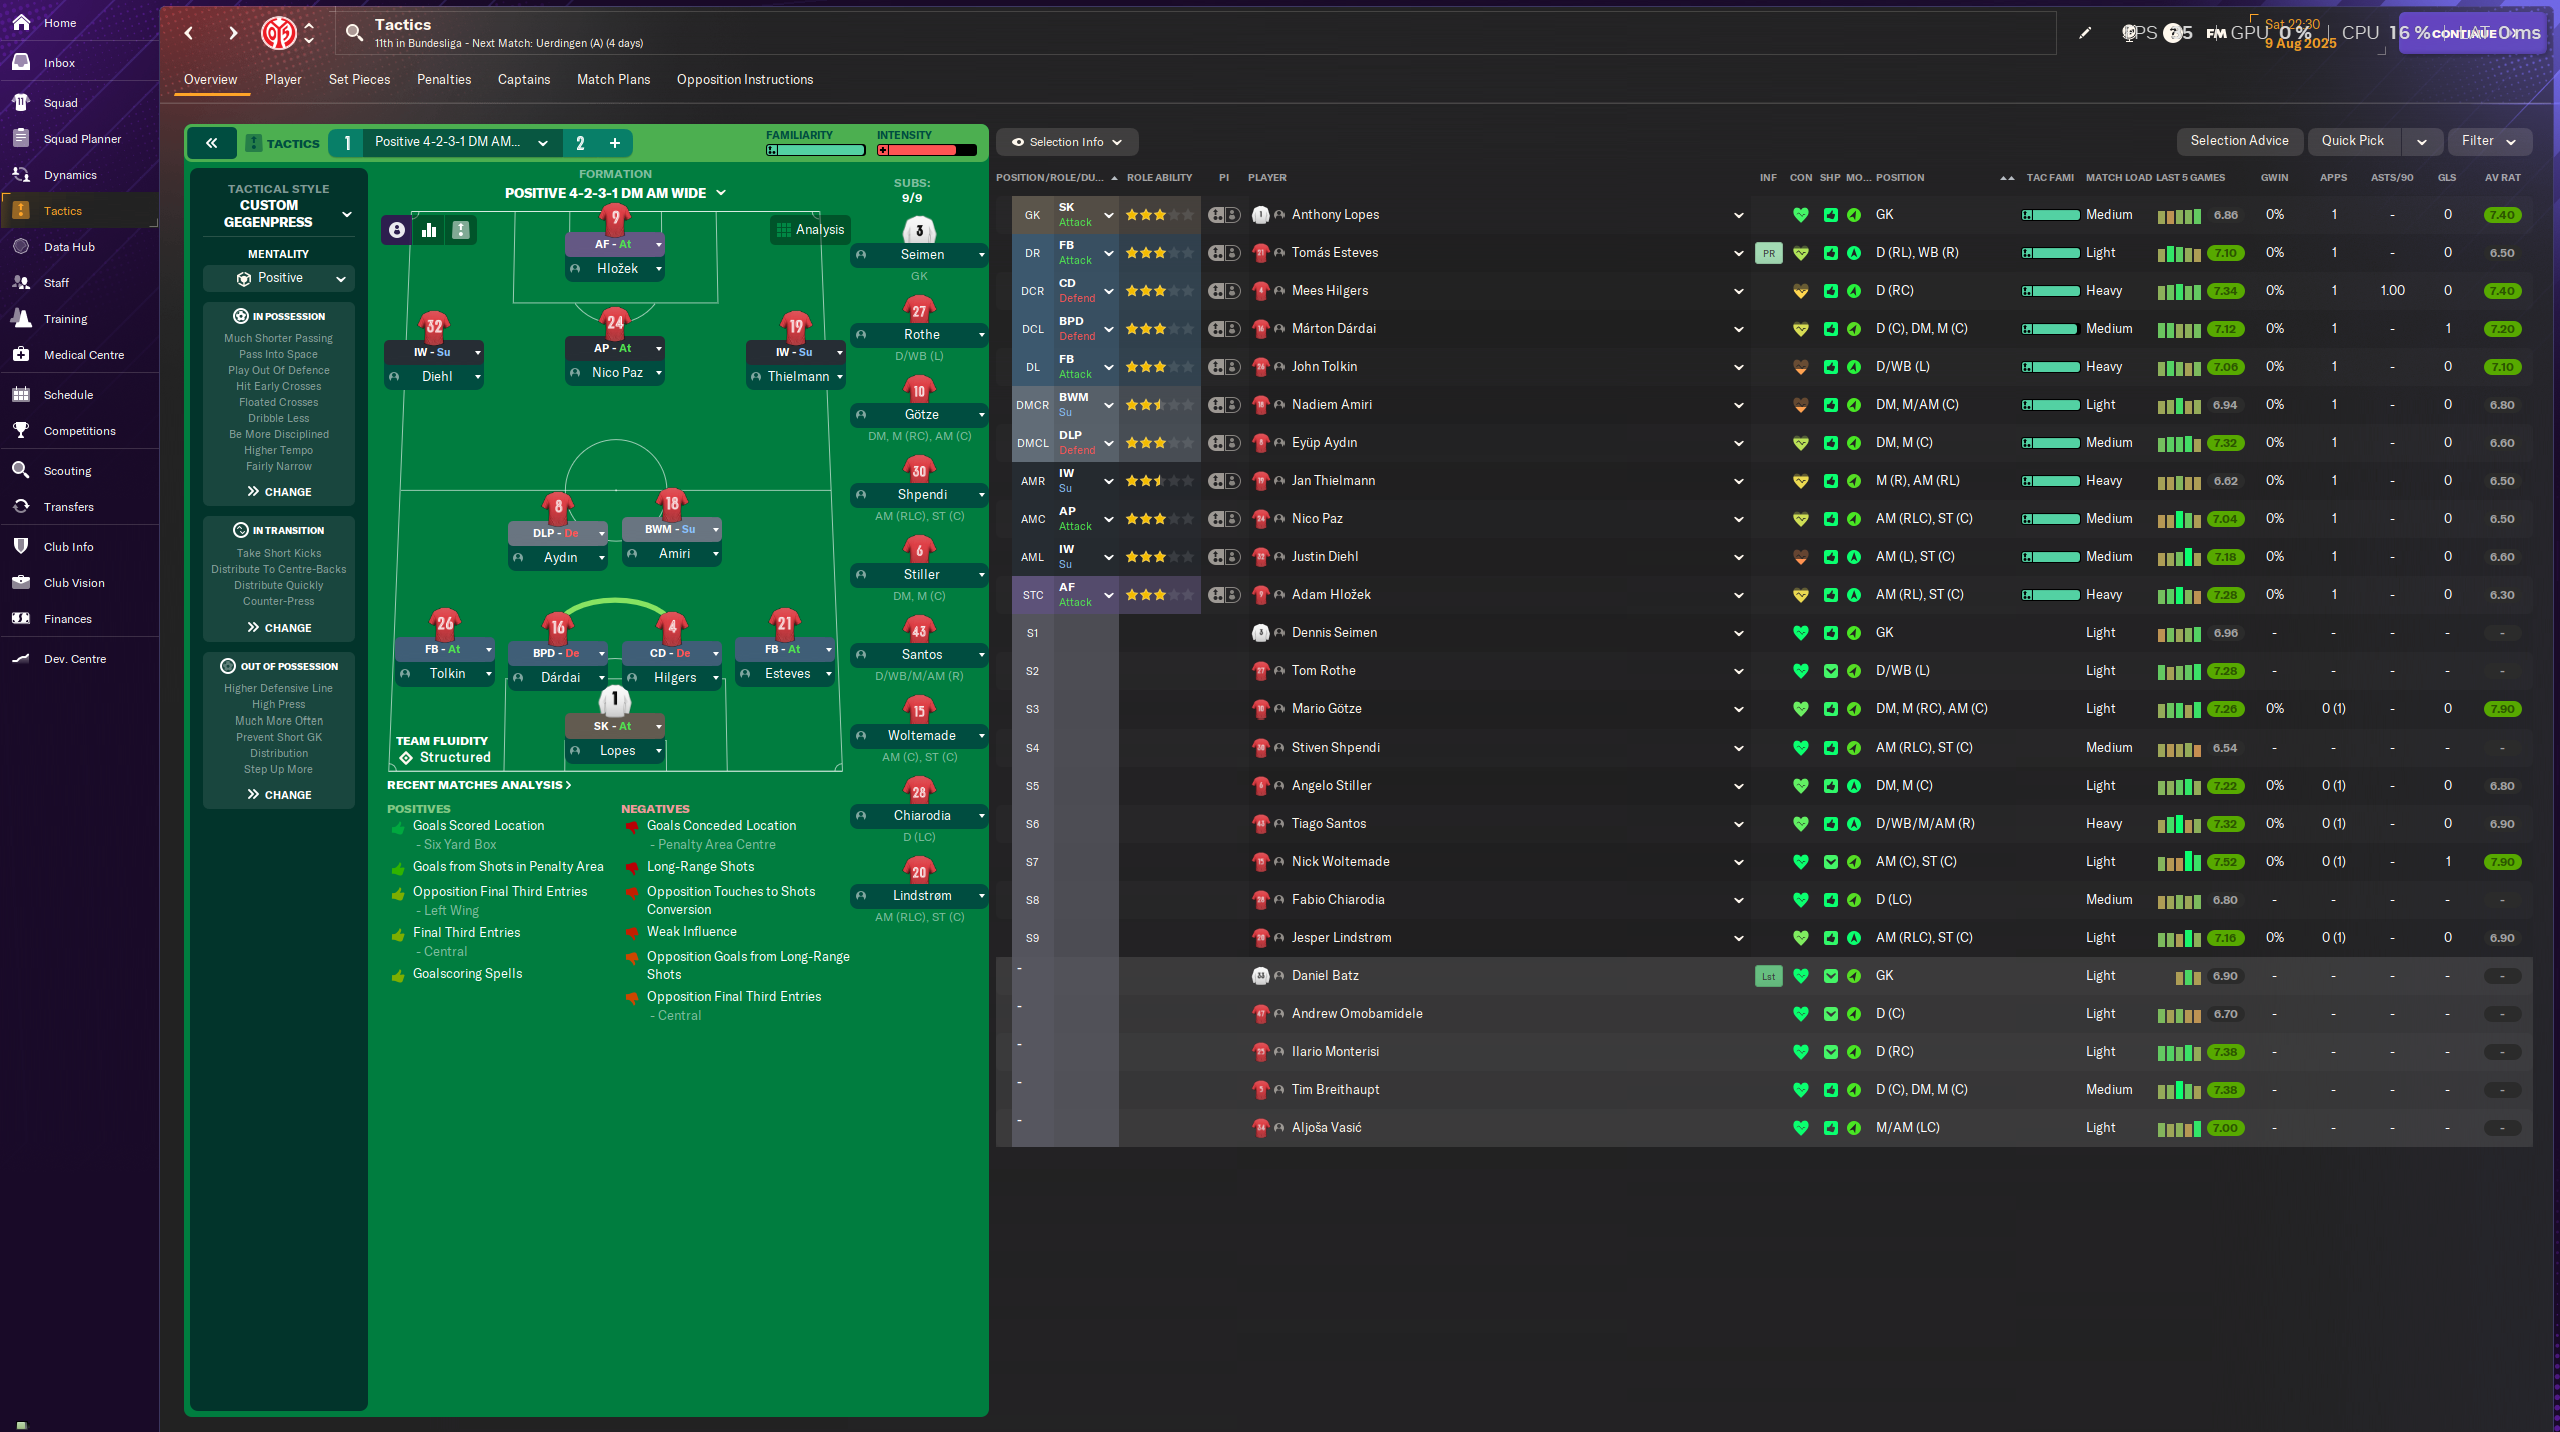
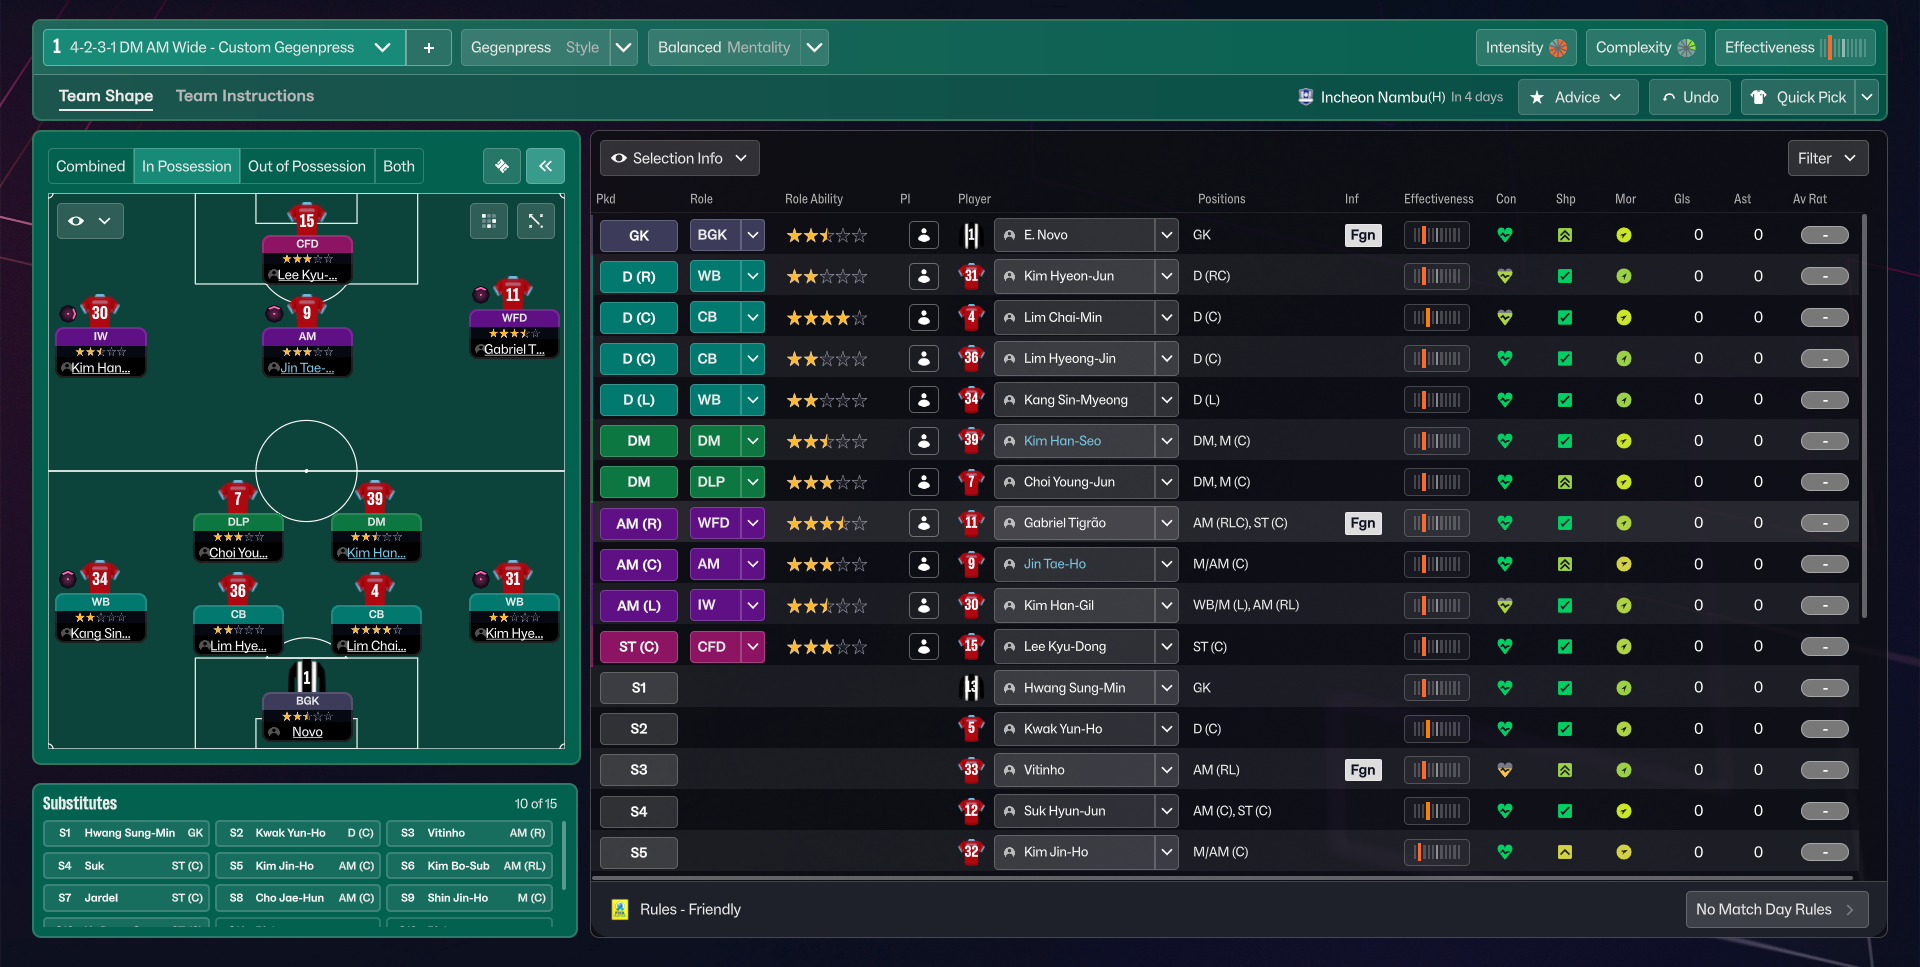
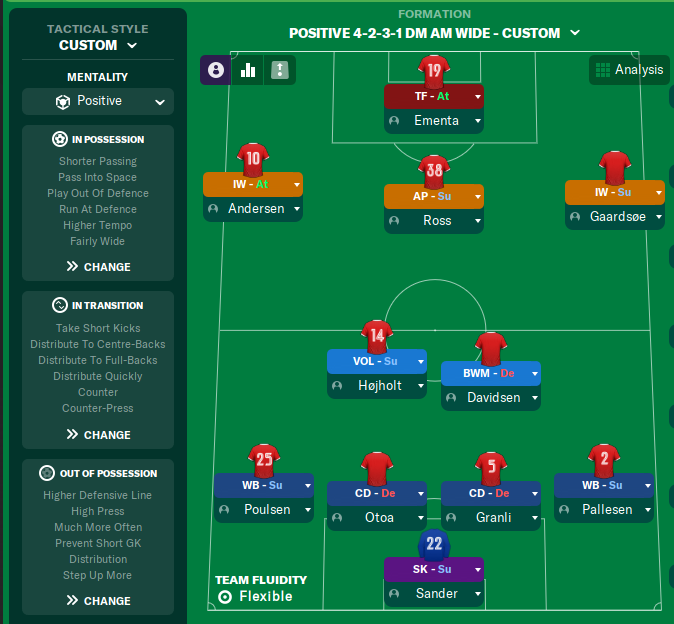
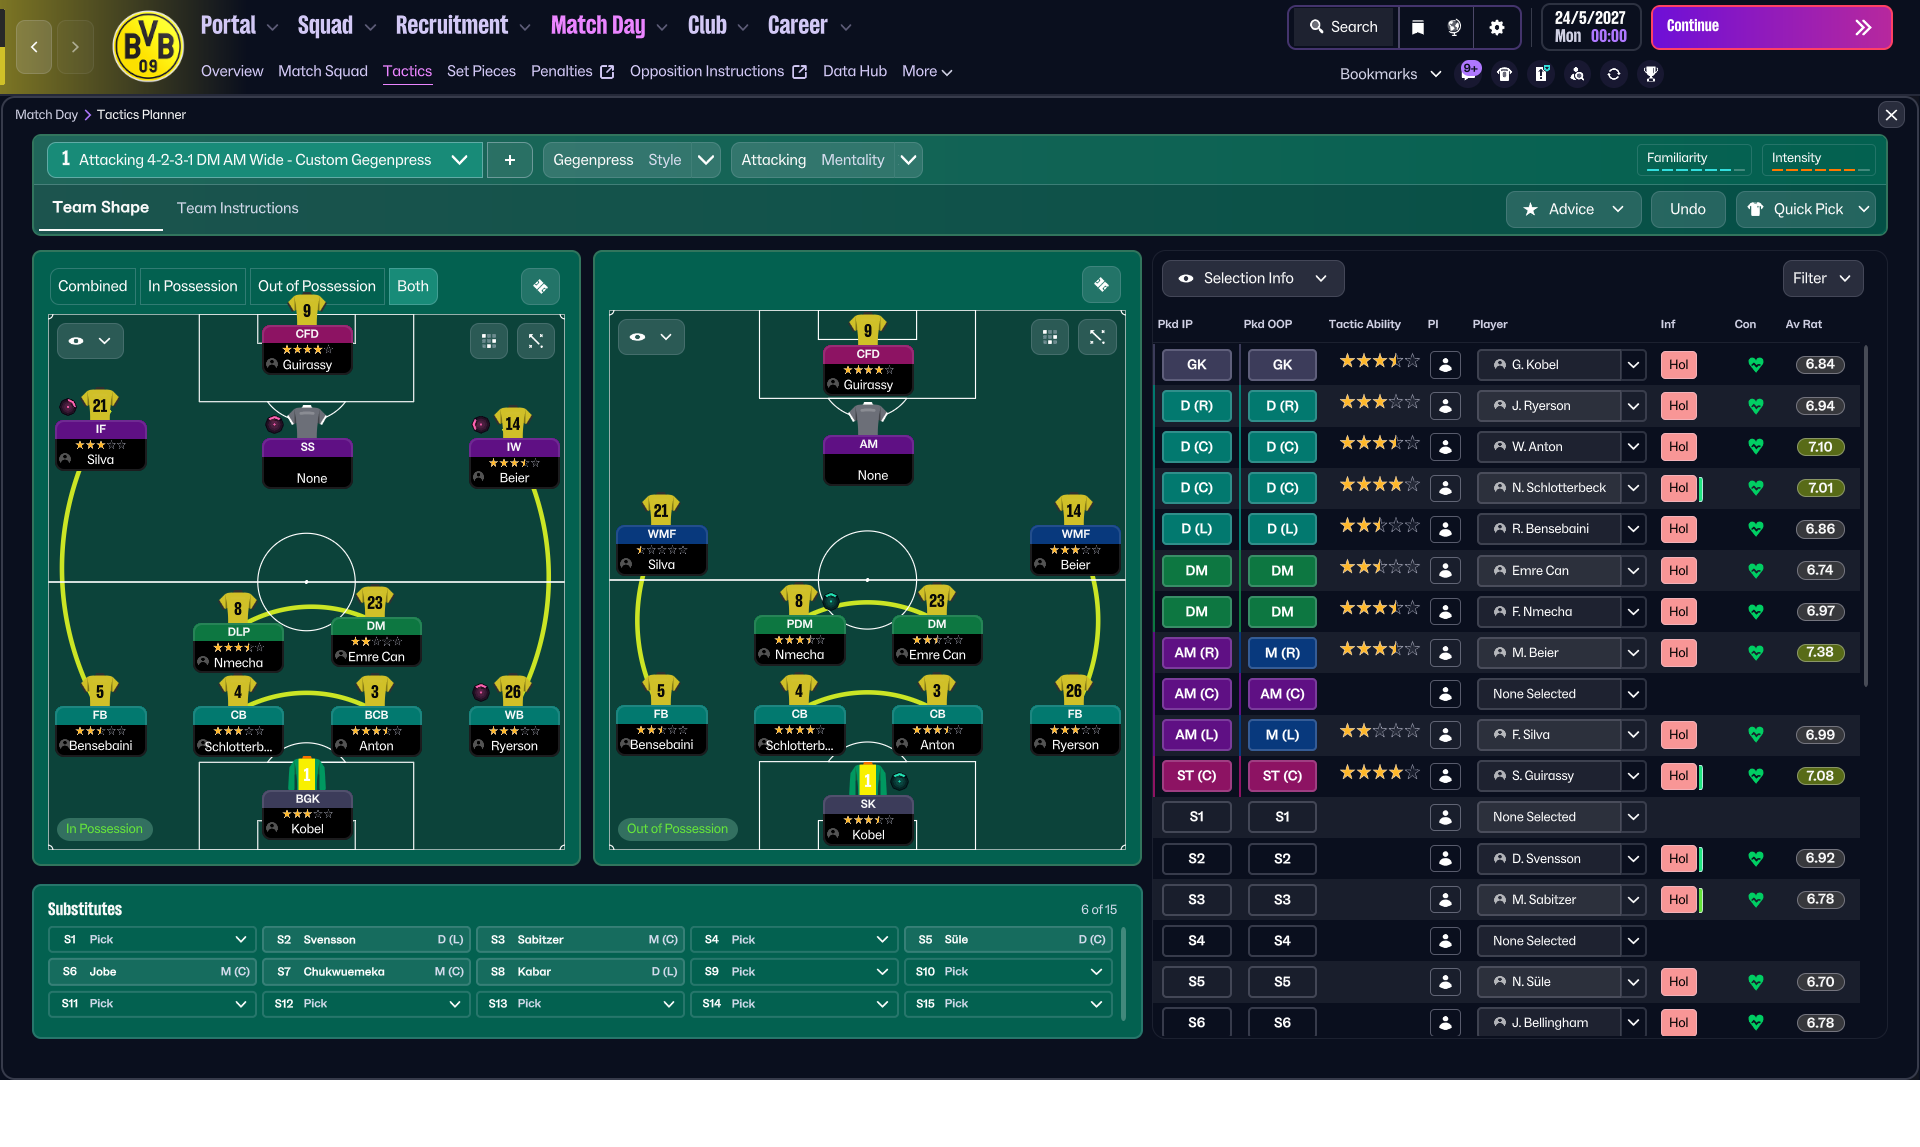
4-2-3-1 DM Wide
Utilizing width and overlapping wing-backs to stretch the play. The combination of a Complete Forward and two Inside Forwards creates varied attacking…
Loading tactical analysis...
Formation and style
Tiki-Taka
Positive
4-2-3-1 DM Wide
In possession
Shorter Passing
Retain Possession
Work Ball Into Box
Higher Tempo
In transition
Counter-Press
Counter
Out of possession
Higher Defensive Line
Higher Line of Engagement
Prevent Short GK Distribution
Player roles
GK
Goalkeeper
Defend
CB
Ball-Playing Defender
Defend
CB
No-Nonsense Centre-Back
Defend
FB
Wing-Back
Attack
FB
Wing-Back
Attack
DM
Deep-Lying Playmaker
Support
CM
Central Midfielder
Support
AM
Advanced Playmaker
Support
AM
Inside Forward
Attack
ST
Complete Forward
Attack
Phase description
Focus on retaining possession and creating space through short, intricate passing.
Quickly regain possession through counter-pressing.
Utilizing width and overlapping wing-backs to stretch the play.
Team shape defence
4-2
Compact formation when out of possession, restricting central avenues for the opposition.
Higher Defensive Line and Higher Line of Engagement help maintain pressure.
Team shape attack
4-3
Fluid attacking shape with width provided by the wing-backs and switches of play to the inside forwards.
Wing-Backs pushing forward actively supports the Advanced Playmaker and Inside Forward.
Key strengths
Dynamic Attacking Threat
The combination of a Complete Forward and two Inside Forwards creates varied attacking options.
Inside Forward at [6,2] and Complete Forward at [6,3] provide penetration.
Midfield Control
The Double Pivot with DM and CM allows for control and distribution from deep.
DLP-S at [3,3] with 'Retain Possession' supports this play style.
Conflicting tactics
Vulnerability to Counter-Attacks
High defensive line can expose the back four to quick counter attacks.
Higher Defensive Line and Higher Line of Engagement increase risk.
Wing-Back Dependence
Relying heavily on wing-backs could lead to issues if they're neutralized.
Both Wing-Backs at [2,1] and [2,5] are critical for width.
Risk exposures
Risk Exposures
Items
Defensive Exposures
With high pressing and a high line, the team risks being countered.
Higher Line of Engagement combined with Counter-Press creates vulnerability.
Midfield Crowding
Over-committing midfielders can lead to a lack of cover in transitions.
DLP-S with only one CM could leave gaps when possession is lost.
Role synergies
Role Synergies
Items
DLP-S and CM-S Partnership
Provides the right balance in midfield for both defensive cover and creative support.
DLP at [3,3] works well with CM at [4,3].
Wing-Backs and Inside Forwards
Wing-backs stretching the pitch allows Inside Forwards to cut inside effectively.
WB-A at [2,1] and [2,5] facilitate space creation.
Suggested questions
How can the wing-backs be more effectively utilized?
What strategies should be implemented to counter fast breaks?
Are there alternative formations that could provide better balance?
Related Tactics
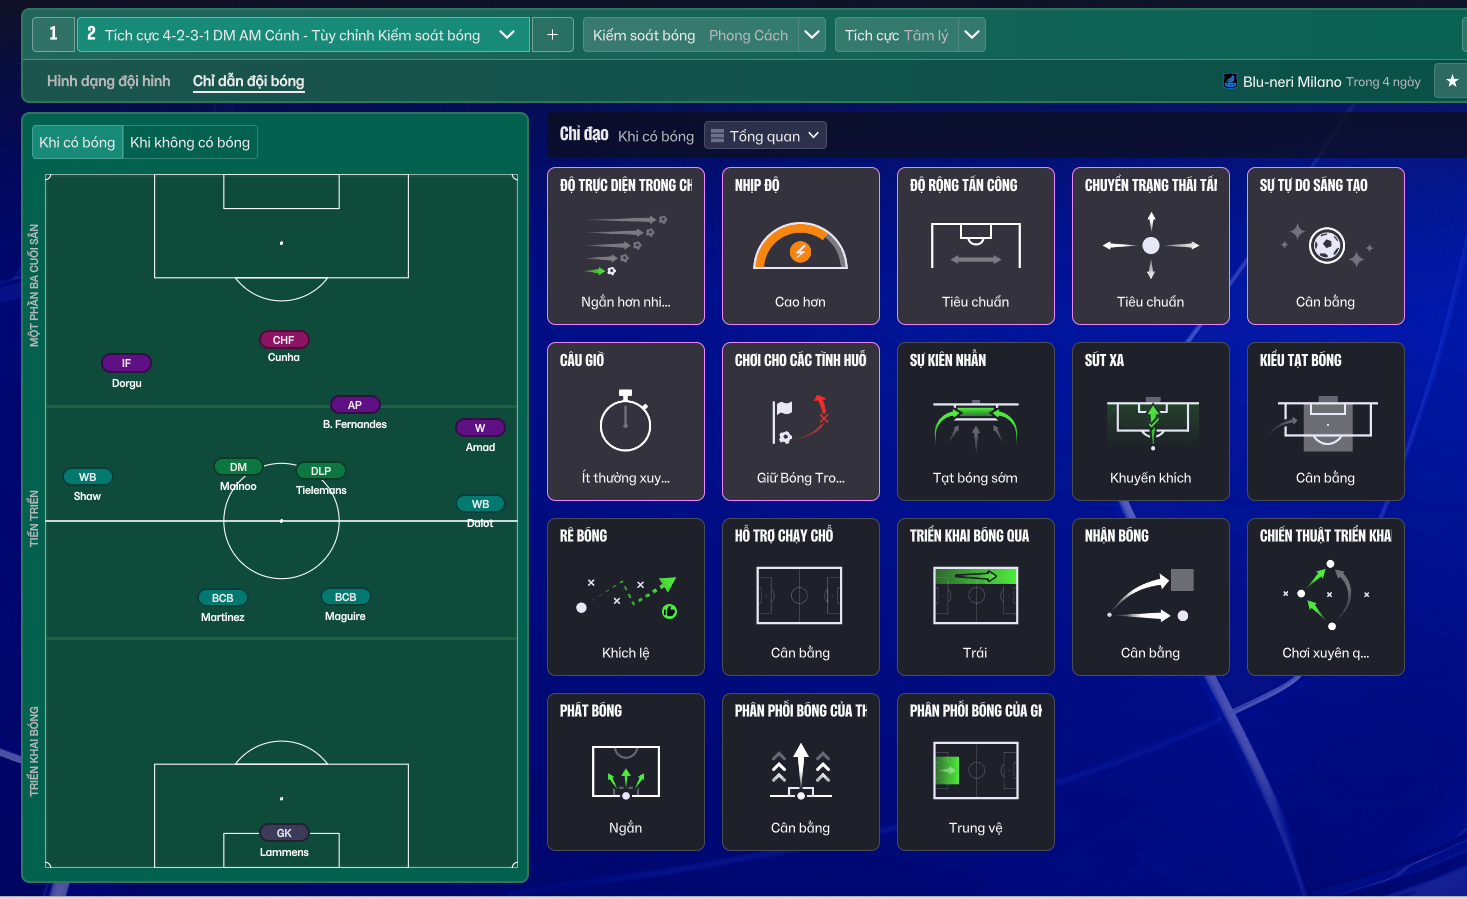
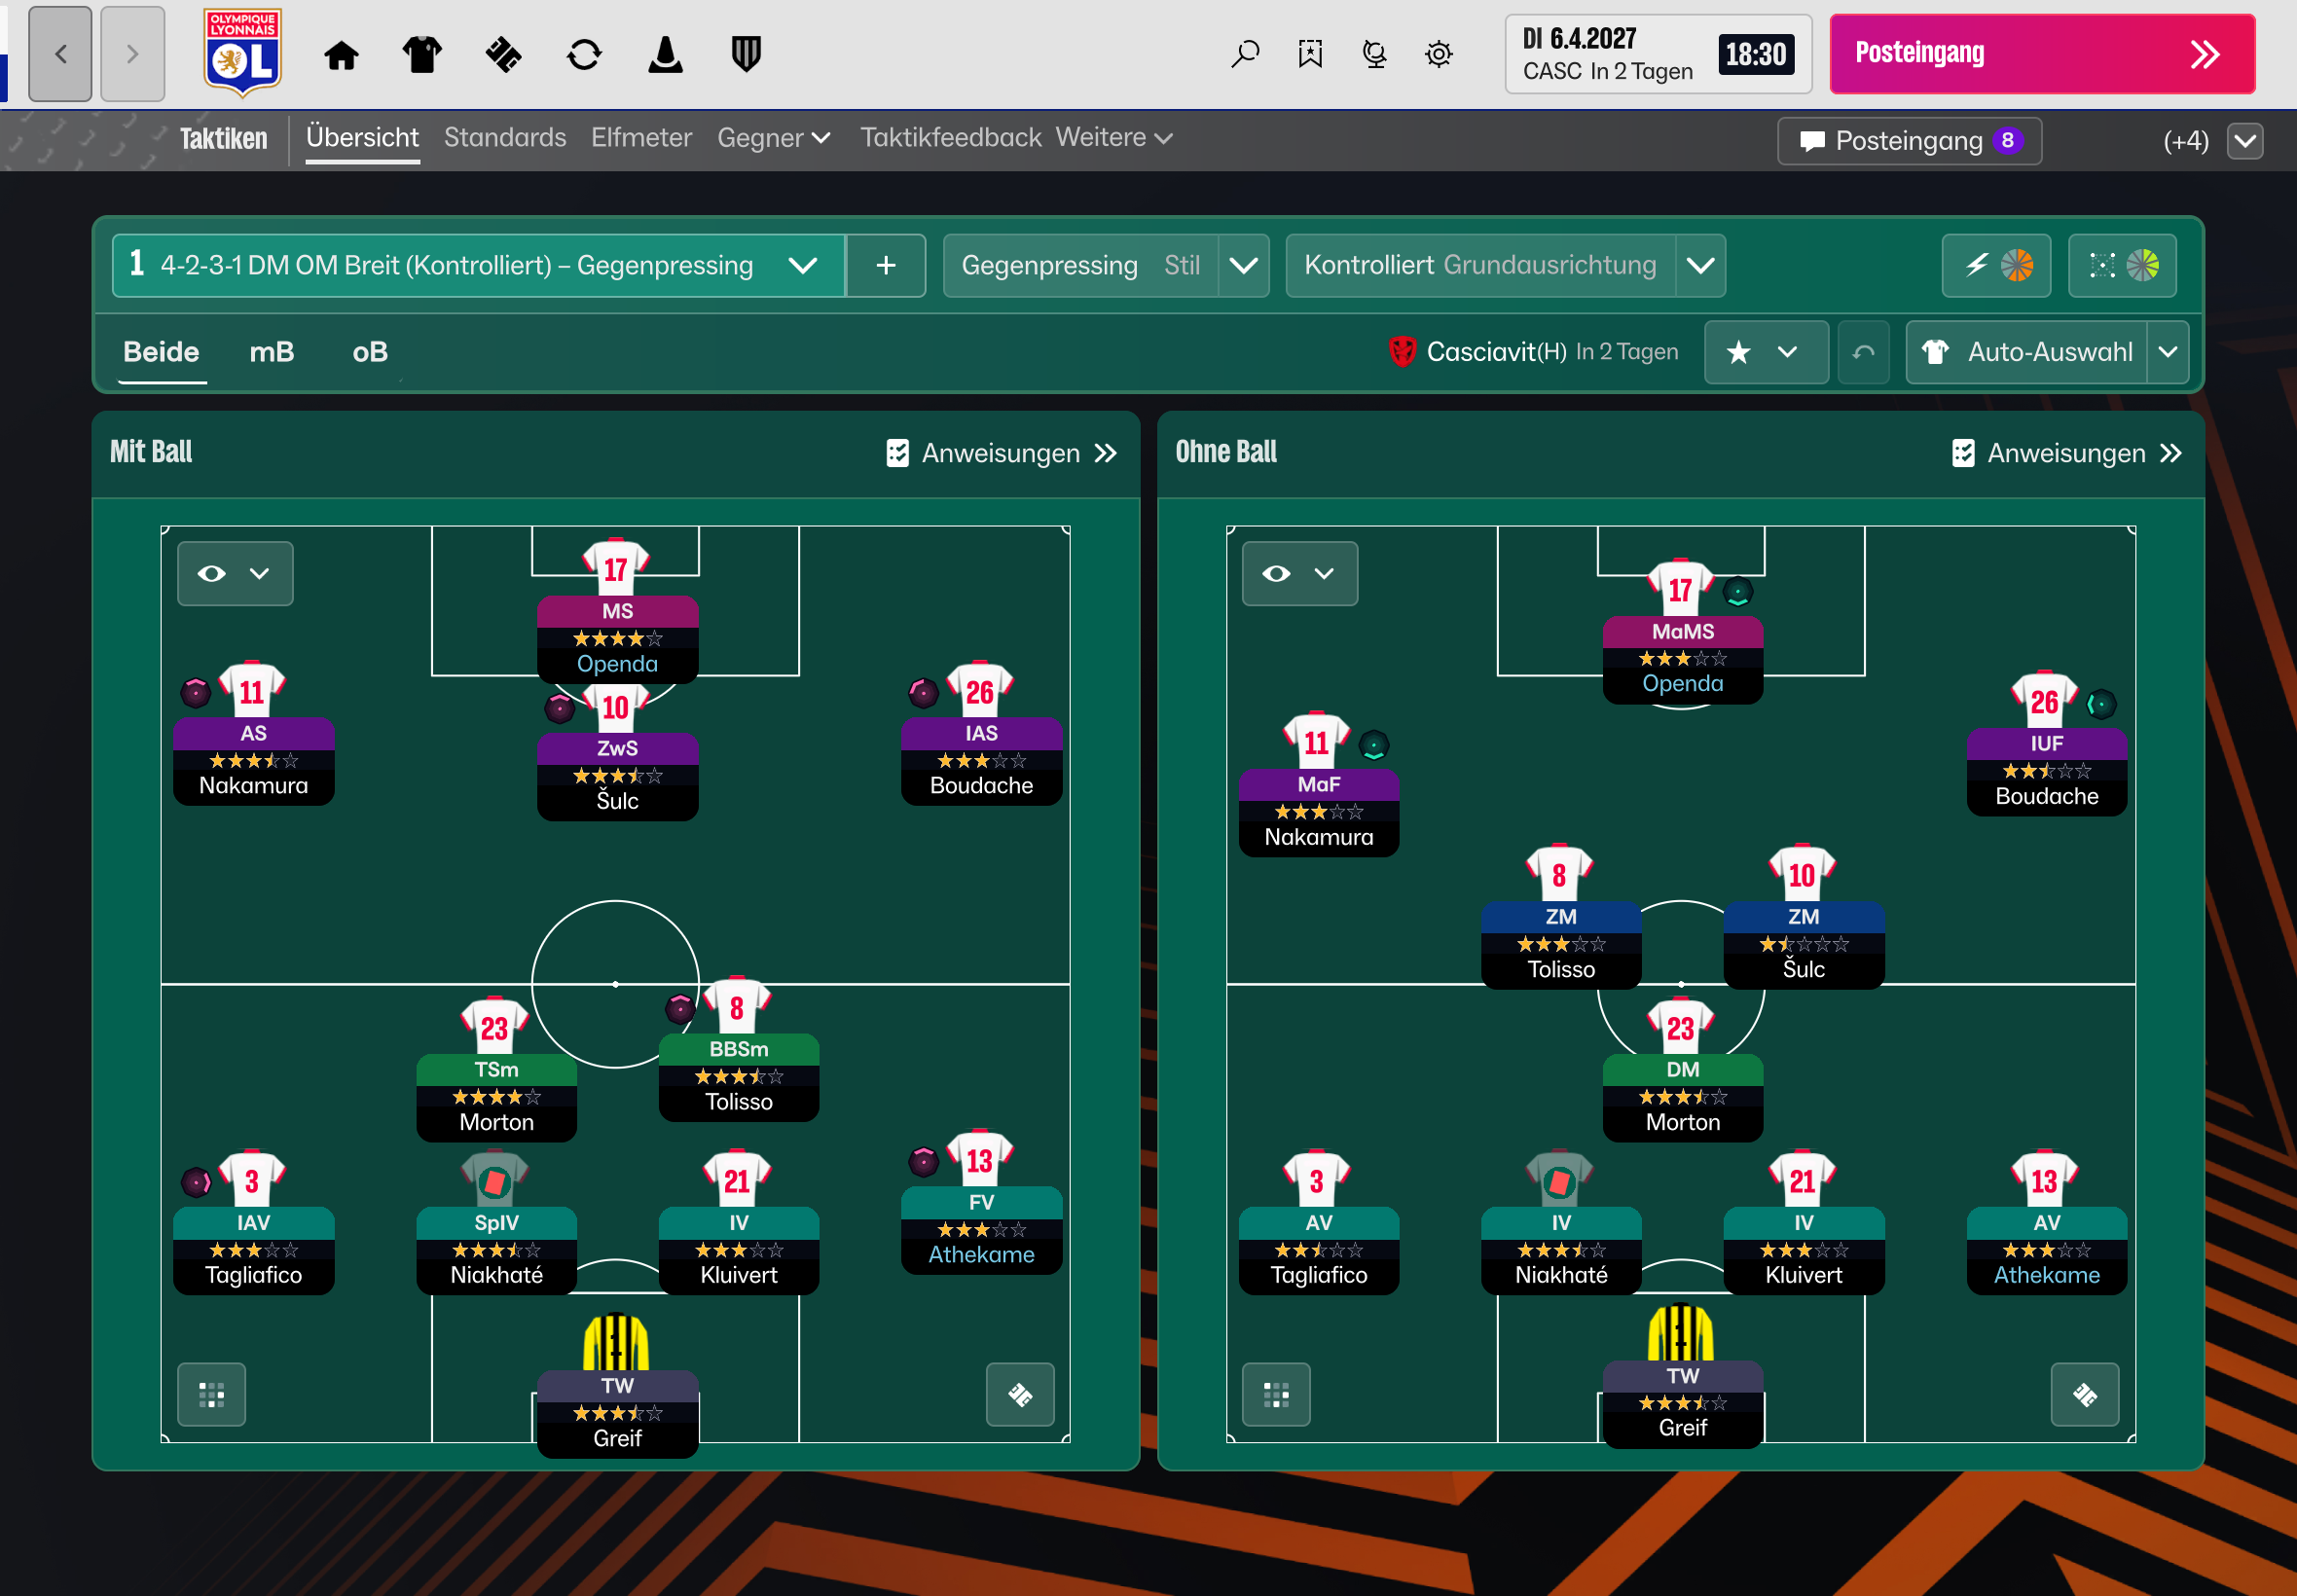
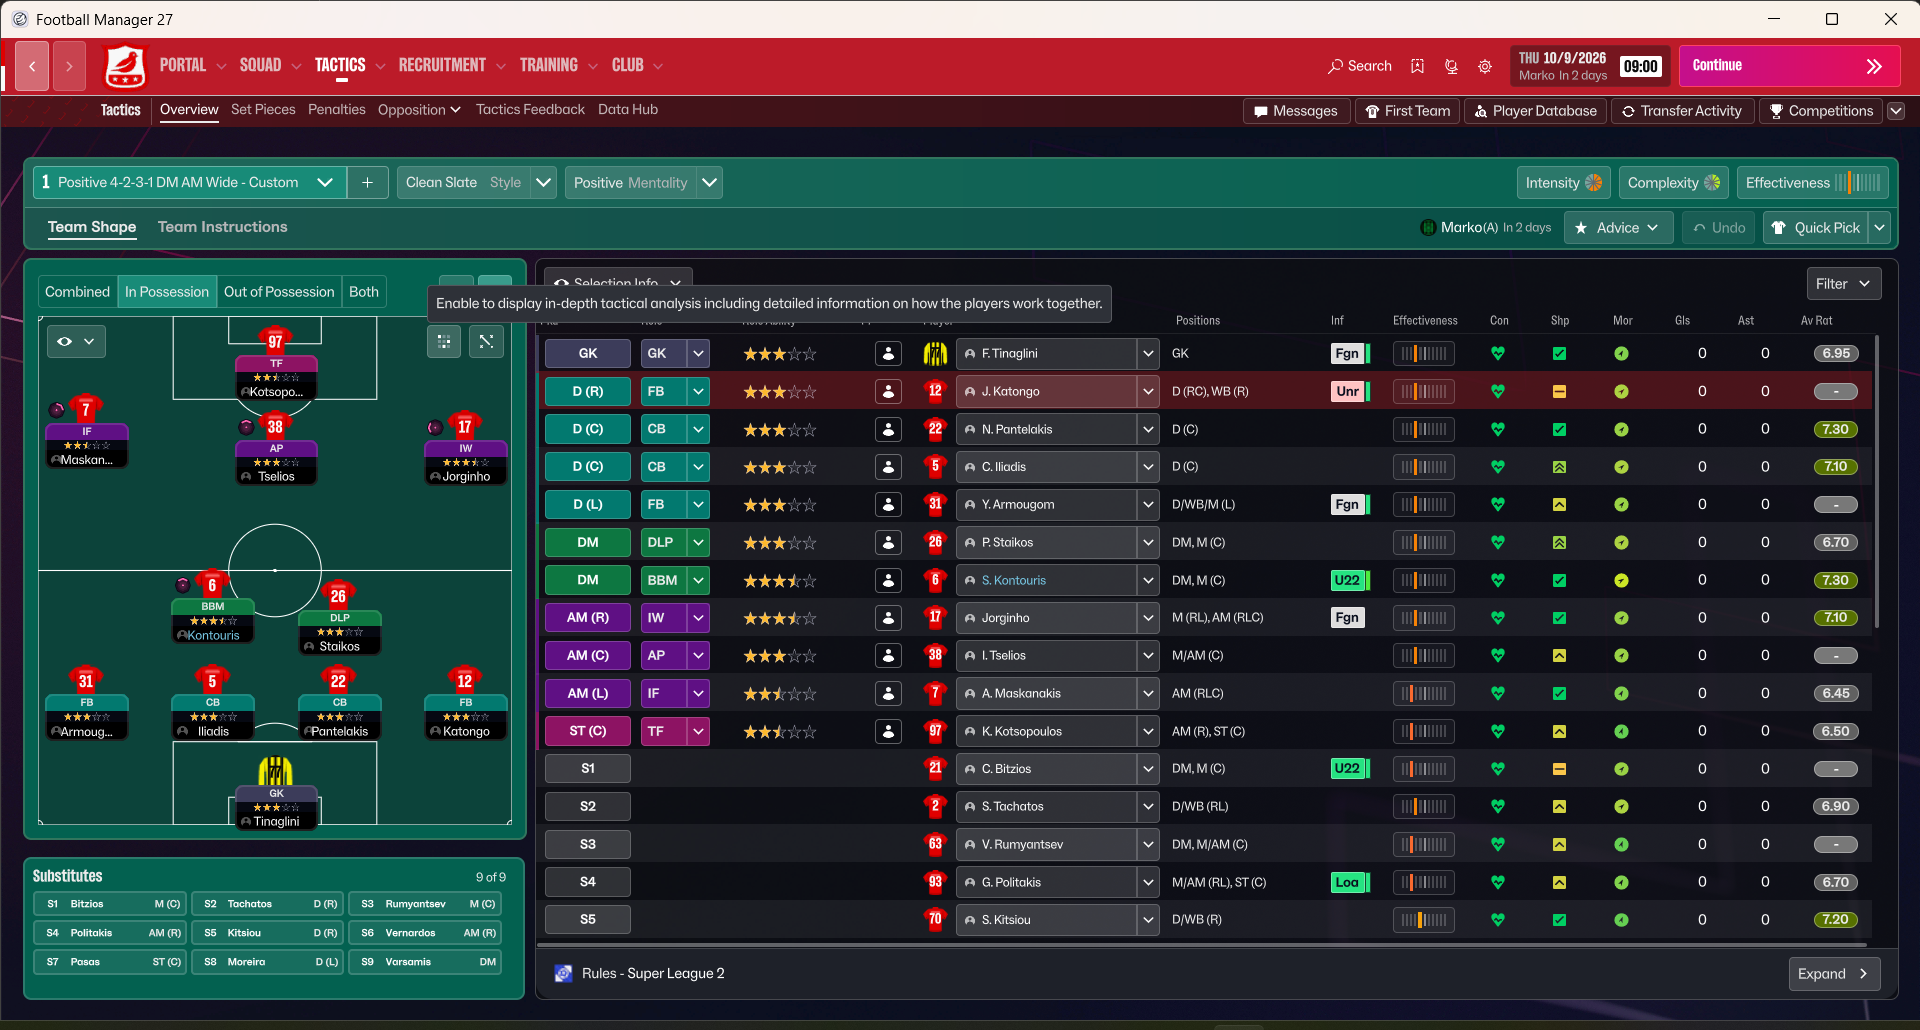
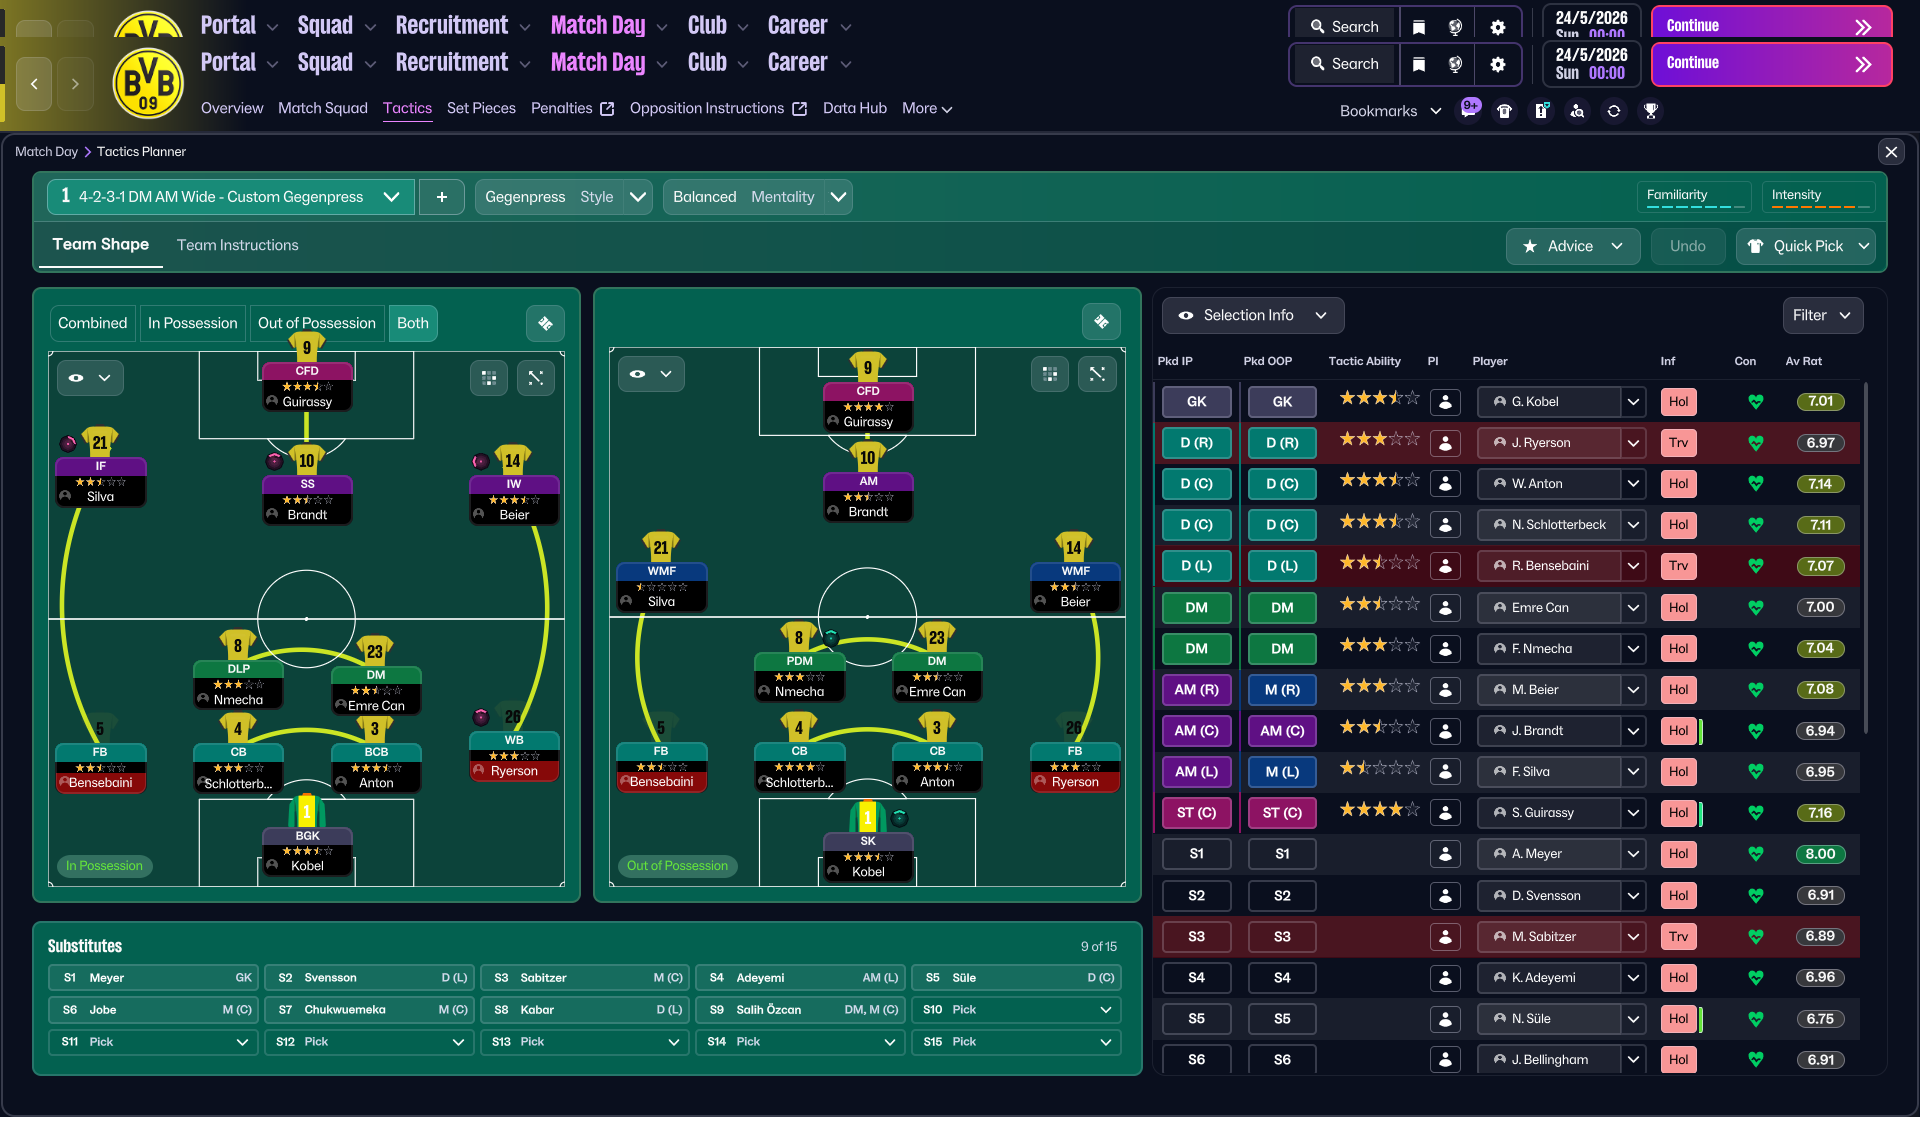
More Tiki-Taka tactics
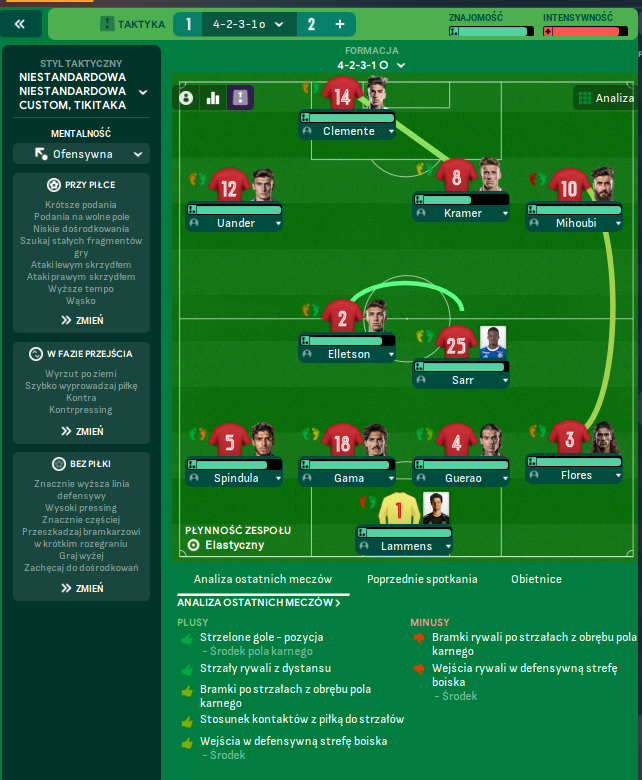
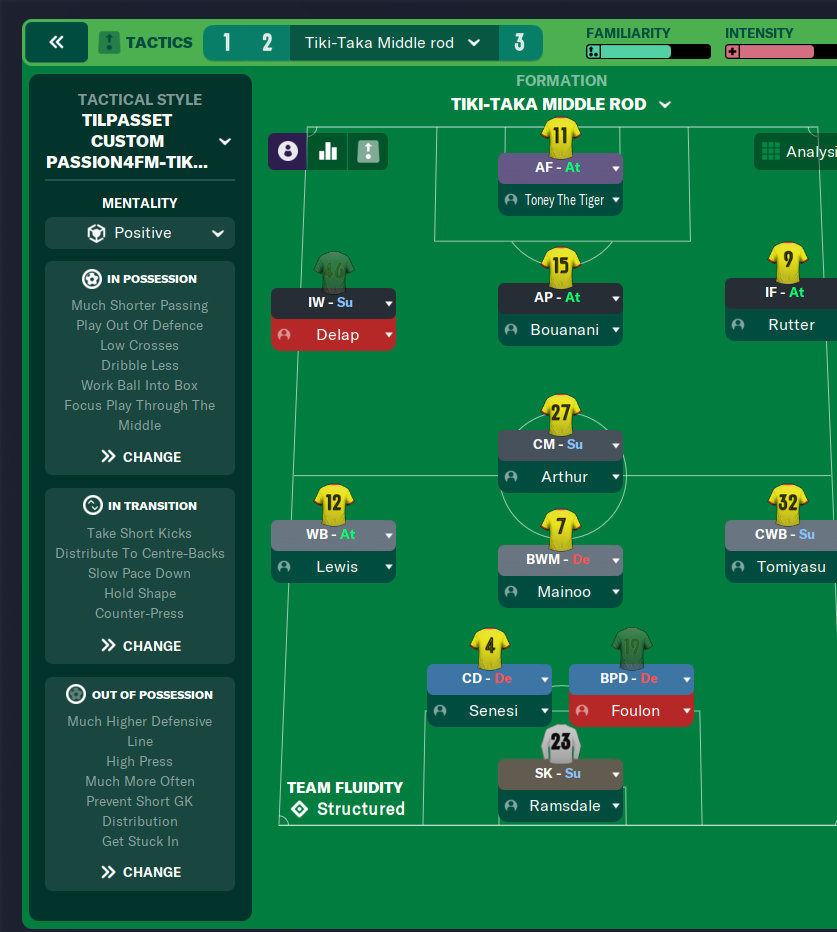
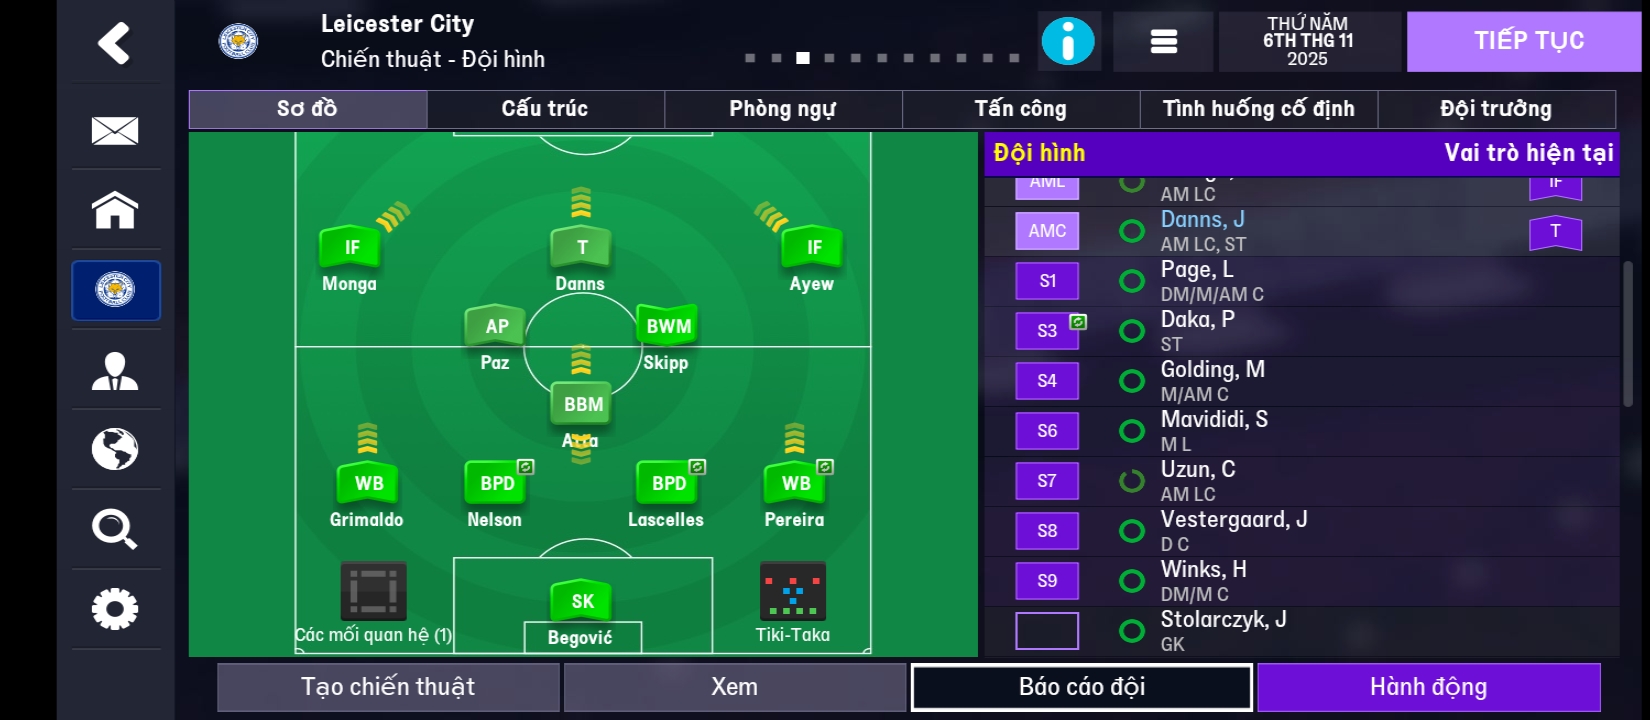
Guides for this tactic
The tactical theory behind the 4-2-3-1 DM Wide: roles, instructions, and the trade-offs that decide whether the system holds up.
Player pairings
Midfield Pairs in 4-2-3-1 and 4-4-2
Double pivots and flat pairs in 4-2-3-1 and 4-4-2: when each pairing works, when it collapses, and the AMC unicorn that rescues both.
Read guide
Playing styles
Gegenpressing: A Full Guide
Klopp-style gegenpressing in FM, including squad profile, line-and-press pairing, sustainable workload, and the antipatterns to avoid.
Read guide
Match preparation
Game-State Tactics
Protect a 1-0, chase a 1-0, hold a draw away. How to manage game state in FM through duties and roles, not by lurching to Defensive.
Read guide