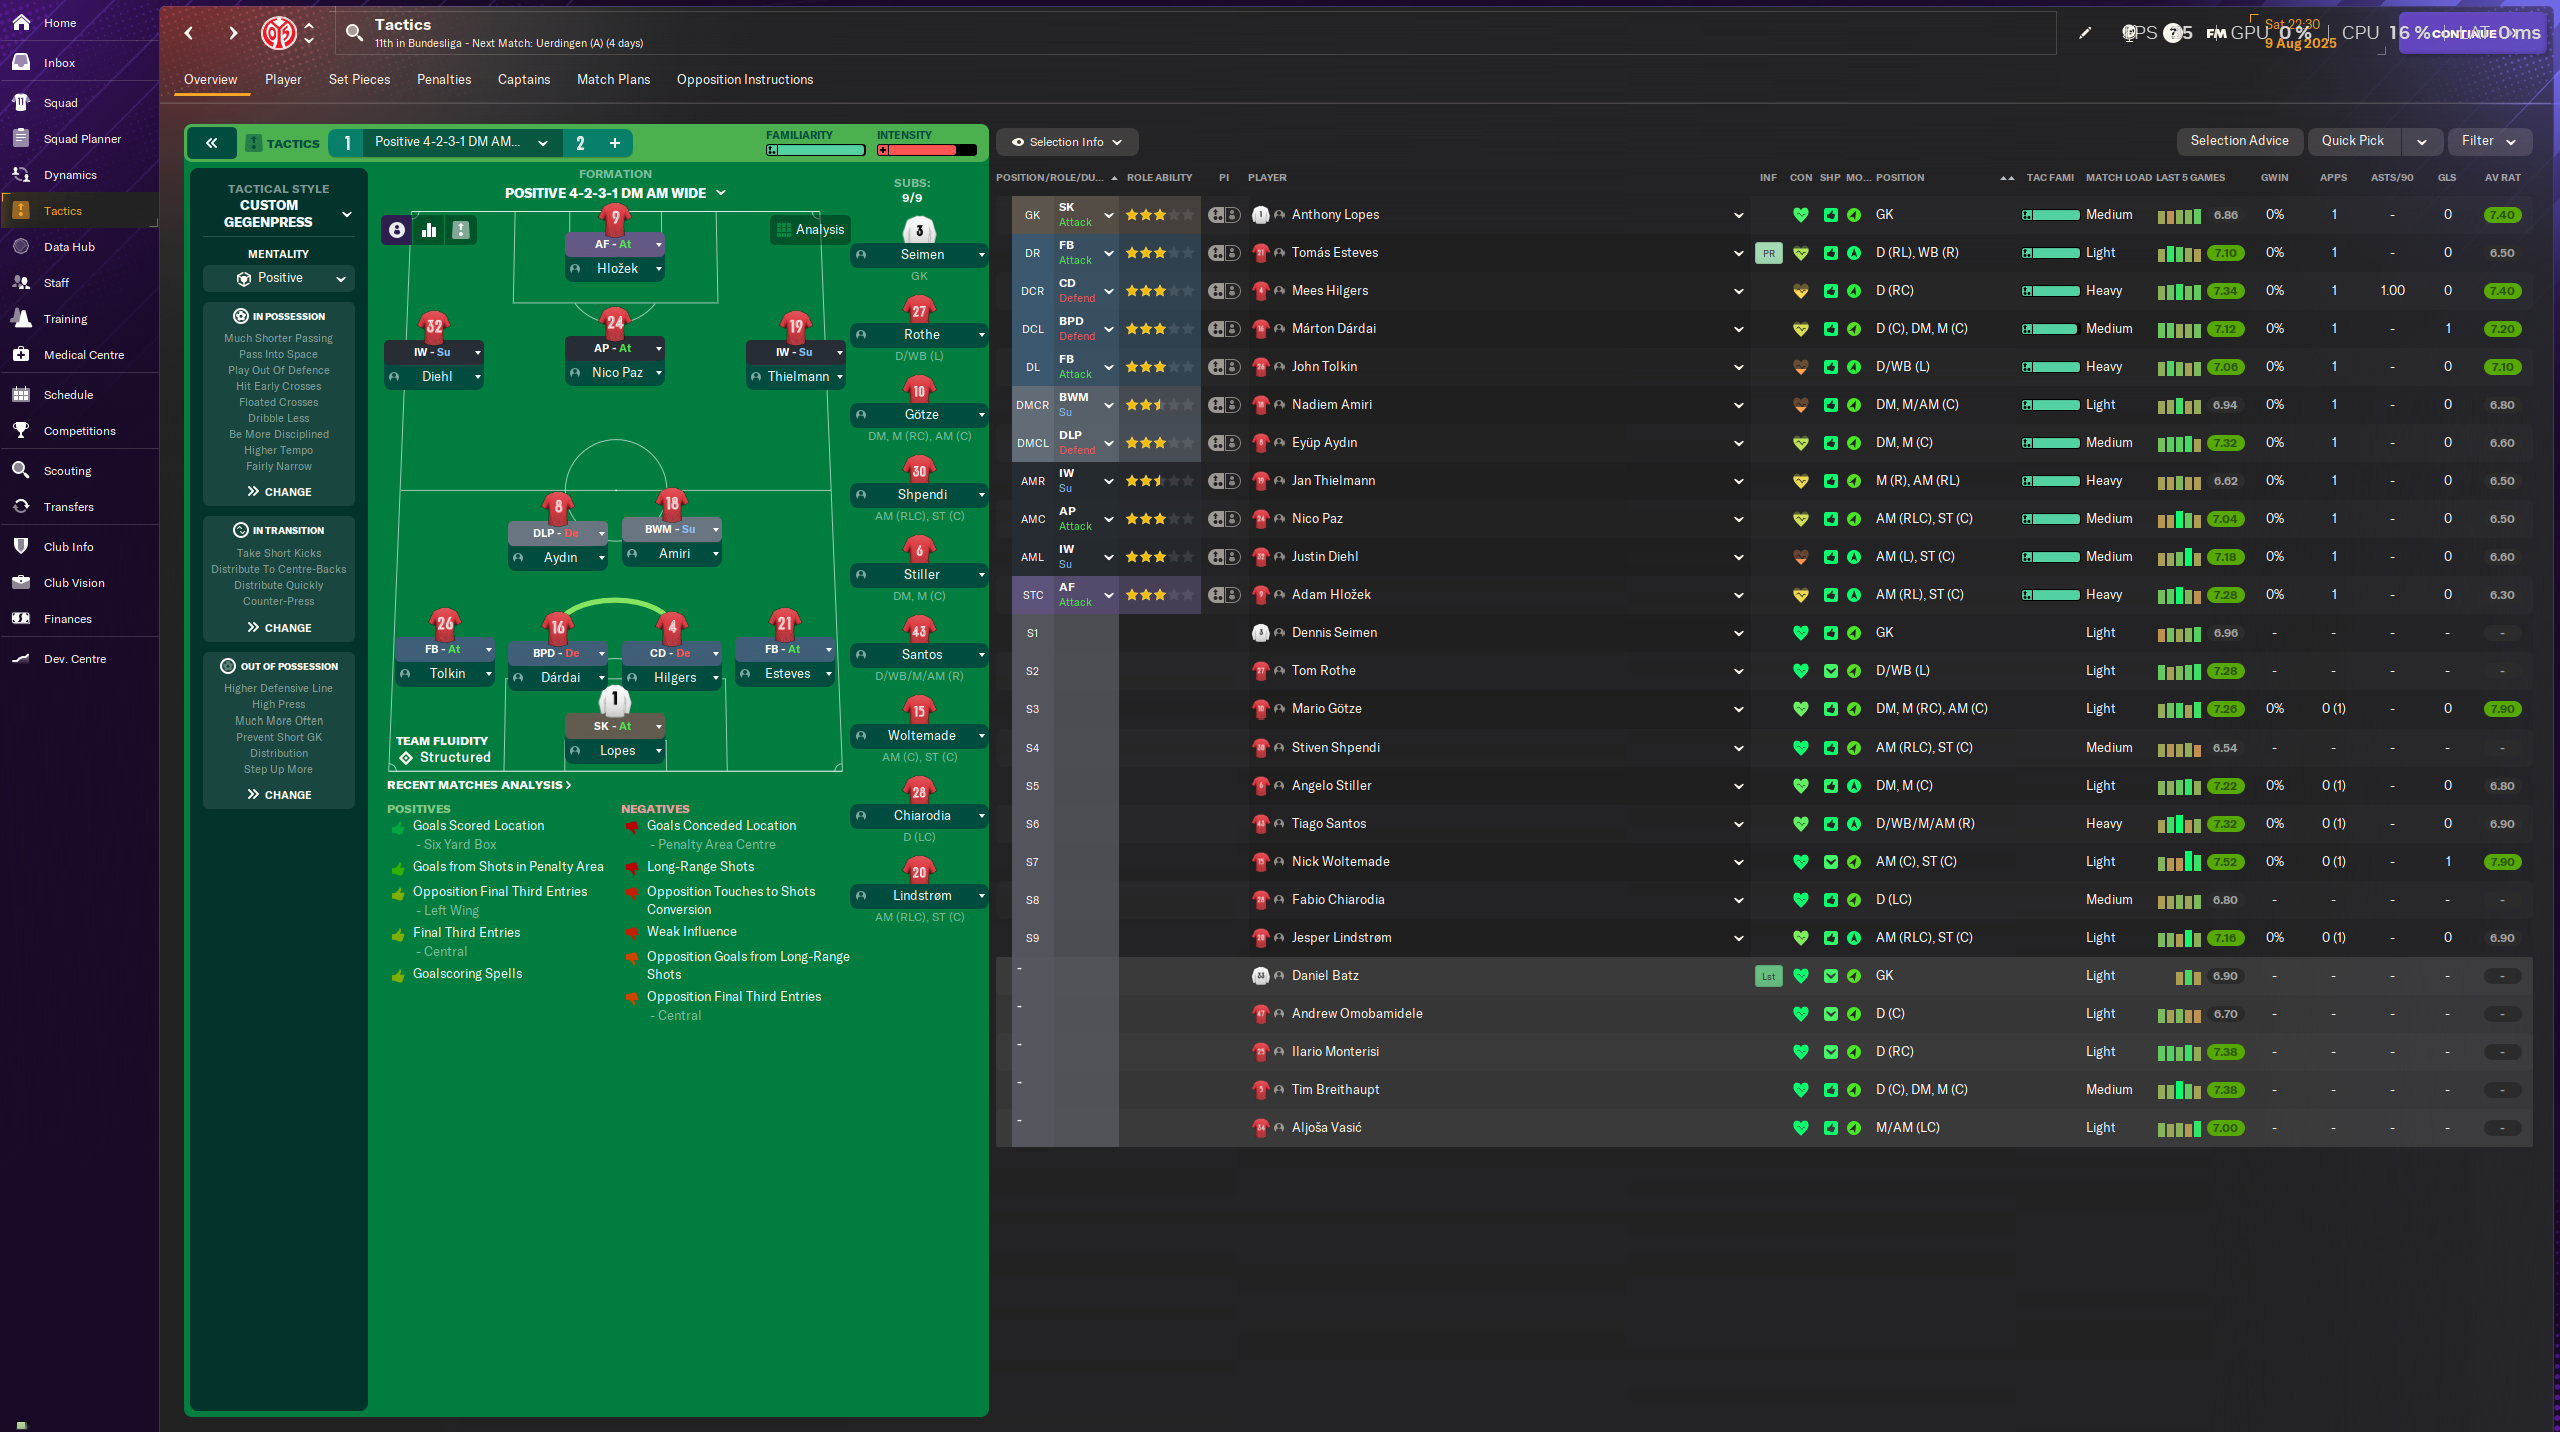
Positive 4-2-3-1 DM Wide (Positive) Tactic
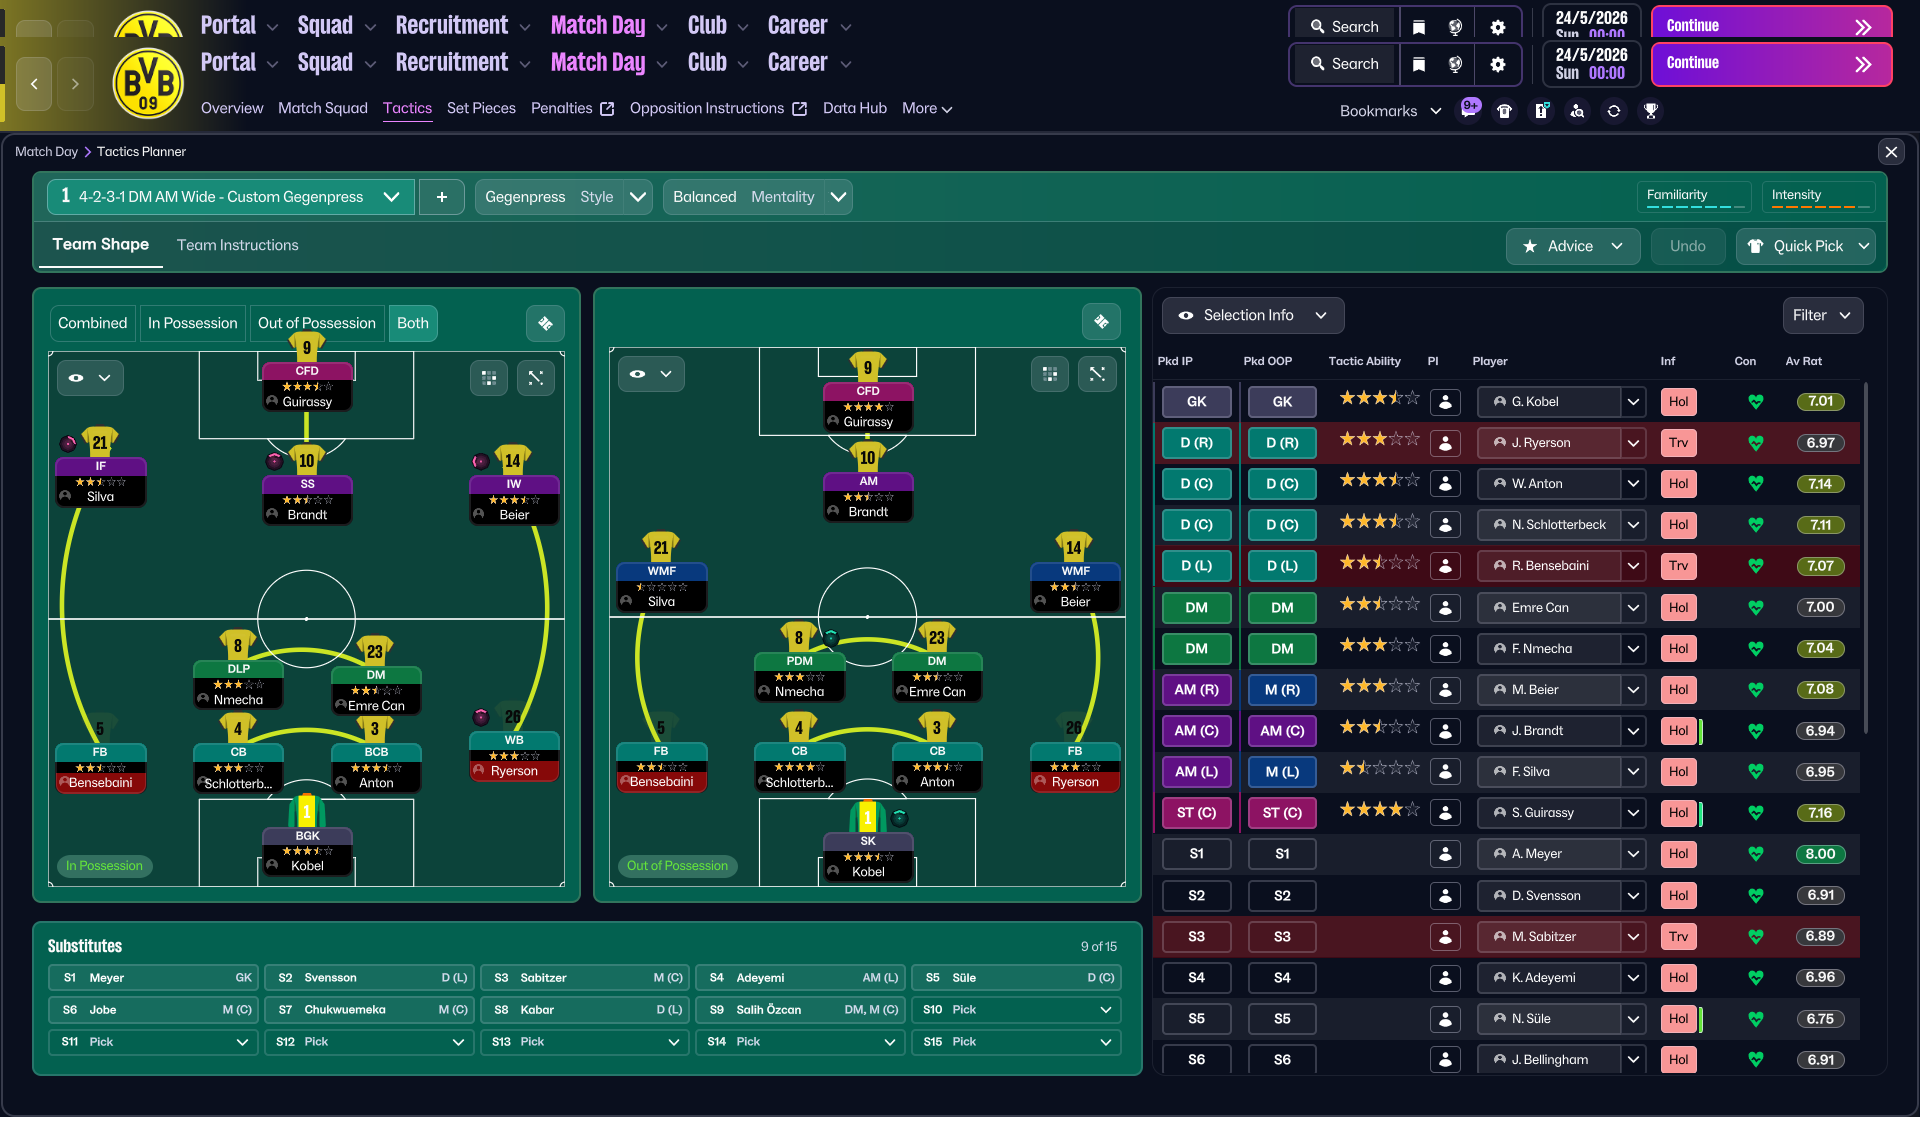
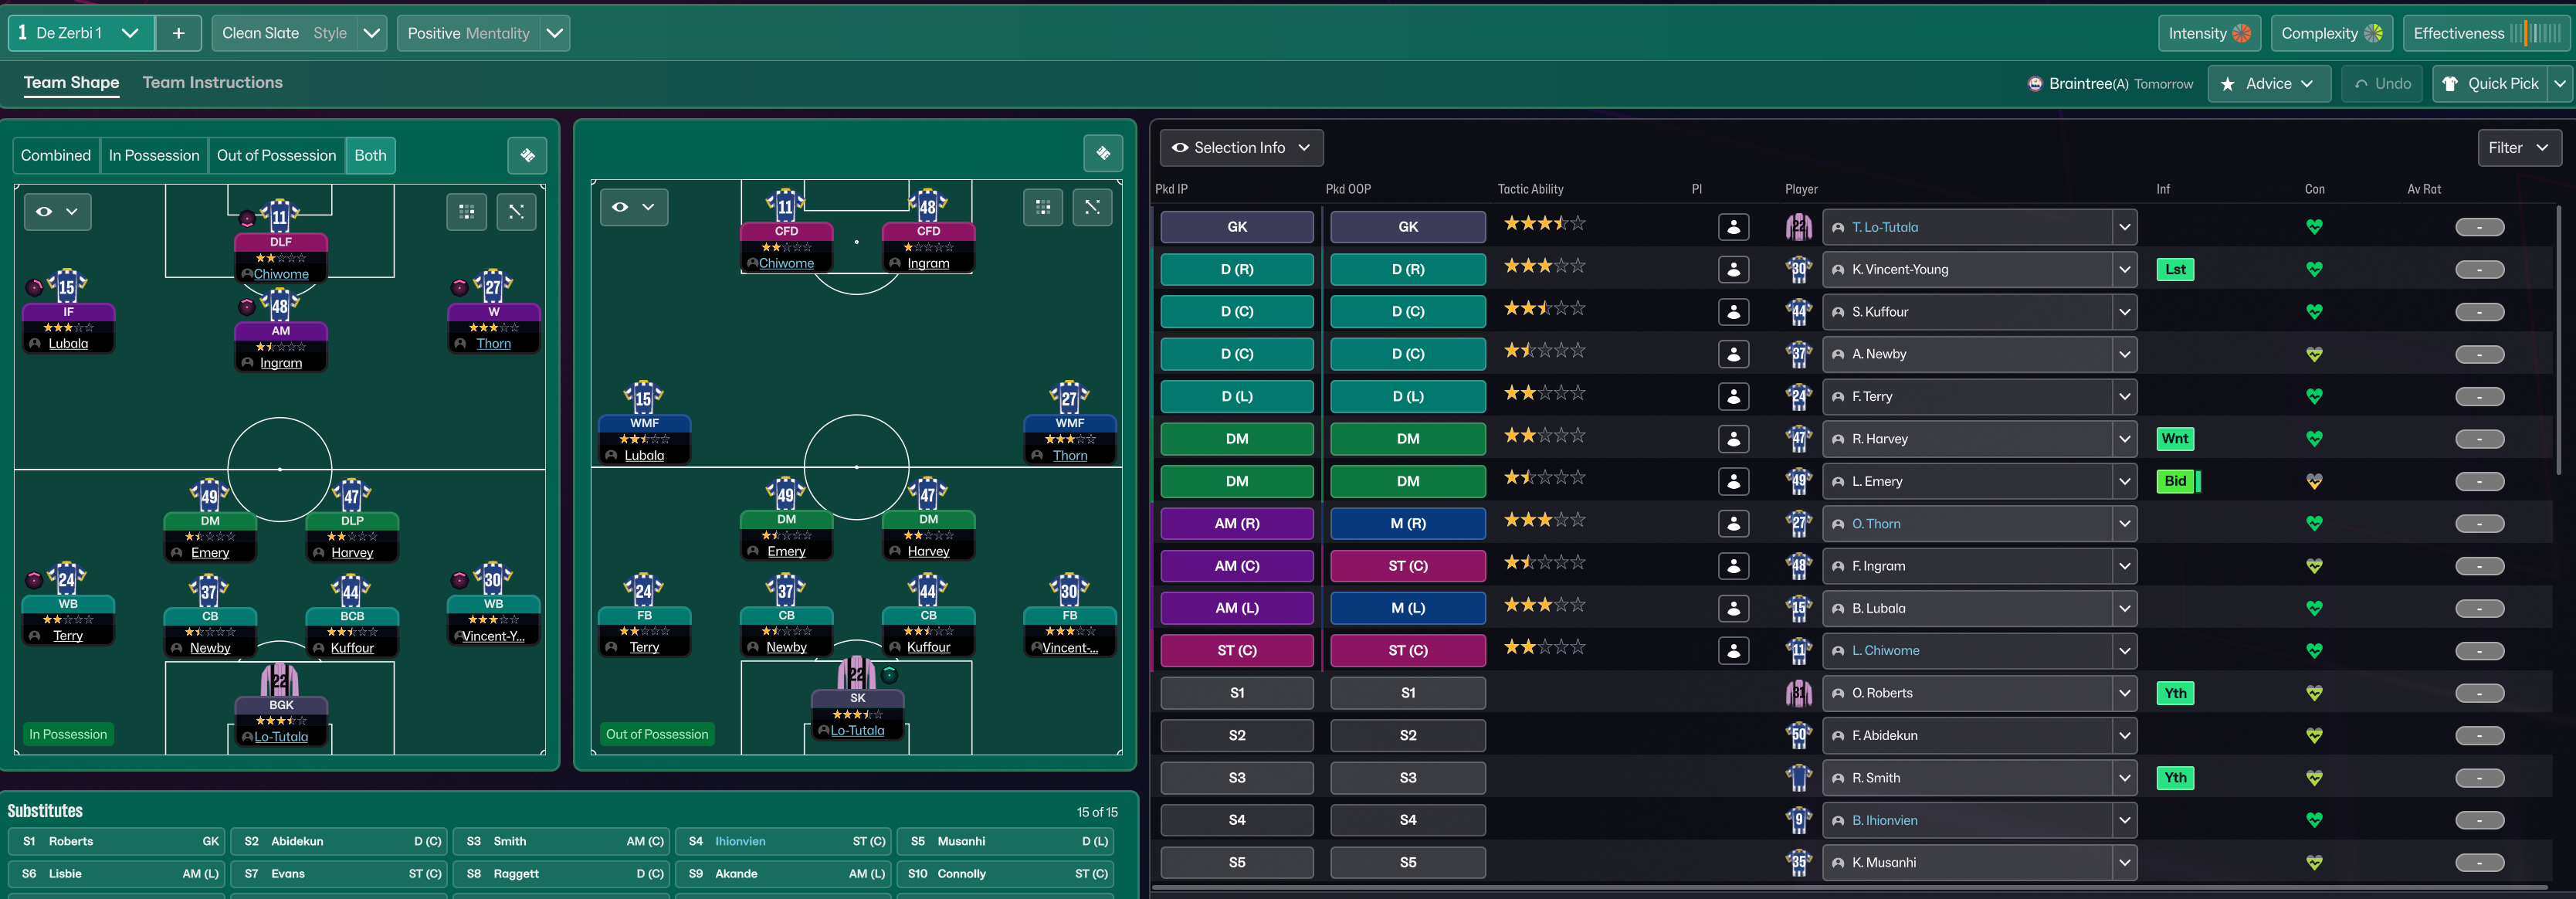
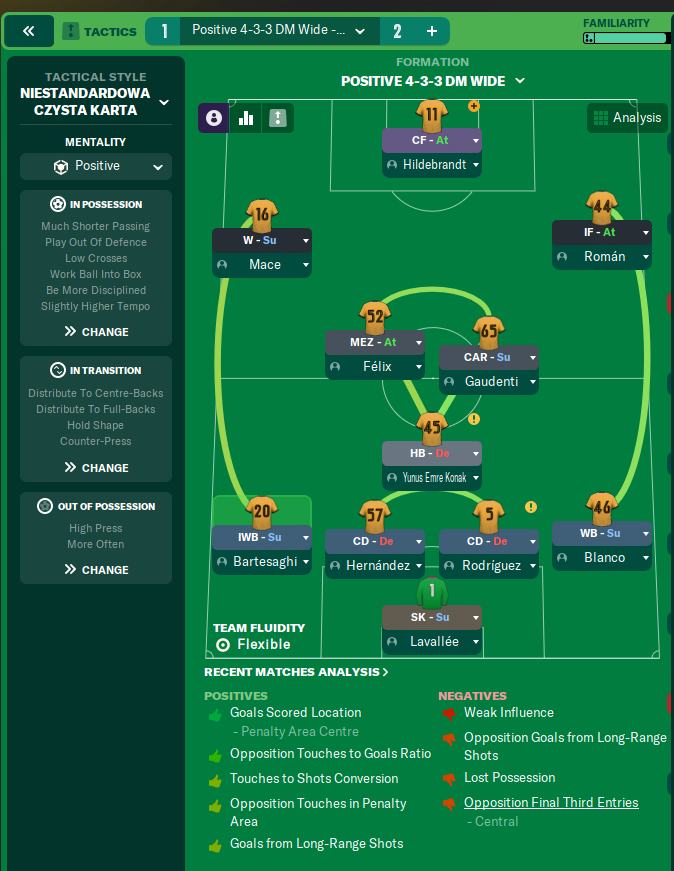
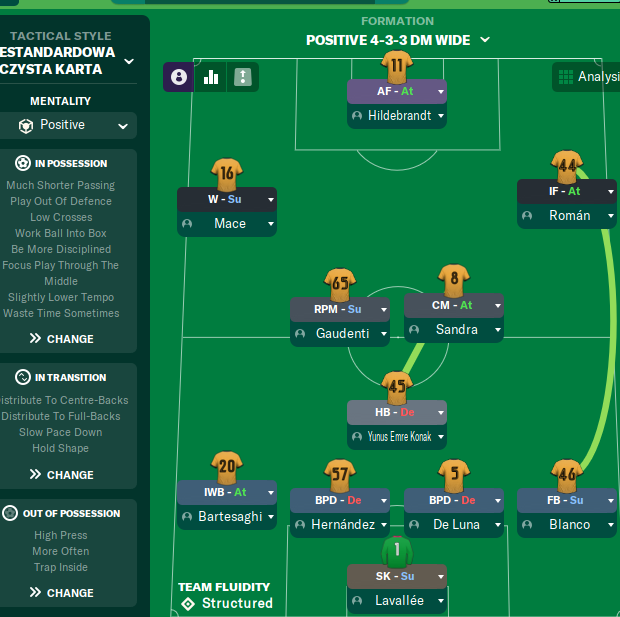
4-2-3-1 DM Wide
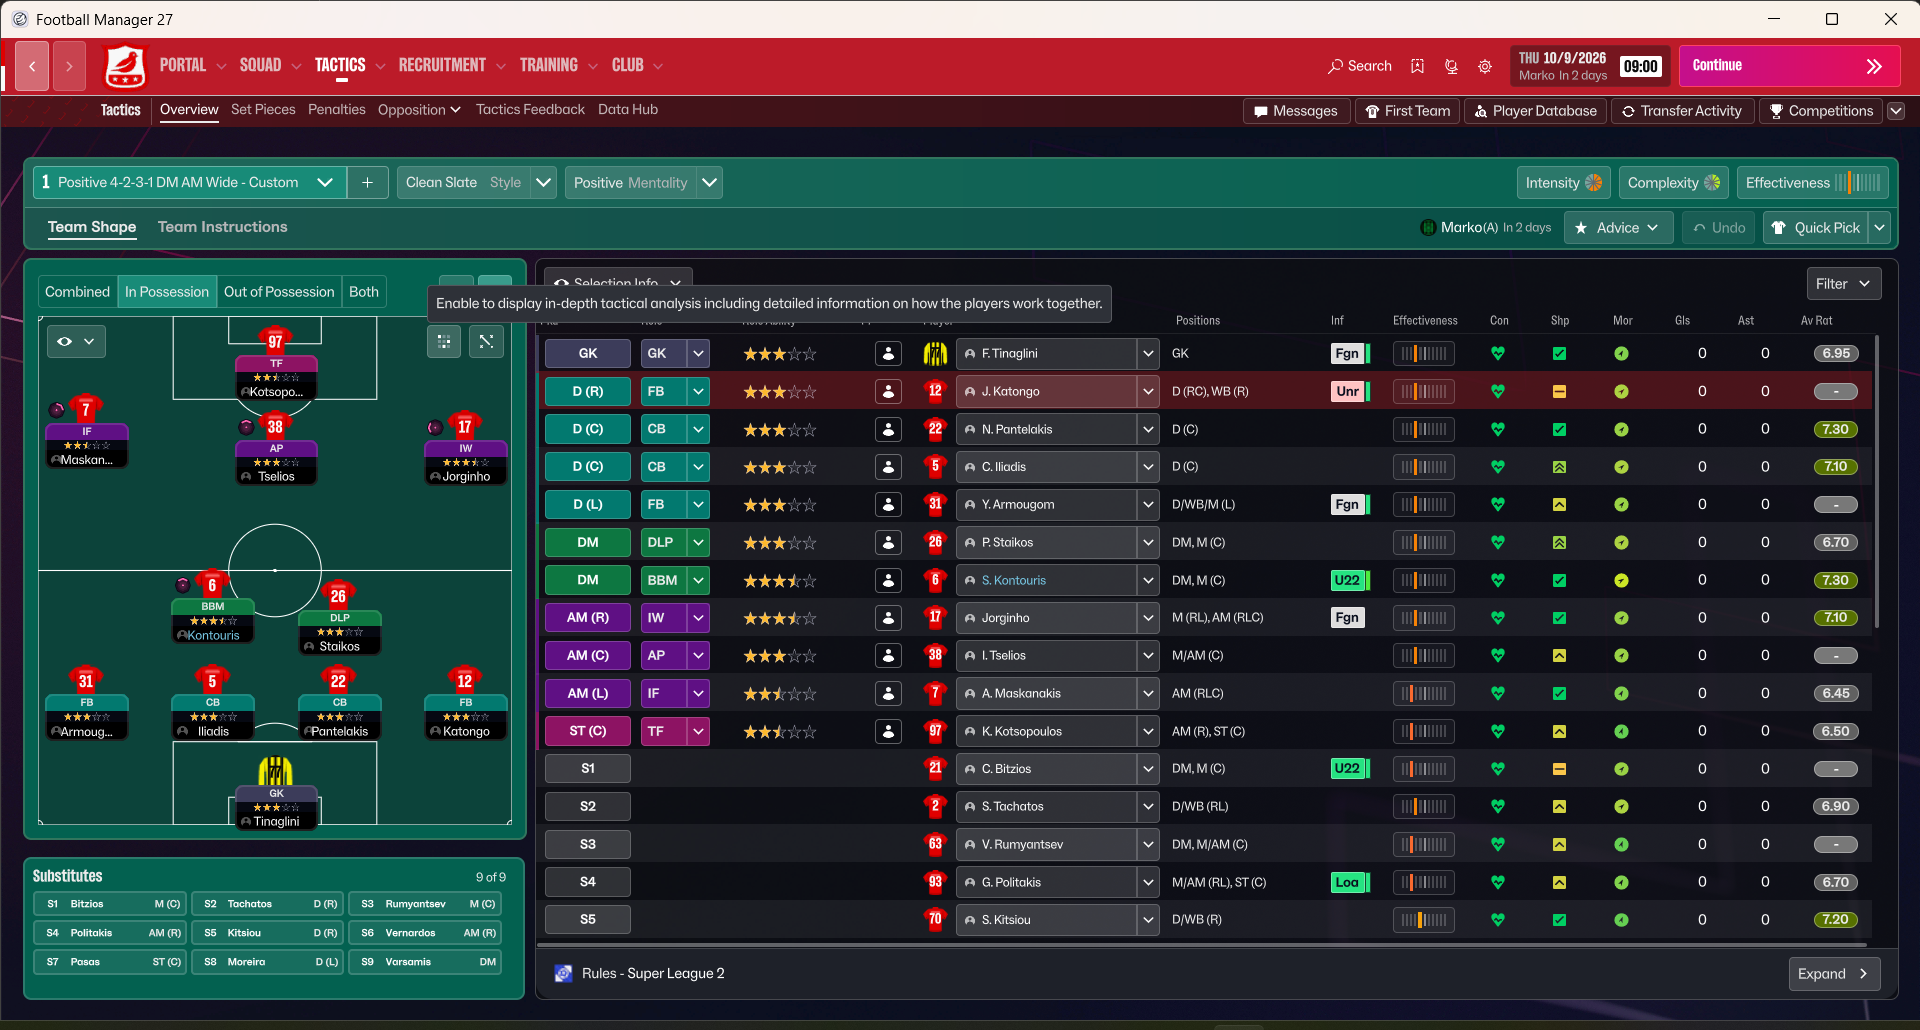
Creating goal-scoring opportunities through central play and utilizing the width provided by the inverted winger. With a DLP in support and a BBM, the…
Loading tactical analysis...
Formation and style
Positive
Positive
4-2-3-1 DM Wide
In possession
Work Ball Into Box
Play Out of Defence
Focus Play Through The Middle
In transition
Counter
Counter Press
Out of possession
Higher Defensive Line
Much Higher Line of Engagement
Prevent Short GK Distribution
Trigger Press More Often
Player roles
GK
GK
FB
FB
Support
CB
CB
CB
CB
FB
FB
Support
DM
DLP
Support
CM
BBM
Support
AM
AP
Support
IW
IW
Attack
ST
TF
Attack
Phase description
Focus on building play through the midfield with combination passes and working the ball into the box.
Quickly transition into a counter-pressing setup to win back the ball as soon as possession is lost.
Creating goal-scoring opportunities through central play and utilizing the width provided by the inverted winger.
Team shape defence
High Press
Engaging the opposition high up the pitch, aiming to recover possession quickly.
Higher Defensive Line and Much Higher Line of Engagement.
Team shape attack
Fluid Build-Up
Creating overloads in midfield to transition into attacking positions, utilizing width and depth.
Work Ball Into Box and Focus Play Through The Middle.
Key strengths
Solid Midfield Control
With a DLP in support and a BBM, the midfield offers both stability and dynamism.
DLP-S at [3,3] with 'Play Out of Defence'.
Effective Wide Play
The inverted winger can create mismatches on the flanks, allowing for inside runs and goal-scoring opportunities.
IW-A at [5,5].
Conflicting tactics
Low Block Setup
Adopting a more conservative approach might conflict with the high pressing style indicated.
Higher Defensive Line goes against a low block setup.
Too Many Central Players
The concentration of players in the central areas may lead to a congested midfield, limiting creativity.
Having DLP-S, BBM-S, and AP-S can lead to positional conflicts.
Risk exposures
Risk Exposures
Items
Defensive Transition
The high engagement could leave gaps during transitions that can be exploited.
Higher Defensive Line plus Counter style could lead to quick breaks.
Central Congestion
Too many players in central roles can lead to ineffective passing and lost possession.
BBM and DLP fighting for space in midfield.
Role synergies
Role Synergies
Items
DLP and BBM
Complementary roles where the DLP orchestrates play while the BBM makes forward runs.
DLP-S at [3,3] works well with BBM-S at [4,3].
IW and AM
The inverted winger can create space for the advanced playmaker to exploit the central area.
IW-A at [5,4] working with AP-S at [5,3].
Suggested questions
How can we improve our set-piece effectiveness?
What adjustments can we make if we face a low-block defense?
Should we consider rotating roles to find optimal player performance?
Related Tactics
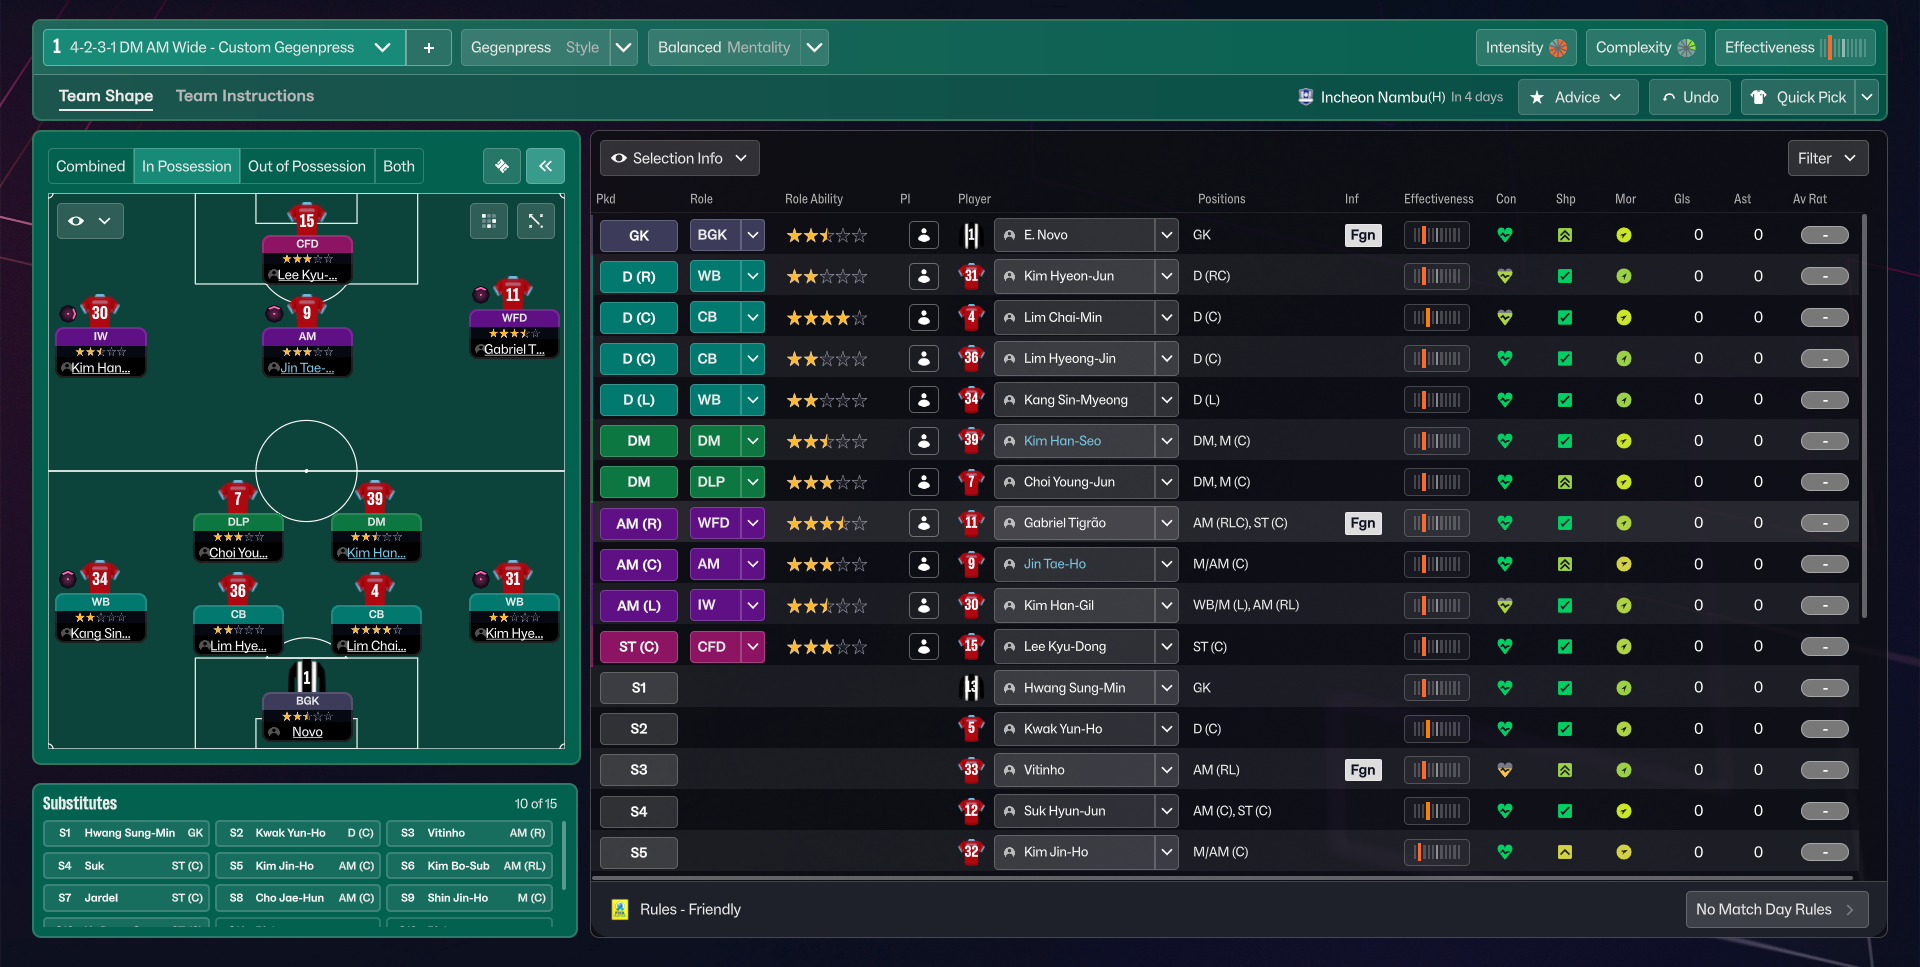
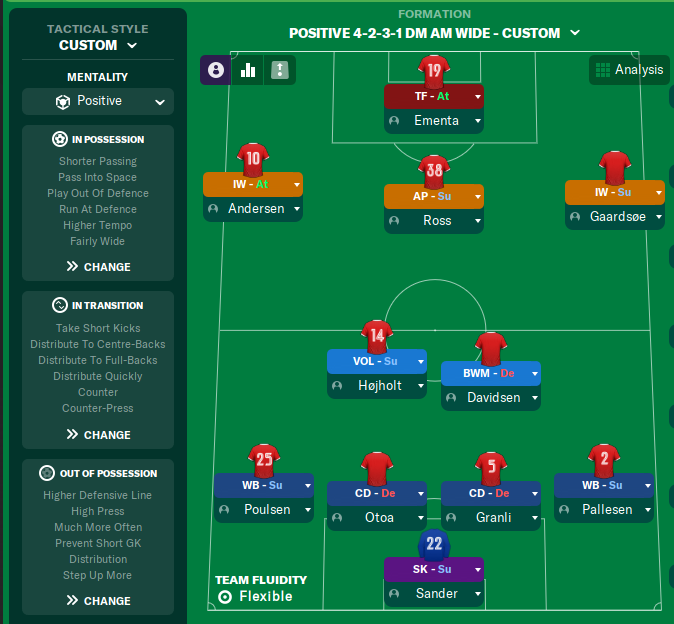
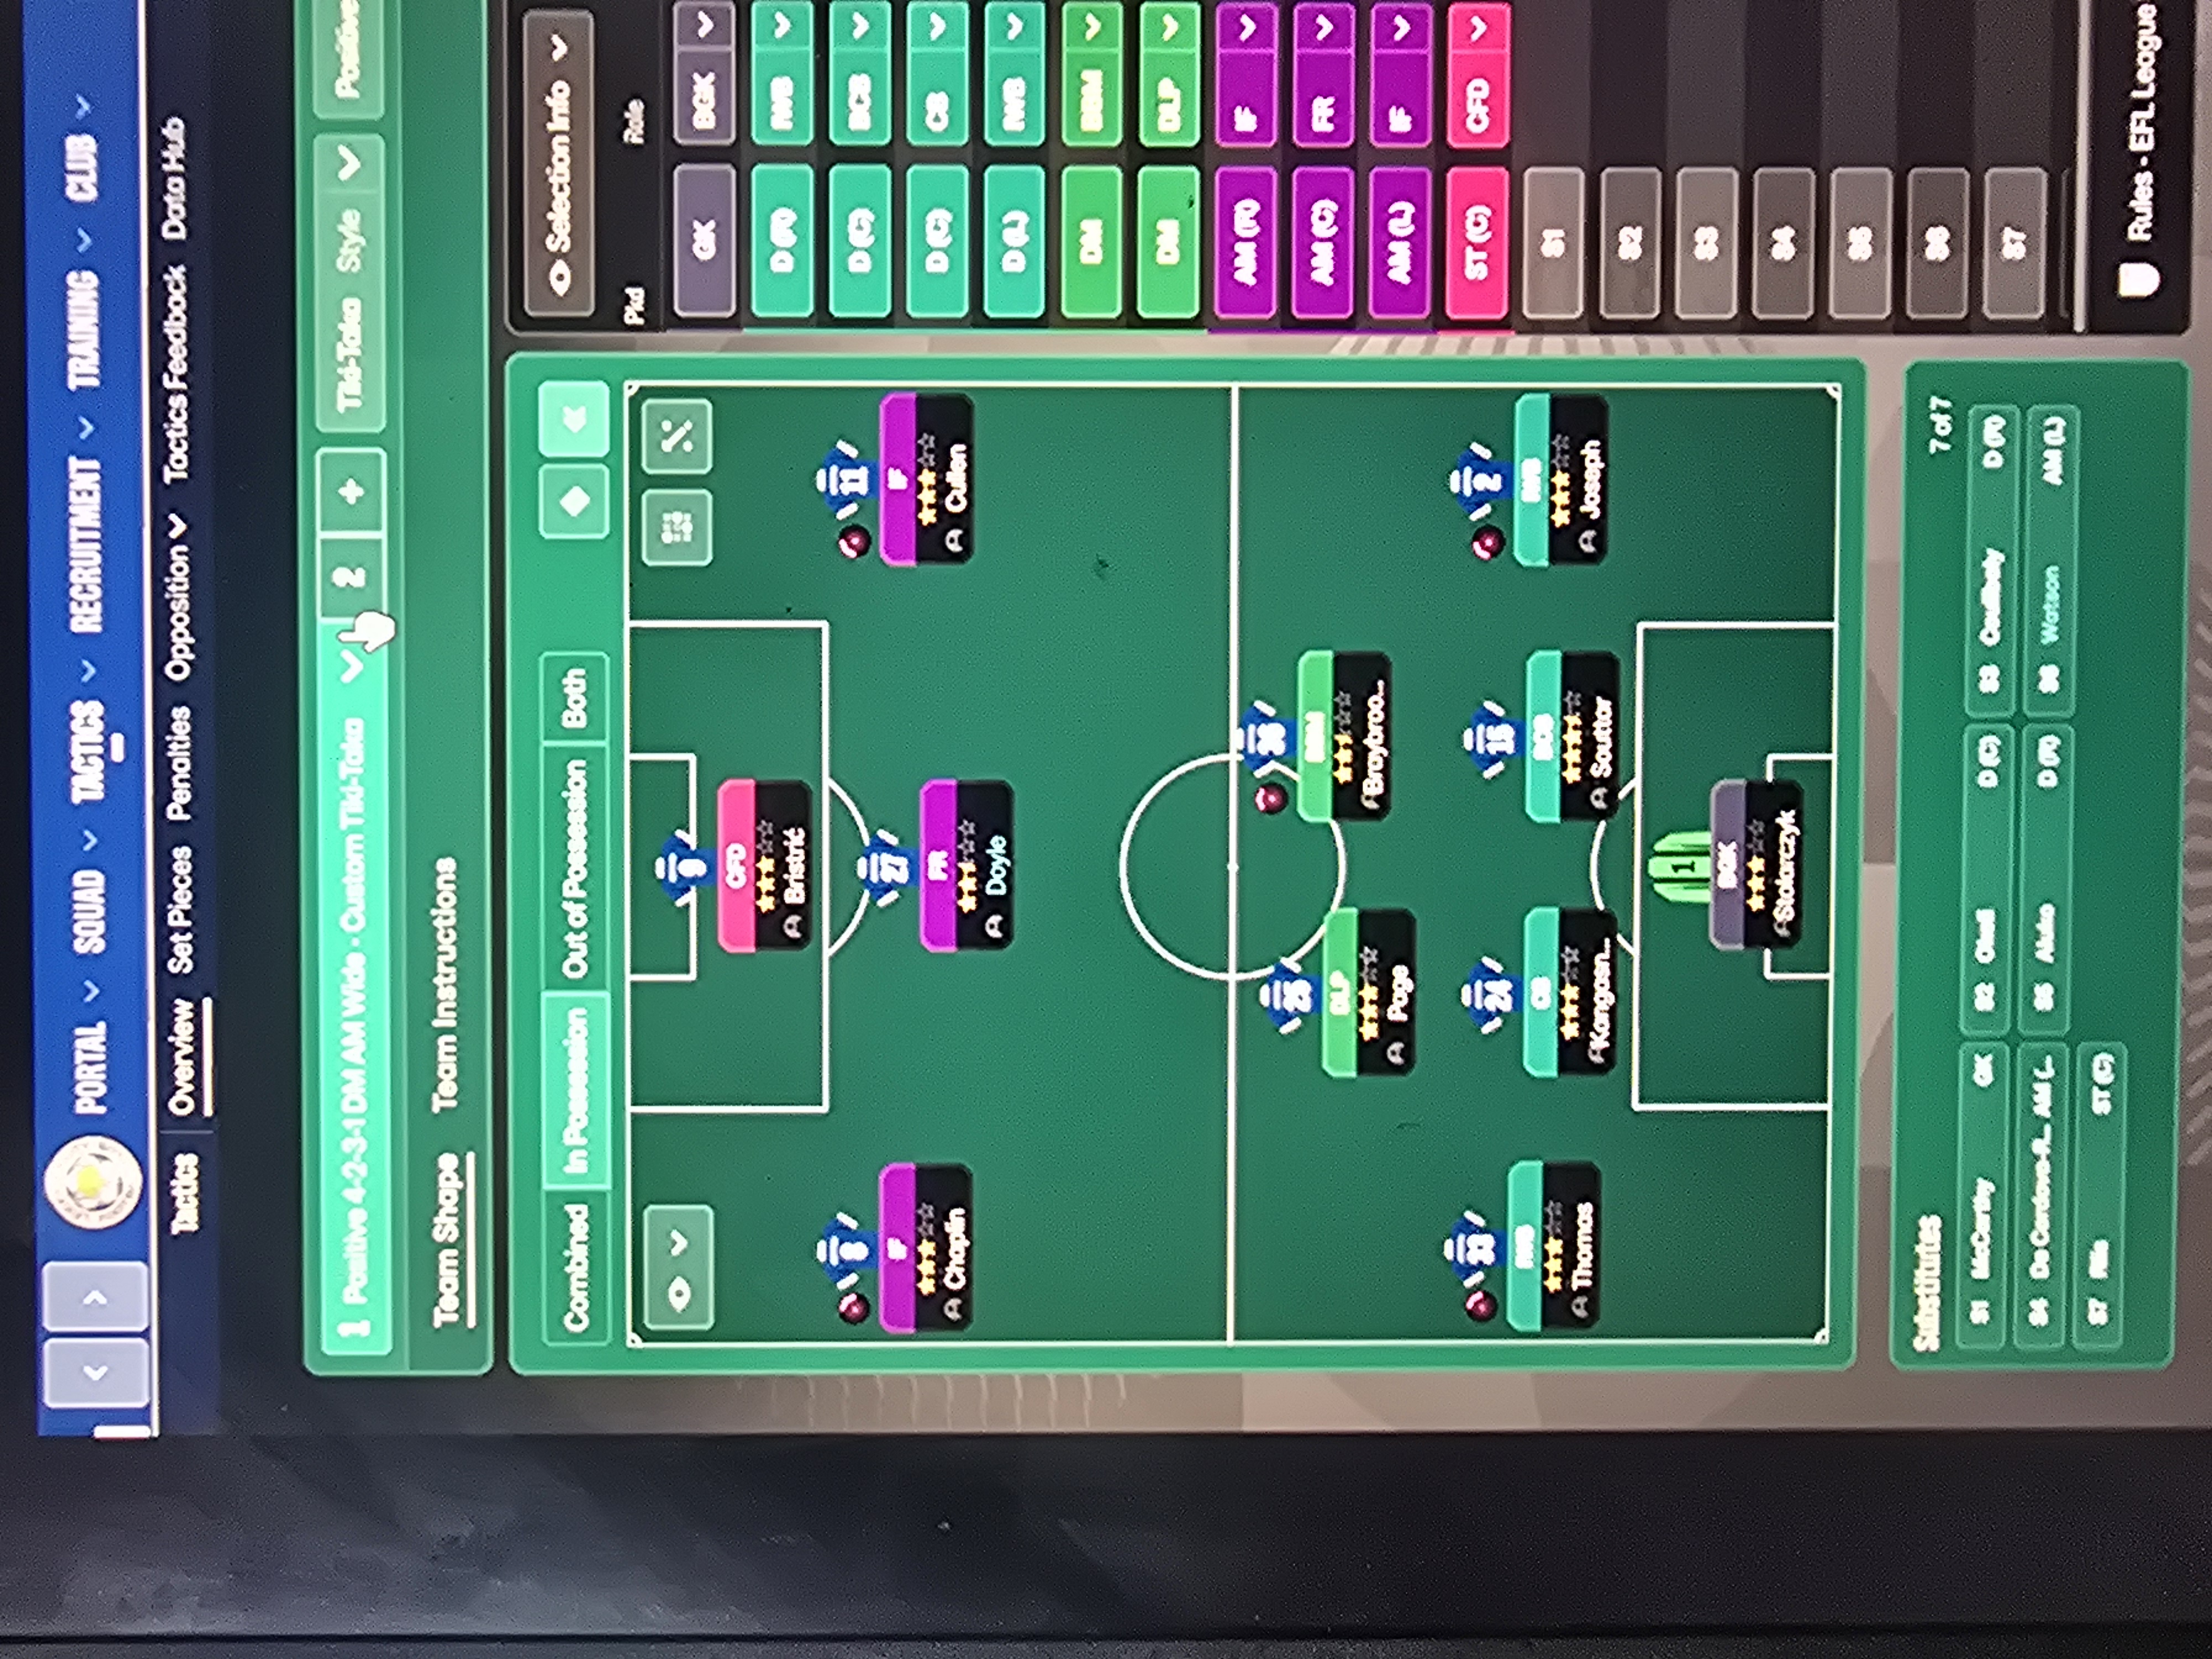
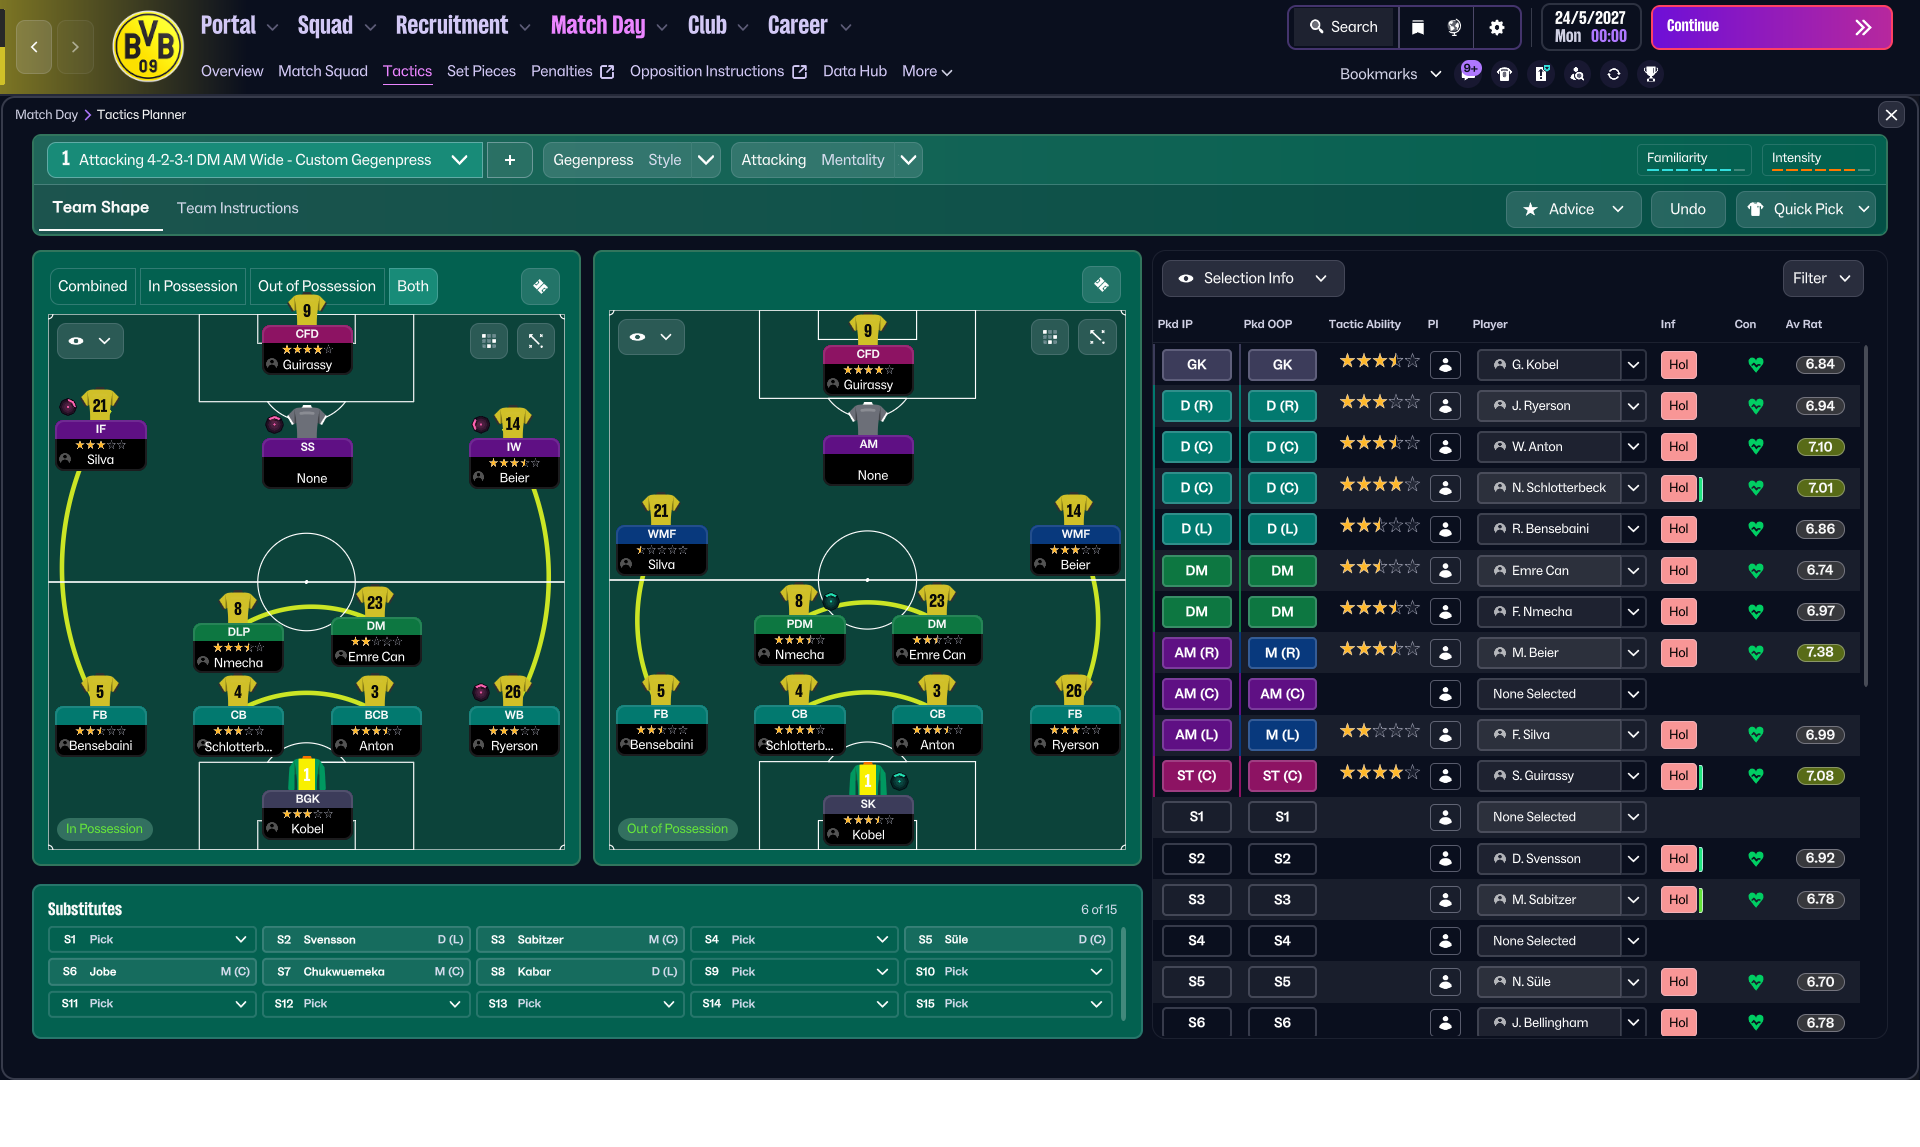
More Positive tactics
Guides for this tactic
The tactical theory behind the 4-2-3-1 DM Wide: roles, instructions, and the trade-offs that decide whether the system holds up.
Player pairings
Midfield Pairs in 4-2-3-1 and 4-4-2
Double pivots and flat pairs in 4-2-3-1 and 4-4-2: when each pairing works, when it collapses, and the AMC unicorn that rescues both.
Read guide
Playing styles
Gegenpressing: A Full Guide
Klopp-style gegenpressing in FM, including squad profile, line-and-press pairing, sustainable workload, and the antipatterns to avoid.
Read guide
Match preparation
Game-State Tactics
Protect a 1-0, chase a 1-0, hold a draw away. How to manage game state in FM through duties and roles, not by lurching to Defensive.
Read guide