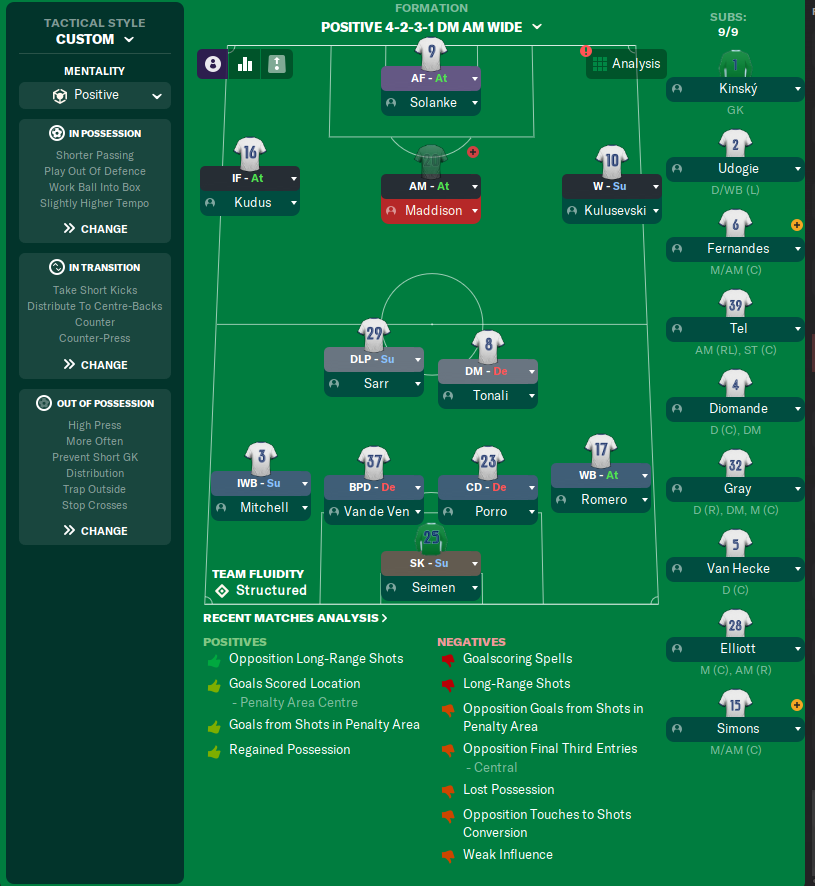
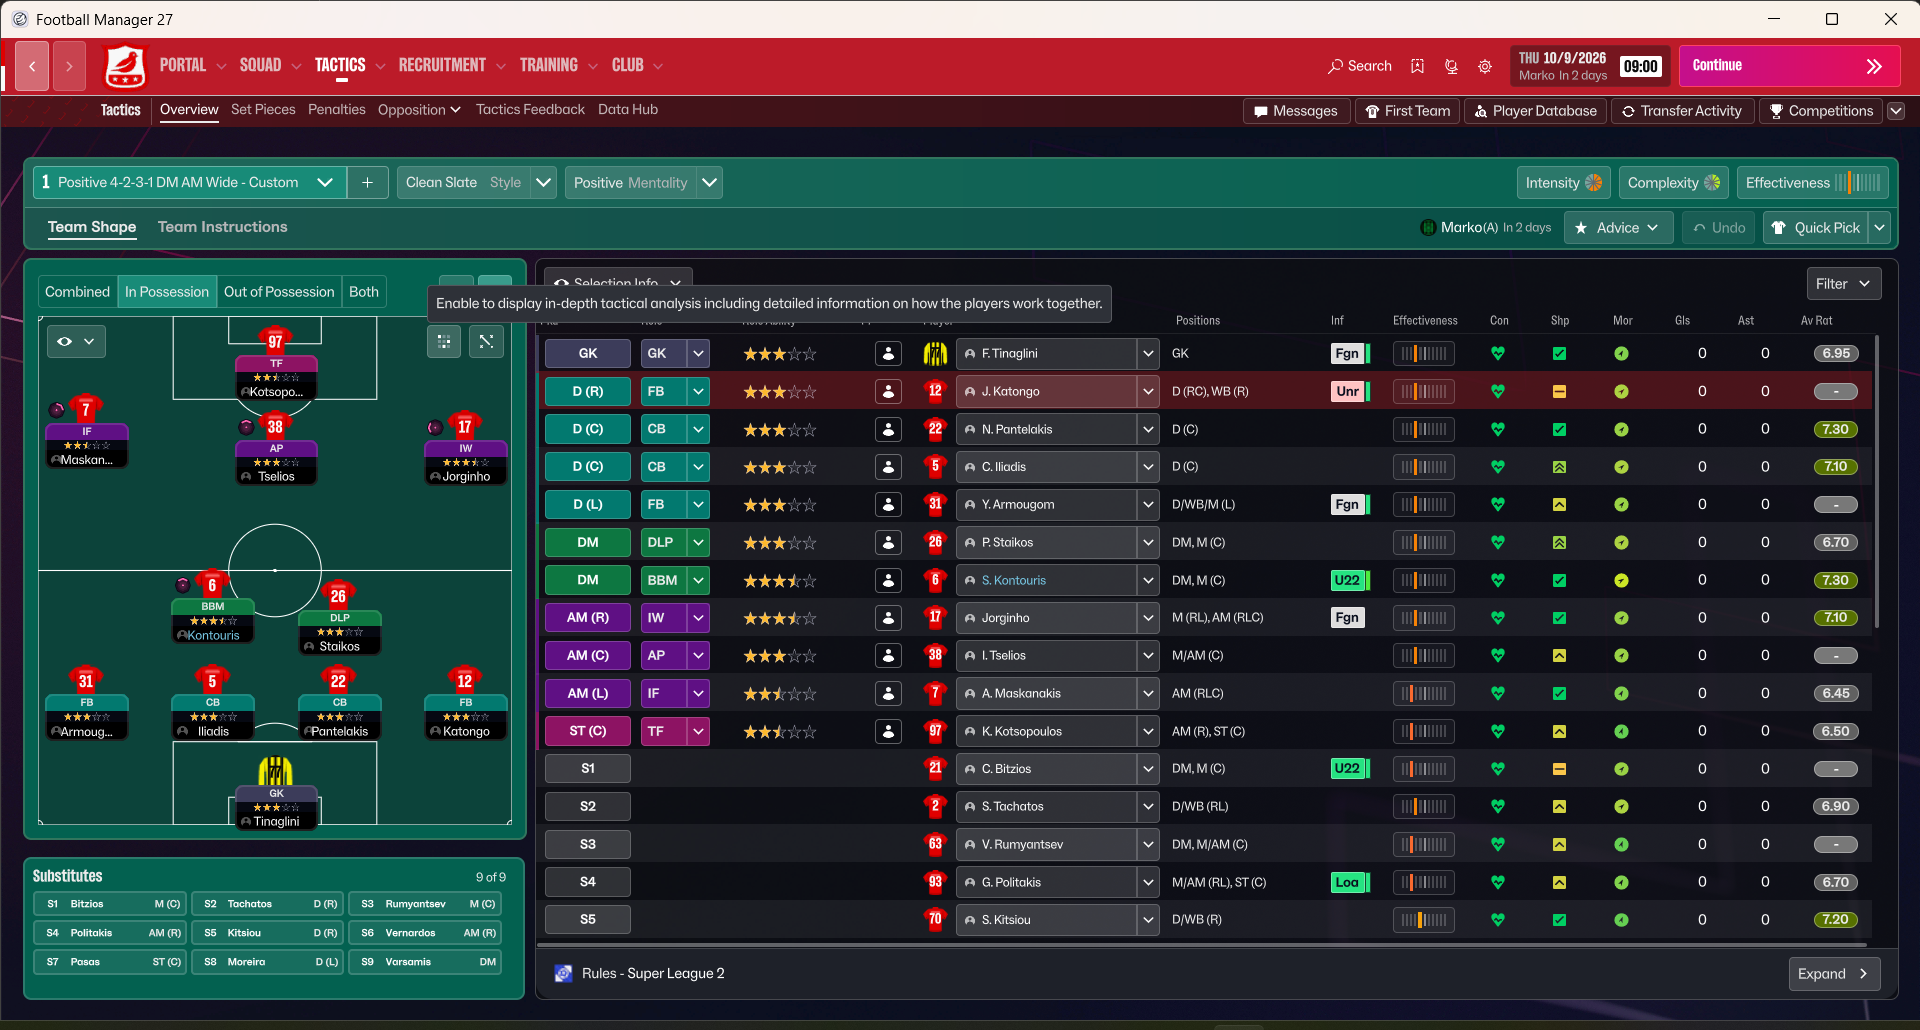
Positive 4-2-3-1 DM AM Wide (Positive) Tactic
4-2-3-1 DM AM Wide
Controlling the midfield while creating wide attacking opportunities. With a DLP and BWM, the team effectively controls the midfield.
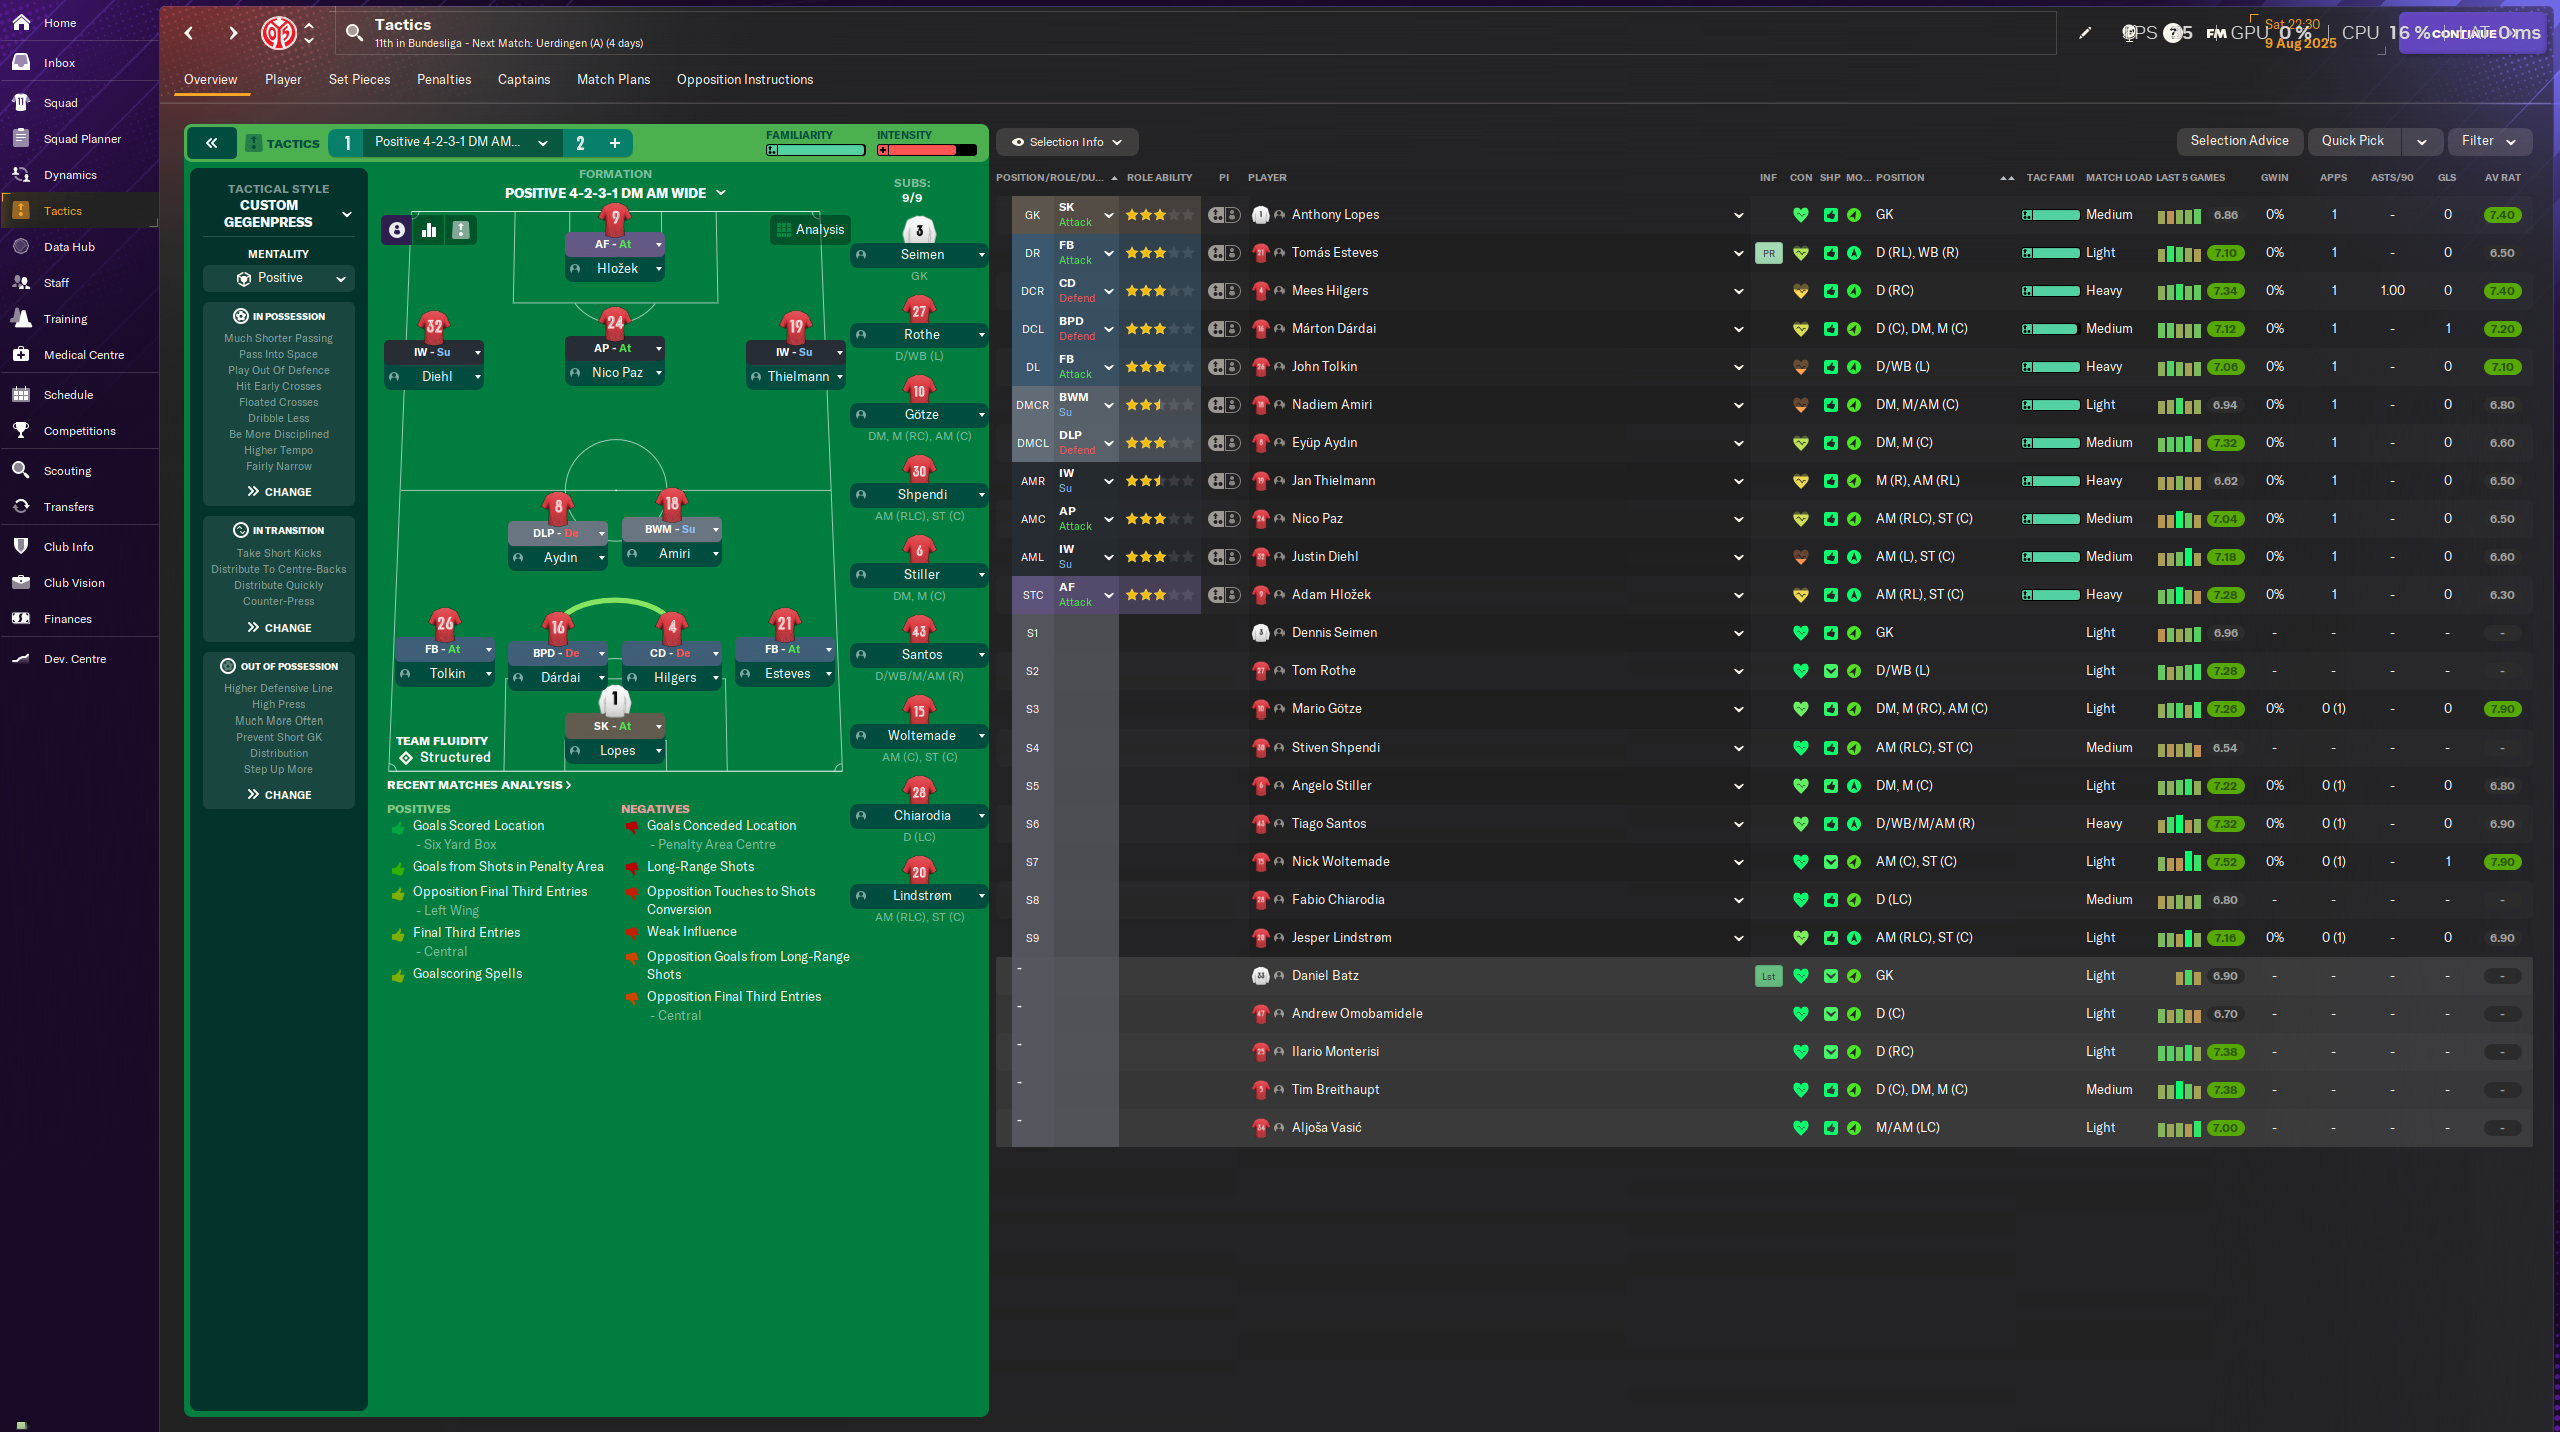
Loading tactical analysis...
Formation and style
Positive
Positive
4-2-3-1 DM AM Wide
Structured
In possession
Play Out of Defence
Work Ball Into Box
Focus Play Down the Left
Focus Play Down the Right
In transition
Counter-Press
Counter
Out of possession
Higher Defensive Line
Higher Line of Engagement
Prevent Short GK Distribution
Trigger Press More Often
Player roles
GK
SK
De
DR
FB
Su
DCL
BPD
De
DCR
CB
De
DL
FB
Su
DMCL
DLP
Su
DMCR
BWM
De
AML
W
At
AMC
AP
Su
AMR
W
At
STC
AF
At
Phase description
Focuses on utilizing width with wingers and a central playmaker to create goal-scoring opportunities.
Quick retrieval of possession through counter-pressing, looking to exploit opposition's disorganization.
Controlling the midfield while creating wide attacking opportunities.
Team shape defence
4-2
Compact formation retaining numerical superiority in the centre.
BWM at [3,3] helps to break up opposing plays.
Team shape attack
4-3
Width provided by wingers with support from full-backs and a central playmaker.
Wingers at [5,1] and [5,5] creating width.
Key strengths
Midfield Dominance
With a DLP and BWM, the team effectively controls the midfield.
DLP-S at [3,3] and BWM-D at [3,4] providing both creativity and defensive cover.
Versatile Attack
Utilizing width allows multiple avenues for attack.
W's at [5,1] and [5,5] stretching opposition’s defence.
Conflicting tactics
Vulnerability to Counter-Attacks
Pushing defensive line higher exposes the back line to quick counter-attacks.
Higher Defensive Line accompanied by Trigger Press More Often can lead to quick breaks from opponents.
Over-reliance on Width
With a focus on wide play, central attacks may struggle without adequate support.
Focus Play Down the Left/Right prioritizing wing play can leave the center unexploited.
Risk exposures
Risk Exposures
Items
Defensive Stability
High pressing might leave gaps for opposing teams to exploit.
Higher Line of Engagement without adequate cover can be risky.
Central Weakness
Over-focusing on wingers can leave central areas exposed.
Focus Play Down the Left/Right could yield vulnerabilities in the middle.
Role synergies
Role Synergies
Items
DLP-S and BWM-D
Combining these two roles ensures effective ball circulation and defensive stability.
DLP at [3,3] supports attacking transitions while BWM at [3,4] covers defensively.
Wingers and Full-Backs
Full-backs supporting wingers provide width and overlapping attacks.
FB-S at [2,1] and [2,5] work well with W at [5,1] and [5,5].
Suggested questions
How can I reinforce my midfield to maintain greater control during matches?
What adjustments can be made to mitigate vulnerability to counter-attacks?
Should I consider changing roles based on player strengths and recent performances?
Related Tactics
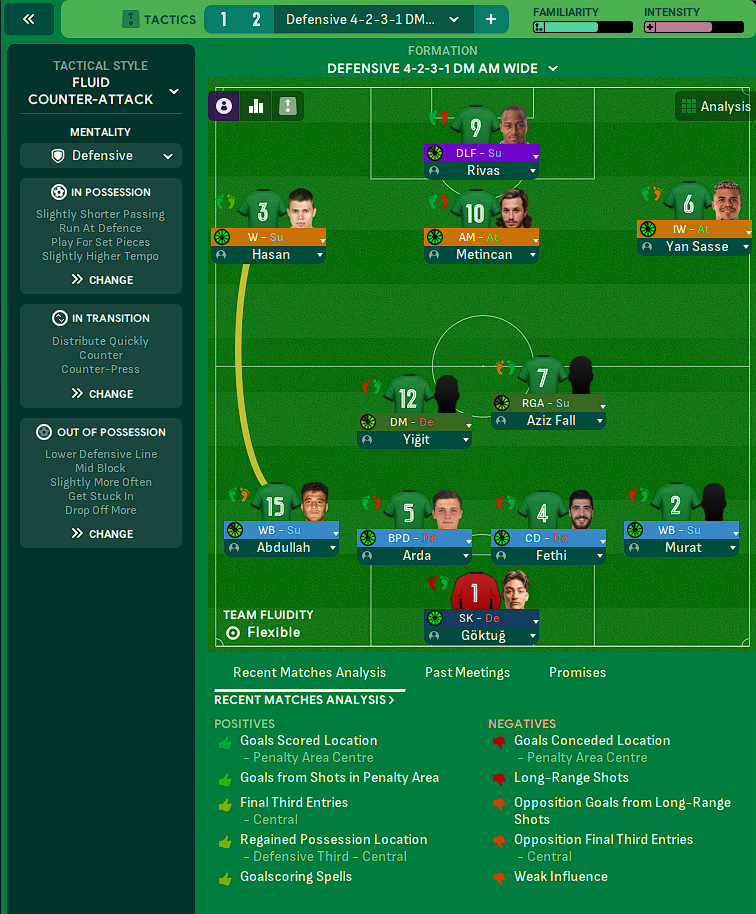
Fluid 4-2-3-1 DM AM Wide
Fluid
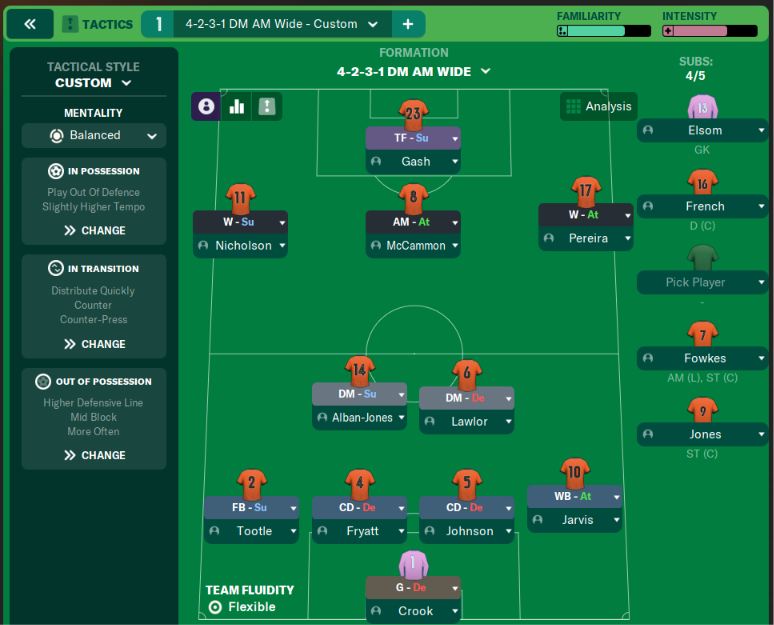
4-2-3-1 DM AM Wide Formation
Custom
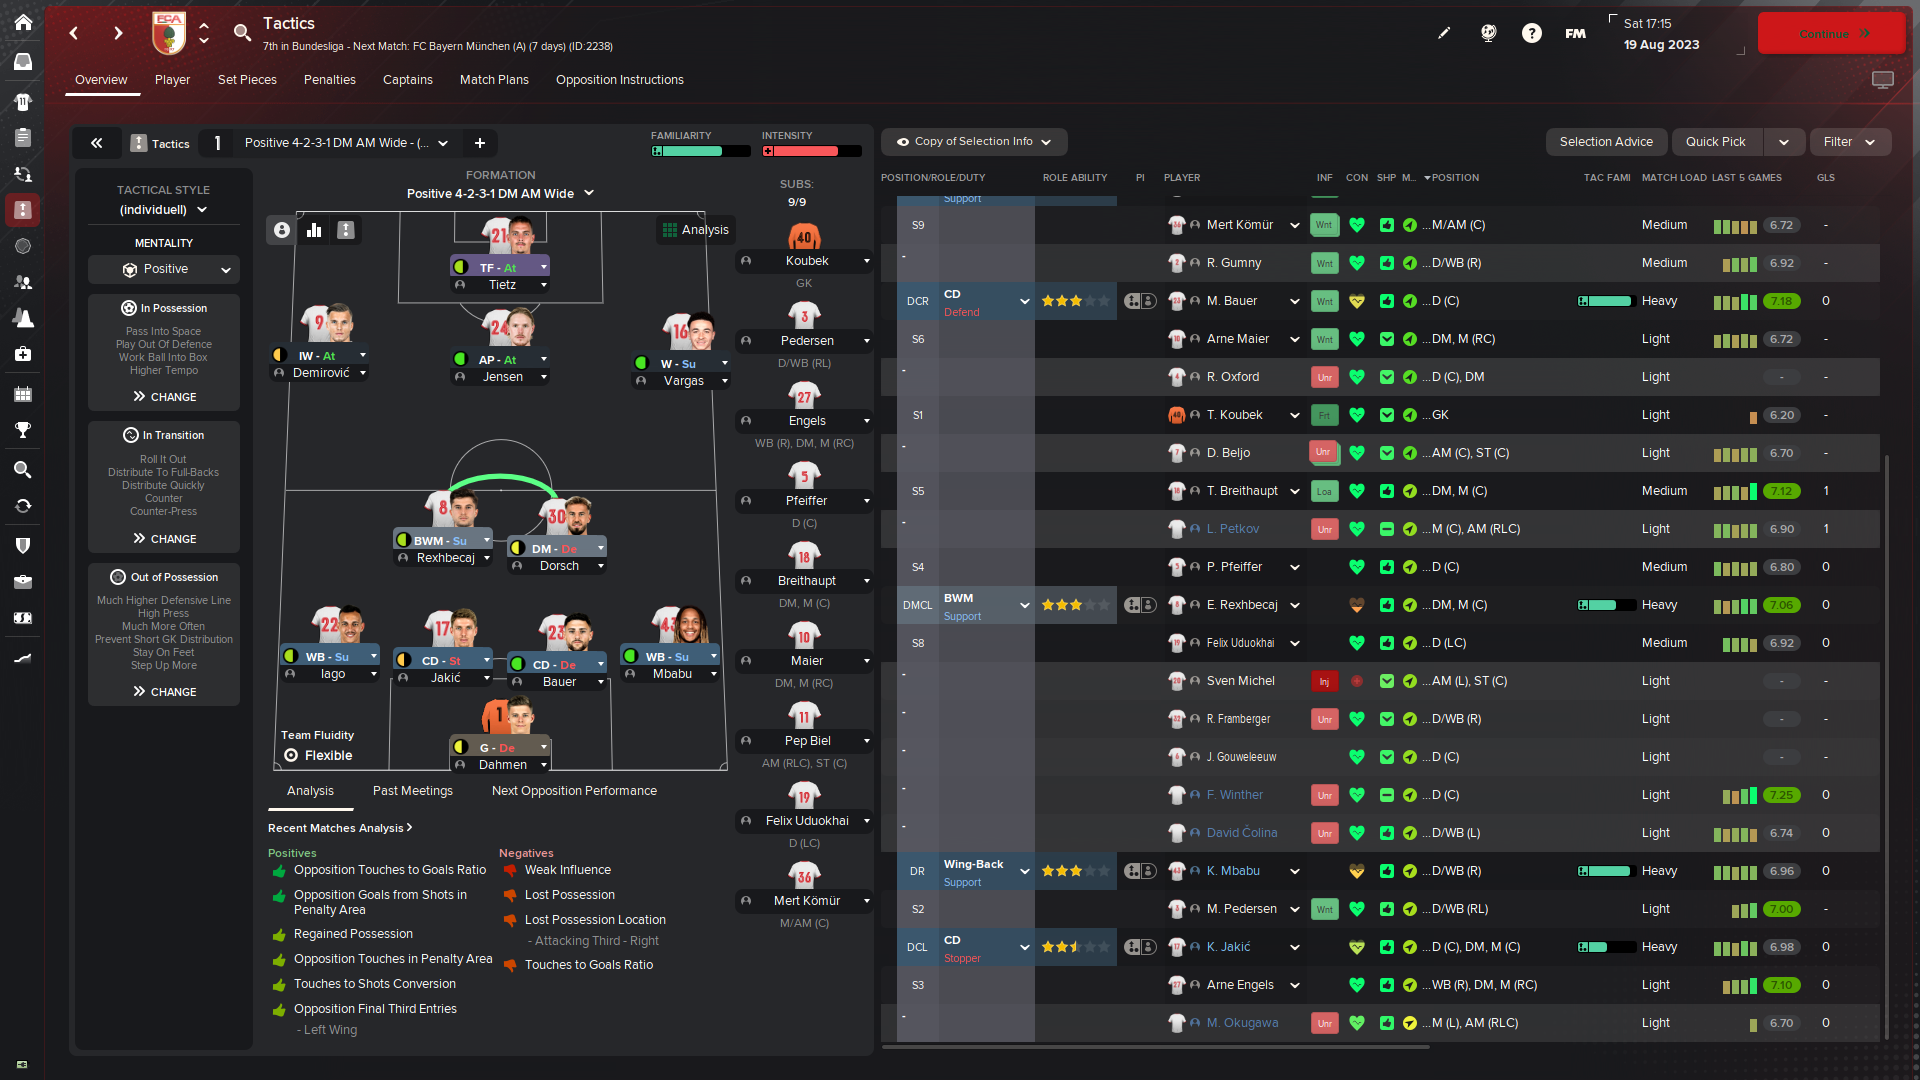
Positive 4-2-3-1 DM AM Wide
Positive
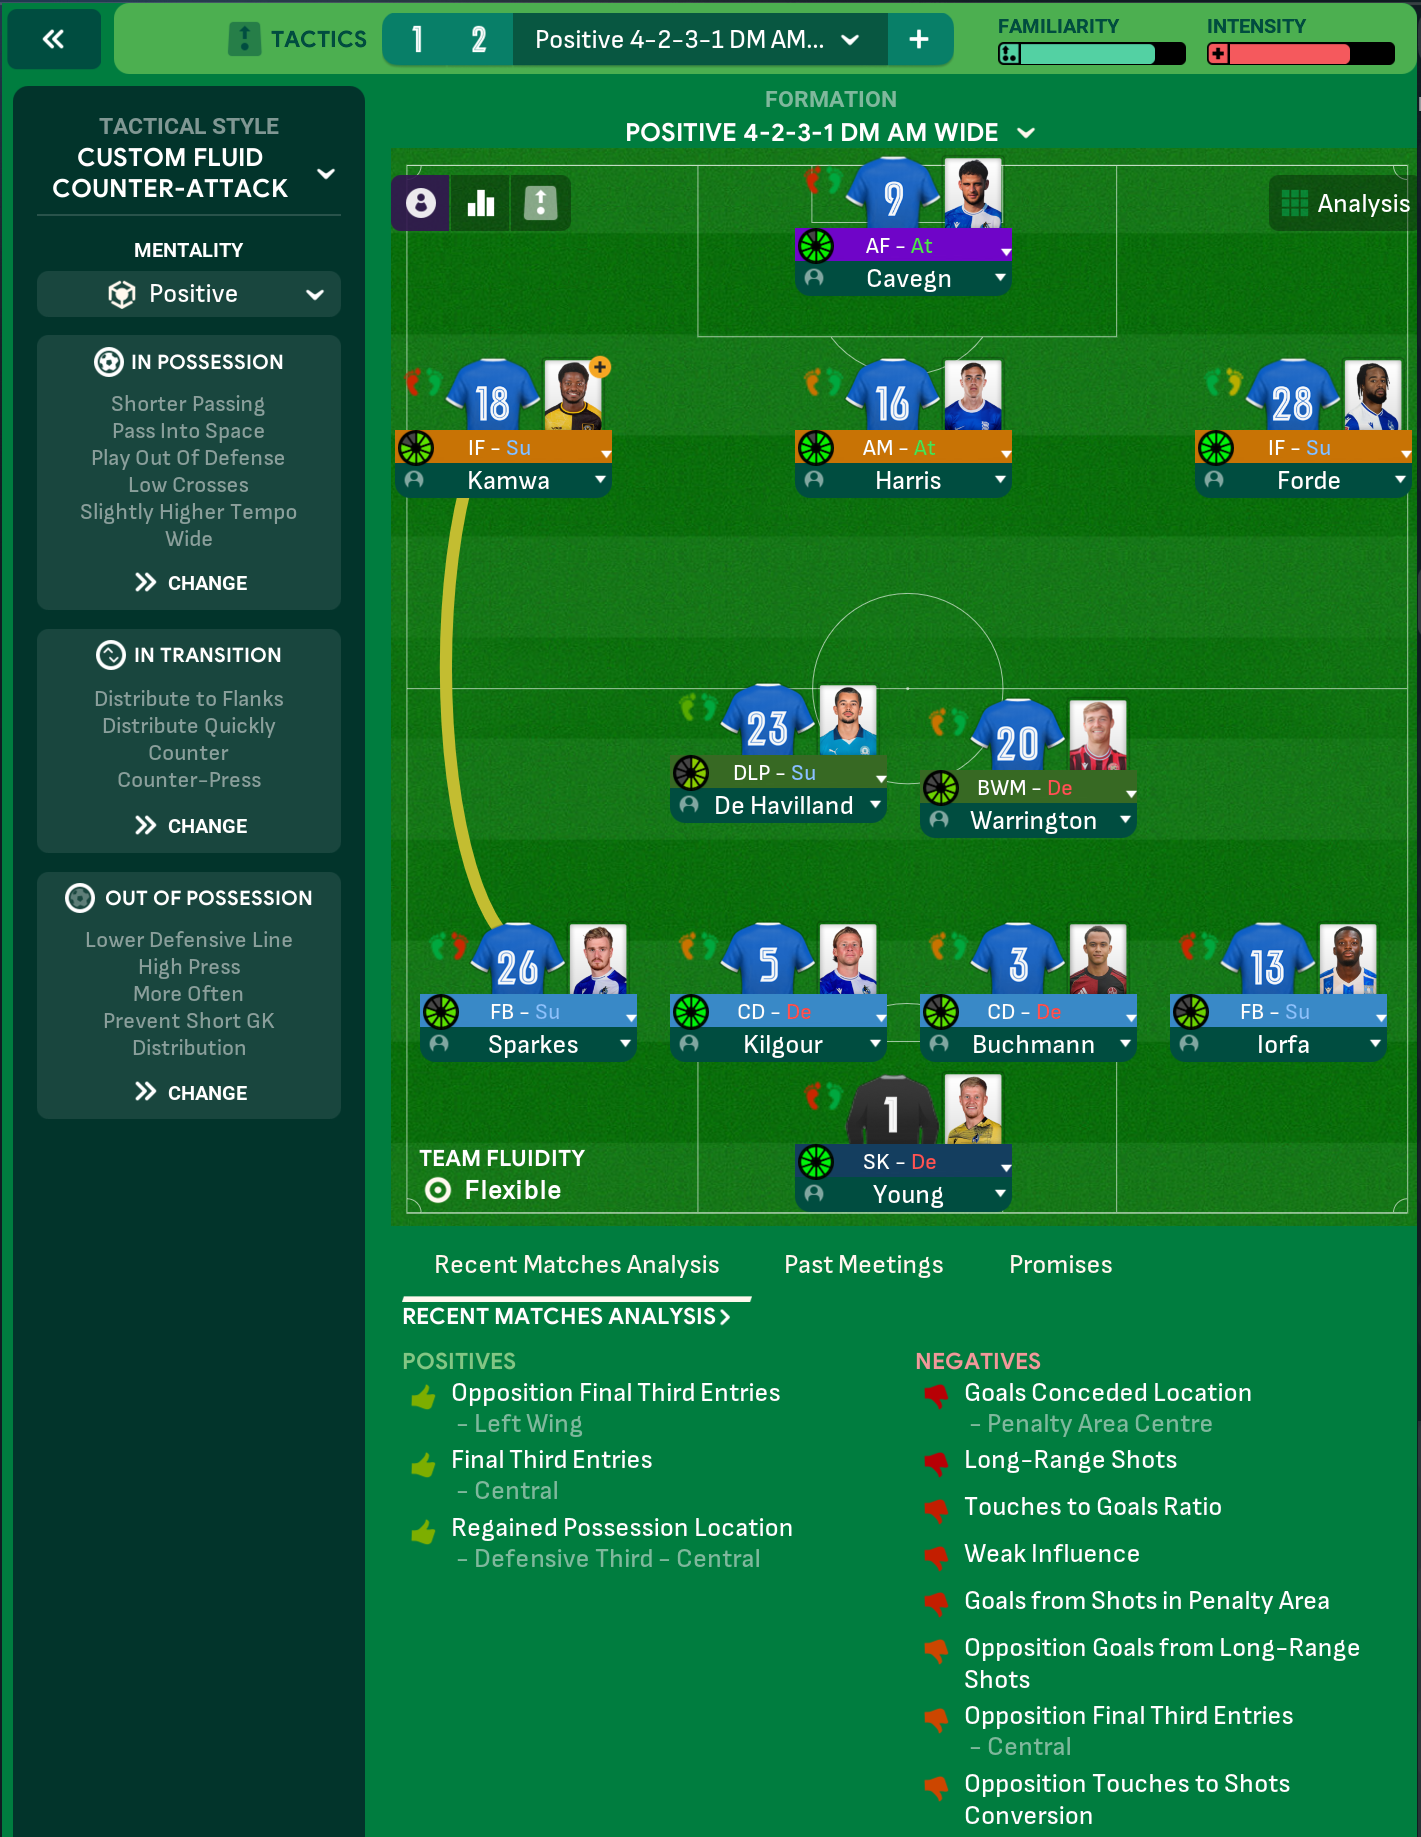
Fluid Counter-Attack 4-2-3-1 DM AM Wide
Custom Fluid Counter-Attack
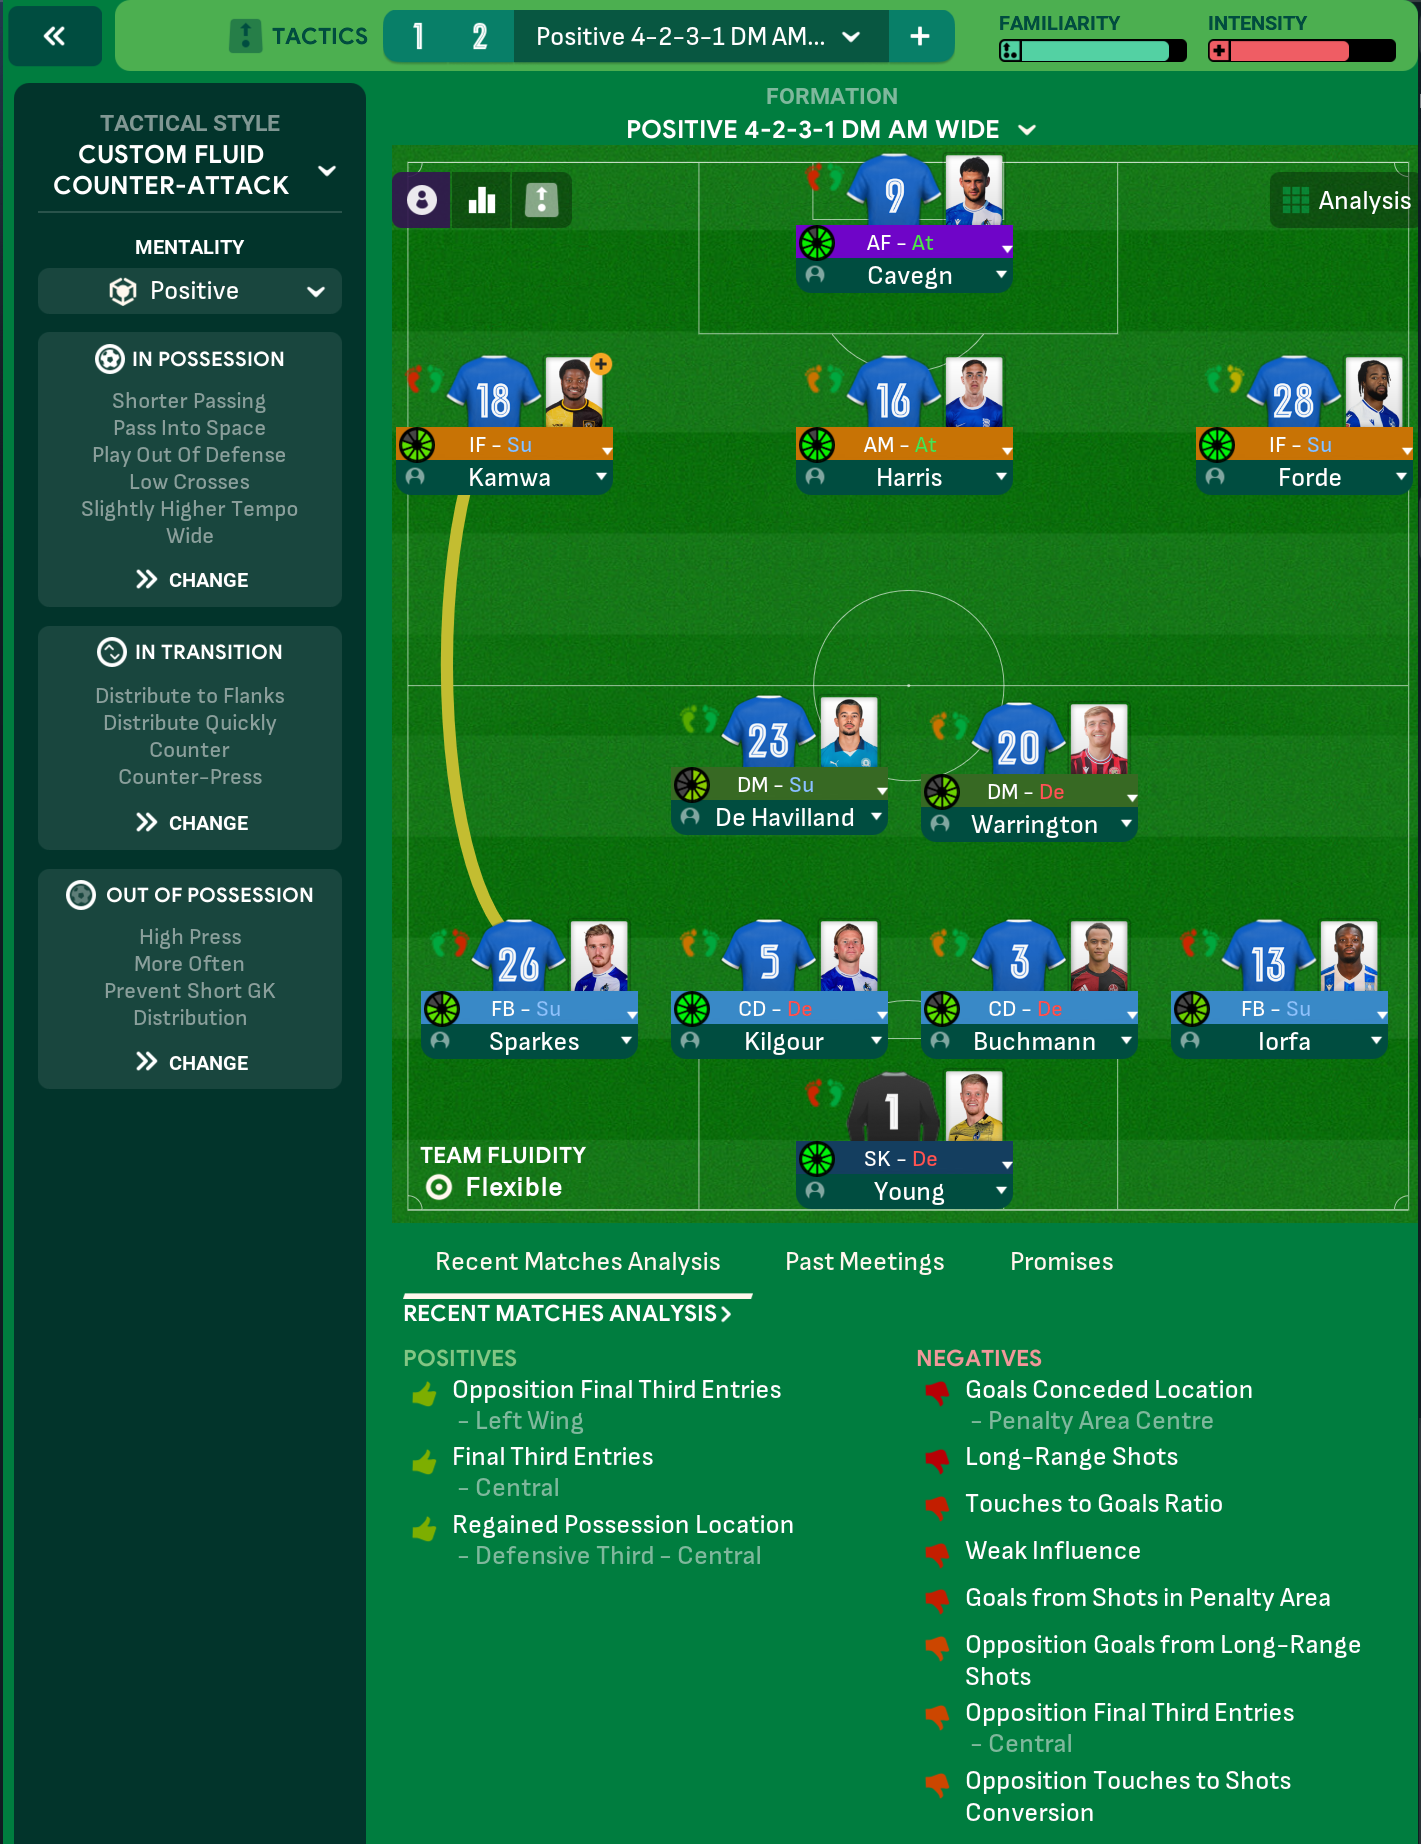
Fluid Counter-Attack 4-2-3-1 DM AM Wide
Custom Fluid Counter-Attack
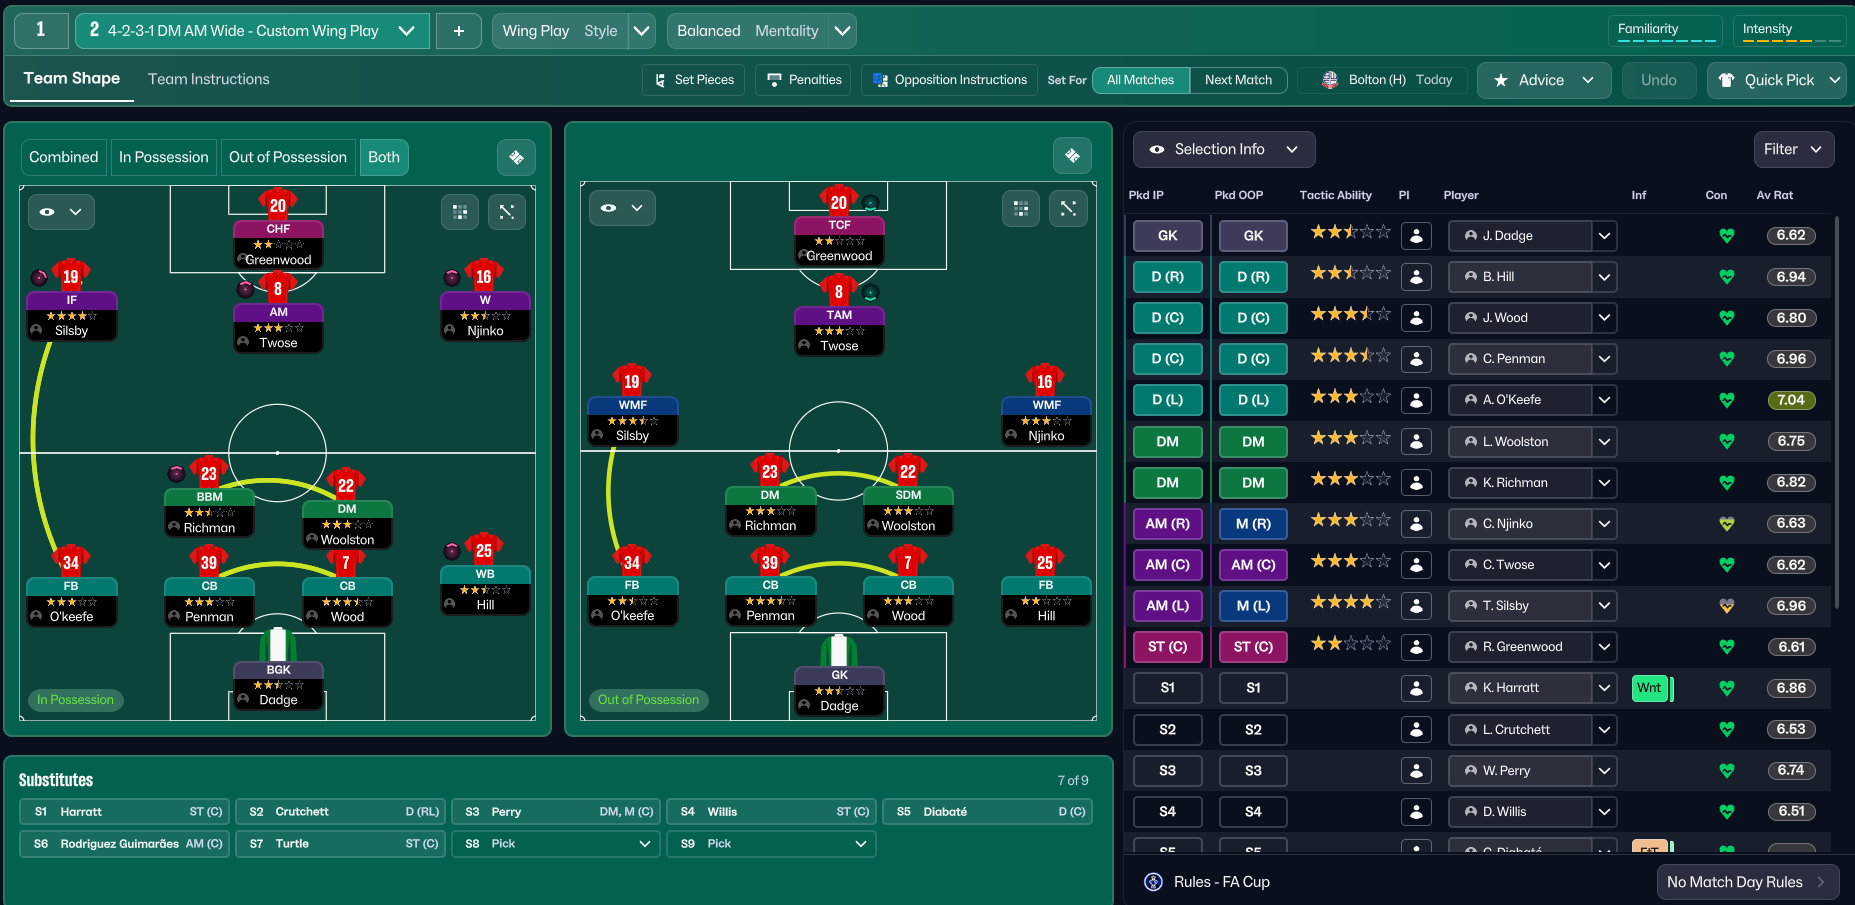
Wing Play 4-2-3-1 DM AM Wide
Wing Play
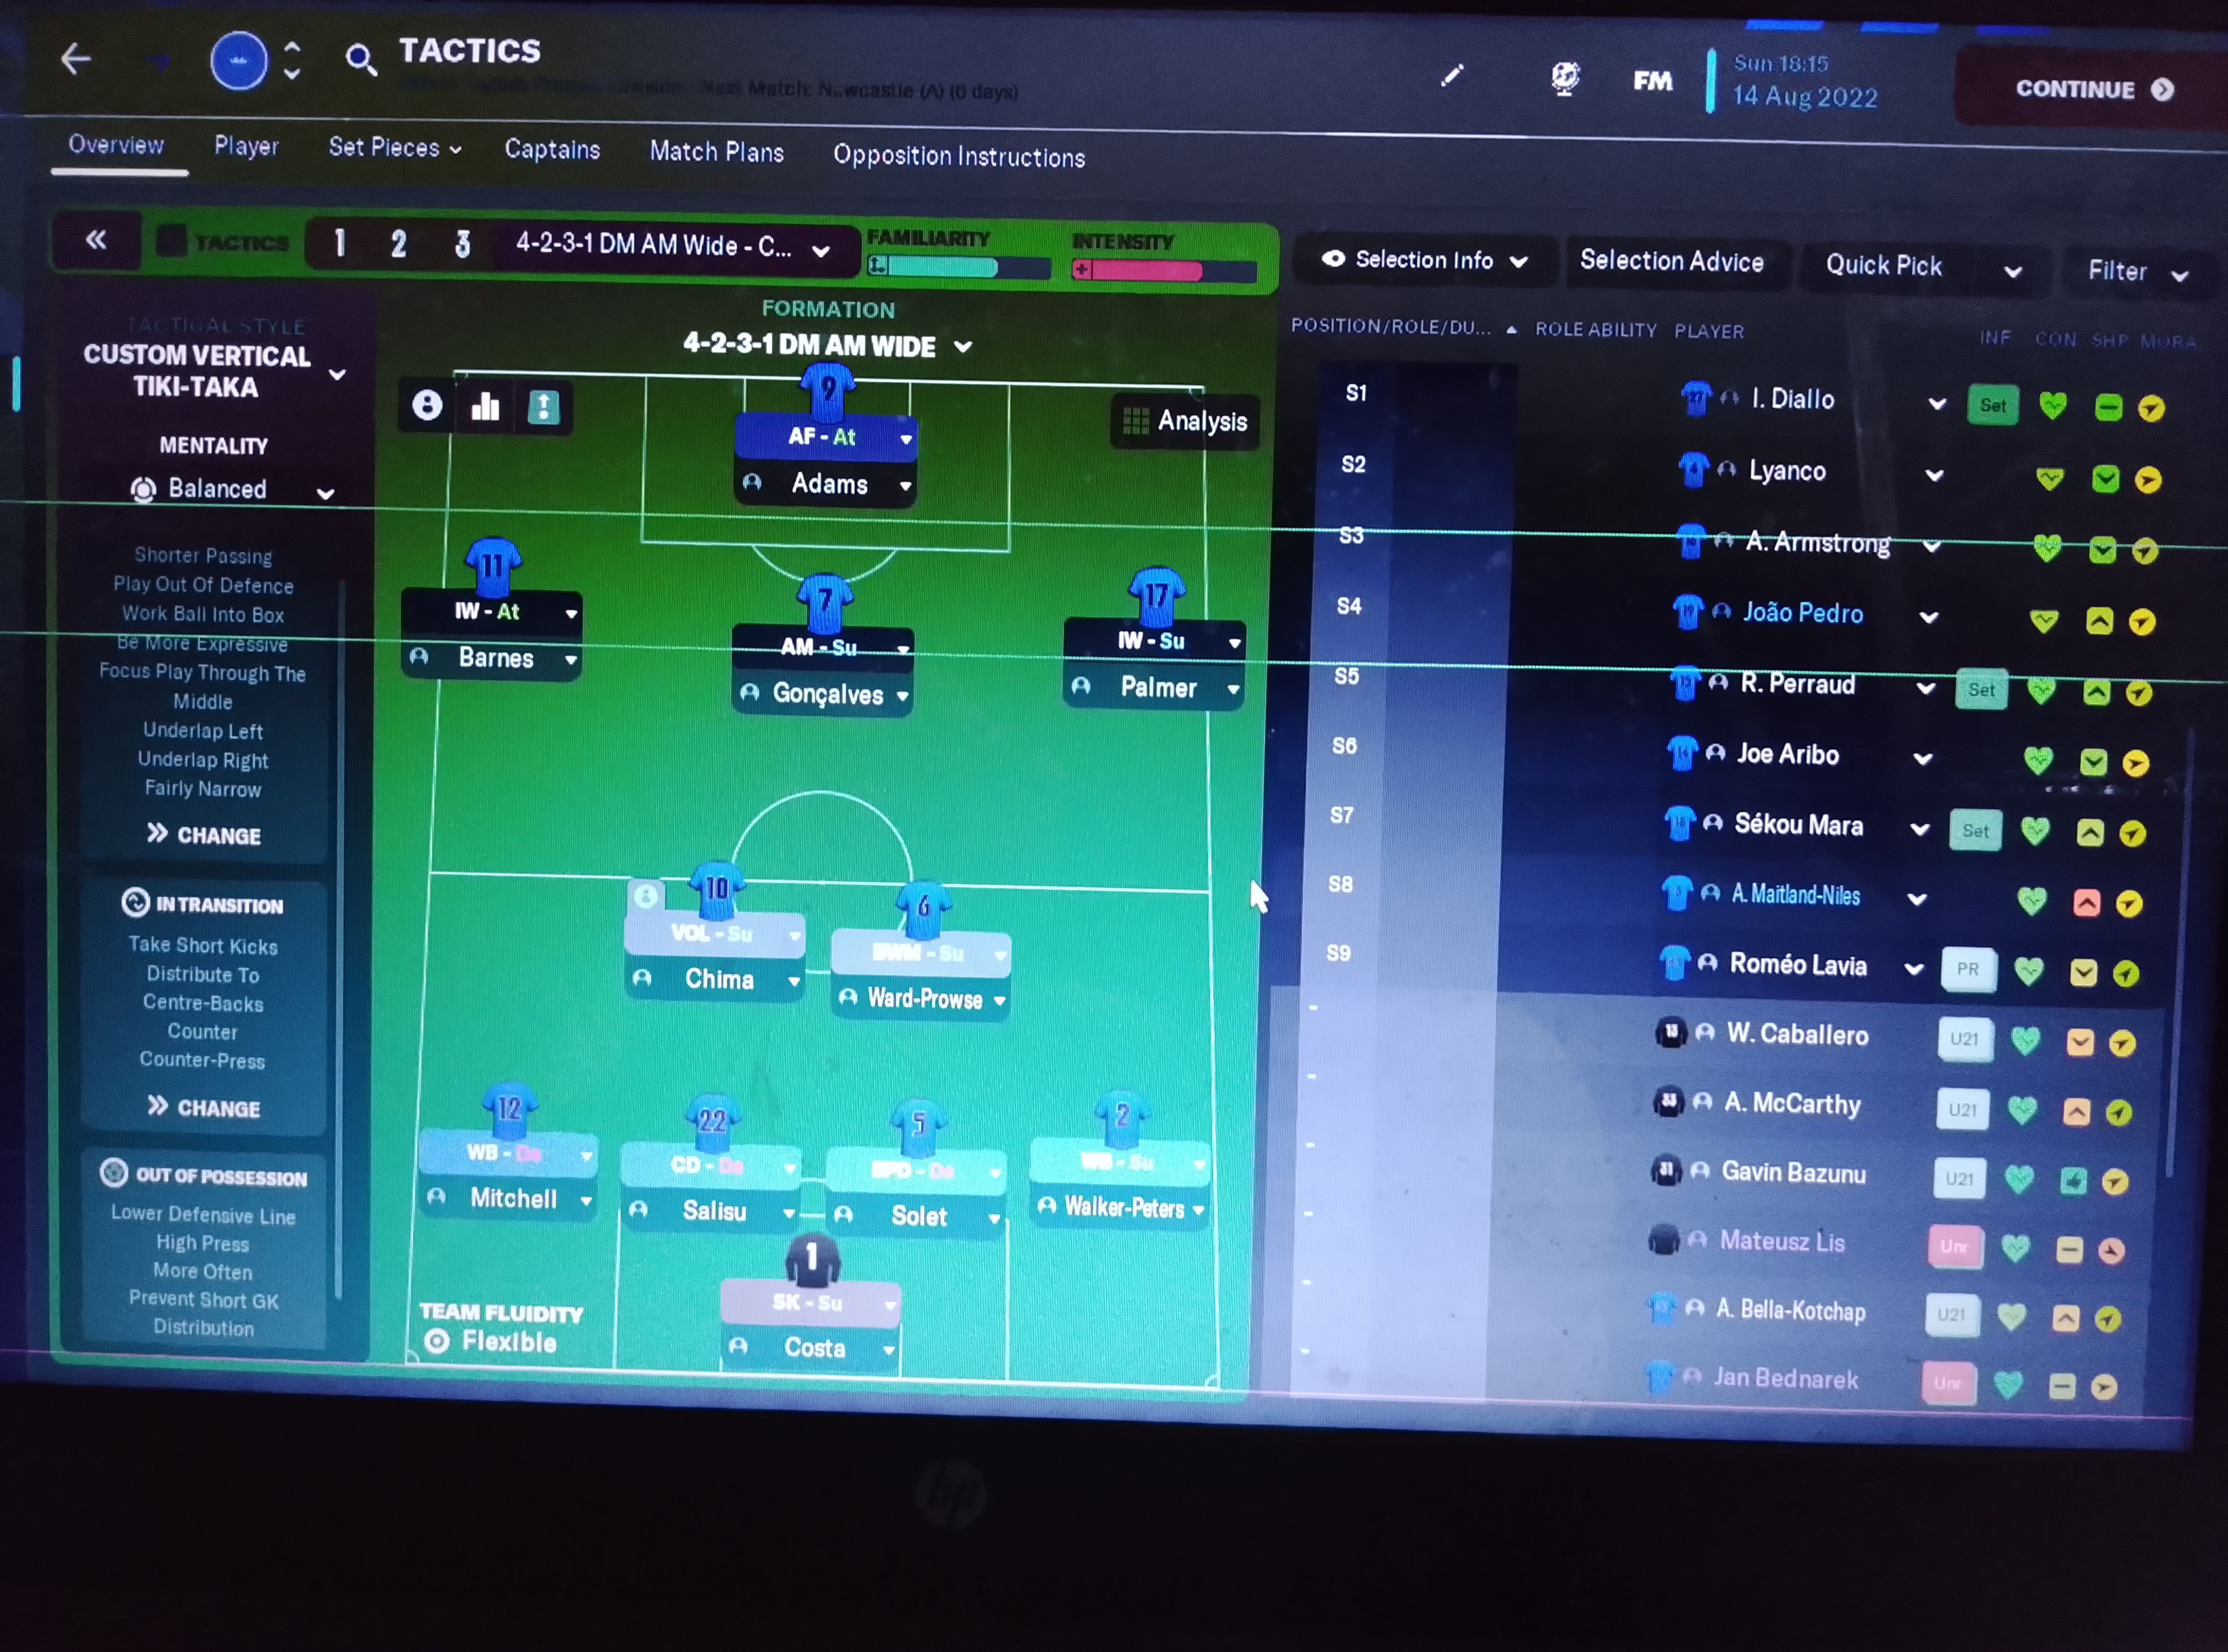
Vertical Tiki-Taka 4-2-3-1 DM AM Wide
Custom Vertical Tiki-Taka
4-2-3-1 DM AM Wide Formation
Custom
More Positive tactics
Guides for this tactic
The tactical theory behind the 4-2-3-1 DM AM Wide: roles, instructions, and the trade-offs that decide whether the system holds up.
Playing styles
Gegenpressing: A Full Guide
Klopp-style gegenpressing in FM, including squad profile, line-and-press pairing, sustainable workload, and the antipatterns to avoid.
Read guide
Player pairings
Midfield Pairs in 4-2-3-1 and 4-4-2
Double pivots and flat pairs in 4-2-3-1 and 4-4-2: when each pairing works, when it collapses, and the AMC unicorn that rescues both.
Read guide
Foundations
Defensive Transitions
The five seconds after losing the ball decide most matches. Counter-press, drop-and-recover, and how to know which one you should be doing.
Read guide