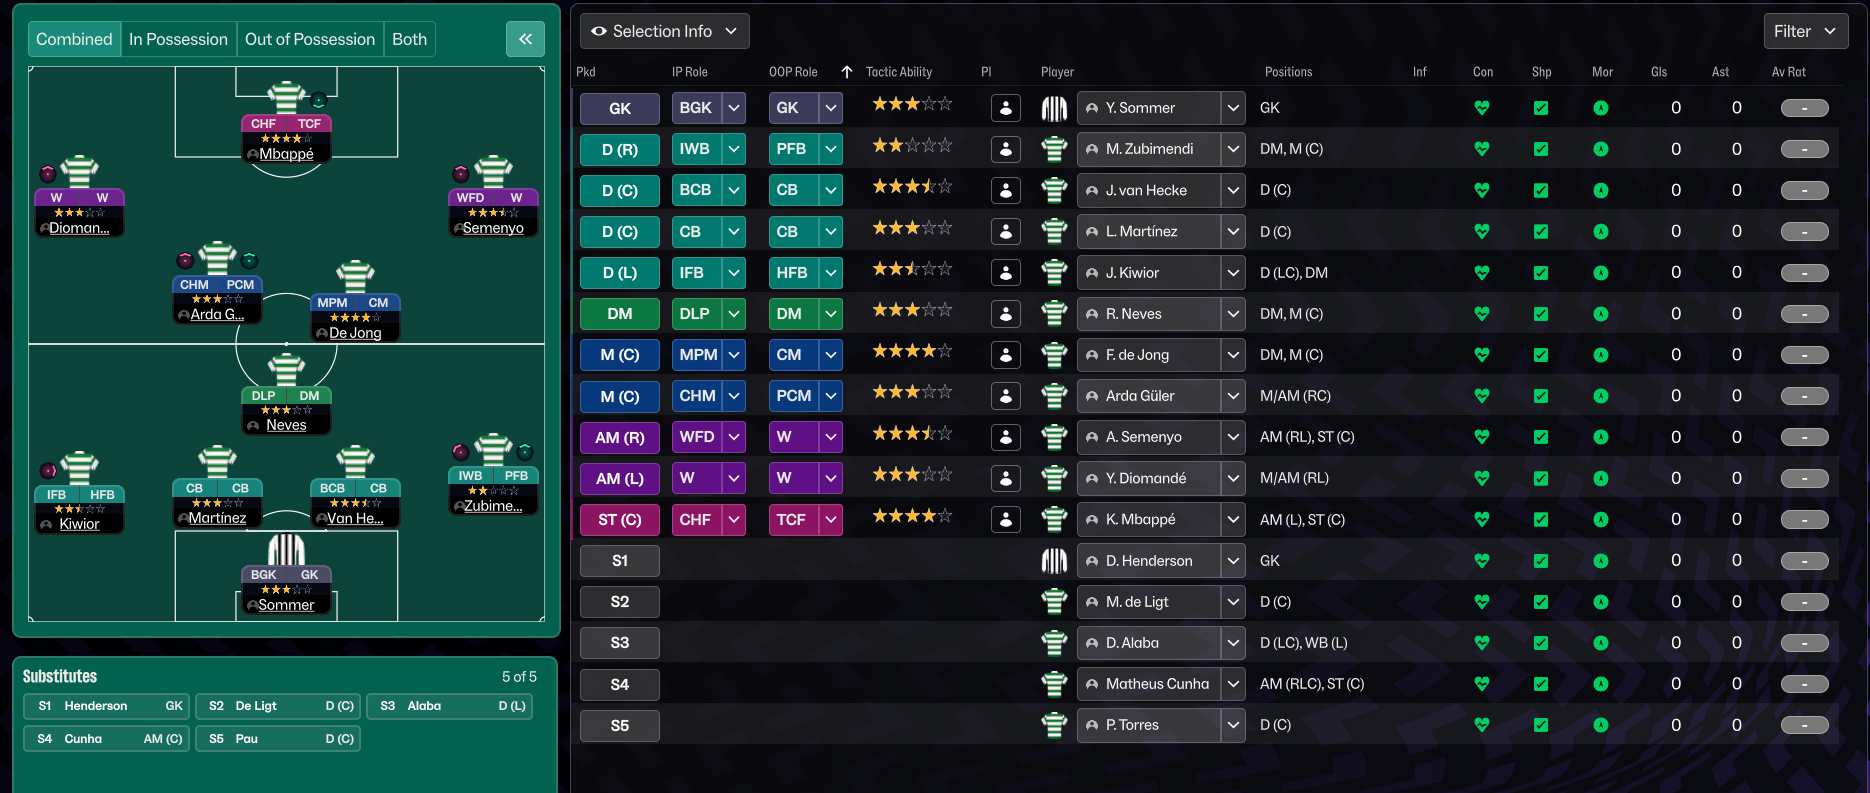
Possession 3-1-4-2 (Positive) Tactic
3-1-4-2
Control possession and dictate the pace of the game. The back three provides a robust defensive shape, preventing wide attacks.
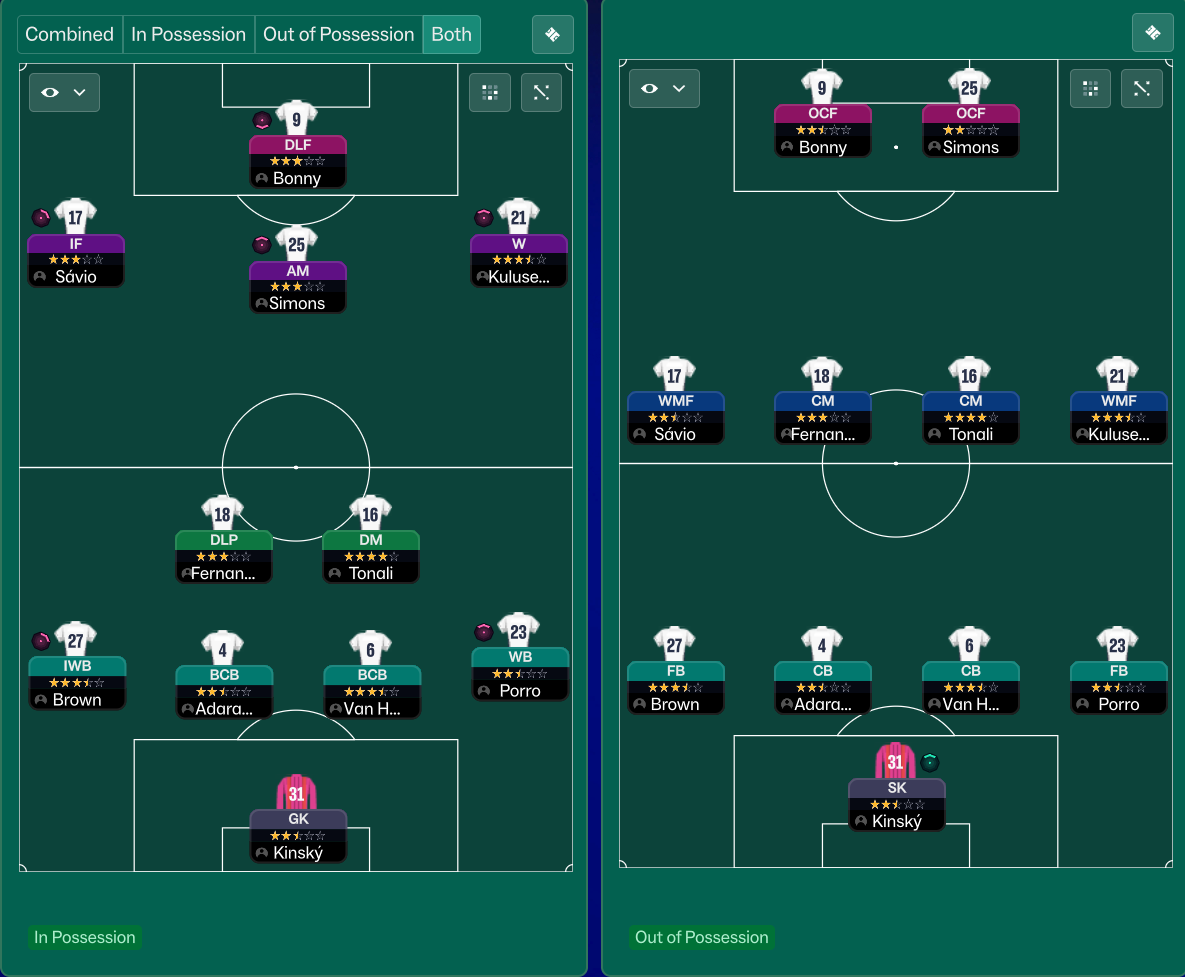
Loading tactical analysis...
Formation and style
Possession
Positive
3-1-4-2
Fluid
In possession
Play Out of Defence
Overlap Left
Overlap Right
Work Ball into Box
Shorter Passing
In transition
Counter Press
Counter
Out of possession
Higher Line of Engagement
Higher Defensive Line
Prevent Short GK Distribution
Trigger Press More Often
Player roles
GK
Sweeper Keeper
Support
CB
Ball-Playing Defender
Defend
CB
Ball-Playing Defender
Defend
CB
No-Nonsense Centre-Back
Defend
DM
Deep-Lying Playmaker
Support
WMF
Wide Midfielder
Attack
CM
Central Midfielder
Support
CM
Central Midfielder
Support
IWB
Inverted Wing-Back
Support
WB
Wing-Back
Attack
IF
Inside Forward
Attack
DLF
Deep-Lying Forward
Support
OCF
Complete Forward
Attack
Phase description
The tactic focuses on building from the back, utilizing short passing and overlapping runs on the flanks to create goal-scoring opportunities.
Quickly win the ball back by pressing opponents immediately after losing possession.
Control possession and dictate the pace of the game.
Team shape defence
Compact Mid-Block
The team adopts a compact shape, closing spaces while applying pressure higher up the pitch.
Higher Defensive Line and Trigger Press More Often help to limit opposition time on the ball.
Team shape attack
Fluid Build-up Play
Players interchange positions allowing for dynamic movement and creation of space.
Overlap instructions and Play Out of Defence facilitate fluid movements and attacking options.
Key strengths
Strong Defensive Structure
The back three provides a robust defensive shape, preventing wide attacks.
3 CBs with roles focused on defending at [2,1], [2,2], and [2,3].
Midfield Versatility
The DLP and two CMs can transition between defending and attacking smoothly.
DLP-S at [3,2] helps in building play from the back.
Conflicting tactics
Fluidity vs. Stagnation
If the attacking players fail to interchange, the play may become predictable.
Two forwards with roles may clash if not coordinated; OCF at [6,3] and DLF at [6,2].
Defensive Pressing
Pressing without strategic positioning can lead to vulnerabilities.
Trigger Press More Often could leave gaps if the midfielders aren't balanced.
Risk exposures
Risk Exposures
Items
Wide Areas
Vulnerabilities on the flanks may be exposed without adequate coverage from wing-backs.
Overlap Left and Right could leave gaps for counter-attacks if WMFs are caught too high.
Counter-Attacks
Quick opposition counters can exploit the high defensive line.
Higher Line of Engagement invites danger against fast attackers.
Role synergies
Role Synergies
Items
DLP-S at [3,2] and WBs
DLP helps transition play effectively towards the wing-backs, maximizing width.
Play Out of Defence increases chance for WBs to overlap.
IF at [5,1] and OCF
Inside Forward can draw defenders, allowing the Complete Forward more space.
Offensive plays exploit defensive focus on IF, enhancing attacking width.
Suggested questions
How can player roles be optimized for future matches?
What adjustments can enhance counter-press effectiveness?
Is the current pressing strategy sustainable for the whole match?
Related Tactics
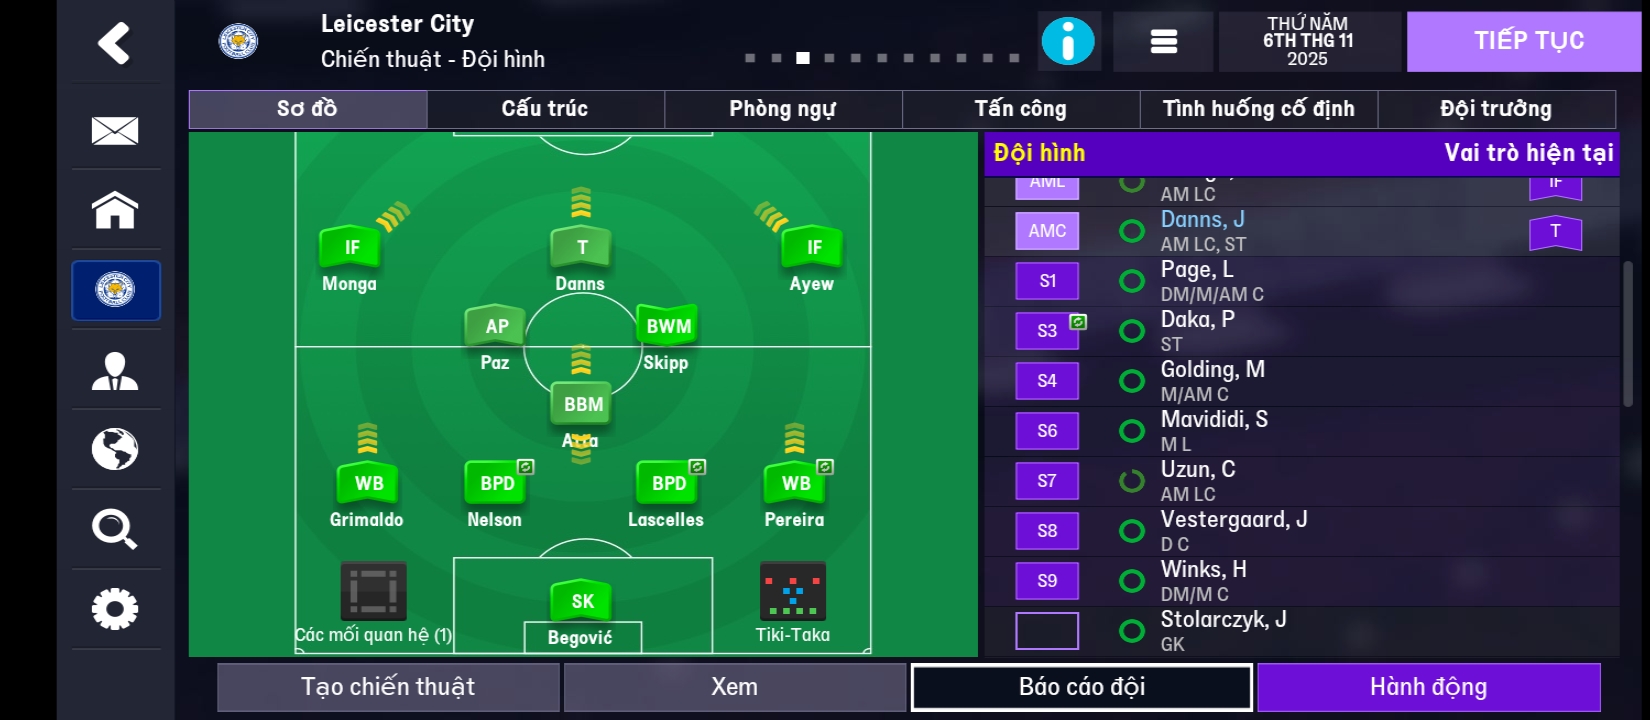
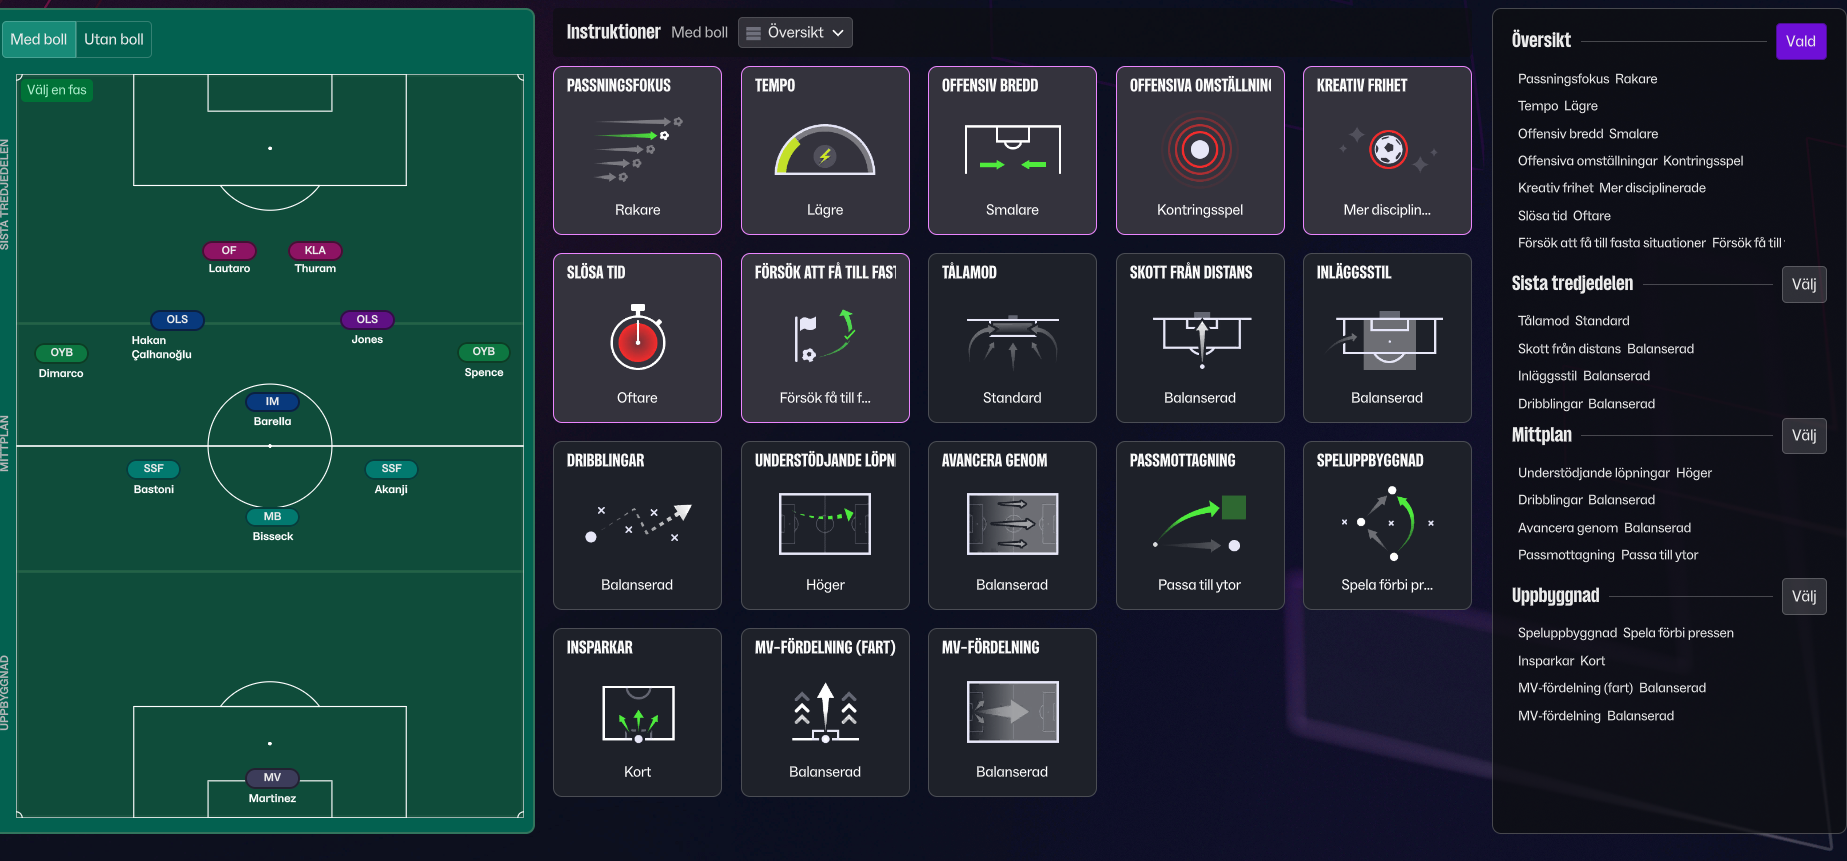
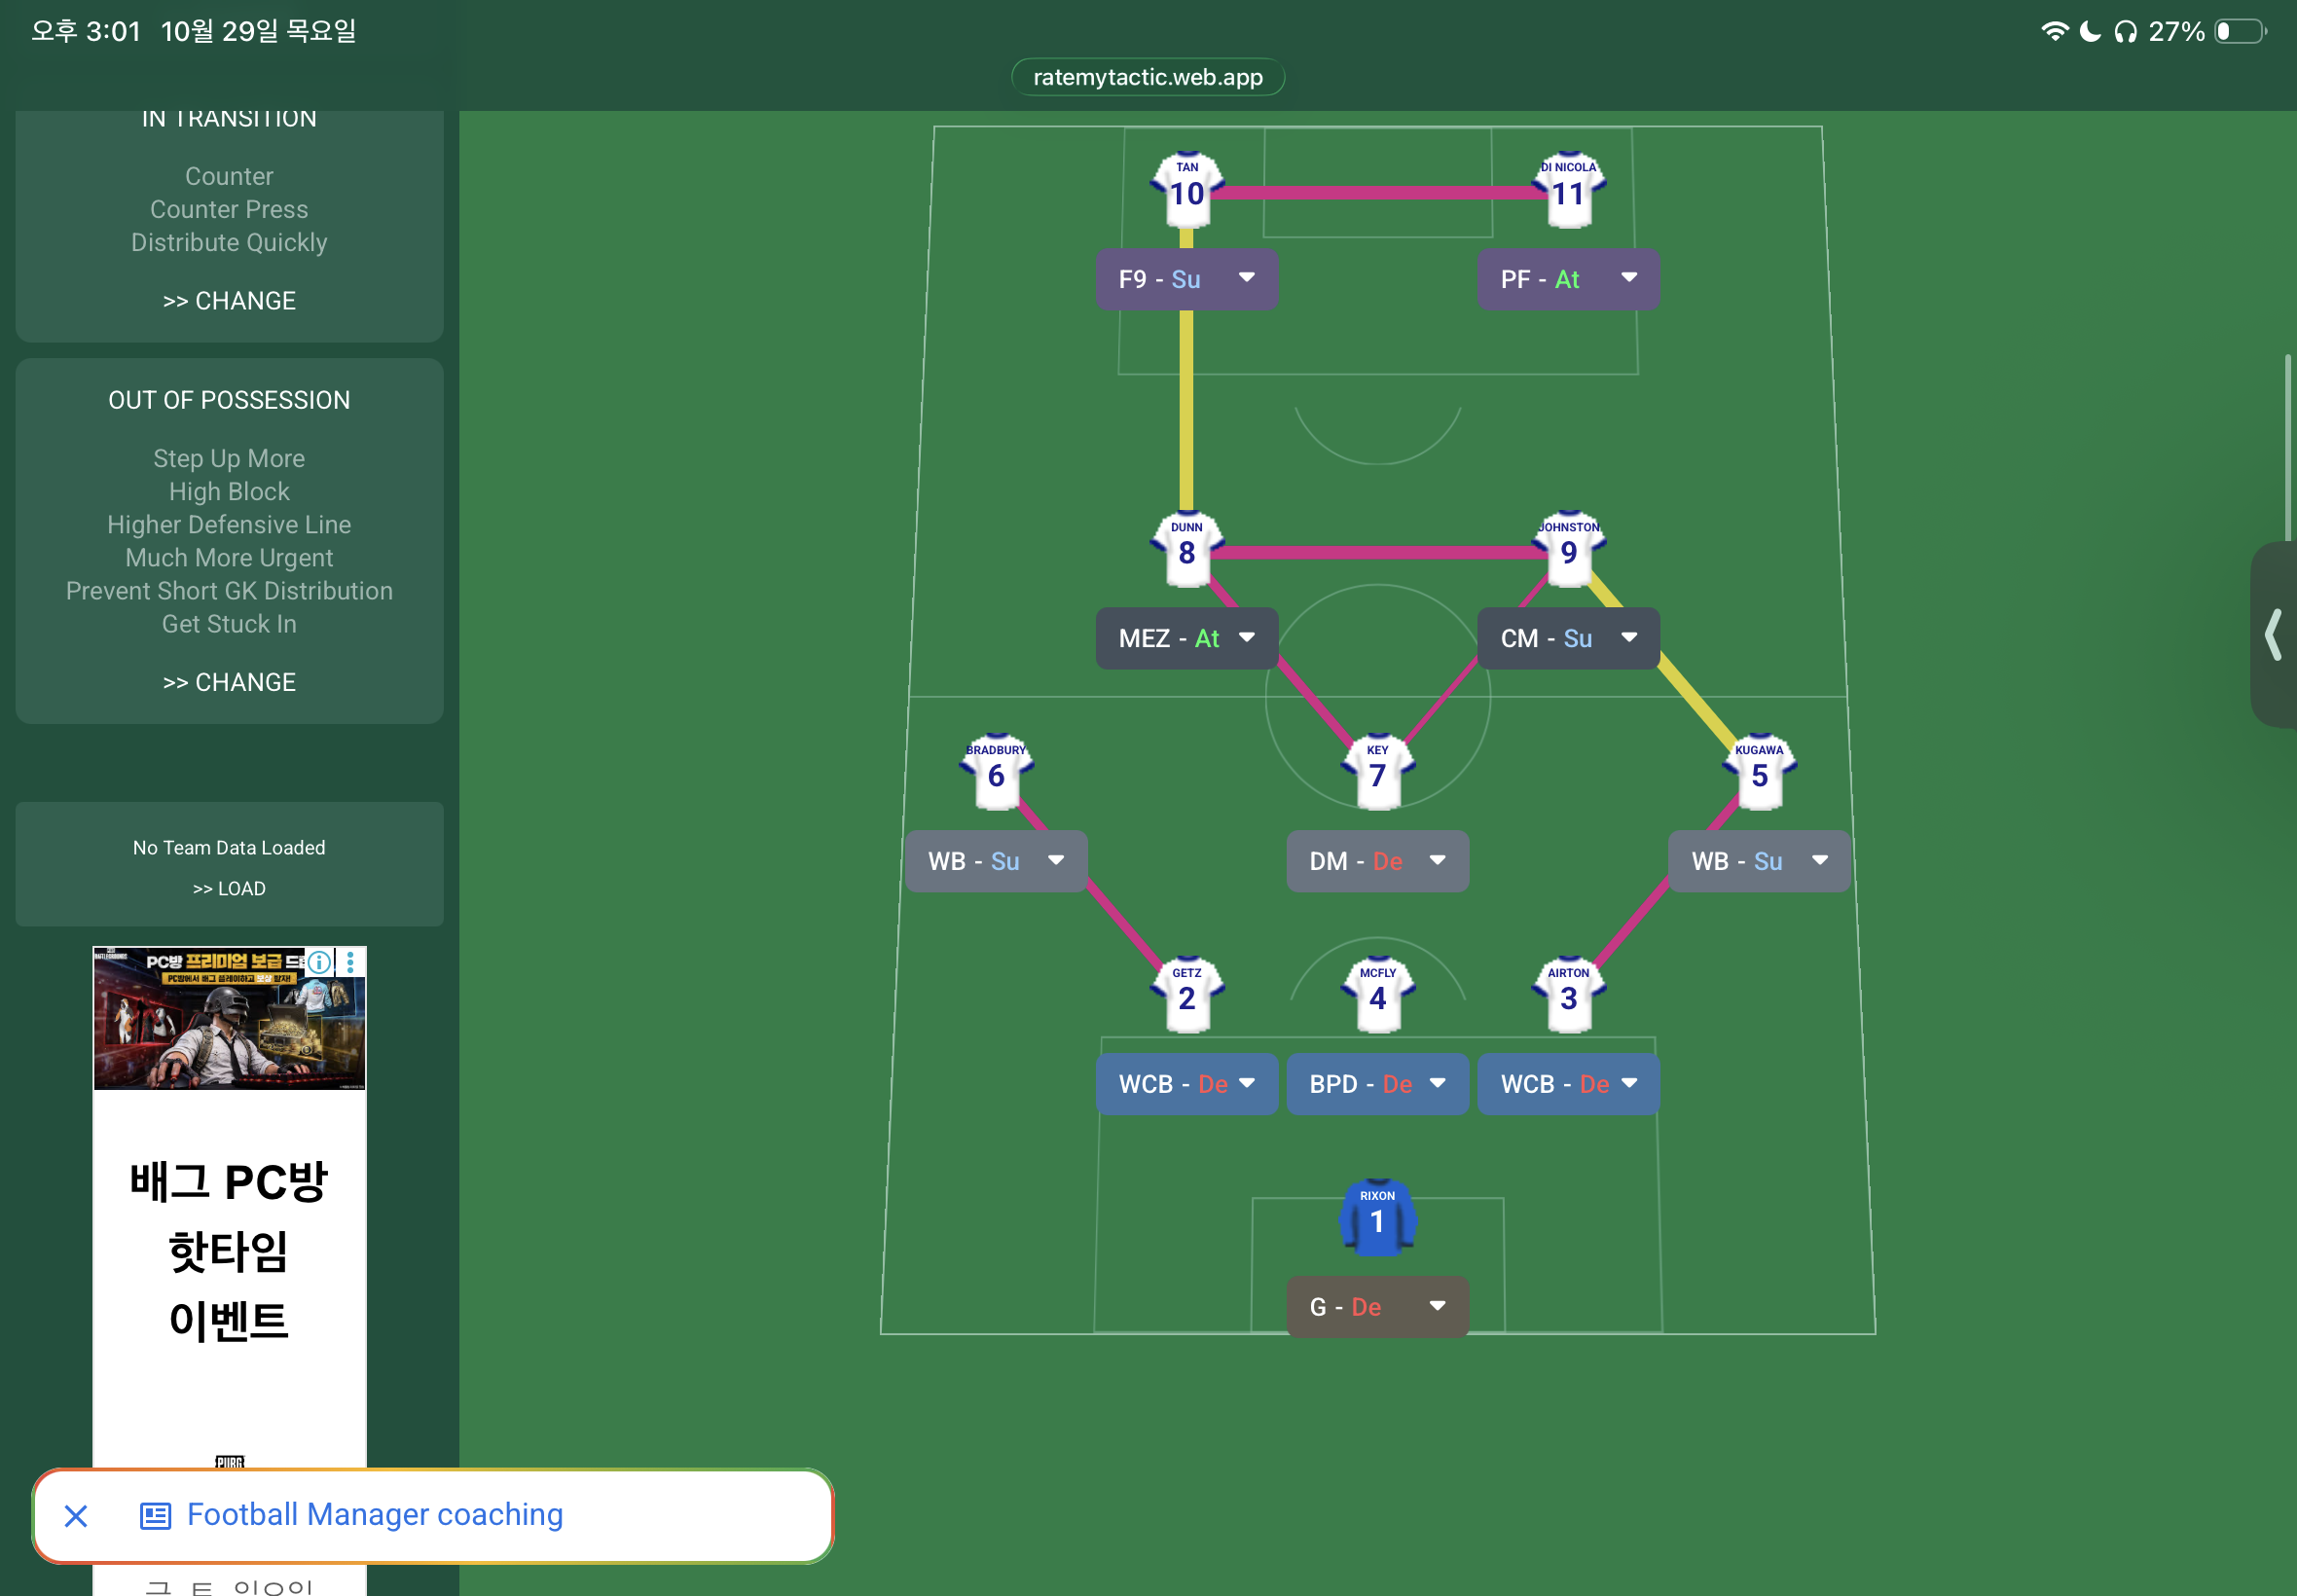
More Possession tactics
Guides for this tactic
The tactical theory behind the 3-1-4-2: roles, instructions, and the trade-offs that decide whether the system holds up.
Foundations
Defensive Line and Line of Engagement
The pairing rule for Defensive Line and Line of Engagement, all 9 combinations, and the gap that costs goals.
Read guide
Foundations
Width, Compactness, and Tempo
What Higher Tempo, Wider, and Narrower actually do in FM, plus the dial contradictions and antipatterns players run into most often.
Read guide
Foundations
Wing Play vs Central Play
Build through the wide areas or through the middle? A working framework for picking the right one for your squad.
Read guide