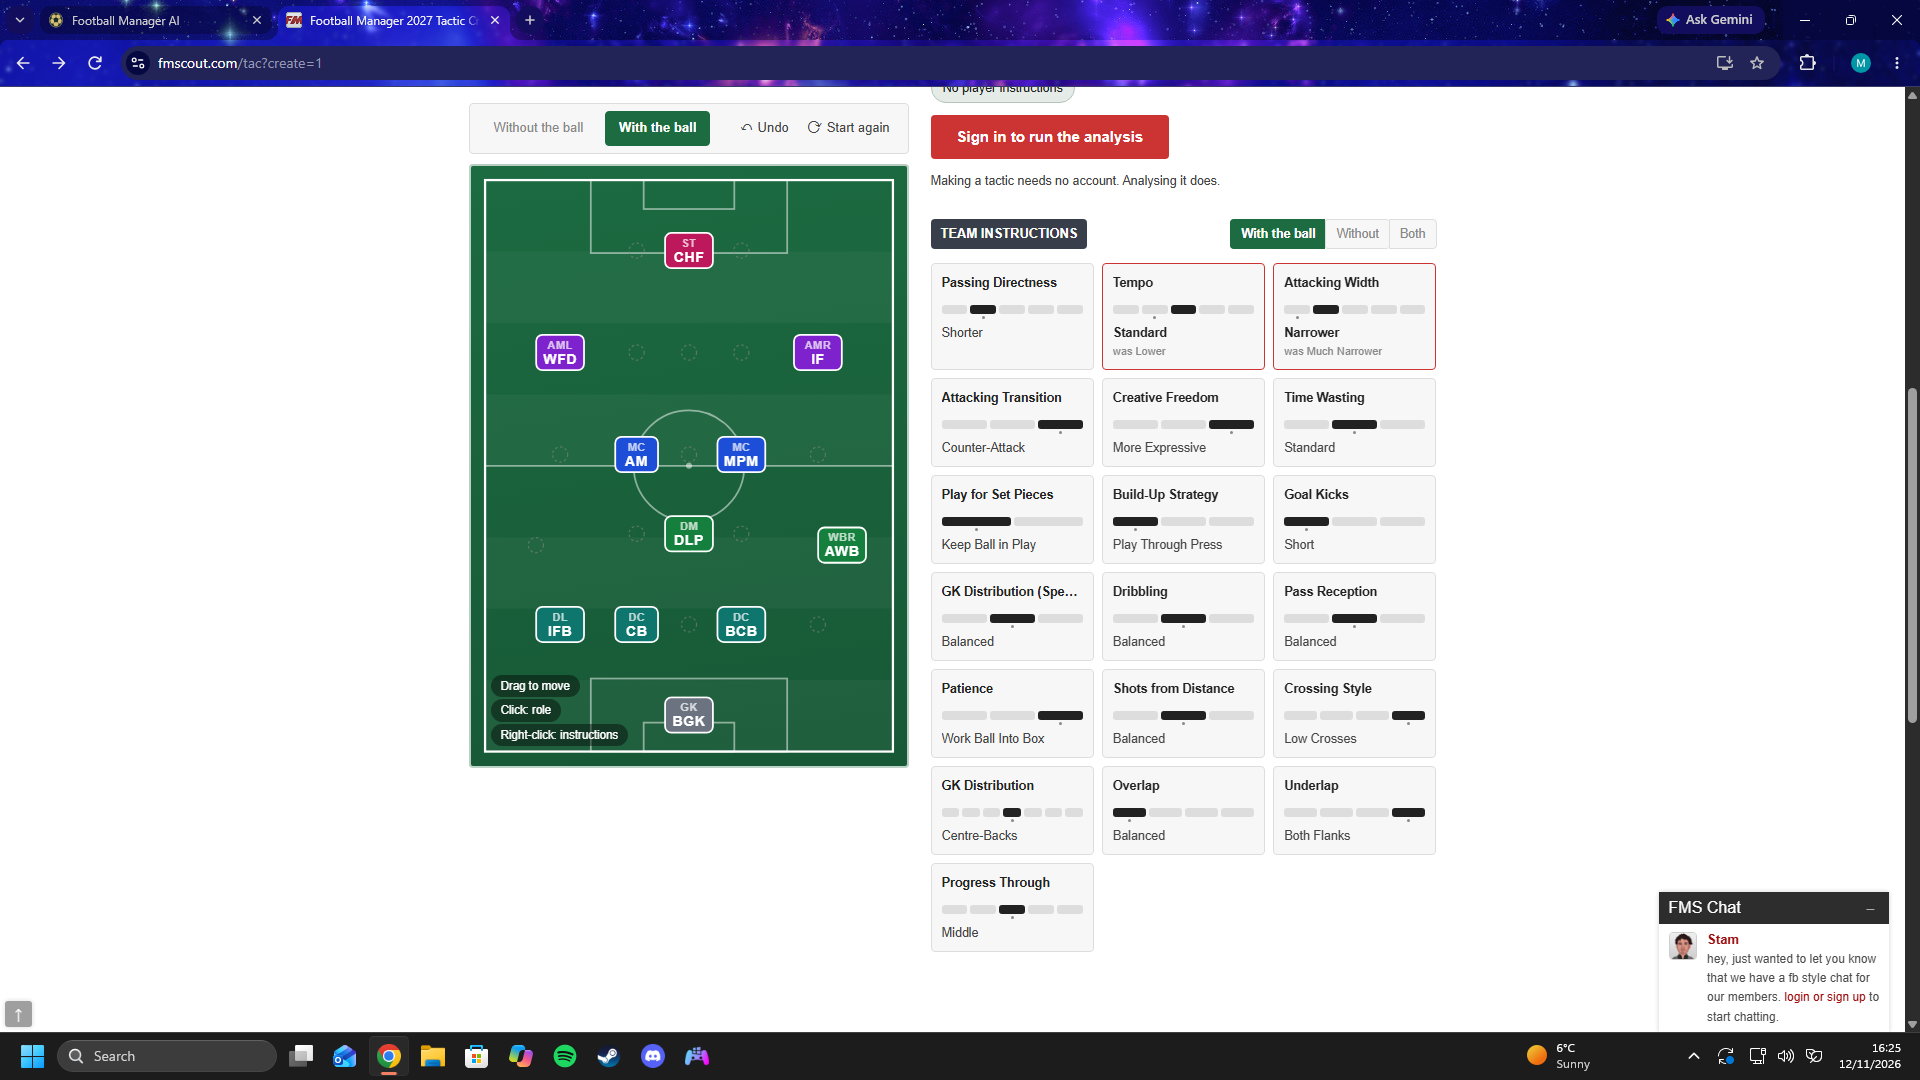
Possession 4-3-3 (Positive) Tactic
4-3-3
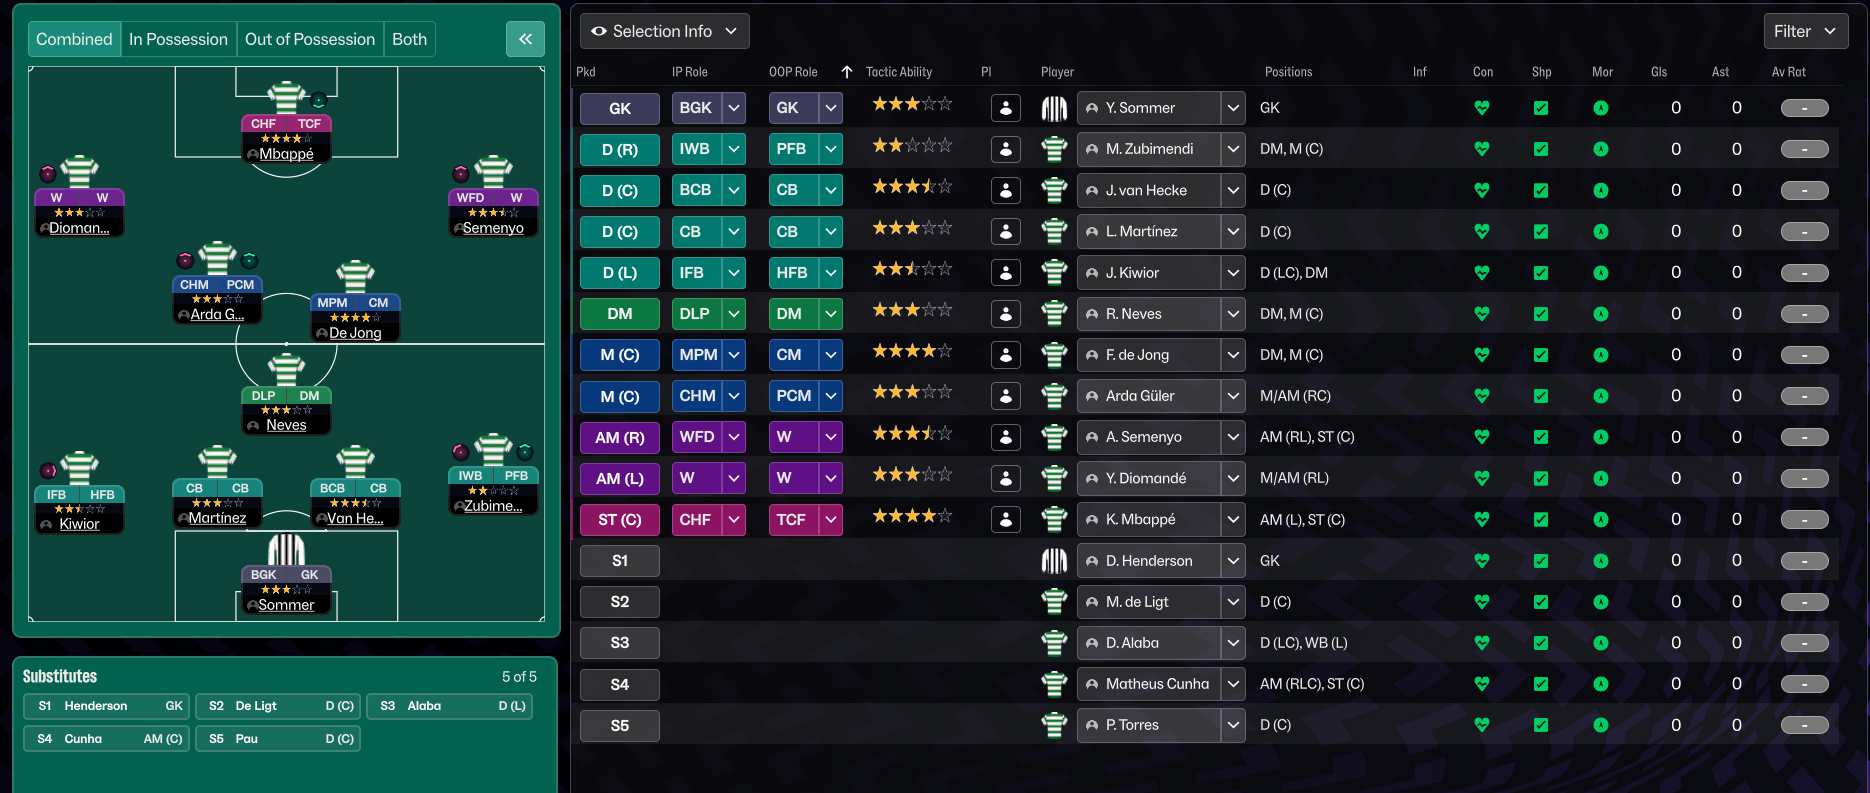
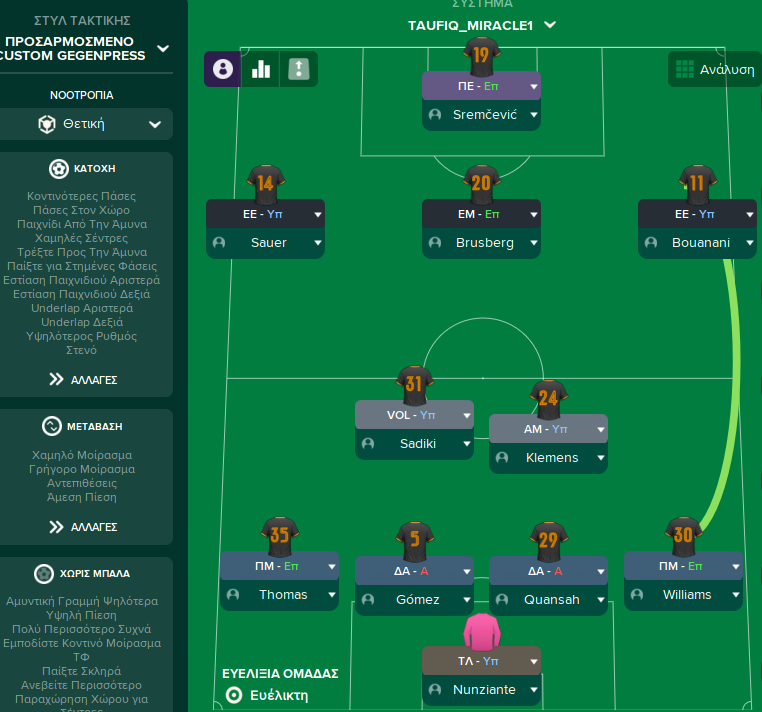
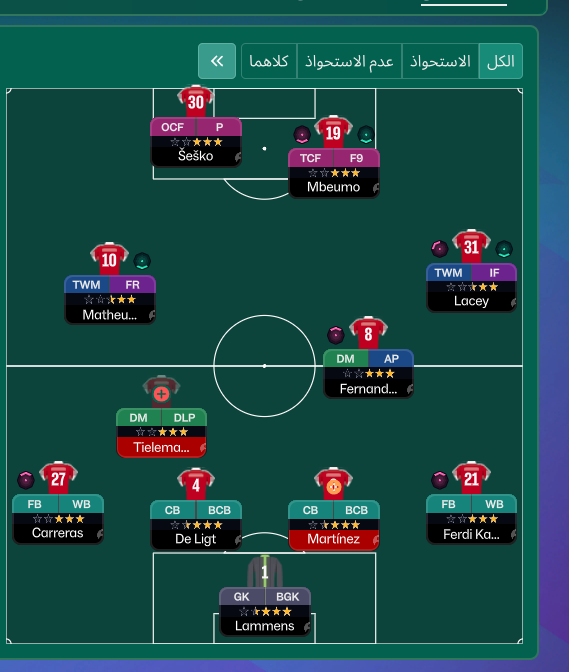
Maintaining possession and controlling the game tempo. The use of a DLP and MPM allows for quick transitions through the middle.
Loading tactical analysis...
Formation and style
Possession
Positive
4-3-3
Fluid
In possession
Play Out of Defence
Focus Play through Middle
Work Ball into Box
Shorter Passing
Higher Tempo
In transition
Counter Press
Counter
Out of possession
Higher Defensive Line
Higher Line of Engagement
Prevent Short GK Distribution
Trigger Press More Often
Player roles
GK
GK
De
DC
CB
De
DC
CB
De
DL
IFB
De
DR
IWB
Su
DM
DLP
De
CM
MPM
Su
CM
CHM
Su
AMR
WFD
At
AML
W
At
ST
CHF
At
Phase description
Focus on buildup play through central areas with wingers providing width. Quick transitions and movement off the ball.
High press with immediate counter-pressing on losing the ball.
Maintaining possession and controlling the game tempo.
Team shape defence
4-3-3
Strong defensive structure with four defenders and a defensive midfielder supporting the backline.
CBs at [2,2] and [2,3] with DLP at [3,3] providing cover.
Team shape attack
4-3-3
Fluid attacking shape with wingers pushing higher and a central forward occupying defenders.
WFD at [6,4] and W at [6,3] support CHF at [6,2].
Key strengths
Strong Central Play
The use of a DLP and MPM allows for quick transitions through the middle.
DLP at [3,3] and MPM at [4,3] combine for effective distribution.
Fluid Attacking Width
Wingers stretch the defence, creating space for the striker.
WFD at [5,4] and W at [5,3] pull defenders wide, allowing CHF at [6,2] space.
Conflicting tactics
Vulnerability to Counterattacks
High defensive line and engagement height can leave space behind for quick counters.
High engagement instructions combined with a higher defensive line.
Over-reliance on Central Play
Midfield dominance may get isolated if opponents exploit the flanks.
Midfield diamond may struggle against wide formations.
Risk exposures
Risk Exposures
Items
Defensive Midfield
With only one DM, central areas could be targeted during counter-attacks.
DLP at [3,3] is critical, but lacks a partner.
Full-Back Zones
IFB could be caught out of position, exposing wide areas.
IFB at [2,1] and IWB at [2,5] may create gaps for wingers.
Role synergies
Role Synergies
Items
DLP & MPM
DLP provides cover while MPM supports both defensively and offensively.
DLP at [3,3] with MPM at [4,3] enhances transition effectiveness.
IFB & IWB
These roles can interchange, providing unexpected attacking angles.
IFB at [2,1] and IWB at [2,5] create overlapping options.
Suggested questions
How can I further improve my defensive stability?
Should I consider changing my formation against specific opponents?
What adjustments can enhance my attacking efficiency?
Related Tactics
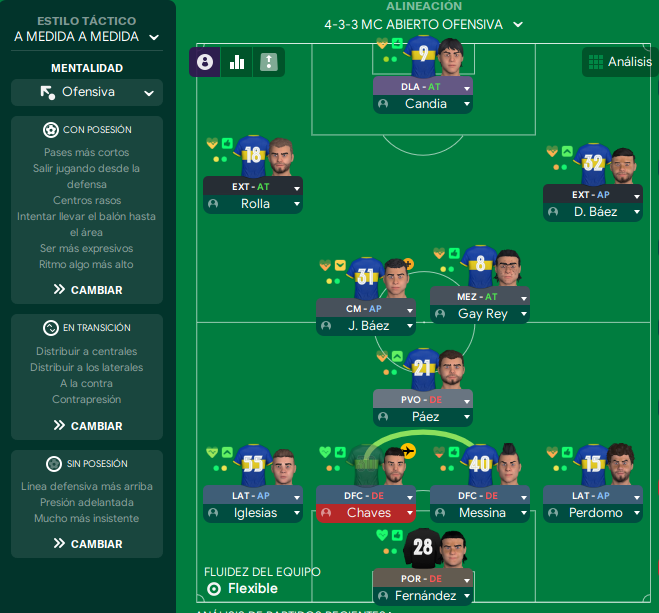
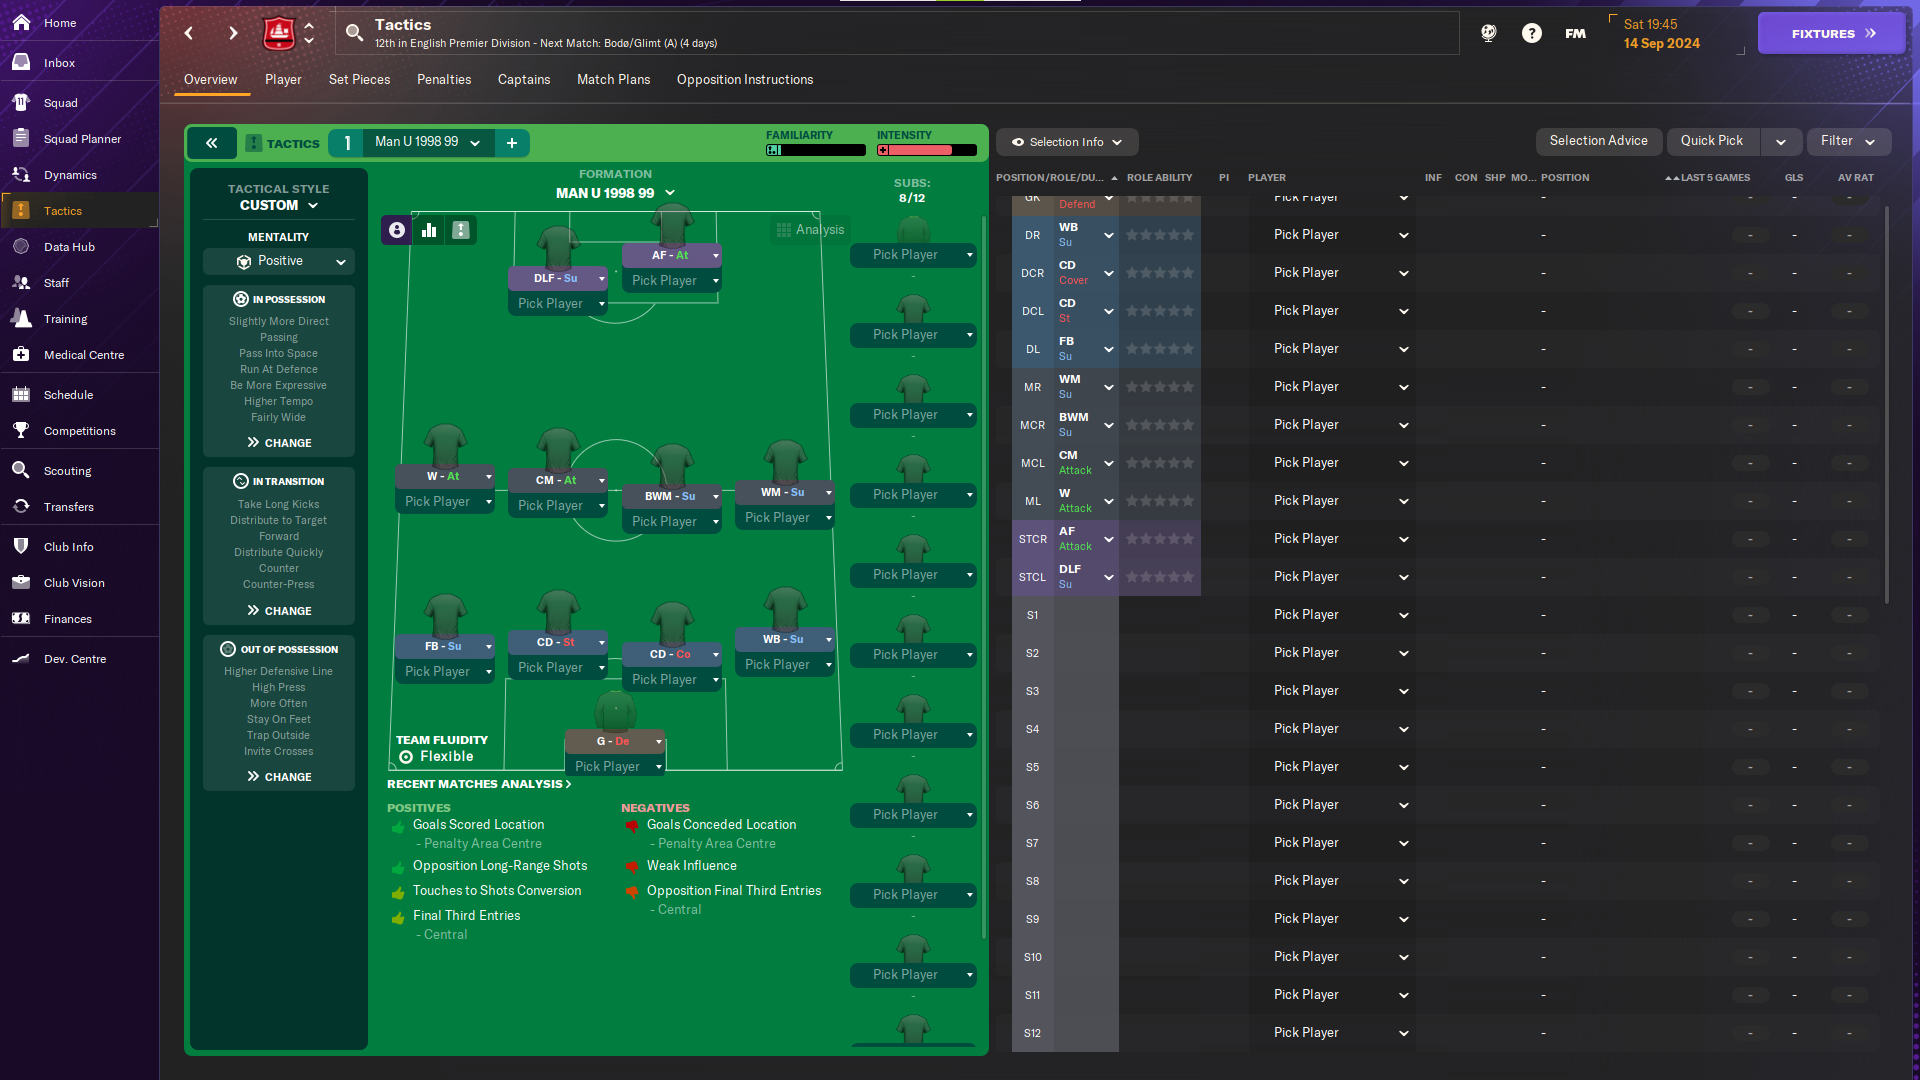
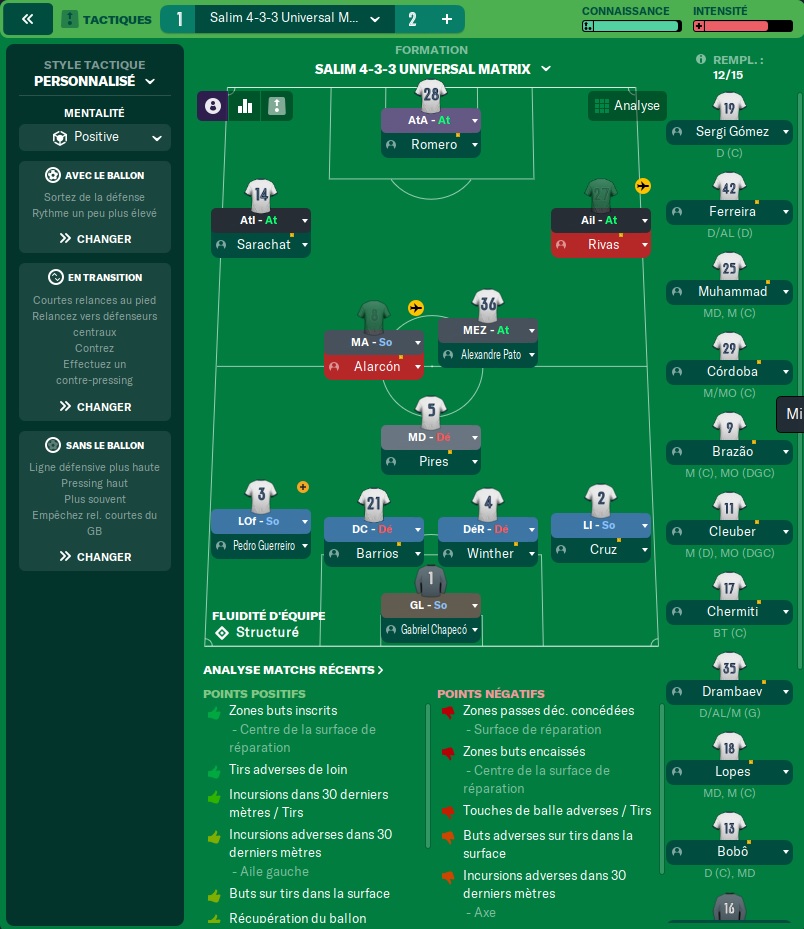
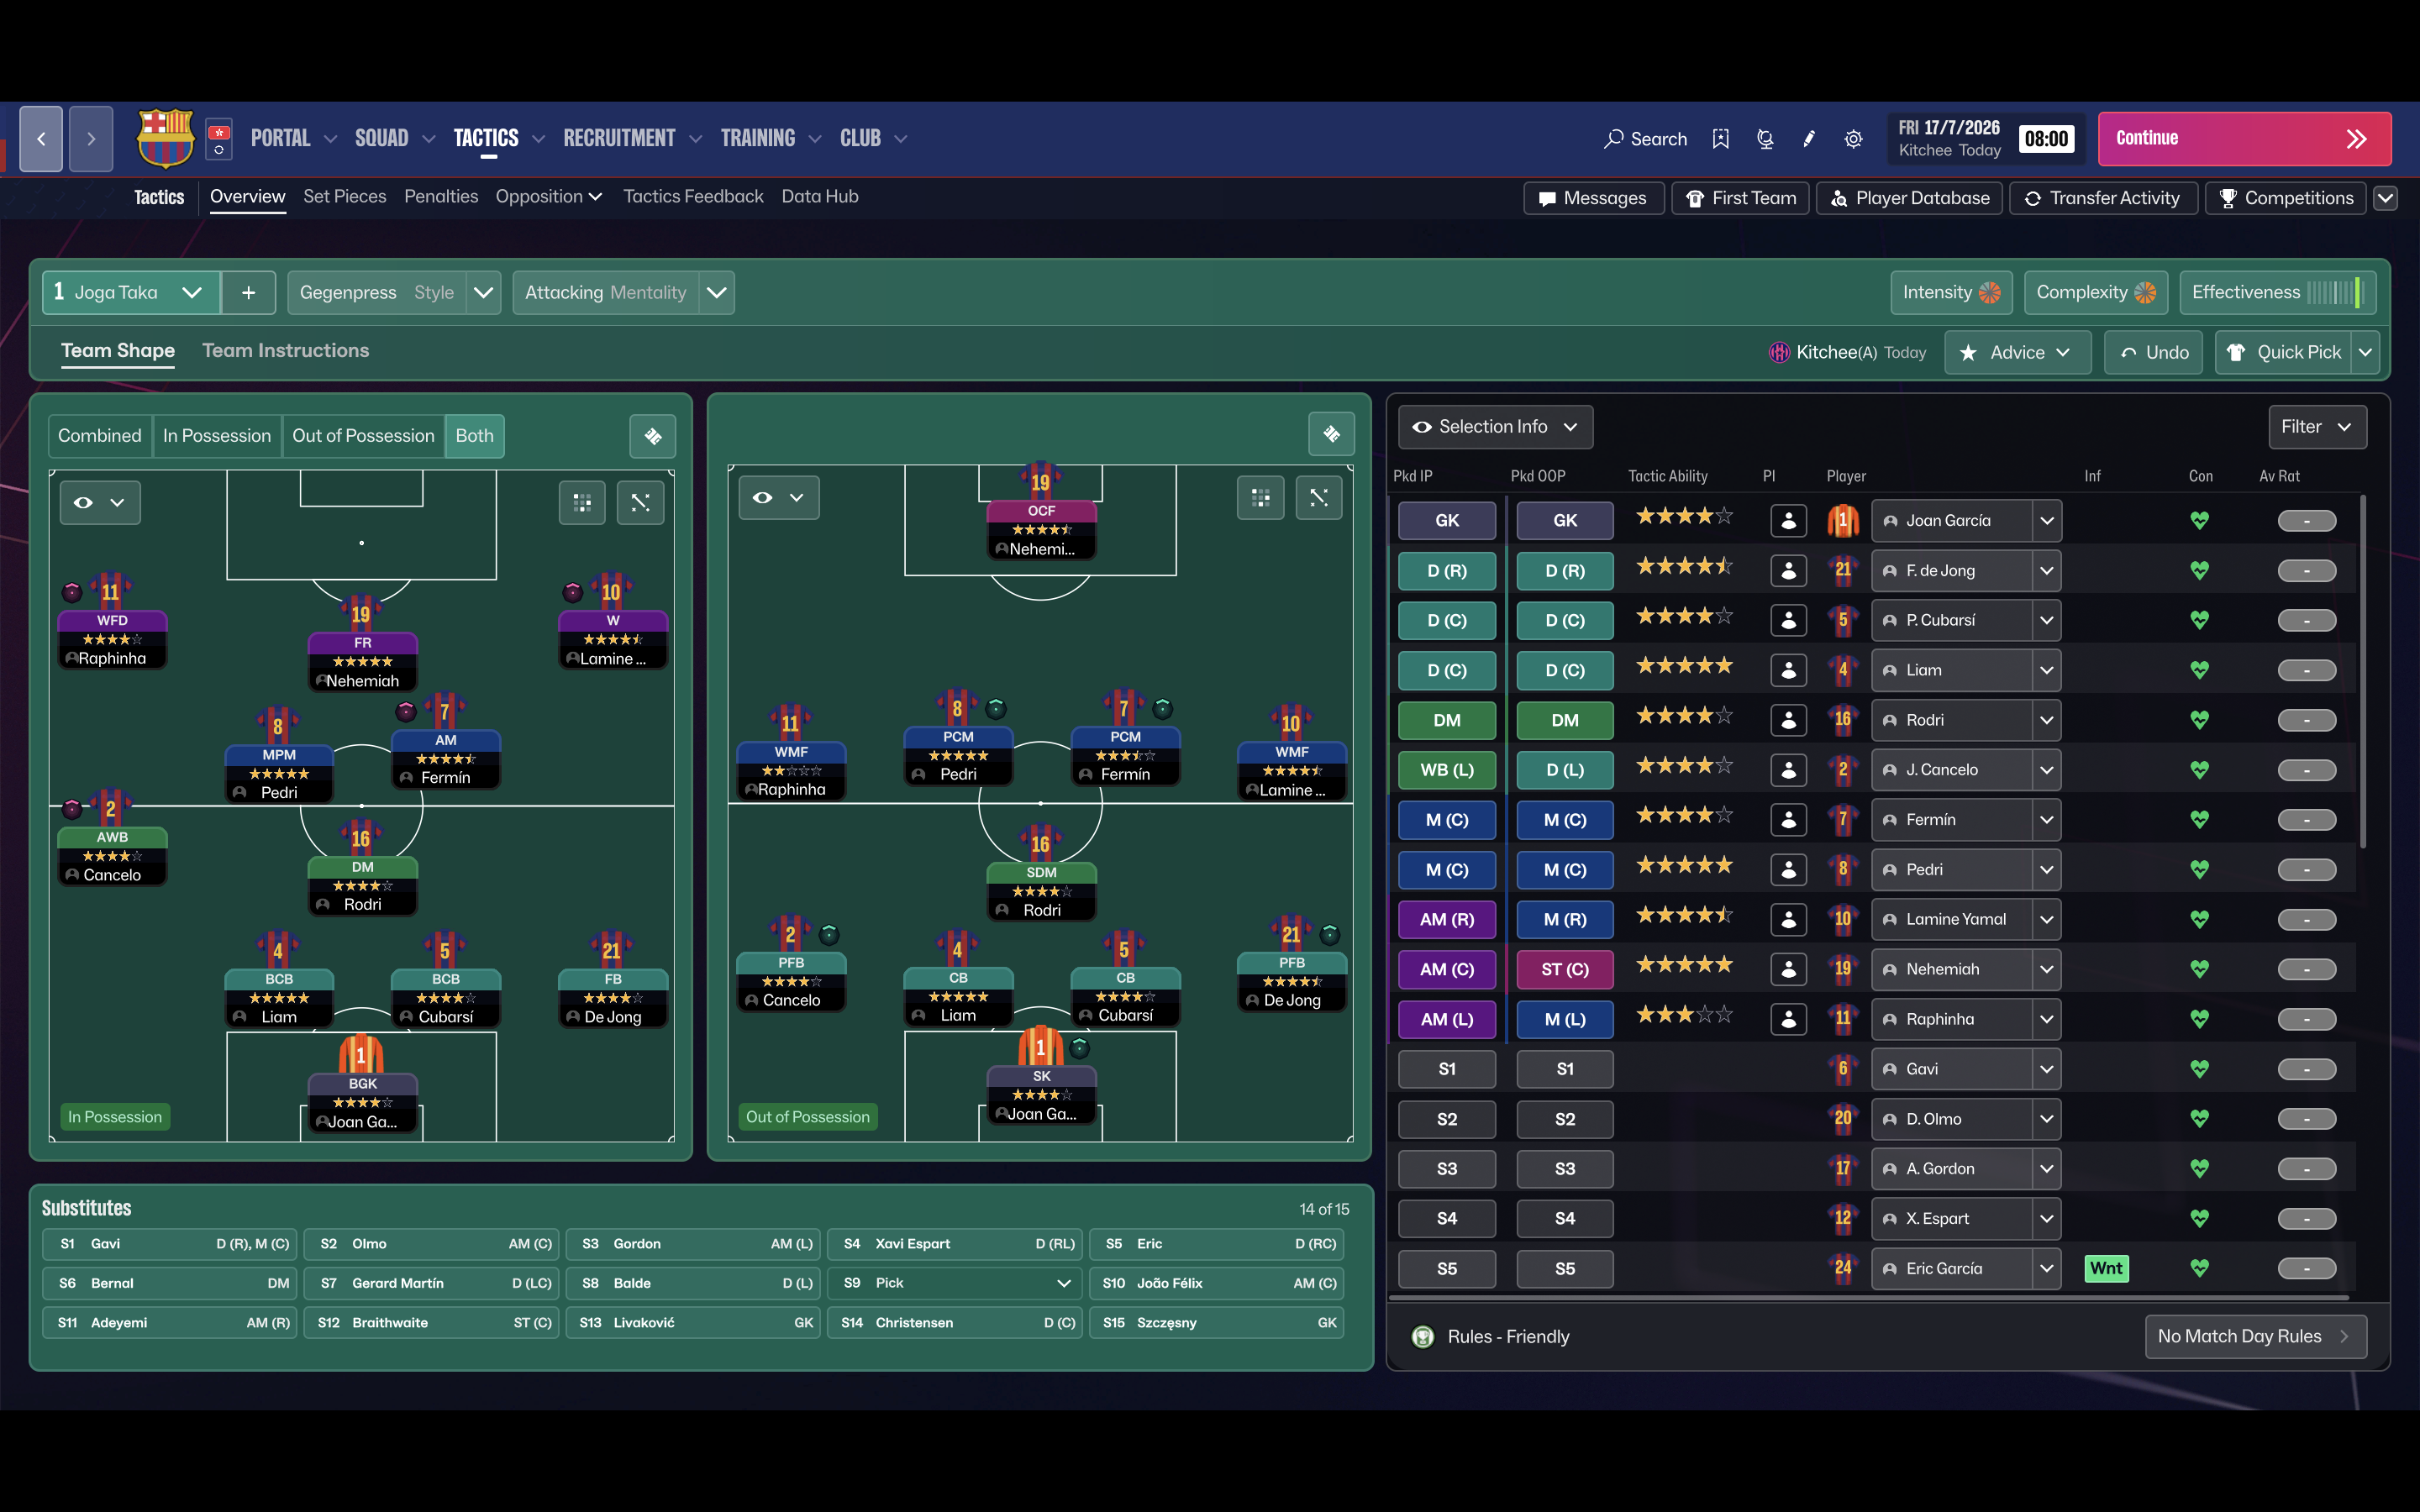
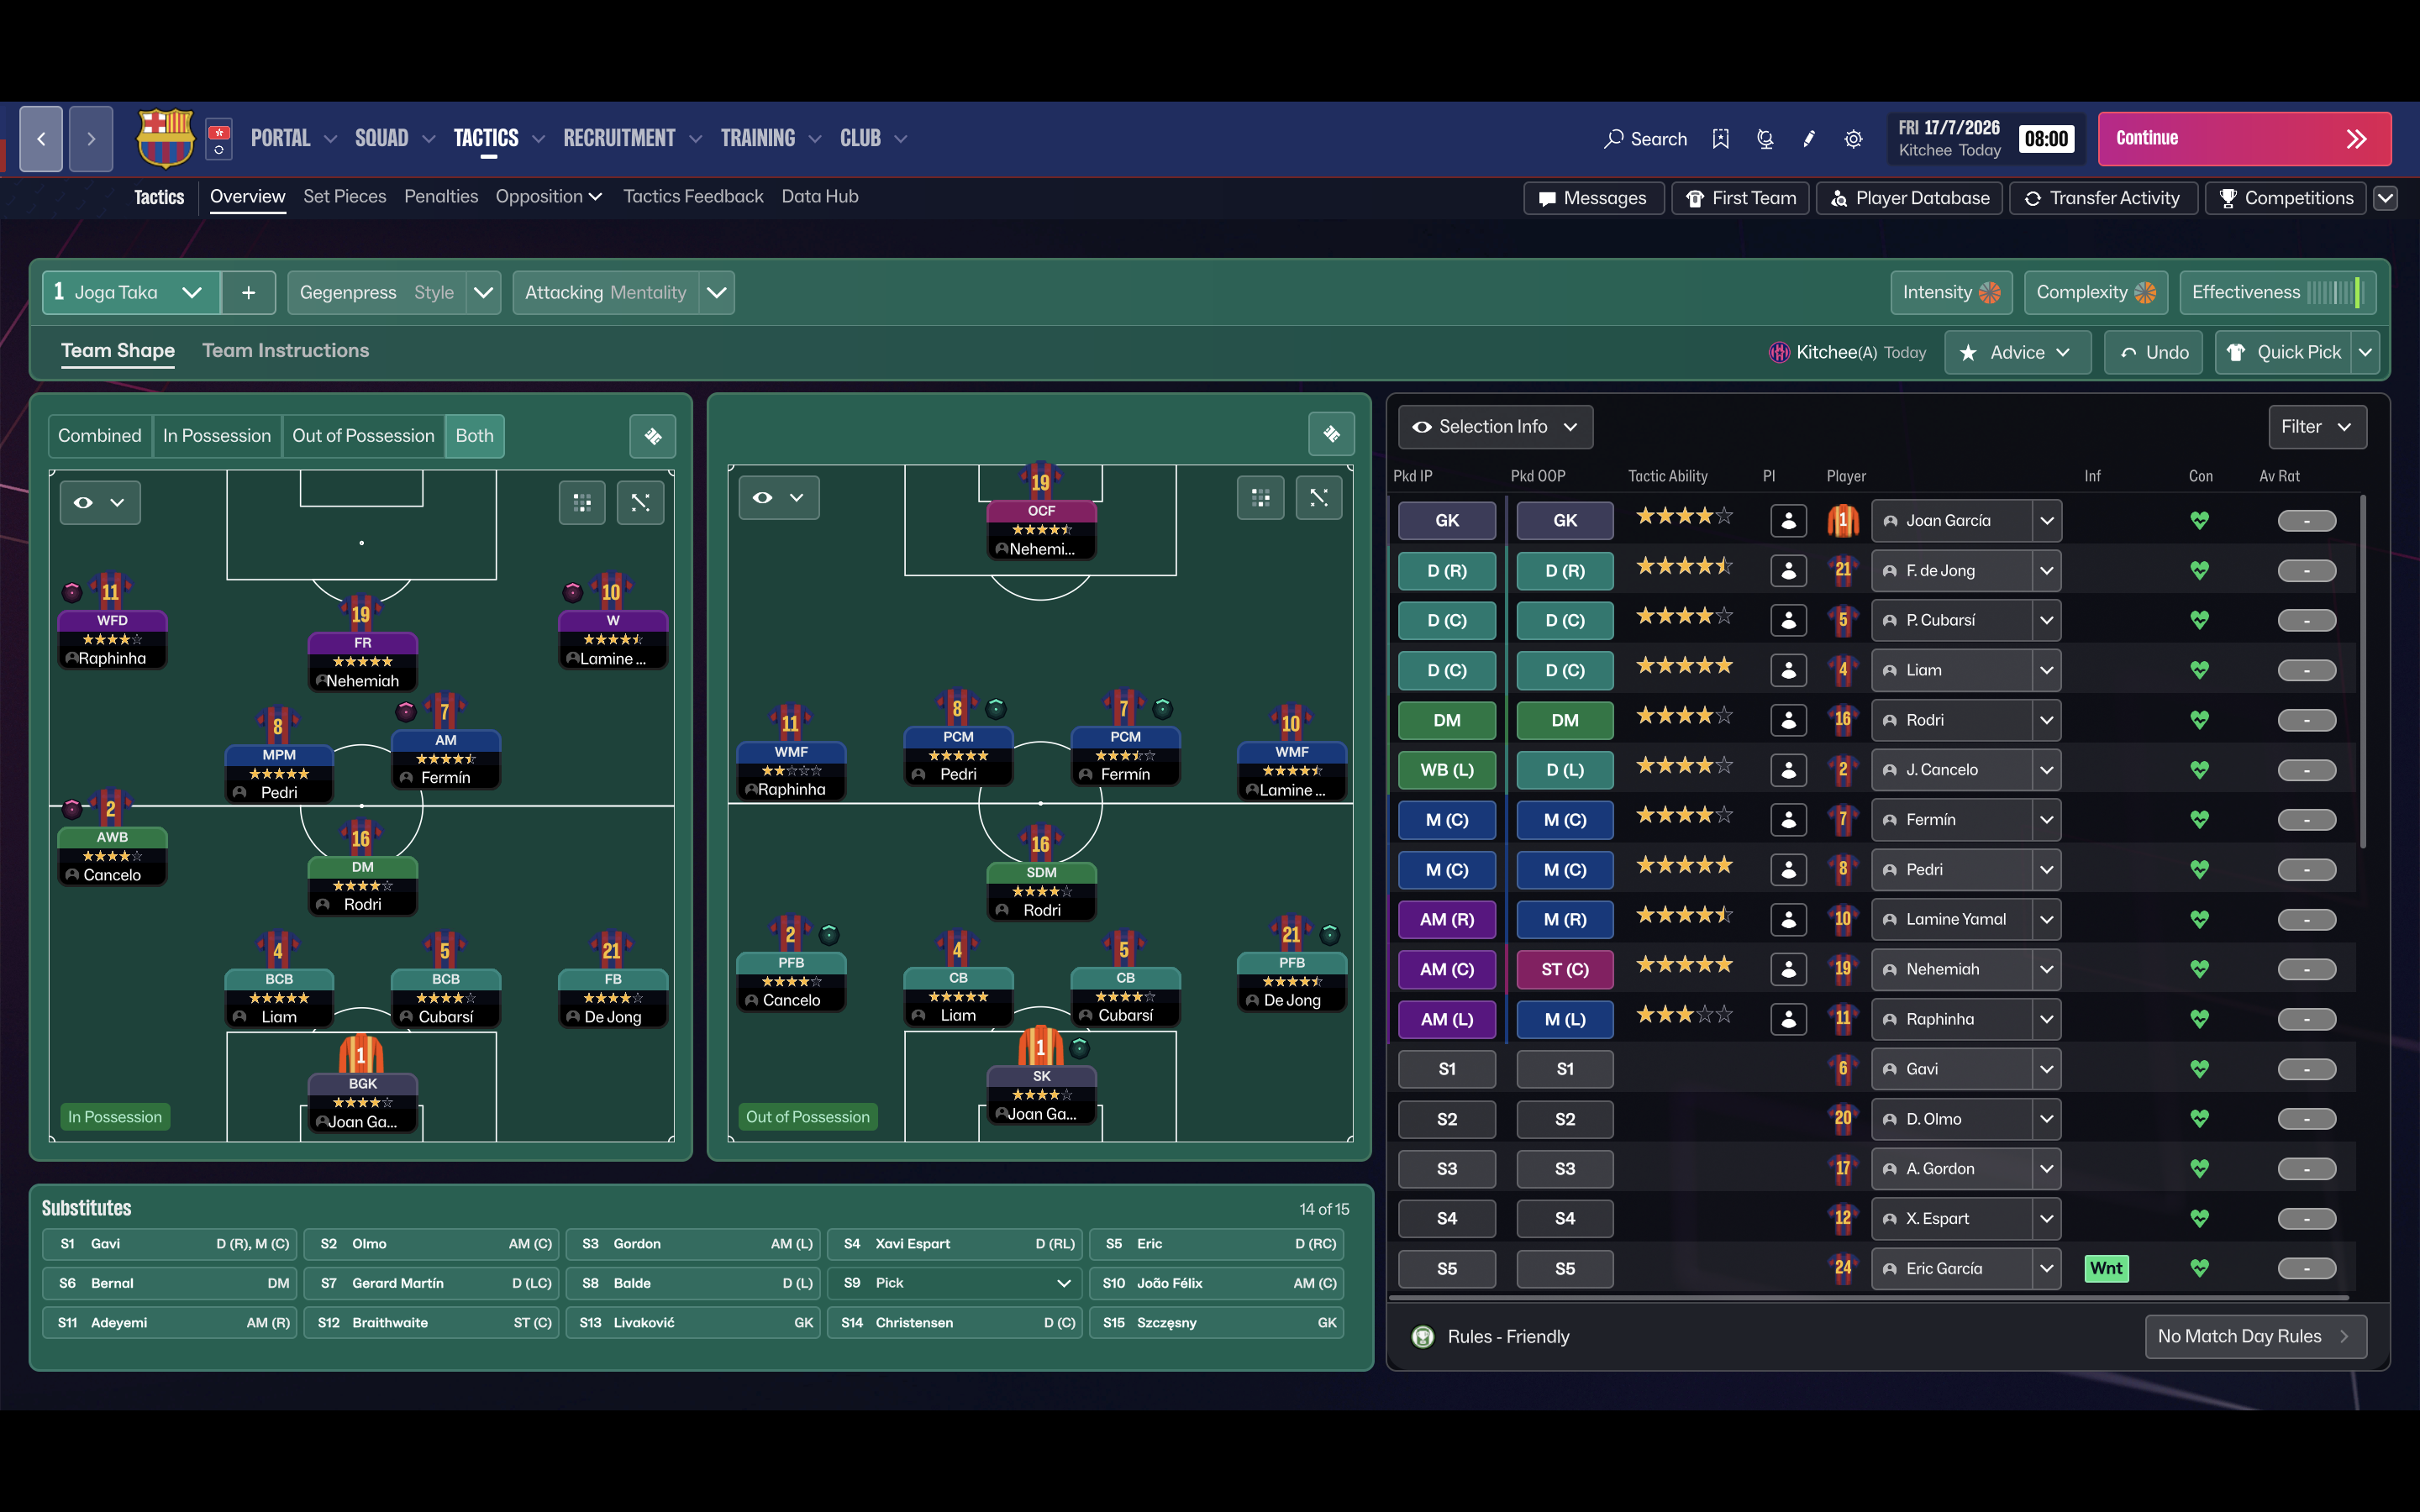
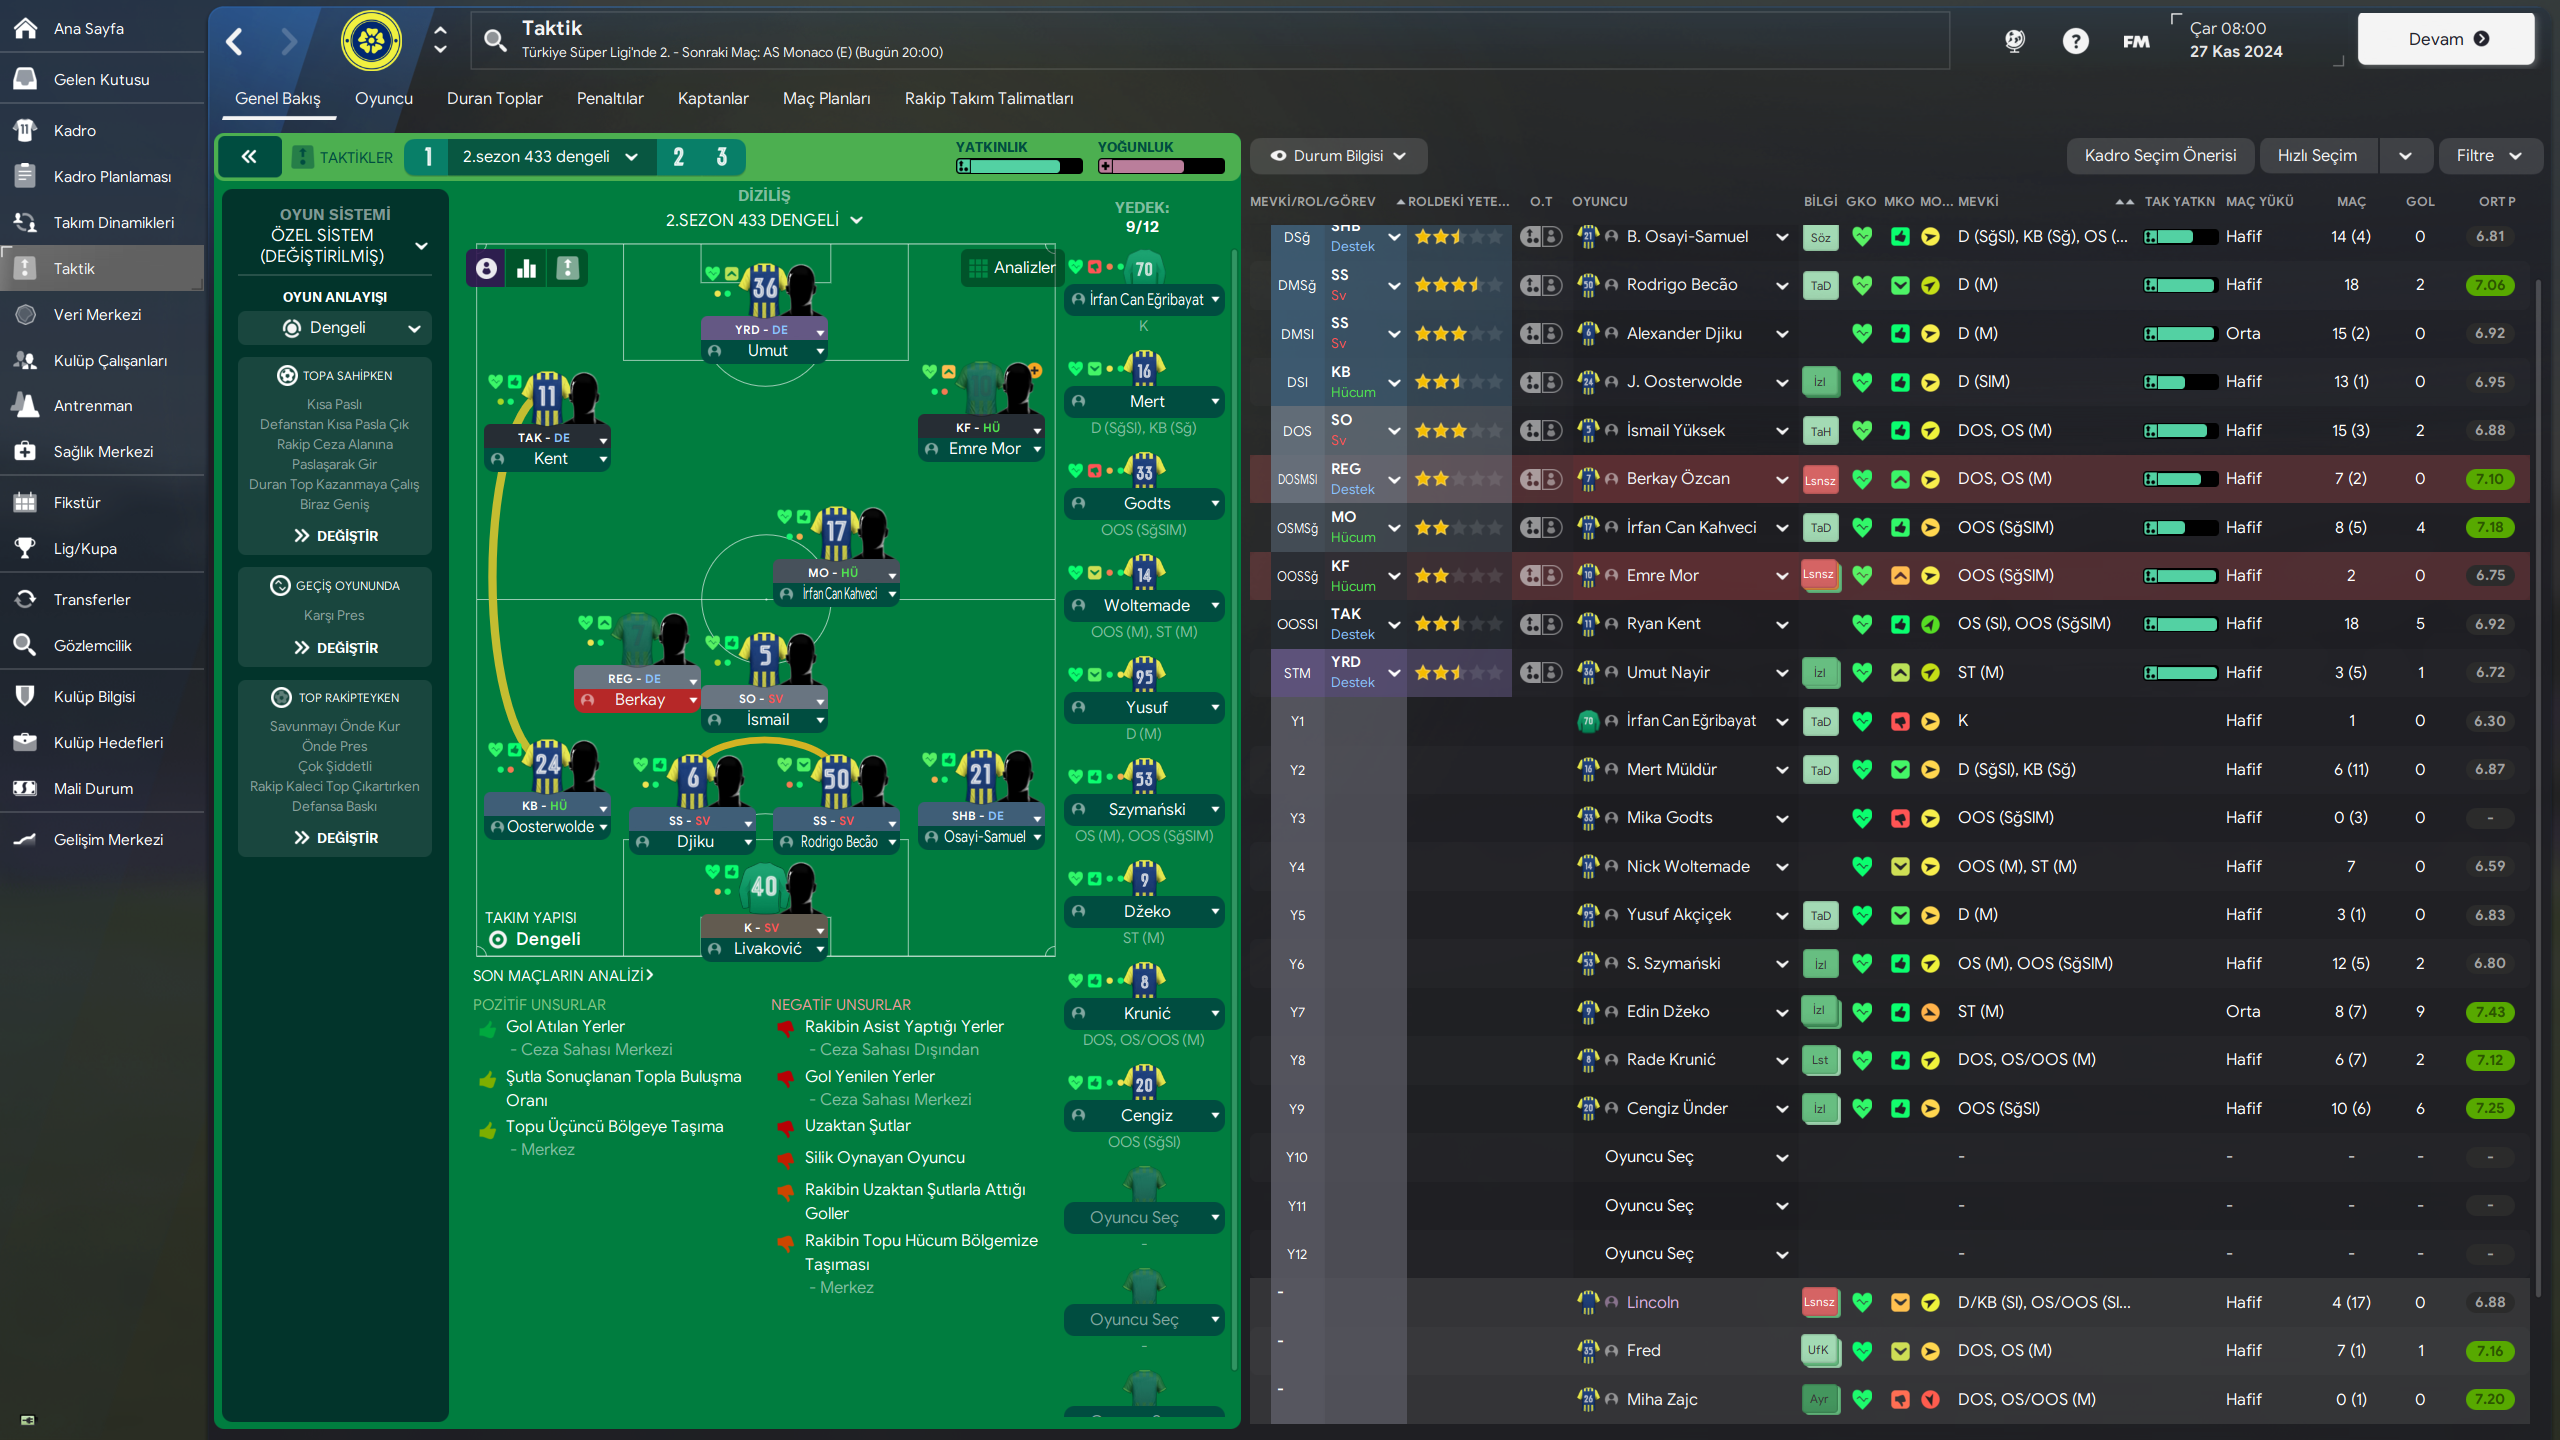
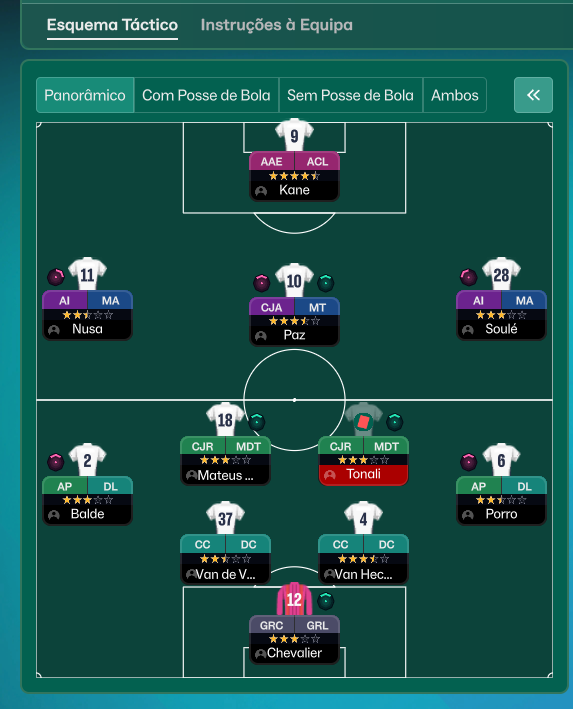
More Possession tactics
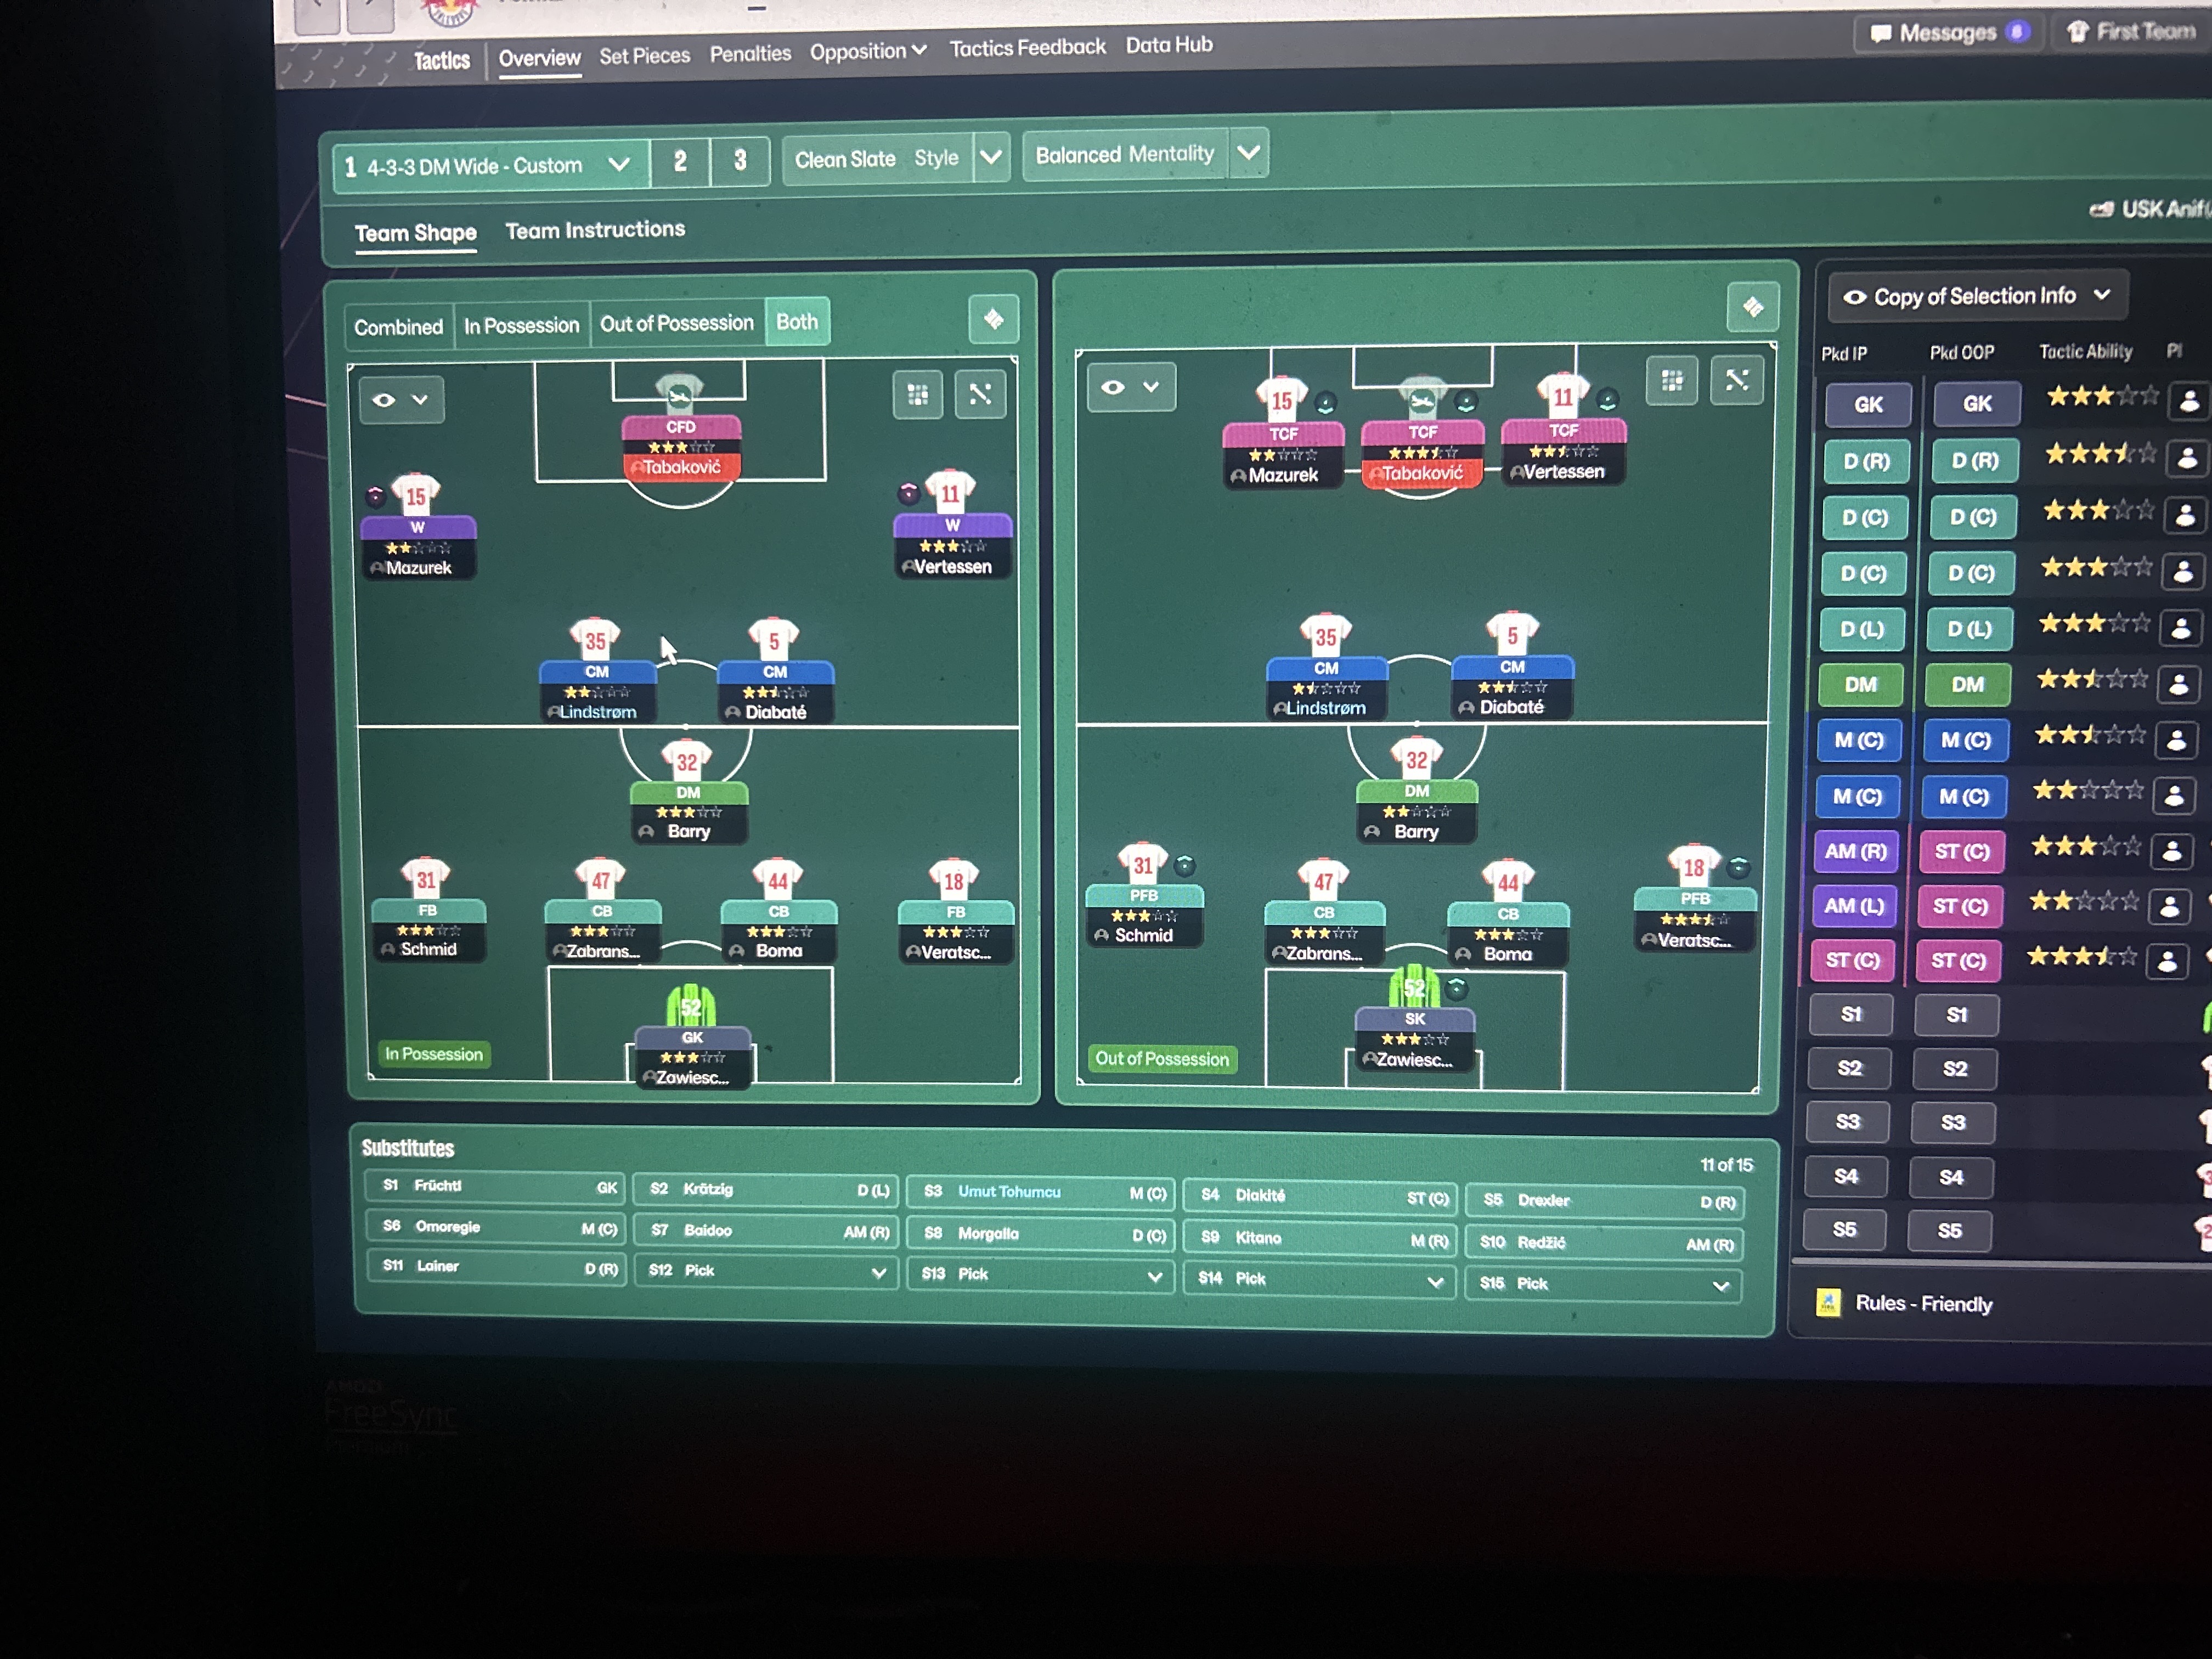
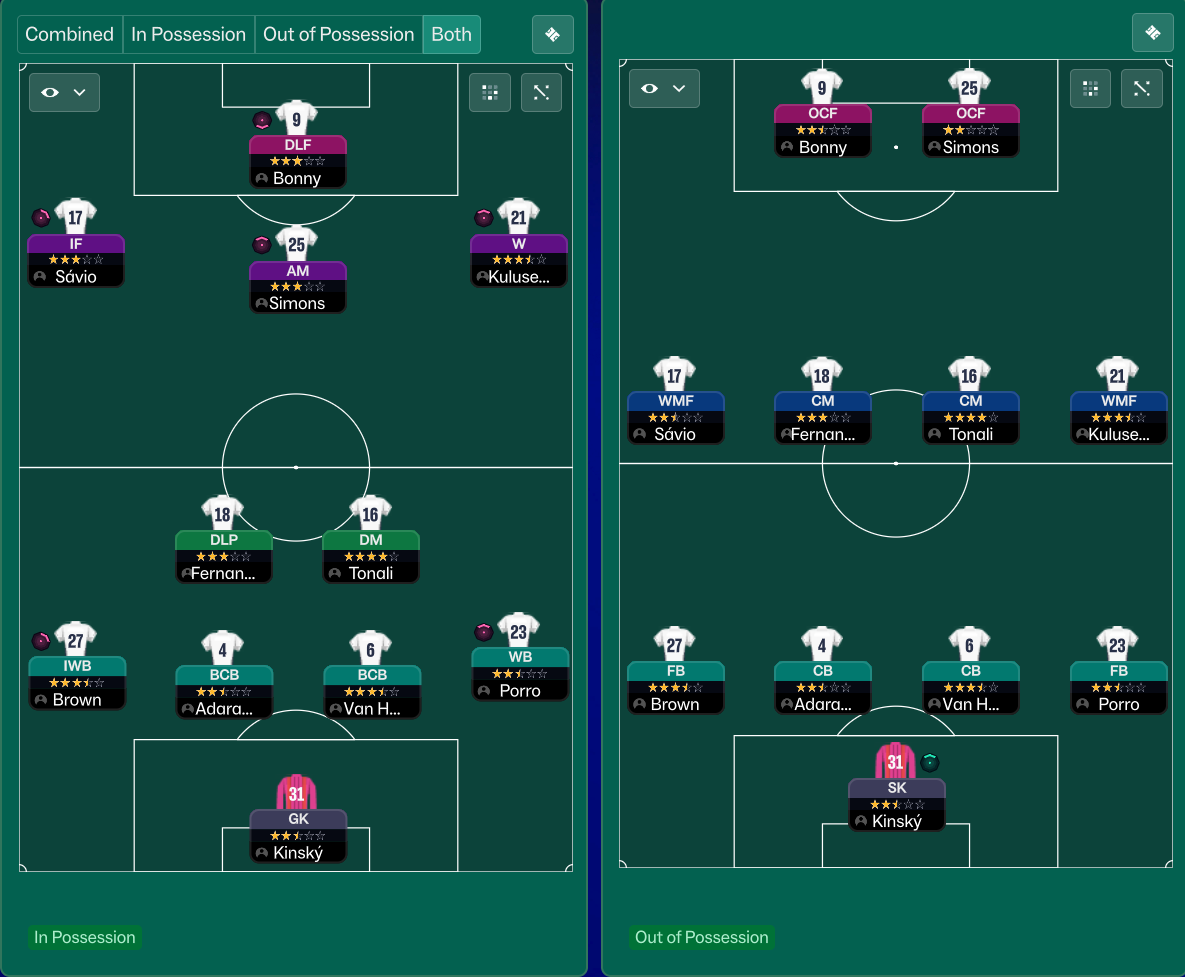
Guides for this tactic
The tactical theory behind the 4-3-3: roles, instructions, and the trade-offs that decide whether the system holds up.
Playing styles
Possession-Based Tactics in Football Manager
Build the patient, control-the-tempo style without watching your opponents counter through the gaps you leave behind.
Read guide
Foundations
Understanding the 4-3-3 Formation
Master the classic 4-3-3: player roles, tactical variations, and the trade-offs that decide whether it sings or stalls.
Read guide
Foundations
Mentality, Duty & Roles
How Mentality, Duty, and Role interact in FM, why duty trumps mentality every time, and the role-on-top-of-duty composition rules.
Read guide