Balanced 4-3-3 (Balanced) Tactic
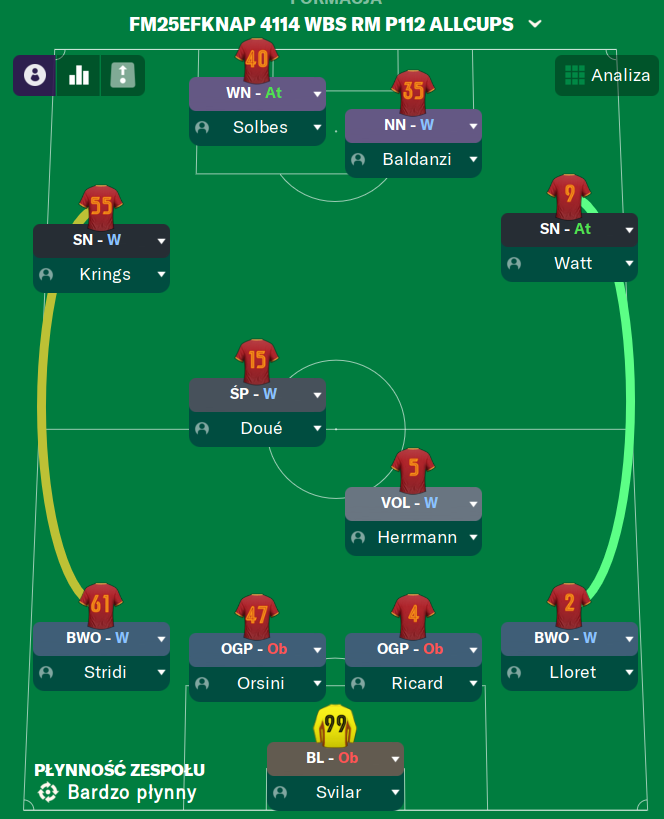
4-3-3
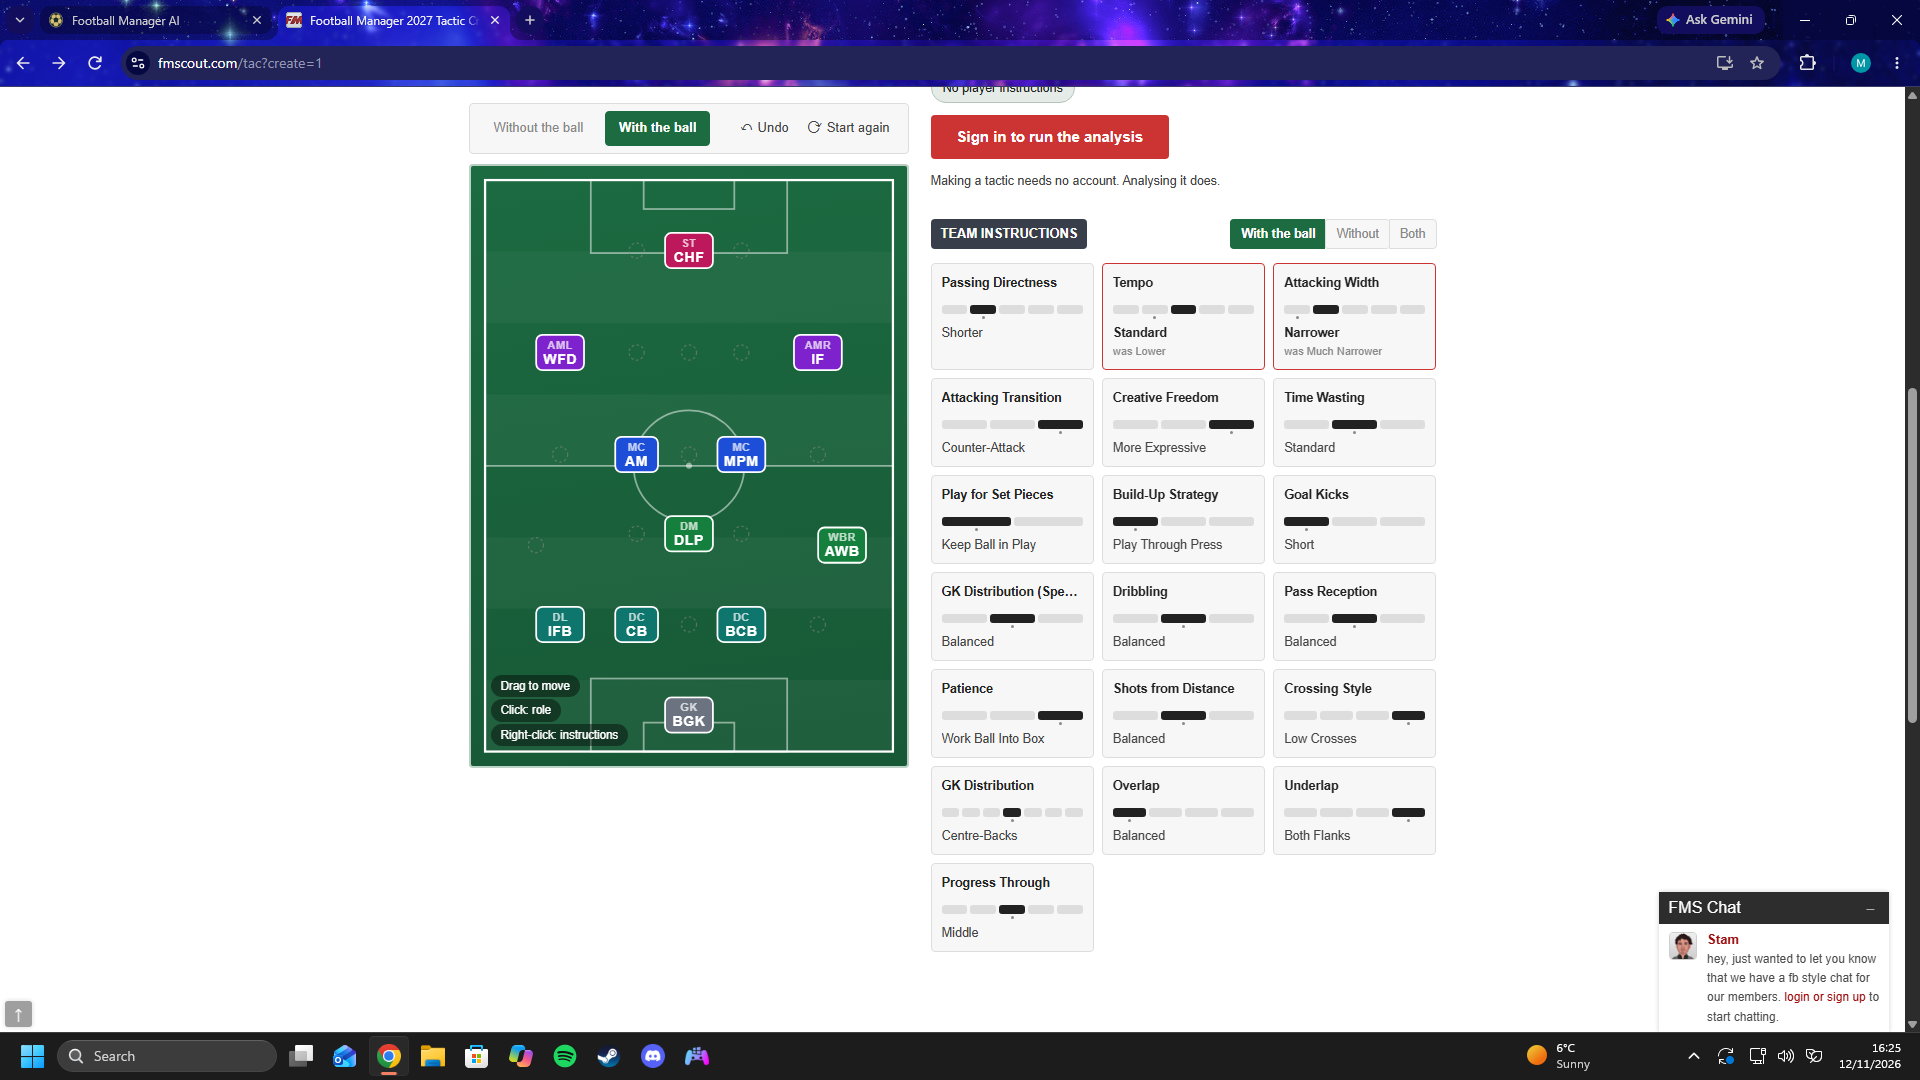
Establishing control in midfield while maintaining width from wing-backs. The Regista provides exceptional distribution and control over the tempo.
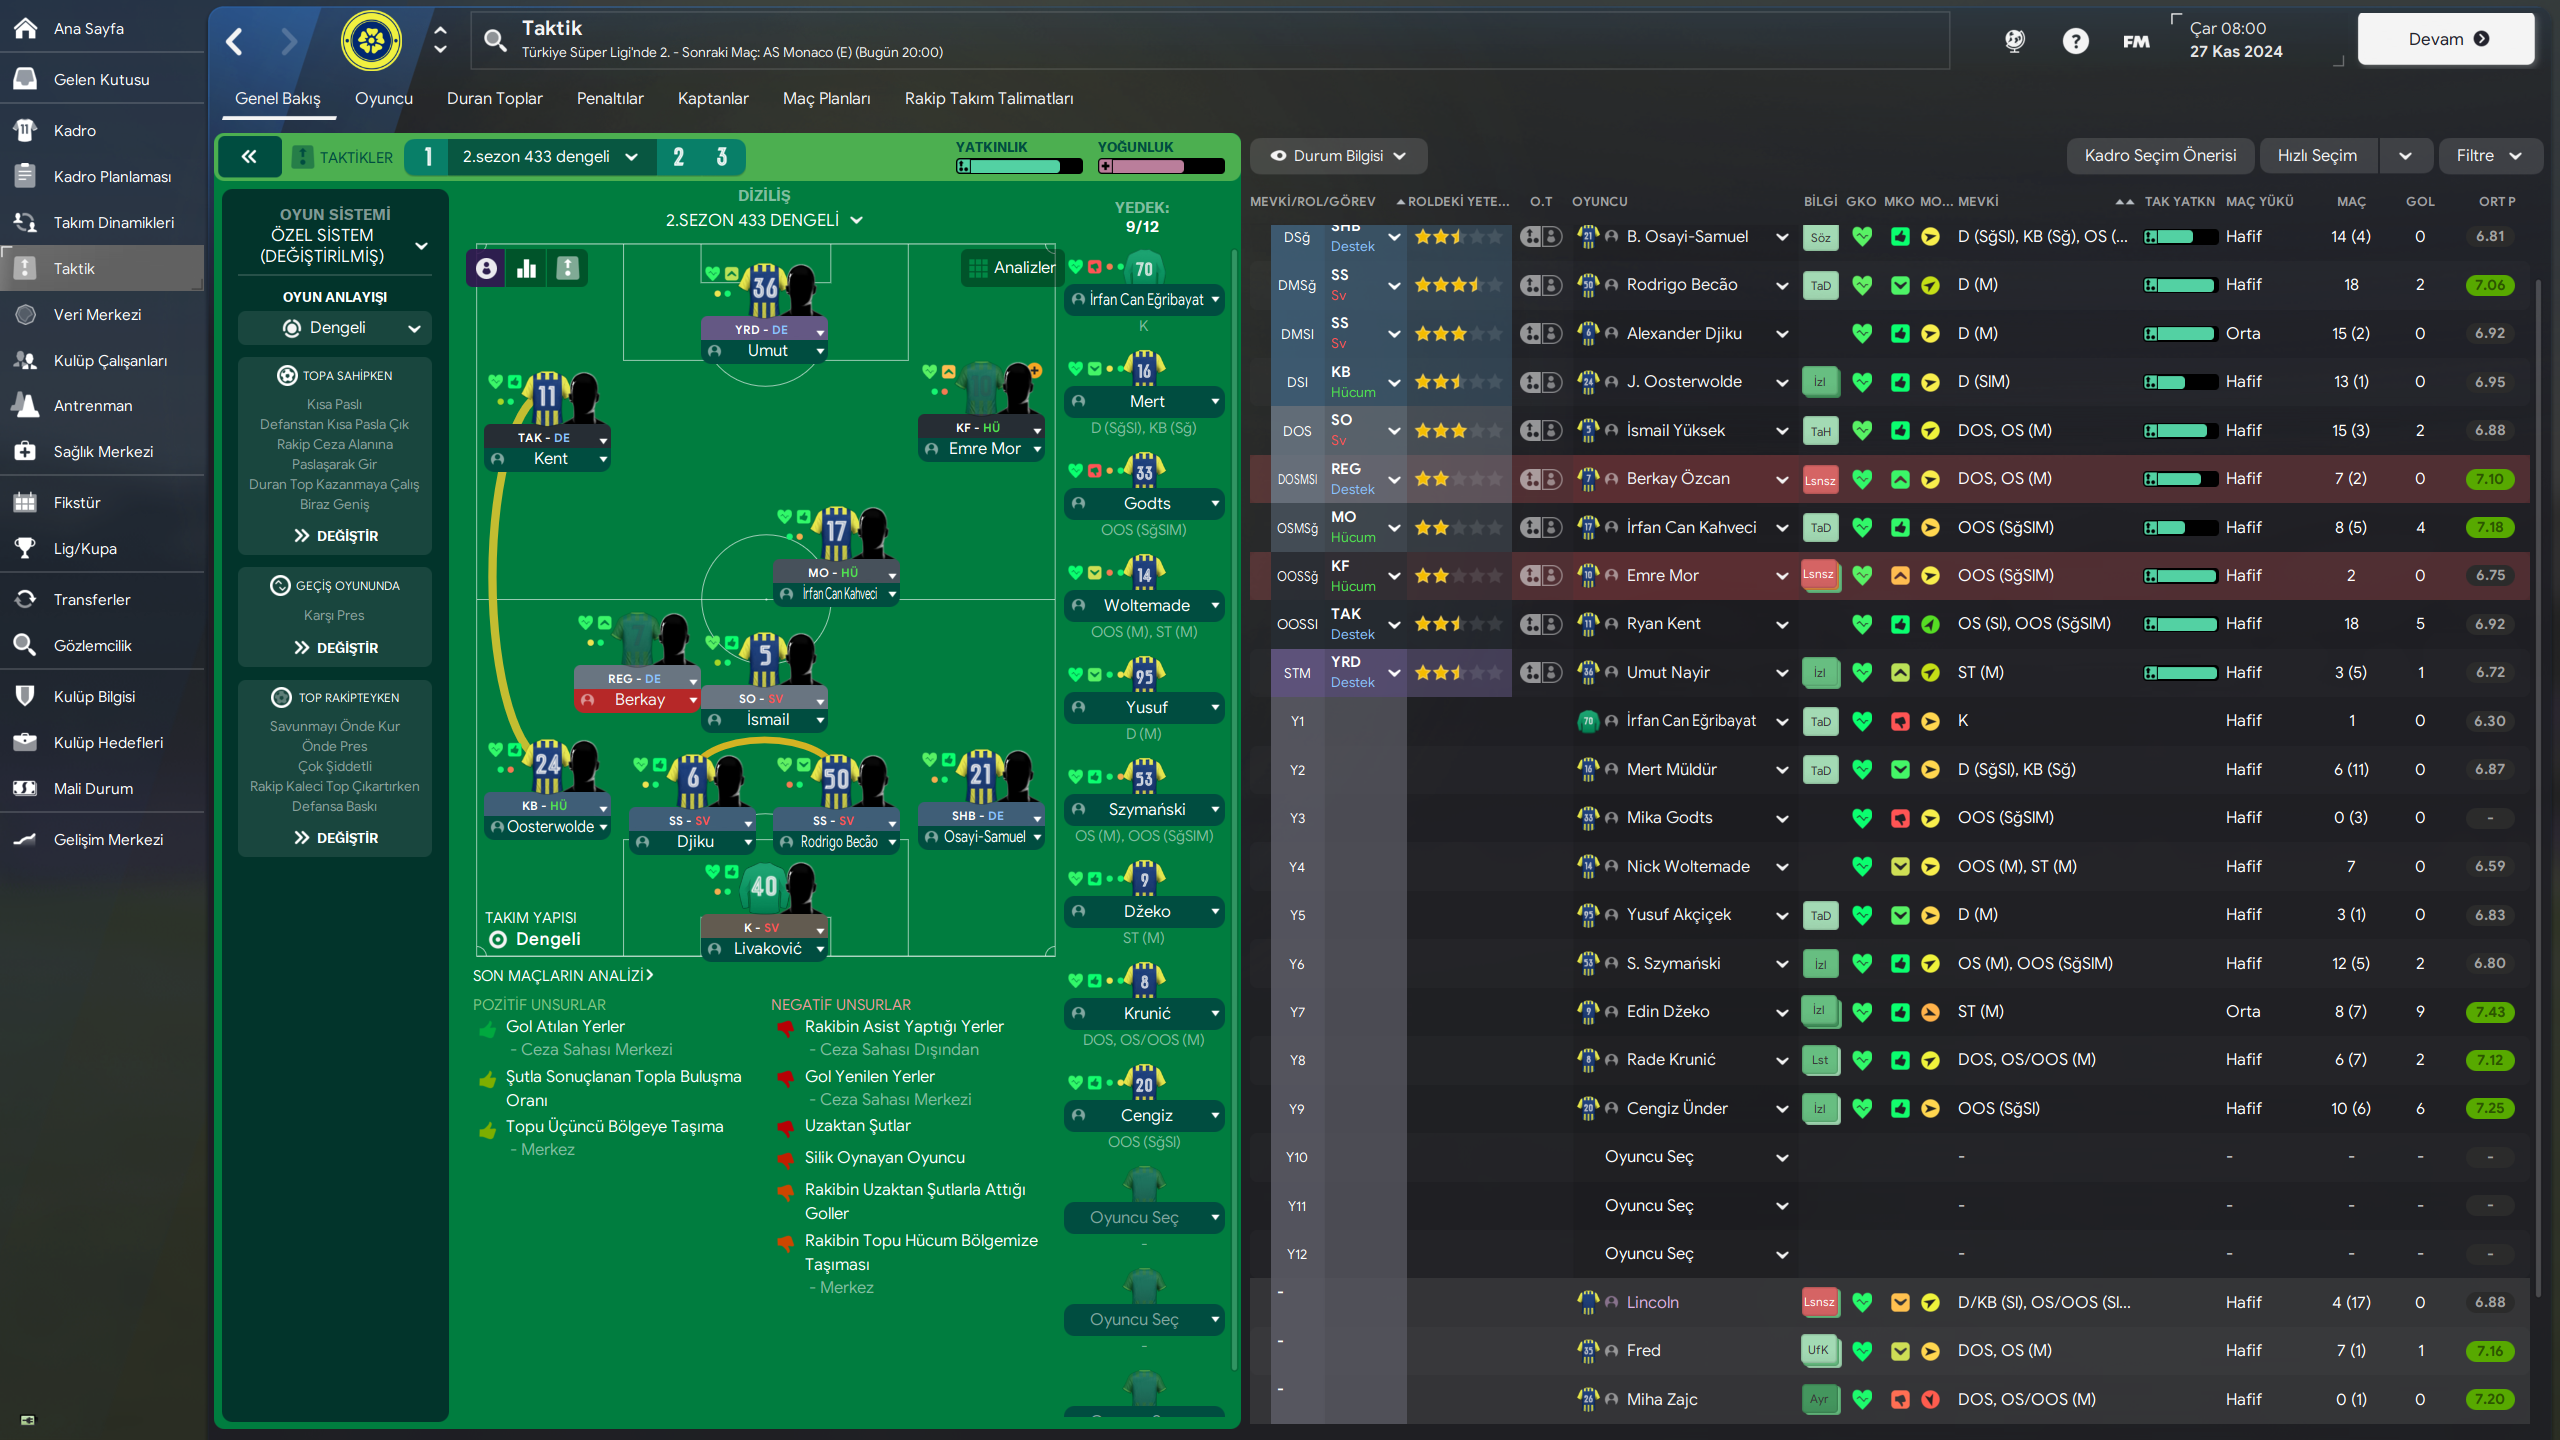
Loading tactical analysis...
Formation and style
Balanced
Balanced
4-3-3
Fluid
In possession
Pass Into Space
Work Ball Into Box
Run At Defence
In transition
Counter Press
Counter
Out of possession
Higher Line of Engagement
Much Higher Defensive Line
Prevent Short GK Distribution
Player roles
GK
Goalkeeper
Defend
DL
Wing-Back
Attack
DC
Ball-Playing Defender
Defend
DC
Centre-Back
Defend
DR
Wing-Back
Attack
DM
Regista
Defend
MC
Box-to-Box Midfielder
Support
MC
Advanced Playmaker
Support
AML
Inside Forward
Attack
AMR
Inside Forward
Attack
ST
Pressing Forward
Attack
Phase description
Focus on quick ball retention and exploiting spaces created by inside forwards.
Committing players to regain possession quickly to launch counter-attacks.
Establishing control in midfield while maintaining width from wing-backs.
Team shape defence
Compact 4-1-4-1
When defending, the team stays compact to limit spaces and force opponents wide.
Wing-Backs at [2,2] and [2,4] support defensive stability.
Team shape attack
Fluid 4-3-3
Attacking shape allows for fluid movement and interchanging positions, especially from inside forwards.
IMs and ST combining with WBs for crosses.
Key strengths
Midfield Control
The Regista provides exceptional distribution and control over the tempo.
Regista at [3,3] influences the play and connects defensive and attacking phases.
Width from Wing-Backs
The attacking wing-backs create width, stretching the opposition's defence.
Wing-Backs at [2,2] and [2,4] are utilized for overlapping runs.
Conflicting tactics
Too High Defensive Line
A high line can be susceptible to counter-attacks, especially with quick forwards.
Much Higher Defensive Line may leave the centre backs exposed.
Over-reliance on Wing Play
The strategy hinges on wing-backs; if they are contained, attacking options may be limited.
Wing-Backs at [2,2] and [2,4] may become isolated.
Risk exposures
Risk Exposures
Items
Defensive Transition
Vulnerable to quick counters due to high engagement levels.
Counter Press may leave gaps if possession is lost.
Central Area Control
Overwhelming the midfield could leave defensive holes.
A Regista may struggle to cover excessive central pressure.
Role synergies
Role Synergies
Items
Box-to-Box Midfielder and Regista
Complement each other with transition play and offensive support.
BBM at [4,3] supports build-up while Regista orchestrates.
Wing-Backs with Inside Forwards
Creates overloads and opens spaces for diagonal runs.
WB at [2,2] overlaps with IF at [5,2] for advanced positions.
Suggested questions
How can I adjust my formation to counter strong opposition wing play?
What additional tactical roles can enhance my midfield's effectiveness?
How do I better utilize my inside forwards in various match scenarios?
Related Tactics
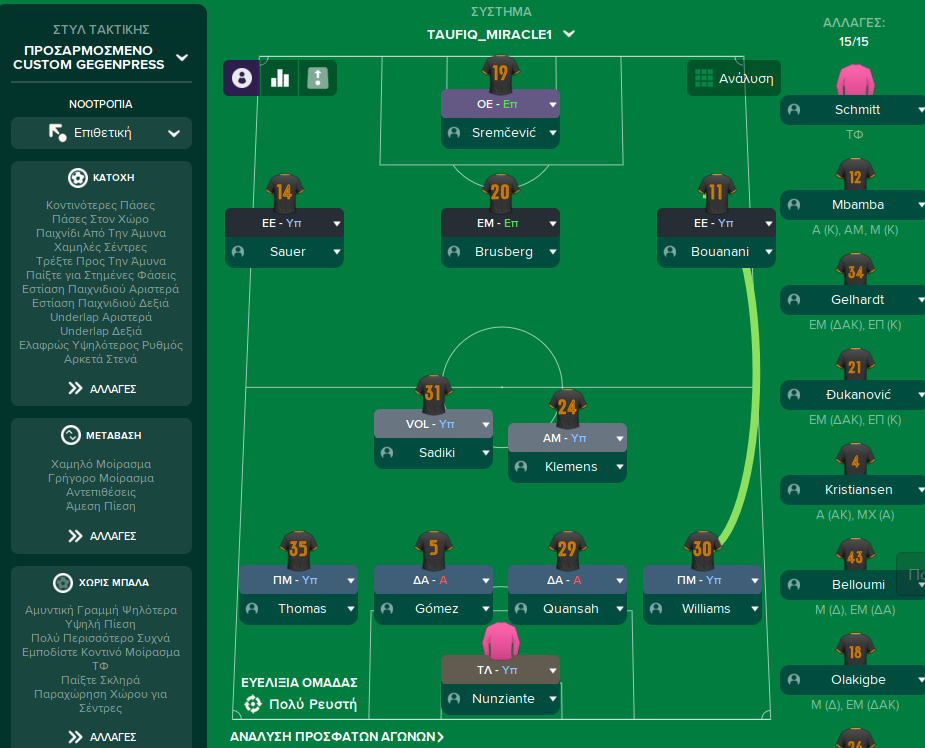
More Balanced tactics
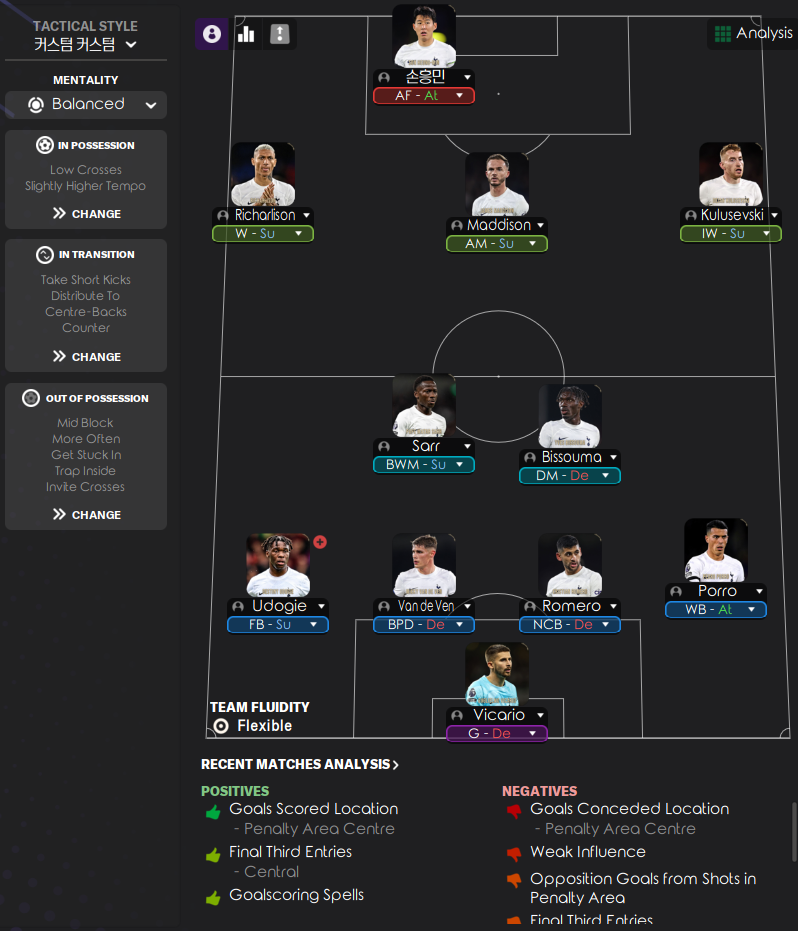
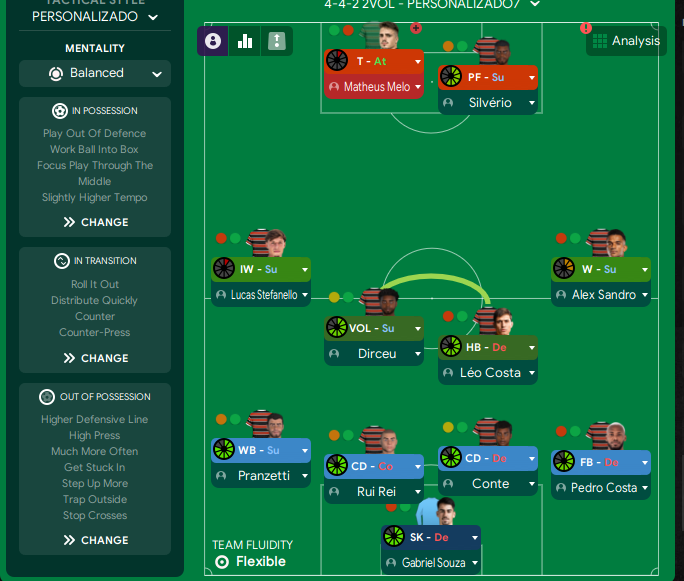
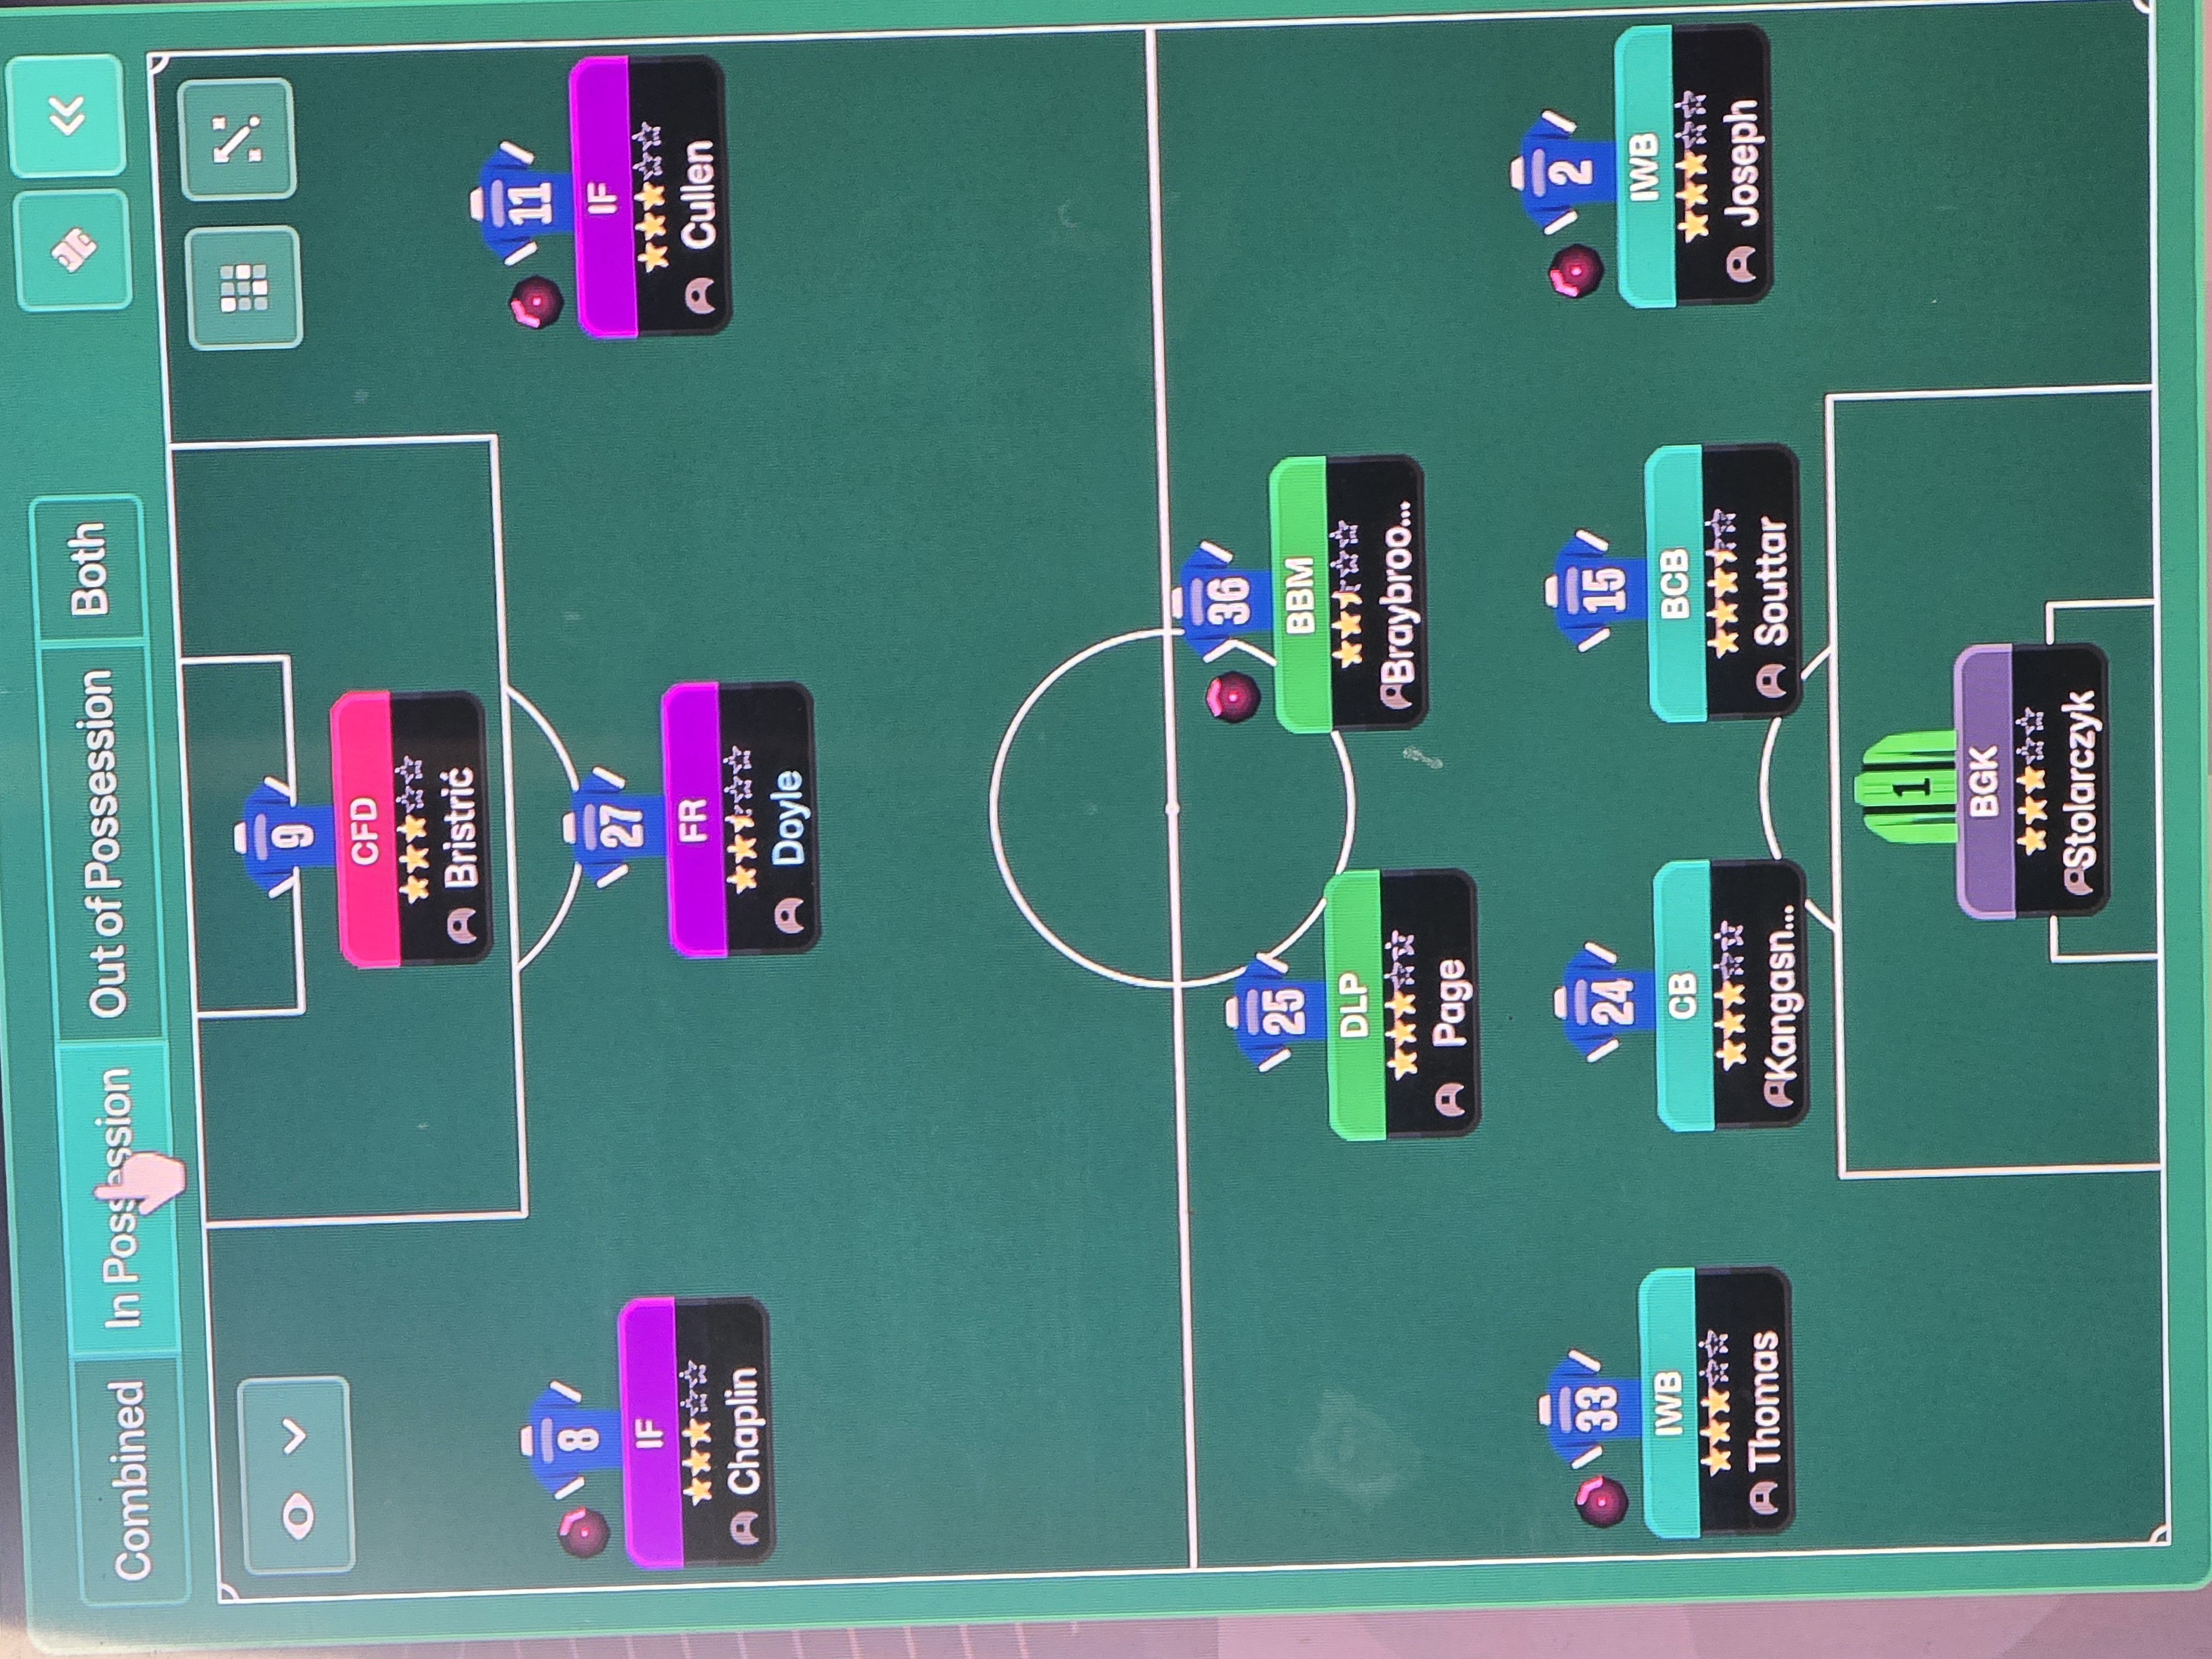
Guides for this tactic
The tactical theory behind the 4-3-3: roles, instructions, and the trade-offs that decide whether the system holds up.
Playing styles
Gegenpressing: A Full Guide
Klopp-style gegenpressing in FM, including squad profile, line-and-press pairing, sustainable workload, and the antipatterns to avoid.
Read guide
Playing styles
Tiki-Taka vs Positional Play
Why circulation density and zonal occupation aren't the same thing in FM, and the half-space occupation rule that decides build-up.
Read guide
Foundations
Defensive Transitions
The five seconds after losing the ball decide most matches. Counter-press, drop-and-recover, and how to know which one you should be doing.
Read guide