Gegenpress 4-3-3 (Attacking) Tactic
4-3-3
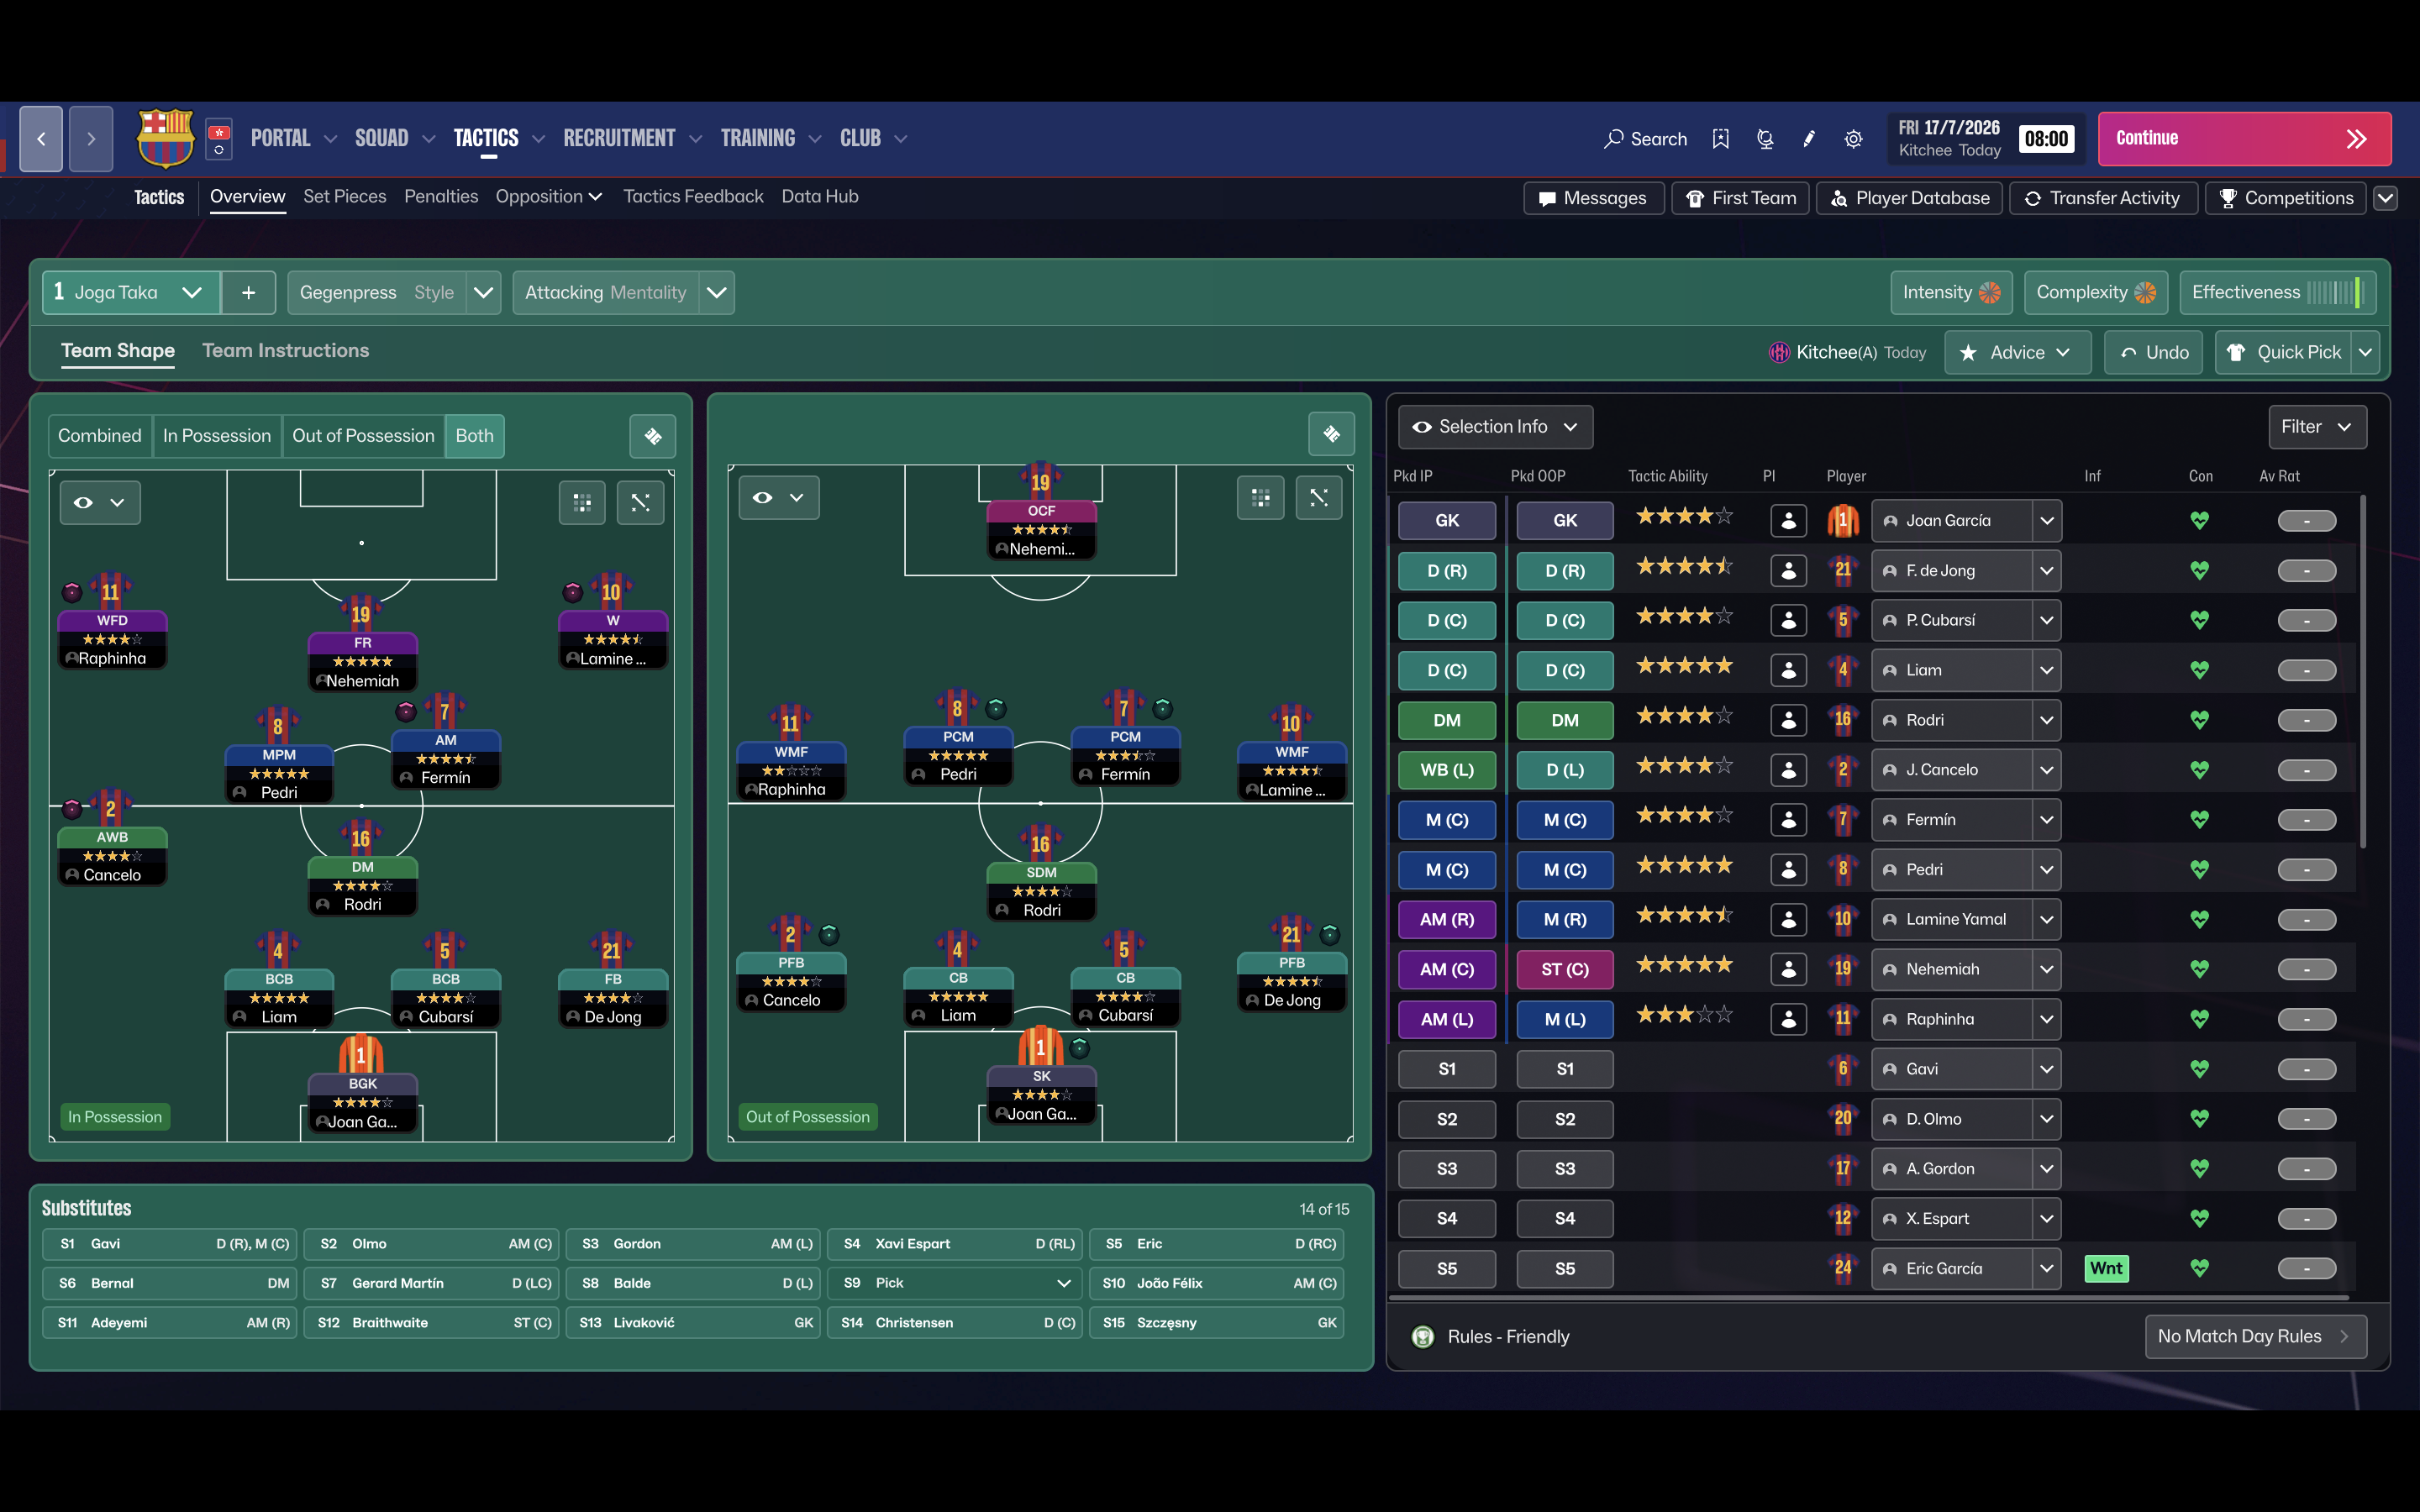
Maintaining high intensity and fluid movement to break opposition lines. Three midfielders with a blend of support and attacking roles maintain possession…
Loading tactical analysis...
Formation and style
Gegenpress
Attacking
4-3-3
Fluid
In possession
Play Out of Defence
Work Ball into Box
Be More Expressive
In transition
Counter-Press
Counter
Out of possession
Higher Line of Engagement
Higher Defensive Line
Use Offside Trap
Much More Urgent
Player roles
GK
Sweeper Keeper
Support
CB
Ball-Playing Defender
Defend
CB
Ball-Playing Defender
Defend
RB
Wing-Back
Attack
LB
Wing-Back
Attack
DM
Deep-Lying Playmaker
Support
CM
Central Midfielder
Support
CM
Advanced Playmaker
Attack
RW
Winger
Attack
LW
Winger
Attack
ST
Complete Forward
Attack
Phase description
Utilizes width through wingers with overlapping wing-backs to create space in the final third.
Quickly regains possession via high pressing and counter-press after losing the ball.
Maintaining high intensity and fluid movement to break opposition lines.
Team shape defence
4-3-3
Compact formation to limit space and force the opposition wide.
Higher Defensive Line and Use Offside Trap with BPDs at [2,2] and [2,4].
Team shape attack
4-3-3
Focus on wide attacking play with overlapping full-backs.
RW and LW roles at [5,1] and [5,5] pushing to stretch the defence.
Key strengths
Dynamic Midfield
Three midfielders with a blend of support and attacking roles maintain possession and creativity.
DLP-S at [3,3], CM-S at [4,2], and AP-A at [4,4] create passing options.
Width in Attack
Wingers stretch the defence, allowing central players to exploit space.
Wingers at [5,1] and [5,5] supported by WB-A at [2,1] and [2,5].
Conflicting tactics
Vertical Play vs. Ball Retention
Focus on attacking quickly may hinder ball control in midfield.
The presence of AP-A and CM-S creates tension between quick plays and possession.
High Defensive Line Issues
Overcommitting with a high line could expose defenders to pacey counter-attacks.
Use Offside Trap with a Higher Defensive Line.
Risk exposures
Risk Exposures
Items
Defensive Line
High line may concede space behind for pacey attackers.
Use Offside Trap with Higher Defensive Line highlighted.
Midfield Transition
Transitioning into defense leaves gaps if possession is lost.
DLP-S at [3,3] needs protection when countered.
Role synergies
Role Synergies
Items
DLP-S and CM-S
Good partnership to retain possession and distribute effectively.
DLP-S at [3,3] and CM-S at [4,2] work in tandem.
Wing Backs and Wingers
Overlap creates confusion and stretches opposition defence.
WB-A at [2,1] with Winger at [5,1] maximizes width.
Suggested questions
How can I improve my midfield's defensive stability?
What adjustments can I make to better handle quick counter-attacks?
Are there ways to increase goal-scoring opportunities from wide areas?
Related Tactics
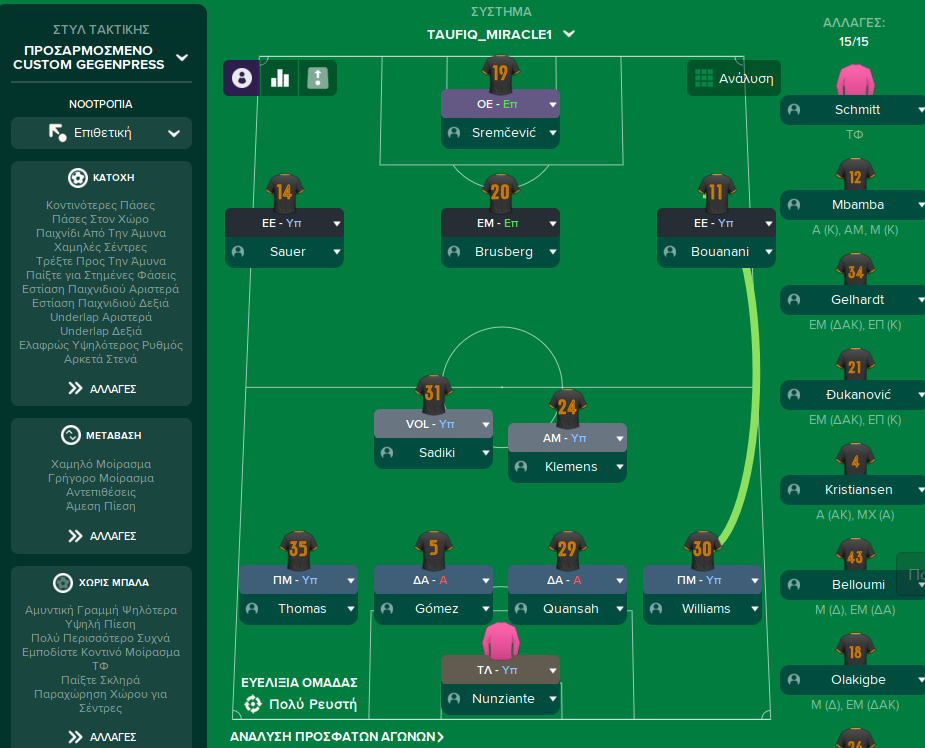
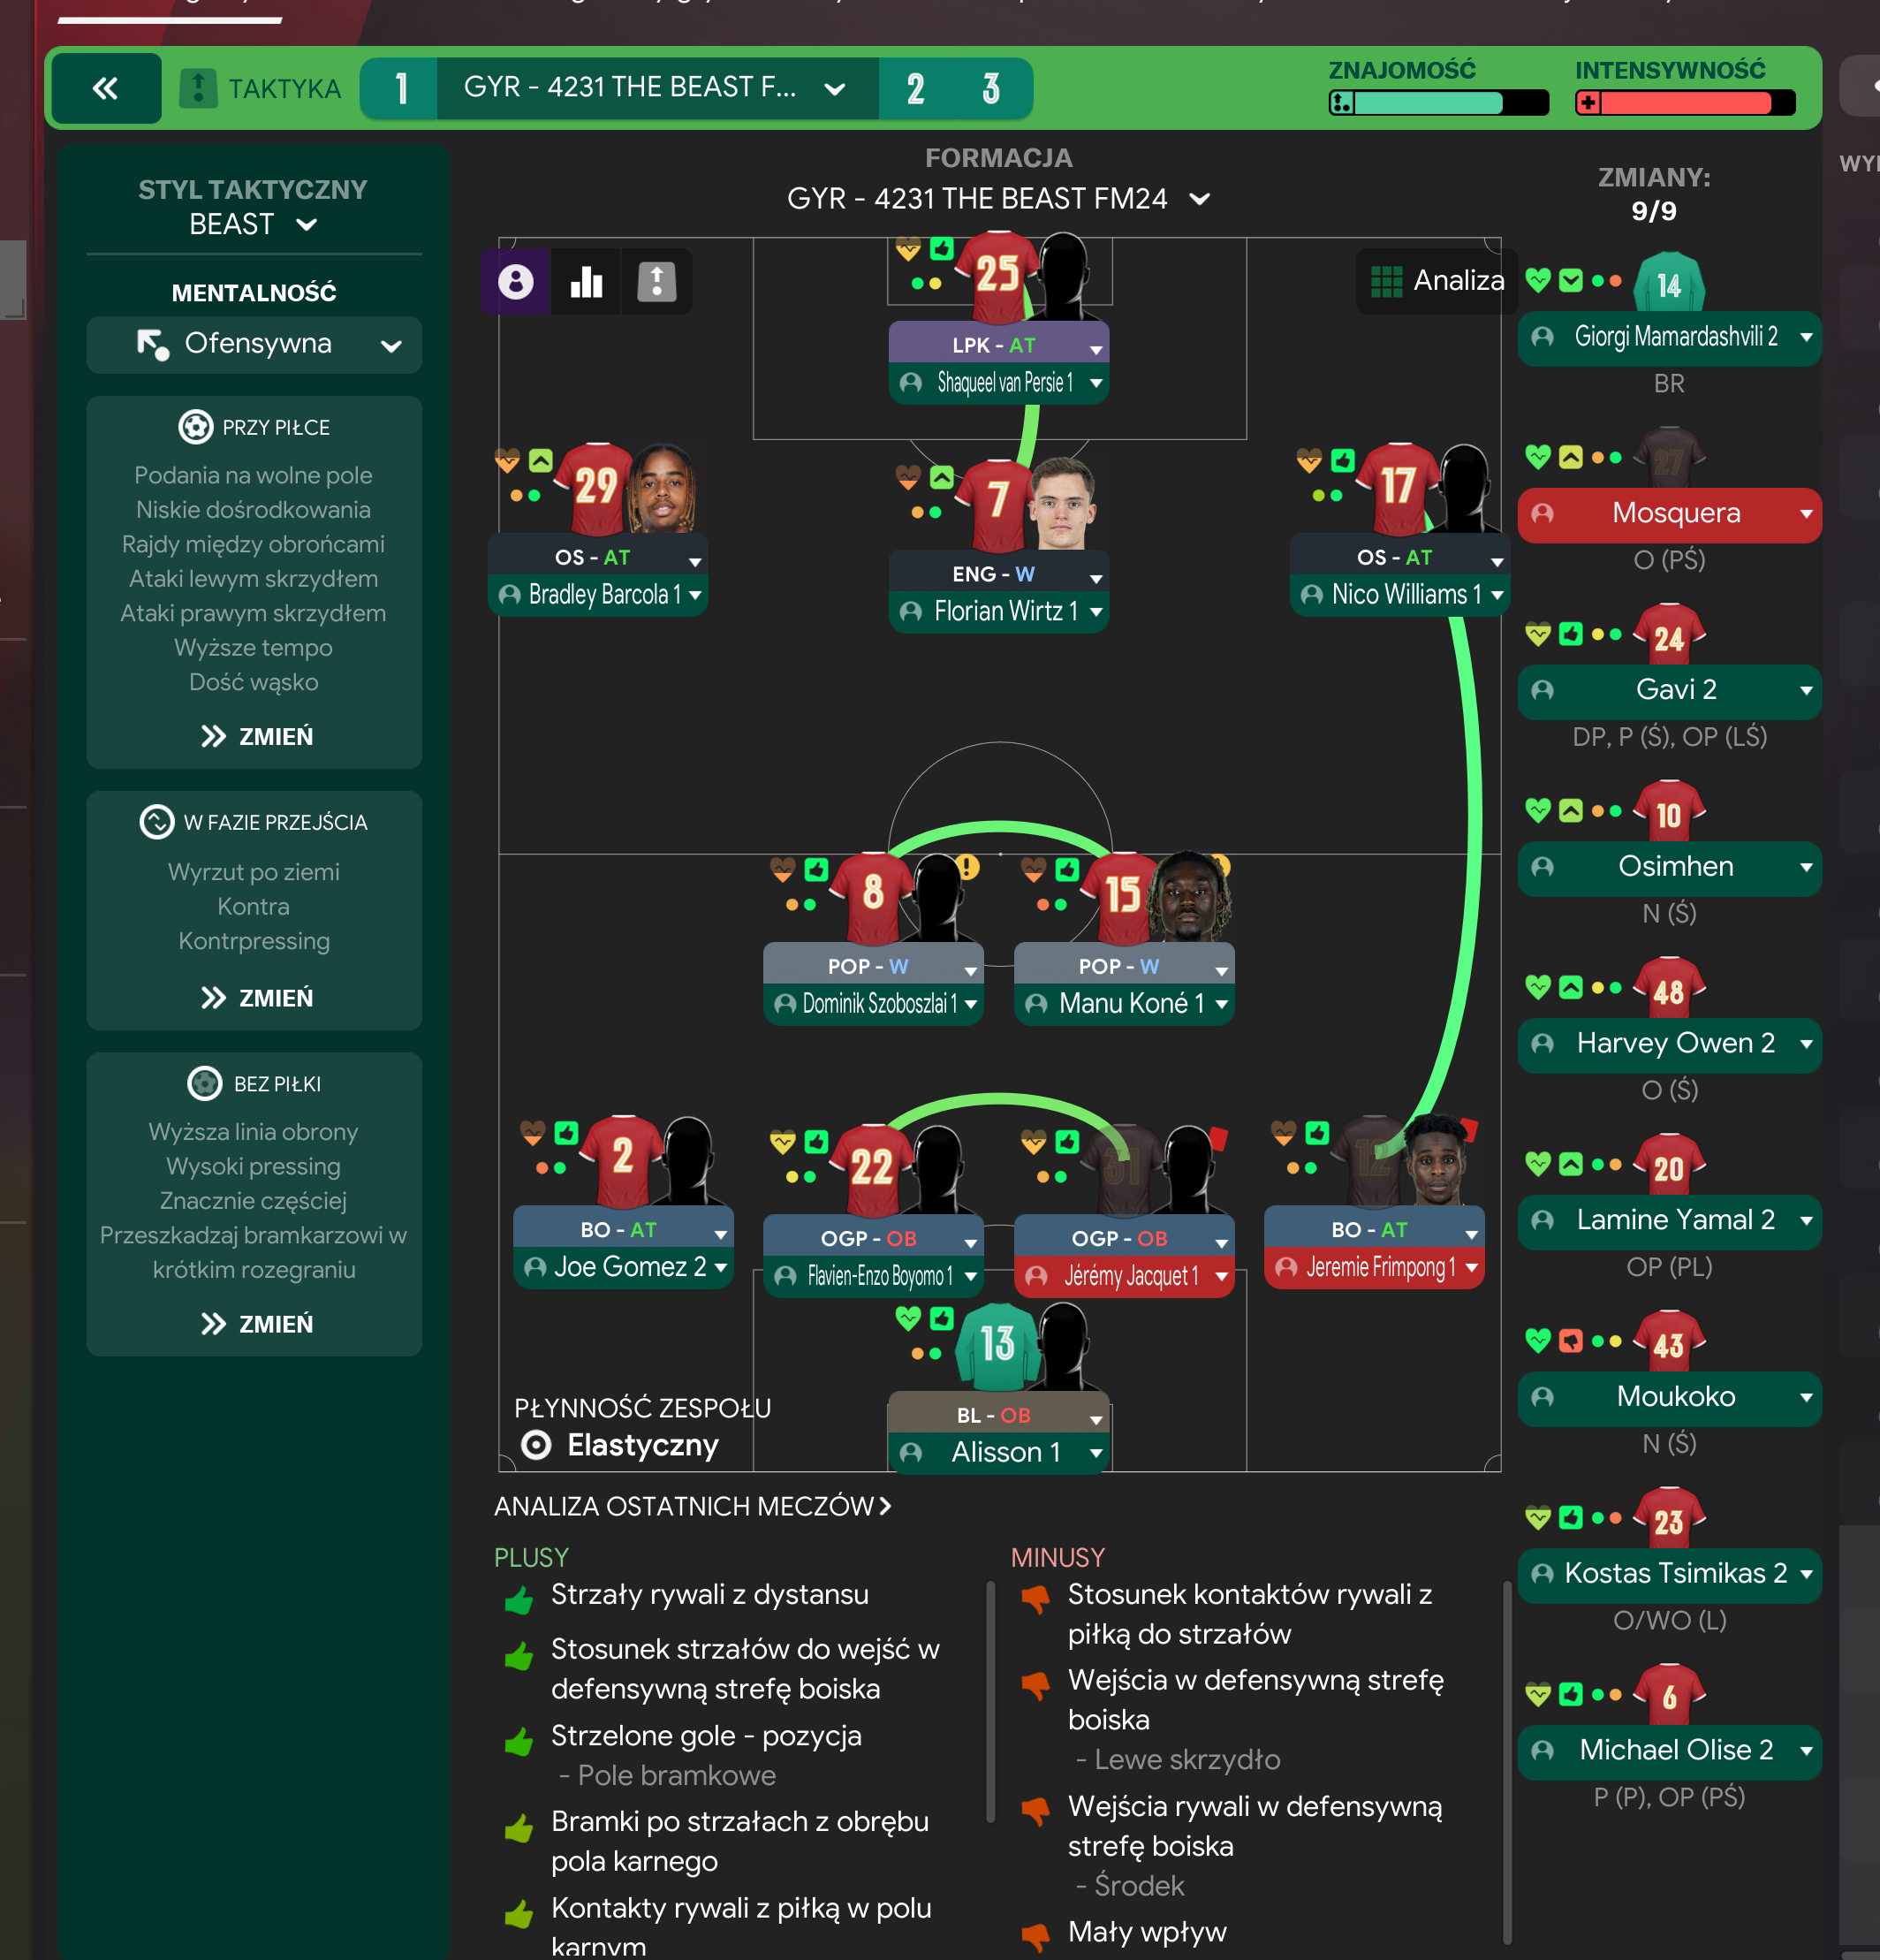
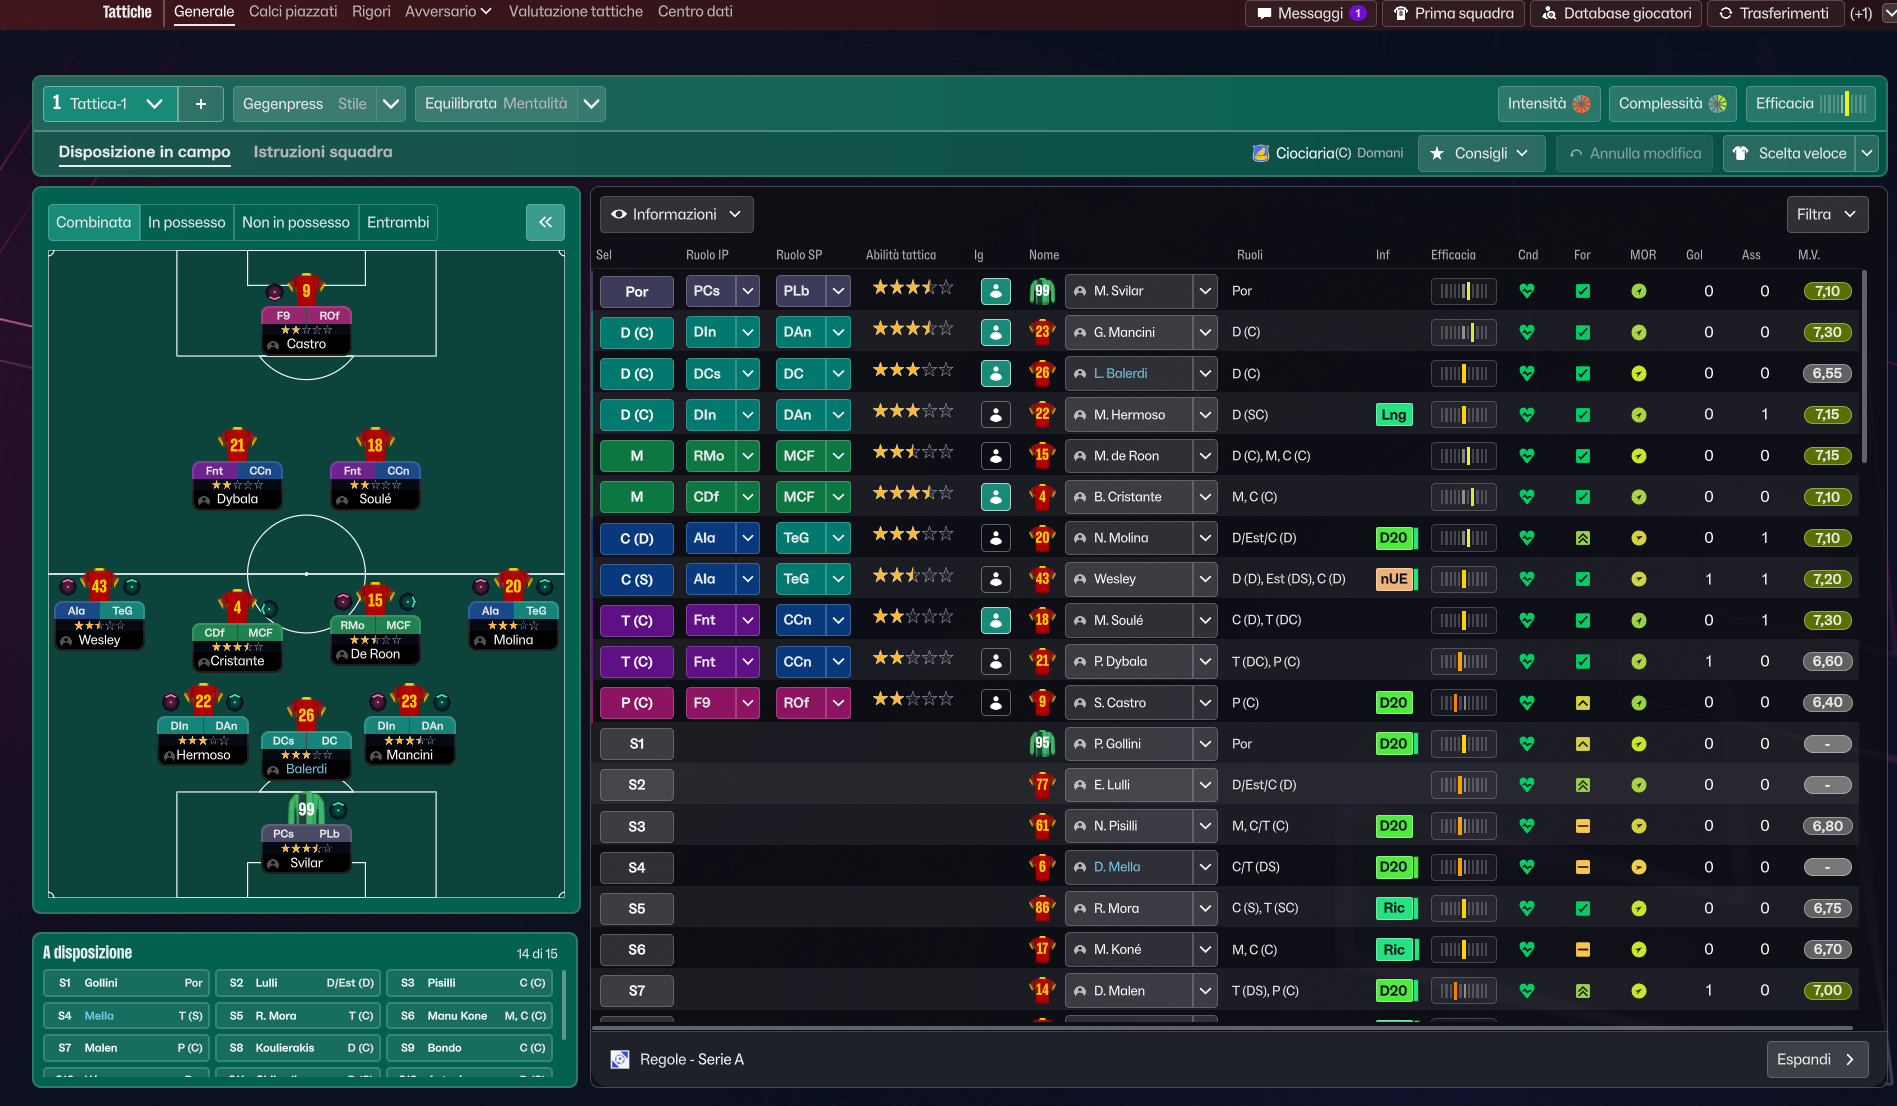
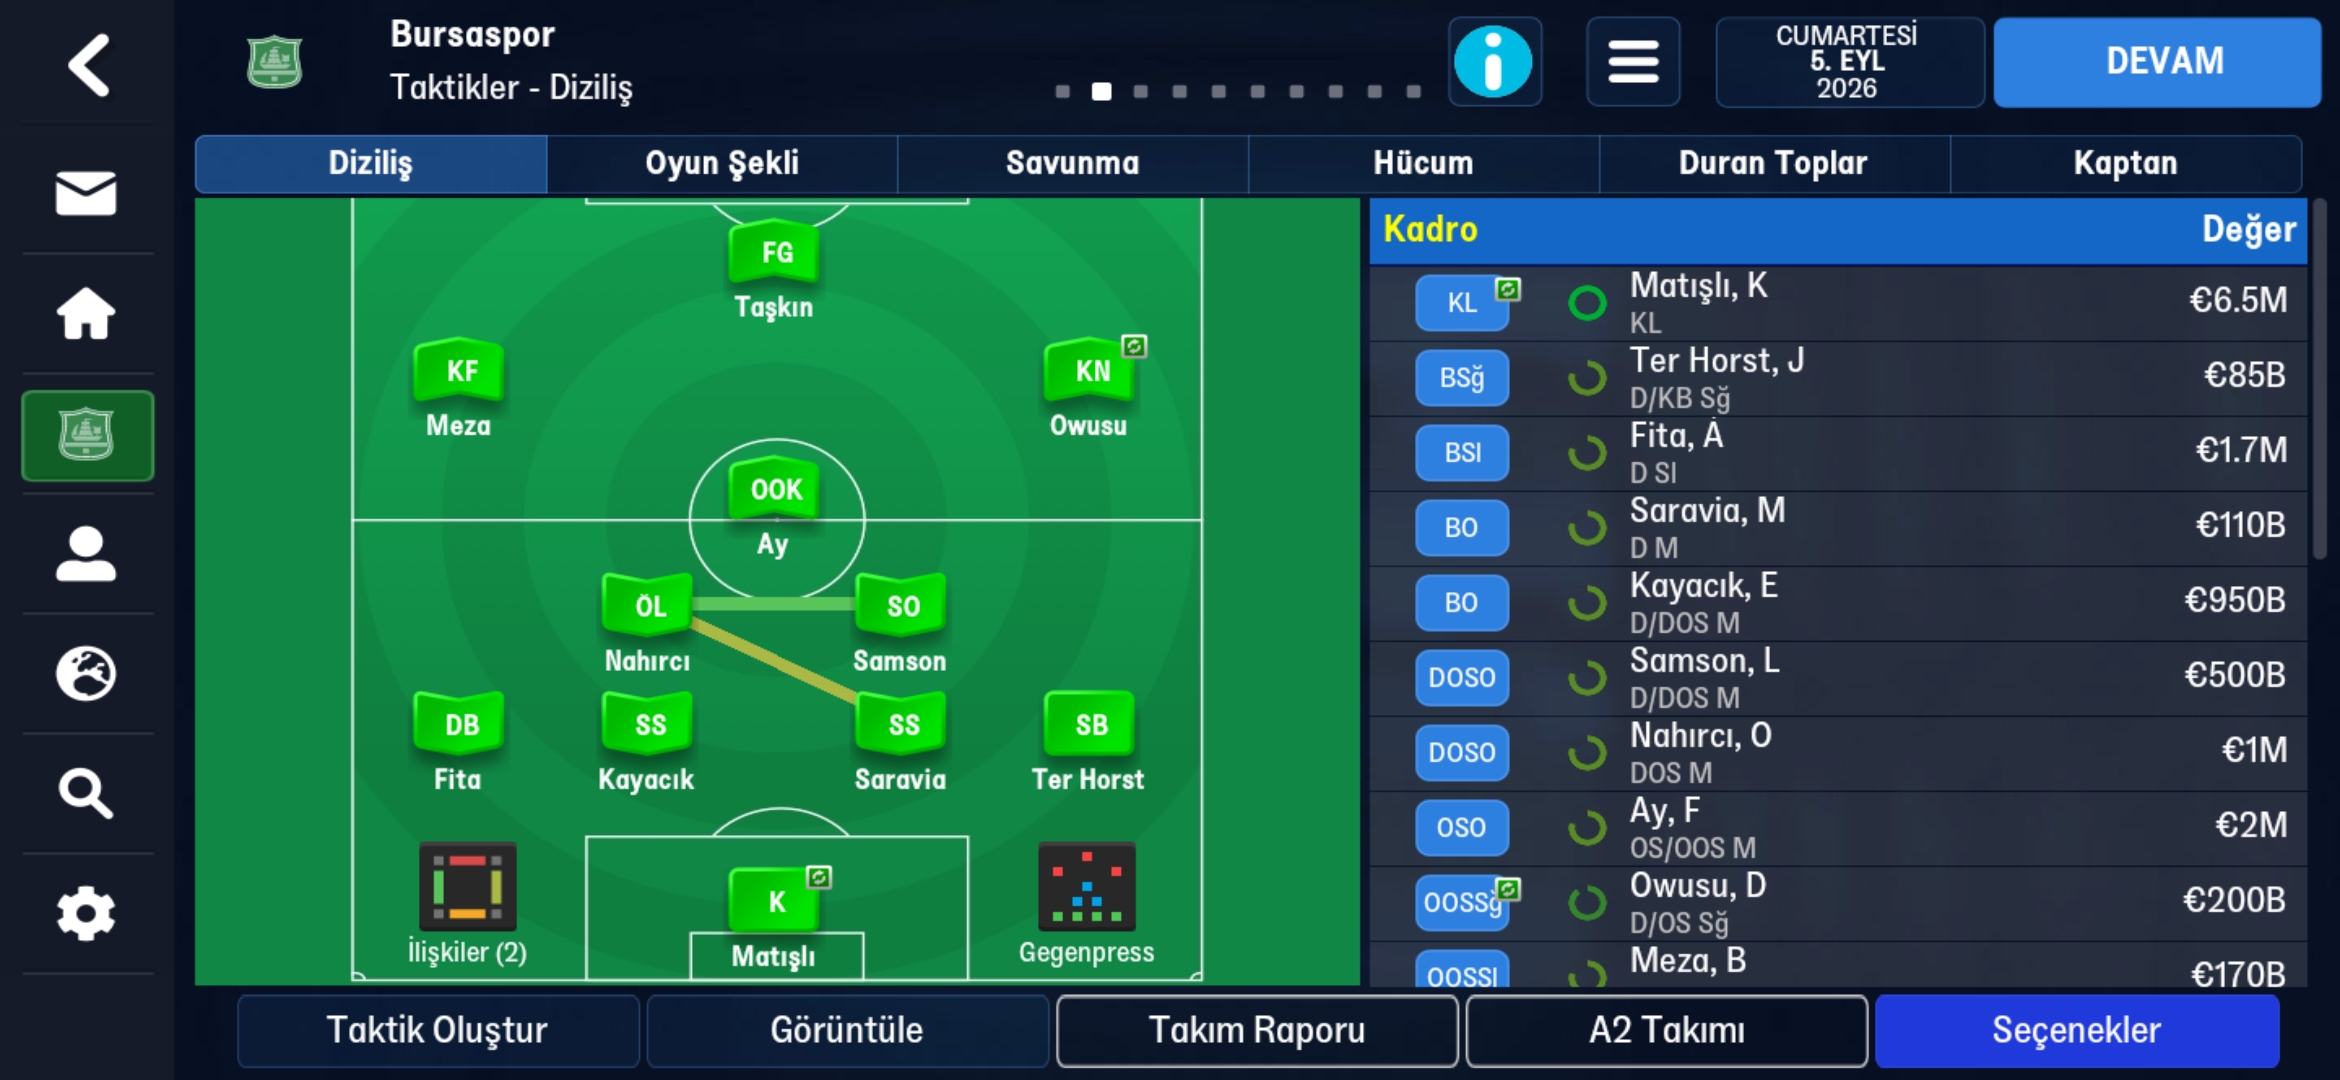
More Gegenpress tactics
Guides for this tactic
The tactical theory behind the 4-3-3: roles, instructions, and the trade-offs that decide whether the system holds up.
Playing styles
Gegenpressing: A Full Guide
Klopp-style gegenpressing in FM, including squad profile, line-and-press pairing, sustainable workload, and the antipatterns to avoid.
Read guide
Playing styles
Tiki-Taka vs Positional Play
Why circulation density and zonal occupation aren't the same thing in FM, and the half-space occupation rule that decides build-up.
Read guide
Foundations
Pressing Triggers and Intensity
Counter-Press, Regroup, Stand Off, Trigger Press: what each pressing instruction does in FM and how to pair them without contradicting.
Read guide