Gegenpress 4-3-3 (Positive) Tactic
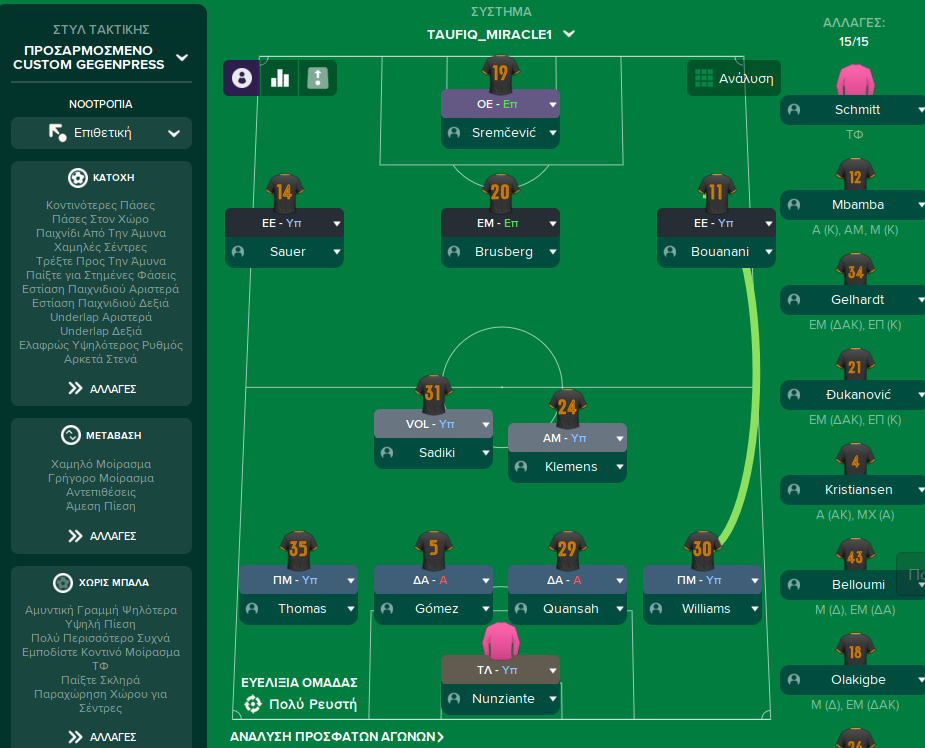
4-3-3
High pressing and quick attacking play. The team effectively regains possession through coordinated pressing.
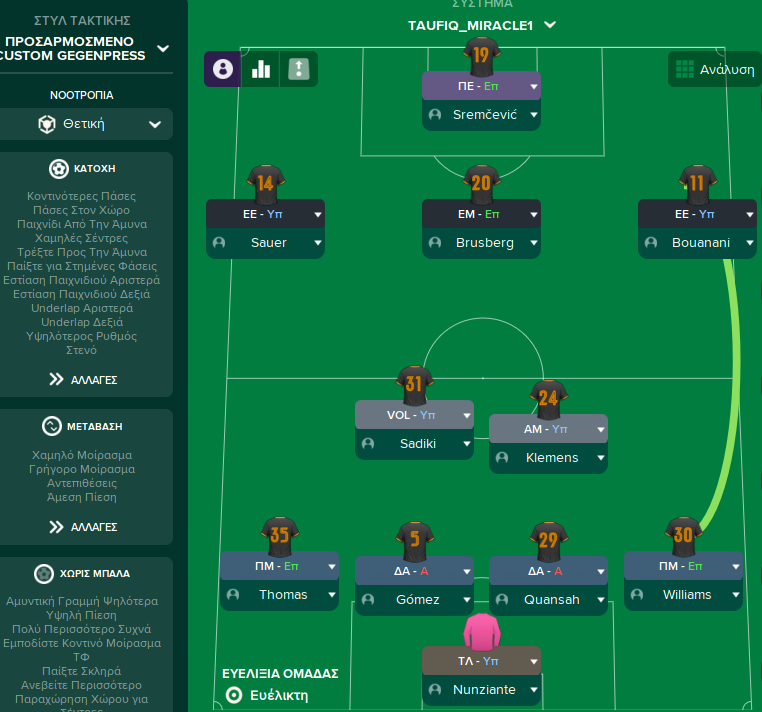
Loading tactical analysis...
Formation and style
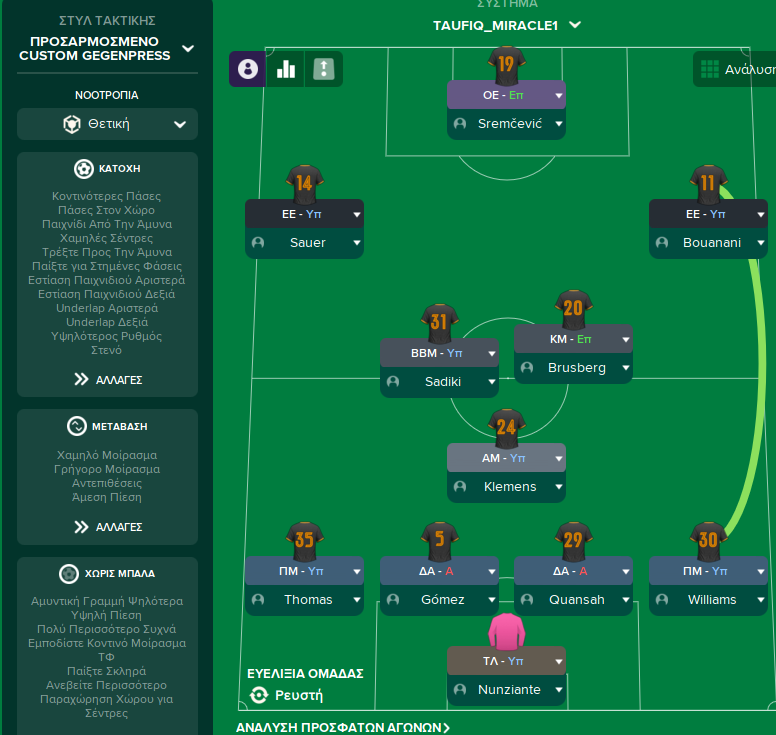
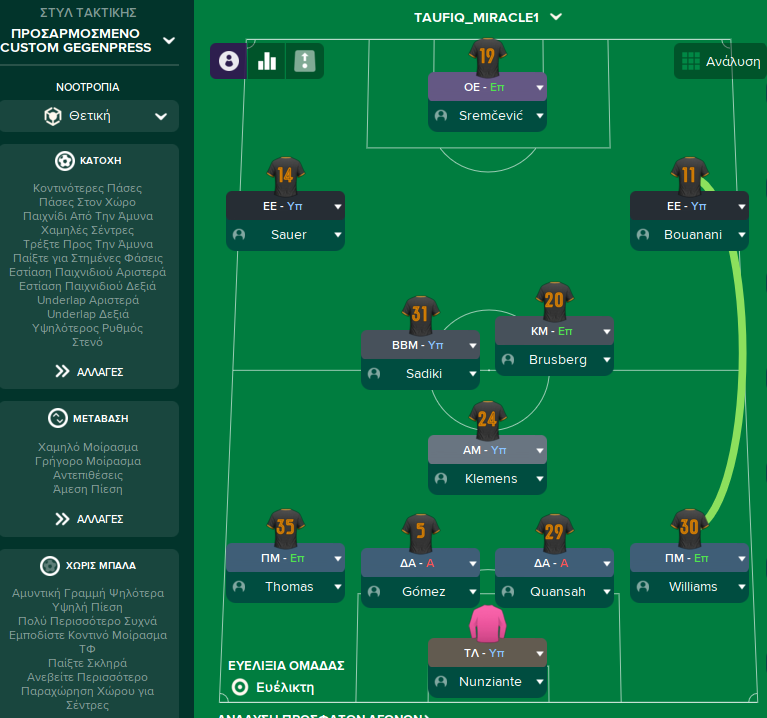
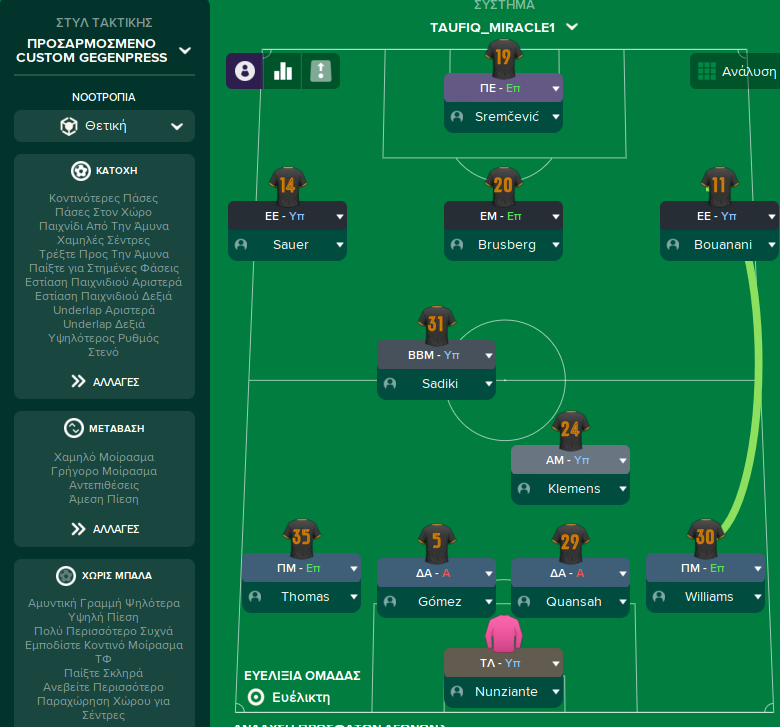
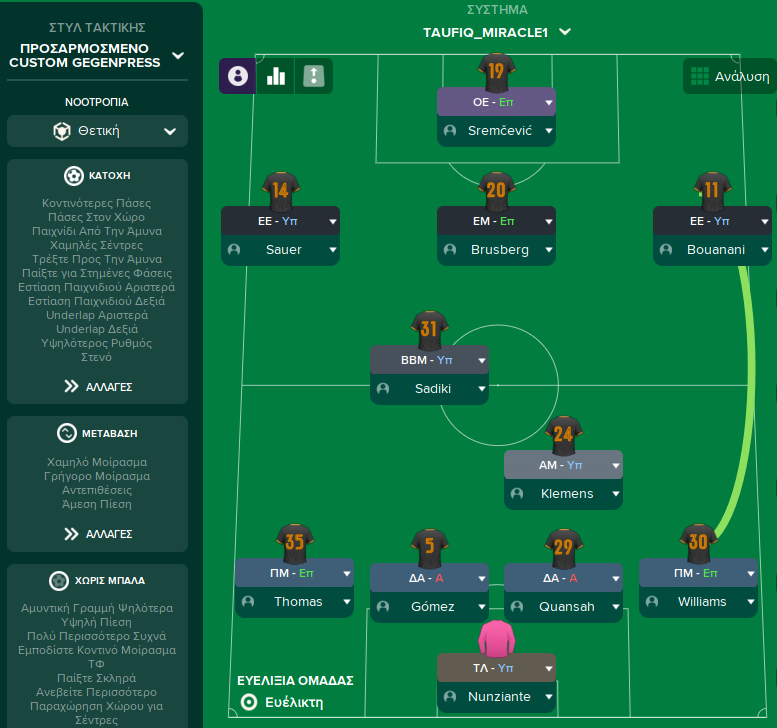
Custom Gegenpress
Positive
4-3-3
Flexible
In possession
Overlap left
Overlap right
Be more reckless
Play out of defence
Work ball into box
In transition
Counter-press
Counter
Out of possession
Higher Defensive Line
Higher Line of Engagement
Prevent Short GK Distribution
Trigger Press More Often
Player roles
GK
Goalkeeper
Defend
RB
Full-Back
Support
CB
Centre-Back
Defend
CB
Centre-Back
Defend
LB
Full-Back
Support
DM
Ball-Winning Midfielder
Support
CM
Central Midfielder
Support
CM
Advanced Playmaker
Attack
RW
Winger
Support
ST
Pressing Forward
Attack
LW
Winger
Support
Phase description
Utilizes width and quick transitions to create goal-scoring opportunities.
Focuses on immediate pressing to regain possession quickly.
High pressing and quick attacking play.
Team shape defence
4-4-2
Defensive shape maintains organization with emphasis on width and pressing.
Higher Defensive Line and Trigger Press More Often support this structure.
Team shape attack
4-3-3
Attacking shape exploits flanks with overlapping full-backs and wingers cutting inside.
Overlap left, Overlap right, and Winger roles facilitate this formation.
Key strengths
High Pressing
The team effectively regains possession through coordinated pressing.
Trigger Press More Often and Counter-press instructions enhance pressing effectiveness.
Width in Attack
Full-backs and wingers create space and provide attacking width.
Overlap left and Overlap right instructions enable full-backs to support offensive plays.
Conflicting tactics
Defensive Stability vs. Pressing
High pressing may leave gaps in defense if not properly timed.
Higher Defensive Line combined with Immediate Pressing can lead to vulnerabilities on counterattacks.
Inflexible Midfield Roles
Static roles can limit adaptability during transitions.
A fixed Advanced Playmaker can become isolated if midfield support is not synchronized.
Risk exposures
Risk Exposures
Items
Defensive Transitions
High line leaves the team susceptible to foxing by fast attackers.
Higher Defensive Line coupled with Trigger Press could lead to counter vulnerability.
Midfield Pressing Vulnerabilities
Overreliance on pressing may expose midfield gaps if possession is lost.
Ball-Winning Midfielder in support may struggle to cover in transition scenarios.
Role synergies
Role Synergies
Items
Ball-Winning Midfielder + Central Midfielder
Provides a solid midfield base with effective ball recovery and distribution.
Sadiki (BWM-S at [3,1]) supports and recovers balls, allowing Clemens (CM-S at [4,2]) to engage higher.
Full-Backs + Wingers
Full-backs provide width, allowing wingers to make inside runs.
Sauer (FB-S at [2,1]) and Bouanani (W-S at [5,1]) combine to stretch the defence.
Suggested questions
How can I better utilize my wing-backs in attack?
What strategies can I employ against teams that counter-attack quickly?
Is my midfield setup too rigid against defensive teams?
Related Tactics
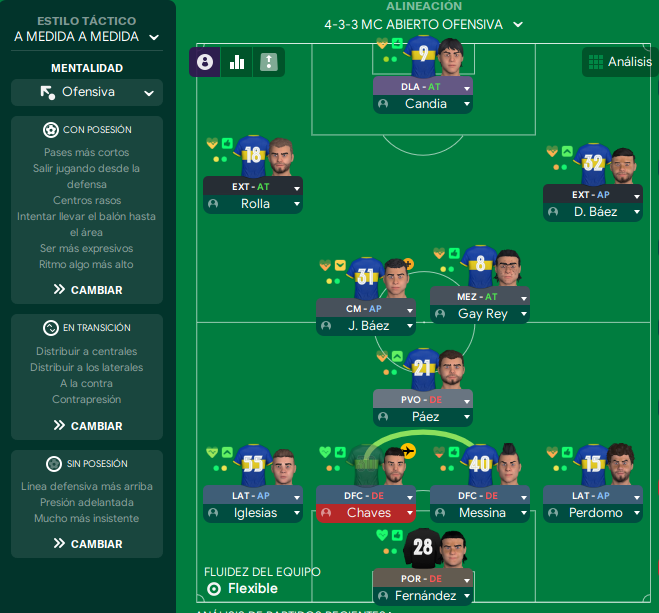
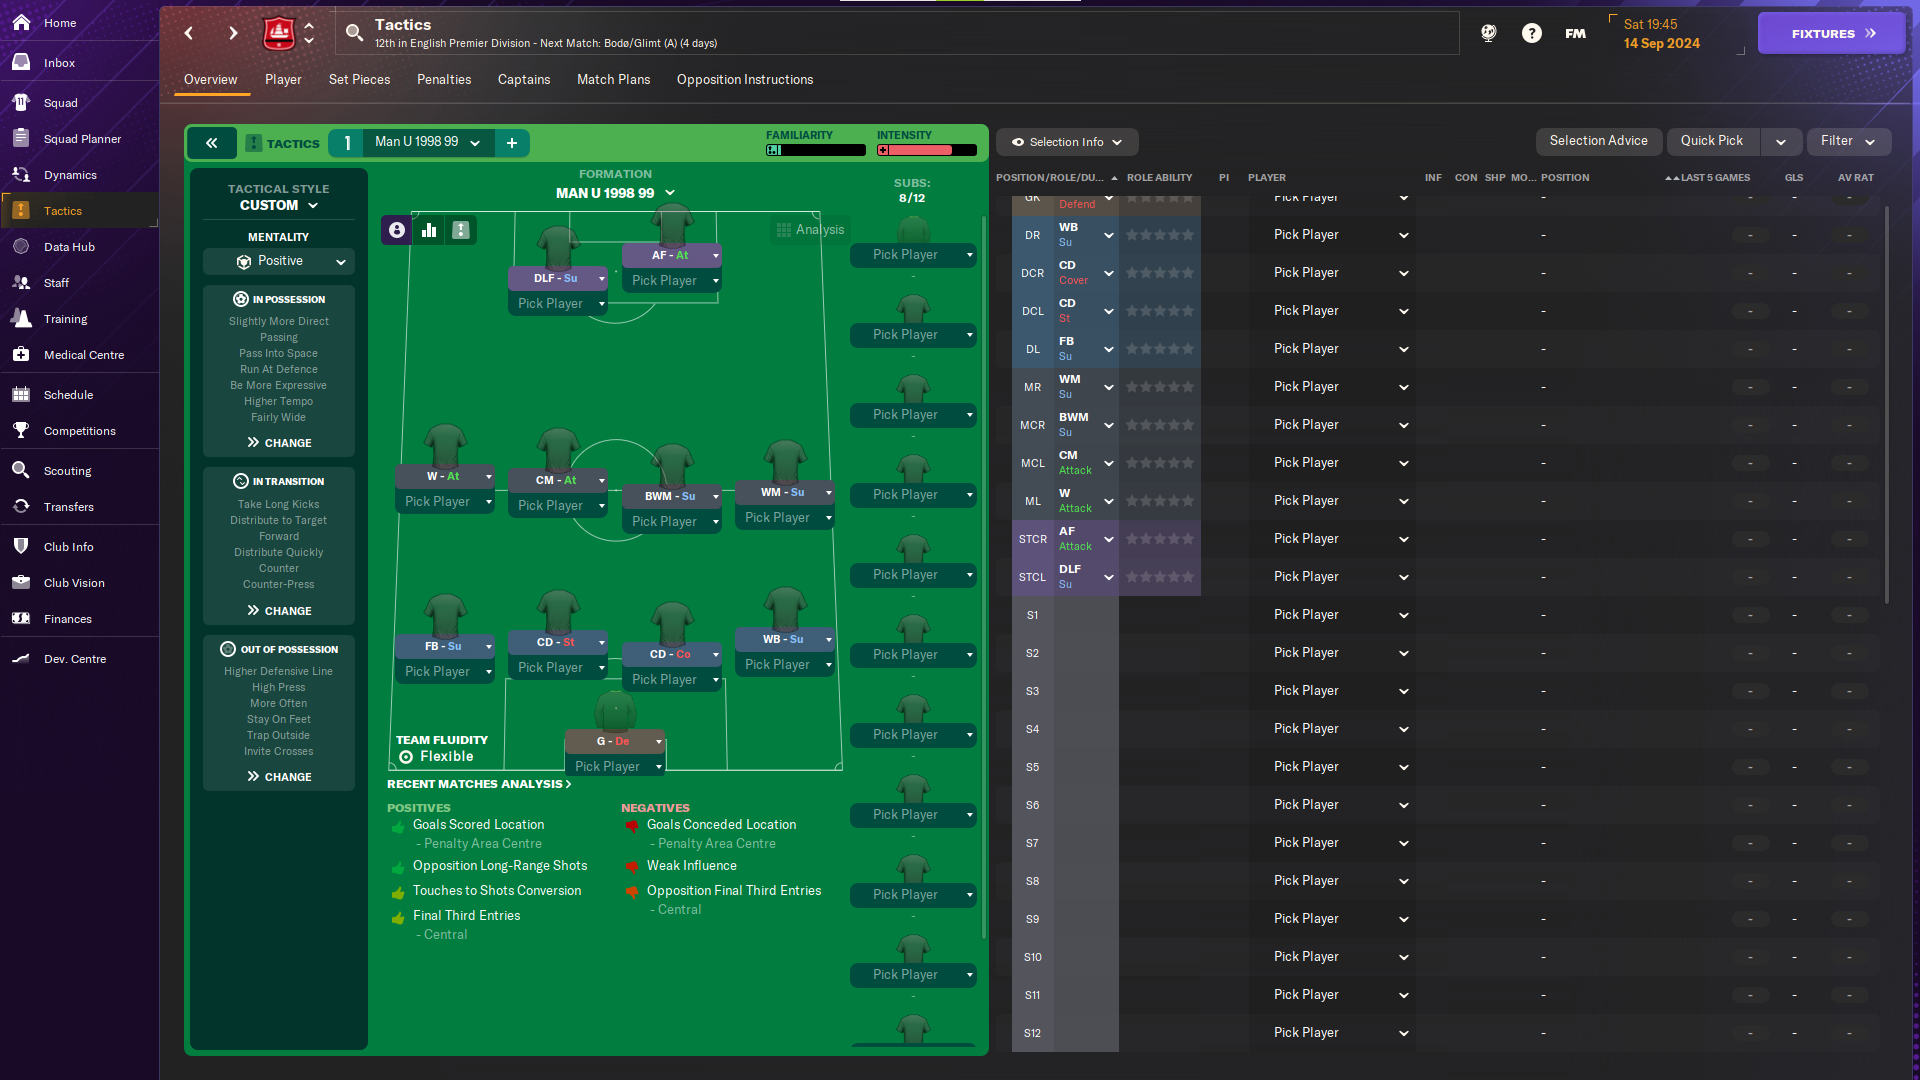
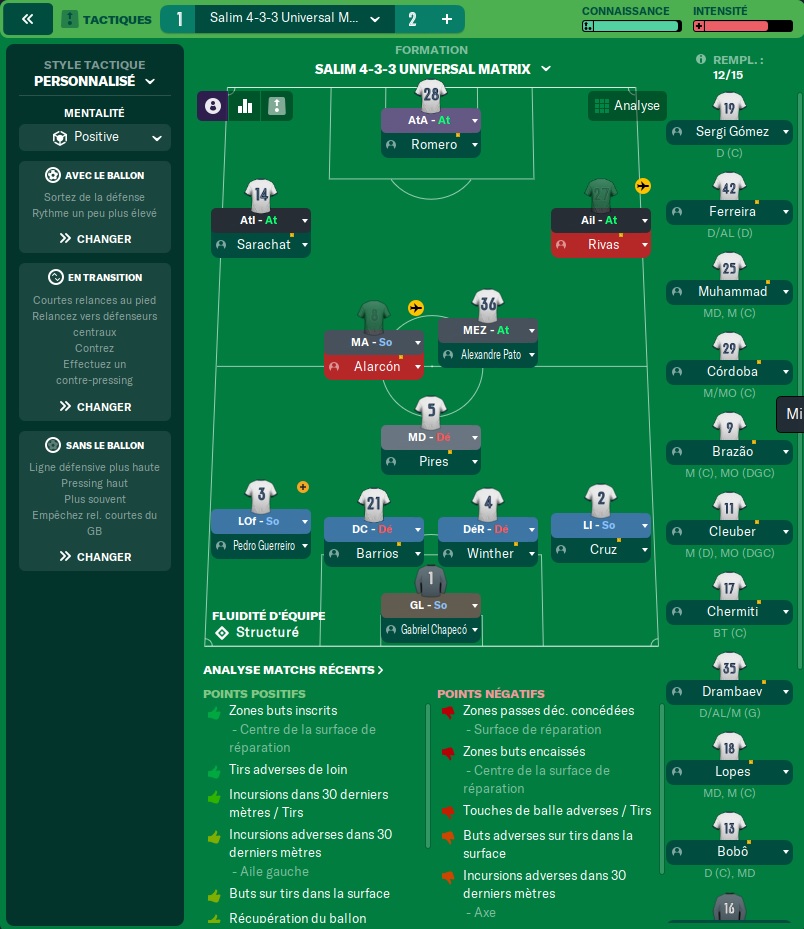
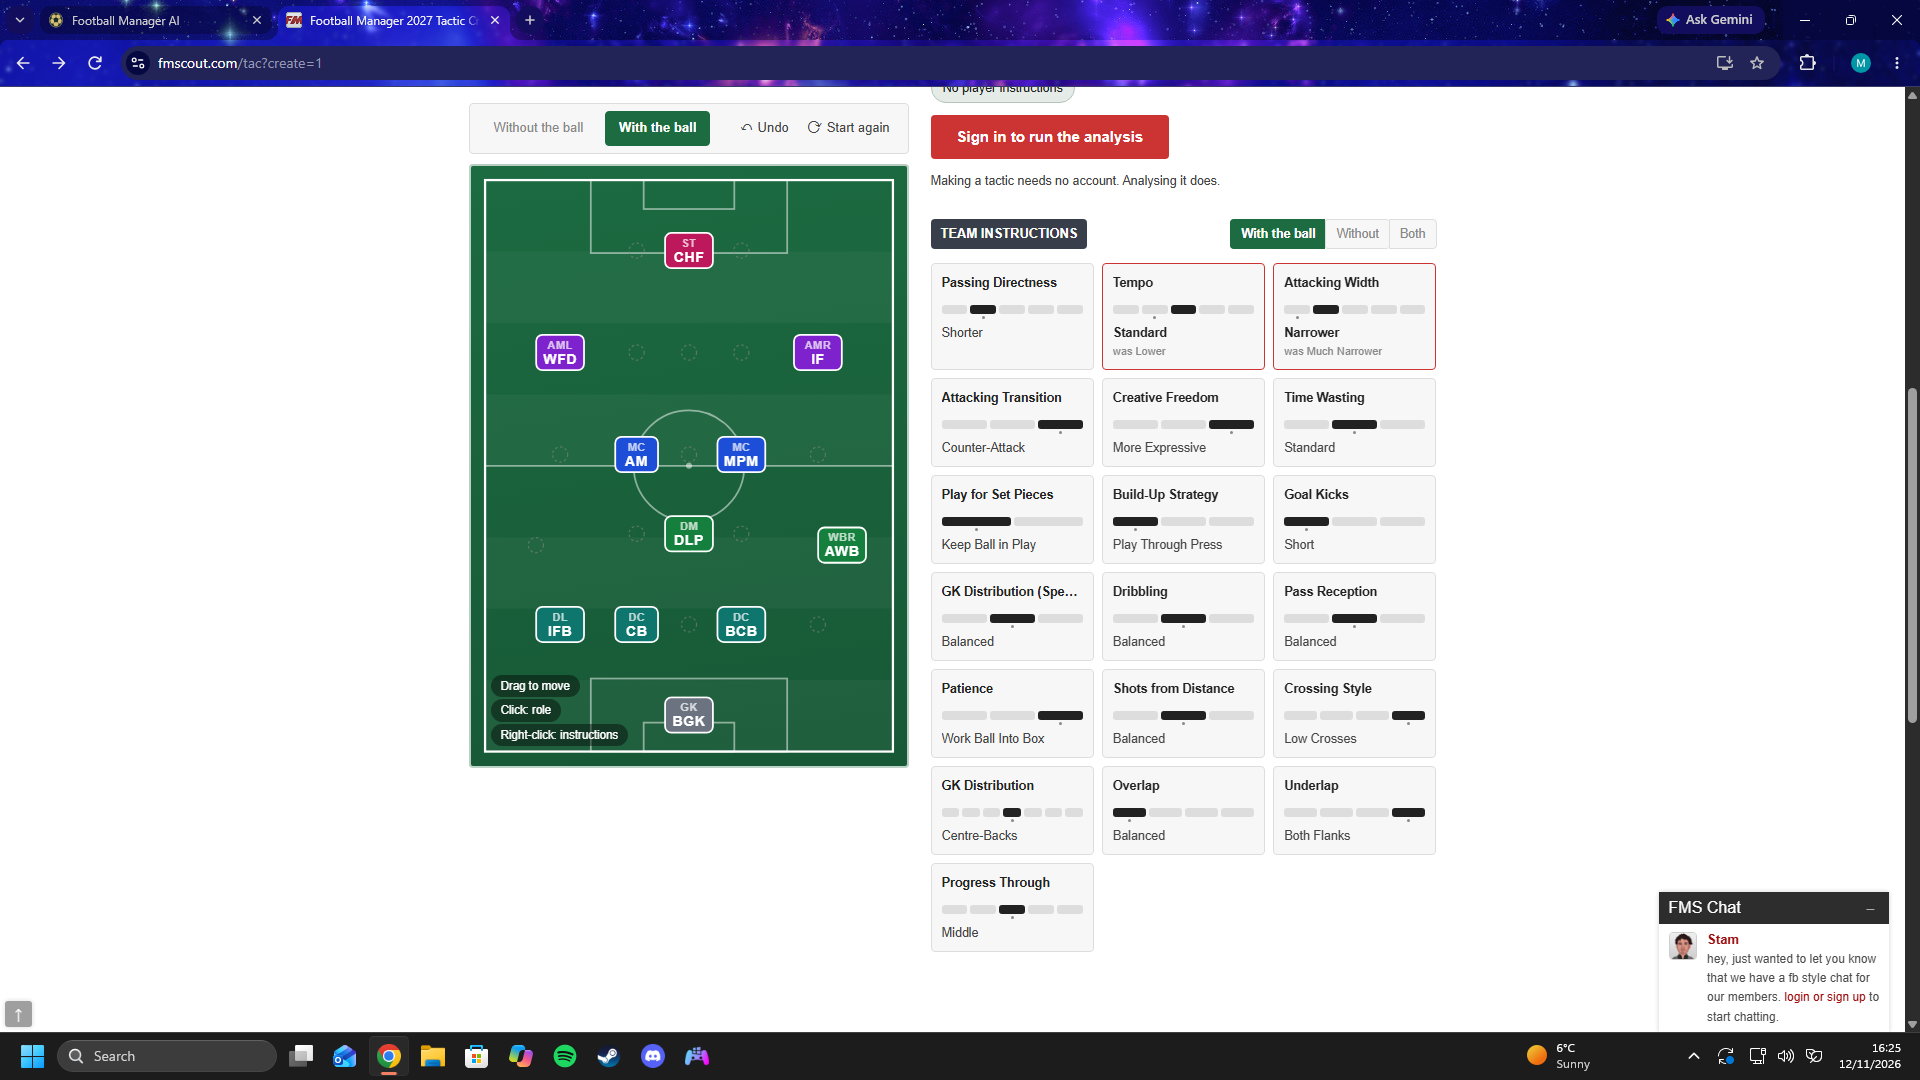
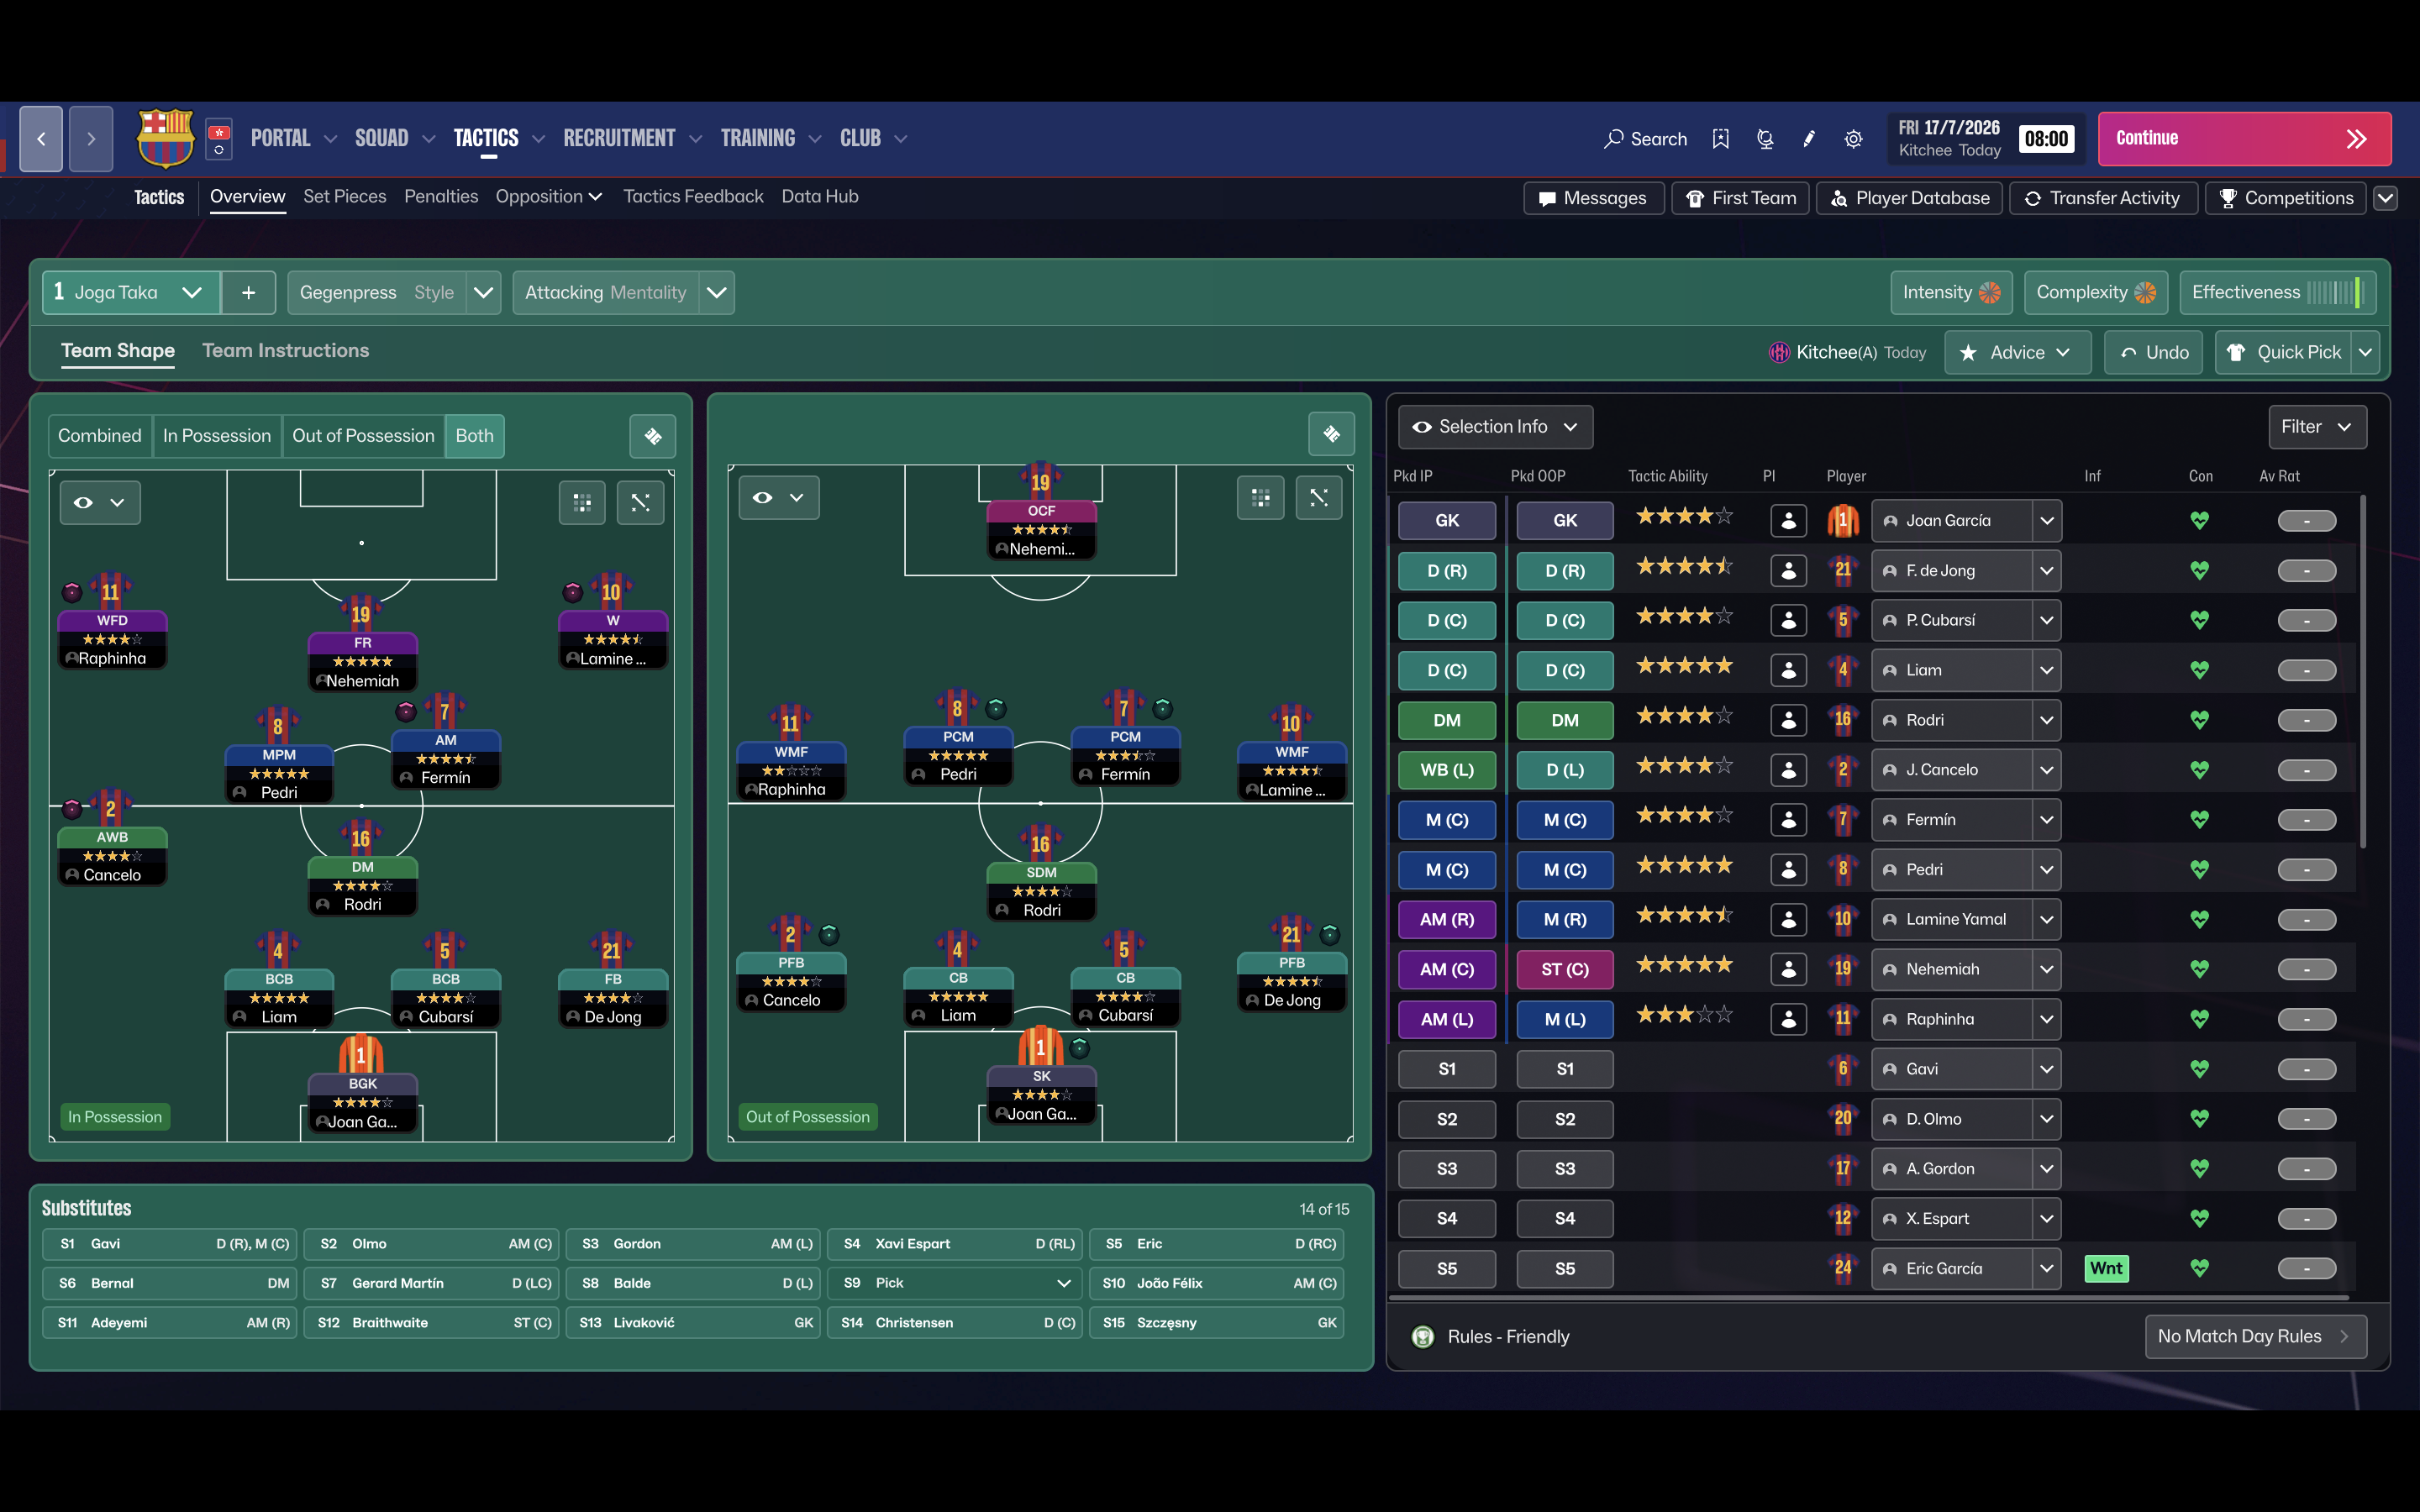
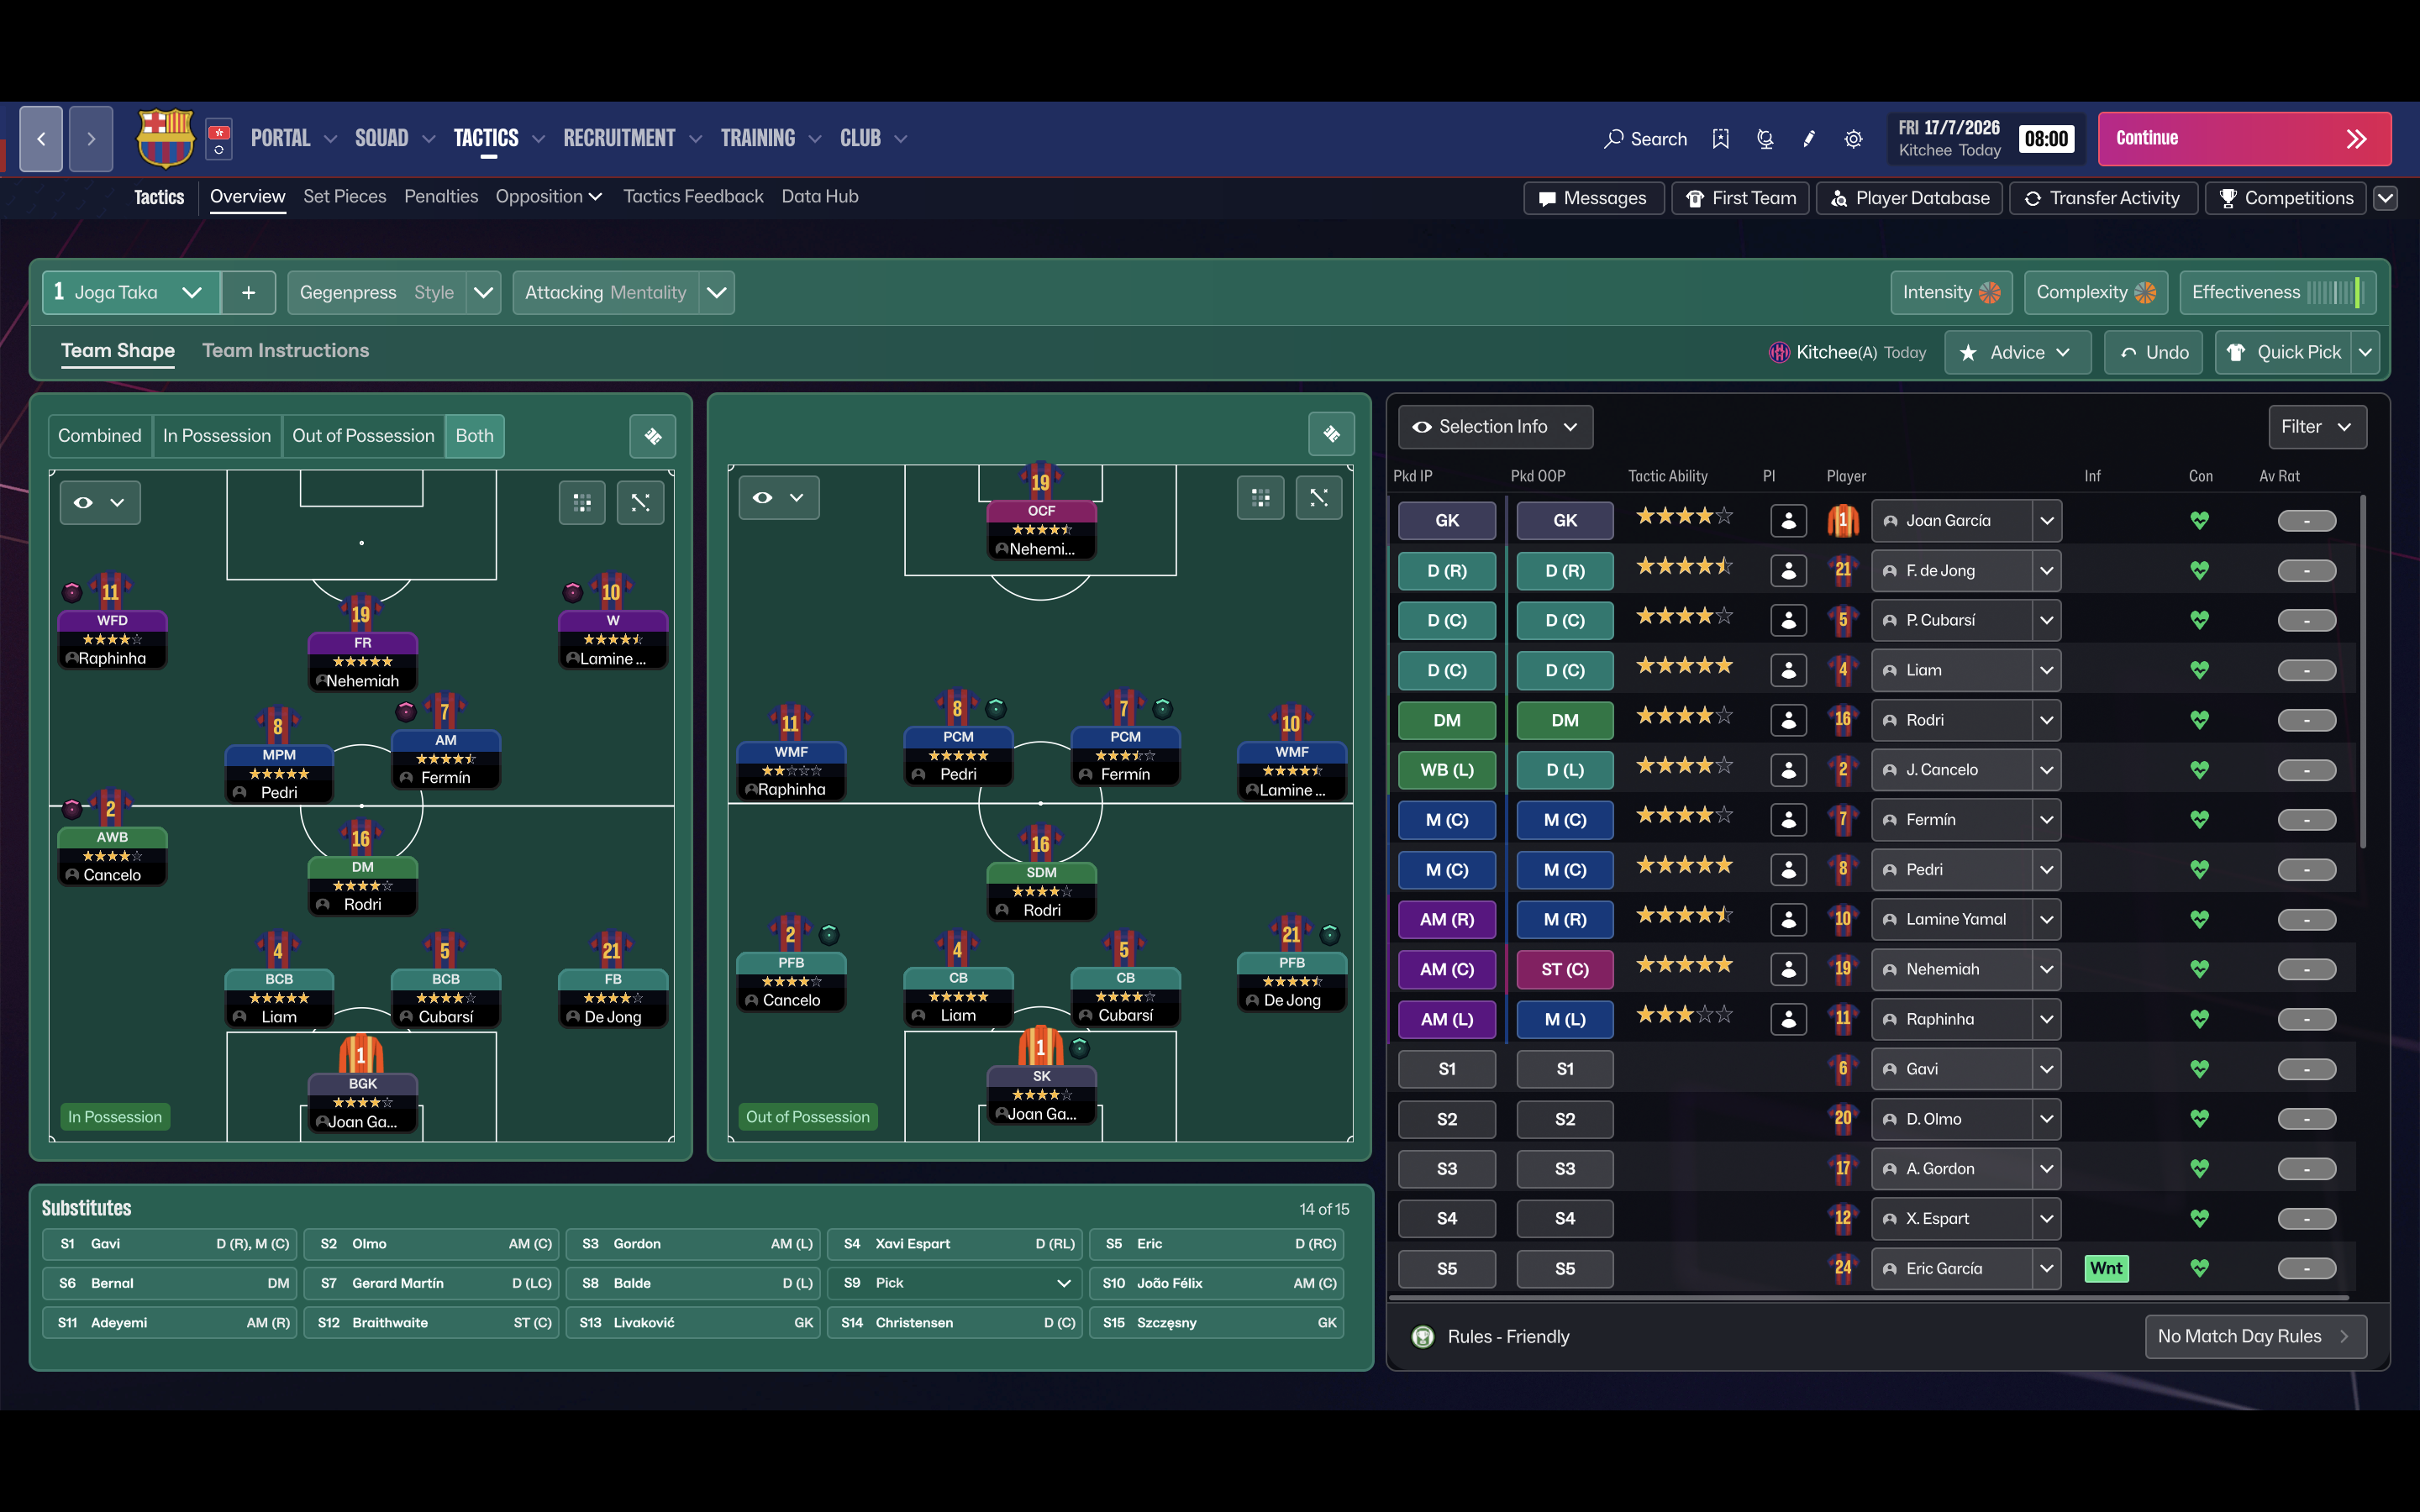
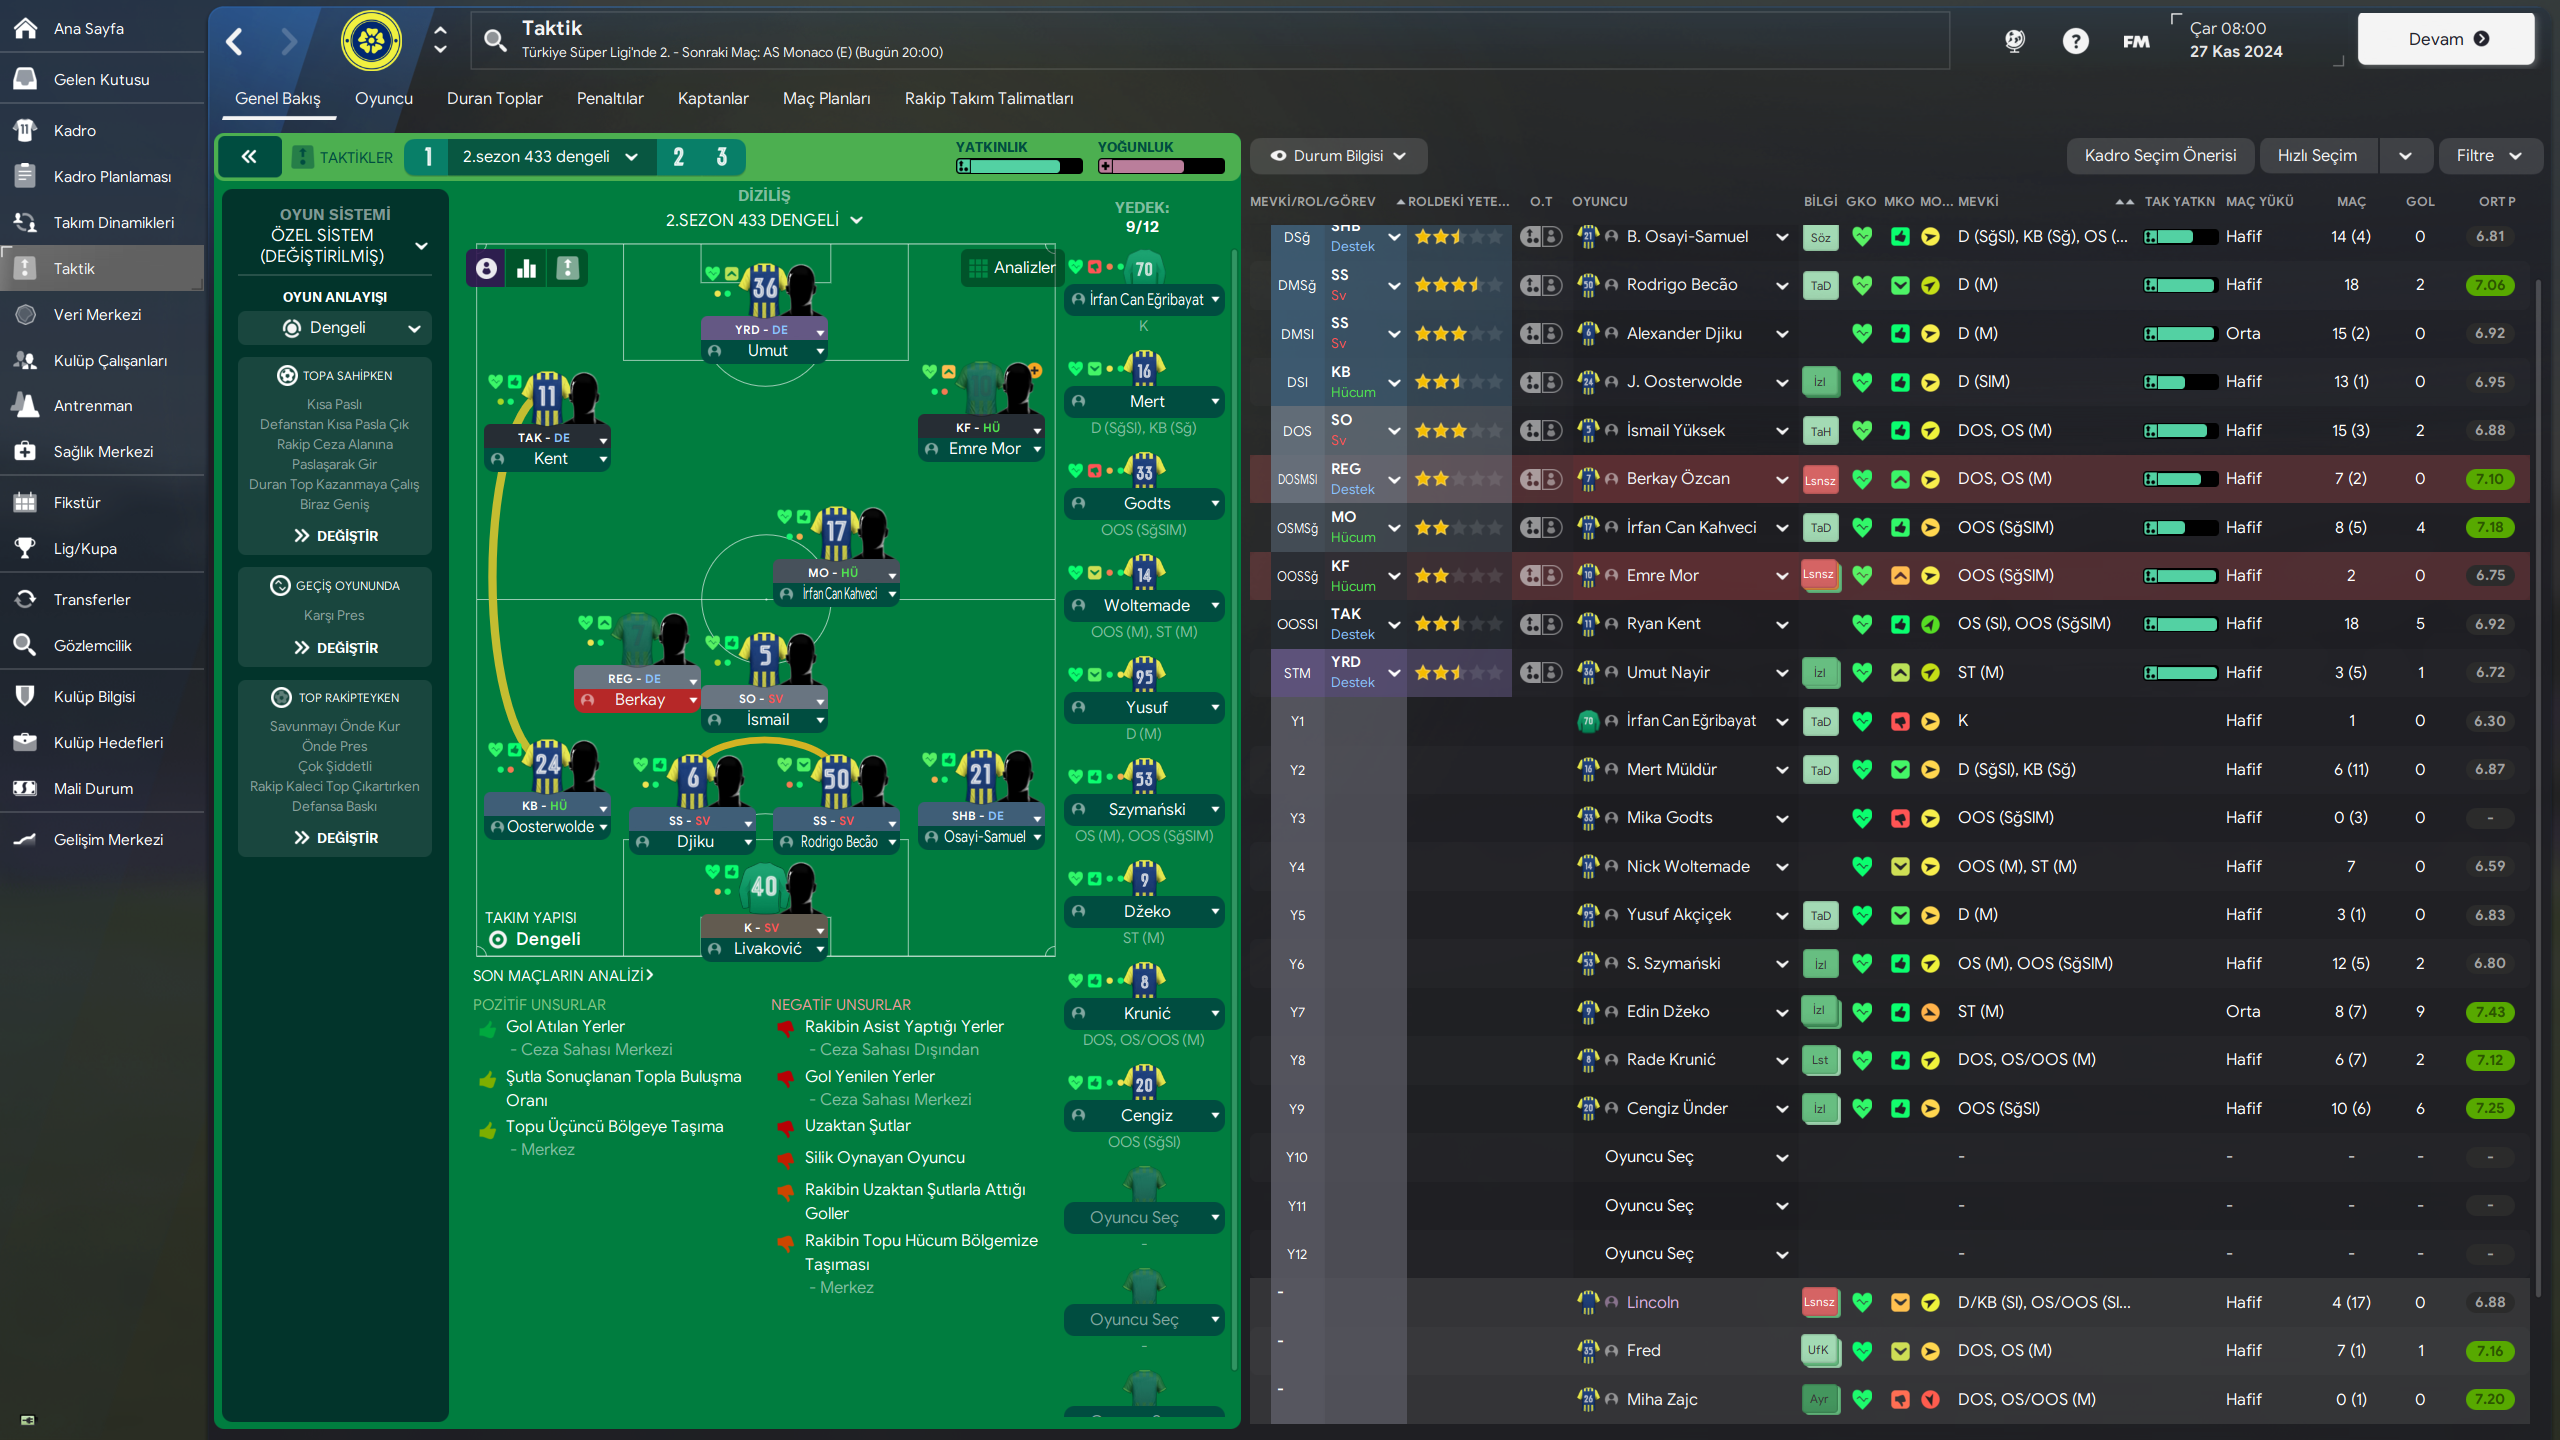
More Custom Gegenpress tactics
Guides for this tactic
The tactical theory behind the 4-3-3: roles, instructions, and the trade-offs that decide whether the system holds up.
Playing styles
Possession-Based Tactics in Football Manager
Build the patient, control-the-tempo style without watching your opponents counter through the gaps you leave behind.
Read guide
Foundations
Understanding the 4-3-3 Formation
Master the classic 4-3-3: player roles, tactical variations, and the trade-offs that decide whether it sings or stalls.
Read guide
Foundations
Width, Compactness, and Tempo
What Higher Tempo, Wider, and Narrower actually do in FM, plus the dial contradictions and antipatterns players run into most often.
Read guide