Balanced 3-2-3-2 (Balanced) Tactic
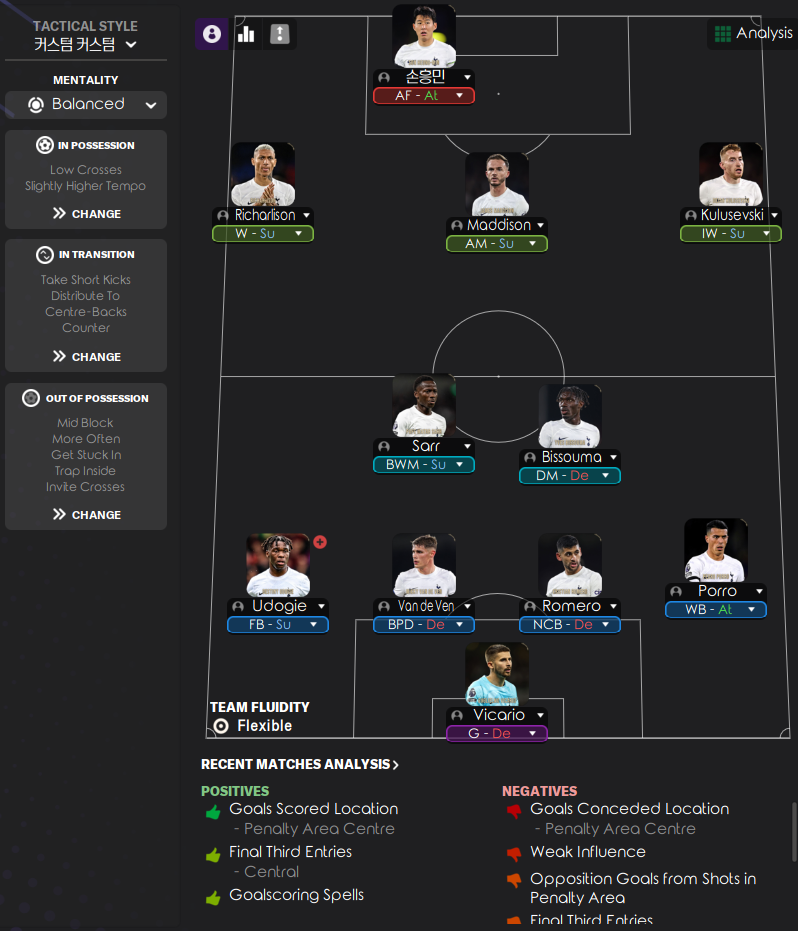
3-2-3-2
Leverage the talents of attackers like Son and Maddison. Utilizing wide players and an attacking midfielder enhances goal-scoring opportunities.
Loading tactical analysis...
Formation and style
Balanced
Balanced
3-2-3-2
Flexible
In possession
Low Crosses
Slightly Higher Tempo
In transition
Take Short Kicks
Distribute To Centre-Backs
Counter
Out of possession
Mid Block
Get Stuck In
Trap Inside
Invite Crosses
Player roles
GK
G
De
Defender
BPD
De
Defender
NCB
De
Defender
FB
Su
DM
BWM
Su
DM
DM
De
AM
AM
Su
Winger
W
Su
Inverted Winger
IW
Su
Forward
AF
At
Forward
AF
At
Phase description
Focus on quick transitions and exploiting space with wingers.
Utilize the BWM to regain possession quickly and counter.
Leverage the talents of attackers like Son and Maddison.
Team shape defence
Mid Block
Defenders maintain a compact form to absorb pressure while inviting crosses.
Mid Block with 'Get Stuck In' and 'Trap Inside' aiming to condense space.
Team shape attack
Fluid Front Line
Two forwards paired with an AM and wide players creating multiple attacking options.
5 players in attacking roles facilitate varied movements and goal-scoring chances.
Key strengths
Effective Attacking Presence
Utilizing wide players and an attacking midfielder enhances goal-scoring opportunities.
5 attacking players (AFs, AM, W) create dynamic options in the final third.
Ball Playing Defender
The BPD can initiate play from the back, aiding in advancing the ball quickly.
BPD at [2,3] facilitating a higher tempo with distribution.
Conflicting tactics
Vulnerability to Crosses
The strategy invites crosses but can leave the defense exposed.
Mid Block with 'Trap Inside' could lead to wide vulnerabilities.
Weak Influence in Central Areas
Two DM roles might congest central play without proper offensive coverage.
With 2 DMs, midfield creativity may suffer amidst dual defensive roles.
Risk exposures
Risk Exposures
Items
Defensive Zones
Being exposed to fast wingers can lead to quick counterattacks.
Mid Block with 'Invite Crosses' could allow wide adversaries to exploit flanks.
Central Midfield
Congestion might lead to losing control in the center against more fluid systems.
Dual DM setup with less midfield creativity could hamper fluid transitions.
Role synergies
Role Synergies
Items
BWM and DM
The BWM complements a more static DM to balance aggression and stability.
BWM-S at [3,2] with DM-De at [3,3] controlling the midfield space.
Winger and Inverted Winger
Winger stretches the play while IW can cut inside for goal opportunities.
Richarlison (W) at [5,1] and Kulusevski (IW-Su) at [5,3] creating space.
Suggested questions
How can we improve our defensive stability against counter-attacks?
Are the attacking players maximizing their goal-scoring opportunities?
Should we adjust our roles in midfield to enhance creativity?
Related Tactics
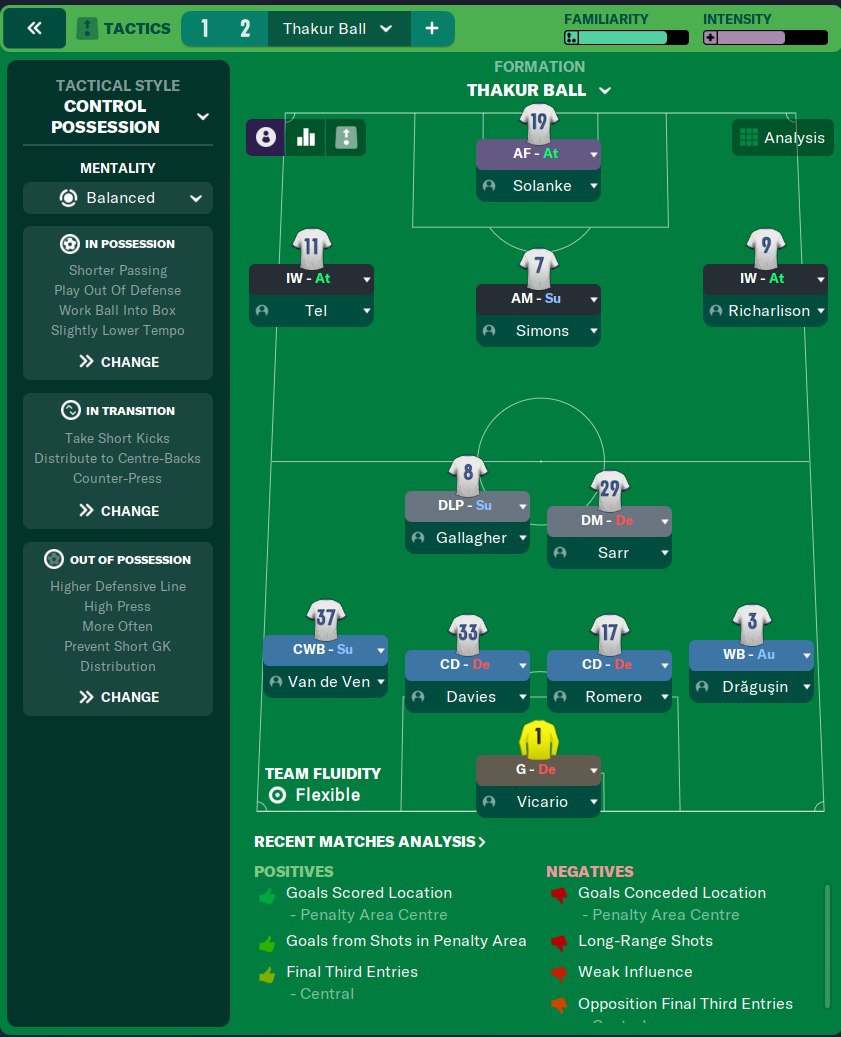
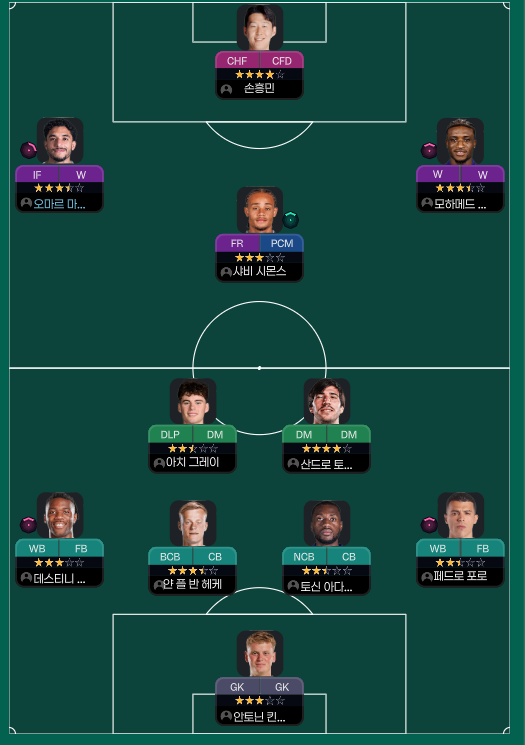
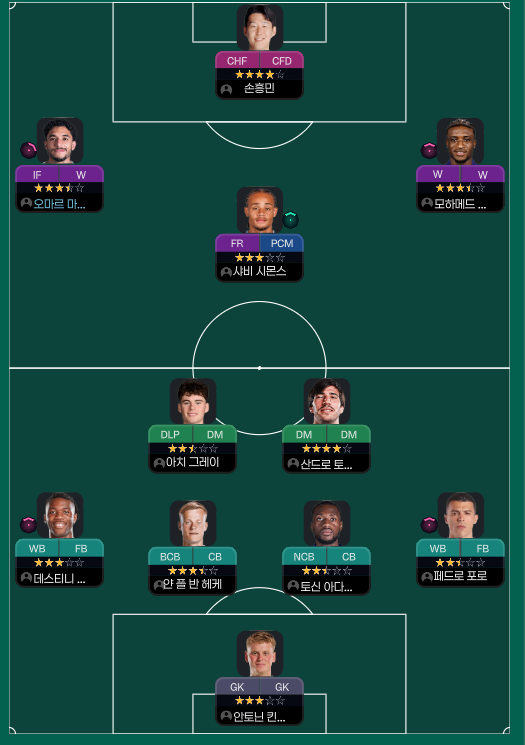
More Balanced tactics
Guides for this tactic
The tactical theory behind the 3-2-3-2: roles, instructions, and the trade-offs that decide whether the system holds up.
Playing styles
Tiki-Taka vs Positional Play
Why circulation density and zonal occupation aren't the same thing in FM, and the half-space occupation rule that decides build-up.
Read guide
Foundations
Defensive Transitions
The five seconds after losing the ball decide most matches. Counter-press, drop-and-recover, and how to know which one you should be doing.
Read guide
Match preparation
Set Piece Mastery
Routines, takers, and target picks. How to turn corners and free-kicks into a reliable third of your goal output.
Read guide